Best Backgrounds Tier List

The best backgrounds in Starfield are Gangster, Soldier, and Bounty Hunter. Read on for a tier list of backgrounds, a list of the best backgrounds for the different playstyles, and the best starting stats.
| All Backgrounds Guides | |
|---|---|
| List of All Backgrounds | Best Backgrounds Tier List |
List of Contents
Best Backgrounds Tier List
Tier List Ranking
The best backgrounds in Starfield are Soldier, Bounty Hunter, and Gangster, as all their starting skills remain relevant throughout the whole game. These three backgrounds have skills that improve mobility and offense, making them excellent picks for most situations.
List of All Backgrounds and Starting Jobs
Tier List Criteria
| These backgrounds can deal superior damage, open up several combat options, and have the most synergy and lots of utility with their starting skills. Worth picking for all or most skills. | |
| These backgrounds are excellent at a specific field but fall short in other aspects. They present interesting gameplay options and are generally a good place to start from. Worth picking for one or two good skills. | |
| These backgrounds are either only viable in the early game or only make your build slightly effective in some parts and slightly lacking in others. Still worth picking for one good skill. | |
| These backgrounds are either extremely niche and severely lack in aspects that make an effective and powerful build, or more or less a waste of skills and you're better off choosing another background. |
Best Backgrounds for Each Playstyle
| Background | Playstyle |
|---|---|
| Soldier | Best Overall |
| Combat Medic | Best for Beginners |
| Cyber Runner | Best for Stealth |
| Gangster | Best for Close Combat |
| Diplomat | Best for Persuasion Builds |
| Bounty Hunter | Best for Space Dogfights |
| Industrialist | Best for Industrial Playstyle |
| Beast Hunter | Best for Hunting Alien Creatures |
| Ronin | Best for Soloist Playstyle |
| Explorer | Best Lore-Appropriate Background |
Below are the best backgrounds for the different playstyles, or the varied ways of playing and approaching Starfield.
Soldier: Best Overall
| Starting Skills | Skill Rank Effects |
|---|---|
 Ballistics |
Rank 1: Ballistic weapons do 10% more damage. Rank 2: Ballistic weapons do 20% more damage. Rank 3: Ballistic weapons do 30% more damage Rank 4: Ballistic weapons range is increased by 30% |
 Boost Pack Training |
Rank 1: You can now utilize boost packs. Rank 2: Using a boost pack expends less fuel. Rank 3: Boost pack fuel regenerates more quickly Rank 4: Doubles previous bonuses. |
 Fitness |
Rank 1: You have 10% more oxygen available. Rank 2: You have 20% more oxygen available. Rank 3: You have 30% more oxygen available. Rank 4: Sprinting and power attacks now use significantly less oxygen. |
Best background overall goes to Soldier to the availability of crucial and great offensive skills such as Fitness, Ballistics, and Boost Pack Training right from the start.
The Soldier focuses on offensive aspects and mobility which is great to have right from the beginning. In addition, these skills are worth investing on since they have great value even in the late game.
Combat Medic: Best for Beginners
| Starting Skills | Skill Rank Effects |
|---|---|
 Wellness |
Rank 1: Increase your maximum health by 10%. Rank 2: Increase your maximum health by 20%. Rank 3: Increase your maximum health by 30%. Rank 4: Increase your maximum health by 40% |
 Medicine |
Rank 1: Med Packs, Trauma Packs, and Emergency Kits restore 10% additional Health 10% faster. Rank 2: Med Packs, Trauma Packs, and Emergency Kits restore 20% additional Health 20% faster. Rank 3: Med Packs, Trauma Packs, and Emergency Kits restore 30% additional Health 30% faster. Rank 4: Med Packs, Trauma Packs, and Emergency Kits restore 50% additional Health 50% faster, and have a chance to cure an affliction. |
 Pistol Certification |
Rank 1: Pistols do 10% more damage. Rank 2: Pistols do 25% more damage. Rank 3: Pistols do 50% more damage. Rank 4: Pistol kills grant +25% critical hit chance for 5 seconds. |
Beginners and FPS non-aficionados will appreciate the survivability of the Combat Medic, due to its skills Wellness, Medicine, and Pistol Certification.
This background allows the player a little more headroom in terms of HP and healing before enemies get the best of them. The Combat Medic can take more hits, heal more efficiently, and does extra damage with a good ol' sidearm, which is a good fallback weapon for any situation.
Cyber Runner: Best for Stealth
| Starting Skills | Skill Rank Effects |
|---|---|
 Security |
Rank 1: You can attempt to hack Advanced locks, and 2 auto attempts can be banked. Rank 2: You can attempt to hack Expert locks, and 3 auto attempts can be banked. Rings now turn blue when the pick can slotted. Rank 3: You can attempt to hack Master-level locks, and 4 auto attempts can be banked. Rank 4: Expend a digipick to eliminate keys that aren't required to solve the puzzle. 5 auto attempts can be banked. |
 Stealth |
Rank 1: Adds a Stealth Meter. You are 25% more difficult to detect when sneaking. Suppressed weapons do an additional 5% sneak attack damage. Rank 2: Upgrades the Stealth Meter. You are 50% more difficult to detect when sneaking. Suppressed weapons do an additional 10% sneak attack damage. Rank 3: You are 75% more difficult to detect when sneaking. Suppressed weapons do an additional 15% sneak attack damage. Rank 4: You are 100% more difficult to detect when sneaking. Suppressed weapons do an additional 20% sneak attack damage. Doors you interact with while in stealth no longer alert enemies. |
 Theft |
Rank 1: Unlock the ability to pickpocket targets. Rank 2: 10% greater chance to successfully pickpocket. Rank 3: 30% greater chance to successfully pickpocket Rank 4: 50% greater chance to successfully pickpocket, Can now pickpocket holstered weapons. |
The Cyber Runner is the best background for stealth builds due to its Security, Stealth, and Theft skills.
With this background, it will be much easier to take out a whole base using far less ammo, while also saving up on healing items. Furthermore, it will allow you to get past trickier locks, giving you access to good loot and new pathways.
Gangster: Best for Close Combat
| Starting Skills | Skill Rank Effects |
|---|---|
 Theft |
Rank 1: Unlock the ability to pickpocket targets. Rank 2: 10% greater chance to successfully pickpocket. Rank 3: 30% greater chance to successfully pickpocket Rank 4: 50% greater chance to successfully pickpocket, Can now pickpocket holstered weapons. |
 Shotgun Certification |
Rank 1: Shotguns do 10% more damage. Rank 2: Shotguns do 20% more damage. Rank 3: Shotguns do 30% more damage. Rank 4: Shotgun kills grant a small chance to stun additional targets with shotguns for a limited time. |
 Boxing |
Rank 1: Unarmed attacks do 25% more damage. 25% less O2 used when using a power attack. Rank 2: Unarmed attacks do 50% more damage. 50% less O2 used when using a power attack. Rank 3: Unarmed attacks do 75% more damage. While in a fight and unarmed, running consumes 30% less O2. Rank 4: Unarmed attacks do 100% more damage and have a chance to knock down opponents. |
Gangster is the best background for close combat since it has the Shotgun Certification, Boxing, Theft skills. This background has great balance for all skills related to close-quarter interaction, whether it is offense or utility.
Diplomat: Best for Persuasion Builds
| Starting Skills | Skill Rank Effects |
|---|---|
 Persuasion |
Rank 1: 10% increased chance of success when persuading someone. Rank 2: 20% increased chance of success when persuading someone. Rank 3: 30% increased chance of success when persuading someone. Rank 4: 50% increased chance of success when persuading someone. |
 Commerce |
Rank 1: Buy for 5% less and sell for 10% more. Rank 2: Buy for 10% less and sell for 15% more. Rank 3: Buy for 15% less and sell for 20% more. Rank 4: Buy for 20% less and sell for 25% more. |
 Wellness |
Rank 1: Increase your maximum health by 10%. Rank 2: Increase your maximum health by 20%. Rank 3: Increase your maximum health by 30%. Rank 4: Increase your maximum health by 40% |
The Diplomat is the go-to backgrounds for those who wish to take a somewhat more peaceful route, with the skills Persuasion, Commerce, and Wellness.
The Diplomat can more easily persuade NPCs to do their bidding and rake in more cash with their knack for bartering.
Bounty Hunter: Best for Space Dogfights
| Starting Skills | Skill Rank Effects |
|---|---|
 Piloting |
Rank 1: You can now utilize ship thrusters. Rank 2: Increased ship turning rate and maneuverability. Rank 3: Unlock the ability to pilot Class B ships. Rank 4: Unlock the ability to pilot Class C ships. |
 Boost Pack Training |
Rank 1: You can now utilize boost packs. Rank 2: Using a boost pack expends less fuel. Rank 3: Boost pack fuel regenerates more quickly Rank 4: Doubles previous bonuses. |
 Targeting Control Systems |
Rank 1: Unlocks ship targeting functionality. Rank 2: Time to lock onto enemy ships is reduced by 15%. Target-locked ships fire at you 25% slower. Rank 3: Time to lock onto enemy ships is reduced by 30%. You have a 10% increased chance of critically hitting a target-locked ship. Rank 4: Time to lock onto enemy ships is reduced by 60%. Deal 20% increased system damage in targeting mode. |
If you love spending time in space and want to choose a background that will give you an edge in space encounters, then Bounty Hunter is the background for you.
Piloting and Targeting Control Systems are useful skills you can use in dogfights, while Boost Pack Training is for mobility when boarding enemy ships.
Industrialist: Best for Industrial Playstyle
| Starting Skills | Skill Rank Effects |
|---|---|
 Persuasion |
Rank 1: 10% increased chance of success when persuading someone. Rank 2: 20% increased chance of success when persuading someone. Rank 3: 30% increased chance of success when persuading someone. Rank 4: 50% increased chance of success when persuading someone. |
 Security |
Rank 1: You can attempt to hack Advanced locks, and 2 auto attempts can be banked. Rank 2: You can attempt to hack Expert locks, and 3 auto attempts can be banked. Rings now turn blue when the pick can slotted. Rank 3: You can attempt to hack Master-level locks, and 4 auto attempts can be banked. Rank 4: Expend a digipick to eliminate keys that aren't required to solve the puzzle. 5 auto attempts can be banked. |
 Research Methods |
Rank 1: Resources required to craft items and complete research projects is reduced by 10%. Rank 2: Resources required to craft items and complete research projects is reduced by 20%. Rank 3: Resources required to craft items and complete research projects is reduced by 40%. Rank 4: Sudden developments during research are twice as common. Resources required to craft items and complete research projects is reduced by 60%. |
With all the opportunities and resources coming from different planets, there is tons of credit to be made through industrialization. If you have a business-minded playstyle, then Industrialist is the right choice for you.
Persuasion, Security, and Research Methods are all important skills of the trade.
Beast Hunter: Best for Hunting Alien Creatures
| Starting Skills | Skill Rank Effects |
|---|---|
 Gastronomy |
Rank 1: You can craft specialty food and drinks, and research additional recipes at a Research Lab. Rank 2: You can research and craft gourmet food and drinks. Rank 3: You can research and craft food and drink delicacies. Rank 4: Crafting food and drinks occasionally doesn't use up resources. You can research and craft exotic recipes. |
 Ballistics |
Rank 1: Ballistic weapons do 10% more damage. Rank 2: Ballistic weapons do 20% more damage. Rank 3: Ballistic weapons do 30% more damage Rank 4: Ballistic weapons range is increased by 30% |
 Fitness |
Rank 1: You have 10% more oxygen available. Rank 2: You have 20% more oxygen available. Rank 3: You have 30% more oxygen available. Rank 4: Sprinting and power attacks now use significantly less oxygen. |
If you want a playstyle centered around hunting, gathering, and conquering the vast variety of alien ecosystems available in the game, then being a Beast Hunter is for you.
The synergy of Gastronomy, Ballistics, and Fitness makes sure that you survive any encounter or situation you might have in the wild!
Ronin: Best for Soloist Playstyle
| Starting Skills | Skill Rank Effects |
|---|---|
 Stealth |
Rank 1: Adds a Stealth Meter. You are 25% more difficult to detect when sneaking. Suppressed weapons do an additional 5% sneak attack damage. Rank 2: Upgrades the Stealth Meter. You are 50% more difficult to detect when sneaking. Suppressed weapons do an additional 10% sneak attack damage. Rank 3: You are 75% more difficult to detect when sneaking. Suppressed weapons do an additional 15% sneak attack damage. Rank 4: You are 100% more difficult to detect when sneaking. Suppressed weapons do an additional 20% sneak attack damage. Doors you interact with while in stealth no longer alert enemies. |
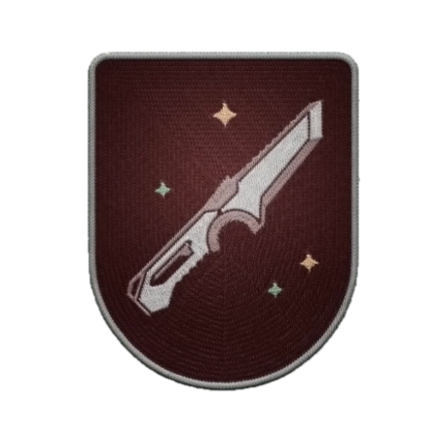 Dueling |
Rank 1: Melee weapons do 25% more damage. Take 10% less damage while wielding a melee weapon. Rank 2: Melee kills make you run 20% faster for 10 seconds. Rank 3: Melee weapons do 50% more damage. Take 15% less damage while wielding melee weapon. Rank 4: Melee kills heal you for 10% of your health. |
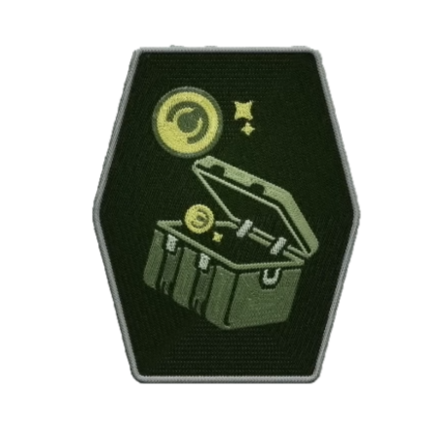 Scavenging |
Rank 1: There's a chance you'll find extra credits when searching containers. Rank 2: There's a chance you'll find extra ammo when searching containers. Rank 3: There's a chance you'll find extra aid items, like Med Packs or chems, when searching containers. Rank 4: Tracked resources will get highlighted when using the hand scanner. |
Ronin background specializes in stealthy melee combat which is perfect if you want to play as a solo space assassin. Stealth, Dueling, and Scavenging is a deadly combination of skills that will allow you to complete difficult missions without relying on others.
Explorer: Best Lore-Appropriate Background
| Starting Skills | Skill Rank Effects |
|---|---|
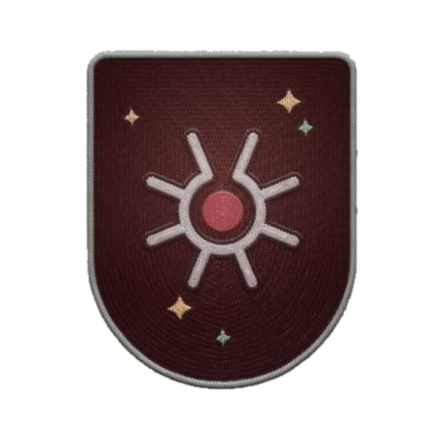 Lasers |
Rank 1: Laser weapons do 10% more damage. Rank 2: Laser weapons do 20% more damage. Rank 3: Laser weapons do 30% more damage. Rank 4: Laser weapons have a 5% chance to set a target on fire. |
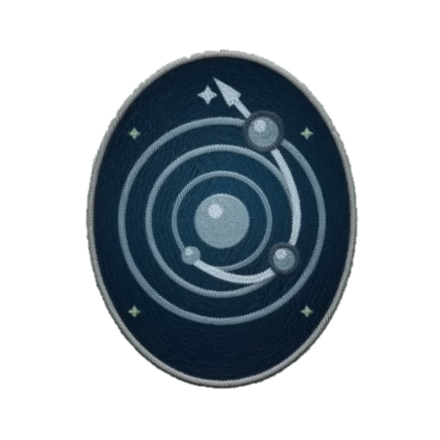 Astrodynamics |
Rank 1: Increase grav jump range of jump drives by 15%. Rank 2: Reduced fuel cost of jump drives by 15%. Rank 3: Increased grav jump range and reduced fuel cost of jump drives by 30%. Rank 4: Reduced fuel cost of jump drives by 50%. |
 Surveying |
Rank 1: Adds an optional zoom to the hand scanner, and scan distance is increased to 20 meters. Rank 2: Adds another level of zoom to the hand scanner, and scan distance is increased to 30 meters. Rank 3: Adds another level of zoom to the hand scanner, and scan distance is increased to 40 meters. Rank 4: Adds another level of zoom to the hand scanner, and scan distance is increased to 50 meters. |
The Explorer is likely the most fitting background for someone who will become part of Constellation, a faction full of explorers themselves, and for those invested in Starfield's lore.
With your Astrodynamics and Surveying skills, you will go further in the Settled Systems and learn more about their flora and fauna, all while defending yourself with futuristic Laser weapons.
Best Backgrounds Starting Stats
Health

Your Health is a very important stat to look out for since this determines your survivability while exploring, especially in adverse conditions and combat.
Stat Guide - All Stats Explained
Boost

The Boost stat is only available when you have a Boost Pack (jetpack) equipped. This depletes whenever you use your pack but regenerates over time.
What Are Backgrounds?
Determine Your 3 Starting Skills
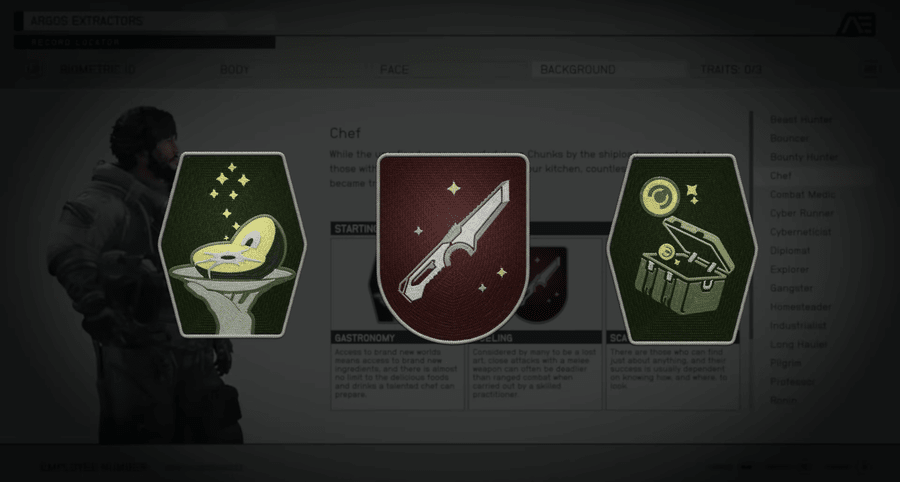
Your choice of Background during character creation determines the 3 Skills your character starts the playthrough with. The choice is important if you already have a build or playstyle in mind and want to get a headstart in the skills that'll set your character up for it.
Cannot Be Changed
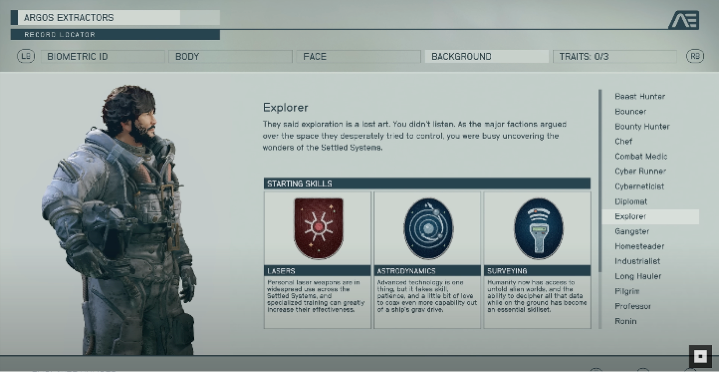
You won't be able to change your Background after completing the character creation process. If you want to change your Background due to the starting Skills, you can definitely just spend the Skill Points you earn via leveling up on the skills necessary for your desired build.
There is no level cap in Starfield, so you will be able to acquire all skills and max them out.
Which Background Will You Choose?
Let us know which background you will choose to start your very first Starfield playthrough!
Starfield Related Guides

Backgrounds Guides
| All Backgrounds Guides | |
|---|---|
| Best Backgrounds Tier List | - |
Comment
Author
Best Backgrounds Tier List
Rankings
- We could not find the message board you were looking for.
Gaming News
Popular Games

Genshin Impact Walkthrough & Guides Wiki

Honkai: Star Rail Walkthrough & Guides Wiki

Umamusume: Pretty Derby Walkthrough & Guides Wiki

Pokemon Pokopia Walkthrough & Guides Wiki

Resident Evil Requiem (RE9) Walkthrough & Guides Wiki

Monster Hunter Wilds Walkthrough & Guides Wiki

Wuthering Waves Walkthrough & Guides Wiki

Arknights: Endfield Walkthrough & Guides Wiki

Pokemon FireRed and LeafGreen (FRLG) Walkthrough & Guides Wiki

Pokemon TCG Pocket (PTCGP) Strategies & Guides Wiki
Recommended Games

Diablo 4: Vessel of Hatred Walkthrough & Guides Wiki

Cyberpunk 2077: Ultimate Edition Walkthrough & Guides Wiki

Fire Emblem Heroes (FEH) Walkthrough & Guides Wiki

Yu-Gi-Oh! Master Duel Walkthrough & Guides Wiki

Super Smash Bros. Ultimate Walkthrough & Guides Wiki

Pokemon Brilliant Diamond and Shining Pearl (BDSP) Walkthrough & Guides Wiki

Elden Ring Shadow of the Erdtree Walkthrough & Guides Wiki

Monster Hunter World Walkthrough & Guides Wiki

The Legend of Zelda: Tears of the Kingdom Walkthrough & Guides Wiki

Persona 3 Reload Walkthrough & Guides Wiki
All rights reserved
© 2023 Bethesda Softworks LLC, a ZeniMax Media company. Trademarks belong to their respective owners. All Rights Reserved.
The copyrights of videos of games used in our content and other intellectual property rights belong to the provider of the game.
The contents we provide on this site were created personally by members of the Game8 editorial department.
We refuse the right to reuse or repost content taken without our permission such as data or images to other sites.





![Monster Hunter Stories 3 Review [First Impressions] | Simply Rejuvenating](https://img.game8.co/4438641/2a31b7702bd70e78ec8efd24661dacda.jpeg/thumb)


