High Price to Pay Walkthrough and Choices
High Price to Pay is a main quest in Starfield where you have to choose to defend the Lodge or go to the Eye. See how to unlock High Price to Pay, rewards, all endings, and how to complete it.
| ◄ Previous Quest | Next Quest ▶ |
|---|---|
| No Sudden Moves | Unity |
List of Contents
High Price to Pay Rewards and Unlock Condition
How to Unlock and Rewards
| Starting Location | The Lodge, Jemison |
|---|---|
| Recommended Level | 10 |
| Prerequisites | None |
| Previous Quest | No Sudden Moves |
| Next Quest | Unity |
| Rewards |
・EXP: 800
・Credits: 11000 |
High Price to Pay Walkthrough and Objectives
| High Price to Pay Walkthrough | |
|---|---|
| Defend the Lodge | Go to the Eye |
Main Objectives (Defend the Lodge)
| Main Objectives (Defend the Lodge) ▼ | |
|---|---|
| 1 | Talk to Noel |
| 2 | Defend the Lodge |
| 3 | Check on Walter |
| 4 | Hold Off the Hunter |
| 5 | Escape the Lodge |
| 6 | Go to Your Ship |
| 7 | Go to the Eye |
| 8 | Find Everyone on the Eye |
| 9 | Return to Noel |
| 10 | Talk to Vladimir |
| 11 | Build the Armillary on Your Ship or Build the Armillary at an Outpost |
| 12 | Return to the Lodge |
| 13 | Talk to Matteo |
1-2. Defend the Lodge
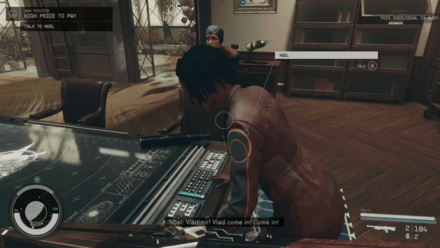
Speak to Noel to learn that the Eye has been attacked by the Hunter. Stay at the Lodge to defend the upcoming attack from the Starborn.
3-4. Hold Off the Hunter
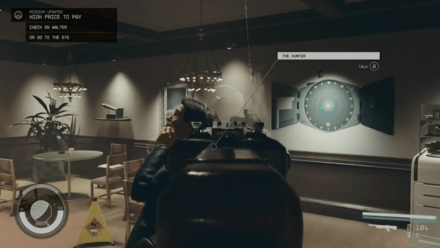
The Hunter will appear out of nowhere and grab Walter who is up on the second floor. Head up there and fight off the Hunter. Use your most powerful weapons to damage him and fend off his attacks.
Be cautious when engaging in combat with him as he can create clones of himself!
Combat Tips and Mistakes to Avoid
5. Escape the Lodge
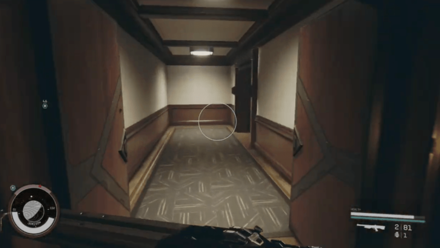
After holding him off for a few minutes, quickly dash for the secret tunnel located in the basement and leave the Lodge.
6. Go to Your Ship
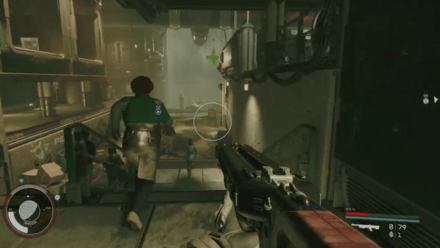
Follow the rest of the Constellation members in the escape tunnel. Head to the elevator at the end of the alleyway and go up the Spaceport that will lead you to your ship.
The Hunter will still relentlessly pursue you throughout this section so stay on your toes and keep your weapons ready.
7-8. Find Everyone on the Eye
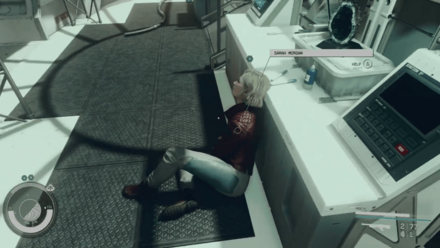
Make your way towards the Eye and board it. Once inside, follow the objective markers to check up on everyone. Unfortunately, one of your companions were killed at the hands of the Hunter.
9-10. Return to Noel
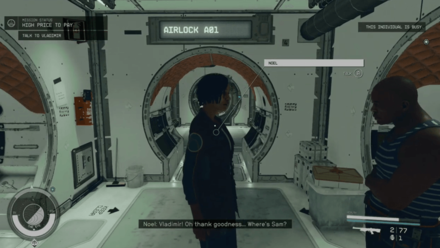
Report back to Noel and Vladimir near the airlock. After speaking to them, they will give you the Artifacts for safekeeping.
11. Build the Armillary on Your Ship or Build the Armillary at an Outpost
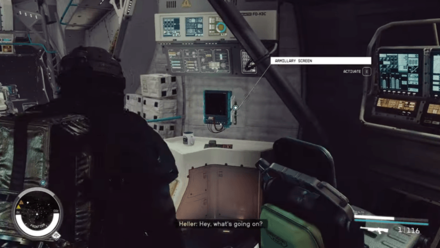
Go to the cockpit and access the Armillary Screen, then select ”Build Armillary”. You can either build the Armillary on your ship or at your Outpost.
12-13. Return to the Lodge
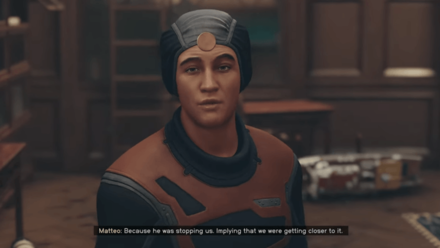
Travel back to Jemison and return to the Lodge. Speak to Matteo to end the quest and receive 11800 Credits and a Calibrated Constellation Pack.
NOTE: The items and belongings of the companion who died on the Eye can be found in the basement.
Main Objectives (Go to the Eye)
1-2. Go to the Eye
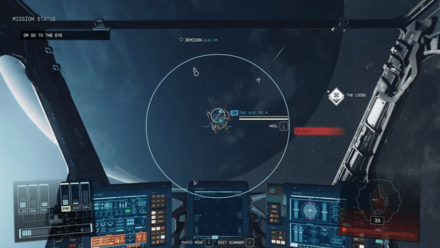
After speaking to Noel, leave the Lodge, head back to your ship, and go to The Eye. Dock at the station and board it.
3. Find Everyone on The Eye
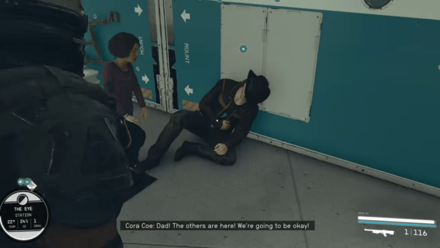
Once onboard, check up on everyone by going to the objective markers located in different sections of the station. If you're confused due to the several hallways aboard, use the Hand Scanner to track them down.
4-5. Find Everyone in the Lodge
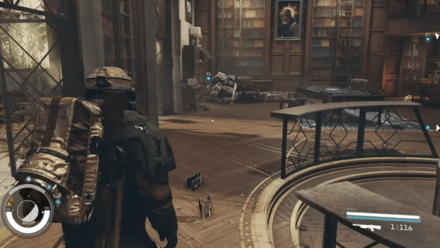
Return to the Lodge and check up on your injured fellow Constellation members. You'll soon find out that one of your companions were killed off by the Hunter.
6. Find Noel
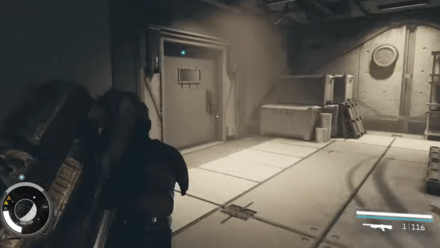
Go to the Lodge's basement and enter the secret tunnel ahead to look for Noel. Once you've found her, the Hunter will appear and interrupt your conversation.
7-9. Escape to Your Ship
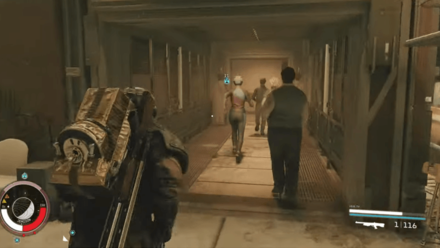
Go up the stairs and through the alleyway until you reach the elevator at the end. Take the lift up the Spaceport and head to your ship, then fly back towards the Eye.
The Hunter will pursue you during this but you can ignore him completely and just make a run for it.
10-11. Build the Armillary on Your Ship or Build the Armillary at an Outpost

Talk to Vladimir and explain the situation. Noel will then hand the artifacts to you for safekeeping. Go to the Armillary Screen in the cockpit and select Build Artifacts.
You can also choose to build it at your Outpost as an alternative!
12-13. Return to the Lodge

Travel back to the Lodge in Jemison. Speak to Matteo in the library to end the quest and receive your rewards.
High Price to Pay Choice Guide
One Companion Will Die Regardless of Choice
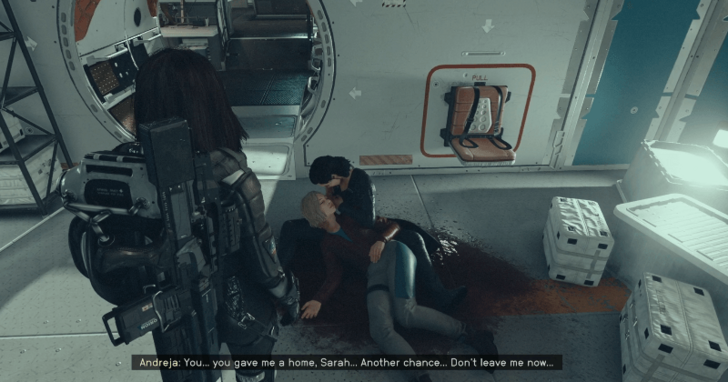
Regardless of your choice on whether to defend the Lodge or check up on everyone on The Eye, one of your companions will die.
The game automatically assigns the companion with the highest affinity to the Eye, and the one with the second-highest to the Lodge.
If you choose to defend the Lodge, the companion you are closest to who is at The Eye will die. Alternatively, if you choose to check up on The Eye, a companion who is left defending the Lodge will die. So either way, you will lose one companion.
This is an unavoidable event in the game as the High Price to Pay quest is a main storyline quest and you'll have no choice but to accept the fate of your fellow companions.
Should You Defend the Lodge or Go to the Eye?
Plan Ahead to Decide Who Survives
To influence who lives and who dies, you can manipulate your affinity levels before starting the mission. To save a specific companion, intentionally lower your affinity with them beforehand. Alternatively, focus on bonding with one preferred companion while limiting interactions with others until after “High Price to Pay” is completed.
High Price to Pay Previous and Next Quest
| ◄ Previous Quest | Next Quest ▶ |
|---|---|
| No Sudden Moves | Unity |
Starfield Related Guides

All Main Quest Walkthroughs
| # | Main Quest | Unlockables |
|---|---|---|
| 1 | One Small Step | ・The Lodge |
| 2 | The Old Neighborhood | ・Unlock Sarah Morgan as companion |
| 3 | The Empty Nest | ・Unlock Sam Coe as companion |
| 4 | Back to Vectera | ・Unlock Barrett as companion |
| 5 | Into the Unknown | ・Unlock Andreja as companion ・Anti-Gravity Field |
| 6 | All That Money Can Buy | None |
| 7 | Starborn | ・Artifact |
| 8 | Further Into the Unknown | None |
| 9 | Short Sighted | None |
| 10 | No Sudden Moves | None |
| 11 | High Price to Pay | ・Armillary |
| 12 | Unity | None |
| 13 | In Their Footsteps | None |
| 14 | Final Glimpses | ・Artifact |
| 15 | Entangled | None |
| 16 | Unearthed | None |
| 17 | Missed Beyond Measure | None |
| 18 | Revelation | ・Artifact |
| 19 | One Giant Leap | ・New Game Plus |
| 20 | Among the Stars | None |
| 21 | Foreknowledge | None |
Comment
Author
High Price to Pay Walkthrough and Choices
Rankings
- We could not find the message board you were looking for.
Gaming News
Popular Games

Genshin Impact Walkthrough & Guides Wiki

Honkai: Star Rail Walkthrough & Guides Wiki

Arknights: Endfield Walkthrough & Guides Wiki

Umamusume: Pretty Derby Walkthrough & Guides Wiki

Wuthering Waves Walkthrough & Guides Wiki

Pokemon TCG Pocket (PTCGP) Strategies & Guides Wiki

Abyss Walkthrough & Guides Wiki

Zenless Zone Zero Walkthrough & Guides Wiki

Digimon Story: Time Stranger Walkthrough & Guides Wiki

Clair Obscur: Expedition 33 Walkthrough & Guides Wiki
Recommended Games

Fire Emblem Heroes (FEH) Walkthrough & Guides Wiki

Pokemon Brilliant Diamond and Shining Pearl (BDSP) Walkthrough & Guides Wiki

Diablo 4: Vessel of Hatred Walkthrough & Guides Wiki

Super Smash Bros. Ultimate Walkthrough & Guides Wiki

Yu-Gi-Oh! Master Duel Walkthrough & Guides Wiki

Elden Ring Shadow of the Erdtree Walkthrough & Guides Wiki

Monster Hunter World Walkthrough & Guides Wiki

The Legend of Zelda: Tears of the Kingdom Walkthrough & Guides Wiki

Persona 3 Reload Walkthrough & Guides Wiki

Cyberpunk 2077: Ultimate Edition Walkthrough & Guides Wiki
All rights reserved
© 2023 Bethesda Softworks LLC, a ZeniMax Media company. Trademarks belong to their respective owners. All Rights Reserved.
The copyrights of videos of games used in our content and other intellectual property rights belong to the provider of the game.
The contents we provide on this site were created personally by members of the Game8 editorial department.
We refuse the right to reuse or repost content taken without our permission such as data or images to other sites.


