This survey will take about 1 minute.
Your answers will help us to improve our website.
Starfield Shattered Space
Echoes of the Past Rewards and How to Unlock

Echoes of the Past is a faction quest in Starfield. See how to unlock Echoes of the Past, rewards, how to locate the cache in Cell D-02-106, and how to complete it.
Echoes of the Past Bug Fixes
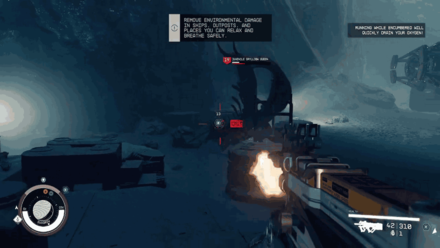
Weather Status Bug in Suvorov
A bug can be encountered during the events of Echoes of the Past when you land on Suvorov. Players will receive a Status Effect - Incoming Weather status that does not go away if they equip gear with little to no weather protection.
The bug seems to persist even after returning indoors and getting healed by a doctor.
Experience A Second Weather Status to Overwrite Bug
Currently, the fix that players found is to have another Weather Status afflict them, overwriting the initial status effect. Players should then wait on a bench or bed on that planet for the bug to go away.
The alternative is to cure yourself of all status effects using Console Commands. Keep in mind that doing so will disable achievements, so it is best to try the other method first.
Console Commands List and Best Cheats
Echoes of the Past Rewards and Unlock Condition
How to Unlock and Rewards
| Planet Started | Suvorov, Kryx |
|---|---|
| Location | The Key |
| Faction | Crimson Fleet |
| Prerequisites | Complete Rook Meets King |
| Quest Giver | Delgado |
| Rewards | ・EXP: 350 ・Credits: 20000 ・Keelhauler (x1) ・UC Prison Shuttle |
Echoes of the Past Walkthrough and Objectives
Main Objectives
1. Speak to Delgado
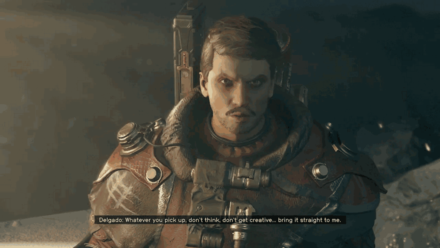
After finishing Rook Meets King, and becoming a member of the Crimson Fleet, talk to Delgado to begin your Initiation
.
2. Meet Delgado at the Entrance to The Lock
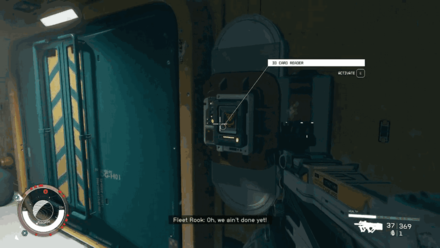
Head to the entrance of The Lock, and activate the ID Card Reader to enter. Prepare to fight some Alien Enemies along the way!
3. Wait for Delgado to Unseal The Lock
After clearing the enemies, simply wait for Delgado to unlock the doors.
4. Continue Exploring The Lock
Once inside the prison, follow Delgado.
Prepare Ballistic Weapons
Most of the enemies that you will encounter in this quest are Aliens. Stock up on Ballistic Weapons and Ammo to deal with these creatures effectively!
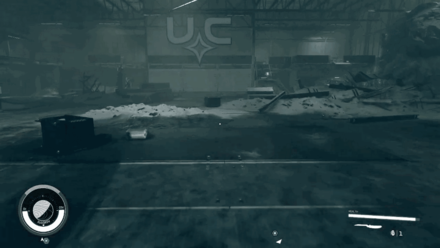
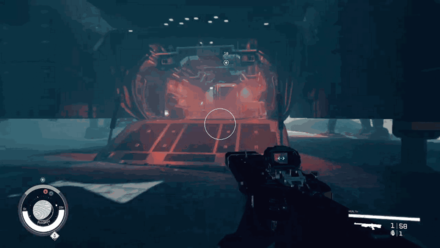
5. Secure the Area
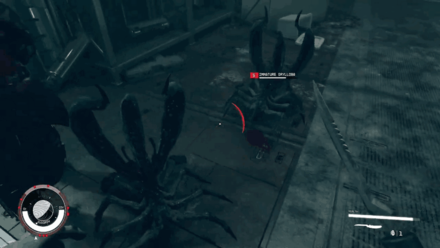
After reaching the area where prisoners get registered, multiple Alien Enemies will spawn. Kill all the aliens to proceed.
6. Speak to Delgado
After defeating the enemies, talk to Delgado to find out what to do next.
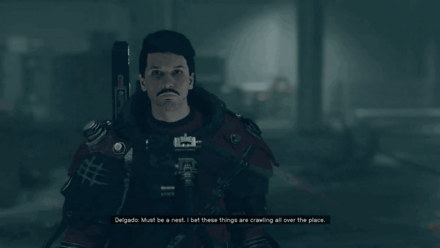
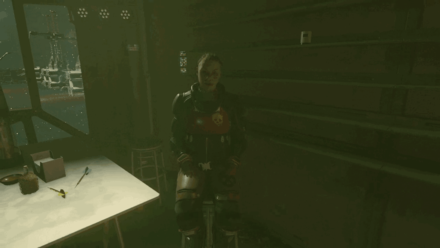
7. Speak to Mathis
With you and Mathis separated from the rest of the Crimson Fleet, Mathis will propose you both betray Delgado.
Dialogue choices during this interaction will not affect quest progress.
Should You Side with Mathis and Kill Delgado?
8. Proceed to the Control Room
Head to the control room by following the quest marker. You can also use your Hand Scanner to look for a path when you get lost!
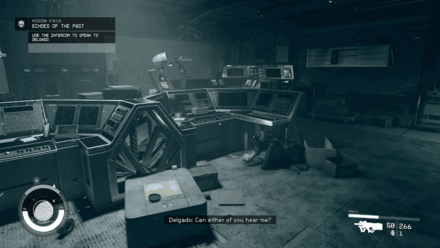
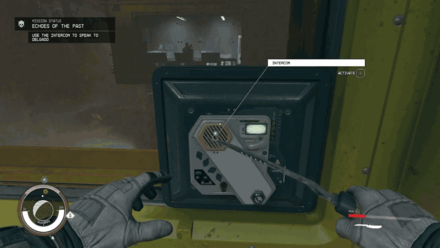
9. Use the Intercom to Speak to Delgado
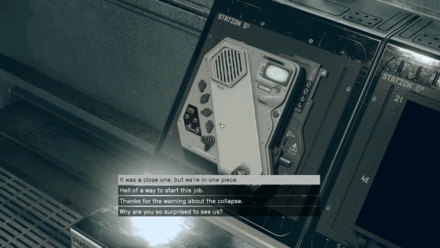
Activate the Intercom to speak with Delgado and learn how to proceed.
10. Open the Doors for Delgado
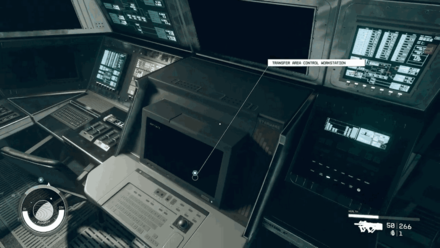
Use the Transfer Area Control Workstation to open the Doors for Delgado.
11. Proceed to D-Block
Follow Mathis and head to D-Block of the prison.
12. Enter D-Block's Guard Tower

Head to the tower and defeat the Aliens along the way. The Guard Tower is quite far from the D-Block, so use your hand scanner often to avoid getting lost!
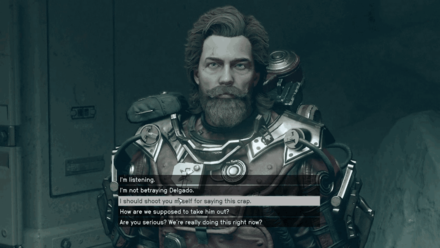
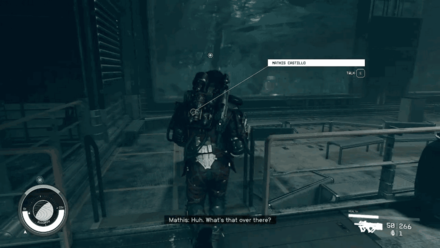
13. Speak to Mathis

Mathis will bring up his offer to betray Delgado again. Like the first time, your choice will not affect quest progress.
14. Locate Jasper Kryx's Cell
After your brief conversation with Mathis, use the D-Block Guard Post Workstation.
Interacting with the workstation also gives you the Optional Objective to Unlock Cell D-02-106
15. Open Cells in D-Block Section 3
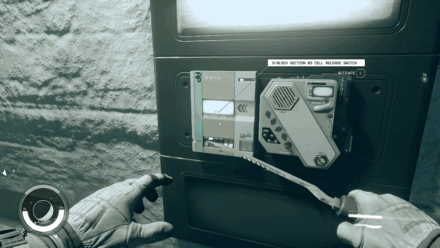
Head towards the D-Block Section 03 Cell Release Switch to unlock the cells.
16. Search Kryx's Cell for Information
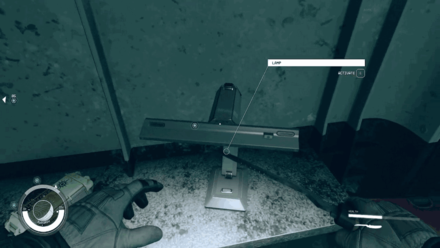
Once inside Kryx's Cell, Pry Open the base of the lamp to obtain the Audio Log clue.
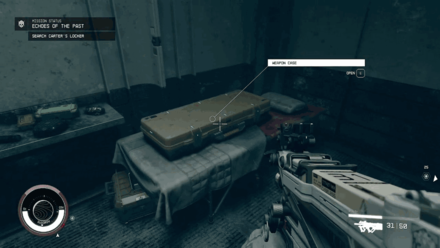
17. Search Carter's Locker
Search Carter's Locker to obtain the Audio Log Carter's Gig.
18. Access Kryx's Escape Tunnel

Once you have the audio logs, use the Maintenance Access Computer with the Terminal Code to access the tunnel.
19. Proceed to the Shuttle Bay
Head to the Shuttle Bay. You will encounter several Alien Enemies along the way, so keep a Ballistic Weapon equipped.
20. Use the Intercom to Speak to Delgado
Once you're out of the D-Block, use the nearby intercom to speak with Delgado.
21. Speak to Mathis
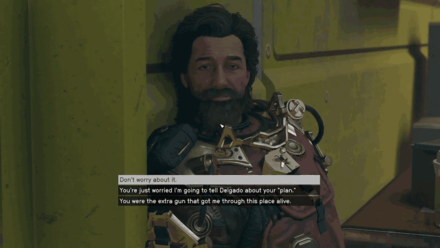
Speak with Mathis again. He will ask you to not tell Delgado about his plan to betray him, but like the two earlier dialogues, your choice will not affect quest progress.
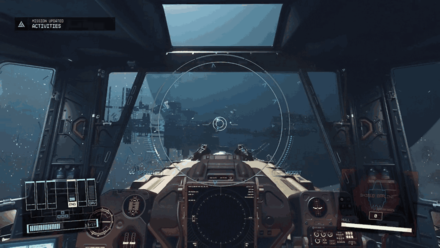
22. Enter the Shuttle Bay
When you reach the Shuttle Bay, defeat the Juvenile Grylloba Queen with the help of the Crimson Fleet.
23. Use the Shuttle to Exit The Lock
Board the UC Prison Shuttle, and pilot it to exit The Lock.
24. Travel to The Key
Reunited with Delgado aboard the Shuttle, make your way back to The Key.
25. Speak to Delgado
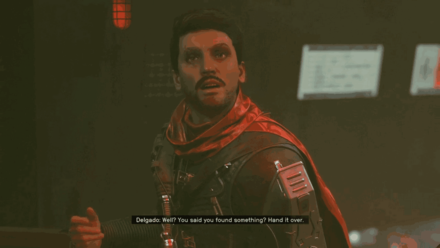
Speak to Delgado and give him the Audio Log recovered from Kryx's Cell. During this conversation, Delgado will also reward you with the Keelhauler, a Legendary Pistol with great stats!
26. Speak to Mathis
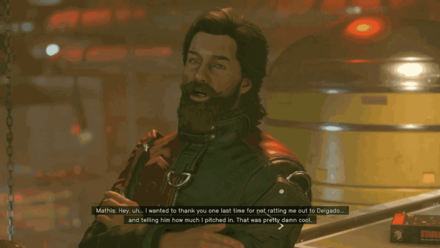
Speak with Mathis. He will thank you for not exposing his plan to kill Delgado.
27. Meet Naeva at her spot in the Last Nova
Speak with Naeva to learn more about the next mission, involving the Siren of the Stars
Breaking the Bank Rewards and How to Unlock
28. Report mission progress on the UC Vigilance
Return to the Vigilance and report back to Commander Kibwe Ikande.
How to Locate Echoes of the Past Cache
- Locate the cache in cell D-02-106
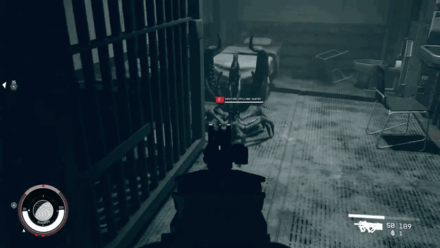
Unlock Cell D-02-106 for Extra Gear
Following the Optional Objective Locate the Cache in Cell D-02-106 will reward players with a Weapon Case and some ammo.
The D-Block Cell can be unlocked by following the quest marker, where it will lead you to the D-Block Section 02 Release Switch.
Since loot is randomized in Starfield, you may wind up finding something useful, or an ordinary weapon. Regardless, the items from this cell can be used or sold for extra credits.
Starfield Related Guides

All Joinable Factions
| Faction Questlines | |
|---|---|
| Ebbside Strikers | |
(DLC) |
|
All Religions
| List of All Religions | ||
|---|---|---|
| The Enlightened | House Va'ruun | Sanctum Universum |
Crimson Fleet Questline
| Quest | Rewards | |
|---|---|---|
| 1 | Deep Cover | ・EXP: 250 |
| 2 | Rook Meets King | ・EXP: 250 ・Pirate Swashbuckler Gear |
| 3 | Echoes of the Past | ・EXP: 350 ・Keelhauler ・UC Prison Shuttle |
| 4 | Breaking the Bank | ・EXP: 350 |
| 5 | The Best There Is | ・EXP: 250 ・UC Citizen ID ・The Well Apartment |
| 6 | Absolute Power | ・EXP: 350 |
| 7 | Eye of the Storm | ・EXP: 350 ・Revenant |
| 8 | Legacy’s End | ・EXP: 350 |
Crimson Fleet Optional Quests
| Quest | Rewards | |
|---|---|---|
| 1 | Burden of Proof | ・EXP: 50 |
| 2 | Doctor's Orders | ・EXP: 100 |
| 3 | Reclaiming the Past | ・EXP: 75 |
Comment
Author
Echoes of the Past Rewards and How to Unlock
Please participate in our site
improvement survey
03/2026
improvement survey
03/2026
Would you assist in
improving Game8's site?
improving Game8's site?

×
We are listening to our users' valuable opinions and discussing how to act on them.
The information collected through this survey will be used for the purpose of improving our services. In addition, the information will only be disclosed a part of a statistic in a format that will not allow identification of personal information.
Begin Survey
Not Now
×
Please rate each item regarding Game8.co's Advertisements.
Amount of Ads
Very Dissatisfied
Somewhat Dissatisfied
Fine
Somewhat Satisfied
Highly Satisfied
Placement of Ads
Timing of Ad Display
Ad Loading Speed
Safeness of Ads
Content of Ads
×
Please rate each item regarding Game8.co's Quality of Articles.
Amount of information
Very Dissatisfied
Somewhat Dissatisfied
Fine
Somewhat Satisfied
Highly Satisfied
Frequency of updates
Speed of new information
Accuracy of articles
Understandibility of articles
Readability of sentences
×
Please rate each item regarding Game8.co's Usability of the Site.
Ease of finding information
Very Dissatisfied
Somewhat Dissatisfied
Fine
Somewhat Satisfied
Highly Satisfied
Loading Speed
Use of Color
Font Size
Visibility of Images
Easy to Understand Layout
×
Please rate each item regarding Game8.co's Message Boards, Comments.
Ease of Writing
Very Dissatisfied
Somewhat Dissatisfied
Fine
Somewhat Satisfied
Highly Satisfied
Readability
Ease in Finding Information
Comment Quality
Comment Quantity
Admin Response
×
Please rate each item regarding Game8.co's Site's new design.
Please rate our site's new design
Very Dissatisfied
Somewhat Dissatisfied
Fine
Somewhat Satisfied
Highly Satisfied
Do you think that the website's design change makes the site easier to use?
Has the new design made it easier for you to find information on the site?
Has the new design improved the overall visual appeal of the site?
How would you rate your overall satisfaction with the new design of the site?
×
How likely are you to recommend Game8 to someone you know?
Very Unlikely
0
1
2
3
4
5
6
7
8
9
10
Very Likely
If you have other opinions regarding potential improvement to the website, please share them with us. We would appreciate your honest opinion.
Note: This is a free response section, so you can proceed without entering anything.
Note: Please be sure not to enter any kind of personal information into your response.
Note: Please be sure not to enter any kind of personal information into your response.
×
Thank You
×
Thank you for participating in our survey! Your answers will help us to improve the quality of our website and services.
We hope you continue to make use of Game8.
We hope you continue to make use of Game8.
Close
Rankings
- We could not find the message board you were looking for.
Gaming News


![Everwind Review [Early Access] | The Shaky First Step to A Very Long Journey](https://img.game8.co/4440226/ab079b1153298a042633dd1ef51e878e.png/thumb)

![Monster Hunter Stories 3 Review [First Impressions] | Simply Rejuvenating](https://img.game8.co/4438641/2a31b7702bd70e78ec8efd24661dacda.jpeg/thumb)
Popular Games

Genshin Impact Walkthrough & Guides Wiki
Honkai: Star Rail Walkthrough & Guides Wiki
Umamusume: Pretty Derby Walkthrough & Guides Wiki
Pokemon Pokopia Walkthrough & Guides Wiki
Resident Evil Requiem (RE9) Walkthrough & Guides Wiki
Monster Hunter Wilds Walkthrough & Guides Wiki
Wuthering Waves Walkthrough & Guides Wiki
Arknights: Endfield Walkthrough & Guides Wiki
Pokemon FireRed and LeafGreen (FRLG) Walkthrough & Guides Wiki
Pokemon TCG Pocket (PTCGP) Strategies & Guides Wiki


Recommended Games
Diablo 4: Vessel of Hatred Walkthrough & Guides Wiki
Fire Emblem Heroes (FEH) Walkthrough & Guides Wiki
Yu-Gi-Oh! Master Duel Walkthrough & Guides Wiki
Super Smash Bros. Ultimate Walkthrough & Guides Wiki
Pokemon Brilliant Diamond and Shining Pearl (BDSP) Walkthrough & Guides Wiki
Elden Ring Shadow of the Erdtree Walkthrough & Guides Wiki
Monster Hunter World Walkthrough & Guides Wiki
The Legend of Zelda: Tears of the Kingdom Walkthrough & Guides Wiki
Persona 3 Reload Walkthrough & Guides Wiki
Cyberpunk 2077: Ultimate Edition Walkthrough & Guides Wiki


All rights reserved
© 2023 Bethesda Softworks LLC, a ZeniMax Media company. Trademarks belong to their respective owners. All Rights Reserved.
The copyrights of videos of games used in our content and other intellectual property rights belong to the provider of the game.
The contents we provide on this site were created personally by members of the Game8 editorial department.
We refuse the right to reuse or repost content taken without our permission such as data or images to other sites.