
 Great Izuchi
 Arzuros
 Great Baggi
 Lagombi
 Aknosom
 Tetranadon
 Kulu-Ya-Ku
 Barroth
 Great Wroggi
 Royal Ludroth
 Khezu
Khezu Somnacanth
 Barioth
 Rathian
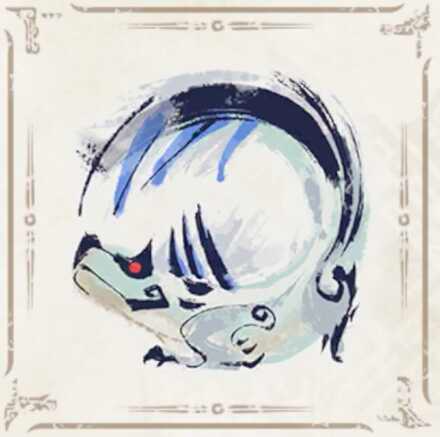 Tobi-Kadachi
 Volvidon
 Basarios
 Pukei-Pukei
 Magnamalo
 Nargacuga
 Zinogre
 Anjanath
 Mizutsune
 Rathalos
 Almudron
 Goss Harag
 Tigrex
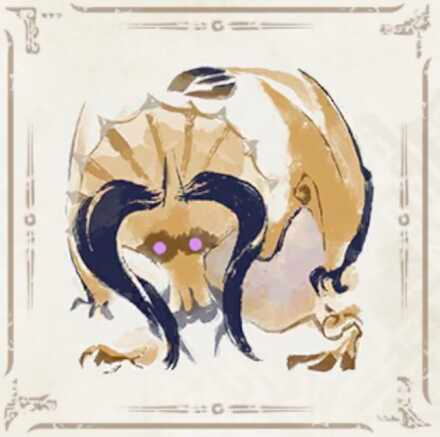 Diablos
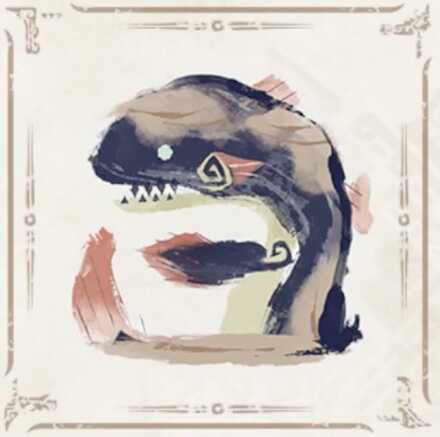 Jyuratodus
 Rajang
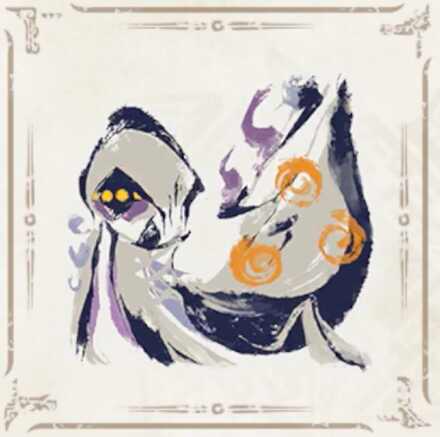 Rakna-Kadaki
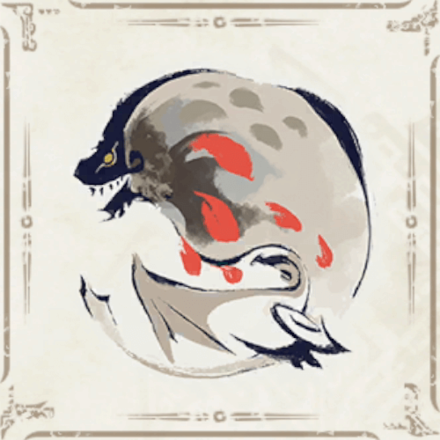 Bazelgeuse
 Altaroth
 Anteka
 Baggi
Baggi Bnahabra
 Bombadgy
 Bullfango
 Delex
Delex Felyne
 Gajau
Gajau Gargwa
 Izuchi
 Jaggi
Jaggi Jaggia
 Jagras
 Kelbi
Kelbi Kestodon
 Ludroth
 Melynx
 Popo
Popo Rachnoid
 Remobra
 Rhenoplos
 Slagtoth
 Uroktor
 Wroggi
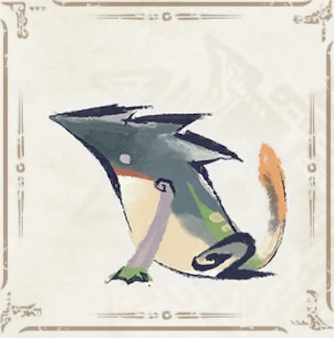 Zamite
This survey will take about 1 minute.
Your answers will help us to improve our website.
Monster Hunter Rise: Sunbreak
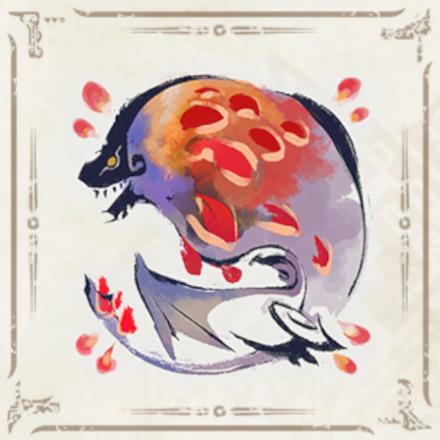
Sunbreak Blood Orange Bishaten: Weakness and Drops
★ All Title Updates now available for ALL PLATFORMS!
┗ Title Update 4 | Title Update 5 | Bonus Update
┗ Check out all our Best Builds For Every Weapon!
┗ TU4 Monsters: Velkhana | Risen C.G. Valstrax
┗ TU5 Monsters: Amatsu | Risen Shagaru Magala
┗ Bonus Update Monster: Primordial Malzeno

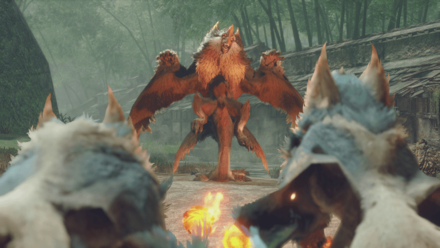
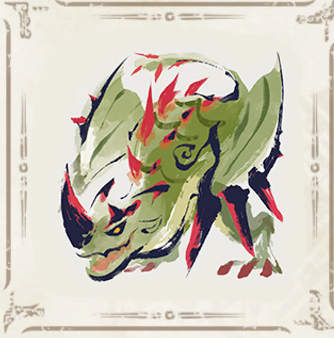
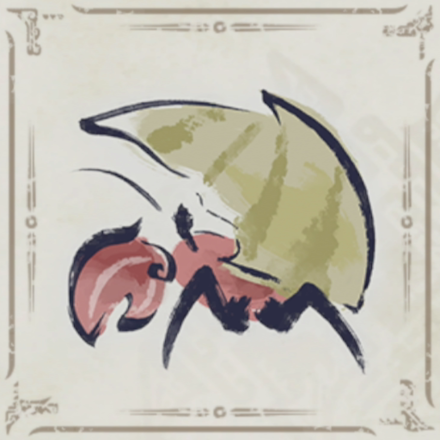
This is a hunting guide for Blood Orange Bishaten, a Large Monster in Monster Hunter Rise (MH Rise) and the Sunbreak DLC. Read on to learn Blood Orange Bishaten's weaknesses, forgeable weapons, forgeable armor, drops, and attack patterns for Master Rank!
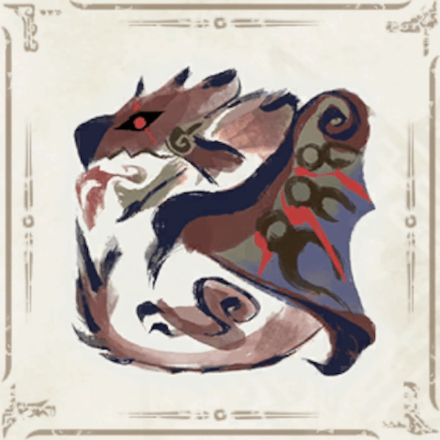
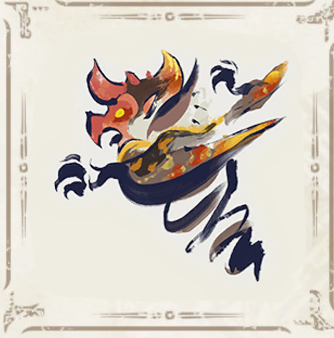 Blood Orange Bishaten Guide Blood Orange Bishaten Guide
|
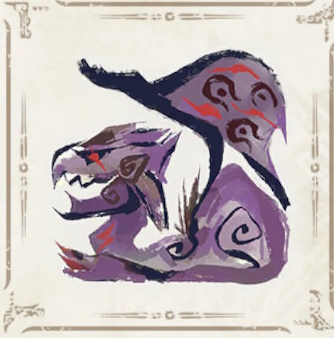
 Bishaten Guide Bishaten Guide
|
 Blood Orange Bishaten Weapons Blood Orange Bishaten Weapons
|
 Blood Orange Bishaten Armor Blood Orange Bishaten Armor
|
List of Contents
Blood Orange Bishaten Weakness and Notes
| Blood Orange Bishaten ビシュテンゴ亜種 |
|||
|---|---|---|---|
 |
|||
| Type | Fanged Beast | ||
| Threat Level | 6/10 | Rampage Type | ー |
| Major Weakness | Other Weakness | ||
| Blight / Elemental Damage | Abnormal Status | ー | |
| Characteristics | |||
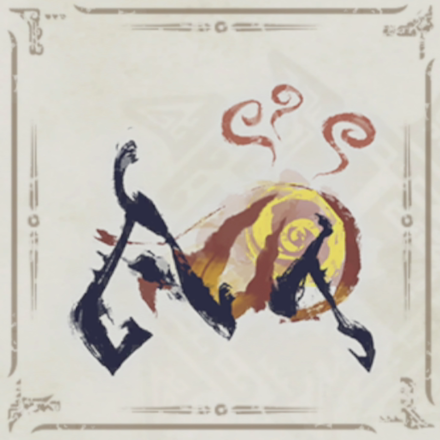
| A subspecies named for their auburn fur. Inquisitive by nature, Blood Orange Bishaten can even appear near human habitats. Their belly pouch is stuffed with combustible pinecones, and this subspecies has a distinct and focused fire breath. The breath itself isn't as dangerous as the pinecones it ignites. Reports indicate that it's possible to topple these monsters while they balance on their tails. | |||
How to Unlock Blood Orange Bishaten
Clear 2 M★1 Key Quests After Tetranadon Blockade
| Quest Name | Monster/Unlock |
|---|---|
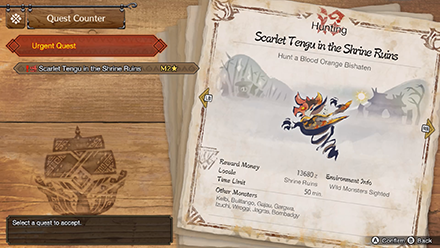
| Scarlet Tengu in the Shrine Ruins |
|
| Unlock Conditions: Complete two M★1 Key Quests after finishing the Quest "Tetranadon Blockade" |
Blood Orange Bishaten is the target of the Urgent Quest that unlocks MR 2. You can get the quest by finishing two M★1 Key Quests after completing Tetranadon Blockade.
MR Grinding Guide:
How to Get from MR 6 to MR 100 Fast
Blood Orange Bishaten Weakness and Resistance
Blood Orange Bishaten Weapon Damage Breakdown
| Part | |||
|---|---|---|---|
| Head | 70 | 70 | 60 |
| Torso | 25 | 25 | 30 |
| Foreleg | 25 | 25 | 30 |
| Wing | 40 | 30 | 25 |
| Hind Leg | 25 | 30 | 25 |
| Tail | 60 | 40 | 40 |
| Overall | 41 | 37 | 35 |
Blood Orange Bishaten Elemental Weakness Breakdown
| Part | |||||
|---|---|---|---|---|---|
| Head | 0 | 25 | 20 | 10 | 0 |
| Torso | 0 | 15 | 10 | 5 | 0 |
| Foreleg | 0 | 10 | 5 | 0 | 0 |
| Wing | 0 | 10 | 5 | 5 | 0 |
| Hind Leg | 0 | 10 | 5 | 5 | 0 |
| Tail | 0 | 20 | 10 | 5 | 0 |
| Overall | 0 | 15 | 10 | 5 | 0 |
Higher numbers indicate higher potential damage to the monster.
Blood Orange Bishaten Hunting Tips
Ignites pinecones in a variety of ways, then attacks using a variety of arcs. The cones will explode when touched, or after a certain amount of time. When enraged these Bishaten subspecies have a fiery breath attack. Positioning is key as any cones in this breath attack's path will be ignited.
Status Effect Vulnerabilities
| Poison | Stun | Paralysis | Sleep |
|---|---|---|---|
| ★ | ★ | ★ | ★ |
| Blast | Exhaust | Fireblight | Waterblight |
| ★★ | ★ | ★ | ★★ |
| Thunderblight | Iceblight | ||
| ★ | ★ | ||
If an ailment has more stars it means that it has better effectiveness.
Item Vulnerabilities
| Pitfall Trap | Shock Trap | Flash Bomb |
|---|---|---|
| ◯ | ◯ | ◯ |
| Sonic Bomb | Meat Effects | Dung Bomb |
| ✕ | ✕ | ◯ |
◯ = Vulnerable; ✕ = Fully Resistant; ▲ = Situational
Kinsect Extracts
| Monster Part | Extract |
|---|---|
| Head |
|
| Torso |
|
| Foreleg |
|
| Wing |
|
| Hind Leg |
|
| Tail |
|
| Overall | — |
Red = Attack Increase, White = Movement Boost, Orange = Anti-knockback When Attacking
Blood Orange Bishaten Locations and Quests
Blood Orange Bishaten Known Habitat
| Map | Starting Area | Visited Areas | Rest Area |
|---|---|---|---|
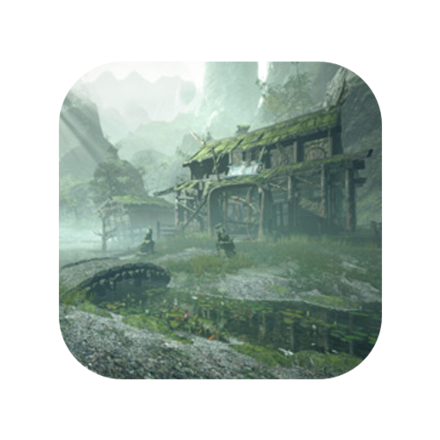 Shrine Ruins Shrine Ruins
|
3 / 8 / 11 | 1 / 3 / 4 / 7 / 8 / 9 / 11 | 3 |
 Sandy Plains Sandy Plains
|
2 / 4 / 10 | 1 / 2 / 3 / 4 / 6 / 8 / 9 / 10 | 2 |
 Citadel Citadel
|
3 / 5 / 10 | 1 / 2 / 3 / 4 / 5 / 10 / 12 / 13 | 12 |
Blood Orange Bishaten Quest Appearances
Master Rank
High Rank
Low Rank
| Quest Type | Lvl | Quest Name |
|---|---|---|
| Anomaly Quest | A★3 | Anomaly Research: Blood Orange Bishaten |
| Arena Quest | M★2 | MR Arena 02 |
| Event Quest | M★2 | A Grand Gesture |
| Hub Quest | M★2 | The Assault of the Scarlet Tengu |
| Hub Quest | M★2 | Skulking Among the Sand |
| Hub Quest | M★2 | Pinecone Pelting Panic |
| Support Survey | M★2 | Operation Blood Orange Bishaten |
| Urgent Hub Quest | M★2 | Scarlet Tengu in the Shrine Ruins |
| Follower Quest | M★3 | Hunting is All the Rage |
| Hub Quest | M★3 | The Hot and Cold Treatment |
| Support Survey | M★3 | Operation Citadel Situation |
| Event Quest | M★4 | Hell's Jingle Bells |
| Hub Quest | M★6 | Four Beast Quartet |
| Hub Quest | M★6 | Dance of The Fierce Flame |
| No Quest in This Rank |
| No Quest in This Rank |
How to Beat Blood Orange Bishaten
Go Aggressive After the Parallel Pinecone Explosions
Blood Orange Bishaten starts this attack by striking two pinecones together then shooting it in a straight line. This usually creates an opening afterwards for attacks!
Attack the Head After the Fire Breath
Like most straight line fire breath attacks, Blood Orange Bishaten is exposed from the side whenever it does this move. Make use of this opening and let out all your atttacks.
Don't Wirefall After the Tail Slams
Blood Orange Bishaten Tail Slams usually happen in series - up to three (3) times in succession. Whenever it does this, do not Wirefall away as it can catch you off guard. Use the invulnerability window for when the Hunter is laying down on the ground.
Roll to Get Rid of Fireblight

Blood Orange Bishaten deals Fireblight which causes damage over time. Roll thrice (3) or roll once (1) over water to get rid of this pesky blight.
Blood Orange Bishaten Attacks and Moves
| Name | Description |
|---|---|
| Bishaten Roll | The signature Bishaten move where it rolls forward at a fast pace. |
| Claw Swipes Slam | A melee combo for when the Hunter is near Bishaten. Can catch sleeping Hunters off guard with the final tail slam. |
| Fiery Breath | A quick fire breath attack to show its mastery of fire. |
| Sliding Skykick | A quick melee attack that sends Hunters flying. |
| Tail Slams | Blood Orange Bishaten uses its strong tail to deal massive damage. |
| Explosive Arm Slams | Deals explosion damage by igniting and slamming flaming pinecones on its hands. |
| Firecone Attacks | Uses its mastery of fire to ignite pinecones and throw them in various patterns. |
The Bishaten Roll
| The Bishaten Roll Attack Information |
|---|
 The Bishaten Roll: Blood Orange Bishaten stands on its tail and somersaults repeatedly while moving forward. It does this move once when not enraged but can do it twice in a row when enraged. Avoid this move by evading sideways and you'll get an attack opening afterwards! |
Claw Swipes Slam
| Claw Swipes Slam Attack Information |
|---|
 Claw Swipes Slam: Blood Orange Bishaten swipes the Hunter infront of it twice then finishes with a tail slam. Hunters usually get caught in this attack because they forget about the tail slam so be careful! Fully avoid this move by moving around BOB and you'll get a window of attack! |
Fiery Breath
| Fiery Breath Attack Information |
|---|
 Fiery Breath Attack: A very simply straight-line fire breath attack. Avoid this move by evading sideways then you can freely attack Blood Orange Bishaten's head from the side. |
Sliding Skykick
| Sliding Skykick Attack Information |
|---|
 Sliding Skykick: One of the rare moves that doesn't use pinecones, Blood Orange Bishaten will slide forward then kicks you upward for huge damage. Avoid this move by rolling or evading sideways! |
Tail Slam Attacks
Blood Orange Bishaten loves attacking with its really strong tail. With its mastery of fire, it even incorporates it to deal explosive damage!
| Tail Slam Attack Variations |
|---|
| Successive Tail Slams: Blood Orange Bishaten front flips and uses its tail to slam on enemies in front of it. It usually does this move consecutive times. Try to avoid this by rolling sideways but if you're caught, do not wirefall away as you can get caught by the succeeding tail slams. |
 Explosive Tail Slam: Blood Orange Bishaten slams its tail filled with pinecones, causing an explosion upon landing. You can either use your wirebugs to evade or just roll sideways. If successful, BOB will not move for a while giving you a big opening for attacks. |
Explosive Arm Slams
Blood Orange Bishaten ignites two Pinecones on its hands then slams it on the ground, creating explosions in the process. Know how each explosion look like to better avoid the moves!
| Explosive Arm Slams Attack Variations |
|---|
 Parallel Line Explosion: Blood Orange Bishaten ignites two pinecones then slam it on the ground, creating an two lines of explosion that travels in a straight line parallel to each other. Avoid this move by evading sideways! |
 Concentrated Double Explosion: Blood Orange Bishaten usually does this move after another move to surprise the Hunter. This only usually happens when it is enraged though so keep an eye out when its mout this foaming! Take care of this move by rolling backwards or counterattacking using Switch Skills! |
Firecone Attacks
Blood Orange Bishaten replaces the usualy fruits with fiery pinecones that it uses to deal explosive damage against enemies. Know how each pinecone moves and you'll be able to avoid them every time!
| Pinecone Throw Attack Variations |
|---|
 Circular Pinecone Slide: Blood Orange Bishaten throws two Pinecones that forms a half-circle each, eventually hitting each other to create an explosion. Roll forward whenever you see this move to avoid the point where the pinecones meet! |
 Pinecone Swirl: Blood Orange Bishaten surrounds itself with two pinecones which circles around it until it explodes. Roll or move towards Blood Orange Bishaten using the gap between the two pinecones to make use of the opening. |
 Pinecone Fling: Blood Orange Bishaten flings three pinecones in front of it. These three bounce forward until they explode. The pinecones increases the gap between each other as they move forward. Move backwards when you see this move then use the gap between them to effectively avoid this attack.. |
 Pinecone Barrage: Blood Orange Bishaten throws numerous pinecones which bounce all around a wide area and can reach all hunters at the field. This is a fairly hard attack to avoid as the pinecone movements are hard to predict. So, try to execute an emergency evade when you see this. Countering is not encouraged because the move hits multiple times. |
 Pinecone Mines: Blood Orange Bishaten throws multiple pinecones that will burrow on the ground then explode after a while. BOB will then execute a spinning dash attack to confuse the Hunter into evading towards the mines. Avoid this attack by watching BOB and the mines then evading away from the mines as Bishaten spins toward you. |
Blood Orange Bishaten Materials and Drops
Master Rank Blood Orange Bishaten Materials
Target
Capture
Broken Parts
Carves
Blood Orange Bishaten Dropped Materials
Master Rank
|
|
Monster Hunter Rise Related Links
All Blood Orange Bishaten Guides
| All Blood Orange Bishaten Related Articles | ||
|---|---|---|
|
Blood Orange Bishaten Guide
|
Blood Orange Bishaten Weapons
|
Blood Orange Bishaten Armor
|
Sunbreak Monsters
| Sunbreak Monster Lists | ||
|---|---|---|
| Sunbreak Monsters List | Monster Subspecies List | Sunbreak Small Monsters List |
Large Monsters
| Sunbreak Large Monsters | |||||
|---|---|---|---|---|---|
 Daimyo Hermitaur Daimyo Hermitaur |
Blood Orange Bishaten |
 Garangolm Garangolm |
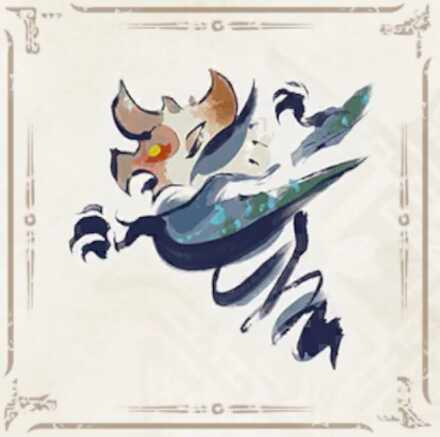
 Aurora Somnacanth Aurora Somnacanth |
||
 Shogun Ceanataur Shogun Ceanataur |
 Lunagaron Lunagaron |
 Astalos Astalos |
 Seregios Seregios |
||
 Magma Almudron Magma Almudron |
 Gore Magala Gore Magala |
 Espinas Espinas |
 Pyre Rakna-Kadaki Pyre Rakna-Kadaki |
||
 Malzeno Malzeno |
 Shagaru Magala Shagaru Magala |
||||
MR6+ Large Monsters
| MR6+ Monsters | |||||
|---|---|---|---|---|---|
 Gaismagorm Gaismagorm(MR6) |
 Furious Rajang Furious Rajang(MR50) |
 Scorned Magnamalo Scorned Magnamalo(MR100) |
|||
Title Update 1 Monsters
| Sunbreak Title Update 1 Monsters | |||
|---|---|---|---|
 Seething Bazelgeuse Seething Bazelgeuse |
 Silver Rathalos Silver Rathalos |
 Gold Rathian Gold Rathian |
 Lucent Nargacuga Lucent Nargacuga |
Title Update 2 Monsters
| Sunbreak Title Update 2 Monsters | ||
|---|---|---|
 Flaming Espinas Flaming Espinas |
 Risen Chameleos Risen Chameleos |
 Violet Mizutsune Violet Mizutsune |
Title Update 3 Monsters
| Sunbreak Title Update 3 Monsters | ||
|---|---|---|
 Chaotic Gore Magala Chaotic Gore Magala |
 Risen Kushala Daora Risen Kushala Daora |
 Risen Teostra Risen Teostra |
Title Update 4 Monsters
| Sunbreak Title Update 4 Monsters | |
|---|---|
 Velkhana Velkhana |
 Risen Crimson Glow Valstrax Risen Crimson Glow Valstrax |
Title Update 5 Monsters
| Sunbreak Title Update 5 Monsters | |
|---|---|
 Amatsu Amatsu |
 Risen Shagaru Magala Risen Shagaru Magala |
Small Monsters
| Sunbreak Small Monsters | |||||
|---|---|---|---|---|---|
 Boggi Boggi |
 Ceanataur Ceanataur |
 Gowngoat Gowngoat |
|||
 Hermitaur Hermitaur |
 Hornetaur Hornetaur |
 Pyrantula Pyrantula |
 Vespoid Vespoid |
 Velociprey Velociprey |
|
Other Large Monsters
Elder Dragons
| Elder Dragons | |||||
|---|---|---|---|---|---|
 Narwa the Allmother Narwa the Allmother |
|||||
 Wind Serpent Ibushi Wind Serpent Ibushi |
 Thunder Serpent Narwa Thunder Serpent Narwa |
 Crimson Glow Valstrax Crimson Glow Valstrax |
|||
 Chameleos Chameleos |
 Kushala Daora Kushala Daora |
 Teostra Teostra |
|||
Apex Monsters
| Apex Monsters | ||
|---|---|---|
 Apex Arzuros Apex Arzuros |
 Apex Rathian Apex Rathian |
 Apex Mizutsune Apex Mizutsune |
 Apex Rathalos Apex Rathalos |
 Apex Diablos Apex Diablos |
 Apex Zinogre Apex Zinogre |
Other Small Monsters
Author

Sunbreak Blood Orange Bishaten: Weakness and Drops
Please participate in our site
improvement survey
03/2026
improvement survey
03/2026
Would you assist in
improving Game8's site?
improving Game8's site?

×
We are listening to our users' valuable opinions and discussing how to act on them.
The information collected through this survey will be used for the purpose of improving our services. In addition, the information will only be disclosed a part of a statistic in a format that will not allow identification of personal information.
Begin Survey
Not Now
×
Please rate each item regarding Game8.co's Advertisements.
Amount of Ads
Very Dissatisfied
Somewhat Dissatisfied
Fine
Somewhat Satisfied
Highly Satisfied
Placement of Ads
Timing of Ad Display
Ad Loading Speed
Safeness of Ads
Content of Ads
×
Please rate each item regarding Game8.co's Quality of Articles.
Amount of information
Very Dissatisfied
Somewhat Dissatisfied
Fine
Somewhat Satisfied
Highly Satisfied
Frequency of updates
Speed of new information
Accuracy of articles
Understandibility of articles
Readability of sentences
×
Please rate each item regarding Game8.co's Usability of the Site.
Ease of finding information
Very Dissatisfied
Somewhat Dissatisfied
Fine
Somewhat Satisfied
Highly Satisfied
Loading Speed
Use of Color
Font Size
Visibility of Images
Easy to Understand Layout
×
Please rate each item regarding Game8.co's Message Boards, Comments.
Ease of Writing
Very Dissatisfied
Somewhat Dissatisfied
Fine
Somewhat Satisfied
Highly Satisfied
Readability
Ease in Finding Information
Comment Quality
Comment Quantity
Admin Response
×
Please rate each item regarding Game8.co's Site's new design.
Please rate our site's new design
Very Dissatisfied
Somewhat Dissatisfied
Fine
Somewhat Satisfied
Highly Satisfied
Do you think that the website's design change makes the site easier to use?
Has the new design made it easier for you to find information on the site?
Has the new design improved the overall visual appeal of the site?
How would you rate your overall satisfaction with the new design of the site?
×
How likely are you to recommend Game8 to someone you know?
Very Unlikely
0
1
2
3
4
5
6
7
8
9
10
Very Likely
If you have other opinions regarding potential improvement to the website, please share them with us. We would appreciate your honest opinion.
Note: This is a free response section, so you can proceed without entering anything.
Note: Please be sure not to enter any kind of personal information into your response.
Note: Please be sure not to enter any kind of personal information into your response.
×
Thank You
×
Thank you for participating in our survey! Your answers will help us to improve the quality of our website and services.
We hope you continue to make use of Game8.
We hope you continue to make use of Game8.
Close
Rankings
- We could not find the message board you were looking for.
Gaming News


![Monster Hunter Stories 3 Review [First Impressions] | Simply Rejuvenating](https://img.game8.co/4438641/2a31b7702bd70e78ec8efd24661dacda.jpeg/thumb)
Popular Games

Genshin Impact Walkthrough & Guides Wiki
Honkai: Star Rail Walkthrough & Guides Wiki
Umamusume: Pretty Derby Walkthrough & Guides Wiki
Pokemon Pokopia Walkthrough & Guides Wiki
Resident Evil Requiem (RE9) Walkthrough & Guides Wiki
Monster Hunter Wilds Walkthrough & Guides Wiki
Wuthering Waves Walkthrough & Guides Wiki
Arknights: Endfield Walkthrough & Guides Wiki
Pokemon FireRed and LeafGreen (FRLG) Walkthrough & Guides Wiki
Pokemon TCG Pocket (PTCGP) Strategies & Guides Wiki


Recommended Games
Diablo 4: Vessel of Hatred Walkthrough & Guides Wiki
Cyberpunk 2077: Ultimate Edition Walkthrough & Guides Wiki
Fire Emblem Heroes (FEH) Walkthrough & Guides Wiki
Yu-Gi-Oh! Master Duel Walkthrough & Guides Wiki
Super Smash Bros. Ultimate Walkthrough & Guides Wiki
Pokemon Brilliant Diamond and Shining Pearl (BDSP) Walkthrough & Guides Wiki
Elden Ring Shadow of the Erdtree Walkthrough & Guides Wiki
Monster Hunter World Walkthrough & Guides Wiki
The Legend of Zelda: Tears of the Kingdom Walkthrough & Guides Wiki
Persona 3 Reload Walkthrough & Guides Wiki


All rights reserved
©CAPCOM CO., LTD. ALL RIGHTS RESERVED.
The copyrights of videos of games used in our content and other intellectual property rights belong to the provider of the game.
The contents we provide on this site were created personally by members of the Game8 editorial department.
We refuse the right to reuse or repost content taken without our permission such as data or images to other sites.