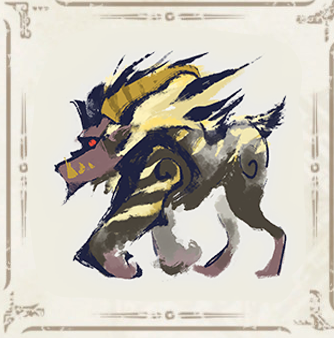
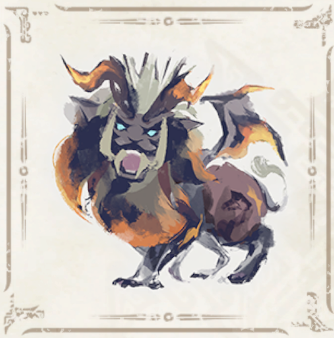
Sunbreak Magnamalo: Weakness and Drops
★ All Title Updates now available for ALL PLATFORMS!
┗ Title Update 4 | Title Update 5 | Bonus Update
┗ Check out all our Best Builds For Every Weapon!
┗ TU4 Monsters: Velkhana | Risen C.G. Valstrax
┗ TU5 Monsters: Amatsu | Risen Shagaru Magala
┗ Bonus Update Monster: Primordial Malzeno

This is a hunting guide for Magnamalo, a Large Monster in Monster Hunter Rise (MH Rise) and the Sunbreak DLC. Read on to learn Magnamalo's weaknesses, forgeable weapons and armor, drops, and attack patterns for Master Rank!
 Magnamalo Guide Magnamalo Guide
|
 Scorned Magnamalo Guide Scorned Magnamalo Guide
|
 Magnamalo Weapons Magnamalo Weapons
|
 Magnamalo Armor Magnamalo Armor
|
List of Contents
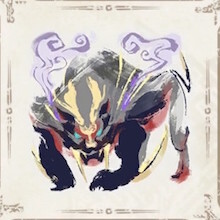
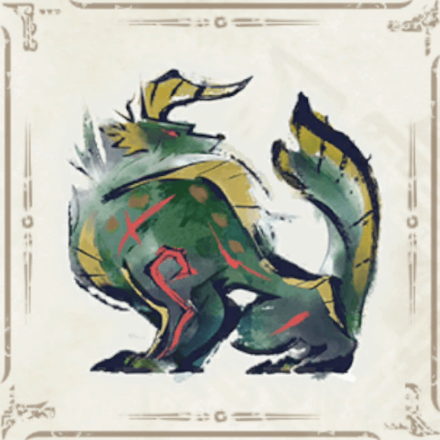
Magnamalo Weakness and Notes
| Magnamalo マガイマガド |
|||
|---|---|---|---|
 |
|||
| Type | Fanged Wyvern | ||
| Threat Level | 7/10 | Rampage Type | ー |
| Major Weakness | Other Weakness | ||
| Blight / Elemental Damage | ー | Abnormal Status | |
| Characteristics | |||
| A monster with a carapace like tempered steel armor. The vapor around it is actually the expelling of trapped gases from the hordes of monsters Magnamalo has consumed. This has earned it the moniker "Wyvern of Malic." Its shrouded swings can inflict hellfireblight, which causes one to combust either spontaneously or when hit. Use a Deodorant or a Wirebug to rid yourself of hellfire. | |||
How to Unlock Magnamalo
Complete Keep it Busy in Master Rank
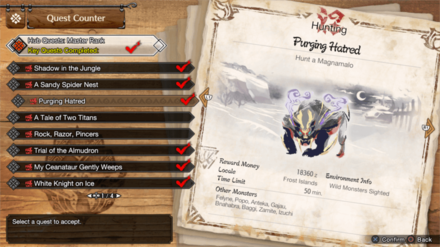
| Quest Name | Monster/Unlock |
|---|---|
| Purging Hatred (Key Quest) |
|
| Unlock Conditions: Finish the Quest "Keep it Busy" |
MR Magnamalo is unlocked by reaching M★3 and completing the Urgent Quest Keep it Busy in the Sunbreak expansion.
MR Grinding Guide:
How to Get from MR 6 to MR 100 Fast
Complete Can't Kill It with Fire in High Rank
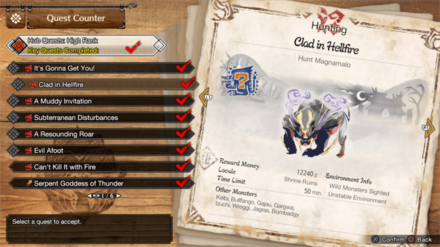
| Quest Name | Monster/Unlock |
|---|---|
|
Clad in Hellfire
(Key Quest) |
|
| Unlock Conditions: Finish the Quest "Can't Kill It with Fire" |
High Rank Magnamalo is unlocked by completing the Urgent Quest Can't Kill It with Fire and reaching HR 7.
Hunter Rank Farm Guide:
How to Get from HR 7 to HR 100 Fast
Complete ★5 Village Special License Test 2 in Low Rank
| Quest Name | Monster/Unlock |
|---|---|
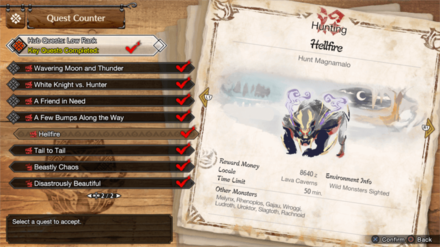
| Hellfire |
|
| Unlock Conditions: Clear ★5 Village Special License Test 2 |
Low Rank Magnamalo is unlocked by completing the ★5 Village Special License Test 2. Doing this unlocks the Urgent Quest Hellfire, allowing you to face Magnamalo in the Lava Caverns.
Magnamalo Weakness and Resistance
| 40 | 40 | 24 | 0 |
| 16 | 13 | 6 | 0 |
Bold are the recommended Weapon Type and Elemental Damage.
Magnamalo Weapon Damage Breakdown
| Part | |||
|---|---|---|---|
| Head | 55 | 55 | 30 |
| Torso | 25 | 25 | 5 |
| Foreleg | 38 | 38 | 20 |
| Armblade | 45 | 45 | 45 |
| Back | 30 | 43 | 15 |
| Hind Leg | 38 | 38 | 20 |
| Tail | 43 | 30 | 10 |
| Tailblade | 45 | 45 | 45 |
| Overall | 40 | 40 | 24 |
Magnamalo Elemental Weakness Breakdown
| Part | |||||
|---|---|---|---|---|---|
| Head | 0 | 15 | 10 | 5 | 0 |
| Torso | 0 | 20 | 15 | 10 | 0 |
| Foreleg | 0 | 20 | 15 | 5 | 0 |
| Armblade | 0 | 10 | 10 | 5 | 0 |
| Back | 0 | 15 | 10 | 5 | 0 |
| Hind Leg | 0 | 25 | 20 | 5 | 0 |
| Tail | 0 | 15 | 10 | 5 | 0 |
| Tailblade | 0 | 10 | 10 | 5 | 0 |
| Overall | 0 | 16 | 13 | 6 | 0 |
Higher numbers indicate higher potential damage to the monster.
Magnamalo Hunting Tips

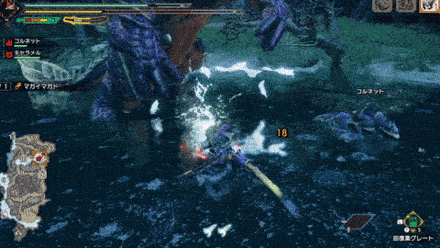
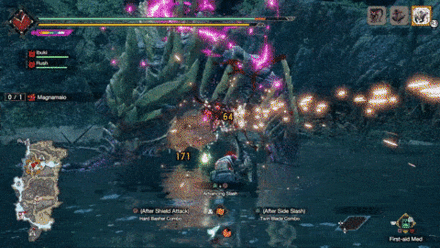
The majority of Magnamalo's attacks involve its hellfire. If you become afflicted with hellfireblight, Wiredash to rid yourself of this status. You can counter its attacks by focusing on parts of its body that are emitting hellfire. If you can manage to ignite any of the vapor with your attacks, you can deal massive damage.
Status Effect Vulnerabilities
| Poison | Stun | Paralysis | Sleep |
|---|---|---|---|
| ★ | ★ | ★ | ★ |
| Blast | Exhaust | Fireblight | Waterblight |
| -- | ★ | ★ | ★★ |
| Thunderblight | Iceblight | ||
| ★ | ★ | ||
If an ailment has more stars it means that it has better effectiveness.
Item Vulnerabilities
| Pitfall Trap | Shock Trap | Flash Bomb |
|---|---|---|
| ◯ | ◯ | ◯ |
| Sonic Bomb | Meat Effects | Dung Bomb |
| ✕ | ✕ | ◯ |
◯ = Vulnerable; ✕ = Fully Resistant; ▲ = Situational
Kinsect Extracts
| Monster Part | Extract |
|---|---|
| Head |
|
| Torso |
|
| Foreleg |
|
| Armblade |
|
| Back |
|
| Hind Leg |
|
| Tail |
|
| Tailblade |
|
Red = Attack Increase, White = Movement Boost, Orange = Anti-knockback When Attacking
Magnamalo Locations and Quests
Magnamalo Known Habitat
| Map | Starting Area | Visited Areas | Rest Area |
|---|---|---|---|
 Shrine Ruins Shrine Ruins
|
9 / 10 / 12 | 1 / 2 / 3 / 6 / 7 / 8 / 9 / 10 / 11 / 12 / 13 | 11 / 12 |
 Frost Islands Frost Islands
|
8 | 5 / 6 / 7 / 8 / 9 / 10 / 11 / 12 | 9 |
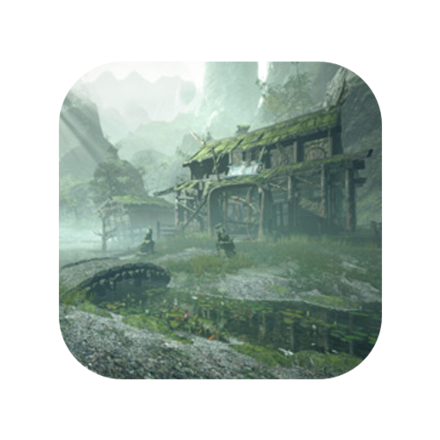
 Lava Caverns Lava Caverns
|
11 / 14 | 5 / 7 / 8 / 10 / 11 / 12 / 13 / 14 | 10 |
 Infernal Springs Infernal Springs
|
- | - | - |
Magnamalo Quest Appearances
| Quest Type | Lvl | Quest Name |
|---|---|---|
| Anomaly Quest | A★4 | Anomaly Research: Magnamalo |
| Follower Quest | M★3 | Enshrined Resentment |
| Hub Quest | M★3 | Purging Hatred (Key Quest) |
| Hub Quest | M★3 | A Keen-Eyed Observation |
| Hub Quest | M★3 | Stitching a Wintry Wardrobe |
| Hub Quest | M★3 | Tempering the Fierce |
| Support Survey | M★3 | Operation Magnamalo |
| Hub Quest | M★4 | White Knight, Armored Warrior (Key Quest) |
| Support Survey | M★4 | Operation Purple Fire |
| Event Quest | M★6 | Food Fight |
| Event Quest | M★6 | Flagship Fight |
| Follower Quest | M★6 | Lava Caverns Litter Box |
| Hub Quest | M★6 | Unbridled Mayhem |
| Support Survey | M★6 | Operation Double Magnamalo |
| Quest Type | Lvl | Quest Name |
|---|---|---|
| Village Quest | ★6 | Advanced: The Veterans' Gala |
| Challenge Quest | ★7 | Challenge Quest 04 |
| Challenge Quest | ★7 | Challenge Quest 06 |
| Event Quest | ★7 | Rampage: Kamura Night Hunt |
| Event Quest | ★7 | Blazin' Soul of a Warrior |
| Event Quest | ★7 | USJ - Shrine Showdown! |
| Event Quest | ★7 | Memories of That Day |
| Hub Quest | ★7 | Seared Situation (Key Quest) |
| Hub Quest | ★7 | Clad in Hellfire (Key Quest) |
| Hub Quest | ★7 | Master Utsushi's Challenge Part 3 |
| Hub Quest | ★7 | Advanced: Dual Calamities |
| Hub Quest | ★7 | Advanced: Proof of Power |
| Quest Type | Lvl | Quest Name |
|---|---|---|
| Event Quest | ★3 | Heart of a Warrior |
| Hub Quest | ★3 | Disastrously Beautiful |
| Urgent Hub Quest | ★3 | Hellfire |
| Urgent Village Quest | ★5 | Comeuppance |
| Village Quest | ★5 | Special License Quest 2 |
| Village Quest | ★6 | A Test of Courage |
How to Beat Magnamalo
Bring Water or Thunder Element Weapons

Magnamalo is most vulnerable to Water and Thunder. Bring weapons with these particular elements to take advantage of its weaknesses and make the fight less challenging.
Have an Extra Wirebug for Evasion

Magnamalo behaves aggressively and has an arsenal of quick and powerful attacks, making a third Wirebug incredibly useful for evading attacks and removing Hellfireblight.
You can obtain a third Wirebug by approaching the wild Wirebugs found scattered around every locale in the game. However, note that third Wirebugs are not permanent so take time to replenish them when you can!
Wirebug Location: How to Get and Use Wirebugs
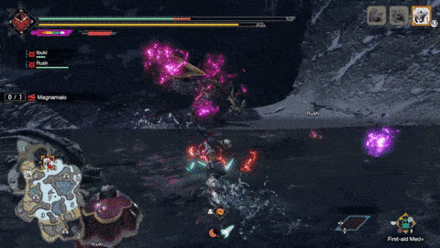
Remove Hellfireblight Immediately

Some of Magnamalo's attacks can inflict Hellfireblight, a detrimental status effect that makes you explode when an attack knocks you back or after a certain amount of time has passed. Repeatedly evade, Wiredash, or use Deodorant to cleanse yourself of Hellfireblight.
Wiredash is Recommended

Using Wiredash to cleanse Hellfireblight is the recommended method as it leaves behind a Hellfire Orb when used. When Magnamalo attacks into a Hellfire Orb or gets caught within its timed explosion, it can cause a knockdown.
Focus on Hellfire-Covered Parts
When Magnamalo's body parts become covered in Hellfire, they turn into weak points which you should focus on to maximize your damage output.
In addition, dealing enough damage to these Hellfire-covered parts will cause the Hellfire to dissipate and knock down Magnamalo, making the monster even more vulnerable.
Use Target Camera to Follow Fast Attacks

When in Hellfire mode, Magnamalo will hit harder and become faster. Because of this, it can easily move out of sight and catch you off guard, so we suggest using Target Camera to recenter your point-of-view towards Magnamalo!
Wirefall Out of Dangerous Moves
When caught in one of Magnamalo's Snatch and Blast attacks or another one of its other dangerous combos, remember to use Wirefall to move yourself out of harm's way and prevent yourself from being sent back to camp.
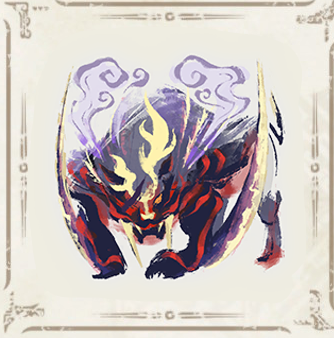
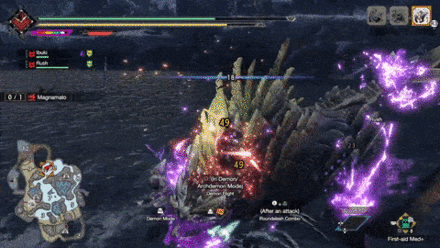
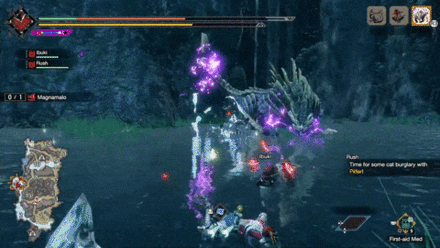
Magnamalo Enraged Forms
Magnamalo enters various enraged forms throughout the fight, with each new form more dangerous than the last. Recognizing each of these forms and their capabilities are vital to defeating Magnamalo.
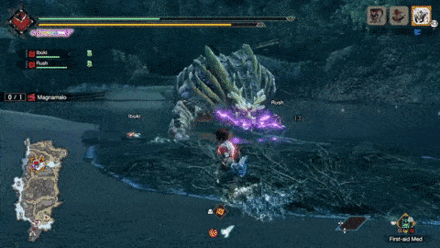
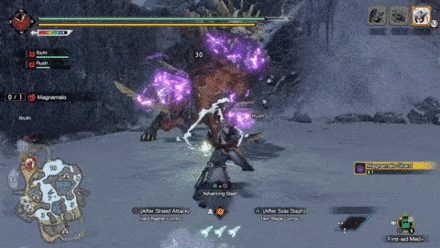
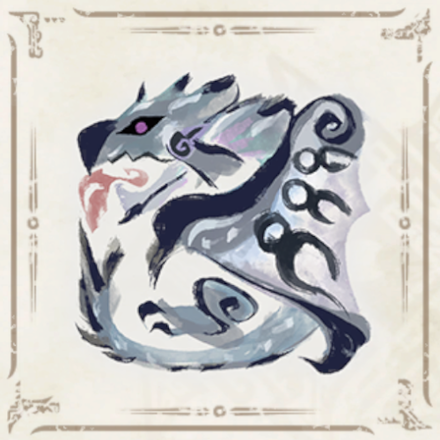
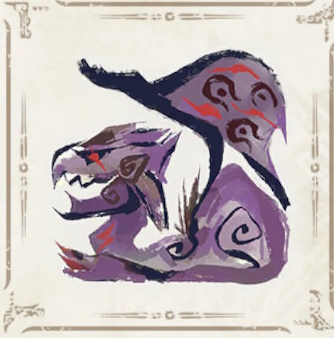
Purple Hellfire Mode
| Purple Hellfire Mode |
|---|
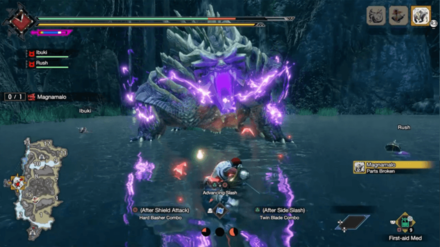 Purple Hellfire Mode: In this form, the hidden spikes on Magnamalo's back fan out and it expels purple Hellfire from various parts of its body. Knock it out of this form by dealing damage to its Hellfire-covered parts. |
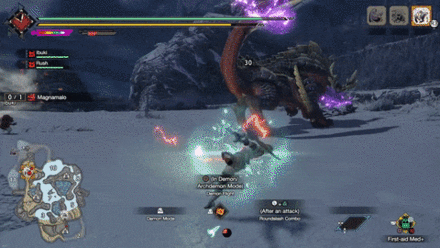
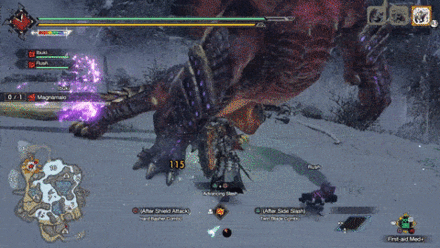
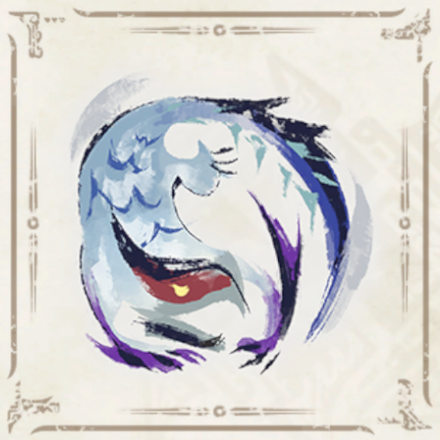
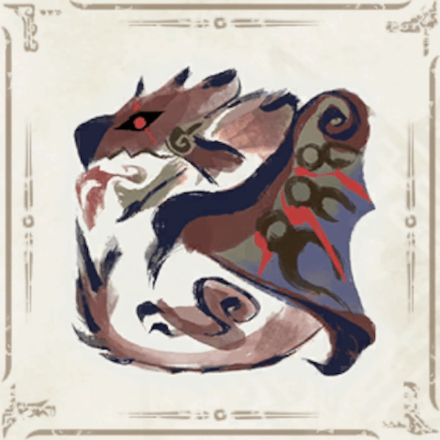
Reddish-Purple Hellfire Mode
| Reddish-Purple Hellfire Mode |
|---|
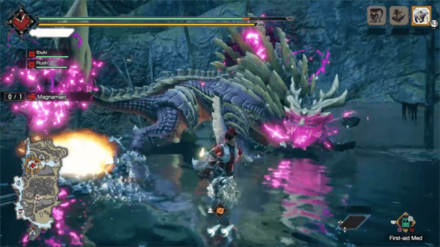 Reddish-Purple Hellfire Mode: Magnamalo will coat itself again with Hellfire, giving its flames a reddish-purple color. Attacks are further intensified and movement speed is increased. This form dissipates after Magnamalo performs its Exploding Divebomb attack. |
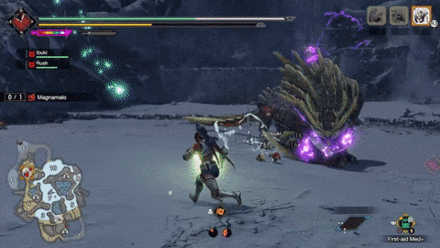
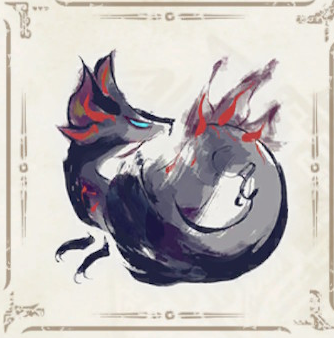
Upright Spikes
| Upright Spikes |
|---|
 Upright Spikes: When Magnamalo's health is lowered to a certain level, spikes will extend from its entire body and will act more aggressive towards the hunter. |
Unique Moves Per Hellfire Parts
When certain body parts of Magnamalo are covered in Hellfire, it indicates certain changes in its moveset and behavior. Recognizing its capabilities when in Hellfire Mode is key to avoiding some of its most dangerous moves.
| Body Part | Description |
|---|---|
| Face | When Magnamalo releases Hellfire from his mouth, this indicates that it has access to its Exploding Divebomb attack, which can instantly KO careless hunters. |
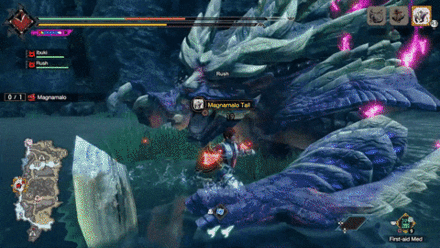
| Tail Tip | When Magnamalo's tail is covered in Hellfire, it can expel Hellfire Dust whenever it is used in an attack. |
| Back and Forelegs | When Magnamalo's back and legs are covered in Hellfire, it becomes more agile at this stage and can move around at high speed. |
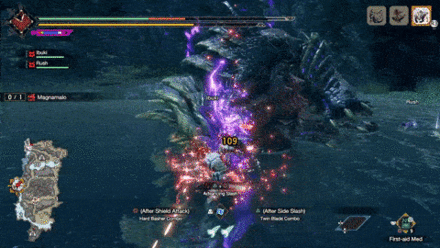
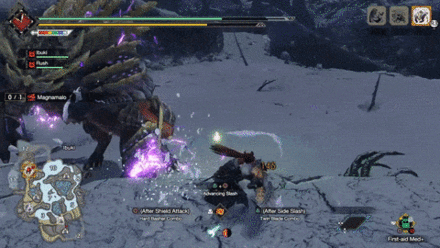
Magnamalo Master Rank Attack Patterns
In addition to its attacks in Low and High Rank quests, Magnamalo uses the following attacks in Master Rank.
| Name | Description |
|---|---|
| Biting Backblast | Magnamalo charges up and lets out a Hellfire blast from its mouth, causing a large explosion and sending itself backwards with the blast's momentum. |
| Slam and Sweep Combo | Magnamalo slams the ground with one of its paws before sweeping it across the ground, causing Hellfire explosions. |
| Double Hellfire Beam DANGER |
Magnamalo rapidly spins its tail above its head before shooting out two Hellfire beams in a row. |
Biting Backblast
| Biting Backblast Attack Information |
|---|
 Biting Backblast: Magnamalo charges up and lets out a Hellfire blast from its mouth, causing a large explosion and sending itself backwards with the blast's momentum. Pay attention to Magnamalo's mouth and begin running away as soon as it starts to fill up with Hellfire to avoid getting hit by the incoming explosion. |
Slam and Sweep Combo
| Slam and Sweep Combo Attack Information |
|---|
 Slam and Sweep Combo: Magnamalo slams down one of its paws down on the hunter before sweeping it across the ground, causing Hellfire explosions. This attack can track the hunter's movements, so properly time your evades to avoid getting hit by this combo. |
Double Hellfire Beam
| Double Hellfire Beam Attack Information |
|---|
 Double Hellfire Beam: Magnamalo rapidly spins its tail above its head before thrusting it outwards twice to shoot beams of Hellfire towards its target. This attack inflicts Hellfireblight and deals massive damage on hit. To avoid this attack, evade perpendicular to its tail just before Magnamalo fires each Hellfire beam. If caught out of position, performing a dive-evade instead is recommended. |
Magnamalo General Attack Patterns
Magnamalo uses the following attacks in Low and High Rank quests.
| Name | Description |
|---|---|
| Paw Slam | Magnamalo winds up one of its paws before slamming it down on top of the hunter. |
| Claw Sweep | Magnamalo drags its heavy claws across the ground, sweeping them from one side to another |
| Tail Slam | Magnamalo vertically slams its tail on top of the hunter. |
| Tail Stab | Magnamalo rears back before quickly thrusting its tail forward, dealing heavy damage on hit |
| Magnamalo Whirl | Magnamalo leaps upwards before wildly spinning its tail around, dealing moderate damage and knocking hunters back on contact. |
| Hellfire Burst | Magnamalo expels Hellfire dust around its body before triggering a large Hellfire explosion. |
| Diving Tackle | Maganamalo performs a diving leap towards the hunter, tackling them before repositioning to launch Hellfire Orbs from its tail. |
| Hellfire Barrage | Magnamalo whips its tail above its head, sending a barrage of Hellfire Orbs towards the hunter. |
| Hellish Bite | Magnamalo rears back before leaning forward to bite at hunters in front of it. |
| Whipping Backflip | Magnamalo performs a backflip, whipping foes in front of it with its tail. |
| Snatch and Blast DANGER |
Magnamalo lunges forward to bite and grab the hunter, launching them into the air before letting out a powerful Hellfire blast. This attack has multiple variations. |
| Hellfire Dust Explosion DANGER |
Magnamalo scatters Hellfire dust before letting out a delayed explosion, inflicting Hellfireblight on hunters caught in its radius. |
| Exploding Divebomb DANGER |
Magnamalo leaps high up into the air before slamming down on top of the hunter, causing a massive Hellfire explosion |
| Hellfire Beam DANGER |
Magnamalo rapidly spins its tail above its head before shooting out a massive beam of Hellfire towards the hunter. |
Paw Slam
| Paw Slam Attack Information |
|---|
 Paw Slam: Magnamalo winds up one of its paws before slamming it down on top of the hunter. This attack gets enhanced with explosions when Magnamalo's forelegs are covered in Hellfire. |
Claw Sweep
| Claw Sweep Attack Information |
|---|
 Claw Sweep: Magnamalo drags its heavy claws across the ground, sweeping them from one side to another. This attack gets enhanced with explosions when Magnamalo's forelegs are covered in Hellfire. |
Tail Slam
| Tail Slam Attack Information |
|---|
 Tail Slam: Magnamalo vertically slams its tail on top of the hunter. To avoid this attack, evade sideways as soon as you see Magnamalo raising its tail. |
Tail Stab
| Tail Stab Attack Information |
|---|
 Tail Stab: Magnamalo rears back before quickly thrusting its tail forward, dealing heavy damage on hit. This move spreads Hellfire dust in its path when Magnamalo's tail is covered with Hellfire, so prepare to dodge again after avoiding this move. |
Magnamalo Whirl
| Magnamalo Whirl Attack Information |
|---|
 Magnamalo Whirl: Magnamalo leaps upwards before wildly spinning its tail around, dealing moderate damage and knocking hunters back on contact. Note that this move can spread Hellfire dust around Magnamalo if its tail is covered in Hellfire. |
Hellfire Burst
| Hellfire Burst Attack Information |
|---|
 Hellfire Burst: With the camera zooming out, Magnamalo expels Hellfire dust around its body before triggering a large Hellfire explosion. This attack has significant windup, so react to the camera zooming out and move away from Magnamalo as quickly as possible to avoid getting hit. |
Diving Tackle
| Diving Tackle Attack Information |
|---|
 Diving Tackle: Maganamalo performs a diving leap towards the hunter, tackling them before repositioning to launch Hellfire Orbs from its tail. Note that Magnamalo can perform consecutive diving tackles, and can also follow up its final tackle with other attacks, so stay on your toes after dodging this move. |
Hellfire Barrage
| Hellfire Barrage Attack Information |
|---|
 Hellfire Barrage: Magnamalo whips its tail above its head, launching a barrage of Hellfire Orbs towards the hunter. To avoid this move, carefully maneuver through the Hellfire Orbs or make use of Wirebugs to quickly evade past them. |
Hellish Bite
| Hellish Bite Attack Information |
|---|
 Hellish Bite: Magnamalo rears back before leaning forward to bite at hunters in front of it. |
Whipping Backflip
| Whipping Backflip Attack Information |
|---|
 Whipping Backflip: Magnamalo sticks its tail into the ground before performing a backflip, whipping its tail upwards to knock away foes in front of it. |
Snatch and Blast
| Snatch and Blast Attack Variations |
|---|
 Snatch and Blast: Magnamalo lunges forward to bite and grab the hunter, launching them into the air before letting out a powerful Hellfire blast. Getting hit by every attack in this combo can easily KO a hunter, so remember to Wirefall away from the Hellfire blast while in the air. |
 Sweeping Snatch and Blast: Magnamalo snatches the hunter with a quick bite, sweeping them across the ground before launching them into the air. It follows this attack up with a jumping Hellfire blast to potentially knockout the airborne hunter. Note that Magnamalo also spreads Hellfire dust around the area when it performs this attack, so even hunters that do not get hit still need to stay alert for the delayed explosions. In addition, if a hunter survives the jumping Hellfire blast, Magnamalo can end this combo with a Paw Slam on the ground that can potentially finish them off if not avoided. |
Hellfire Dust Explosion
| Hellfire Dust Explosion Attack Information |
|---|
 Hellfire Dust Explosion: Magnamalo excretes Hellfire dust in an increasing radius before detonating it after a short delay. This attack inflicts Hellfireblight on nearby hunters and also causes Magnamalo to gain purple Hellfire, which increases its attack damage. When Magnamalo performs this attack while in Purple Hellfire Mode, the Hellfire takes on a reddish-purple hue which further strengthens Magnamalo. |
Exploding Divebomb
| Exploding Divebomb Attack Information |
|---|
 Exploding Divebomb: Magnamalo leaps high up into the air before slamming down on top of the hunter, causing a massive Hellfire explosion. This attack deals heavy damage on hit, and can easily KO careless hunters. Don't hesitate to dive-evade to avoid getting hit by this attack. It is also possible to use to stop this attack short by throwing a Flash Bomb while Magnamalo is in the air. |
Hellfire Beam
| Hellfire Beam Attack Information |
|---|
 Hellfire Beam: Magnamalo rapidly spins its tail above its head before thrusting it outwards to shoot a beam of Hellfire towards its target. This attack inflicts Hellfireblight and deals massive damage on hit. To avoid this attack, evade perpendicular to its tail just before Magnamalo fires the Hellfire beam. If caught out of position, performing a dive-evade instead is recommended. |
Magnamalo Materials and Drops
Master Rank Magnamalo Materials
High Rank Magnamalo Materials
Low Rank Magnamalo Materials
Magnamalo Dropped Materials
Monster Hunter Rise Related Guides

All Magnamalo Guides
| All Magnamalo Related Articles | ||
|---|---|---|
|
Magnamalo Guide
|
Magnamalo Weapons
|
Magnamalo Armor
|
Sunbreak Monsters
| Sunbreak Monster Lists | ||
|---|---|---|
| Sunbreak Monsters List | Monster Subspecies List | Sunbreak Small Monsters List |
Large Monsters
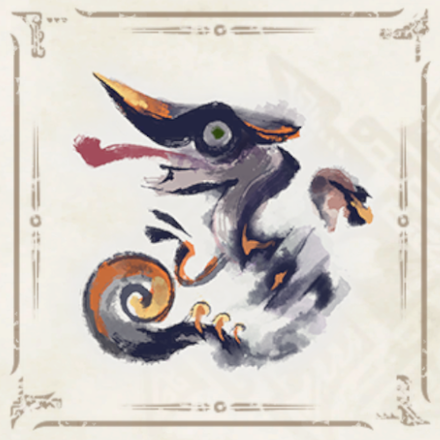
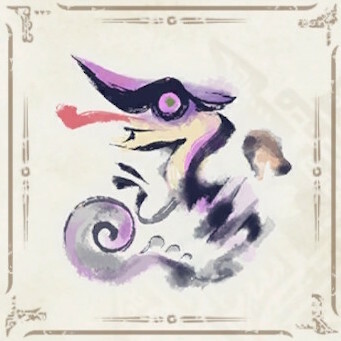
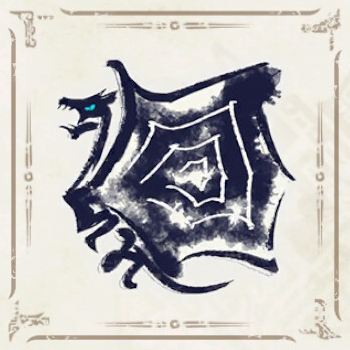
 Daimyo Hermitaur
 Blood Orange Bishaten
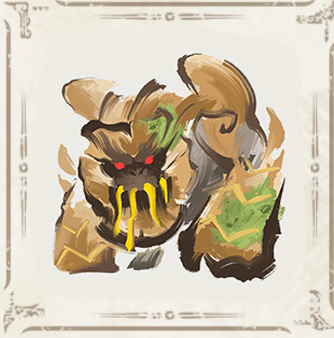 Garangolm
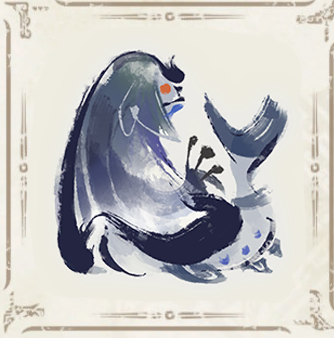 Aurora Somnacanth
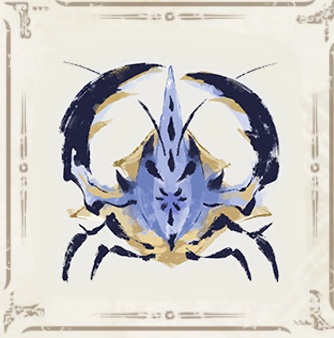 Shogun Ceanataur
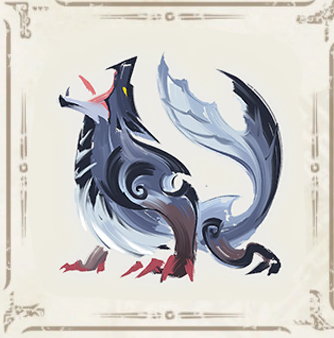 Lunagaron
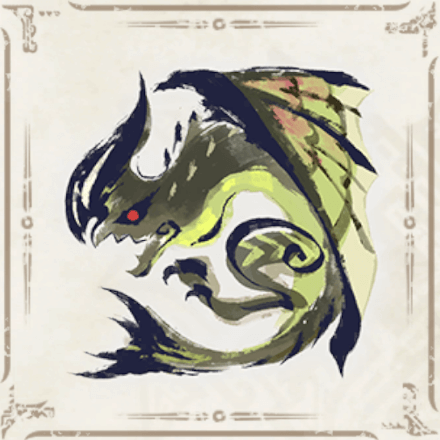 Astalos
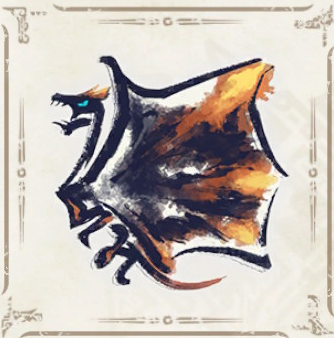
 Seregios
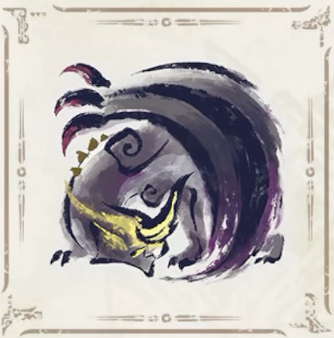
 Magma Almudron
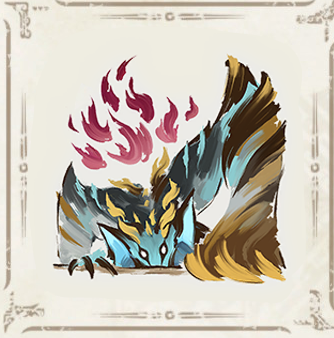
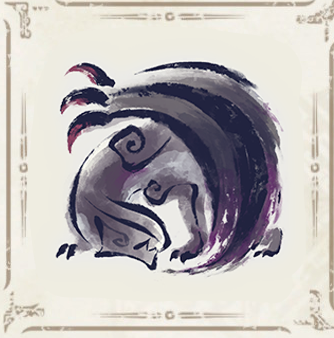 Gore Magala
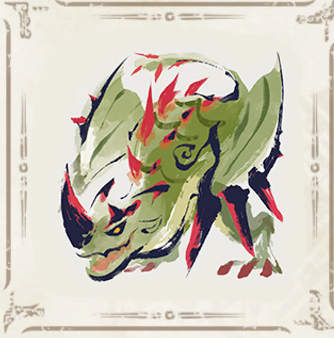 Espinas
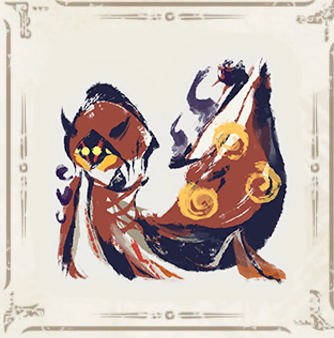 Pyre Rakna-Kadaki
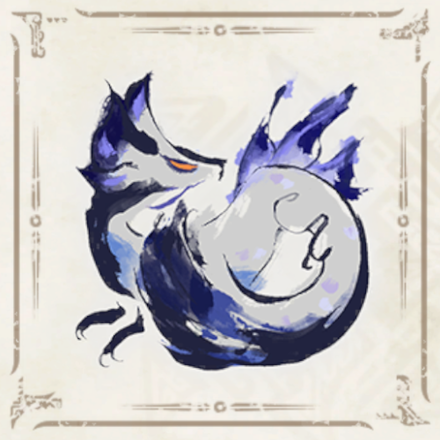
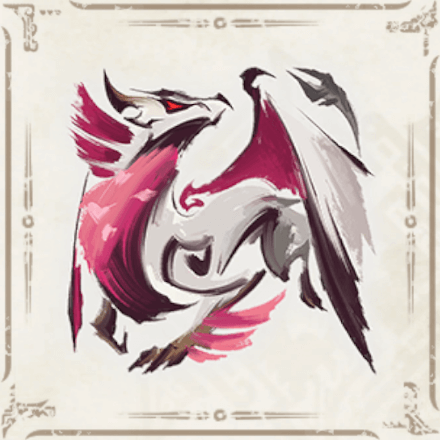 Malzeno
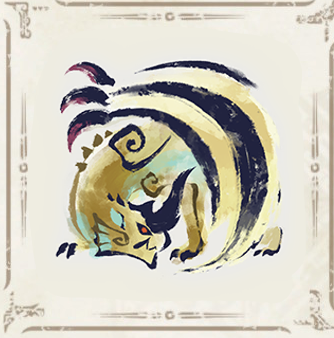 Shagaru Magala
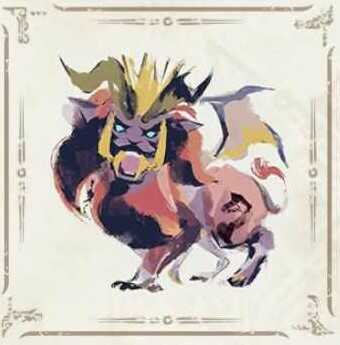
MR6+ Large Monsters
| MR6+ Monsters | |||||
|---|---|---|---|---|---|
 Gaismagorm Gaismagorm(MR6) |
 Furious Rajang Furious Rajang(MR50) |
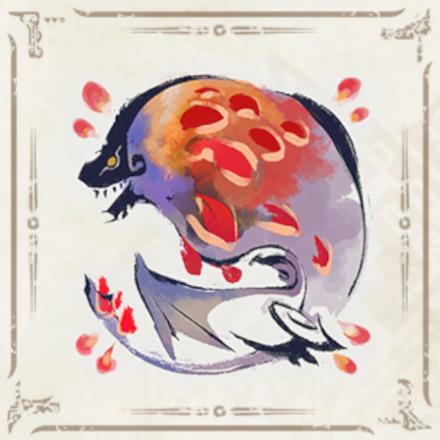
Scorned Magnamalo (MR100) |
|||
Title Update 1 Monsters
| Sunbreak Title Update 1 Monsters | |||
|---|---|---|---|
 Seething Bazelgeuse Seething Bazelgeuse |
 Silver Rathalos Silver Rathalos |
 Gold Rathian Gold Rathian |
 Lucent Nargacuga Lucent Nargacuga |
Title Update 2 Monsters
| Sunbreak Title Update 2 Monsters | ||
|---|---|---|
 Flaming Espinas Flaming Espinas |
 Risen Chameleos Risen Chameleos |
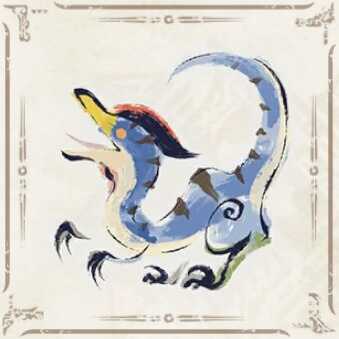
 Violet Mizutsune Violet Mizutsune |
Title Update 3 Monsters
| Sunbreak Title Update 3 Monsters | ||
|---|---|---|
 Chaotic Gore Magala Chaotic Gore Magala |
 Risen Kushala Daora Risen Kushala Daora |
 Risen Teostra Risen Teostra |
Title Update 4 Monsters
| Sunbreak Title Update 4 Monsters | |
|---|---|
 Velkhana Velkhana |
 Risen Crimson Glow Valstrax Risen Crimson Glow Valstrax |
Title Update 5 Monsters
| Sunbreak Title Update 5 Monsters | |
|---|---|
 Amatsu Amatsu |
 Risen Shagaru Magala Risen Shagaru Magala |
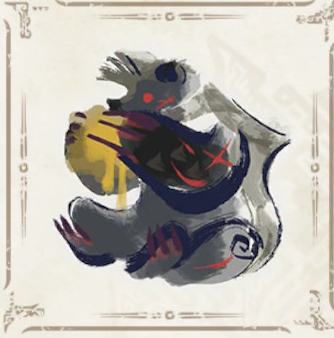
Small Monsters
| Sunbreak Small Monsters | |||||
|---|---|---|---|---|---|
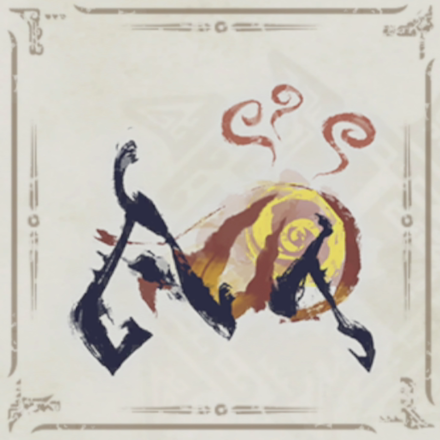
 Boggi Boggi |
 Ceanataur Ceanataur |
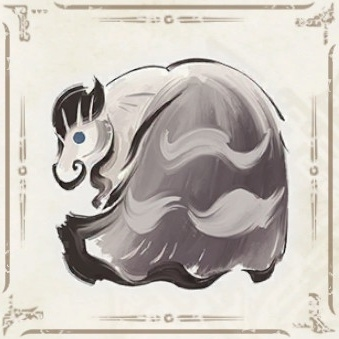 Gowngoat Gowngoat |
|||
 Hermitaur Hermitaur |
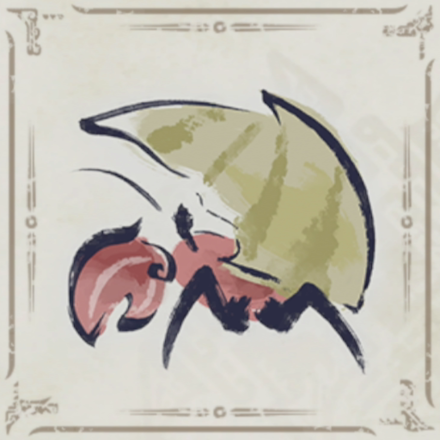
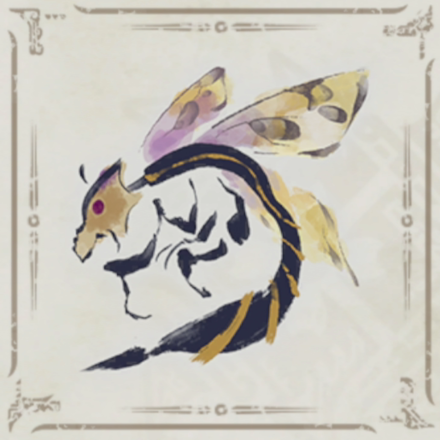
 Hornetaur Hornetaur |
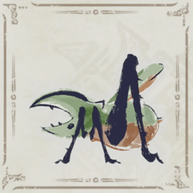
 Pyrantula Pyrantula |
 Vespoid Vespoid |
 Velociprey Velociprey |
|
Other Large Monsters
 Great Izuchi
 Arzuros
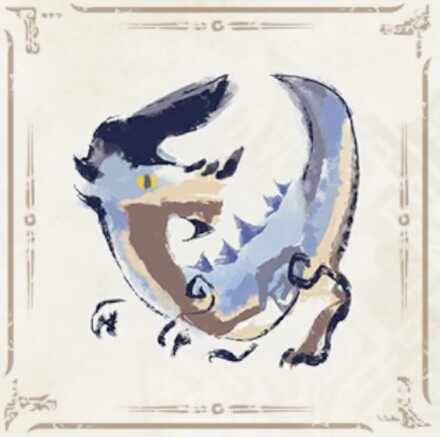 Great Baggi
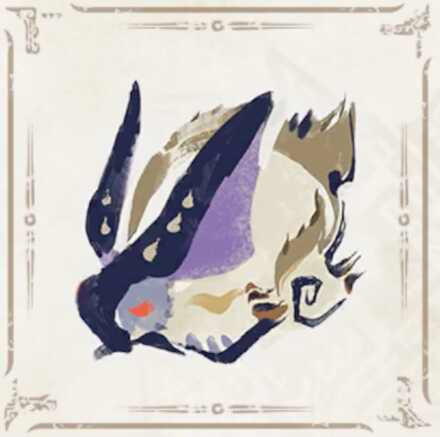 Lagombi
 Aknosom
 Tetranadon
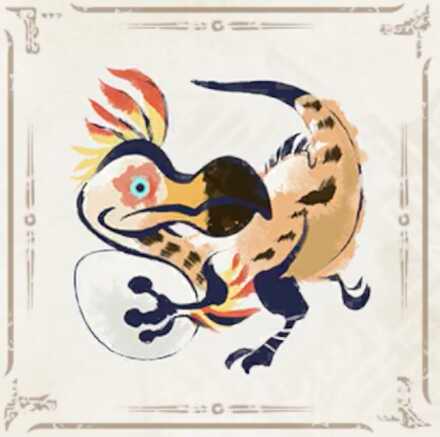 Kulu-Ya-Ku
 Barroth
 Great Wroggi
 Royal Ludroth
 Khezu
Khezu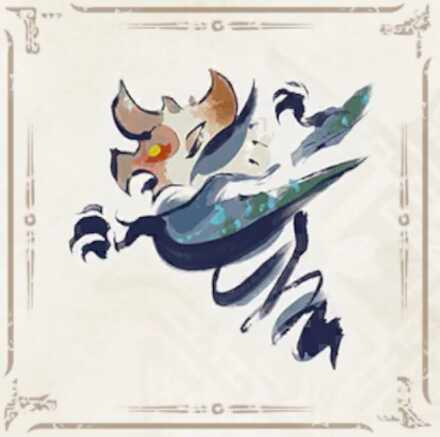 Bishaten
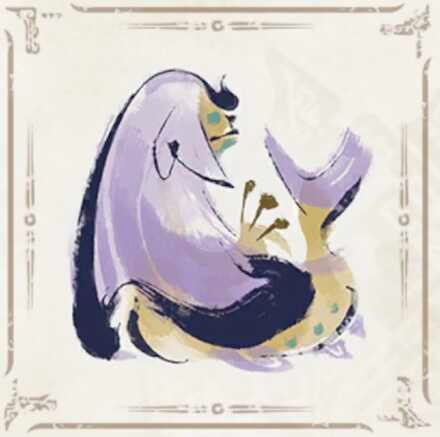 Somnacanth
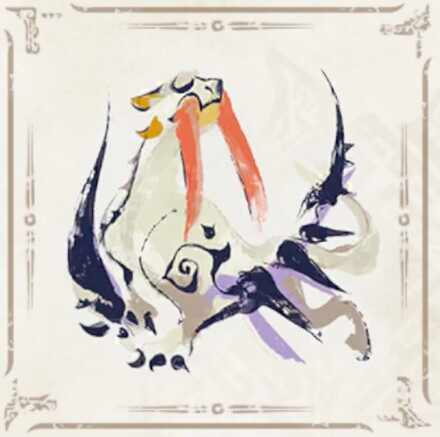 Barioth
 Rathian
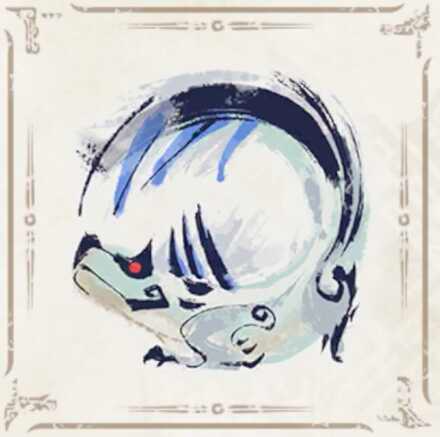 Tobi-Kadachi
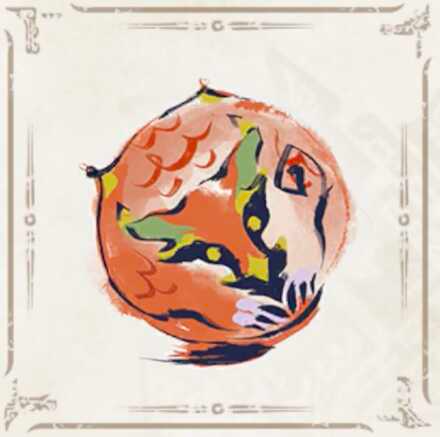 Volvidon
 Basarios
 Pukei-Pukei
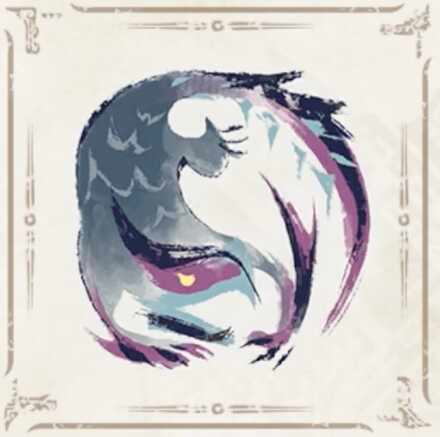 Nargacuga
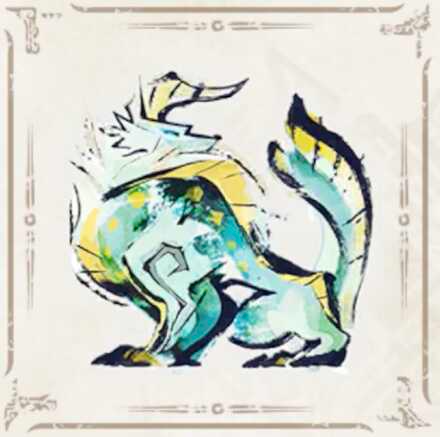 Zinogre
 Anjanath
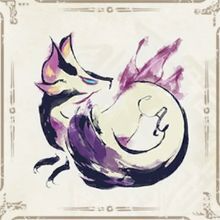 Mizutsune
 Rathalos
 Almudron
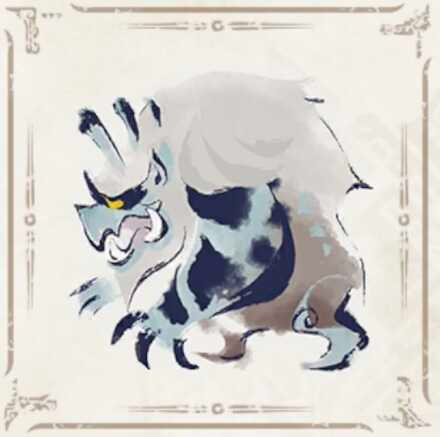 Goss Harag
 Tigrex
 Diablos
 Jyuratodus
 Rajang
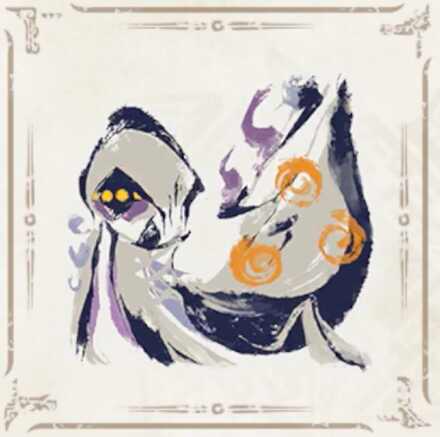 Rakna-Kadaki
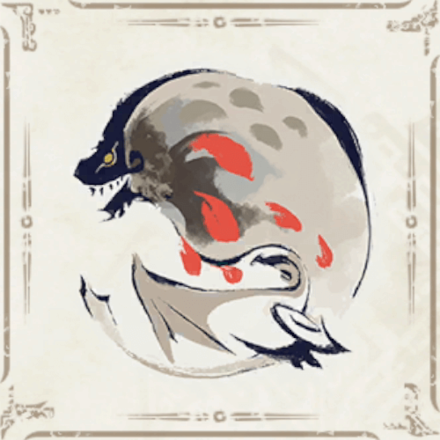 Bazelgeuse
Elder Dragons
| Elder Dragons | |||||
|---|---|---|---|---|---|
 Narwa the Allmother Narwa the Allmother |
|||||
 Wind Serpent Ibushi Wind Serpent Ibushi |
 Thunder Serpent Narwa Thunder Serpent Narwa |
 Crimson Glow Valstrax Crimson Glow Valstrax |
|||
 Chameleos Chameleos |
 Kushala Daora Kushala Daora |
 Teostra Teostra |
|||
Apex Monsters
| Apex Monsters | ||
|---|---|---|
 Apex Arzuros Apex Arzuros |
 Apex Rathian Apex Rathian |
 Apex Mizutsune Apex Mizutsune |
 Apex Rathalos Apex Rathalos |
 Apex Diablos Apex Diablos |
 Apex Zinogre Apex Zinogre |
Other Small Monsters
 Altaroth
 Anteka
 Baggi
Baggi Bnahabra
 Bombadgy
 Bullfango
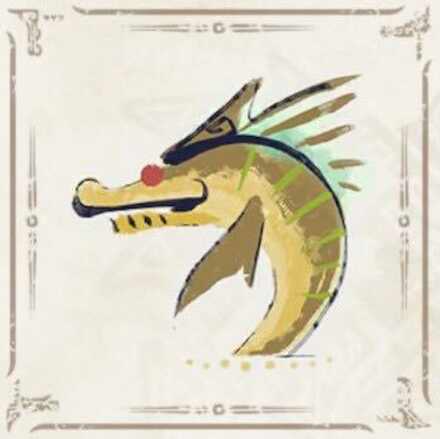 Delex
Delex Felyne
 Gajau
Gajau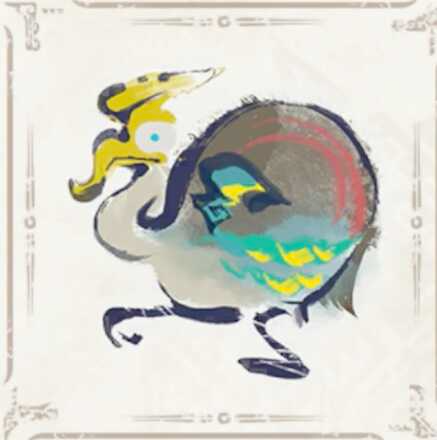 Gargwa
 Izuchi
 Jaggi
Jaggi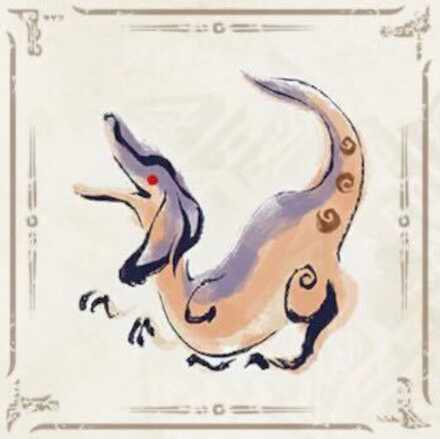 Jaggia
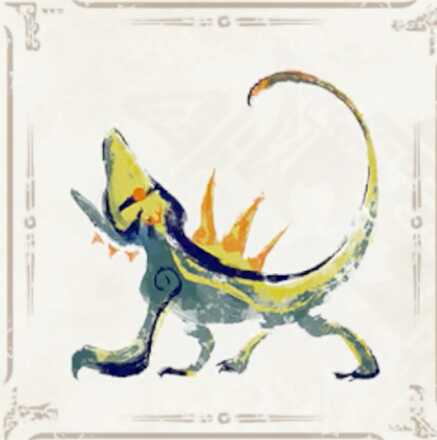 Jagras
 Kelbi
Kelbi Kestodon
 Ludroth
 Melynx
 Popo
Popo Rachnoid
 Remobra
 Rhenoplos
 Slagtoth
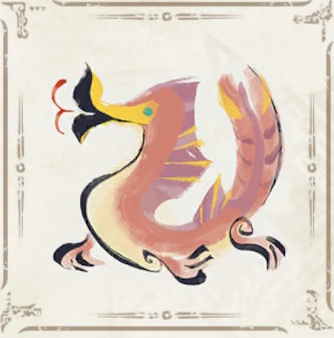 Uroktor
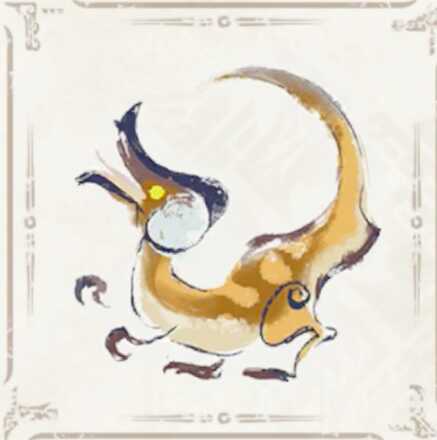 Wroggi
 Zamite
Author

Sunbreak Magnamalo: Weakness and Drops
Rankings
- We could not find the message board you were looking for.
Gaming News


![Monster Hunter Stories 3 Review [First Impressions] | Simply Rejuvenating](https://img.game8.co/4438641/2a31b7702bd70e78ec8efd24661dacda.jpeg/thumb)
Popular Games

Genshin Impact Walkthrough & Guides Wiki
Honkai: Star Rail Walkthrough & Guides Wiki
Umamusume: Pretty Derby Walkthrough & Guides Wiki
Pokemon Pokopia Walkthrough & Guides Wiki
Resident Evil Requiem (RE9) Walkthrough & Guides Wiki
Monster Hunter Wilds Walkthrough & Guides Wiki
Wuthering Waves Walkthrough & Guides Wiki
Arknights: Endfield Walkthrough & Guides Wiki
Pokemon FireRed and LeafGreen (FRLG) Walkthrough & Guides Wiki
Pokemon TCG Pocket (PTCGP) Strategies & Guides Wiki


Recommended Games
Diablo 4: Vessel of Hatred Walkthrough & Guides Wiki
Cyberpunk 2077: Ultimate Edition Walkthrough & Guides Wiki
Fire Emblem Heroes (FEH) Walkthrough & Guides Wiki
Yu-Gi-Oh! Master Duel Walkthrough & Guides Wiki
Super Smash Bros. Ultimate Walkthrough & Guides Wiki
Pokemon Brilliant Diamond and Shining Pearl (BDSP) Walkthrough & Guides Wiki
Elden Ring Shadow of the Erdtree Walkthrough & Guides Wiki
Monster Hunter World Walkthrough & Guides Wiki
The Legend of Zelda: Tears of the Kingdom Walkthrough & Guides Wiki
Persona 3 Reload Walkthrough & Guides Wiki


All rights reserved
©CAPCOM CO., LTD. ALL RIGHTS RESERVED.
The copyrights of videos of games used in our content and other intellectual property rights belong to the provider of the game.
The contents we provide on this site were created personally by members of the Game8 editorial department.
We refuse the right to reuse or repost content taken without our permission such as data or images to other sites.
Thanks! I REALLY need this info.