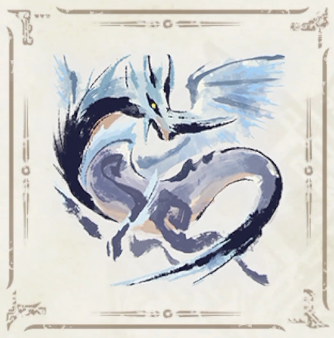
Sunbreak Astalos: Weakness and Drops
★ All Title Updates now available for ALL PLATFORMS!
┗ Title Update 4 | Title Update 5 | Bonus Update
┗ Check out all our Best Builds For Every Weapon!
┗ TU4 Monsters: Velkhana | Risen C.G. Valstrax
┗ TU5 Monsters: Amatsu | Risen Shagaru Magala
┗ Bonus Update Monster: Primordial Malzeno

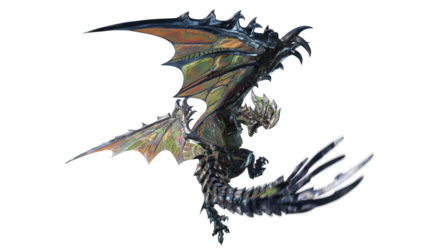
This is a hunting guide for Astalos, a Large Monster in Monster Hunter Rise (MH Rise) and the Sunbreak DLC. Read on to learn Astalos' weaknesses, forgeable weapons, forgeable armor, drops, and attack patterns for Master Rank!
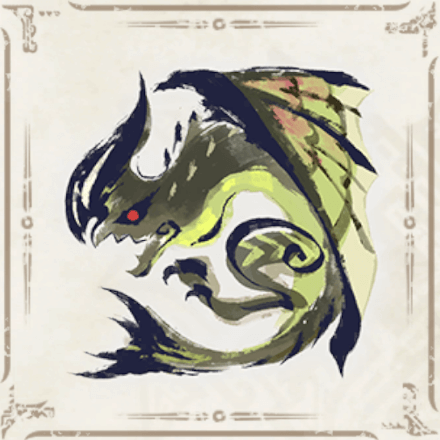 Astalos Guide Astalos Guide
|
 Astalos Weapons Astalos Weapons
|
 Astalos Armor Astalos Armor
|
List of Contents
Astalos Weakness and Notes
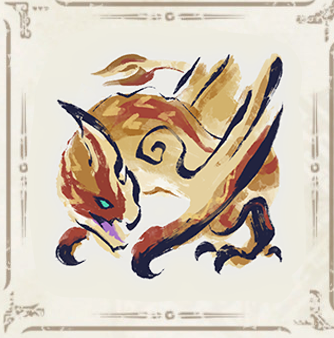
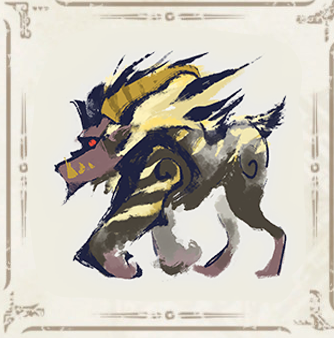
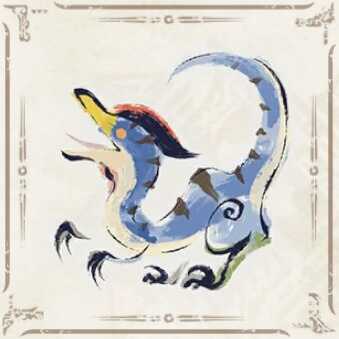
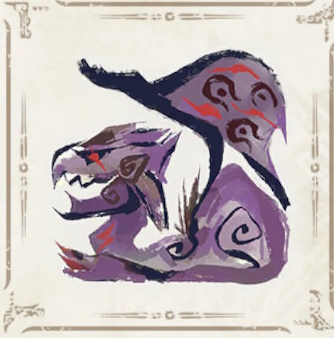
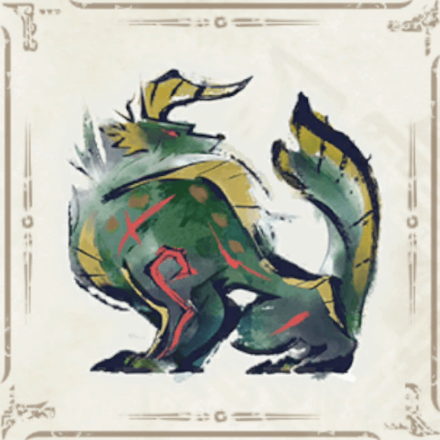
| Astalos ライゼクス |
|||
|---|---|---|---|
 |
|||
| Type | Flying Wyvern | Previous Games | MHGen, MHGU |
| Threat Level | 7/10 | Rampage Type | ー |
| Major Weakness | Other Weakness | ||
| Blight / Elemental Damage | Abnormal Status | ||
| Characteristics | |||
| Large Flying Wyverns with crest-shaped organs that let them control vast amounts of electricity. Astalos vibrate these organs on their head, forked tail, and brilliant wings to charge the respective body part with electricity, yielding tremendous strength and an amplified attack range. Violent to a fault, witnesses have observed them using all their might to drive intruders from their territory. | |||
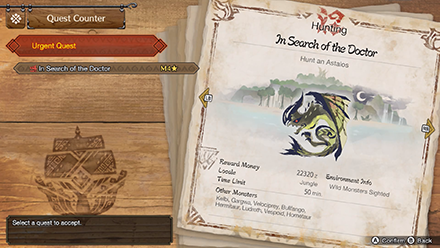
How to Unlock Astalos
Clear 2 M★4 Key Quests in Master Rank
| Quest Name | Monster/Unlock |
|---|---|
| In Search of the Doctor |
|
| Unlock Conditions: Complete two M★4 Key Quests after finishing the Quest "Ice Wolf, Red Moon" |
The Astalos Urgent Quest is unlocked by completing 2 Key Quests after defeating Lunagaron in Ice Wolf, Red Moon.
MR Grinding Guide:
How to Get from MR 6 to MR 100 Fast
Astalos Weakness and Resistance
Astalos Weapon Damage Breakdown
| Part | |||
|---|---|---|---|
| Tail | 35 | 35 | 20 |
| Leg | 25 | 25 | 15 |
| Wing | 25 | 25 | 20 |
| Back | 25 | 25 | 20 |
| Neck | 55 | 55 | 30 |
| Abdomen | 24 | 24 | 15 |
| Crest | 55 | 55 | 39 |
| Overall | 35 | 35 | 23 |
| Tail Tip | 35 | 35 | 20 |
Astalos Elemental Weakness Breakdown
| Part | |||||
|---|---|---|---|---|---|
| Tail | 5 | 10 | 0 | 15 | 5 |
| Leg | 5 | 5 | 0 | 10 | 5 |
| Wing | 5 | 5 | 0 | 10 | 5 |
| Back | 5 | 5 | 0 | 10 | 5 |
| Neck | 5 | 5 | 0 | 5 | 5 |
| Abdomen | 5 | 5 | 0 | 10 | 5 |
| Crest | 5 | 5 | 0 | 10 | 5 |
| Overall | 5 | 7 | 0 | 11 | 5 |
| Tail Tip | 5 | 10 | 0 | 15 | 5 |
Higher numbers indicate higher potential damage to the monster.
Astalos Hunting Tips
Attacks with their head, wings, or tail will be charged with electricity. The movement, attack range, and strength of each part changes when electrified; when all parts are charged, these creatures become particularly dangerous, so targeting electrified parts to dispel their charge is essential.
Status Effect Vulnerabilities
| Poison | Stun | Paralysis | Sleep |
|---|---|---|---|
| -- | ★ | ★ | ★ |
| Blast | Exhaust | Fireblight | Waterblight |
| ★★ | ★ | ★ | ★ |
| Thunderblight | Iceblight | ||
| ★ | ★★ | ||
If an ailment has more stars it means that it has better effectiveness.
Item Vulnerabilities
| Pitfall Trap | Shock Trap | Flash Bomb |
|---|---|---|
| ◯ | △ | ✕ |
| Sonic Bomb | Meat Effects | Dung Bomb |
| ✕ | ✕ | ◯ |
◯ = Vulnerable; ✕ = Fully Resistant; ▲ = Situational
Kinsect Extracts
| Monster Part | Extract |
|---|---|
| Tail Tip | — |
| Overall | — |
| Crest |
|
| Abdomen |
|
| Neck |
|
| Back |
|
| Wing |
|
| Leg |
|
| Tail |
|
Red = Attack Increase, White = Movement Boost, Orange = Anti-knockback When Attacking
Hunt Astalos in the Sunbreak Demo

Astalos is featured in the free Sunbreak demo as an Expert quest.
Sunbreak Demo Guide and Monsters
Astalos Locations and Quests
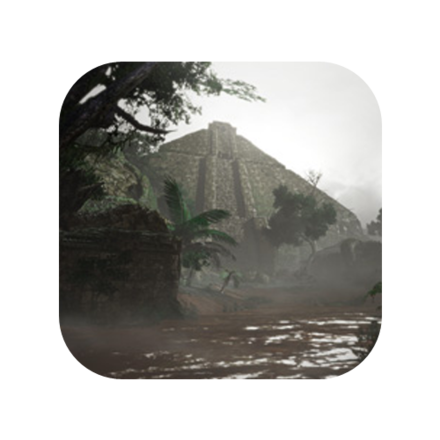
Astalos Habitat
| Map | Starting Area | Visited Areas | Rest Area |
|---|---|---|---|
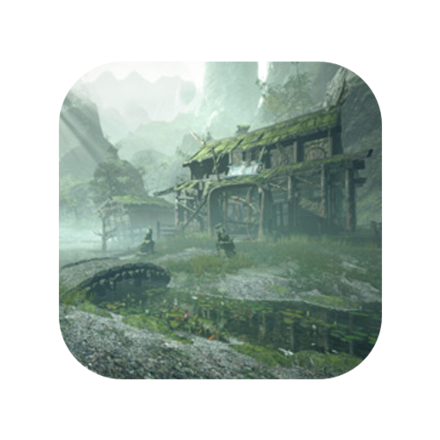 Shrine Ruins Shrine Ruins
|
7 / 8 / 11 | 3 / 7 / 8 / 9 / 10 / 11 / 12 | 11 |
 Flooded Forest Flooded Forest
|
3 / 9 / 11 | 1 / 3 / 6 / 8 / 9 / 10 / 11 / 12 / 13 | 13 |
 Jungle Jungle
|
5 / 6 / 9 | 2 / 3 / 5 / 6 / 7 / 8 / 9 | 7 |
 Forlorn Arena Forlorn Arena
|
- | - | - |
Astalos Quest Appearances
| Quest Type | Lvl | Quest Name |
|---|---|---|
| Anomaly Quest | A★5 | Anomaly Research: Astalos |
| Event Quest | M★4 | Flash of Inspiration |
| Follower Quest | M★4 | Rumbling Tummy, Rumbling Thunder |
| Hub Quest | M★4 | Jade Membrane, Sapphire Claws |
| Hub Quest | M★4 | Troublemaking Trio Pt. 2 |
| Hub Quest | M★4 | An Electrifying Grace |
| Support Survey | M★4 | Operation Astalos |
| Urgent Hub Quest | M★4 | In Search of the Doctor |
| Event Quest | M★5 | The Terrible Threes |
| Support Survey | M★5 | Operation Thunder-Clad |
| Event Quest | M★6 | I Need My Beauty Sleep! |
| Event Quest | M★6 | Adorned Arena |
| Hub Quest | M★6 | Advanced: True King of the Skies |
| No Quest in This Rank |
| No Quest in This Rank |
How to Beat Astalos
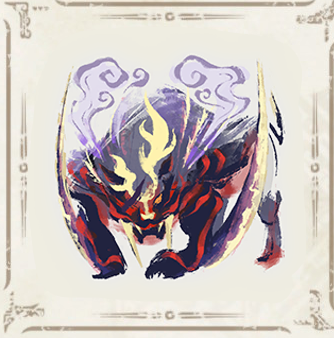
Be Aware of Its Charged State

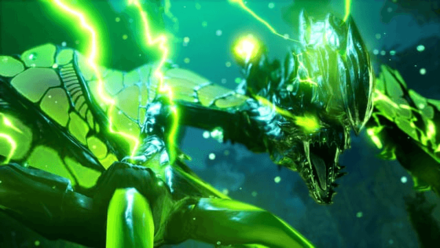
Astalos can store electricity in its tail, wings, and head and can become fully charged. You know Astalos is in a charged state when the wing talons, tail tip, and crown are glowing yellow-green.
While in the charged state, its attacks are faster and more powerful. To take away its charged state, Astalos should be attacked on its body parts where electricity is stored, like its head.
Shock Traps Fully Charge Astalos

Like that of Zinogre, using a Shock Trap on Astalos will stun it but will also power it up!
Since Astalos receives more damage on the charged parts when fully charged, you can opt to charge Astalos with a Shock Trap to make it more vulnerable. However, be ready for a more aggressive Astalos when you do this.
If your goal is to incapacitate Astalos for free hits, we recommend using Pitfall Traps instead. A shock trap should be a last resort if necessary.
Charged Parts are Especially Vulnerable
In the demo, hitting the parts that are charged (glowing head, tail tip, and wing talons) would deal a great amount of damage to Astalos. You gotta be careful though, beside those parts are the areas where you are most exposed to damage. Try balancing offense and defense when fighting Astalos.
Bring Nulberries

Astalos deals Thunderblight, where Hunters affected by it are more susceptible to being stunned. Don't forget to take the Nulberries available in the Main Camp item box or pick them up around the locale.
Nulberry Location: How to Get and Effects
Weakest to Ice
Astalos is weakest to Ice. Its usual weak spots included its head, the tip of its tail, and the tail itself. Try equipping an ice element weapon to better your chances against Astalos.
Astalos Attacks and Moves
| Name | Description |
|---|---|
| Wing Stomps | Astalos slams its large wings with authority, dealing damage in a wide area. |
| Electro Stake Explosion | Astalos plants its tail on the ground then causes an explosion. |
| Electro Beam | A long-range attack where Astalos fires of a lightning beam from its tail. |
| Electro Storms | Astalos summons multiple lightning pillars that moves in a zigzag pattern. |
| Aerial Electro Slam | Astalos flies up and slams itself, discharging electricity in a wide area. |
| Electro Slingshot | Astalos charges and prepares for flight then dashing towards the Hunter at high speed. |
Wing Stomps
| Wing Stomps Attack Information |
|---|
 Wing Stomps: Astalos slams its wings, damaging anyone within the wide range of the attack. If it is charged, Astalos may slam both wings consecutively, which can lead to paralysis or even fainting. Hunters aren't safe even if they're directly ahead or even slightly left or right from its wings. It is best to dodge roll towards its legs, or wirebug above to clear the area. |
Electro Stake Explosion
| Electro Stake Explosion Attack Information |
|---|
 Electro Stake Explosion: Astalos pierces its tail on the ground and sets off a lightning explosion. There is a little delay between Astalos piercing the ground and launching the move, so it is possible to attack it and dodge the explosion right after. Gunners can also take this opportunity to launch attacks on Astalos, as it will stay in one place for the entire duration of the move. |
Electro Beam
Astalos is capable of spewing off electric beams from its body. This attack can either come from its tail or the crown of its head.
| Electro Beam Variations |
|---|
 Electro Tail Beam: Astalos produces a beam of lightning from its tail damaging anyone in a straight line. It is relatively easy to dodge this attack as you just need to avoid positioning yourself in front of Astalos' tail. |
 Electro Crown Beam: A variation of the Tail Beam but using Astalos' crown. Astalos will look up at the heavens as it charges a beam of light that will later slam on the Hunter in a straight line. Try to time your dodge or wirebug away because Astalos tends to home in on the Hunter when using this move. |
Electro Storms
Astalos summons lightning pillars which move in a zigzag pattern. This is an attempt to confuse the Hunter so Astalos can follow it up with moves or an electro ball attack. Astalos will fire 4 lightning pillars at a time while enraged so take heed!
Astalos has two variations for this attack, both differs mainly on how Astalos follows up the initial pillar attacks.
| Electro Storm Variations |
|---|
 Storms with Electro Ball: Astalos follows up the storms with an electro ball that travels quickly in a straight line. Make sure to dodge promptly or use your counterattack silkbind moves to survive this attack. |
 Storms with No Electro Ball: This is the second variation of Astalos' Electro Storms attack where instead of an Electro Ball, Astalos follow this move up with another move - taking advantage of the confusion the storms created. |
Aerial Electro Slam
| Aerial Electro Slam Attack Information |
|---|
 Aerial Electro Slam: Astalos has its dive bomb attack wherein it leaps to the air, spreads its wings, and lunges at its target which causes a lightning explosion upon landing. It is useful to keep an eye out on Astalos as it rises in the air to determine who the dive bomb is meant for. Spread out if you or a nearby teammate are close if either of you is the target to avoid multiple people getting downed by the attack. |
Electro Slingshot
| Electro Slingshot Attack Information |
|---|
 Electro Slingshot: Astalos will create some distance before bolting across the field at the Hunter. It can also use this move if Astalos senses that the Hunter is far away. This deals massive damage and should be avoided or countered where possible. Astalos will often combo into this attack after using its wing slams so keep an eye out for its crouching and charging posture. |
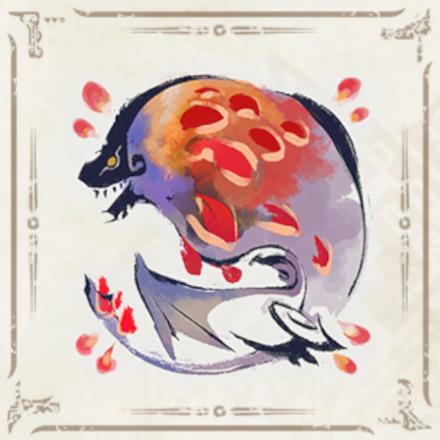
Astalos Materials and Drops
Master Rank Astalos Materials
Astalos Dropped Materials
Master Rank
|
|
Monster Hunter Rise Related Links

All Astalos Guides
| All Astalos Related Articles | ||
|---|---|---|
|
Astalos Guide
|
Astalos Weapons
|
Astalos Armor
|
Sunbreak Monsters
| Sunbreak Monster Lists | ||
|---|---|---|
| Sunbreak Monsters List | Monster Subspecies List | Sunbreak Small Monsters List |
Large Monsters
| Sunbreak Large Monsters | |||||
|---|---|---|---|---|---|
 Daimyo Hermitaur Daimyo Hermitaur |
 Blood Orange Bishaten Blood Orange Bishaten |
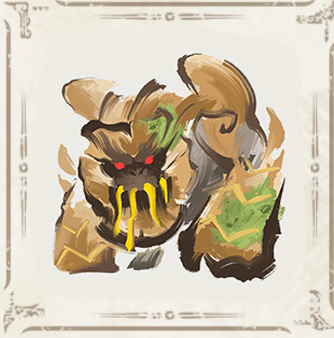 Garangolm Garangolm |
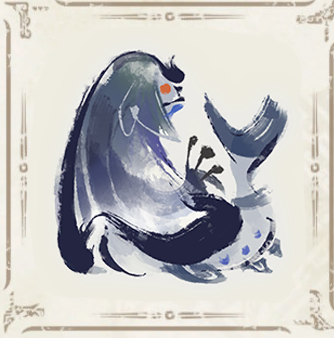 Aurora Somnacanth Aurora Somnacanth |
||
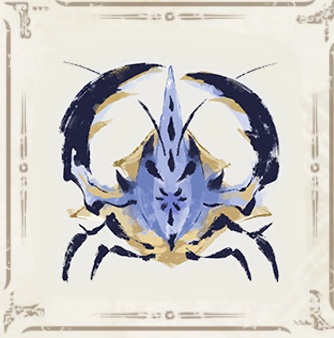 Shogun Ceanataur Shogun Ceanataur |
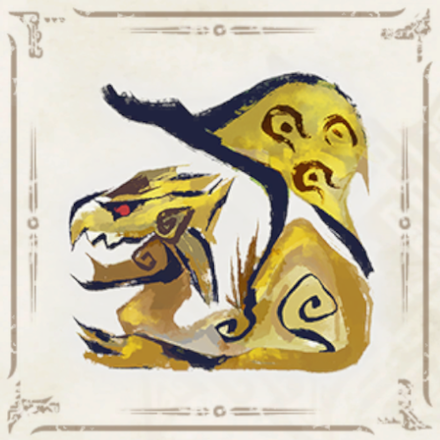
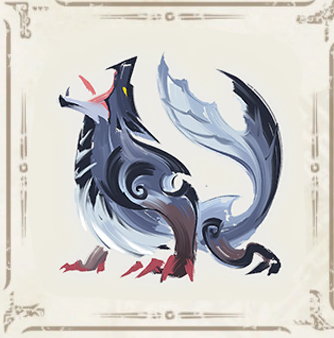 Lunagaron Lunagaron |
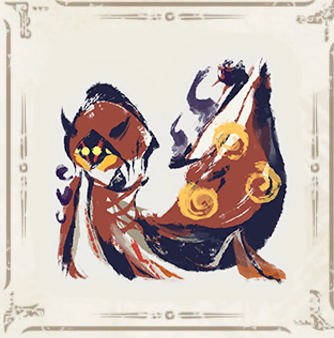
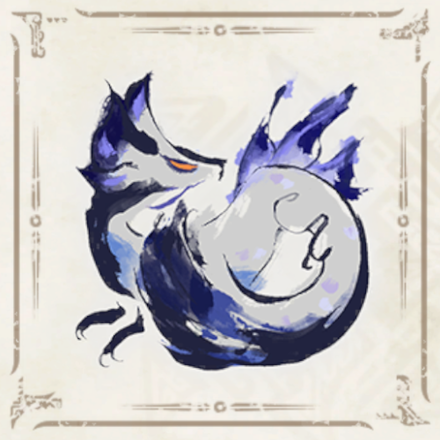
Astalos |
 Seregios Seregios |
||
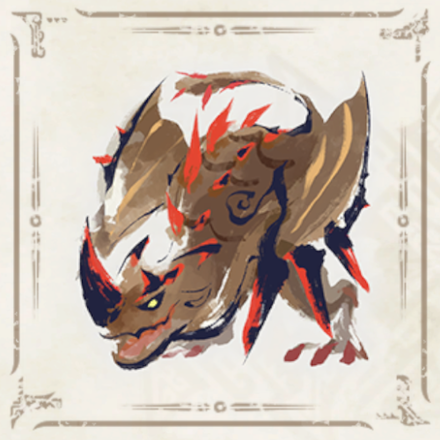
 Magma Almudron Magma Almudron |
 Gore Magala Gore Magala |
 Espinas Espinas |
 Pyre Rakna-Kadaki Pyre Rakna-Kadaki |
||
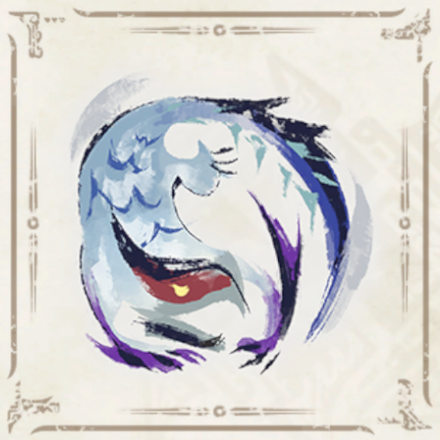
 Malzeno Malzeno |
 Shagaru Magala Shagaru Magala |
||||
MR6+ Large Monsters
| MR6+ Monsters | |||||
|---|---|---|---|---|---|
 Gaismagorm Gaismagorm(MR6) |
 Furious Rajang Furious Rajang(MR50) |
 Scorned Magnamalo Scorned Magnamalo(MR100) |
|||
Title Update 1 Monsters
| Sunbreak Title Update 1 Monsters | |||
|---|---|---|---|
 Seething Bazelgeuse Seething Bazelgeuse |
 Silver Rathalos Silver Rathalos |
 Gold Rathian Gold Rathian |
 Lucent Nargacuga Lucent Nargacuga |
Title Update 2 Monsters
| Sunbreak Title Update 2 Monsters | ||
|---|---|---|
 Flaming Espinas Flaming Espinas |
 Risen Chameleos Risen Chameleos |
 Violet Mizutsune Violet Mizutsune |
Title Update 3 Monsters
| Sunbreak Title Update 3 Monsters | ||
|---|---|---|
 Chaotic Gore Magala Chaotic Gore Magala |
 Risen Kushala Daora Risen Kushala Daora |
 Risen Teostra Risen Teostra |
Title Update 4 Monsters
| Sunbreak Title Update 4 Monsters | |
|---|---|
 Velkhana Velkhana |
 Risen Crimson Glow Valstrax Risen Crimson Glow Valstrax |
Title Update 5 Monsters
| Sunbreak Title Update 5 Monsters | |
|---|---|
 Amatsu Amatsu |
 Risen Shagaru Magala Risen Shagaru Magala |
Small Monsters
| Sunbreak Small Monsters | |||||
|---|---|---|---|---|---|
 Boggi Boggi |
 Ceanataur Ceanataur |
 Gowngoat Gowngoat |
|||
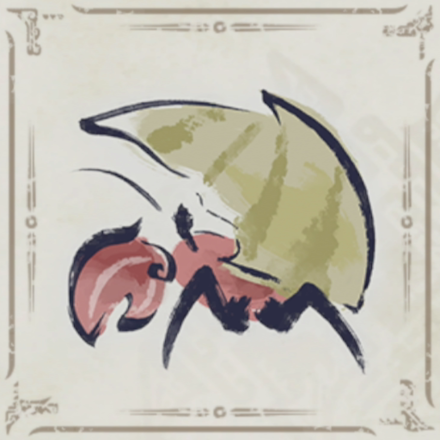 Hermitaur Hermitaur |
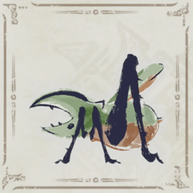 Hornetaur Hornetaur |
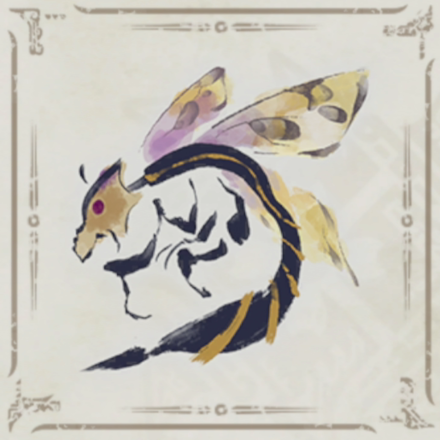
 Pyrantula Pyrantula |
 Vespoid Vespoid |
 Velociprey Velociprey |
|
Other Large Monsters
 Great Izuchi
 Arzuros
 Great Baggi
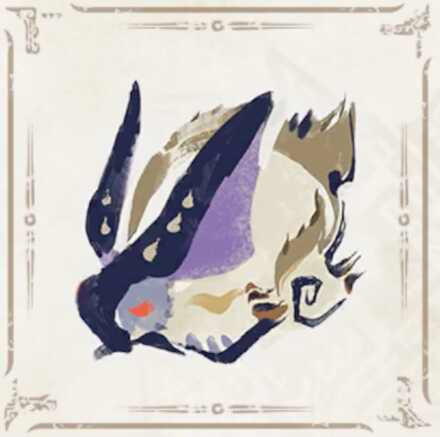 Lagombi
 Aknosom
 Tetranadon
 Kulu-Ya-Ku
 Barroth
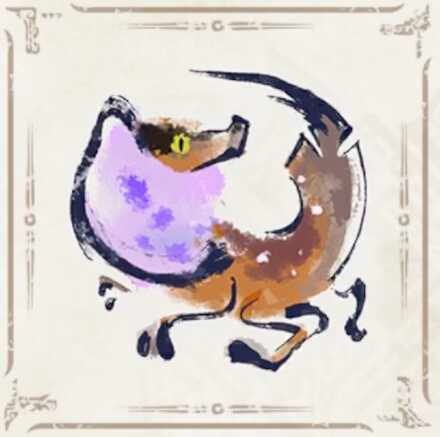 Great Wroggi
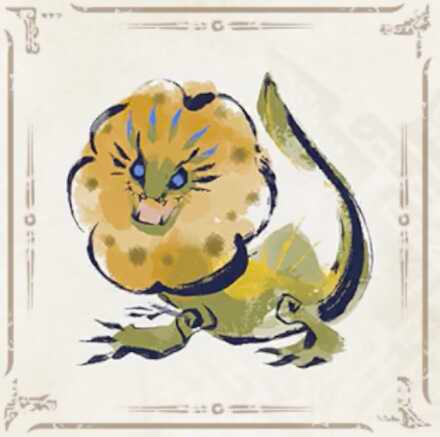 Royal Ludroth
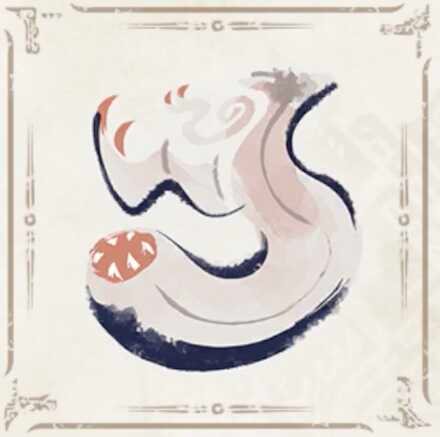 Khezu
Khezu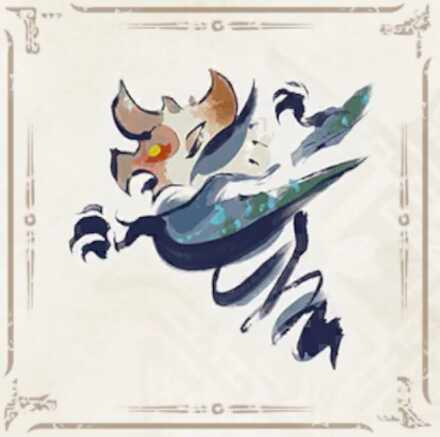 Bishaten
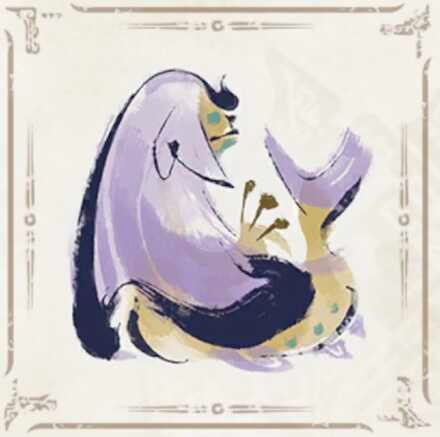 Somnacanth
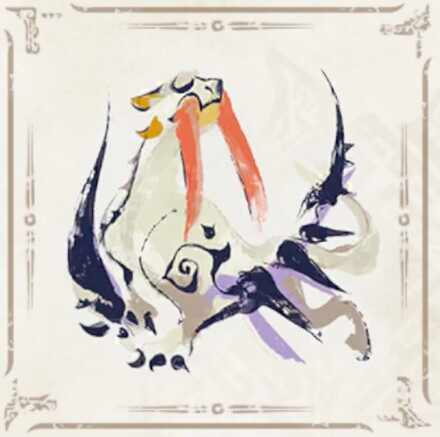 Barioth
 Rathian
 Tobi-Kadachi
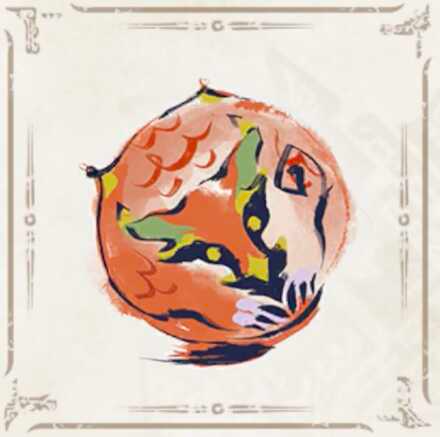 Volvidon
 Basarios
 Pukei-Pukei
 Magnamalo
 Nargacuga
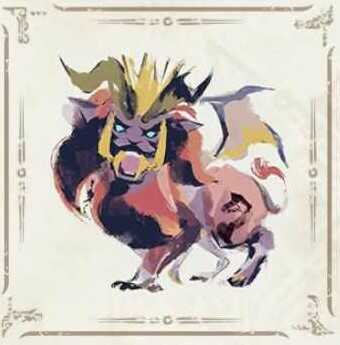
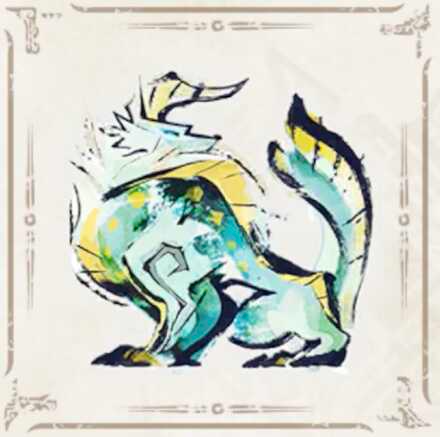 Zinogre
 Anjanath
 Mizutsune
 Rathalos
 Almudron
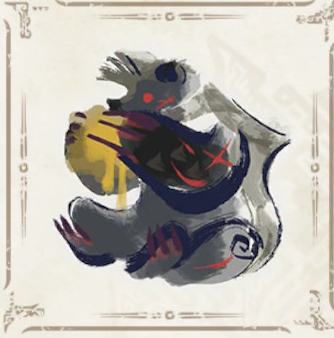
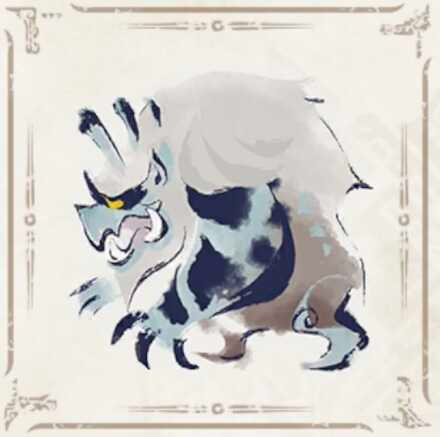 Goss Harag
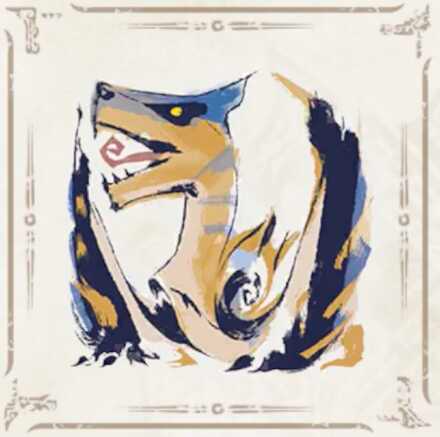 Tigrex
 Diablos
 Jyuratodus
 Rajang
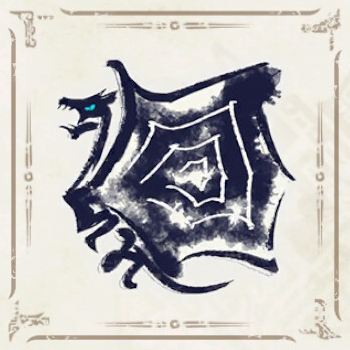
 Rakna-Kadaki
 Bazelgeuse
Elder Dragons
| Elder Dragons | |||||
|---|---|---|---|---|---|
 Narwa the Allmother Narwa the Allmother |
|||||
 Wind Serpent Ibushi Wind Serpent Ibushi |
 Thunder Serpent Narwa Thunder Serpent Narwa |
 Crimson Glow Valstrax Crimson Glow Valstrax |
|||
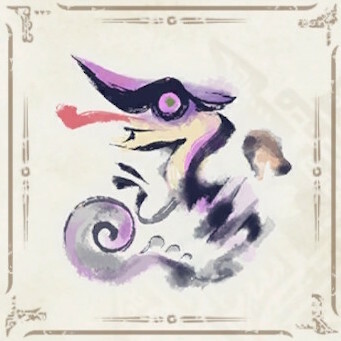 Chameleos Chameleos |
 Kushala Daora Kushala Daora |
 Teostra Teostra |
|||
Apex Monsters
| Apex Monsters | ||
|---|---|---|
 Apex Arzuros Apex Arzuros |
 Apex Rathian Apex Rathian |
 Apex Mizutsune Apex Mizutsune |
 Apex Rathalos Apex Rathalos |
 Apex Diablos Apex Diablos |
 Apex Zinogre Apex Zinogre |
Other Small Monsters
 Altaroth
 Anteka
 Baggi
Baggi Bnahabra
 Bombadgy
 Bullfango
 Delex
Delex Felyne
 Gajau
Gajau Gargwa
 Izuchi
 Jaggi
Jaggi Jaggia
 Jagras
 Kelbi
Kelbi Kestodon
 Ludroth
 Melynx
 Popo
Popo Rachnoid
 Remobra
 Rhenoplos
 Slagtoth
 Uroktor
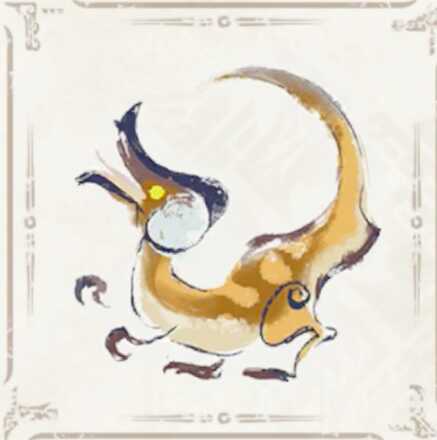 Wroggi
 Zamite
Author

Sunbreak Astalos: Weakness and Drops
Rankings
- We could not find the message board you were looking for.
Gaming News
![Neverness to Everness (NTE) Review [Beta Co-Ex Test] | Rolling the Dice on Something Special](https://img.game8.co/4414628/dd3192c8f1f074ea788451a11eb862a7.jpeg/show)


Popular Games

Genshin Impact Walkthrough & Guides Wiki
Honkai: Star Rail Walkthrough & Guides Wiki
Arknights: Endfield Walkthrough & Guides Wiki
Umamusume: Pretty Derby Walkthrough & Guides Wiki
Wuthering Waves Walkthrough & Guides Wiki
Pokemon TCG Pocket (PTCGP) Strategies & Guides Wiki
Abyss Walkthrough & Guides Wiki
Zenless Zone Zero Walkthrough & Guides Wiki
Digimon Story: Time Stranger Walkthrough & Guides Wiki
Clair Obscur: Expedition 33 Walkthrough & Guides Wiki


Recommended Games
Fire Emblem Heroes (FEH) Walkthrough & Guides Wiki
Pokemon Brilliant Diamond and Shining Pearl (BDSP) Walkthrough & Guides Wiki
Diablo 4: Vessel of Hatred Walkthrough & Guides Wiki
Super Smash Bros. Ultimate Walkthrough & Guides Wiki
Yu-Gi-Oh! Master Duel Walkthrough & Guides Wiki
Elden Ring Shadow of the Erdtree Walkthrough & Guides Wiki
Monster Hunter World Walkthrough & Guides Wiki
The Legend of Zelda: Tears of the Kingdom Walkthrough & Guides Wiki
Persona 3 Reload Walkthrough & Guides Wiki
Cyberpunk 2077: Ultimate Edition Walkthrough & Guides Wiki


All rights reserved
©CAPCOM CO., LTD. ALL RIGHTS RESERVED.
The copyrights of videos of games used in our content and other intellectual property rights belong to the provider of the game.
The contents we provide on this site were created personally by members of the Game8 editorial department.
We refuse the right to reuse or repost content taken without our permission such as data or images to other sites.
You have the average elemental weakness for ice and fire backwards. Average weakness to ice is 9, average weakness to fire is 5