Sunbreak Amatsu: Weakness and Drops
★ All Title Updates now available for ALL PLATFORMS!
┗ Title Update 4 | Title Update 5 | Bonus Update
┗ Check out all our Best Builds For Every Weapon!
┗ TU4 Monsters: Velkhana | Risen C.G. Valstrax
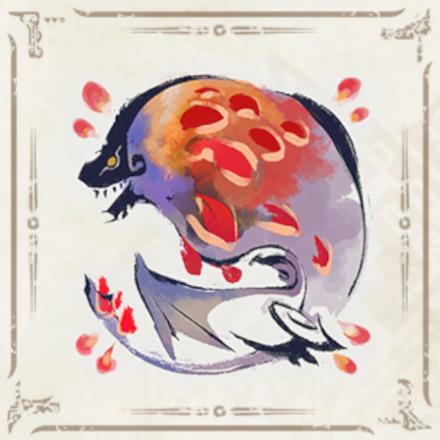
┗ TU5 Monsters: Amatsu | Risen Shagaru Magala
┗ Bonus Update Monster: Primordial Malzeno
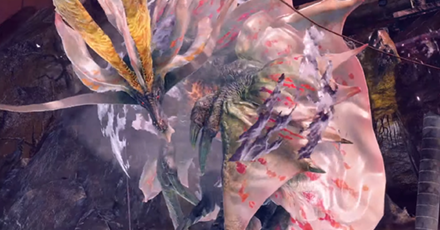
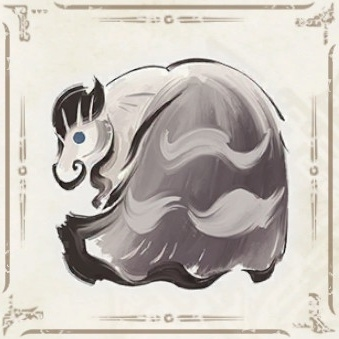
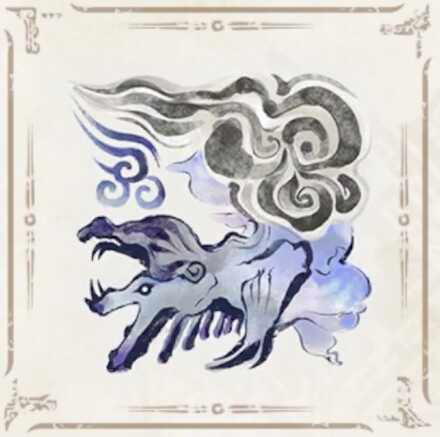
This is a hunting guide for Amatsu, an Elder Dragon in Monster Hunter Rise (MH Rise) Sunbreak DLC. Read on to learn Amatsu's weaknesses, forgeable weapons, forgeable armor, drops, and attack patterns for Master Rank!
 Amatsu Guide Amatsu Guide
|
 Amatsu Weapons Amatsu Weapons
|
 Amatsu Armor Amatsu Armor
|
List of Contents
Amatsu Weakness and Notes
| Amatsu |
|||
|---|---|---|---|
 |
|||
| Type | Elder Dragon | Previous Games | MHP3rd, MHGen, MHGU |
| Threat Level | 10/10 | Rampage Type | ー |
| Major Weakness | Other Weakness | ||
| Blight / Elemental Damage | Abnormal Status | ー | |
| Characteristics | |||
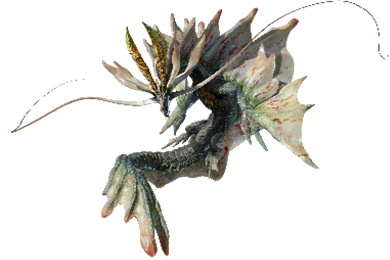
| Elder dragons that can manipulate the weather and are able to conjure up unrelenting gales. Amatsu glide through the air on currents they create using their wing membrane, making it look as if they're dancing in the sky. The storms they summon are extremely destructive and can lay entire cities to waste, thus they are known as the "Looming Calamity." When enraged, their storms become even more violent, enveloping the area with unrelenting lighting strikes. | |||
How to Unlock Amatsu
Reach MR 10
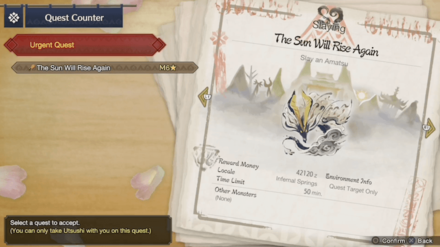
Hunters will be able to slay Amatsu via the M6★ Urgent Quest The Sun Will Rise Again. This urgent quest will unlock as soon as the Hunter reaches MR10.
After finishing the urgent quest, Amatsu can be fought again in the M6★ Hub Quest Destructive Dragon Diety.
MR Grinding Guide:
How to Get from MR 6 to MR 100 Fast
Amatsu Weaknesses
Amatsu Weapon Damage Breakdown
| Part | |||
|---|---|---|---|
| Head | 55 | 65 | 45 |
| Neck | 35 | 30 | 5 |
| Torso | 40 | 40 | 5 |
| Back | 30 | 25 | 10 |
| Foreleg | 45 | 45 | 15 |
| Hind Leg | 25 | 30 | 25 |
| Tail | 40 | 30 | 35 |
| Overall | 39 | 38 | 20 |
Amatsu Elemental Weakness Breakdown
| Part | |||||
|---|---|---|---|---|---|
| Head | 20 | 0 | 10 | 15 | 25 |
| Neck | 0 | 0 | 0 | 0 | 5 |
| Torso | 0 | 0 | 0 | 0 | 5 |
| Back | 5 | 0 | 0 | 0 | 5 |
| Foreleg | 20 | 0 | 5 | 10 | 15 |
| Hind Leg | 25 | 0 | 0 | 5 | 20 |
| Tail | 15 | 0 | 0 | 5 | 10 |
| Overall | 12 | 0 | 2 | 5 | 12 |
Higher numbers indicate higher potential damage to the monster.
Amatsu Hunting Tips
When Amatsu start drawing in the storms around them, get ready for them to unleash a tornado attack. The only way to avoid taking damage is to use a Great Wirebug to escape into the air and to remain suspended until the storm has calmed. Ballistae are scattered around the field, but beware that Silkbinder Shots will be deflected when Amatsu are surrounded by their wind barrier.
Status Effect Vulnerabilities
| Poison | Stun | Paralysis | Sleep |
|---|---|---|---|
| -- | -- | -- | -- |
| Blast | Exhaust | Fireblight | Waterblight |
| ★★ | -- | ★★ | ★ |
| Thunderblight | Iceblight | ||
| -- | ★ | ||
If an ailment has more stars it means that it has better effectiveness.
Item Vulnerabilities
| Pitfall Trap | Shock Trap | Flash Bomb |
|---|---|---|
| ✕ | ✕ | ◯ |
| Sonic Bomb | Meat Effects | Dung Bomb |
| ✕ | ✕ | ✕ |
◯ = Vulnerable; ✕ = Fully Resistant; ▲ = Situational
Kinsect Extracts
| Monster Part | Extract |
|---|---|
| Head |
|
| Neck |
|
| Torso |
|
| Back |
|
| Foreleg |
|
| Hind Leg |
|
| Tail |
|
| Overall | — |
Red = Attack Increase, White = Movement Boost, Orange = Anti-knockback When Attacking
Amatsu Locations and Quests
Amatsu Habitat
| Map | Starting Area | Visited Areas | Rest Area |
|---|---|---|---|
 Infernal Springs Infernal Springs
|
- | - | - |
Amatsu Quest Appearances
| Quest Type | Lvl | Quest Name |
|---|---|---|
| Event Quest | M★6 | Hazard: Melody of Mayhem |
| Hub Quest | M★6 | Destructive Dragon Deity |
| Urgent Hub Quest | M★6 | The Sun Will Rise Again |
| No Quest in This Rank |
| No Quest in This Rank |
How to Beat Amatsu
Beware of Its OHKO Move!
Amatsu's one hit KO move, we dubbed as Calamity Storm, can one hit KO all Hunters that are on the ground!
How to Survive Calamity Storm
| Mid-Air Actions | Wiredash Forward ↓ Mid-Air Stop |
|---|
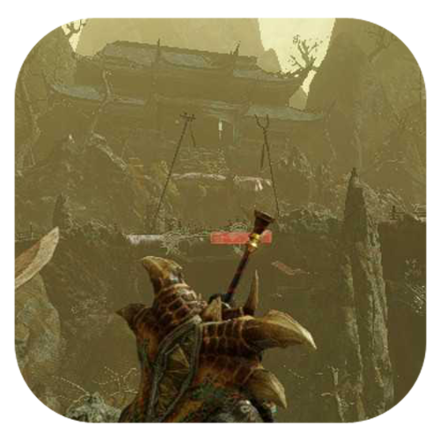
Amatsu will first electrify the entire battlefield causing the HP of all hunters to dwindle down - with only the red health remaining. Once Amatsu does this, run towards any Great Wirebugs in the arena conveniently lit up so Hunters can see.
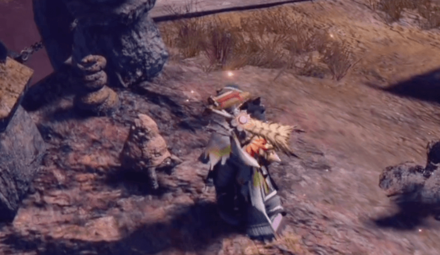
Interacting with the Great Wirebug will shoot you upwards. From there, you need to wiredash forward, and execute a Mid-Air Stop. This will make sure that you will be airborne enough to be safe from all subsequent damage from Calamity Storm!
Use the Cannons and Ballistae in the Arena
In this fight, cannons and ballistae will be littered around the arena. Each cannon will have limited piercing cannon rounds inside (hitting 200 per tick), while all ballistae will be equipped with restraining shots.
To maximize the use of the cannon, make sure to line it up in front of Amatsu so the round will go through its entire length. Also, take note that the restraining ballistae will not work if Amatsu is cloaked with winds.
Cancel the Suction Attack with Ballistae
In this fight, Amatsu will regularly suction air around the battlefield to power up its winds. Use restraining ballistae whenever Amatsu does this to cancel the entire move and earn an opening!
Bring Fire or Dragon Weapons

Elemental weapons are very strong in Sunbreak, so bringing an element that Amatsu is weak to will greatly reduce the difficulty of the fight. Amatsu is weak against Fire and Dragon, so bring weapons of that attribute!
Equip Stun Resistance!

Amatsu has a lot of moves that induce stun, especially when it envelops itself with lightning. If possible, slot in Stun Resistance in your builds!
Don't Forget the Hunting Helpers in Camp!
Your camp will have two Hunting Helpers that will help you greatly in this hunt: a Rainbow Spiribird and an Aurorturtle. Don't forget to take them before dashing your way to Amatsu!
Amatsu Attacks and Moves
Amatsu boasts great control over winds and lightning, and it will try to use both while fighting you!
| Name | Description |
|---|---|
| Tail Attacks | Amatsu uses its long tail to damage Hunters around Amatsu. |
| Wind Tunnel Attacks | Amatsu creates a tunnel-like cylinder that sucks Hunters inside. |
| Wind Wall | A wind attack that propages from Amatsu. Effectively hides Amatsu so Hunters don't know what move it's gonna use next. |
| Multi-nado Attacks | Amatsu summons multiple tornadoes around the arena. |
| Water Jet Attacks | Amatsu attacks using highly-pressurized beam of water. |
| Water Bubble | A slow bubble that explodes after touching the ground. |
| Water Burst | Amatsu charges up, then expels a water bubble that explodes immediately in front of Amatsu. |
| Lightning Storm Attacks | Lightning attacks that hits the ground. One variation homes in on the Hunter. |
| Lightning Tail Attacks | Lightning attacks that starts from Amatsu's tail. |
| Low Pressure Tornado | A move that sucks everyone near Amatsu, then creates a huge tornado in the epicenter. |
| Calamity Storm [DANGER] |
Amatsu's one-hit-KO move that can cart everyone standing on the arena. The only way to avoid this is to stay airborne. |
Tail Attacks
| Tail Attack Variations |
|---|
| Tail Slap: Amatsu uses its huge tail to slap on unsuspecting Hunters. This has a huge wind up so you can just easily evade sideways! |
| Tail Spin: Amatsu spins around and uses its large tail to increase the reach of this attack. Anyone caught in the area of effect is thrown away. |
Wind Tunnel Attack
| Wind Tunnel Attack Variations |
|---|
| Single Wind Tunnel: Amatsu fires a cylinder of wind that sucks Hunters inside. Simply run or roll away from the center of the tunnel to survive. |
| Double Wind Tunnel: Amatsu summons two wind tunnels instead of one, widening its effective range. Always aim for the nearest side to get out of the tunnel for this one! |
Wind Wall
| Wind Wall Attack Information |
|---|
| Wind Wall: Amatsu summons a wind wall that progresses in an outward direction. This move also hides Amatsu so Hunters won't know which move it's gonna use. It will usually follow up this move with Water Bubble Attacks or Water Jet attacks so always be aware. |
Multi-nado Attacks
| Multi-nado Attack Variations |
|---|
| Radial Tornado: Amatsu summons waves of wind tornadoes that propagates outward from Amatsu. When Amatsu has winds around it, it will use this move twice - increasing the total number of tornadoes. |
| Rising Tornado: Amatsu throws the Hunter upward, then summons four tournadoes. To evade this move, wirefall towards Amatsu and slip in between the tornadoes. |
Water Jet
| Water Jet Attack Information |
|---|
| Straight Jet Attack: Amatsu charges up, then sends out two jets of water that can deal waterblight on hit. Amatsu can use this twice so don't let your guard down! Evade this move simply by rolling sideways! |
Water Bubble Attack
| Water Bubble Attack Information |
|---|
| Water Bubble: Amatsu expels a water bubble that homes in on a Hunter, then explodes when it touches the ground. The bubble moves slowly so it's easy to evade, but the actual explosion is huge so anyone can be caught off guard! |
Water Burst
| Water Burst Attack Information |
|---|
| Water Burst: Amatsu charges up then expels a bubble that explodes in an area in front of it. Evade sideways to escape this attack! |
Lightning Storm Attacks
| Lightning Storm Attack Variations |
|---|
| Homing Lightning Storm: Amatsu summons lightning that homes in on Hunters. You can see the spot where the lightning will fall, so it's pretty easy to avoid. Simply keep moving to escape this attack! |
| Lightning Storm: Amatsu also summons lightning in a huge area, but it does not home in on Hunters. Simply avoid the purple circular areas dotting the area of effect - as that's the drop point of the lightning attacks. |
Lightning Tail Attack
| Lightning Tail Attack Variations |
|---|
| Lightning Wheel: Amatsu charges up two wheels of lightning energy, then whips them forward. The wheels would move sideways, so take note of that. The wheel summoned to the right will move left, so evade towards the right. Do the opposite for the wheel summoned to the left! |
| Lightning Tail-Claws: Amatsu slaps its tail, summoning lightning that propagates outward in a claw pattern. Evade this move by staying on the area between the 'fingers'. |
Low Pressure Tornado
| Low Pressure Tornado Attack Information |
|---|
| Low Pressure Tornado: Amatsu charges up and creates a low pressure that sucks all the air in the arena. Afterwards, it creates a really huge tornado that catches everyone sucked in by the move! During the charge phase, use the ballistae in the battlefield to restrain Amatsu. This will effectively cancel the move. In case the ballistae are unavailable, wiredash away from Amatsu to create distance. Don't use emergency evade, as the suction effect will still be there during the invincibility frames. |
Calamity Storm (OHKO Move)
| Calamity Storm Attack Information |
|---|
|
Calamity Storm: Amatsu summons lightning all over the battlefield causing the HP of all hunters to dwindle down. It will then end with a powerful AoE attack, ensuring everyone on the ground gets carted. To survive this move, steps must be followed! |
How to Survive Calamity Storm
| Mid-Air Actions | Wiredash Forward ↓ Mid-Air Stop |
|---|
To avoid this attack, run towards the Great Wirebugs littered in the arena and use them to fly up. Wiredash forward and execute a Mid-Air Stop to extend the time you're airborne. Jump down after Amatsu executes the final explosion.
Amatsu Materials and Drops
Master Rank Amatsu Materials
| |
| You cannot capture this monster! |
| |
| |
Amatsu Dropped Materials
Master Rank
|
|
MH Rise Sunbreak Related Guides

All Amatsu Guides
| All Amatsu Related Articles | ||
|---|---|---|
|
Amatsu Guide
|
Amatsu Weapons
|
Amatsu Armor
|
Sunbreak Monsters
| Sunbreak Monster Lists | ||
|---|---|---|
| Sunbreak Monsters List | Monster Subspecies List | Sunbreak Small Monsters List |
Large Monsters
 Daimyo Hermitaur
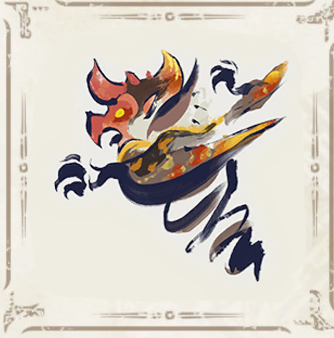 Blood Orange Bishaten
 Garangolm
 Aurora Somnacanth
 Shogun Ceanataur
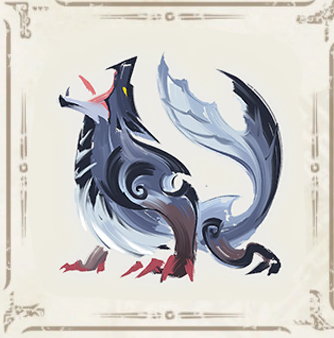 Lunagaron
 Astalos
 Seregios
 Magma Almudron
 Gore Magala
 Espinas
 Pyre Rakna-Kadaki
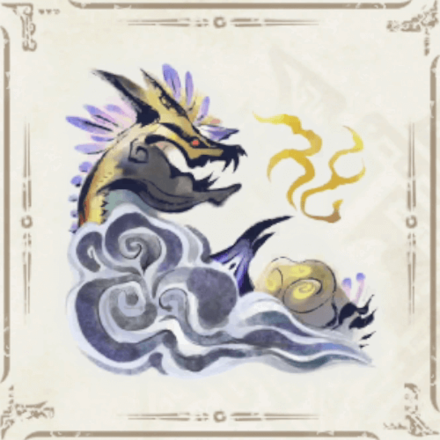
 Malzeno
 Shagaru Magala
MR6+ Large Monsters
| MR6+ Monsters | |||||
|---|---|---|---|---|---|
 Gaismagorm Gaismagorm(MR6) |
 Furious Rajang Furious Rajang(MR50) |
 Scorned Magnamalo Scorned Magnamalo(MR100) |
|||
Title Update 1 Monsters
| Sunbreak Title Update 1 Monsters | |||
|---|---|---|---|
 Seething Bazelgeuse Seething Bazelgeuse |
 Silver Rathalos Silver Rathalos |
 Gold Rathian Gold Rathian |
 Lucent Nargacuga Lucent Nargacuga |
Title Update 2 Monsters
| Sunbreak Title Update 2 Monsters | ||
|---|---|---|
 Flaming Espinas Flaming Espinas |
 Risen Chameleos Risen Chameleos |
 Violet Mizutsune Violet Mizutsune |
Title Update 3 Monsters
| Sunbreak Title Update 3 Monsters | ||
|---|---|---|
 Chaotic Gore Magala Chaotic Gore Magala |
 Risen Kushala Daora Risen Kushala Daora |
 Risen Teostra Risen Teostra |
Title Update 4 Monsters
| Sunbreak Title Update 4 Monsters | |
|---|---|
 Velkhana Velkhana |
 Risen Crimson Glow Valstrax Risen Crimson Glow Valstrax |
Title Update 5 Monsters
| Sunbreak Title Update 5 Monsters | |
|---|---|
| Amatsu |
 Risen Shagaru Magala Risen Shagaru Magala |
Small Monsters
| Sunbreak Small Monsters | |||||
|---|---|---|---|---|---|
 Boggi Boggi |
 Ceanataur Ceanataur |
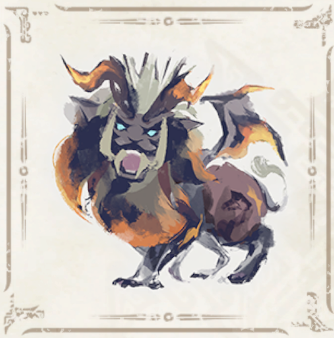
 Gowngoat Gowngoat |
|||
 Hermitaur Hermitaur |
 Hornetaur Hornetaur |
 Pyrantula Pyrantula |
 Vespoid Vespoid |
 Velociprey Velociprey |
|
Other Large Monsters
 Great Izuchi
 Arzuros
 Great Baggi
 Lagombi
 Aknosom
 Tetranadon
 Kulu-Ya-Ku
 Barroth
 Great Wroggi
 Royal Ludroth
 Khezu
Khezu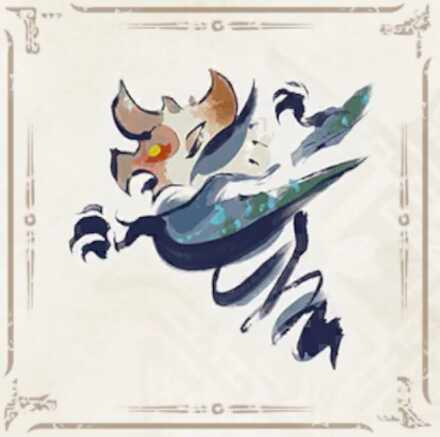 Bishaten
 Somnacanth
 Barioth
 Rathian
 Tobi-Kadachi
 Volvidon
 Basarios
 Pukei-Pukei
 Magnamalo
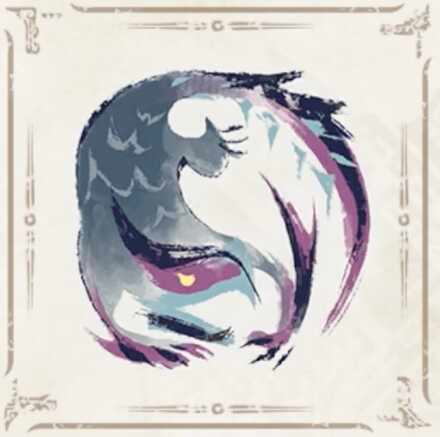 Nargacuga
 Zinogre
 Anjanath
 Mizutsune
 Rathalos
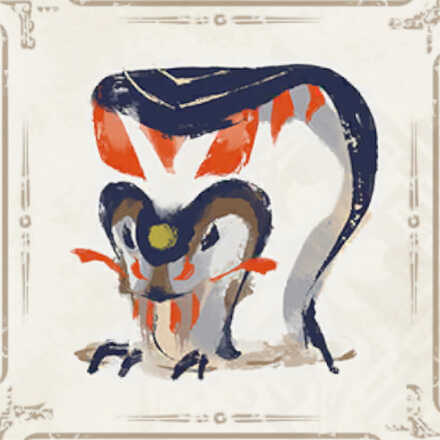 Almudron
 Goss Harag
 Tigrex
 Diablos
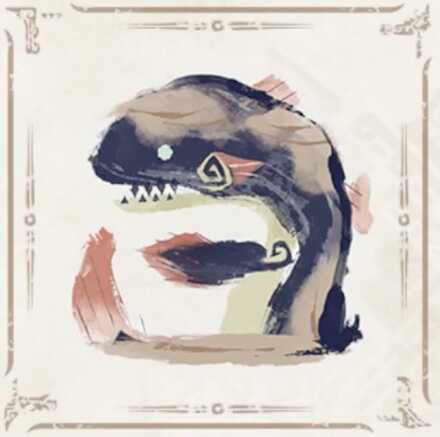 Jyuratodus
 Rajang
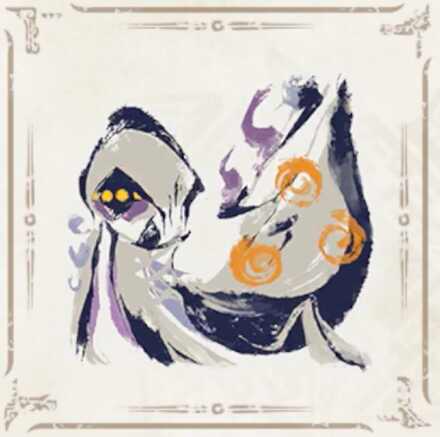 Rakna-Kadaki
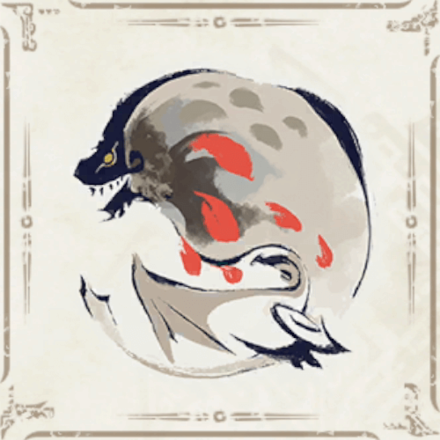 Bazelgeuse
Elder Dragons
| Elder Dragons | |||||
|---|---|---|---|---|---|
 Narwa the Allmother Narwa the Allmother |
|||||
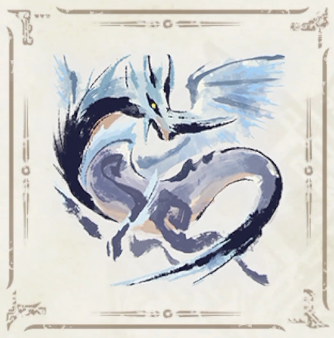
 Wind Serpent Ibushi Wind Serpent Ibushi |
 Thunder Serpent Narwa Thunder Serpent Narwa |
 Crimson Glow Valstrax Crimson Glow Valstrax |
|||
 Chameleos Chameleos |
 Kushala Daora Kushala Daora |
 Teostra Teostra |
|||
Apex Monsters
| Apex Monsters | ||
|---|---|---|
 Apex Arzuros Apex Arzuros |
 Apex Rathian Apex Rathian |
 Apex Mizutsune Apex Mizutsune |
 Apex Rathalos Apex Rathalos |
 Apex Diablos Apex Diablos |
 Apex Zinogre Apex Zinogre |
Other Small Monsters
 Altaroth
 Anteka
 Baggi
Baggi Bnahabra
 Bombadgy
 Bullfango
 Delex
Delex Felyne
 Gajau
Gajau Gargwa
 Izuchi
 Jaggi
Jaggi Jaggia
 Jagras
 Kelbi
Kelbi Kestodon
 Ludroth
 Melynx
 Popo
Popo Rachnoid
 Remobra
 Rhenoplos
 Slagtoth
 Uroktor
 Wroggi
 Zamite
Comment
Author

Sunbreak Amatsu: Weakness and Drops
Rankings
- We could not find the message board you were looking for.
Gaming News
![Neverness to Everness (NTE) Review [Beta Co-Ex Test] | Rolling the Dice on Something Special](https://img.game8.co/4414628/dd3192c8f1f074ea788451a11eb862a7.jpeg/show)


Popular Games

Genshin Impact Walkthrough & Guides Wiki
Honkai: Star Rail Walkthrough & Guides Wiki
Arknights: Endfield Walkthrough & Guides Wiki
Umamusume: Pretty Derby Walkthrough & Guides Wiki
Wuthering Waves Walkthrough & Guides Wiki
Pokemon TCG Pocket (PTCGP) Strategies & Guides Wiki
Abyss Walkthrough & Guides Wiki
Zenless Zone Zero Walkthrough & Guides Wiki
Digimon Story: Time Stranger Walkthrough & Guides Wiki
Clair Obscur: Expedition 33 Walkthrough & Guides Wiki


Recommended Games
Fire Emblem Heroes (FEH) Walkthrough & Guides Wiki
Pokemon Brilliant Diamond and Shining Pearl (BDSP) Walkthrough & Guides Wiki
Diablo 4: Vessel of Hatred Walkthrough & Guides Wiki
Super Smash Bros. Ultimate Walkthrough & Guides Wiki
Yu-Gi-Oh! Master Duel Walkthrough & Guides Wiki
Elden Ring Shadow of the Erdtree Walkthrough & Guides Wiki
Monster Hunter World Walkthrough & Guides Wiki
The Legend of Zelda: Tears of the Kingdom Walkthrough & Guides Wiki
Persona 3 Reload Walkthrough & Guides Wiki
Cyberpunk 2077: Ultimate Edition Walkthrough & Guides Wiki


All rights reserved
©CAPCOM CO., LTD. ALL RIGHTS RESERVED.
The copyrights of videos of games used in our content and other intellectual property rights belong to the provider of the game.
The contents we provide on this site were created personally by members of the Game8 editorial department.
We refuse the right to reuse or repost content taken without our permission such as data or images to other sites.