
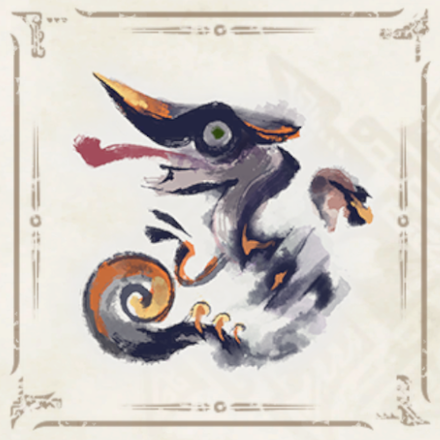
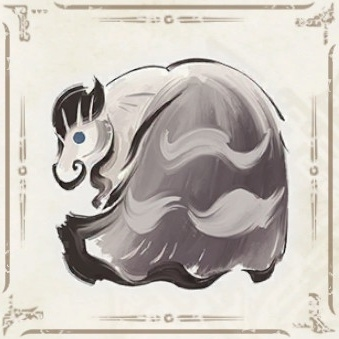
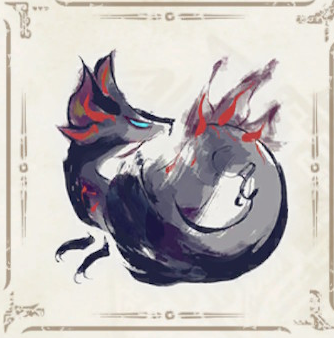
 Daimyo Hermitaur
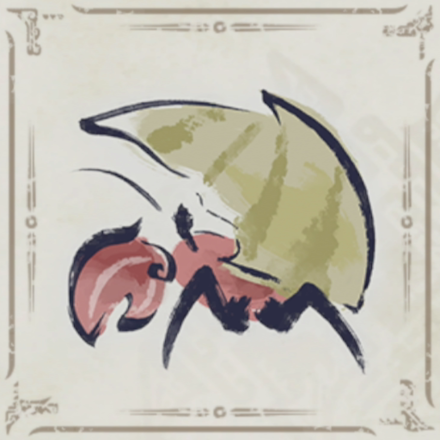
 Blood Orange Bishaten
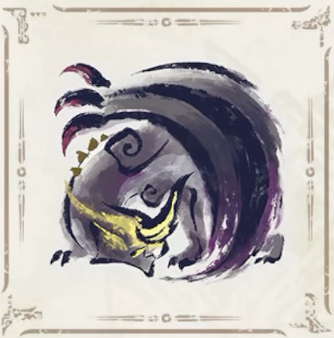
 Garangolm
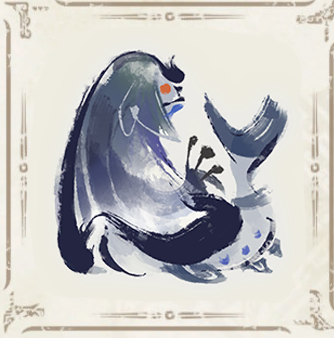 Aurora Somnacanth
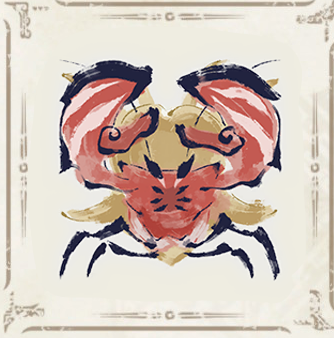
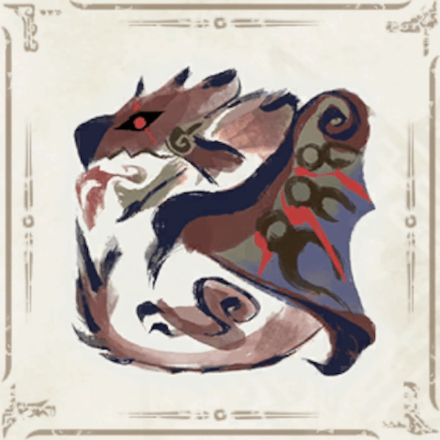
 Shogun Ceanataur
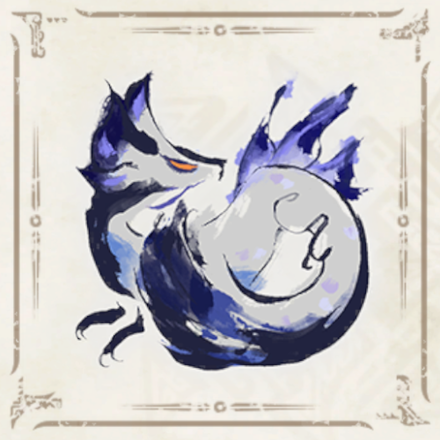
 Lunagaron
 Astalos
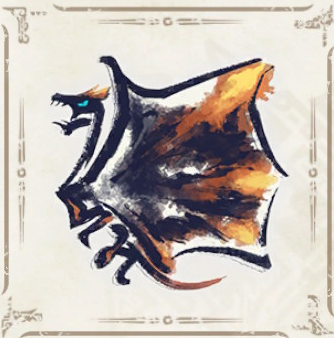
 Seregios
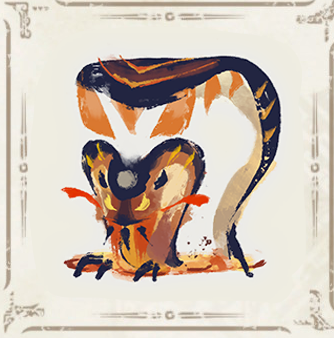 Magma Almudron
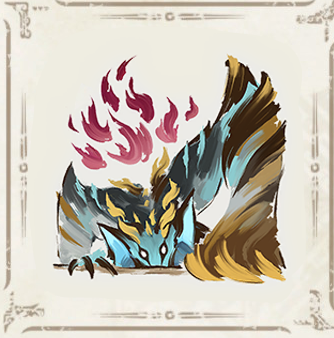
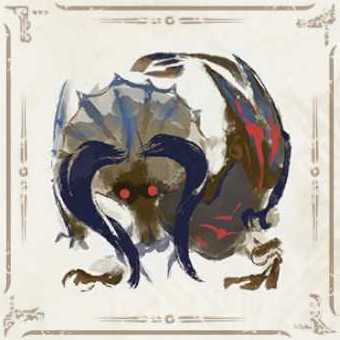
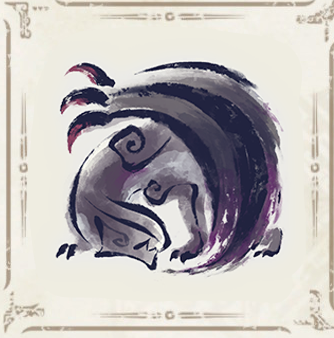 Gore Magala
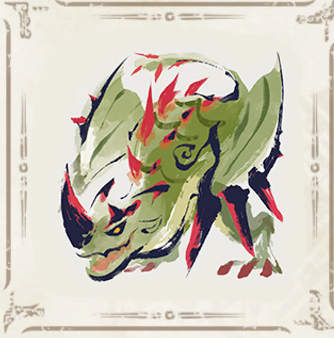 Espinas
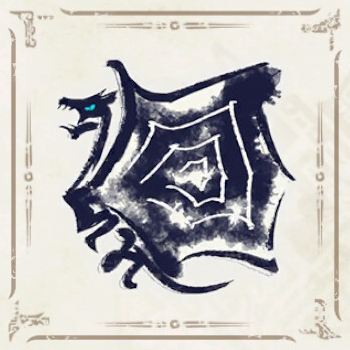
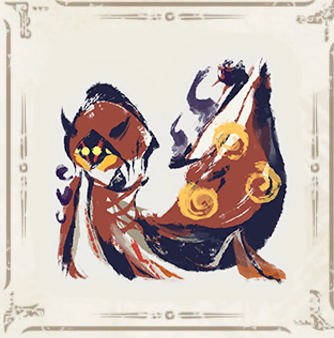 Pyre Rakna-Kadaki
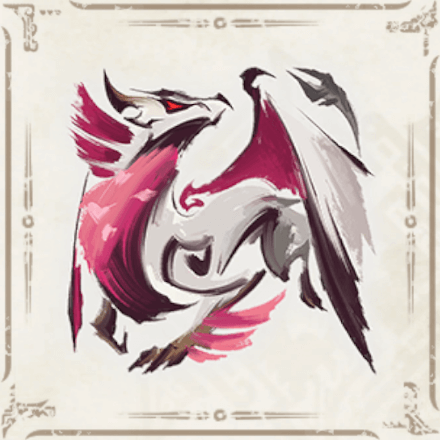 Malzeno
 Shagaru Magala
 Great Izuchi
 Arzuros
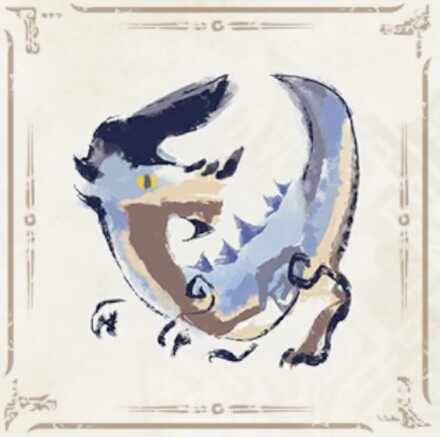 Great Baggi
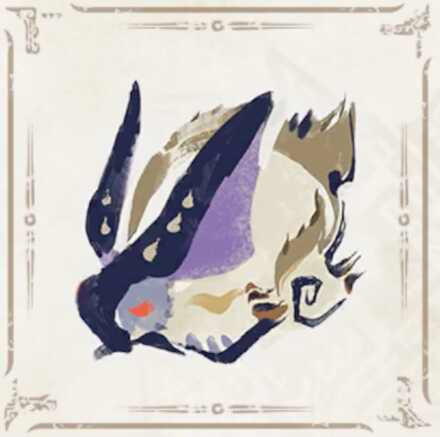 Lagombi
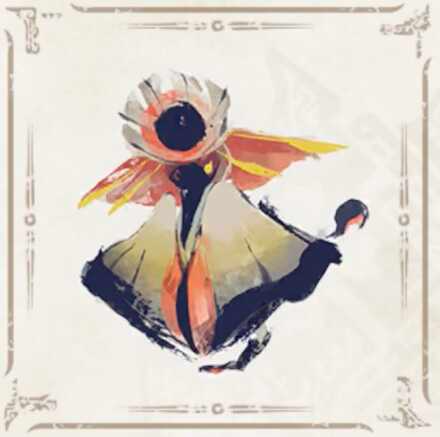 Aknosom
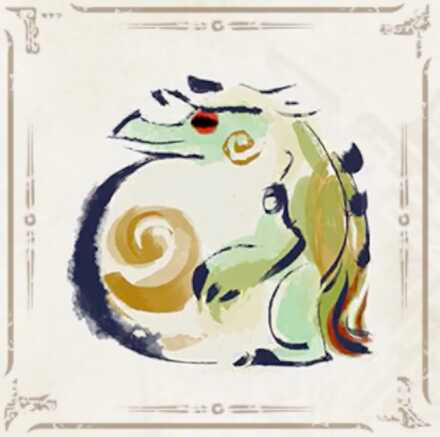 Tetranadon
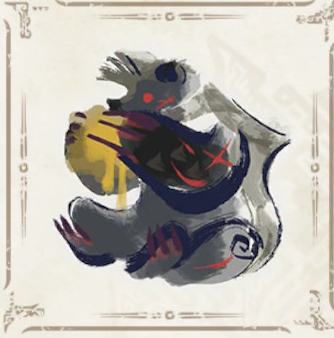
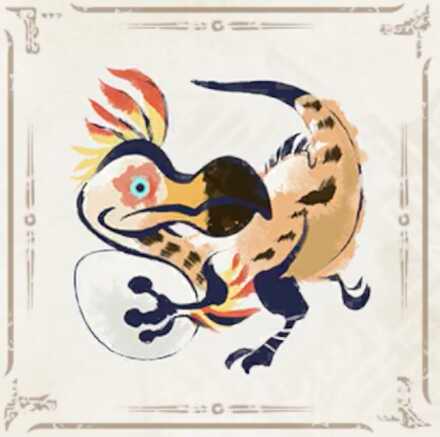 Kulu-Ya-Ku
 Barroth
 Great Wroggi
 Royal Ludroth
 Khezu
Khezu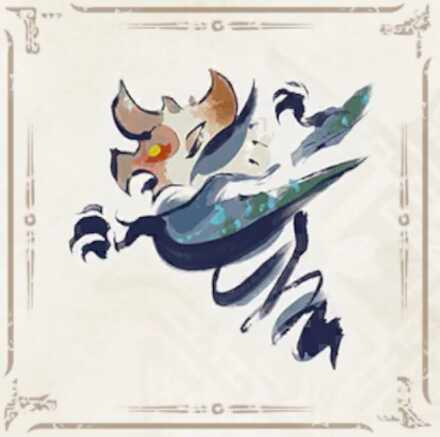 Bishaten
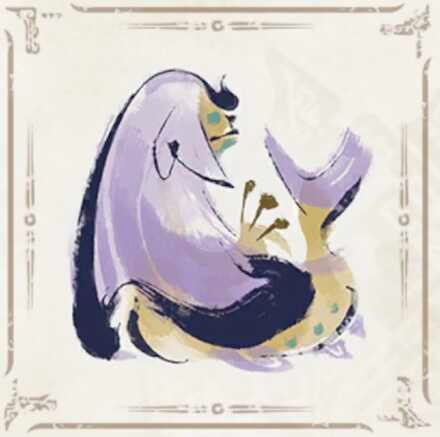 Somnacanth
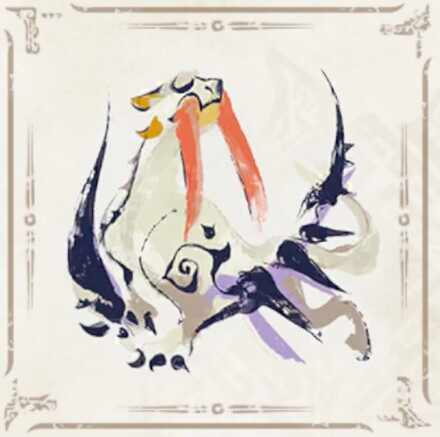 Barioth
 Rathian
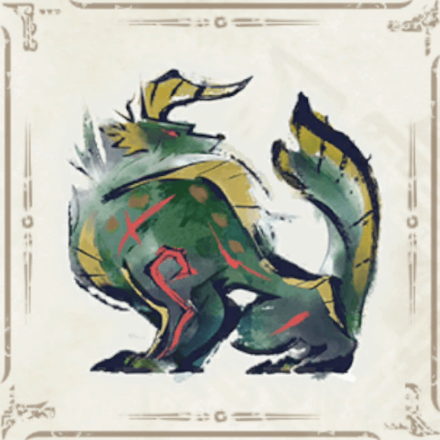
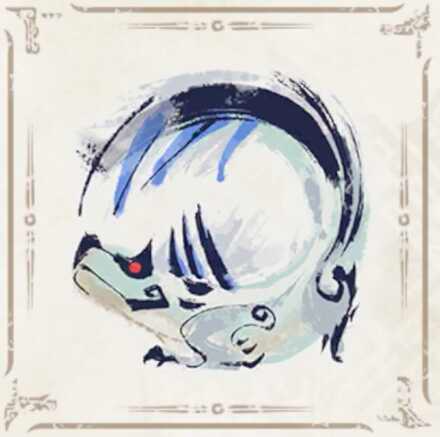 Tobi-Kadachi
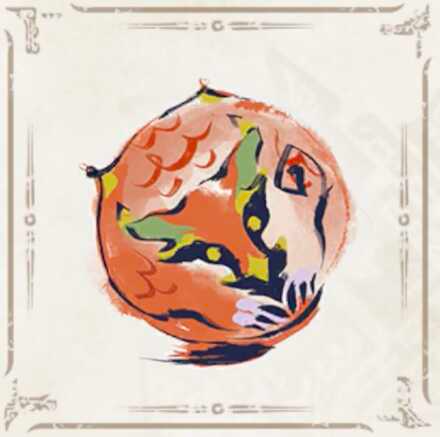 Volvidon
 Basarios
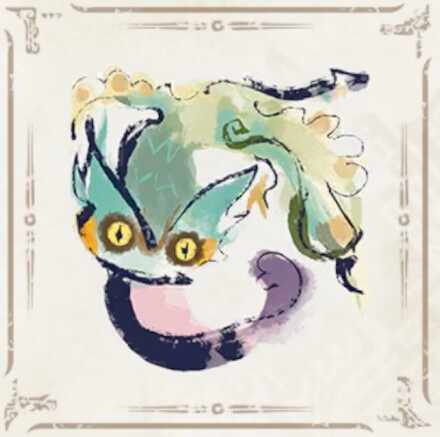 Pukei-Pukei
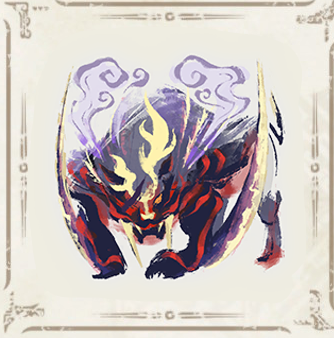
 Magnamalo
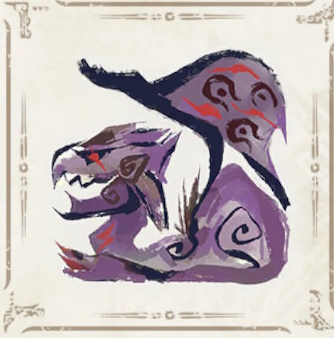
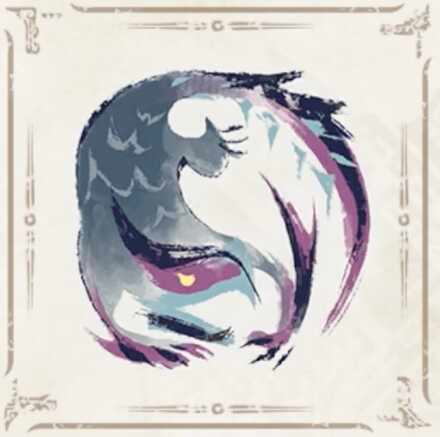 Nargacuga
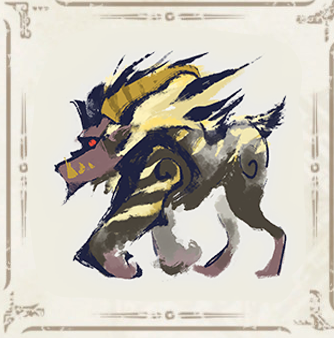
 Zinogre
 Anjanath
 Mizutsune
 Rathalos
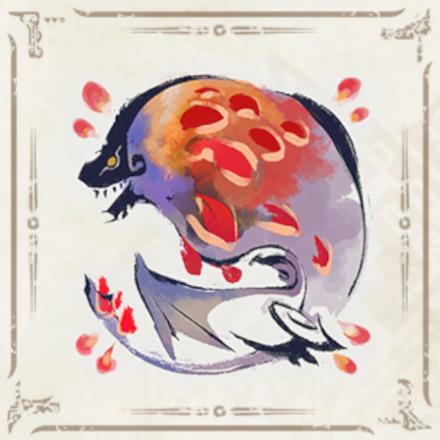
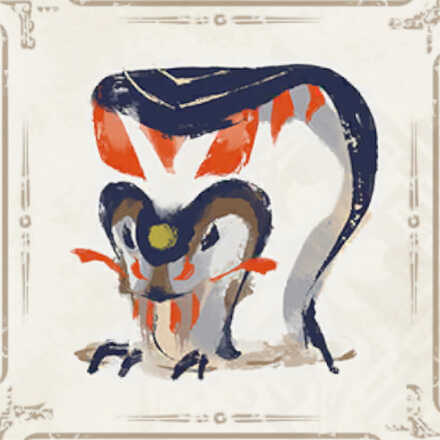 Almudron
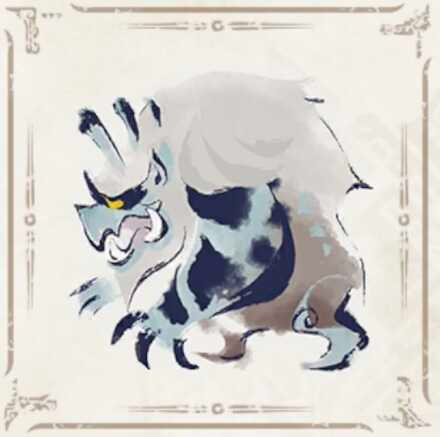 Goss Harag
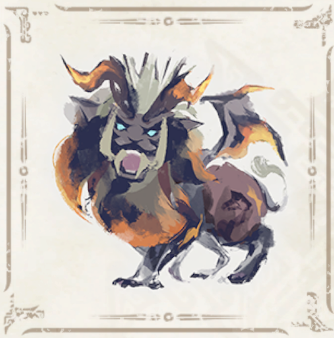
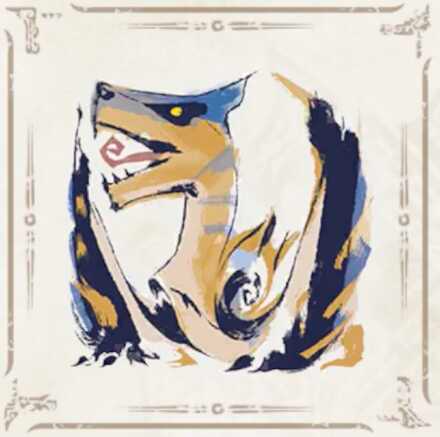 Tigrex
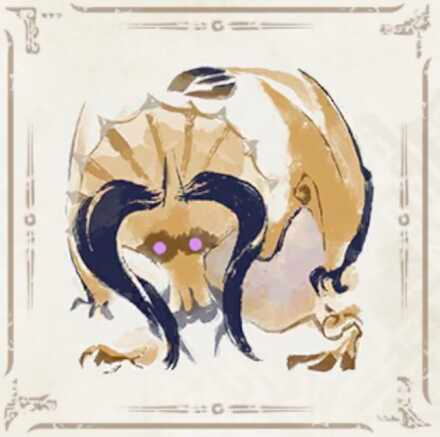 Diablos
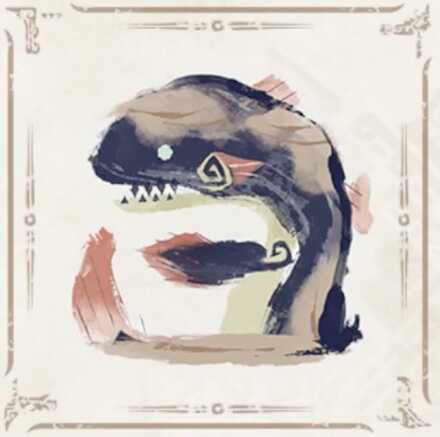 Jyuratodus
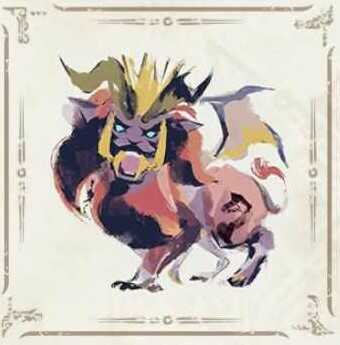
 Rajang
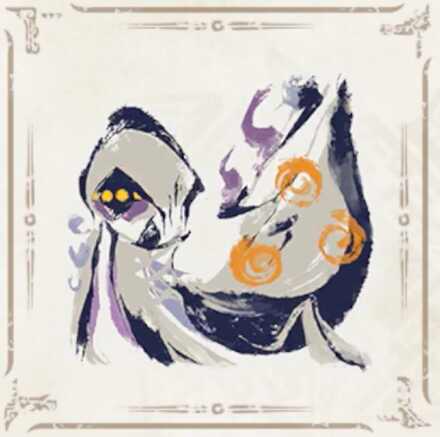 Rakna-Kadaki
 Bazelgeuse
 Altaroth
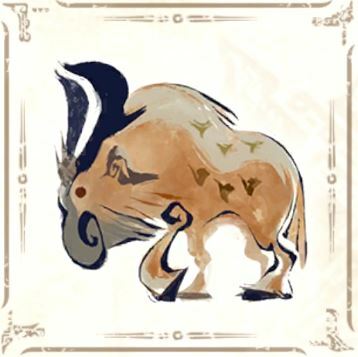 Anteka
 Baggi
Baggi Bnahabra
 Bombadgy
 Bullfango
 Delex
Delex Felyne
 Gajau
Gajau Gargwa
 Izuchi
 Jaggi
Jaggi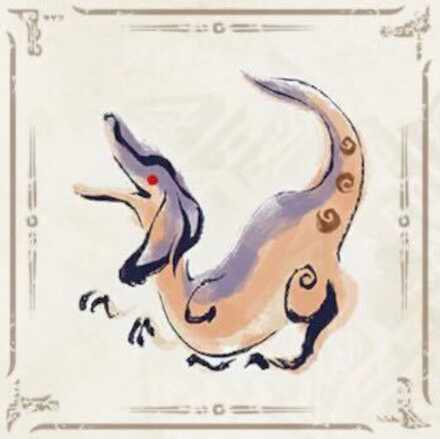 Jaggia
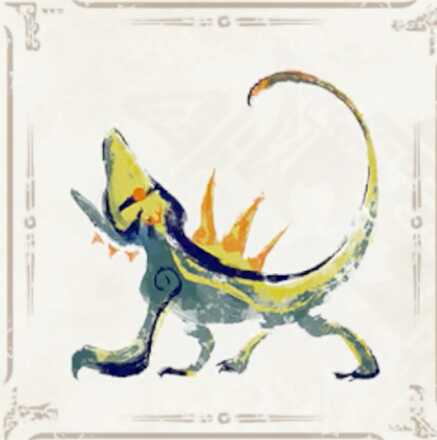 Jagras
 Kelbi
Kelbi Kestodon
 Ludroth
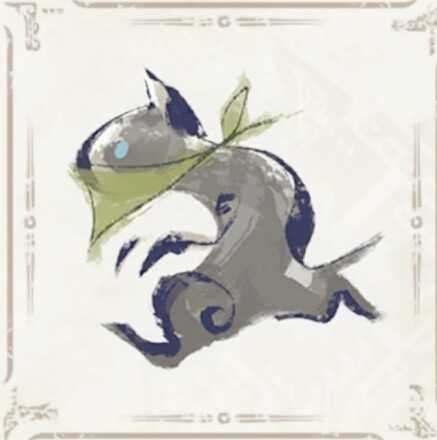 Melynx
 Popo
Popo Rachnoid
 Remobra
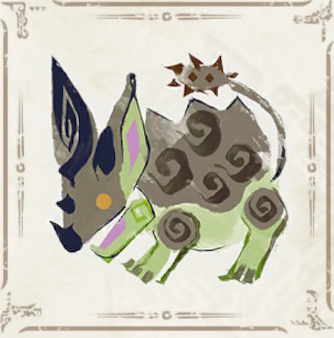 Rhenoplos
 Slagtoth
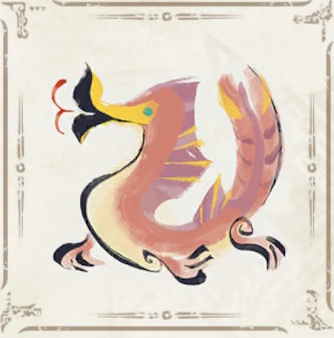 Uroktor
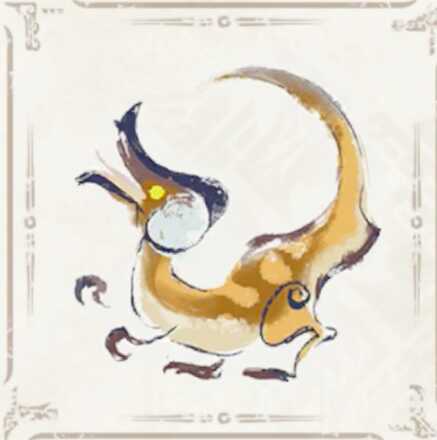 Wroggi
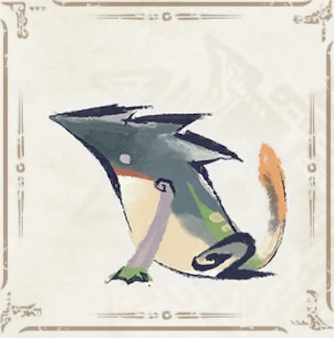 Zamite
This survey will take about 1 minute.
Your answers will help us to improve our website.
Monster Hunter Rise: Sunbreak
Sunbreak Thunder Serpent Narwa: Weakness and Drops
★ All Title Updates now available for ALL PLATFORMS!
┗ Title Update 4 | Title Update 5 | Bonus Update
┗ Check out all our Best Builds For Every Weapon!
┗ TU4 Monsters: Velkhana | Risen C.G. Valstrax
┗ TU5 Monsters: Amatsu | Risen Shagaru Magala
┗ Bonus Update Monster: Primordial Malzeno
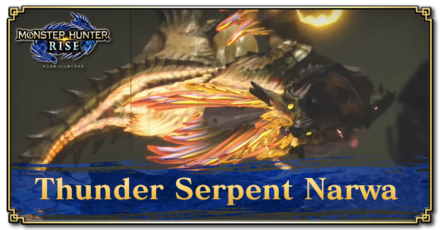
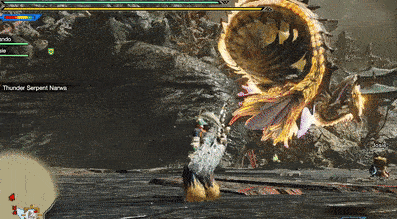
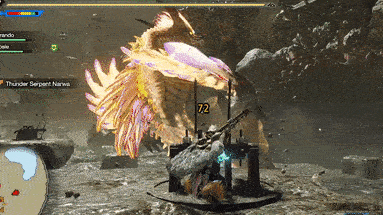
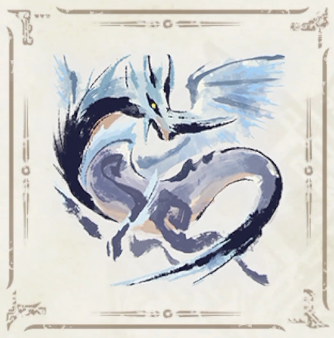
This is a hunting guide for Thunder Serpent Narwa, a Large Monster in Monster Hunter Rise (MH Rise) and the Sunbreak DLC. Read on to learn Thunder Serpent Narwa's weaknesses, forgeable weapons, forgeable armor, drops, and attack patterns!
 Thunder Serpent Narwa Guide Thunder Serpent Narwa Guide
|
 Narwa the Allmother Guide Narwa the Allmother Guide
|
 Thunder Serpent Narwa Weapons Thunder Serpent Narwa Weapons
|
 Thunder Serpent Narwa Armor Thunder Serpent Narwa Armor
|
List of Contents
Thunder Serpent Narwa Weakness and Notes
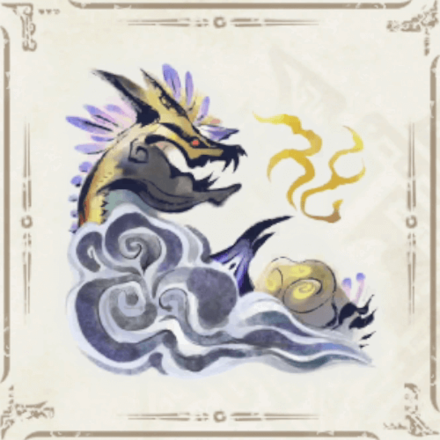
| Thunder Serpent Narwa ナルハタタヒメ |
|||
|---|---|---|---|
 |
|||
| Type | Elder Dragon | ||
| Threat Level | 10/10 | Rampage Type | ー |
| Major Weakness | Other Weakness | ||
| Blight / Elemental Damage | Abnormal Status | ー | |
| Characteristics | |||
| An elder dragon and Wind Serpent Ibushi's "queen." Its thundersacs glow with accumulated electrical charge; it is thought that these organs therefore generate the powerful magnetic field that lifts the creature and anything around it high into the air. | |||
Thunder Serpent Narwa Weakness and Resistance
| 50 | 48 | 26 | 2 |
| 3 | 0 | 7 | 12 |
Bold are the recommended Weapon Type and Elemental Damage.
Thunder Serpent Narwa Weapon Damage Breakdown
| Part | |||
|---|---|---|---|
| Head | 70 | 75 | 45 |
| Neck | 35 | 30 | 1 |
| Torso | 20 | 25 | 5 |
| Chest (Charged) | 55 | 50 | 35 |
| Wingarm | 35 | 30 | 10 |
| Wingarm (Charged) | 70 | 65 | 45 |
| Abdomen (Thundersac) | 90 | 90 | 55 |
| Back (Charged) | 50 | 45 | 35 |
| Leg Fin | 20 | 20 | 5 |
| Tail | 30 | 30 | 10 |
| Tail Tip (Charged) | 70 | 65 | 35 |
| Overall | 50 | 48 | 26 |
Thunder Serpent Narwa Elemental Weakness Breakdown
| Part | |||||
|---|---|---|---|---|---|
| Head | 5 | 5 | 0 | 15 | 20 |
| Neck | 0 | 0 | 0 | 5 | 0 |
| Torso | 0 | 0 | 0 | 0 | 5 |
| Chest (Charged) | 0 | 5 | 0 | 10 | 15 |
| Wingarm | 0 | 5 | 0 | 5 | 10 |
| Wingarm (Charged) | 5 | 5 | 0 | 10 | 20 |
| Abdomen (Thundersac) | 5 | 5 | 0 | 10 | 15 |
| Back (Charged) | 5 | 5 | 0 | 10 | 15 |
| Leg Fin | 0 | 0 | 0 | 0 | 5 |
| Tail | 0 | 0 | 0 | 5 | 10 |
| Tail Tip (Charged) | 0 | 0 | 0 | 5 | 15 |
| Overall | 2 | 3 | 0 | 7 | 12 |
Higher numbers indicate higher potential damage to the monster.
Thunder Serpent Narwa Hunting Tips

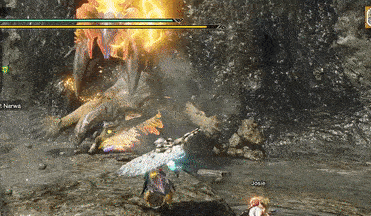
Attacking its thundersacs that have stored energy will cause them to discharge, grounding the beast. Those on its underside are its weakest, provided you can time an attack for when they aren't blocked by its fins. If you're crafty, you can even use the levitating terrain to your advantage.
Status Effect Vulnerabilities
| Poison | Stun | Paralysis | Sleep |
|---|---|---|---|
| -- | -- | -- | -- |
| Blast | Exhaust | Fireblight | Waterblight |
| ★★ | -- | ★ | ★ |
| Thunderblight | Iceblight | ||
| -- | ★★ | ||
If an ailment has more stars it means that it has better effectiveness.
Item Vulnerabilities
| Pitfall Trap | Shock Trap | Flash Bomb |
|---|---|---|
| ✕ | ✕ | ◯ |
| Sonic Bomb | Meat Effects | Dung Bomb |
| ✕ | ✕ | ✕ |
◯ = Vulnerable; ✕ = Fully Resistant; ▲ = Situational
Kinsect Extracts
| Monster Part | Extract |
|---|---|
| Head |
|
| Neck |
|
| Torso |
|
| Chest (Charged) |
|
| Wingarm |
|
| Wingarm (Charged) |
|
| Abdomen (Thundersac) |
|
| Back (Charged) |
|
| Leg Fin |
|
| Tail |
|
| Tail Tip (Charged) |
|
Red = Attack Increase, White = Movement Boost, Orange = Anti-knockback When Attacking
Thunder Serpent Narwa Locations
Thunder Serpent Narwa Known Habitat
| Map | Starting Area | Visited Areas | Rest Area |
|---|---|---|---|
 Coral Palace Coral Palace
|
- | - | - |
Thunder Serpent Narwa Quest Appearances
High Rank
Master Rank
Low Rank
| Quest Type | Lvl | Quest Name |
|---|---|---|
| Event Quest | ★7 | Clouds of Narwa Rumble Again |
| Urgent Hub Quest | ★7 | Serpent Goddess of Thunder |
| No Quest in This Rank |
| No Quest in This Rank |
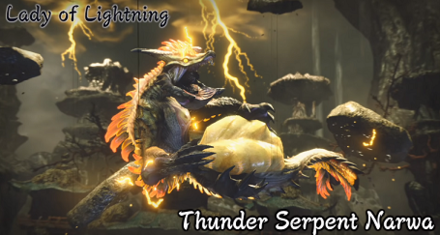
How to Beat Thunder Serpent Narwa
Maintain the Offensive

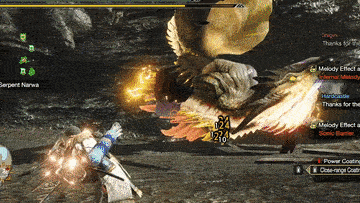
The trick to knocking Narwa down is making sure you deal as much damage as possible — whenever possible! You don't necessarily have to use Hammers and Hunting Horns to knock this monster down. As long as you deal enough damage, it will drop and give you ample windows to dish out all of your heavy attacks.
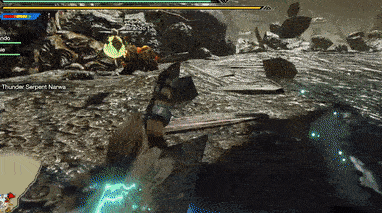
Use the Artillery
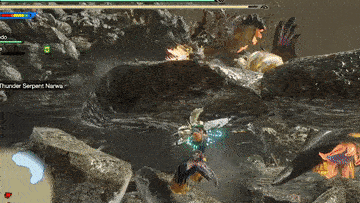
Several times through the encounter Narwa will raise several stone platforms. Some of these platforms will hold Ballistae, Cannons, or Machine Cannons.
The platforms will only be up for a short time but deal tons of damage to Narwa. Doing enough damage with the artillery can stun Narwa allowing you to attack its weak points directly
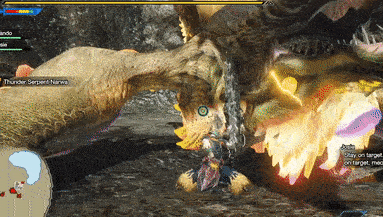
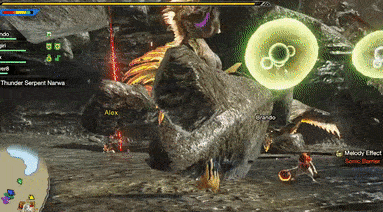
Focus on Narwa's Charged Thundersac Whenever Possible!
Narwa's thundersac eminates a greenish glow after performing specific attacks. This signifies that the hits towards the thundersac deal increased damage — Use this to your advantage to finish the hunt as fast as possible!
Stun Narwa While She Charges Her Divine Ire
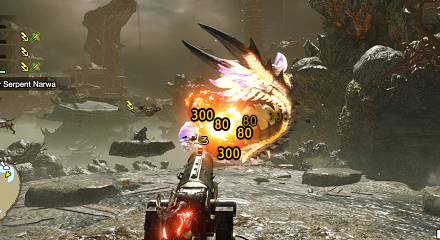
The start of Narwa's Divine Ire leaves her exposed to a maximum of four cannons in specific platforms around the area. Use these to your advantage and knock Narwa out of the sky to prevent her ultimate attack!
Use The Dragonator
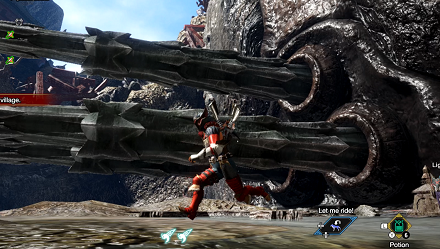
The wall of rock beneath the Coral Palace is equipped with a huge Dragonator that will deal heavy damage. The range is long enough to reach Narwa if its in the center of the of the field.
Use the Splitting Wyvernshot
The Coral Palace field also comes equipped with a Spitting Wyvernshot just like in Rampage Quests. You can either use as soon as possible to deal massive damage or save it for when she starts channeling her Divine Ire.
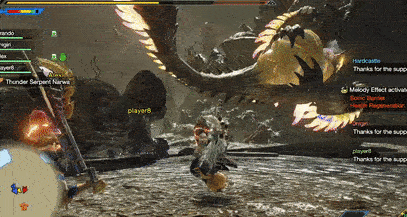
Thunder Serpent Narwa General Attack Patterns
Thunder Serpent Narwa uses the following attacks in Low and High Rank quests.
| Name | Description |
|---|---|
| Lightning Coils | Blast small slow-moviing cicular halos to target. These attacks deal high damage and inflict thunderblight. |
| Tail Attacks | Uses massive tail to deal high amount of damage. |
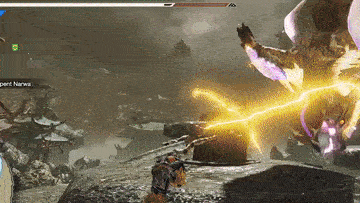
| Thunder Cannon | Unleashes large beams that deal incredibly high damage. Causes thunderblight. |
| Thundersac Beams | Fires multiple beams from its Thundersac that will spread out in a wide cone. Causes thunderblight. |
| Divine Light Show DANGER |
Unleashes a flurry of Lightning Coils and Spires that go through platforms. |
| Homing Bolts | Send bolts that track the targetted hunter. |
| Spark Blasts DANGER |
Electrifies the air towards target which eventually combusts in a cascade of thunder blasts. |
| Dragon's Maw | Uses her massive maw to perform a lunging bite towards any hunter near her. |
| Dragon's Corkscrew | Corkscrews in the air, knocking anyone down in her path. |
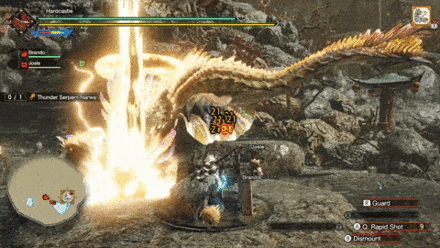
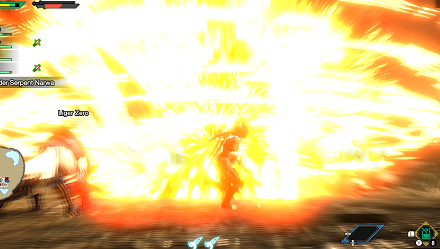
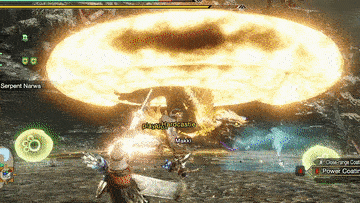
| Divine Ire DANGER |
A charged attack that unleashes a high-damage combo of a beam attack and a bomb attack similar to a wyvern blast. |
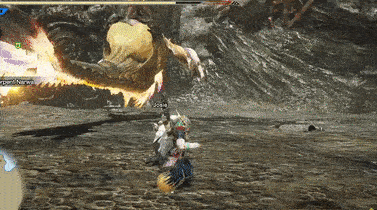
Lightning Coils
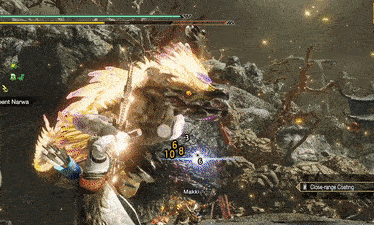
Narwa can conjure lightning coils in a variety of attacks and patterns. These attacks deal high damage and inflict Thunderblight — Bring Nulberries and dodge these deadly rings as much as possible!
| Lightning Coils Variations |
|---|
 Single Coiled Fist: Narwa gathers energy in one of her fists. After a few seconds, she releases this energy in the form of a coil that travels and expands towards her target. |
 Double Coiled Fists: Narwa charges both fists and releases the coils towards the target at a staggered pace. |
 Furious Fist Pumps: Narwa performs three quick double fist pumps towards the target, with each double fist pump unleashing a flurry of coils. |
 Tri-Spark Combo: Narwa follows-up her Double Coiled Fists with a Coiled Thunder Bomb towards her target. |
 Charged Piledriver: Narwa drives her charged fists towards the ground, unleashing a grounded Lightning Coil that slowly traverses a large distance. Use the elevated platforms or vault over the coil using a Wirebug to easily evade this attack. |
 Imploding Coil: Narwa releases an already-expanded coil from her maw. This particular coil shrinks towards the target and eventually implodes once it reaches its destination. |
 Coiled Burst: Narwa conjures six lightning balls in front of it. These balls transform into expanding lightning coils as soon as she runs a Thunder Bomb past them towards her target. This is fairly easy to avoid as long as you maintain enough distance from Narwa and avoid her Thunder Bomb. |
 Triple Coil Slam: Narwa plants her arms in the ground, summoning three massive lightning coils on top of her — Each larger than the last. Once her arms leave the ground, these coils begin to fall starting from the innermost one. Pay attention to the radius of each coil to easily dodge away from them. |
Tail Attacks
Narwa can use her massive tail to deal high damage to her targets.
| Tail Attack Variations |
|---|
 Diagonal Tail Swipe: Narwa sweeps her tail from one of her sides all the way forward in a diagonal fashion. This pattern is very easy to dodge as long as you have a wirebug with you at all times. |
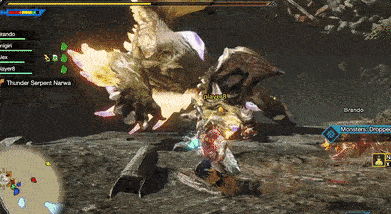
 Charged Tail Slam: Narwa chooses her target and charges her tail for a massive tail slam afterward. This attack plants her tail and exposed her charged thundersac for a few seconds. Take advantage of this window of opportunity by dishing out heavy attacks towards these parts! |
Thunder Cannon
Narwa can use her massive maw to unleash large beams that deal incredibly high damage in a very large area and inflict Thunderblight.
| Thunder Cannon Variations |
|---|
 Thunder Cannon Uppercut: Narwa starts her thunder cannon underneath her. She will then flick the beam upward in a straight line towards her target, leaving Spark Blasts in its wake. |
 Sweeping Thunder Cannon: Narwa positions her maw close to the ground and unleashes a massive beam of lightning that sweeps from one side to the other. Use the platforms for cover or vault over the beam with a Wirebug. |
 Thunder Bomb: Narwa unleashes a massive ball of lightning from her massive maw towards her target. This lightning ball explodes once it reaches its destination so stay clear of it as much as possible! |
 Coiled Thunder Bomb: Narwa shoots an expanding coil from her maw with a Thunder Bomb at the center, preventing hunters from using the opening at the center. |
Thundersac Beams
Narwa fires multiple beams from its Thundersac that will spread out in a wide cone, similar to Rakna-Kadaki's web spray but inflicts Thunderblight instead.
| Thundersac Beams Variations |
|---|
 Fanned Thundersac Beams: Narwa maintains her upside-down stance and unleashes a set of lightning beams from her Thundersac. These beams fan out as they travel outward so maintain distance until visible gaps from between them. It is important to note that a second set of beams immediately follows the first that covers the gaps when Narwa is enraged. |
 Thundersac Disco Ball: Narwa curls up into a ball, unleashing lightning beams from her thundersac while she rotates. Use the elevated platforms to shield yourself from this attack. It is important to note that Narwa unleashes Lightning Coils during this attack when enraged. |
Divine Light Show
Narwa unleashes a flurry of Lightning Coils and Spires that go through platforms. It is important to note that some platforms have installations on them, use these to deal damage while Narwa channels her attack.
| Divine Light Show Variations |
|---|
 Grounded Light Show: Narwa elevates multiple platforms and drives her fist into the ground, unleashing a flurry of Coils and Spires that travel a large distance. |
 Aerial Light Show: This variation is nearly identical to the Grounded version, only it is performed while Narwa is mid-air and the platforms are higher. |
Homing Bolts
| Homing Bolts Attack Information |
|---|
 Homing Bolts: Narwa sends multiple lightning bolts towards her target. These bolts track the targeted hunter so stay on the move or stand underneath an elevated platform! |
Spark Blasts
| Spark Blasts Attack Information |
|---|
 Spark Blasts: Narwa electrifies the air towards her target which eventually combusts in a cascade of thunder blasts. This is a very quick attack that can instantly stun you if you catch at least one blast — Keep an eye out for the electrified sections and wirebug away immediately! |
Dragon's Maw
| Dragon's Maw Attack Information |
|---|
 Dragon's Maw: Narwa uses her massive maw to perform a lunging bite towards any hunter in front of her. This deals high damage and can knock you back so always be mindful of this attack whenever Narwa suddenly repositions mid-air. |
Dragon's Corkscrew
Narwa corkscrews in the air, travelling a great distance and potentially knocking anyone down in her path.
| Dragon's Corkscrew Variations |
|---|
 Uncharged Corkscrew: Narwa does a regular aerial corkscrew, similar to Ibushi's version. |
 Charged Corkscrew: Narwa unleashes massive Lightning Coils as she spins towards her destination. These coils have fairly huge gaps between them and can be easily dodged. |
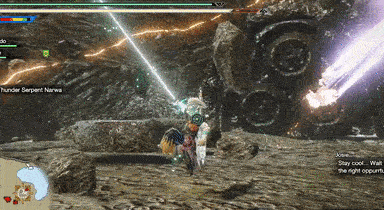
Divine Ire
Narwa coils up in the center of the area, spawning high platforms with cannons on them. Once she finishes her charge, Narwa will proceed with her two-step ultimate combo that can easily knock hunters out. See the full breakdown of her ultimate below.
| Narwa Divine Ire Attack Combo |
|---|
 First Attack: Supercharged Thunder Cannon: Narwa flies even higher to unleash a massive supercharged version of her Thunder Cannon. This attack can easily KO hunters in one hit so make sure you are standing underneath an elevated platform at all times during this attack. |
 Final Attack: Supercharged Thunder Bomb: Narwa unearths another set of platforms immediately after her Supercharged Thunder Cannon. She will then supercharge a massive lightning ball in her maw before releasing it towards the ground. This lightning ball unleashes a supercharged lightning coil that instantly KOs hunters caught in the attack. Make sure you are standing on top of an elevated platform before the lightning ball reaches the ground! |
Thunder Serpent Narwa Materials and Drops
High Rank Thunder Serpent Narwa Materials
Target
Capture
Broken Parts
Carves
| You cannot capture this monster! |
Thunder Serpent Narwa Dropped Materials
|
|
Monster Hunter Rise Related Links
All Thunder Serpent Narwa Guides
| All Thunder Serpent Narwa Related Articles | ||
|---|---|---|
|
Thunder Serpent Narwa Guide
|
Thunder Serpent Narwa Weapons
|
Thunder Serpent Narwa Armor
|
Sunbreak Monsters
| Sunbreak Monster Lists | ||
|---|---|---|
| Sunbreak Monsters List | Monster Subspecies List | Sunbreak Small Monsters List |
Large Monsters
MR6+ Large Monsters
| MR6+ Monsters | |||||
|---|---|---|---|---|---|
 Gaismagorm Gaismagorm(MR6) |
 Furious Rajang Furious Rajang(MR50) |
 Scorned Magnamalo Scorned Magnamalo(MR100) |
|||
Title Update 1 Monsters
| Sunbreak Title Update 1 Monsters | |||
|---|---|---|---|
 Seething Bazelgeuse Seething Bazelgeuse |
 Silver Rathalos Silver Rathalos |
 Gold Rathian Gold Rathian |
 Lucent Nargacuga Lucent Nargacuga |
Title Update 2 Monsters
| Sunbreak Title Update 2 Monsters | ||
|---|---|---|
 Flaming Espinas Flaming Espinas |
 Risen Chameleos Risen Chameleos |
 Violet Mizutsune Violet Mizutsune |
Title Update 3 Monsters
| Sunbreak Title Update 3 Monsters | ||
|---|---|---|
 Chaotic Gore Magala Chaotic Gore Magala |
 Risen Kushala Daora Risen Kushala Daora |
 Risen Teostra Risen Teostra |
Title Update 4 Monsters
| Sunbreak Title Update 4 Monsters | |
|---|---|
 Velkhana Velkhana |
 Risen Crimson Glow Valstrax Risen Crimson Glow Valstrax |
Title Update 5 Monsters
| Sunbreak Title Update 5 Monsters | |
|---|---|
 Amatsu Amatsu |
 Risen Shagaru Magala Risen Shagaru Magala |
Small Monsters
| Sunbreak Small Monsters | |||||
|---|---|---|---|---|---|
 Boggi Boggi |
 Ceanataur Ceanataur |
 Gowngoat Gowngoat |
|||
 Hermitaur Hermitaur |
 Hornetaur Hornetaur |
 Pyrantula Pyrantula |
 Vespoid Vespoid |
 Velociprey Velociprey |
|
Other Large Monsters
Elder Dragons
| Elder Dragons | |||||
|---|---|---|---|---|---|
| Narwa the Allmother |
|||||
 Wind Serpent Ibushi Wind Serpent Ibushi |
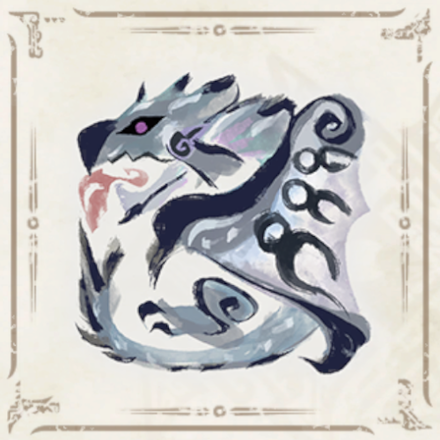
Thunder Serpent Narwa |
 Crimson Glow Valstrax Crimson Glow Valstrax |
|||
 Chameleos Chameleos |
 Kushala Daora Kushala Daora |
 Teostra Teostra |
|||
Apex Monsters
| Apex Monsters | ||
|---|---|---|
 Apex Arzuros Apex Arzuros |
 Apex Rathian Apex Rathian |
 Apex Mizutsune Apex Mizutsune |
 Apex Rathalos Apex Rathalos |
 Apex Diablos Apex Diablos |
 Apex Zinogre Apex Zinogre |
Other Small Monsters
Author

Sunbreak Thunder Serpent Narwa: Weakness and Drops
Please participate in our site
improvement survey
03/2026
improvement survey
03/2026
Would you assist in
improving Game8's site?
improving Game8's site?

×
We are listening to our users' valuable opinions and discussing how to act on them.
The information collected through this survey will be used for the purpose of improving our services. In addition, the information will only be disclosed a part of a statistic in a format that will not allow identification of personal information.
Begin Survey
Not Now
×
Please rate each item regarding Game8.co's Advertisements.
Amount of Ads
Very Dissatisfied
Somewhat Dissatisfied
Fine
Somewhat Satisfied
Highly Satisfied
Placement of Ads
Timing of Ad Display
Ad Loading Speed
Safeness of Ads
Content of Ads
×
Please rate each item regarding Game8.co's Quality of Articles.
Amount of information
Very Dissatisfied
Somewhat Dissatisfied
Fine
Somewhat Satisfied
Highly Satisfied
Frequency of updates
Speed of new information
Accuracy of articles
Understandibility of articles
Readability of sentences
×
Please rate each item regarding Game8.co's Usability of the Site.
Ease of finding information
Very Dissatisfied
Somewhat Dissatisfied
Fine
Somewhat Satisfied
Highly Satisfied
Loading Speed
Use of Color
Font Size
Visibility of Images
Easy to Understand Layout
×
Please rate each item regarding Game8.co's Message Boards, Comments.
Ease of Writing
Very Dissatisfied
Somewhat Dissatisfied
Fine
Somewhat Satisfied
Highly Satisfied
Readability
Ease in Finding Information
Comment Quality
Comment Quantity
Admin Response
×
Please rate each item regarding Game8.co's Site's new design.
Please rate our site's new design
Very Dissatisfied
Somewhat Dissatisfied
Fine
Somewhat Satisfied
Highly Satisfied
Do you think that the website's design change makes the site easier to use?
Has the new design made it easier for you to find information on the site?
Has the new design improved the overall visual appeal of the site?
How would you rate your overall satisfaction with the new design of the site?
×
How likely are you to recommend Game8 to someone you know?
Very Unlikely
0
1
2
3
4
5
6
7
8
9
10
Very Likely
If you have other opinions regarding potential improvement to the website, please share them with us. We would appreciate your honest opinion.
Note: This is a free response section, so you can proceed without entering anything.
Note: Please be sure not to enter any kind of personal information into your response.
Note: Please be sure not to enter any kind of personal information into your response.
×
Thank You
×
Thank you for participating in our survey! Your answers will help us to improve the quality of our website and services.
We hope you continue to make use of Game8.
We hope you continue to make use of Game8.
Close
Rankings
Gaming News


![Monster Hunter Stories 3 Review [First Impressions] | Simply Rejuvenating](https://img.game8.co/4438641/2a31b7702bd70e78ec8efd24661dacda.jpeg/thumb)
Popular Games

Genshin Impact Walkthrough & Guides Wiki
Honkai: Star Rail Walkthrough & Guides Wiki
Umamusume: Pretty Derby Walkthrough & Guides Wiki
Pokemon Pokopia Walkthrough & Guides Wiki
Resident Evil Requiem (RE9) Walkthrough & Guides Wiki
Monster Hunter Wilds Walkthrough & Guides Wiki
Wuthering Waves Walkthrough & Guides Wiki
Arknights: Endfield Walkthrough & Guides Wiki
Pokemon FireRed and LeafGreen (FRLG) Walkthrough & Guides Wiki
Pokemon TCG Pocket (PTCGP) Strategies & Guides Wiki


Recommended Games
Diablo 4: Vessel of Hatred Walkthrough & Guides Wiki
Cyberpunk 2077: Ultimate Edition Walkthrough & Guides Wiki
Fire Emblem Heroes (FEH) Walkthrough & Guides Wiki
Yu-Gi-Oh! Master Duel Walkthrough & Guides Wiki
Super Smash Bros. Ultimate Walkthrough & Guides Wiki
Pokemon Brilliant Diamond and Shining Pearl (BDSP) Walkthrough & Guides Wiki
Elden Ring Shadow of the Erdtree Walkthrough & Guides Wiki
Monster Hunter World Walkthrough & Guides Wiki
The Legend of Zelda: Tears of the Kingdom Walkthrough & Guides Wiki
Persona 3 Reload Walkthrough & Guides Wiki


All rights reserved
©CAPCOM CO., LTD. ALL RIGHTS RESERVED.
The copyrights of videos of games used in our content and other intellectual property rights belong to the provider of the game.
The contents we provide on this site were created personally by members of the Game8 editorial department.
We refuse the right to reuse or repost content taken without our permission such as data or images to other sites.