Sunbreak Rajang: Weakness and Drops
★ All Title Updates now available for ALL PLATFORMS!
┗ Title Update 4 | Title Update 5 | Bonus Update
┗ Check out all our Best Builds For Every Weapon!
┗ TU4 Monsters: Velkhana | Risen C.G. Valstrax
┗ TU5 Monsters: Amatsu | Risen Shagaru Magala
┗ Bonus Update Monster: Primordial Malzeno

This is a hunting guide for Rajang, a Large Monster in Monster Hunter Rise (MH Rise) and the Sunbreak DLC. Read on to learn Rajang's weaknesses, forgeable weapons and armor, drops, and attack patterns for Master Rank!
 Rajang Guide Rajang Guide
|
 Furious Rajang Guide Furious Rajang Guide
|
 Rajang Weapons Rajang Weapons
|
 Rajang Armor Rajang Armor
|
List of Contents
Rajang Weakness and Notes
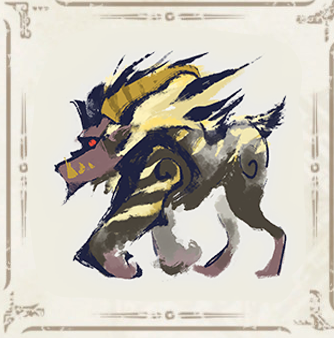
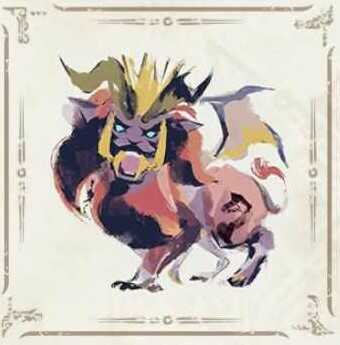
| Rajang ラージャン |
|||
|---|---|---|---|
 |
|||
| Type | Fanged Beast | Previous Games | MHF2, MHFU, MH4U, MHG, MHGU, MHWI |
| Threat Level | 8/10 | Rampage Type | ー |
| Major Weakness | Other Weakness | ||
| Blight / Elemental Damage | Abnormal Status | ー | |
| Characteristics | |||
| An ultra-aggressive creature that is rarely sighted and seldom survived. Those that have survived report that it exhibits a strange attack. Rajang are said to be loners, and this isolated life has made it difficult to pin down its territorial learnings. When angered, part of its pelt turns a golden color. | |||
How to Unlock Rajang
Complete Witness by Moonlight in Master Rank
| Quest Name | Monster/Unlock |
|---|---|
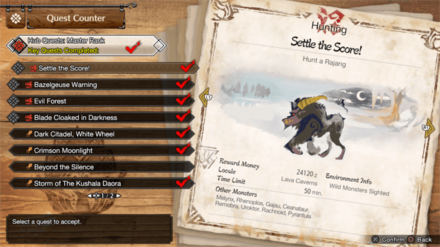
| Settle the Score! (Key Quest) |
|
| Unlock Conditions: Finish the Quest "Witness by Moonlight" |
MR Rajang is unlocked by completing the Urgent Quest Witness by Moonlight and reaching M★5 in the Sunbreak expansion.
MR Grinding Guide:
How to Get from MR 6 to MR 100 Fast
Complete Can't Kill It with Fire in High Rank
| Quest Name | Monster/Unlock |
|---|---|
|
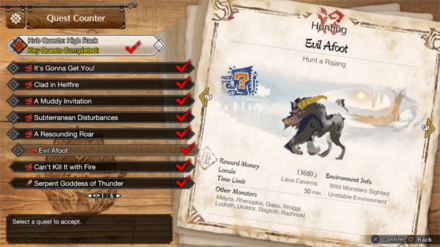
Evil Afoot
(Key Quest) |
|
| Unlock Conditions: Finish the Quest "Can't Kill It with Fire" |
Rajang is unlocked by completing the Urgent Quest Can't Kill It with Fire and reaching HR 7.
Hunter Rank Farm Guide:
How to Get from HR 7 to HR 100 Fast
Rajang Weakness and Resistance
| 45 | 45 | 34 | 0 |
| 5 | 0 | 18 | 0 |
Bold are the recommended Weapon Type and Elemental Damage.
Rajang Weapon Damage Breakdown
| Part | |||
|---|---|---|---|
| Head | 65 | 67 | 55 |
| Torso | 45 | 45 | 35 |
| Foreleg | 45 | 45 | 40 |
| Hind Leg | 35 | 35 | 15 |
| Tail | 35 | 32 | 25 |
| Overall | 45 | 45 | 34 |
Rajang Elemental Weakness Breakdown
| Part | |||||
|---|---|---|---|---|---|
| Head | 0 | 5 | 0 | 30 | 0 |
| Torso | 0 | 5 | 0 | 15 | 0 |
| Foreleg | 0 | 5 | 0 | 15 | 0 |
| Hind Leg | 0 | 5 | 0 | 15 | 0 |
| Tail | 0 | 5 | 0 | 15 | 0 |
| Overall | 0 | 5 | 0 | 18 | 0 |
Higher numbers indicate higher potential damage to the monster.
Rajang Hunting Tips

A Rajang is most dangerous when its arms are powered up, allowing it even to destroy Shock Traps. Attack its tail to remove this effect. In its regular state, it will also avoid Pitfall Traps. It will immediately attack anything that invades its territory, so watch your step.
Status Effect Vulnerabilities
| Poison | Stun | Paralysis | Sleep |
|---|---|---|---|
| -- | -- | -- | -- |
| Blast | Exhaust | Fireblight | Waterblight |
| ★★ | -- | ★ | ★ |
| Thunderblight | Iceblight | ||
| ★ | ★★ | ||
If an ailment has more stars it means that it has better effectiveness.
Item Vulnerabilities
| Pitfall Trap | Shock Trap | Flash Bomb |
|---|---|---|
| △ | △ | ◯ |
| Sonic Bomb | Meat Effects | Dung Bomb |
| ✕ | ✕ | ◯ |
◯ = Vulnerable; ✕ = Fully Resistant; ▲ = Situational
Kinsect Extracts
| Monster Part | Extract |
|---|---|
| Head |
|
| Torso |
|
| Foreleg |
|
| Hind Leg |
|
| Tail |
|
Red = Attack Increase, White = Movement Boost, Orange = Anti-knockback When Attacking
Rajang Locations and Quests
Rajang Known Habitat
| Map | Starting Area | Visited Areas | Rest Area |
|---|---|---|---|
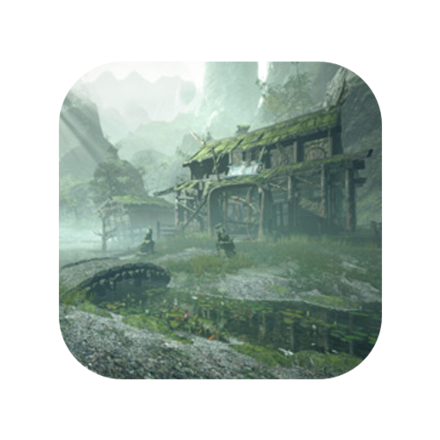 Shrine Ruins Shrine Ruins
|
5 / 6 / 7 / 11 | 3 / 4 / 5 / 6 / 7 / 8 / 9 / 10 / 13 | 5 / 11 |
 Frost Islands Frost Islands
|
9 | 3 / 4 / 5 / 6 / 9 / 10 | 9 |
 Sandy Plains Sandy Plains
|
12 | 1 / 5 / 6 / 9 / 10 / 11 / 12 | 2 |
 Flooded Forest Flooded Forest
|
6 / 9 | 1 / 2 / 6 / 7 / 8 / 9 / 10 / 11 / 12 / 13 / 14 | 3 / 12 |
 Lava Caverns Lava Caverns
|
12 | 8 / 9 / 10 / 11 / 12 / 13 | 3 |
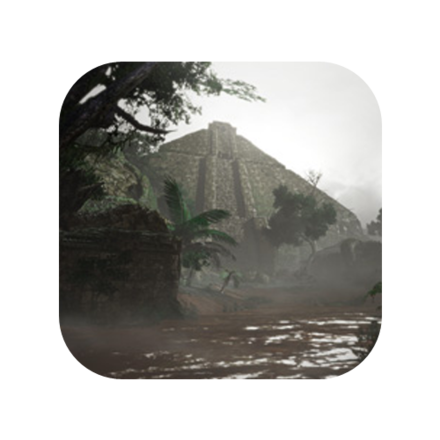
 Jungle Jungle
|
4 / 5 / 7 | 1 / 2 / 3 / 4 / 5 / 7 / 8 / 9 / 11 | 9 |
 Citadel Citadel
|
5 / 8 / 12 | 1 / 2 / 5 / 6 / 8 / 9 / 10 / 11 / 12 / 13 | 11 |
 Infernal Springs Infernal Springs
|
- | - | - |
Rajang Quest Appearances
| Quest Type | Lvl | Quest Name |
|---|---|---|
| Anomaly Quest | A★6 | Anomaly Research: Rajang |
| Event Quest | M★5 | Punches and Pincers |
| Event Quest | M★5 | Cheering Ra Ra Rajang |
| Follower Quest | M★5 | Grabbin' Life by the Horns |
| Hub Quest | M★5 | Settle the Score! (Key Quest) |
| Hub Quest | M★5 | Bombs and Beams |
| Hub Quest | M★5 | Hard & Soft Supreme |
| Hub Quest | M★5 | With the Power of Friendship... |
| Support Survey | M★5 | Operation Rajang |
| Event Quest | M★6 | Food Fight |
| Event Quest | M★6 | Hazard: Buffoon's Buff Baboon Swoon |
| Hub Quest | M★6 | Trials of Passion and Composure |
| Hub Quest | M★6 | The Ultimate Fight? |
| Hub Quest | M★6 | Advanced: Trade Obstruction |
| Support Survey | M★6 | Monkey-Crab Turf War |
| Support Survey | M★6 | Operation Explosive Anger |
| Quest Type | Lvl | Quest Name |
|---|---|---|
| Village Quest | ★6 | Advanced: The Veterans' Gala |
| Arena Quest | ★7 | Arena 05 |
| Event Quest | ★7 | SF: Ultimate Promotion Exam |
| Event Quest | ★7 | Rajang's Holiday Special |
| Event Quest | ★7 | Rampage: Rampaging Rajang |
| Hub Quest | ★7 | Occupational Hazards |
| Hub Quest | ★7 | Evil Afoot (Key Quest) |
| Hub Quest | ★7 | Master Utsushi's Challenge Part 2 |
| Hub Quest | ★7 | May Fire Quell Fury |
| Hub Quest | ★7 | Advanced: Scaredy-Cat |
| No Quest in This Rank |
How to Beat Rajang
| Rajang Tips | ||
|---|---|---|
|
|
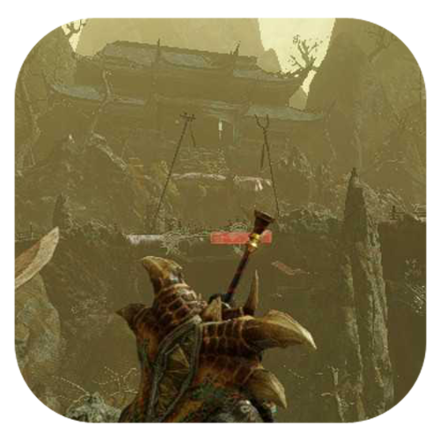
Be Aware of Rajang's Enraged Mode

Rajang can enter Enraged Mode whenever its fur glows yellow. The transition to this state is telegraphed by a strong roar, shortly followed by its fists turning red.
Here are a couple of things to note whenever Rajang enter its Enraged Mode:
- Rajang's fists are incredibly thick while in this state and will deflect most attacks regardless of sharpness.
- Rajang's attacks are generally faster and deal more damage during this state.
- Rajang unlocks its Jumping Slam attack while in this state and can combo it with Lunging Grab instead of the usual Lightning Beam attack.
Attack the Tail During Enraged Mode

Rajang can be knocked out of its Enraged Mode by dealing enough damage to its tail. This will also knock down Rajang making it a perfect time to strike.
Some Attacks Leave Rajang Open to Counters

Even Rajang needs a breather after its flurry of attacks! Some attacks open Rajang up for counterattacks.
Timing your dodges just after it locks onto its target and positioning appropriately throughout the fight are the keys to efficiently hunting down this fiercesome monster!
Here's a list of attacks with counterattack opportunities:
| Backstep |  Rajang can perform a backstep after its Furious Zig-Zag. Positioning at the tip of its trajectory allows you to dish out heavy attacks for free. |
|---|---|
| Jumping Slam |  Rajang takes a while to recover from its Jumping Slam. Use this to your advantage by dishing out your heavy attacks! Additionally, weapons such as the Charge Blade, Lance, and Long Sword can use their counterattacks on the slam itself. |
| Lightning Beam |  Lightning Beam's animation is fairly long compared to Rajang's other attacks. Take advantage of this by landing heavy attacks during the animation. |
Be Mindful with Traps

While it is possible to trap Rajang, It is important to remember that Rajang can break traps when in Enraged Mode. Make sure not to waste any traps by only using them in during its normal state!
Always Save One Wirebug

Rajang's Lunging Grab is always followed-up with either a Lightning Beam, Fist Slam, or even a Jumping Slam (Only in Enraged Mode).
With this in mind, it is important to always have one wirebug with you at all times to wirefall away from the follow-up attack!
Remember to Stay Mobile

Rajang is a fast monster, and its Enraged State increases its speed and power even further. Hunters should prepare themselves to move or guard at all times as this monster's attacks are quick and wild.
Rajang Master Rank Attack Patterns
In addition to its attacks in High Rank quests, Rajang uses the following attacks in Master Rank.
| Name | Description |
|---|---|
| Quick Claw Swipe | Rajang closes the distance with a quick leaping claw swipe. This move often occurs as a follow-up to Rajang's other attacks. |
| Rapid Rajang Charge | Rajang rapidly charges toward the player, thrusting its horns upwards at the end of its path. This move often has follow-up attacks after it ends. |
Quick Claw Swipe
| Quick Claw Swipe Attack Information |
|---|
 Quick Claw Swipe: Rajang closes the distance with a quick leaping claw swipe, dealing moderate damage on hit. This move comes out quickly and often occurs as a follow-up to its other attacks, so stay alert when fighting Rajang in Master Rank. |
Rapid Rajang Charge
| Rapid Rajang Charge Attack Information |
|---|
 Rapid Rajang Charge: Rajang rapidly charges toward the player, ending its stampede by thrusting its horns upward. To avoid this attack, quickly dive-evade or dodge perpendicular to Rajang's path. However, note that Rajang often performs a follow-up attack after it charges, so prepare to evade again after this move occurs. |
Rajang General Attack Patterns
Rajang uses the following attacks in High Rank quests.
| Name | Description |
|---|---|
| Jumping Lightning Blast | Rajang jumps into the air and fires a ball of lightning down. |
| Ground Slam | Rajang slams the ground with its fists. |
| Jumping Slam | Rajang jumps up before slamming down on the ground. |
| Fists of Fury | Rajang swings its fists side-to-side. |
| Cannon Ball | Rajang jumps up, curls into a ball, and slams down on the ground. |
| Triple Slam Combo | Rajang slams the ground with its fists thrice. |
| Furious Zig-Zag | Rajang moves towards the hunter in a zig-zag motion. |
| Spinning Fist | Rajang spins towards the hunter. |
| Upheaval | Rajang slams down the ground with extra force, launching anyone in its vicinity into the air. |
| Lightning Beam [DANGER] |
Rajang fires a lightning beam from its mouth. |
| Lunging Grab [DANGER] |
Rajang lunges at the hunter. If caught, Rajang slams them down then throws them back. |
Jumping Lightning Blast
| Jumping Lightning Blast Attack Information |
|---|
 Jumping Lightning Blast: Rajang jumps high into the air and fires a blast of lighting down at its target. When Rajang jumps hunters should prepare to dodge. |
Ground Slam
| Ground Slam Attack Information |
|---|
 Ground Slam: Rajang will rear up before slamming its fists down directly in front. The telegraph for this attack is easy to spot so hunters should remain aware. |
Jumping Slam
| Jumping Slam Attack Information |
|---|
 Jumping Slam: Rajang will occasionally jump before slamming back to the ground, dealing massive damage to anyone caught in it. This is telegraphed by a short roar while standing straight on both legs and can only happen while in Enraged Mode. |
Fists of Fury
| Fists of Fury Attack Information |
|---|
 Fists of Fury: Rajang will swing its fists wildly in wide arcs while moving forward. This attack has a very wide range and can catch unaware hunters off guard. |
Cannon Ball
| Cannon Ball Attack Information |
|---|
 Cannon Ball: Another one of Rajang's jump attacks. It will curl into a ball before crashing down. This attack has an area of effect so be sure to be a good distance away from the impact zone. |
Triple Slam Combo
| Triple Slam Combo Attack Information |
|---|
 Triple Slam Combo: Rajang does three slams on either side with its fists. The third slam is a delayed overhead slam that is more powerful than the first two. Take note that Rajang can pivot itself before the third slam, which can potential catch anyone directly behind it. |
Furious Zig-Zag
| Furious Zig-Zag Attack Information |
|---|
 Furious Zig-Zag: Rajang hops towards its target destination in a zig-zag pattern, dealing damage and tripping anyone caught in it. It is important to note that Rajang can propel itself backward in a straight line after reaching its destination. |
Spinning Fist
| Spinning Fist Attack Information |
|---|
 Spinning Fist: Rajang quickly postures up before spinning towards its target. Anyone caught in this attack suffers high damage and gets knocked down. |
Upheaval
| Upheaval Attack Information |
|---|
 Upheaval: Rajang breaks the ground in front of it, dealing damage and launching anyone caught within the area. |
Lightning Beam
| Lightning Beam Attack Information |
|---|
 Lightning Beam: Rajang's signature attack is the beam of lightning it fires from its mouth. Rajang can unleash this attack rather quickly so its best to never be directly in its line of sight. |
Lunging Grab
| Lunging Grab Attack Information |
|---|
 Lunging Grab: Rajang lunges at a hunter. If this attack connects the hunter will be picked up then smashed and thrown across the field. If being thrown doesn't KO the hunter, then a potential follow up Lighting Beam, Fist Slam or Jumping Slam will. |
Rajang Materials and Drops
Master Rank Rajang Materials
High Rank Rajang Materials
Rajang Dropped Materials
Monster Hunter Rise Related Guides

All Rajang Guides
| All Rajang Related Articles | ||
|---|---|---|
|
Rajang Guide
|
Rajang Weapons
|
Rajang Armor
|
Sunbreak Monsters
| Sunbreak Monster Lists | ||
|---|---|---|
| Sunbreak Monsters List | Monster Subspecies List | Sunbreak Small Monsters List |
Large Monsters
 Daimyo Hermitaur
 Blood Orange Bishaten
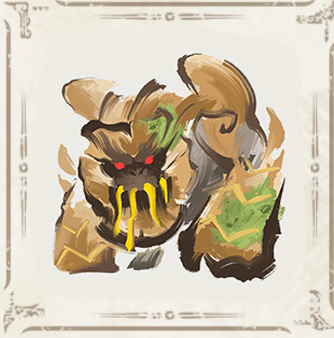 Garangolm
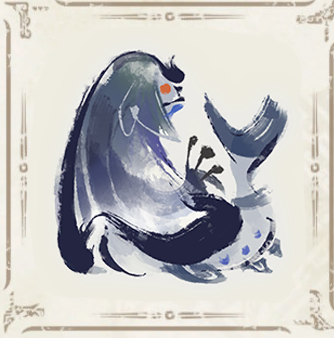 Aurora Somnacanth
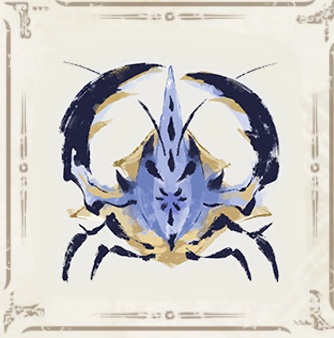 Shogun Ceanataur
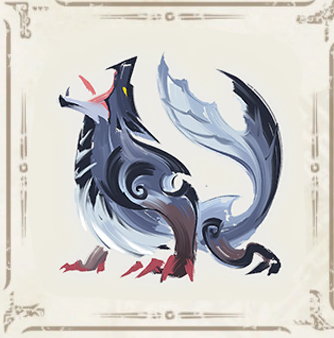 Lunagaron
 Astalos
 Seregios
 Magma Almudron
 Gore Magala
 Espinas
 Pyre Rakna-Kadaki
 Malzeno
 Shagaru Magala
MR6+ Large Monsters
| MR6+ Monsters | |||||
|---|---|---|---|---|---|
 Gaismagorm Gaismagorm(MR6) |
Furious Rajang (MR50) |
 Scorned Magnamalo Scorned Magnamalo(MR100) |
|||
Title Update 1 Monsters
| Sunbreak Title Update 1 Monsters | |||
|---|---|---|---|
 Seething Bazelgeuse Seething Bazelgeuse |
 Silver Rathalos Silver Rathalos |
 Gold Rathian Gold Rathian |
 Lucent Nargacuga Lucent Nargacuga |
Title Update 2 Monsters
| Sunbreak Title Update 2 Monsters | ||
|---|---|---|
 Flaming Espinas Flaming Espinas |
 Risen Chameleos Risen Chameleos |
 Violet Mizutsune Violet Mizutsune |
Title Update 3 Monsters
| Sunbreak Title Update 3 Monsters | ||
|---|---|---|
 Chaotic Gore Magala Chaotic Gore Magala |
 Risen Kushala Daora Risen Kushala Daora |
 Risen Teostra Risen Teostra |
Title Update 4 Monsters
| Sunbreak Title Update 4 Monsters | |
|---|---|
 Velkhana Velkhana |
 Risen Crimson Glow Valstrax Risen Crimson Glow Valstrax |
Title Update 5 Monsters
| Sunbreak Title Update 5 Monsters | |
|---|---|
 Amatsu Amatsu |
 Risen Shagaru Magala Risen Shagaru Magala |
Small Monsters
| Sunbreak Small Monsters | |||||
|---|---|---|---|---|---|
 Boggi Boggi |
 Ceanataur Ceanataur |
 Gowngoat Gowngoat |
|||
 Hermitaur Hermitaur |
 Hornetaur Hornetaur |
 Pyrantula Pyrantula |
 Vespoid Vespoid |
 Velociprey Velociprey |
|
Other Large Monsters
 Great Izuchi
 Arzuros
 Great Baggi
 Lagombi
 Aknosom
 Tetranadon
 Kulu-Ya-Ku
 Barroth
 Great Wroggi
 Royal Ludroth
 Khezu
Khezu Bishaten
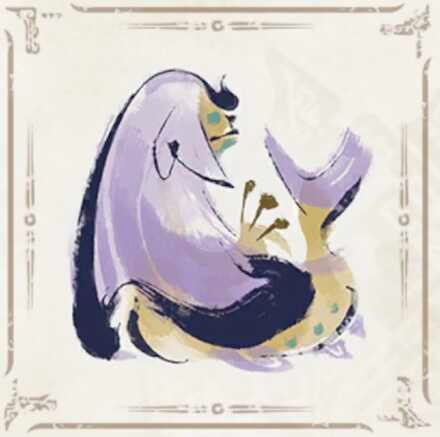 Somnacanth
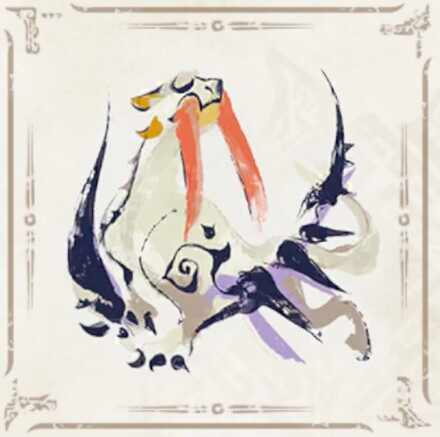 Barioth
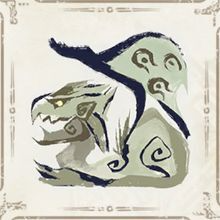 Rathian
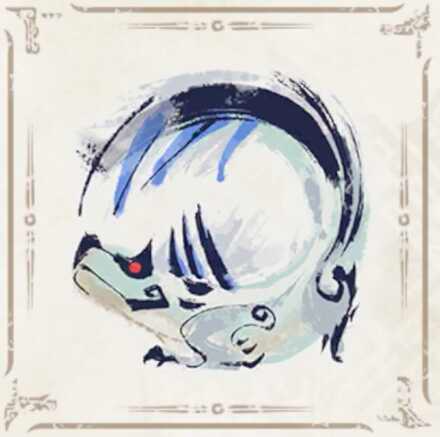 Tobi-Kadachi
 Volvidon
 Basarios
 Pukei-Pukei
 Magnamalo
 Nargacuga
 Zinogre
 Anjanath
 Mizutsune
 Rathalos
 Almudron
 Goss Harag
 Tigrex
 Diablos
 Jyuratodus
 Rakna-Kadaki
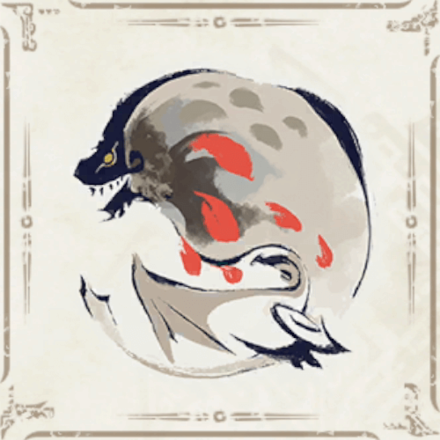 Bazelgeuse
Elder Dragons
| Elder Dragons | |||||
|---|---|---|---|---|---|
 Narwa the Allmother Narwa the Allmother |
|||||
 Wind Serpent Ibushi Wind Serpent Ibushi |
 Thunder Serpent Narwa Thunder Serpent Narwa |
 Crimson Glow Valstrax Crimson Glow Valstrax |
|||
 Chameleos Chameleos |
 Kushala Daora Kushala Daora |
 Teostra Teostra |
|||
Apex Monsters
| Apex Monsters | ||
|---|---|---|
 Apex Arzuros Apex Arzuros |
 Apex Rathian Apex Rathian |
 Apex Mizutsune Apex Mizutsune |
 Apex Rathalos Apex Rathalos |
 Apex Diablos Apex Diablos |
 Apex Zinogre Apex Zinogre |
Other Small Monsters
 Altaroth
 Anteka
 Baggi
Baggi Bnahabra
 Bombadgy
 Bullfango
 Delex
Delex Felyne
 Gajau
Gajau Gargwa
 Izuchi
 Jaggi
Jaggi Jaggia
 Jagras
 Kelbi
Kelbi Kestodon
 Ludroth
 Melynx
 Popo
Popo Rachnoid
 Remobra
 Rhenoplos
 Slagtoth
 Uroktor
 Wroggi
 Zamite
Author

Sunbreak Rajang: Weakness and Drops
Rankings
Gaming News
![Neverness to Everness (NTE) Review [Beta Co-Ex Test] | Rolling the Dice on Something Special](https://img.game8.co/4414628/dd3192c8f1f074ea788451a11eb862a7.jpeg/show)


Popular Games

Genshin Impact Walkthrough & Guides Wiki
Honkai: Star Rail Walkthrough & Guides Wiki
Arknights: Endfield Walkthrough & Guides Wiki
Umamusume: Pretty Derby Walkthrough & Guides Wiki
Wuthering Waves Walkthrough & Guides Wiki
Pokemon TCG Pocket (PTCGP) Strategies & Guides Wiki
Abyss Walkthrough & Guides Wiki
Zenless Zone Zero Walkthrough & Guides Wiki
Digimon Story: Time Stranger Walkthrough & Guides Wiki
Clair Obscur: Expedition 33 Walkthrough & Guides Wiki


Recommended Games
Fire Emblem Heroes (FEH) Walkthrough & Guides Wiki
Pokemon Brilliant Diamond and Shining Pearl (BDSP) Walkthrough & Guides Wiki
Diablo 4: Vessel of Hatred Walkthrough & Guides Wiki
Super Smash Bros. Ultimate Walkthrough & Guides Wiki
Yu-Gi-Oh! Master Duel Walkthrough & Guides Wiki
Elden Ring Shadow of the Erdtree Walkthrough & Guides Wiki
Monster Hunter World Walkthrough & Guides Wiki
The Legend of Zelda: Tears of the Kingdom Walkthrough & Guides Wiki
Persona 3 Reload Walkthrough & Guides Wiki
Cyberpunk 2077: Ultimate Edition Walkthrough & Guides Wiki


All rights reserved
©CAPCOM CO., LTD. ALL RIGHTS RESERVED.
The copyrights of videos of games used in our content and other intellectual property rights belong to the provider of the game.
The contents we provide on this site were created personally by members of the Game8 editorial department.
We refuse the right to reuse or repost content taken without our permission such as data or images to other sites.