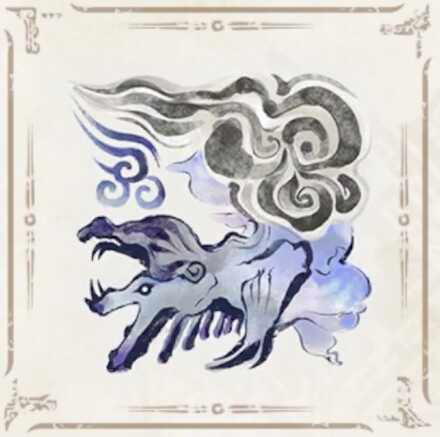
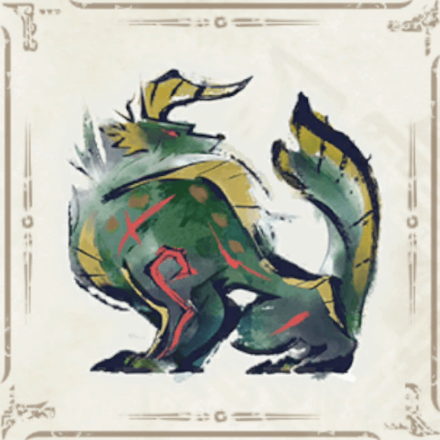
Sunbreak Final Boss: Gaismagorm Weakness and Drops
★ All Title Updates now available for ALL PLATFORMS!
┗ Title Update 4 | Title Update 5 | Bonus Update
┗ Check out all our Best Builds For Every Weapon!
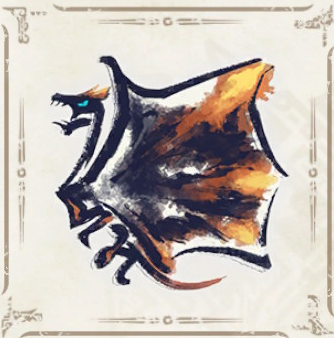
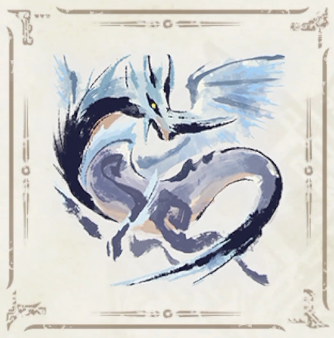
┗ TU4 Monsters: Velkhana | Risen C.G. Valstrax
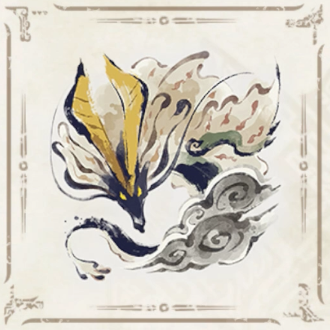
┗ TU5 Monsters: Amatsu | Risen Shagaru Magala
┗ Bonus Update Monster: Primordial Malzeno
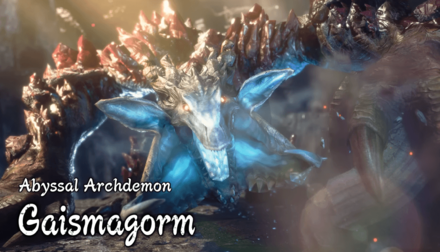
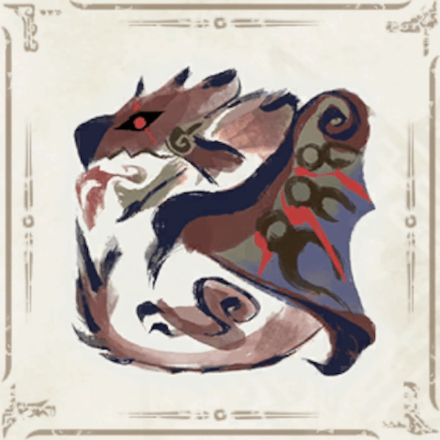
This is a hunting guide for Gaismagorm, the final boss of the Sunbreak expansion of Monster Hunter Rise. Read on to learn about Gaismagorm's weaknesses, forgeable weapons, forgeable armor, drops, and attack patterns for Master Rank!
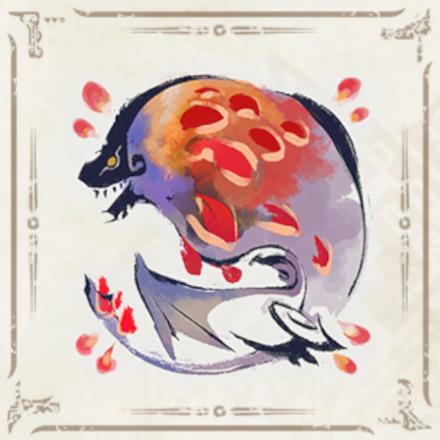
 Gaismagorm Guide Gaismagorm Guide
|
 Gaismagorm Weapons Gaismagorm Weapons
|
 Gaismagorm Armor Gaismagorm Armor
|
| Rise and Sunbreak Final Bosses | |
|---|---|
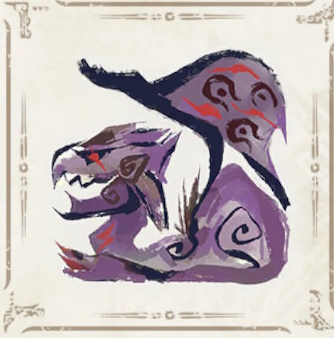
 Narwa the Allmother Narwa the Allmother(Rise) |
Gaismagorm (Sunbreak) |
List of Contents
Gaismagorm Weakness and Notes
| Gaismagorm |
|||
|---|---|---|---|
 |
|||
| Type | Elder Dragon | ||
| Threat Level | 10/10 | Rampage Type | ー |
| Major Weakness | Other Weakness | ||
| Blight / Elemental Damage | ー | Abnormal Status | ー |
| Characteristics | |||
| A gargantuan monster living in the darkest depths since ancient times. Gaismagorm's rock-like forearms boast tenacious strength which allows it to burrow undergournd. It has a symbiotic relationship with the Qurio, and feeds on their life force for energy. Once it has chosen a place to nest, it collapses the surrounding rock bed to create an opening to the surface. The opening forms a massive crater in which it releases the Qurio through. | |||
Quest Unlocks After Gathering of the Qurio

| Quest Name | Monster/Unlock |
|---|---|
| The Devil's Reincarnation |
|
| Unlock Conditions: Finish the Quest "Proof of Courage" |
|
| Proof of Courage |
|
| Unlock Conditions: Finish the Quest "Gathering of the Qurio" |
Gaismagorm is unlocked by completing the M★5 Urgent Quest Gathering of the Qurio. Doing this unlocks the Urgent Quest Proof of Courage, which allows you to fight Gaismagorm in the Yawning Abyss.
After completing this Urgent Quest, you can fight Gaismagorm in the regular quest The Devil's Reincarnation in the M★6 Quest Pool.
MR Grinding Guide:
How to Get from MR 6 to MR 100 Fast
Gaismagorm Weakness and Resistance
Gaismagorm Weapon Damage Breakdown
| Part | |||
|---|---|---|---|
| Head | 70 | 72 | 45 |
| Neck | 40 | 42 | 24 |
| Back | 20 | 20 | 14 |
| Abdomen | 32 | 34 | 16 |
| Wingarm | 43 | 43 | 28 |
| Foreleg | 32 | 32 | 20 |
| Hind Leg | 26 | 26 | 18 |
| Tail | 32 | 30 | 16 |
| Tail Tip | 45 | 38 | 22 |
| Overall | 38 | 38 | 23 |
Gaismagorm Elemental Weakness Breakdown
| Part | |||||
|---|---|---|---|---|---|
| Head | 10 | 0 | 20 | 0 | 30 |
| Neck | 5 | 0 | 15 | 0 | 25 |
| Back | 5 | 0 | 5 | 0 | 10 |
| Abdomen | 5 | 0 | 15 | 0 | 25 |
| Wingarm | 5 | 0 | 15 | 0 | 25 |
| Foreleg | 5 | 0 | 10 | 0 | 20 |
| Hind Leg | 5 | 0 | 10 | 0 | 15 |
| Tail | 5 | 0 | 10 | 0 | 15 |
| Tail Tip | 5 | 0 | 15 | 0 | 25 |
| Overall | 6 | 0 | 13 | 0 | 22 |
Higher numbers indicate higher potential damage to the monster.
Gaismagorm Hunting Tips
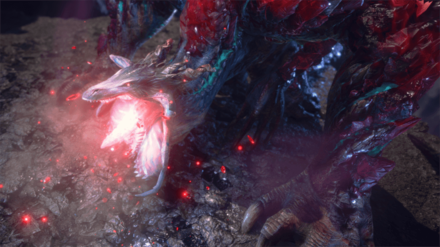
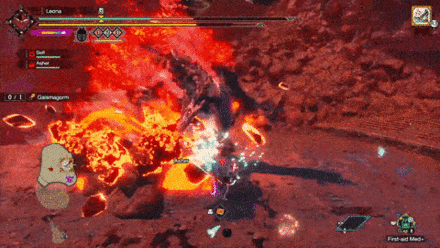
Gaismagorm attacks with the explosive, crystallized Qurio on its carapace. Break these crystals by attacking, but beware: Gaismagorm can consume the shards and use them to deliver even more explosive attacks. When Gaismagorm climbs the pit's wall, it's readying a strong attack. Use the ballistae provided to stop it.
Status Effect Vulnerabilities
| Poison | Stun | Paralysis | Sleep |
|---|---|---|---|
| -- | -- | -- | -- |
| Blast | Exhaust | Fireblight | Waterblight |
| ★★ | -- | ★ | ★ |
| Thunderblight | Iceblight | ||
| ★ | ★ | ||
If an ailment has more stars it means that it has better effectiveness.
Item Vulnerabilities
| Pitfall Trap | Shock Trap | Flash Bomb |
|---|---|---|
| ✕ | ✕ | ✕ |
| Sonic Bomb | Meat Effects | Dung Bomb |
| ✕ | ✕ | ✕ |
◯ = Vulnerable; ✕ = Fully Resistant; ▲ = Situational
Kinsect Extracts
| Monster Part | Extract |
|---|---|
| Head |
|
| Neck |
|
| Back |
|
| Abdomen |
|
| Wingarm |
|
| Foreleg |
|
| Hind Leg |
|
| Tail |
|
| Tail Tip |
|
| Overall | — |
Red = Attack Increase, White = Movement Boost, Orange = Anti-knockback When Attacking
Sunbreak Final Boss

Gaismagorm is the final boss of Monster Hunter Rise: Sunbreak. Storywise, it is the final major monster that you will face in the expansion. However, there are many more monsters to look forward to in Sunbreak's endgame and title updates!
Gaismagorm Locations and Quests
Gaismagorm Habitat
| Map | Starting Area | Visited Areas | Rest Area |
|---|---|---|---|
| Yawning Abyss | - | - | - |
Gaismagorm Quest Appearances
| Quest Type | Lvl | Quest Name |
|---|---|---|
| Hub Quest | M★6 | The Devil's Reincarnation |
| Urgent Hub Quest | M★6 | Proof of Courage |
| No Quest in This Rank |
| No Quest in This Rank |
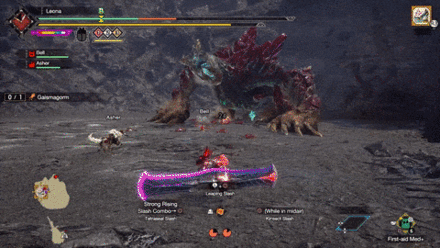
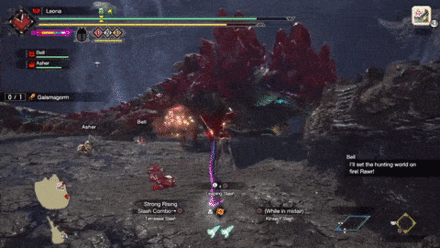
How to Beat Gaismagorm
| Gaismagorm Tips | ||
|---|---|---|
|
|
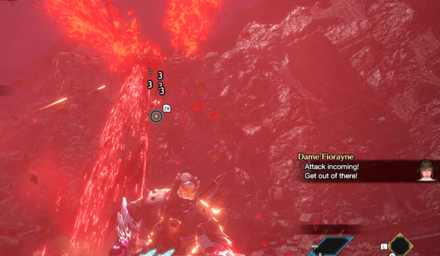
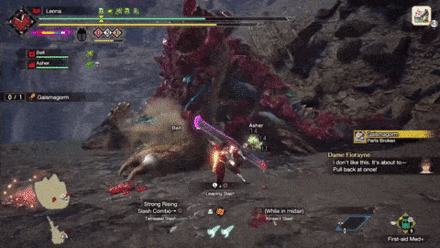
Follow Fiorayne's Advice
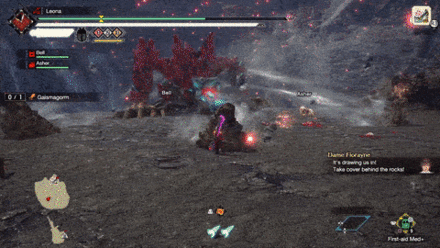
During the fight against Gaismagorm, Dame Fiorayne will notify you about certain mechanics becoming active or coming into play. Follow her advice and warnings to deal heavy damage towards Gaismagorm or avoid one of its devastating attacks.
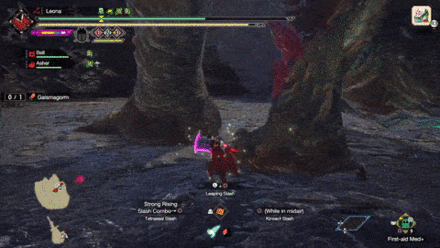
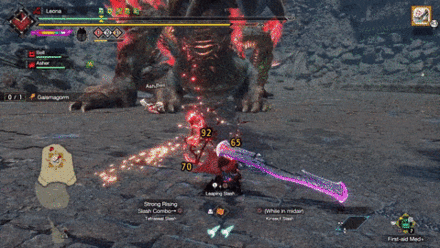
Prioritize Gaismagorm's Head and Wingarms

Gaismagorm's head is its primary weak spot, so hunters should focus their attacks on this body part. There is usually enough time to perform a Switch Skill or a flurry of hits towards Gaismagorm's head between each of its attacks.
If dealing damage to its head is too risky, hunters should focus on its large wingarms instead. The wingarms are another major weak spot for Gaismagorm, so prioritize dealing damage on them over other body parts.
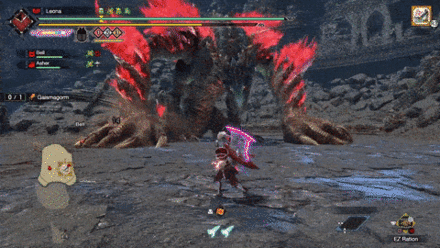
Flank Gaismagorm's Wingarms
Staying behind or to the side of Gaismagorm's wingarms will keep you safe from most of its explosive blasts and slams. You will only need to move when it repositions or swings its body around, which deals significantly less damage than most of its other attacks.
Hide Behind the Rocks
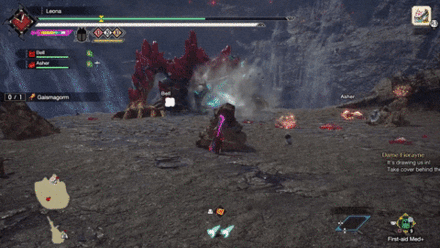
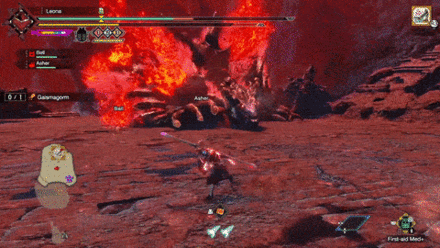
When Gaismagorm performs its massive vacuum attack in the first phase, hide behind the rocks that protrude out of the ground to prevent yourself from being pulled into the Archdemon's maw.
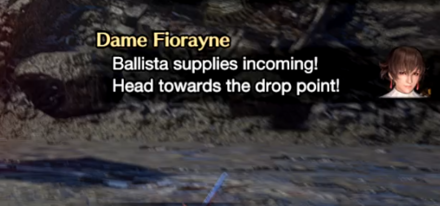
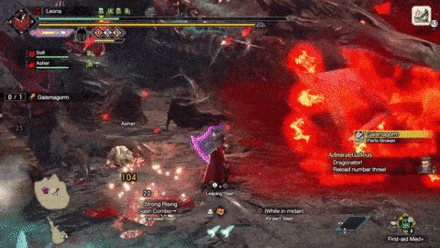
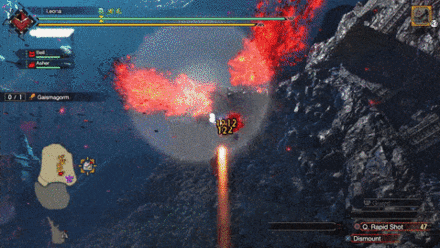
Make Use of the Barrage Ballista

During Gaismagorm's second phase, Barrage Ballista emplacements will fall from the sky when it decides to go for one of its strongest moves. Use these emplacements to shoot down the Qurio on Gaismagorm's back and prevent it from performing its attack.
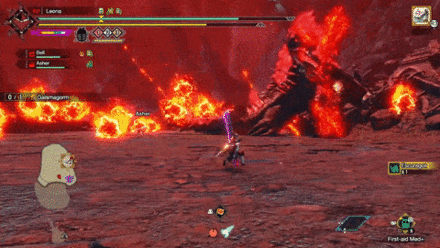
Avoid Red Zones
Gaismagorm has several hard-hitting attacks that can instantly knock out any unprepared hunter when the ground or sky turns red. In particular, stay alert during Gaismagorm's second phase when the Archdemon's attacks become empowered.
Gaismagorm Attacks and Moves
| Name | Description |
|---|---|
| Wingarm Slam | Gaismagorm slams down one of its wingarms, dealing heavy damage on impact. |
| Explosive Clap | Gaismagorm charges up an explosive orb before detonating it by clapping it between its hands. |
| Wingarm Sweep | Gaismagorm slams one of its wingarms into the ground before sweeping it across the area and spinning around. |
| Gaismagorm Charge | A relentless forward charge that knocks away hunters caught in its path. |
| Biting Charge | Gaismagorm bites into the ground, knocking hunters upwards as it charges forward. |
| Gaismagorm Backblast | Gaismagorm charges up an explosive ball, firing it downwards and using the explosion's momentum to reposition backward. |
| Tail Slam | Gaismagorm slams its tail downwards before rotating to face the direction of the tail slam. |
| Gaismagorm Jump | Gaismagorm jumps towards the edge of the arena, knocking away hunters and making rocks protrude out of the ground after landing. |
| Straight Qurio Laser Breath | A Qurio-powered laser breath with a straight trajectory, dealing heavy damage on contact and causing delayed explosions on each surface it hits. |
| Sweeping Qurio Laser Breath | A Qurio-powered laser breath performing in a sweeping motion, dealing heavy damage on contact and causing delayed explosions on each surface it hits. |
| Archdemon Charge | Gaismagorm charges around the arena, leaving a trail of explosive orbs behind it. At the end of its charge, it roars to detonate the orbs, causing large explosions. |
| Abyssal Slide | Gaismagorm uses a blast to propel itself forward, rapidly sliding towards the hunter. This attack occurs twice in a row. |
| Meteor Rain [DANGER] |
Gaismagorm lets out a mighty roar upwards, causing the sky to turn red and meteors to fall from above. |
| Abyssal Rampage [DANGER] |
Gaismagorm wildly thrashes its wingarms around, causing massive explosions and dealing massive damage. |
| Vacuum Explosive Clap Combo [DANGER] |
Gaismagorm vacuums everything in a large area towards its maw, before performing a deadly Explosive Clap. |
| Massive Qurio Laser Breath [DANGER] |
Gaismagorm fires down into the arena with a massive Qurio-powered laser, resulting in a massive explosion that deals immense damage. |
Wingarm Slam
| Wingarm Slam Attack Information |
|---|
 Wingarm Slam: Gaismagorm winds up one of its wingarms before slamming it down, dealing heavy damage on impact knocking players backward. Avoid this attack by reacting to the long wind-up animation and moving out of the attack's way. |
Explosive Clap
| Explosive Clap Attack Information |
|---|
 Explosive Clap: Gaismagorm spits out an explosive ball, charging it up before detonating it by clapping it between its hands. Dodge inwards and underneath Gaismagorm's body to avoid this attack. |
Wingarm Sweep
| Wingarm Sweep Attack Information |
|---|
 Arm Sweep: Gaismagorm slams its wingarm into the ground before sweeping it across the area and spinning around, carried by the sweep's momentum. This attack often comes with flying rocks or explosions, so remember to keep your distance from Gaismagorm until it finishes moving to properly avoid it. |
Gaismagorm Charge
| Gaismagorm Charge Attack Information |
|---|
 Gaismagorm Charge: Gaismagorm rears back before relentlessly charging forward, knocking away hunters in its path. Afterward, it turns around to face the direction it came. React to the attack's long wind-up animation and move out of its way to avoid getting hit. |
Biting Charge
| Biting Charge Attack Information |
|---|
 Biting Charge: A variant of the Gaismagorm Charge, Gaismagorm bites down into the ground, launching hunters into the air before charging forward and dealing heavy damage. Move away from Gaismagorm's mouth when it rears back to avoid being knocked upwards, and steer clear of the monster's path to avoid the charging attack. |
Gaismagorm Backblast
| Gaismagorm Backblast Attack Information |
|---|
 Gaismagorm Backblast: Gaismagorm charges up an explosive ball before firing it downwards and using the momentum to reposition backward. Steer clear of Gaismagorm's mouth when it begins burning up to avoid this attack. |
Tail Slam
| Tail Slam Attack Information |
|---|
 Tail Slam: Gaismagorm lifts its tail and whips it around once before slamming it down, dealing heavy damage. It then rotates its body to face the direction of the tail slam. To avoid this attack, move away from Gaismagorm's tail and keep your distance until the attack finishes. |
Gaismagorm Jump
| Gaismagorm Jump Attack Information |
|---|
 Gaismagorm Jump: Gaismagorm presses its limbs against the ground before jumping towards the edge of the arena. This move knocks away hunters when hit, and makes rocks protrude out of the ground upon landing. This attack is quite easy to avoid since Fiorayne warns you when it is about to happen, giving you ample time to move away from Gaismagorm before it jumps. |
Straight Qurio Laser Breath
| Straight Qurio Laser Breath Attack Information |
|---|
 Straight Qurio Laser Breath: Gaismagorm rears back before letting out a Qurio-powered laser breath, dealing heavy damage on contact and causing delayed explosions on each surface it hits. Stay alert for the attack's wind-up animation and move out of the laser breath's way to avoid this attack. |
Sweeping Qurio Laser Breath
| Sweeping Qurio Laser Breath Attack Information |
|---|
 Sweeping Qurio Laser Breath: Gaismagorm rears back before letting out a Qurio-powered laser breath in a sweeping motion, dealing heavy damage on contact and covering a large area with delayed explosions. This attack has a similar wind-up animation to the Straight Qurio Laser Breath, so react accordingly by moving off to the side opposite where the laser breath begins to avoid it. |
Archdemon Charge
| Archdemon Charge Attack Information |
|---|
 Archdemon Charge: Gaismagorm charges around the arena, leaving a trail of explosive orbs as it moves. At the end of its charge, it lets out a mighty roar that detonates each orb, causing large explosions that deal heavy damage. Steer away from Gaismagorm's path and make plenty of distance away from each explosive orb to avoid being hit by this attack. |
Abyssal Slide
| Abyssal Slide Attack Information |
|---|
 Abyssal Slide: Gaismagorm slams one of its wingarms into the ground before propelling itself forward with a blast, rapidly sliding towards the player. Gaismagorm performs this attack twice in a row, so dive-evade perpendicular to the monster's path to avoid getting hit by each slide. |
Meteor Rain
| Meteor Rain Attack Information |
|---|
 Meteor Rain: Gaismagorm lets out a mighty roar upwards, causing the sky to turn red and meteors to fall from above. While this attack leaves Gaismagorm vulnerable, prioritize dodging the red zones on the floor as each meteor deals significant amounts of damage. |
Abyssal Rampage
| Abyssal Rampage Attack Information |
|---|
 Abyssal Rampage: Gaismagorm thrashes about, repeatedly slamming its wingarms on the ground and causing massive explosions with each hit. Gaismagorm's rampage ends with a delayed wingarm slam, so keep your distance from the monster and be prepared to dodge its final hit when this attack occurs. |
Vacuum Explosive Clap Combo
| Vacuum Explosive Clap Combo Attack Information |
|---|
 Vacuum Explosive Clap Combo: This attack happens immediately after Gaismagorm Jump. Gaismagorm vacuums everything in a large area in front of it, pulling in crystallized Qurios and hunters caught into the suction. Afterward, Gaismagorm performs a deadly explosive clap, dealing massive damage to any hunter it hits. To avoid being hit by this attack, hide behind the rocks that protrude from the ground after Gaismagorm jumps. |
Massive Qurio Laser Breath
| Massive Qurio Laser Breath Attack Information |
|---|
 Massive Qurio Laser Breath: This attack occurs after failing to stop Gaismagorm from climbing up the wall when the Barrage Ballista arrive. A spark emanates from Gaismagorm's mouth before it lets out a massive Qurio-powered laser that deals heavy damage on impact and results in a massive explosion that deals immense damage. Immediately run away from the laser and the red zones on the floor to prevent fainting from this massive attack. |
Gaismagorm Materials and Drops
Master Rank Gaismagorm Materials
| You cannot capture this monster! |
Gaismagorm Dropped Materials
Master Rank
|
|
Monster Hunter Rise Related Links

All Gaismagorm Guides
| All Gaismagorm Related Articles | ||
|---|---|---|
|
Gaismagorm Guide
|
Gaismagorm Weapons
|
Gaismagorm Armor
|
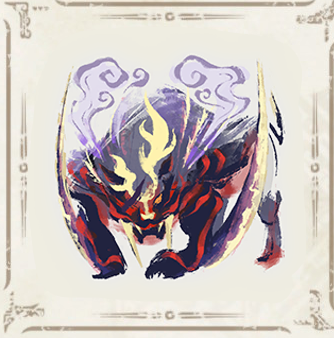
Sunbreak Monsters
| Sunbreak Monster Lists | ||
|---|---|---|
| Sunbreak Monsters List | Monster Subspecies List | Sunbreak Small Monsters List |
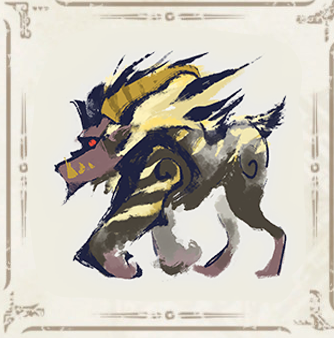
Large Monsters
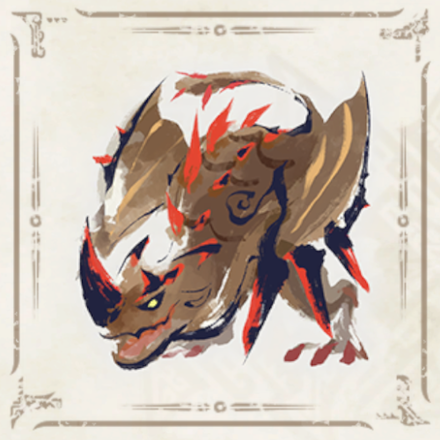
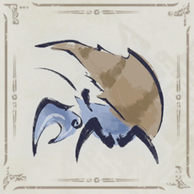
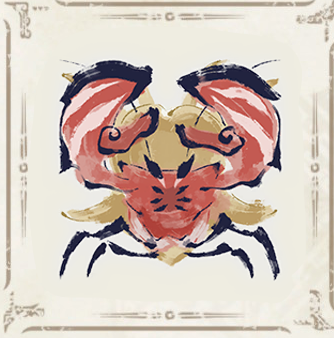 Daimyo Hermitaur
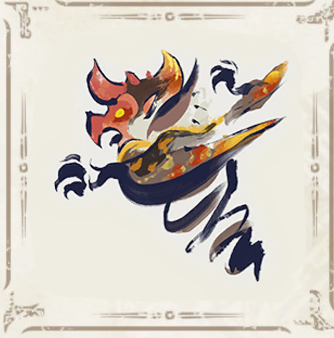 Blood Orange Bishaten
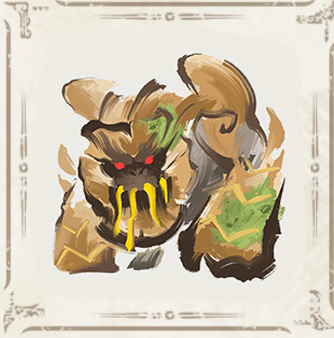 Garangolm
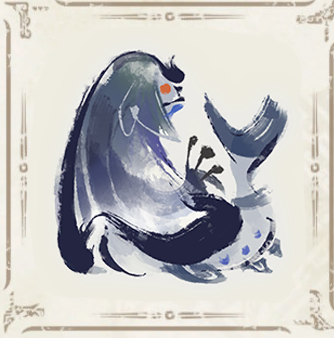 Aurora Somnacanth
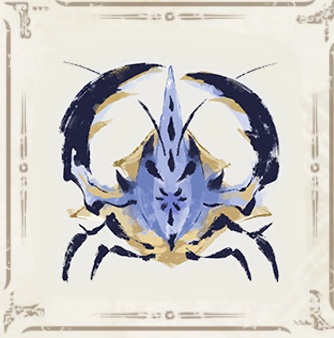 Shogun Ceanataur
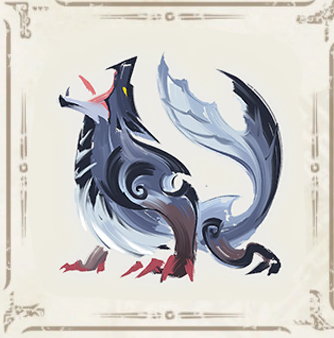 Lunagaron
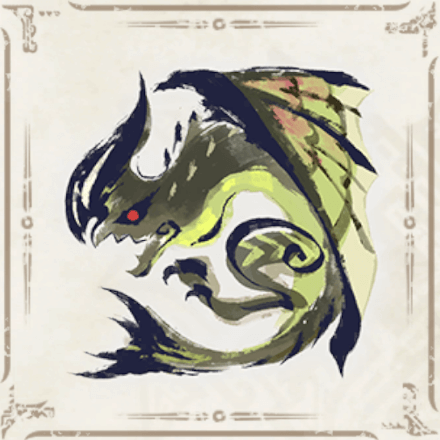 Astalos
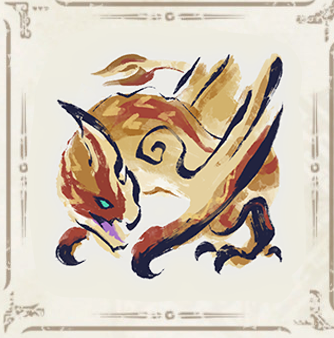 Seregios
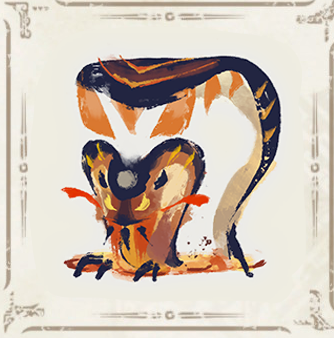 Magma Almudron
 Gore Magala
 Espinas
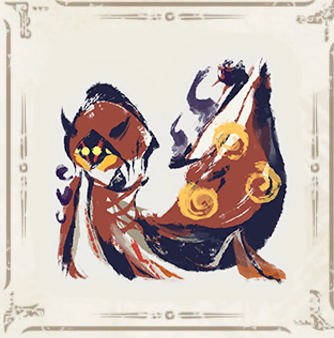 Pyre Rakna-Kadaki
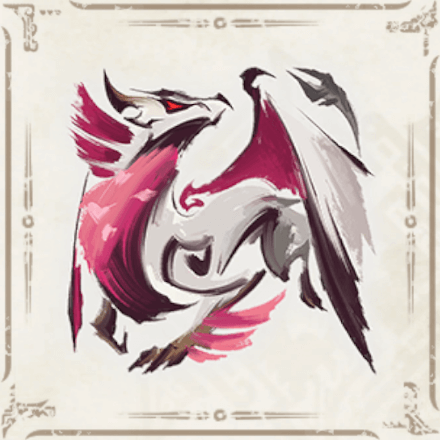 Malzeno
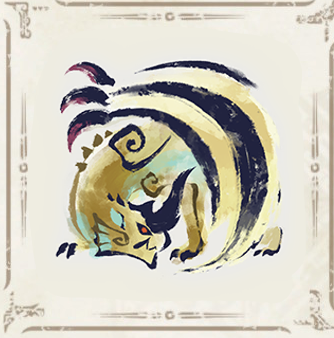 Shagaru Magala
MR6+ Large Monsters
| MR6+ Monsters | |||||
|---|---|---|---|---|---|
| Gaismagorm (MR6) |
 Furious Rajang Furious Rajang(MR50) |
 Scorned Magnamalo Scorned Magnamalo(MR100) |
|||
Title Update 1 Monsters
| Sunbreak Title Update 1 Monsters | |||
|---|---|---|---|
 Seething Bazelgeuse Seething Bazelgeuse |
 Silver Rathalos Silver Rathalos |
 Gold Rathian Gold Rathian |
 Lucent Nargacuga Lucent Nargacuga |
Title Update 2 Monsters
| Sunbreak Title Update 2 Monsters | ||
|---|---|---|
 Flaming Espinas Flaming Espinas |
 Risen Chameleos Risen Chameleos |
 Violet Mizutsune Violet Mizutsune |
Title Update 3 Monsters
| Sunbreak Title Update 3 Monsters | ||
|---|---|---|
 Chaotic Gore Magala Chaotic Gore Magala |
 Risen Kushala Daora Risen Kushala Daora |
 Risen Teostra Risen Teostra |
Title Update 4 Monsters
| Sunbreak Title Update 4 Monsters | |
|---|---|
 Velkhana Velkhana |
 Risen Crimson Glow Valstrax Risen Crimson Glow Valstrax |
Title Update 5 Monsters
| Sunbreak Title Update 5 Monsters | |
|---|---|
 Amatsu Amatsu |
 Risen Shagaru Magala Risen Shagaru Magala |
Small Monsters
| Sunbreak Small Monsters | |||||
|---|---|---|---|---|---|
 Boggi Boggi |
 Ceanataur Ceanataur |
 Gowngoat Gowngoat |
|||
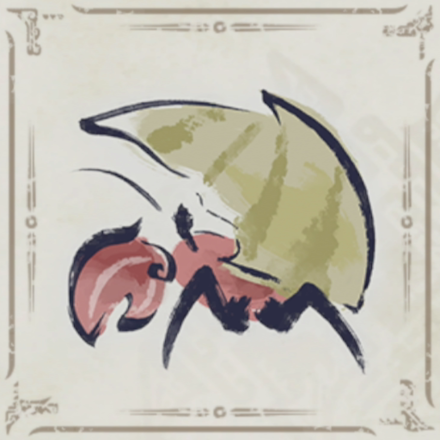 Hermitaur Hermitaur |
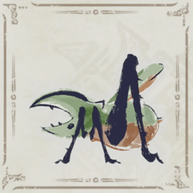 Hornetaur Hornetaur |
 Pyrantula Pyrantula |
 Vespoid Vespoid |
 Velociprey Velociprey |
|
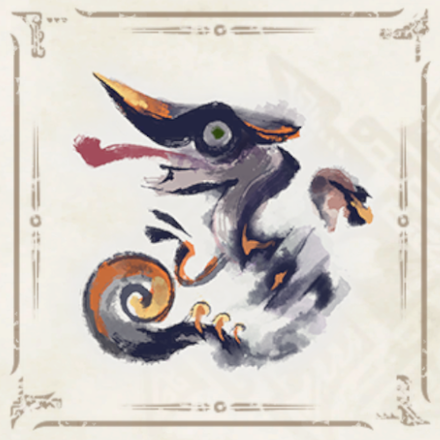
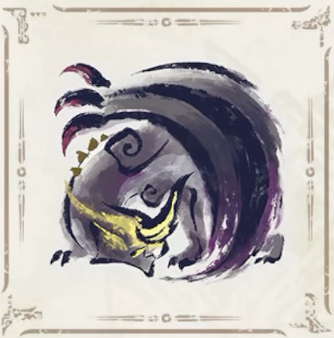
Other Large Monsters
 Great Izuchi
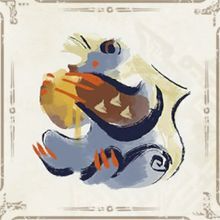 Arzuros
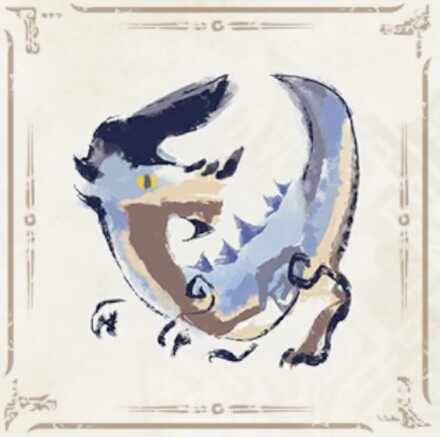 Great Baggi
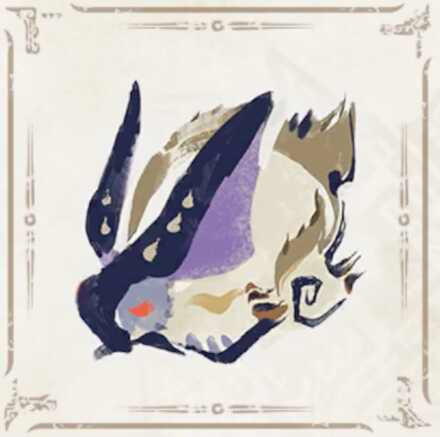 Lagombi
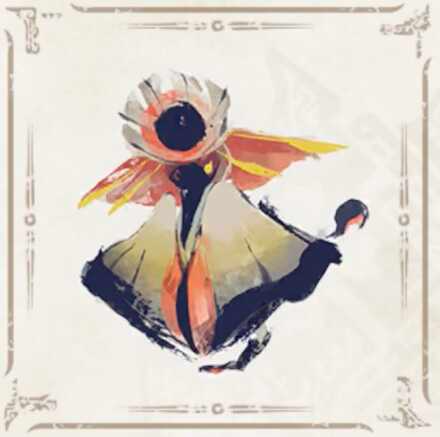 Aknosom
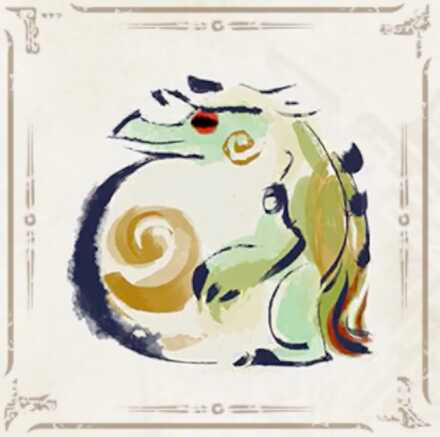 Tetranadon
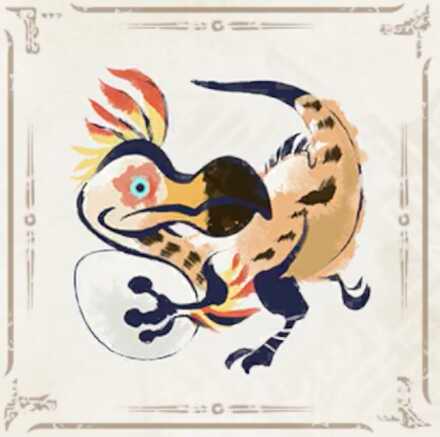 Kulu-Ya-Ku
 Barroth
 Great Wroggi
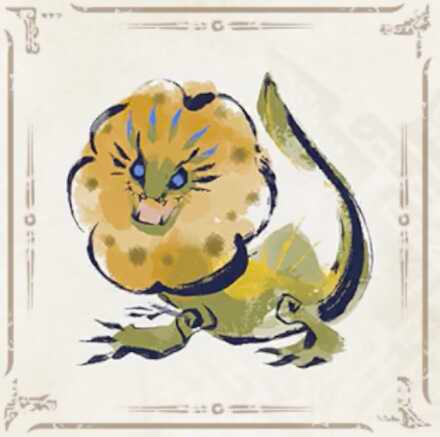 Royal Ludroth
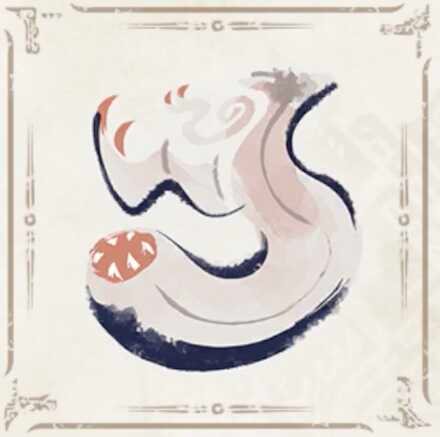 Khezu
Khezu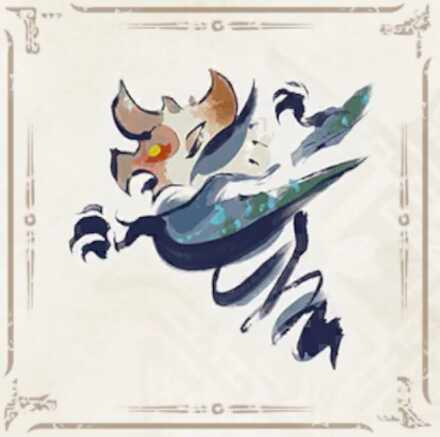 Bishaten
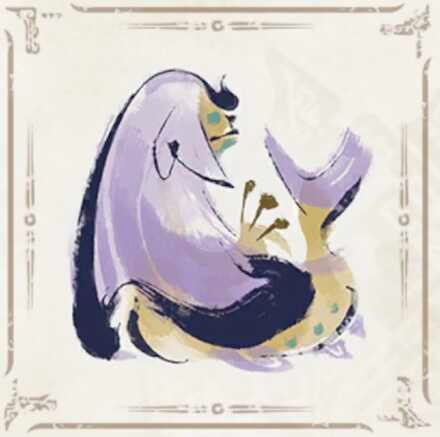 Somnacanth
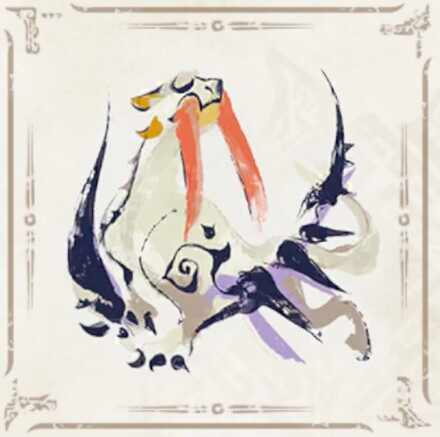 Barioth
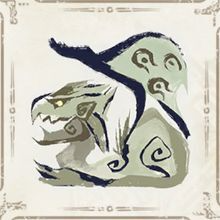 Rathian
 Tobi-Kadachi
 Volvidon
 Basarios
 Pukei-Pukei
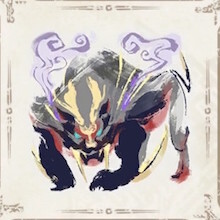 Magnamalo
 Nargacuga
 Zinogre
 Anjanath
 Mizutsune
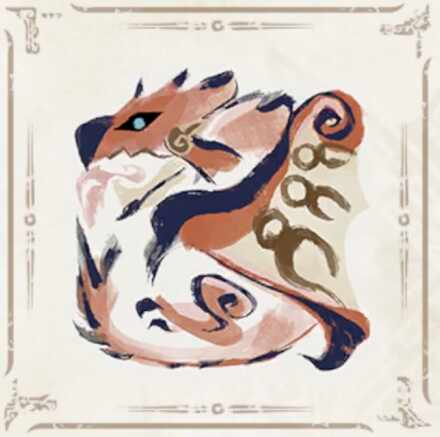 Rathalos
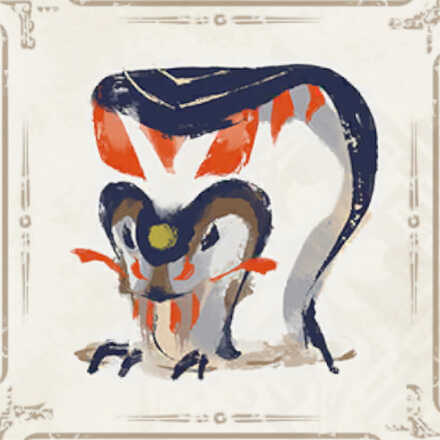 Almudron
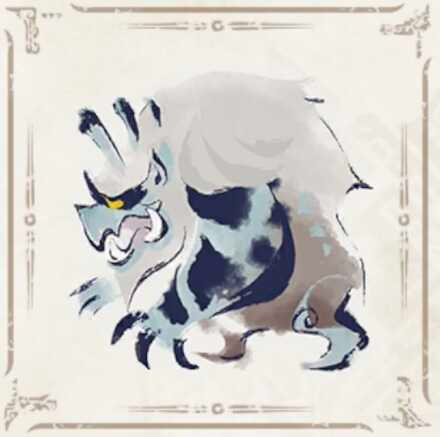 Goss Harag
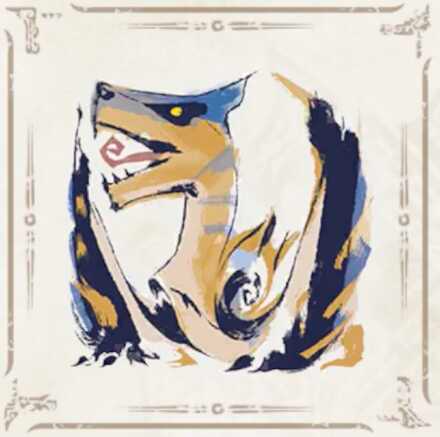 Tigrex
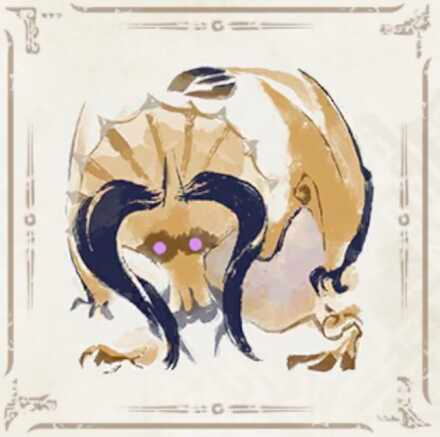 Diablos
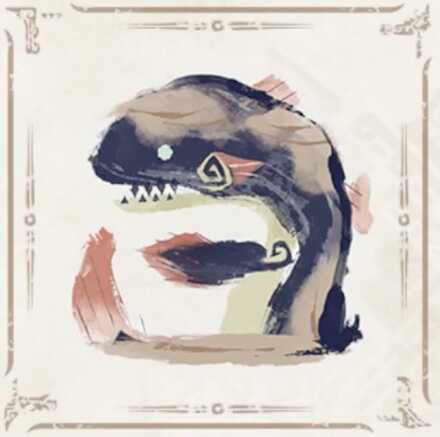 Jyuratodus
 Rajang
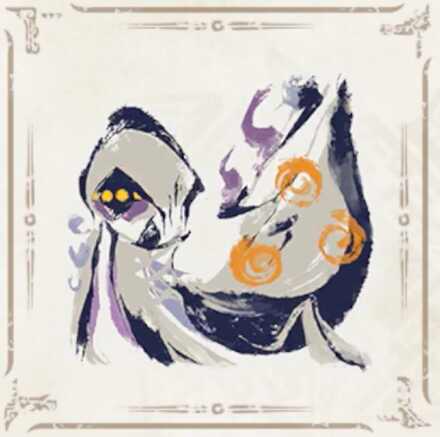 Rakna-Kadaki
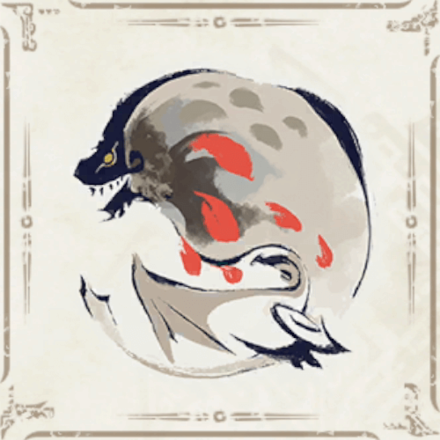 Bazelgeuse
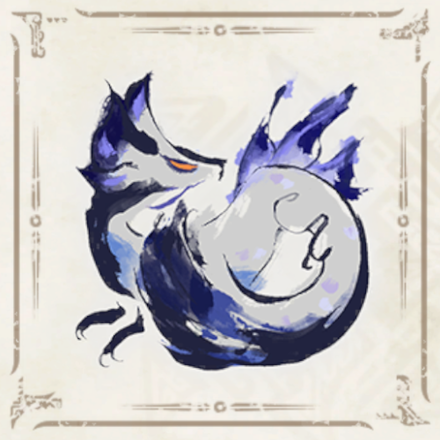
Elder Dragons
| Elder Dragons | |||||
|---|---|---|---|---|---|
| Narwa the Allmother |
|||||
 Wind Serpent Ibushi Wind Serpent Ibushi |
 Thunder Serpent Narwa Thunder Serpent Narwa |
 Crimson Glow Valstrax Crimson Glow Valstrax |
|||
 Chameleos Chameleos |
 Kushala Daora Kushala Daora |
 Teostra Teostra |
|||
Apex Monsters
| Apex Monsters | ||
|---|---|---|
 Apex Arzuros Apex Arzuros |
 Apex Rathian Apex Rathian |
 Apex Mizutsune Apex Mizutsune |
 Apex Rathalos Apex Rathalos |
 Apex Diablos Apex Diablos |
 Apex Zinogre Apex Zinogre |
Other Small Monsters
 Altaroth
 Anteka
 Baggi
Baggi Bnahabra
 Bombadgy
 Bullfango
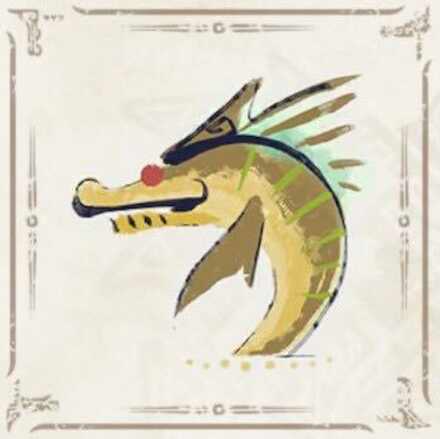 Delex
Delex Felyne
 Gajau
Gajau Gargwa
 Izuchi
 Jaggi
Jaggi Jaggia
 Jagras
 Kelbi
Kelbi Kestodon
 Ludroth
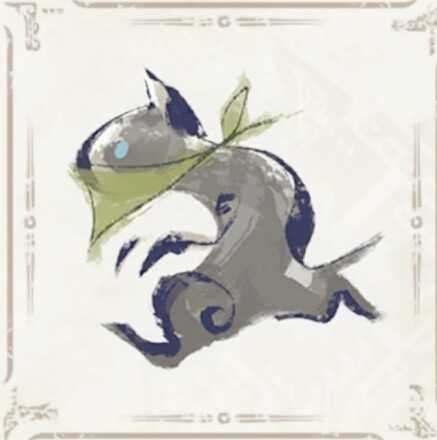 Melynx
 Popo
Popo Rachnoid
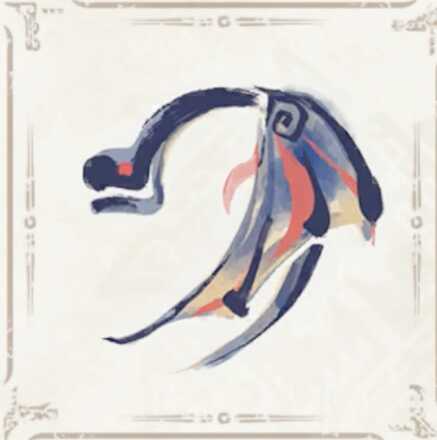 Remobra
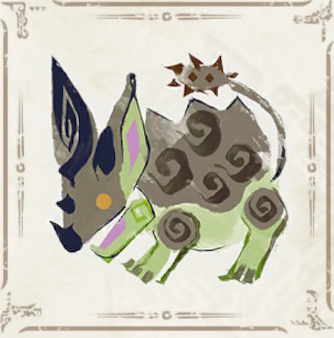 Rhenoplos
 Slagtoth
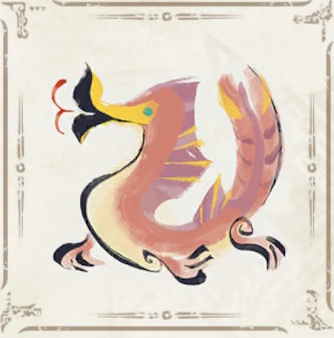 Uroktor
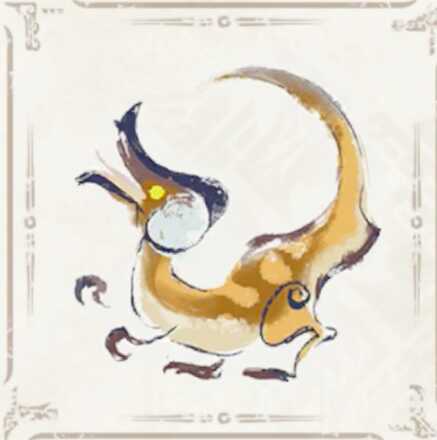 Wroggi
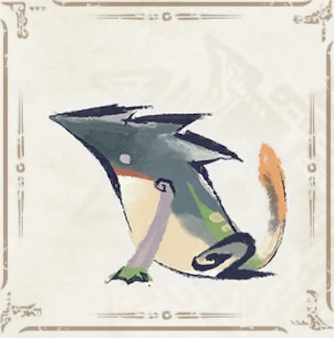 Zamite
Author

Sunbreak Final Boss: Gaismagorm Weakness and Drops
Rankings
Gaming News


Popular Games

Genshin Impact Walkthrough & Guides Wiki
Honkai: Star Rail Walkthrough & Guides Wiki
Arknights: Endfield Walkthrough & Guides Wiki
Umamusume: Pretty Derby Walkthrough & Guides Wiki
Wuthering Waves Walkthrough & Guides Wiki
Pokemon TCG Pocket (PTCGP) Strategies & Guides Wiki
Abyss Walkthrough & Guides Wiki
Zenless Zone Zero Walkthrough & Guides Wiki
Digimon Story: Time Stranger Walkthrough & Guides Wiki
Clair Obscur: Expedition 33 Walkthrough & Guides Wiki


Recommended Games
Fire Emblem Heroes (FEH) Walkthrough & Guides Wiki
Pokemon Brilliant Diamond and Shining Pearl (BDSP) Walkthrough & Guides Wiki
Diablo 4: Vessel of Hatred Walkthrough & Guides Wiki
Super Smash Bros. Ultimate Walkthrough & Guides Wiki
Yu-Gi-Oh! Master Duel Walkthrough & Guides Wiki
Elden Ring Shadow of the Erdtree Walkthrough & Guides Wiki
Monster Hunter World Walkthrough & Guides Wiki
The Legend of Zelda: Tears of the Kingdom Walkthrough & Guides Wiki
Persona 3 Reload Walkthrough & Guides Wiki
Cyberpunk 2077: Ultimate Edition Walkthrough & Guides Wiki


All rights reserved
©CAPCOM CO., LTD. ALL RIGHTS RESERVED.
The copyrights of videos of games used in our content and other intellectual property rights belong to the provider of the game.
The contents we provide on this site were created personally by members of the Game8 editorial department.
We refuse the right to reuse or repost content taken without our permission such as data or images to other sites.