Sunbreak Kulu-Ya-Ku: Weakness and Drops
★ All Title Updates now available for ALL PLATFORMS!
┗ Title Update 4 | Title Update 5 | Bonus Update
┗ Check out all our Best Builds For Every Weapon!
┗ TU4 Monsters: Velkhana | Risen C.G. Valstrax
┗ TU5 Monsters: Amatsu | Risen Shagaru Magala
┗ Bonus Update Monster: Primordial Malzeno

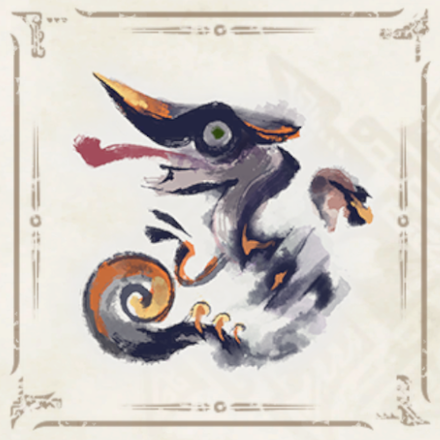
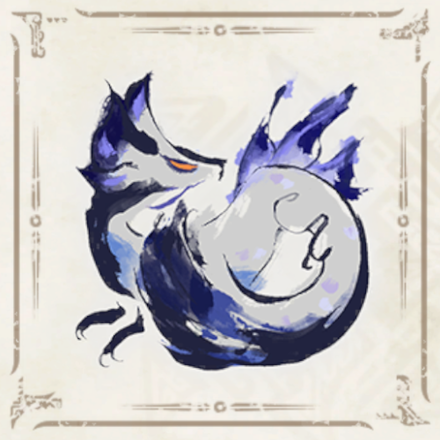
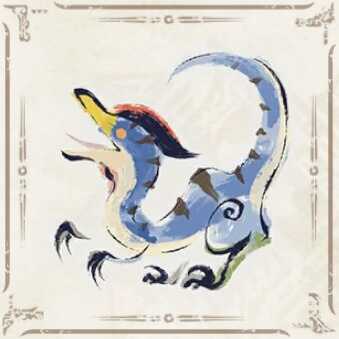
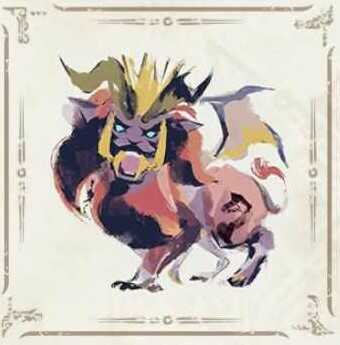
This is a hunting guide for Kulu-Ya-Ku, a Large Monster in Monster Hunter Rise (MH Rise) and the Sunbreak DLC. Read on to learn Kulu-Ya-Ku's weaknesses, forgeable weapons and armor, drops, and attack patterns for Master Rank!
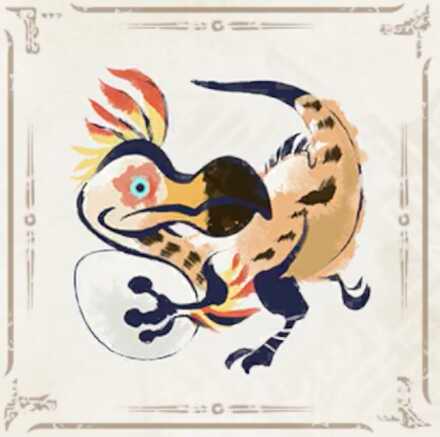 Kulu-Ya-Ku Guide Kulu-Ya-Ku Guide
|
 Kulu-Ya-Ku Weapons Kulu-Ya-Ku Weapons
|
 Kulu-Ya-Ku Armor Kulu-Ya-Ku Armor
|
List of Contents
Kulu-Ya-Ku Weakness and Notes
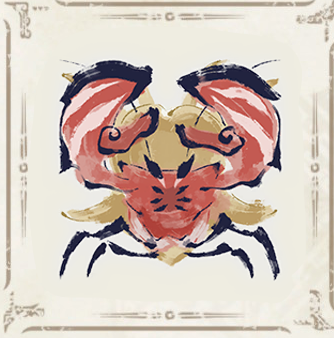
| Kulu-Ya-Ku クルルヤック |
|||
|---|---|---|---|
 |
|||
| Type | Bird Wyvern | Previous Games | MHW, MHWI |
| Threat Level | 2/10 | Rampage Type | ー |
| Major Weakness | Other Weakness | ||
| Blight / Elemental Damage | ー | Abnormal Status | ー |
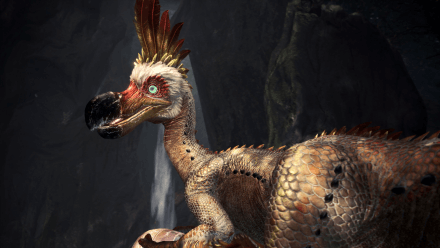
| Characteristics | |||
| A bird wyvern that has developed limbs capable of carrying objects. It has been spotted stealing eggs from nests. If attacked while carrying an egg, it will drop the egg in fright and flee. When engaged, a Kulu-Ya-Ku will dig up a small boulder to shield itself against threats or use it in its attacks. | |||
How to Unlock Kulu-Ya-Ku
Reach MR 1 in Master Rank
| Quest Name | Monster/Unlock |
|---|---|
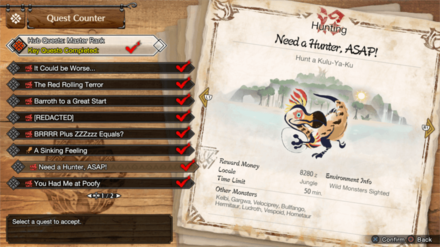
| Need a Hunter, ASAP! (Key Quest) |
|
| Unlock Conditions: Finish the Quest "Uninvited Guest" |
MR Kulu-Ya-Ku is unlocked by completing the Urgent Quest Uninvited Guest reaching MR 1 in the Sunbreak expansion.
MR Grinding Guide:
How to Get from MR 6 to MR 100 Fast
Reach HR 4 in High Rank
| Quest Name | Monster/Unlock |
|---|---|
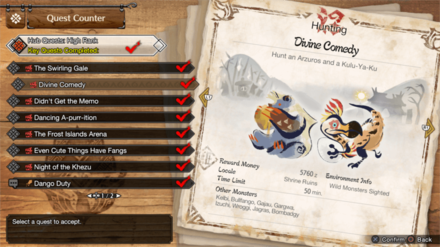
|
Divine Comedy
(Key Quest) |
|
| Unlock Conditions: Finish the Quest "The Blue Apex" |
High Rank Kulu-Ya-Ku is unlocked by completing the Urgent Quest The Blue Apex and reaching HR 4.
Hunter Rank Farm Guide:
How to Get from HR 7 to HR 100 Fast
Unlocked from the Start in Low Rank

| Quest Name | Monster/Unlock |
|---|---|
|
Tired and Feathered
(Key Quest) |
|
| Unlock Conditions: From the start |
Low Rank Kulu-Ya-Ku is unlocked from the start at HR 1.
Kulu-Ya-Ku Weakness and Resistance
| 55 | 55 | 45 | 15 |
| 20 | 15 | 15 | 15 |
Bold are the recommended Weapon Type and Elemental Damage.
Kulu-Ya-Ku Weapon Damage Breakdown
| Part | |||
|---|---|---|---|
| Head | 68 | 68 | 60 |
| Torso | 45 | 45 | 40 |
| Foreleg | 52 | 56 | 45 |
| Tail | 55 | 50 | 35 |
| Overall | 55 | 55 | 45 |
Kulu-Ya-Ku Elemental Weakness Breakdown
| Part | |||||
|---|---|---|---|---|---|
| Head | 15 | 20 | 15 | 15 | 15 |
| Torso | 15 | 20 | 15 | 15 | 15 |
| Foreleg | 15 | 20 | 15 | 15 | 15 |
| Tail | 15 | 20 | 15 | 15 | 15 |
| Overall | 15 | 20 | 15 | 15 | 15 |
Higher numbers indicate higher potential damage to the monster.
Kulu-Ya-Ku Hunting Tips

A Kulu-Ya-Ku uses small boulders to shield itself or smash against its enemies. Force it to drop whatever it's holding by staggering or blinding it, or if it's holding a cracked boulder, attack it to break it.
Status Effect Vulnerabilities
| Poison | Stun | Paralysis | Sleep |
|---|---|---|---|
| ★ | ★★ | ★ | ★ |
| Blast | Exhaust | Fireblight | Waterblight |
| ★★ | ★ | ★ | ★★ |
| Thunderblight | Iceblight | ||
| ★ | ★ | ||
If an ailment has more stars it means that it has better effectiveness.
Item Vulnerabilities
| Pitfall Trap | Shock Trap | Flash Bomb |
|---|---|---|
| ◯ | ◯ | ◯ |
| Sonic Bomb | Meat Effects | Dung Bomb |
| ◯ | ✕ | ◯ |
◯ = Vulnerable; ✕ = Fully Resistant; ▲ = Situational
Kinsect Extracts
| Monster Part | Extract |
|---|---|
| Head |
|
| Torso |
|
| Foreleg |
|
| Tail |
|
Red = Attack Increase, White = Movement Boost, Orange = Anti-knockback When Attacking
Kulu-Ya-Ku Locations and Quests
Kulu-Ya-Ku Known Habitat
| Map | Starting Area | Visited Areas | Rest Area |
|---|---|---|---|
 Shrine Ruins Shrine Ruins
|
3 | 3 / 4 / 6 / 7 / 8 / 9 / 11 / 12 / 13 | 3 |
 Sandy Plains Sandy Plains
|
11 | 1 / 2 / 3 / 5 / 6 / 7 / 11 | 4 |
 Flooded Forest Flooded Forest
|
13 | 4 / 8 / 9 / 10 / 11 / 12 / 13 / 14 | 11 |
 Lava Caverns Lava Caverns
|
10 | 1 / 2 / 3 / 4 / 5 / 6 / 7 / 8 / 9 / 10 / 12 | 6 / 10 |
 Jungle Jungle
|
3 / 6 / 7 | 3 / 4 / 5 / 6 / 7 / 8 / 9 / 11 | 6 |
Kulu-Ya-Ku Quest Appearances
| Quest Type | Lvl | Quest Name |
|---|---|---|
| Anomaly Quest | A★1 | Anomaly Research: Kulu-Ya-Ku |
| Event Quest | M★1 | Harvest Boon |
| Hub Quest | M★1 | Need a Hunter, ASAP! (Key Quest) |
| Hub Quest | M★2 | Bird Wyvern Jamboree (Key Quest) |
| Event Quest | M★3 | Another Grand Gesture |
| Support Survey | M★3 | Operation Hot Pursuit |
| Quest Type | Lvl | Quest Name |
|---|---|---|
| Hub Quest | ★4 | Divine Comedy (Key Quest) |
| Hub Quest | ★4 | Totally Not Cool, Kulu |
| Quest Type | Lvl | Quest Name |
|---|---|---|
| Arena Quest | ★1 | Arena 01 |
| Event Quest | ★1 | Bird Wyverns of Ruin? |
| Hub Quest | ★1 | Tired and Feathered (Key Quest) |
| Village Quest | ★3 | Walking on Eggshells (Key Quest) |
| Village Quest | ★5 | Nosey Nuisances |
How to Beat Kulu-Ya-Ku
| Kulu-Ya-Ku Tips | ||
|---|---|---|
|
|
Prioritize Attacking Kulu-Ya-Ku's Head
Kulu-Ya-Ku's primary weak point is its head, so prioritize dealing damage to it as often as possible, especially after stunning it or knocking it down.
Stick to Kulu-Ya-Ku's Sides
Sticking near Kulu-Ya-Ku's sides makes it easier to react to and avoid most of its attacks, letting you spend more time dealing damage instead of dodging.
Destroy the Objects It Carries
When Kulu-Ya-Ku has an object in its hands, it can be difficult to hit its head as the item it carries gets in the way. In addition, Kulu-Ya-Ku also gains access to more moves while it carries something.
We suggest destroying the rocks and jars that Kulu-Ya-Ku picks up by repeatedly attacking them. While hitting the objects does minor damage, doing so will make the fight easier in the long run.
In addition, Kulu-Ya-Ku often leaves itself vulnerable after its object breaks, providing an opening for easy damage.
Staggering Kulu-Ya-Ku Can Make it Drop Objects
Staggering Kulu-Ya-Ku also has a chance to make it drop the item in its hands, making it another way to prevent it from using any object it carries.
Kulu-Ya-Ku Master Rank Attack Patterns
In contrast to its Low and High Rank variants, Master Rank Kulu-Ya-Ku moves faster and is more accurate with its attacks. It also takes less time to recover after performing an attack.
Additionally, Kulu-Ya-Ku uses the following new attack in Master Rank on top of its moves from Low and High Rank quests.
| Name | Description |
|---|---|
| Extended Rock Slide | Kulu-Ya-Ku slides a rock across the ground as it rushes towards the hunter, ending its stampede by slamming the stone on top of them. |
Extended Rock Slide
| Extended Rock Slide Attack Information |
|---|
 Extended Rock Slide: Kulu-Ya-Ku lifts up the rock it carries before sliding it across the ground as it rushes towards the hunter, ending its stampede by slamming the stone downward. Compared to its shorter version in lower ranks, this move covers a surprising amount of distance and also tracks the hunter, so prepare to dodge at the last moment or dive-evade to avoid getting hit. |
Kulu-Ya-Ku General Attack Patterns
Kulu-Ya-Ku uses the following attacks in Low and High Rank quests.
| Name | Description |
|---|---|
| Rock-based Attacks | Kulu-Ya-Ku often picks up rocks and jars from the ground to use as blunt weapons, slamming them on top of the hunter. This attack has multiple variations. |
| Single Claw Swipe | Kulu-Ya-Ku rears back before lunging forward with a single claw swipe. |
| Double Claw Swipe | Kulu-Ya-Ku lifts up one of its clawed forelegs before performing two quick swipes. |
| Quick Pounces | Kulu-Ya-Ku performs up to two pounces, dealing moderate damage as it lands on top of the hunter with its clawed legs. |
| Jumping Claw Slam | Kulu-Ya-Ku leaps towards the hunter, slamming its clawed forelegs on top of them. |
| Peck Barrage | Kulu-Ya-Ku pecks multiple times with its beak, dealing light damage and knocking away hunters on hit. |
Rock-based Attacks
Kulu-Ya-Ku often picks up rocks and jars from the ground to use as blunt weapons, slamming them on top of the hunter. These objects also act as a form of defense, as they often block attacks on Kulu-Ya-Ku's head.
| Weaponized Rocks Variations |
|---|
 Rock Slam: Kulu-Ya-Ku lifts up its rock and quickly slams it down on top of the hunter. |
 Jumping Rock Slam: Kulu-Ya-Ku jumps toward the hunter to slam its rock down on top of them. |
 Delayed Jumping Rock Slam: Kulu-Ya-Ku hops in place before jumping toward the hunter to land a rock slam at full force, dealing heavy damage and knocking them away on hit. |
 Rock Slide: Kulu-Ya-Ku slides its rock on the ground as it rushes towards the hunter, knocking away everything in its path. At the end of its stampede, it slams the rock down on top of the hunter, dealing heavy damage. |
 Rock Throw: When its rock or jar is close to breaking, Kulu-Ya-Ku can toss the object towards the hunter. Kulu-Ya-Ku often looks for another item after performing this move. |
Single Claw Swipe
| Single Claw Swipe Attack Information |
|---|
 Single Claw Swipe: Kulu-Ya-Ku rears back before lunging forward with a single claw swipe, dealing light damage on hit. |
Double Claw Swipe
| Double Claw Swipe Attack Information |
|---|
 Double Claw Swipe: Kulu-Ya-Ku lifts up one of its clawed forelegs before performing two quick swipes as it moves forward, dealing moderate damage and knocking hunters away on hit. |
Quick Pounces
| Quick Pounces Information |
|---|
 Quick Pounces: Kulu-Ya-Ku performs up to two pounces, dealing moderate damage as it lands on top of the hunter with its clawed legs. This attack becomes stronger while Kulu-Ya-Ku carries a rock or jar as it slams the objects on top of the hunter as it pounces. |
Jumping Claw Slam
| Jumping Claw Slam Attack Information |
|---|
 Jumping Claw Slam: Kulu-Ya-Ku hops in place before leaping towards the hunter to slam its clawed forelegs on top of them, dealing heavy damage and knocking them away on impact. Dodge to the side as soon as you see Kulu-Ya-Ku jumping in place to avoid this attack. |
Peck Barrage
| Peck Barrage Information |
|---|
 Peck Barrage: Kulu-Ya-Ku pecks multiple times with its beak, dealing light damage and knocking away hunters on hit. This attack can occur while Kulu-Ya-Ku is carrying a rock or jar. This attack comes out quite fast and becomes even quicker when Kulu-Ya-Ku is enraged, so stay alert when positioning near Kulu-Ya-Ku's head. |
Kulu-Ya-Ku Materials and Drops
Master Rank Kulu-Ya-Ku Materials
High Rank Kulu-Ya-Ku Materials
Low Rank Kulu-Ya-Ku Materials
Kulu-Ya-Ku Dropped Materials
Monster Hunter Rise Related Guides

All Kulu-Ya-Ku Guides
| All Kulu-Ya-Ku Related Articles | ||
|---|---|---|
|
Kulu-Ya-Ku Guide
|
Kulu-Ya-Ku Weapons
|
Kulu-Ya-Ku Armor
|
Sunbreak Monsters
| Sunbreak Monster Lists | ||
|---|---|---|
| Sunbreak Monsters List | Monster Subspecies List | Sunbreak Small Monsters List |
Large Monsters
 Daimyo Hermitaur
 Blood Orange Bishaten
 Garangolm
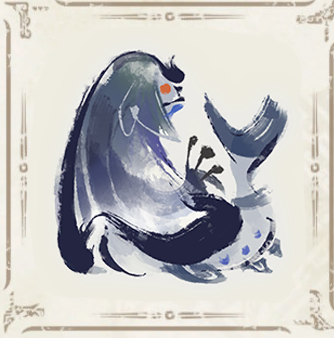 Aurora Somnacanth
 Shogun Ceanataur
 Lunagaron
 Astalos
 Seregios
 Magma Almudron
 Gore Magala
 Espinas
 Pyre Rakna-Kadaki
 Malzeno
 Shagaru Magala
MR6+ Large Monsters
| MR6+ Monsters | |||||
|---|---|---|---|---|---|
 Gaismagorm Gaismagorm(MR6) |
 Furious Rajang Furious Rajang(MR50) |
 Scorned Magnamalo Scorned Magnamalo(MR100) |
|||
Title Update 1 Monsters
| Sunbreak Title Update 1 Monsters | |||
|---|---|---|---|
 Seething Bazelgeuse Seething Bazelgeuse |
 Silver Rathalos Silver Rathalos |
 Gold Rathian Gold Rathian |
 Lucent Nargacuga Lucent Nargacuga |
Title Update 2 Monsters
| Sunbreak Title Update 2 Monsters | ||
|---|---|---|
 Flaming Espinas Flaming Espinas |
 Risen Chameleos Risen Chameleos |
 Violet Mizutsune Violet Mizutsune |
Title Update 3 Monsters
| Sunbreak Title Update 3 Monsters | ||
|---|---|---|
 Chaotic Gore Magala Chaotic Gore Magala |
 Risen Kushala Daora Risen Kushala Daora |
 Risen Teostra Risen Teostra |
Title Update 4 Monsters
| Sunbreak Title Update 4 Monsters | |
|---|---|
 Velkhana Velkhana |
 Risen Crimson Glow Valstrax Risen Crimson Glow Valstrax |
Title Update 5 Monsters
| Sunbreak Title Update 5 Monsters | |
|---|---|
 Amatsu Amatsu |
 Risen Shagaru Magala Risen Shagaru Magala |
Small Monsters
| Sunbreak Small Monsters | |||||
|---|---|---|---|---|---|
 Boggi Boggi |
 Ceanataur Ceanataur |
 Gowngoat Gowngoat |
|||
 Hermitaur Hermitaur |
 Hornetaur Hornetaur |
 Pyrantula Pyrantula |
 Vespoid Vespoid |
 Velociprey Velociprey |
|
Other Large Monsters
 Great Izuchi
 Arzuros
 Great Baggi
 Lagombi
 Aknosom
 Tetranadon
 Barroth
 Great Wroggi
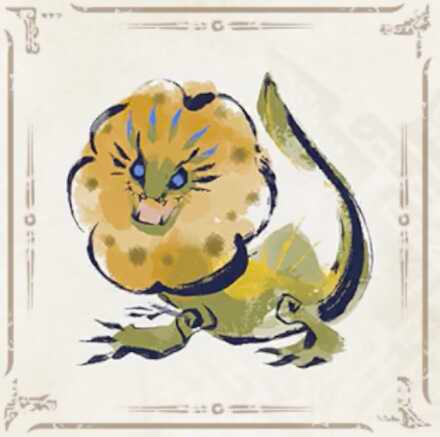 Royal Ludroth
 Khezu
Khezu Bishaten
 Somnacanth
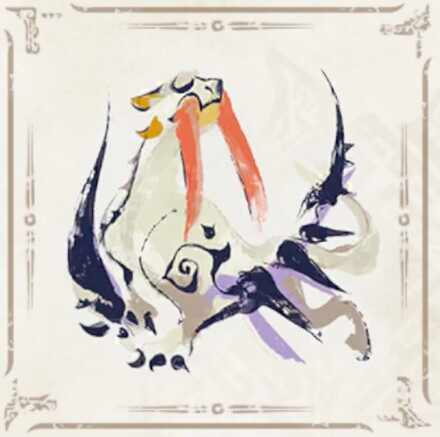 Barioth
 Rathian
 Tobi-Kadachi
 Volvidon
 Basarios
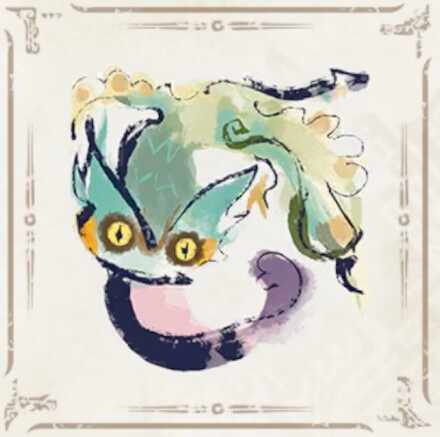 Pukei-Pukei
 Magnamalo
 Nargacuga
 Zinogre
 Anjanath
 Mizutsune
 Rathalos
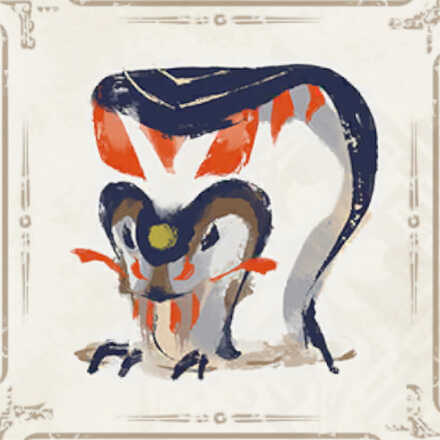 Almudron
 Goss Harag
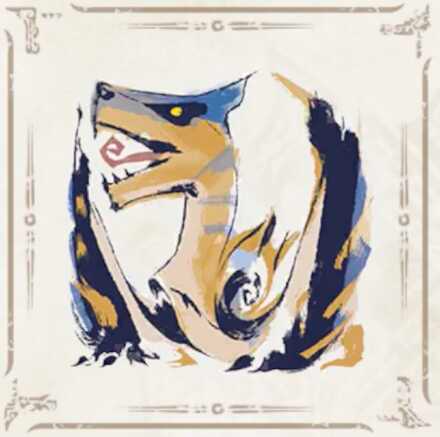 Tigrex
 Diablos
 Jyuratodus
 Rajang
 Rakna-Kadaki
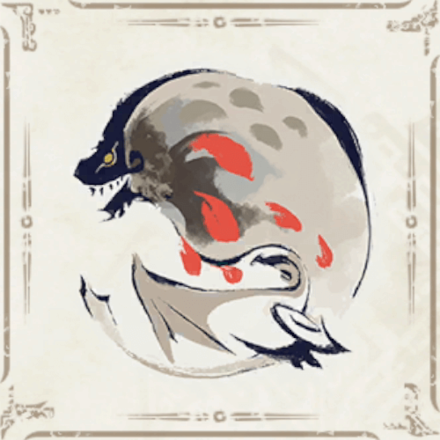 Bazelgeuse
Elder Dragons
| Elder Dragons | |||||
|---|---|---|---|---|---|
 Narwa the Allmother Narwa the Allmother |
|||||
 Wind Serpent Ibushi Wind Serpent Ibushi |
 Thunder Serpent Narwa Thunder Serpent Narwa |
 Crimson Glow Valstrax Crimson Glow Valstrax |
|||
 Chameleos Chameleos |
 Kushala Daora Kushala Daora |
 Teostra Teostra |
|||
Apex Monsters
| Apex Monsters | ||
|---|---|---|
 Apex Arzuros Apex Arzuros |
 Apex Rathian Apex Rathian |
 Apex Mizutsune Apex Mizutsune |
 Apex Rathalos Apex Rathalos |
 Apex Diablos Apex Diablos |
 Apex Zinogre Apex Zinogre |
Other Small Monsters
 Altaroth
 Anteka
 Baggi
Baggi Bnahabra
 Bombadgy
 Bullfango
 Delex
Delex Felyne
 Gajau
Gajau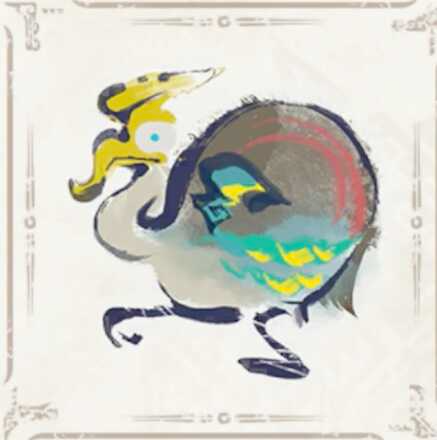 Gargwa
 Izuchi
 Jaggi
Jaggi Jaggia
 Jagras
 Kelbi
Kelbi Kestodon
 Ludroth
 Melynx
 Popo
Popo Rachnoid
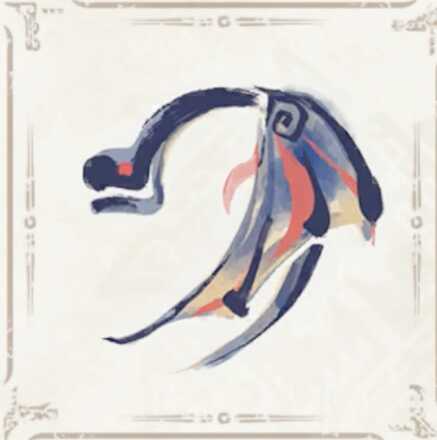 Remobra
 Rhenoplos
 Slagtoth
 Uroktor
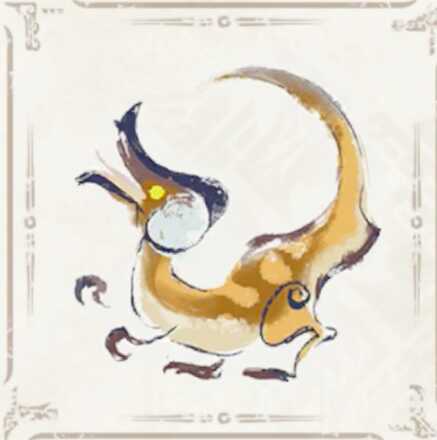 Wroggi
 Zamite
Author

Sunbreak Kulu-Ya-Ku: Weakness and Drops
Rankings
- We could not find the message board you were looking for.
Gaming News


Popular Games

Genshin Impact Walkthrough & Guides Wiki
Honkai: Star Rail Walkthrough & Guides Wiki
Arknights: Endfield Walkthrough & Guides Wiki
Umamusume: Pretty Derby Walkthrough & Guides Wiki
Wuthering Waves Walkthrough & Guides Wiki
Pokemon TCG Pocket (PTCGP) Strategies & Guides Wiki
Abyss Walkthrough & Guides Wiki
Zenless Zone Zero Walkthrough & Guides Wiki
Digimon Story: Time Stranger Walkthrough & Guides Wiki
Clair Obscur: Expedition 33 Walkthrough & Guides Wiki


Recommended Games
Fire Emblem Heroes (FEH) Walkthrough & Guides Wiki
Pokemon Brilliant Diamond and Shining Pearl (BDSP) Walkthrough & Guides Wiki
Diablo 4: Vessel of Hatred Walkthrough & Guides Wiki
Super Smash Bros. Ultimate Walkthrough & Guides Wiki
Yu-Gi-Oh! Master Duel Walkthrough & Guides Wiki
Elden Ring Shadow of the Erdtree Walkthrough & Guides Wiki
Monster Hunter World Walkthrough & Guides Wiki
The Legend of Zelda: Tears of the Kingdom Walkthrough & Guides Wiki
Persona 3 Reload Walkthrough & Guides Wiki
Cyberpunk 2077: Ultimate Edition Walkthrough & Guides Wiki


All rights reserved
©CAPCOM CO., LTD. ALL RIGHTS RESERVED.
The copyrights of videos of games used in our content and other intellectual property rights belong to the provider of the game.
The contents we provide on this site were created personally by members of the Game8 editorial department.
We refuse the right to reuse or repost content taken without our permission such as data or images to other sites.