Sunbreak Royal Ludroth: Weakness and Drops
★ All Title Updates now available for ALL PLATFORMS!
┗ Title Update 4 | Title Update 5 | Bonus Update
┗ Check out all our Best Builds For Every Weapon!
┗ TU4 Monsters: Velkhana | Risen C.G. Valstrax
┗ TU5 Monsters: Amatsu | Risen Shagaru Magala
┗ Bonus Update Monster: Primordial Malzeno
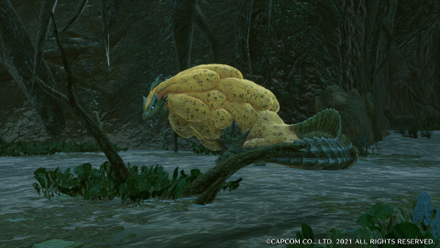
This is a hunting guide for Royal Ludroth, a Large Monster in Monster Hunter Rise (MH Rise) and the Sunbreak DLC. Read on to learn Royal Ludroth's weaknesses, forgeable weapons and armor, drops, and attack patterns for Master Rank!
 Royal Ludroth Guide Royal Ludroth Guide
|
 Royal Ludroth Weapons Royal Ludroth Weapons
|
 Royal Ludroth Armor Royal Ludroth Armor
|
List of Contents
Royal Ludroth Weakness and Notes
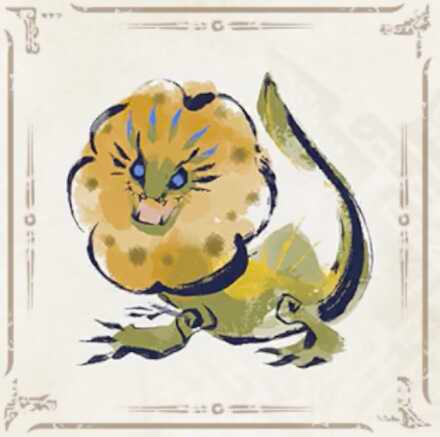
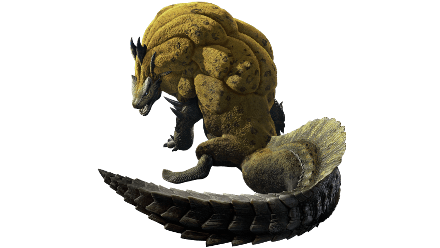
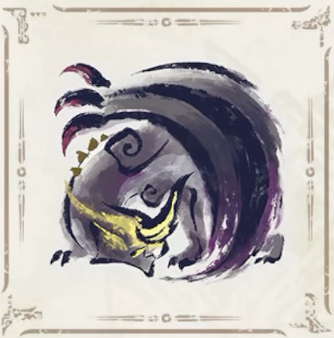
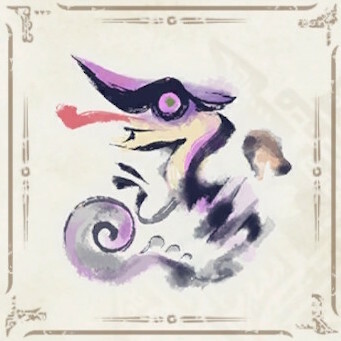
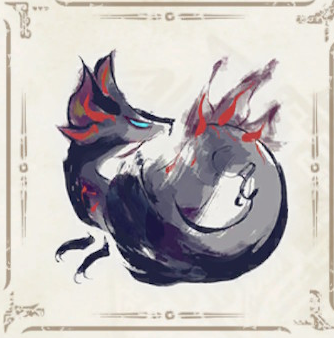
| Royal Ludroth ロアルドロス |
|||
|---|---|---|---|
 |
|||
| Type | Leviathan | Previous Games | MH3, MH3U, MHG, MHGU |
| Threat Level | 3/10 | Rampage Type | ー |
| Major Weakness | Other Weakness | ー | |
| Blight / Elemental Damage | Abnormal Status | ー | |
| Characteristics | |||
| Larger than regular Ludroth, Royal Ludroth use their sponge-like mane to absorb water and keep from drying out on land. Once the sponge loses moisture, they will seek out water to recover. They also spew mucus to trip up their prey. | |||
How to Unlock Royal Ludroth
Complete Uninvited Guest in Master Rank
| Quest Name | Monster/Unlock |
|---|---|
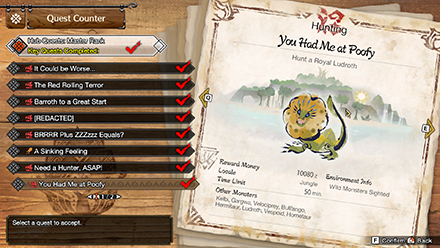
| You Had Me at Poofy (Key Quest) |
|
| Unlock Conditions: Finish the Quest "Uninvited Guest" |
MR Royal Ludroth is unlocked by reaching MR 1 and completing the Urgent Quest Uninvited Guest in the Sunbreak expansion.
MR Grinding Guide:
How to Get from MR 6 to MR 100 Fast
Complete The Restless Swamp in High Rank
| Quest Name | Monster/Unlock |
|---|---|
|
Foul Play in the Forest
(Key Quest) |
|
| Unlock Conditions: Finish the Quest "The Restless Swamp" |
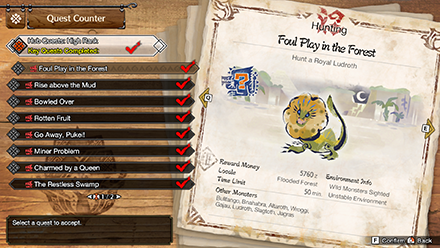
High Rank Royal Ludroth is unlocked by completing the Urgent Quest The Restless Swamp and reaching HR 5.
Hunter Rank Farm Guide:
How to Get from HR 7 to HR 100 Fast
Reach HR 2 in Low Rank
| Quest Name | Monster/Unlock |
|---|---|
|
The Flooding Flooded Forest
(Key Quest) |
|
| Unlock Conditions: Finish the Quest "Dead Ringer" |
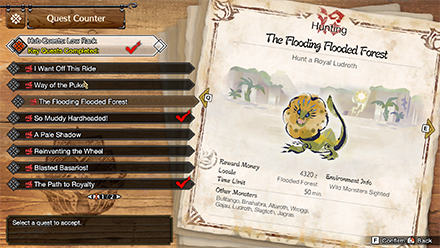
Low Rank Royal Ludroth is unlocked by completing the ★2 Hub Urgent Quest Dead Ringer and reaching HR 2.
Royal Ludroth Weakness and Resistance
| 41 | 41 | 38 | 26 |
| 0 | 9 | 7 | 1 |
Bold are the recommended Weapon Type and Elemental Damage.
Royal Ludroth Weapon Damage Breakdown
| Part | |||
|---|---|---|---|
| Head | 50 | 55 | 65 |
| Mane | 65 | 50 | 35 |
| Foreleg | 24 | 40 | 25 |
| Abdomen | 50 | 40 | 35 |
| Back | 30 | 45 | 35 |
| Hind Leg | 30 | 24 | 30 |
| Tail | 40 | 30 | 40 |
| Overall | 41 | 41 | 38 |
Royal Ludroth Elemental Weakness Breakdown
| Part | |||||
|---|---|---|---|---|---|
| Head | 30 | 0 | 5 | 5 | 5 |
| Mane | 30 | 0 | 15 | 10 | 0 |
| Foreleg | 20 | 0 | 10 | 10 | 0 |
| Abdomen | 30 | 0 | 10 | 10 | 0 |
| Back | 30 | 0 | 10 | 5 | 5 |
| Hind Leg | 20 | 0 | 10 | 5 | 0 |
| Tail | 25 | 0 | 5 | 5 | 0 |
| Overall | 26 | 0 | 9 | 7 | 1 |
Higher numbers indicate higher potential damage to the monster.
Royal Ludroth Hunting Tips

The Royal Ludroth's attacks are empowered when in proximity of water, and can inflict foes with waterblight. Combat this by stocking up on Nulberries and drawing the creature away from aquatic areas.
Status Effect Vulnerabilities
| Poison | Stun | Paralysis | Sleep |
|---|---|---|---|
| ★ | ★ | ★ | ★ |
| Blast | Exhaust | Fireblight | Waterblight |
| ★★ | ★ | ★★ | ★ |
| Thunderblight | Iceblight | ||
| ★ | ★ | ||
If an ailment has more stars it means that it has better effectiveness.
Item Vulnerabilities
| Pitfall Trap | Shock Trap | Flash Bomb |
|---|---|---|
| ◯ | ◯ | ◯ |
| Sonic Bomb | Meat Effects | Dung Bomb |
| ✕ | ✕ | ◯ |
◯ = Vulnerable; ✕ = Fully Resistant; ▲ = Situational
Kinsect Extracts
| Monster Part | Extract |
|---|---|
| Head |
|
| Mane |
|
| Foreleg |
|
| Abdomen |
|
| Back |
|
| Hind Leg |
|
| Tail |
|
Red = Attack Increase, White = Movement Boost, Orange = Anti-knockback When Attacking
Royal Ludroth Locations and Quests
Royal Ludroth Known Habitat
| Map | Starting Area | Visited Areas | Rest Area |
|---|---|---|---|
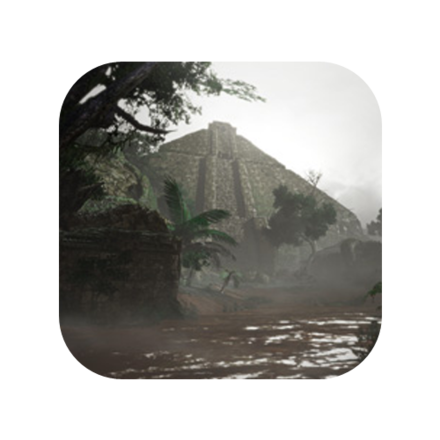 Flooded Forest Flooded Forest
|
2 / 6 | 1 / 2 / 3 / 4 / 5 / 6 / 7 / 14 | 14 |
 Lava Caverns Lava Caverns
|
7 / 10 | 2 / 3 / 6 / 7 / 8 / 9 / 10 | 3 |
 Jungle Jungle
|
3 / 4 / 5 | 3 / 4 / 5 / 7 / 11 | 4 |
Royal Ludroth Quest Appearances
| Quest Type | Lvl | Quest Name |
|---|---|---|
| Anomaly Quest | A★2 | Anomaly Research: Royal Ludroth |
| Hub Quest | M★1 | You Had Me at Poofy (Key Quest) |
| Hub Quest | M★1 | The Jungle Guidebook |
| Hub Quest | M★3 | Troublemaker Trio |
| Support Survey | M★3 | Operation Swampy Suspects |
| Event Quest | M★5 | For a Song and a Rain Dance |
| Quest Type | Lvl | Quest Name |
|---|---|---|
| Event Quest | ★5 | Soaring Desire |
| Hub Quest | ★5 | Charge Blade Coalescing |
| Hub Quest | ★5 | Foul Play in the Forest (Key Quest) |
| Quest Type | Lvl | Quest Name |
|---|---|---|
| Hub Quest | ★2 | Fried and Baptized |
| Hub Quest | ★2 | The Flooding Flooded Forest (Key Quest) |
| Arena Quest | ★3 | Arena 03 |
| Village Quest | ★3 | Spongy Oasis (Key Quest) |
How to Beat Royal Ludroth
Stay Alert When Royal Ludroth is on Water
Royal Ludroth will always try to keep its spongy mane hydrated as this makes its attacks deadlier! Always stay on your toes and be ready to dodge at a moment's notice whenever he runs towards bodies of water.
Annihilate the Ludroth First
Sometimes, Ludroth will assist the Royal Ludroth in fighting the hunter. If they start to get annoying, take them out first!
Focus on Royal Ludroth's Mane, Head, and Tail
Most of Royal Ludroth's body is tough and can deflect attacks to its legs (especially when your weapon has yellow sharpness). In light of this, it is recommended that you focus your attacks on Royal Ludroth's Head, Mane, and Tail!
Breaking its mane, in particular, can weaken its Water Bomb attacks. This is extremely useful because it reduces Royal Ludroth's deadliness whenever it's on water.
The tail on the other hand can be severed for an extra carve! It is important to note that you should focus your attacks on its gray tip as the rest of its tail can deflect attacks from weapons with yellow sharpness.
Use Meat Bait
Meat Bait is extremely useful to have against Royal Ludroth. This particular item serves as a pseudo-damage trap when placed in water, with the Giganha inflicting damage to Royal Ludroth when in range and possibly making it flinch in the process.
Consider bringing a few with you. Alternatively, you can always check your Supply Box at the Base Camp for any free Meat Bait inside!
Bring Nullberries
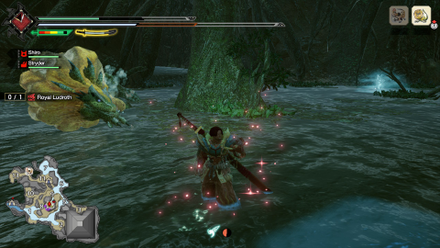
Royal Ludroth's Water Bombs inflict Waterblight on impact. We recommend bringing a few Nullberries during the hunt to counteract the slower stamina recovery!
Royal Ludroth Master Rank Attack Patterns
In addition to its attacks in Low and High Rank quests, Royal Ludroth uses the following attacks in Master Rank.
| Name | Description |
|---|---|
| Leviathan Rush | Royal Ludroth quickly charges at its target while keeping its head low. |
Leviathan Rush
| Leviathan Rush Attack Information |
|---|
 Leviathan Rush: Like many Leviathans, Royal Ludroth will lower its head and quickly slither on the ground. The move itself is very fast, allowing the monster to close the gap between itself and its targets and damaging anything that gets in its way. It only appears to travel straight in one direction when using this move, so evading to the side is recommended. |
Royal Ludroth General Attack Patterns
Royal Ludroth uses the following attacks in Low and High Rank quests.
| Name | Description |
|---|---|
| Standing Wide Sweep | Royal Ludroth stands then dives to attack while sweeping its tail. |
| Royal Ludroth Launcher | Royal Ludroth sends hunters flying using its mane. |
| Water Bombs | Royal Ludroth fires Water Bombs on its targets. |
| Side Rolls | Royal Ludroth rolls around using its mane for offense rather than defense. |
| Tail Attacks | Using its tail, Royal Ludroth can attack enemies behind it. |
| Body Slam | Royal Ludroth uses the weight of its mane to crush its foes. |
Standing Wide Sweep
| Standing Wide Sweep Attack Information |
|---|
 Standing Wide Sweep: Royal Ludroth will begin this attack by sliding at the ground to get enough momentum to stand on its hind legs. Afterward, it will dive headfirst while rolling and sweep its tail. This move has a wide range but is fairly predictable. Stay away from the general direction it's diving toward to evade this attack. |
Royal Ludroth Launcher
| Royal Ludroth Launcher Attack Information |
|---|
 Royal Ludroth Launcher: Royal Ludroth sends hunters flying using its mane. This move can be telegraphed with the way it ducks its head sideward and then launches anything hit by the mane. |
Water Bombs
| Water Bomb Variations |
|---|
 Water Bombs: This is a quick attack that also acts as its ranged attack. The single Water Bomb variation has additional travel after it's fired, so stay away from its trajectory. These bombs inflict Waterblight on impact, which slows down stamina recovery. |
 Triple Water Bombs: Royal Ludroth fires three consecutive Water Bombs in different directions, with each leaving a pool of water that can damage you and inflict Waterblight on contact. It also leaves itself fairly open if you're not in front of it, so you can take this opportunity to deal plenty of damage. |
 Charging Water Bombs: This variation has it charging at its target while spitting out Water Bombs. It can change direction twice after starting the move, so keep an eye out for who it's after. |
Side Rolls
| Side Roll Variations |
|---|
 Wide Range Side Rolls: Royal Ludroth rolls its entire body to the side and crushes anything caught in the middle of this attack. It's recommended to roll to its sides, like under the tail or in front of its face, as the attack can cover a wide distance. It can sometimes do this attack twice in succession, especially when it's enraged. |
 Hip Check to Roll Combo: This attack starts with a hip check position but continues to a side roll. Like the regular side rolls, it's best to evade to the sides if you can't counter or block this attack. |
Tail Attacks
| Tail Attack Variations |
|---|
 Tail Attack: Royal Ludroth can swing its tail around to knock away enemies behind it. It also covers a fairly large area, so try to move towards its mane during this attack. |
 Tail Sweep: Royal Ludroth will curl its body and then sweep its tail behind it. It will normally use this as a way of repositioning itself while using the tail to knock back enemies to its rear. Note that it will still perform even if the tail is cut, so try to sever it to reduce its range. |
Body Slam
| Body Slam Variations |
|---|
 Body Slam: Using the weight of its mane, Royal Ludroth will crush any foe beneath it. When enranged, it can do this attack twice in a row. |
 Leaping Body Slam: Royal Ludroth will sometimes appear to charge toward its enemies but proceed to jump at its opponents. This move can cover some distance, so keep an eye out for where it lands. |
Royal Ludroth Materials and Drops
Master Rank Royal Ludroth Materials
High Rank Royal Ludroth Materials
Low Rank Royal Ludroth Materials
Royal Ludroth Dropped Materials
Monster Hunter Rise Related Guides

All Royal Ludroth Guides
| All Royal Ludroth Related Articles | ||
|---|---|---|
|
Royal Ludroth Guide
|
Royal Ludroth Weapons
|
Royal Ludroth Armor
|
Sunbreak Monsters
| Sunbreak Monster Lists | ||
|---|---|---|
| Sunbreak Monsters List | Monster Subspecies List | Sunbreak Small Monsters List |
Large Monsters
 Daimyo Hermitaur
 Blood Orange Bishaten
 Garangolm
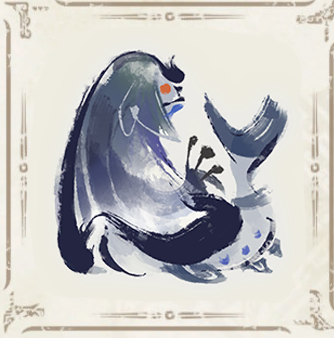 Aurora Somnacanth
 Shogun Ceanataur
 Lunagaron
 Astalos
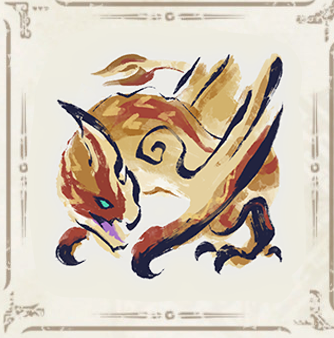 Seregios
 Magma Almudron
 Gore Magala
 Espinas
 Pyre Rakna-Kadaki
 Malzeno
 Shagaru Magala
MR6+ Large Monsters
| MR6+ Monsters | |||||
|---|---|---|---|---|---|
 Gaismagorm Gaismagorm(MR6) |
 Furious Rajang Furious Rajang(MR50) |
 Scorned Magnamalo Scorned Magnamalo(MR100) |
|||
Title Update 1 Monsters
| Sunbreak Title Update 1 Monsters | |||
|---|---|---|---|
 Seething Bazelgeuse Seething Bazelgeuse |
 Silver Rathalos Silver Rathalos |
 Gold Rathian Gold Rathian |
 Lucent Nargacuga Lucent Nargacuga |
Title Update 2 Monsters
| Sunbreak Title Update 2 Monsters | ||
|---|---|---|
 Flaming Espinas Flaming Espinas |
 Risen Chameleos Risen Chameleos |
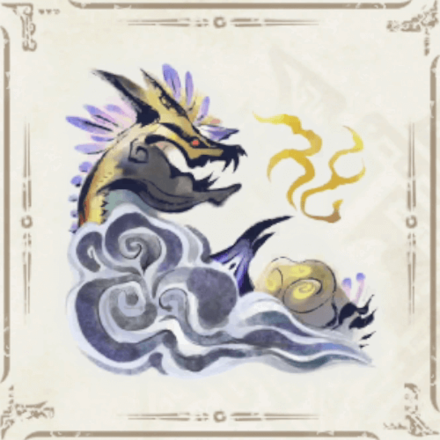
 Violet Mizutsune Violet Mizutsune |
Title Update 3 Monsters
| Sunbreak Title Update 3 Monsters | ||
|---|---|---|
 Chaotic Gore Magala Chaotic Gore Magala |
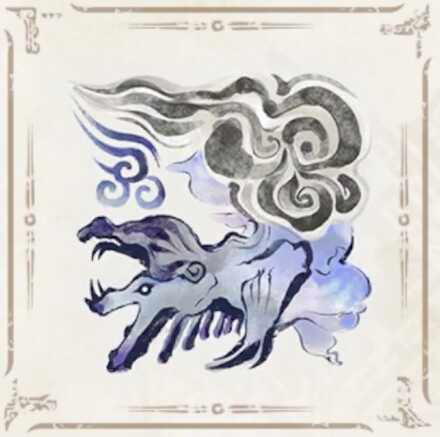
 Risen Kushala Daora Risen Kushala Daora |
 Risen Teostra Risen Teostra |
Title Update 4 Monsters
| Sunbreak Title Update 4 Monsters | |
|---|---|
 Velkhana Velkhana |
 Risen Crimson Glow Valstrax Risen Crimson Glow Valstrax |
Title Update 5 Monsters
| Sunbreak Title Update 5 Monsters | |
|---|---|
 Amatsu Amatsu |
 Risen Shagaru Magala Risen Shagaru Magala |
Small Monsters
| Sunbreak Small Monsters | |||||
|---|---|---|---|---|---|
 Boggi Boggi |
 Ceanataur Ceanataur |
 Gowngoat Gowngoat |
|||
 Hermitaur Hermitaur |
 Hornetaur Hornetaur |
 Pyrantula Pyrantula |
 Vespoid Vespoid |
 Velociprey Velociprey |
|
Other Large Monsters
 Great Izuchi
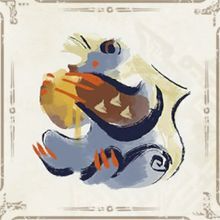 Arzuros
 Great Baggi
 Lagombi
 Aknosom
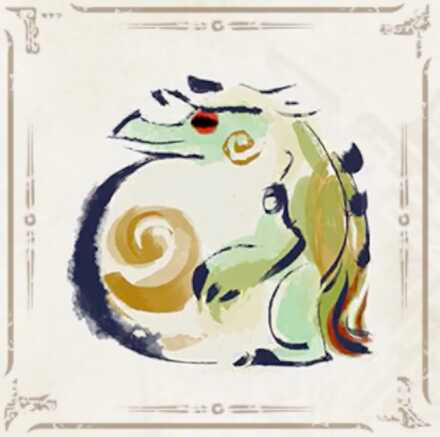 Tetranadon
 Kulu-Ya-Ku
 Barroth
 Great Wroggi
 Khezu
Khezu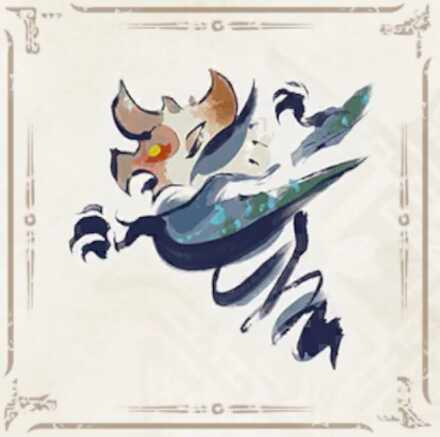 Bishaten
 Somnacanth
 Barioth
 Rathian
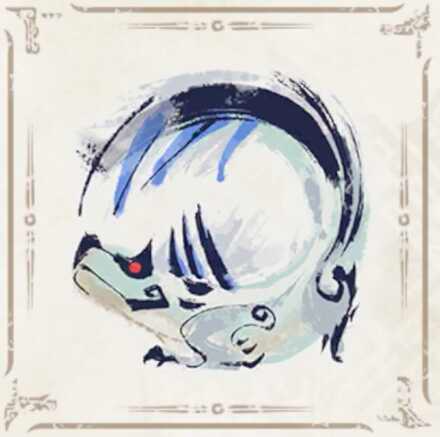 Tobi-Kadachi
 Volvidon
 Basarios
 Pukei-Pukei
 Magnamalo
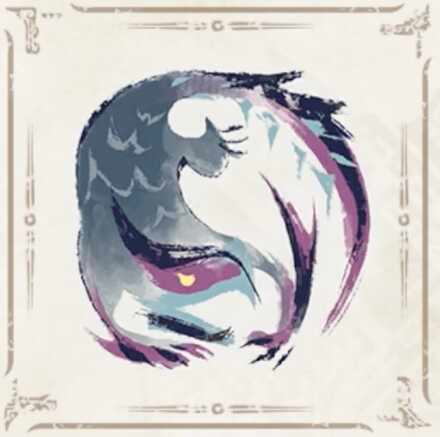 Nargacuga
 Zinogre
 Anjanath
 Mizutsune
 Rathalos
 Almudron
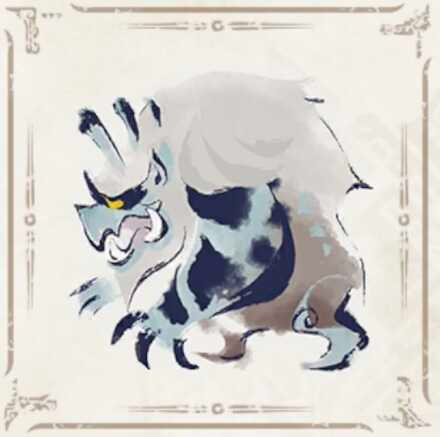 Goss Harag
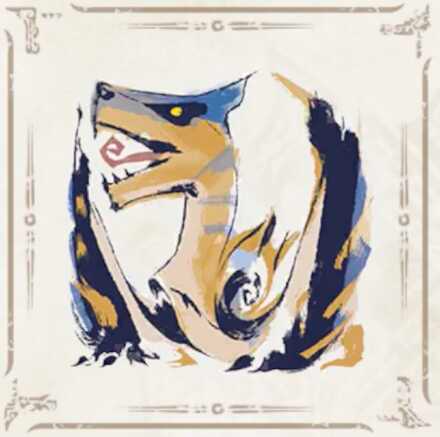 Tigrex
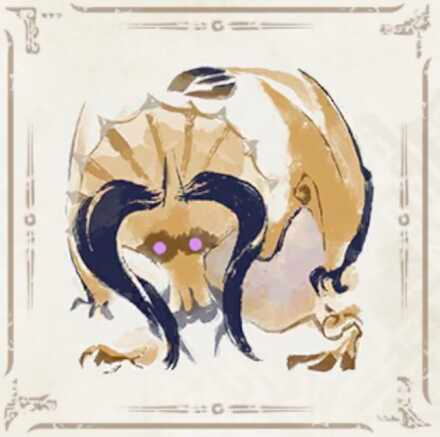 Diablos
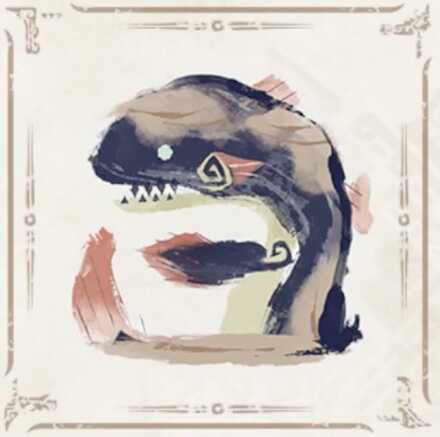 Jyuratodus
 Rajang
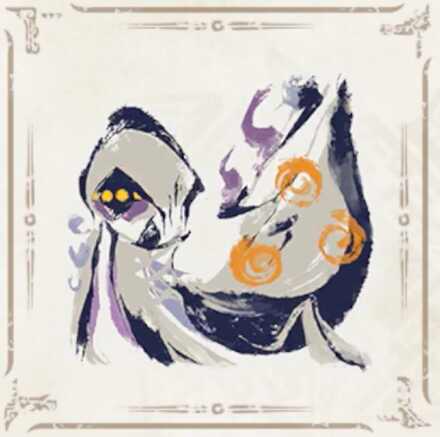 Rakna-Kadaki
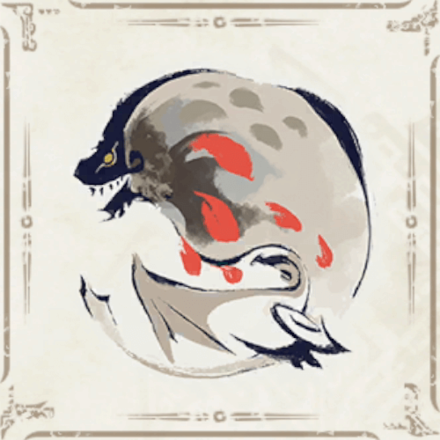 Bazelgeuse
Elder Dragons
| Elder Dragons | |||||
|---|---|---|---|---|---|
 Narwa the Allmother Narwa the Allmother |
|||||
 Wind Serpent Ibushi Wind Serpent Ibushi |
 Thunder Serpent Narwa Thunder Serpent Narwa |
 Crimson Glow Valstrax Crimson Glow Valstrax |
|||
 Chameleos Chameleos |
 Kushala Daora Kushala Daora |
 Teostra Teostra |
|||
Apex Monsters
| Apex Monsters | ||
|---|---|---|
 Apex Arzuros Apex Arzuros |
 Apex Rathian Apex Rathian |
 Apex Mizutsune Apex Mizutsune |
 Apex Rathalos Apex Rathalos |
 Apex Diablos Apex Diablos |
 Apex Zinogre Apex Zinogre |
Other Small Monsters
 Altaroth
 Anteka
 Baggi
Baggi Bnahabra
 Bombadgy
 Bullfango
 Delex
Delex Felyne
 Gajau
Gajau Gargwa
 Izuchi
 Jaggi
Jaggi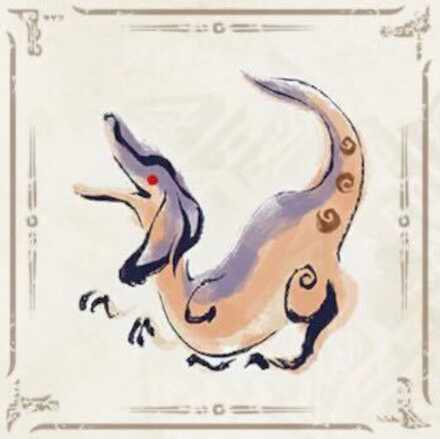 Jaggia
 Jagras
 Kelbi
Kelbi Kestodon
 Ludroth
 Melynx
 Popo
Popo Rachnoid
 Remobra
 Rhenoplos
 Slagtoth
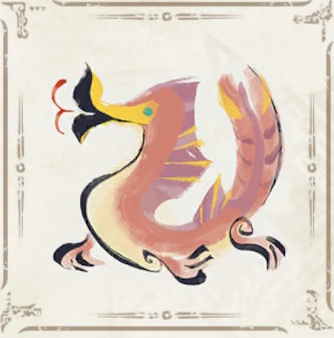 Uroktor
 Wroggi
 Zamite
Author

Sunbreak Royal Ludroth: Weakness and Drops
Rankings
Gaming News

![Monster Hunter Stories 3 Review [First Impressions] | Simply Rejuvenating](https://img.game8.co/4438641/2a31b7702bd70e78ec8efd24661dacda.jpeg/show)


![Monster Hunter Stories 3 Review [First Impressions] | Simply Rejuvenating](https://img.game8.co/4438641/2a31b7702bd70e78ec8efd24661dacda.jpeg/thumb)
Popular Games

Genshin Impact Walkthrough & Guides Wiki
Honkai: Star Rail Walkthrough & Guides Wiki
Umamusume: Pretty Derby Walkthrough & Guides Wiki
Pokemon Pokopia Walkthrough & Guides Wiki
Resident Evil Requiem (RE9) Walkthrough & Guides Wiki
Monster Hunter Wilds Walkthrough & Guides Wiki
Wuthering Waves Walkthrough & Guides Wiki
Arknights: Endfield Walkthrough & Guides Wiki
Pokemon FireRed and LeafGreen (FRLG) Walkthrough & Guides Wiki
Pokemon TCG Pocket (PTCGP) Strategies & Guides Wiki


Recommended Games
Diablo 4: Vessel of Hatred Walkthrough & Guides Wiki
Cyberpunk 2077: Ultimate Edition Walkthrough & Guides Wiki
Fire Emblem Heroes (FEH) Walkthrough & Guides Wiki
Yu-Gi-Oh! Master Duel Walkthrough & Guides Wiki
Super Smash Bros. Ultimate Walkthrough & Guides Wiki
Pokemon Brilliant Diamond and Shining Pearl (BDSP) Walkthrough & Guides Wiki
Elden Ring Shadow of the Erdtree Walkthrough & Guides Wiki
Monster Hunter World Walkthrough & Guides Wiki
The Legend of Zelda: Tears of the Kingdom Walkthrough & Guides Wiki
Persona 3 Reload Walkthrough & Guides Wiki


All rights reserved
©CAPCOM CO., LTD. ALL RIGHTS RESERVED.
The copyrights of videos of games used in our content and other intellectual property rights belong to the provider of the game.
The contents we provide on this site were created personally by members of the Game8 editorial department.
We refuse the right to reuse or repost content taken without our permission such as data or images to other sites.