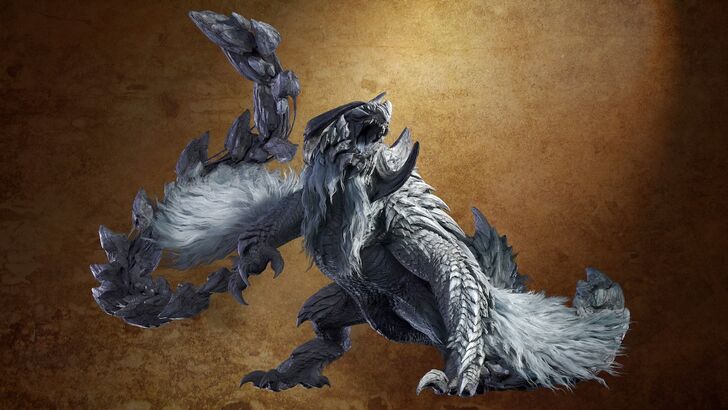
Arch-Tempered Arkveld Weakness and How to Beat
★ Arkveld Gamma Armor | MH Stories 3 Collab
☆ Version 1.041: Sororal α Armor | Shatterseal
★ How to Unlock Proof of a Hero Quest
☆ Omega Planetes | Savage Omega | Builds vs Omega
★ Armor Set Search updated for Ver 1.041
☆ HR50+ Builds | Tier List | Weapon Guides
Arch-Tempered Arkveld is the last Arch-Tempered Monster in Monster Hunter Wilds. Learn about how to unlock Arch-Tempered Arkveld, how to beat AT Arkveld, its weaknesses, and rewards below.
| All Related AT Arkveld Articles | |
|---|---|
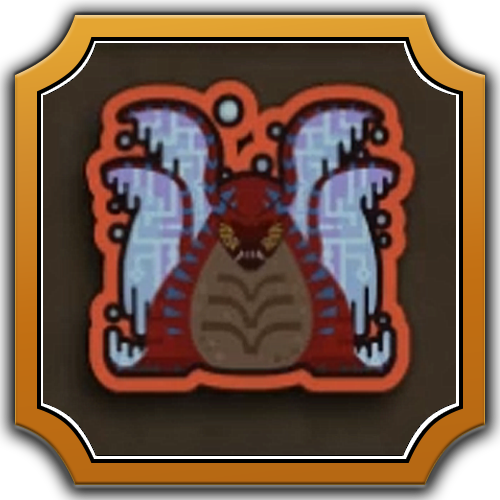
 AT Arkveld AT Arkveld
|
 Armor Sets Armor Sets
|
How to Unlock Arch-Tempered Arkveld
Hunt in Freedom from Solitude at HR 100
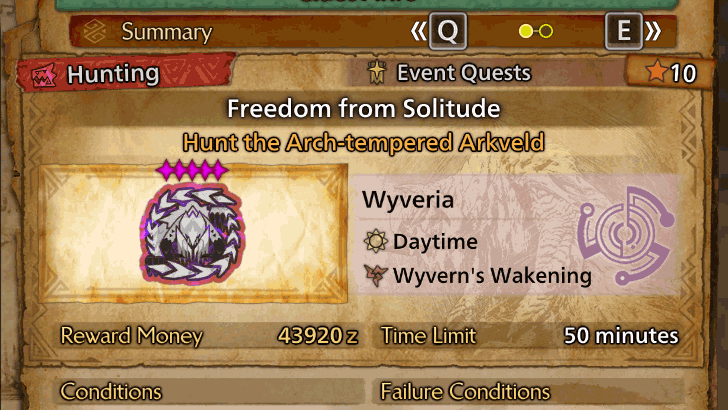
Arch-Tempered Arkveld is in the permanent event quest Freedom from Solitude, available starting February 17, 2026. This quest will only be available for hunters HR 100 or above.
There will also be a free challenge quest that will be available starting March 18, 2026 ET.
Freedom from Solitude Release Date
Also Appears in Proof of a Hero Quest
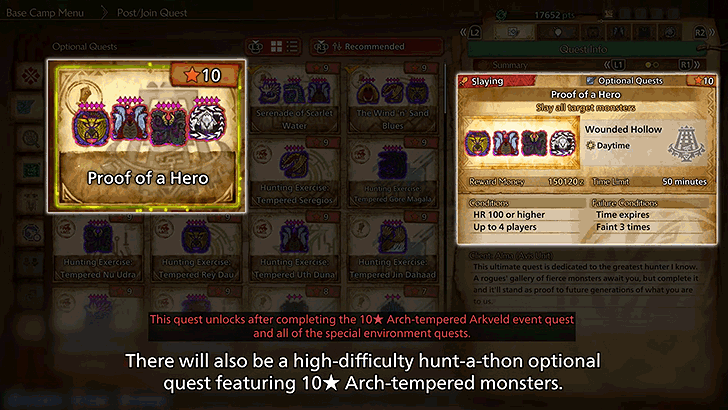
Arch-Tempered Arkveld also appears in the optional quest Proof of a Hero when it becomes available after completing Freedom from Solitude and 3 other related Special Environment Quests (triple hunts): Tango of Lives Ablaze, Serenade of Scarlet Water, and The Wind 'n' Sand Blues. Completing this quest rewards a unique Nameplate.
How to Beat Arch-Tempered Arkveld
| How to Beat AT Arkveld |
|---|
|
|
Increase Dragon Resistance and Defense
| Recommendations | |
|---|---|
| Skills | Defensive (Armor)
・Dragon Resistance ┗ +20 Res at Lv. 3 ・Divine Blessing ・Stun Resistance ・Gogmapocalypse (Set Bonus) ┗ Barrier at Lv. 2 ・Lord's Soul (Group Skill) Defensive (Weapon) ・Guard ・Guard Up Evasive ・Evade Window ・Evade Extender |
| Meals | Fresh Sild Cuisine (Grand Hub) ┗ +10 Res ・Capture Pro Meal ・Insurance Meal ・Moxie Meal (Hi) |
AT Arkveld hits hard with a lot of area-of-effect (AoE) and follow-up attacks, so we recommend you get as much defensive or comfort skills as you can before you become more confident in maximizing damage.
Increase your Dragon Resistance to at least 20 through skills, armor, or meals to nullify dragonblight and reduce the damage taken from its dragon attacks.
It's also important to improve your defense by upgrading your armor through the use of Armor Spheres and Armor Transcendence.
Bring and Use Nulberries
|
|
Several of Arkveld's attacks inflict Dragonblight. When you are afflicted, your weapon will deal no deal elemental damage, significantly lowering your damage output. This is a lot of risk of element-focused builds, and this also means you won't be able to deal Dragon damage, Arkveld's elemental weakness.
Consuming a Nulberry will remove the inflicted Dragonblight on your character, allowing you to output your build's maximum damage and exploit Arkveld's weakness to Dragon element.
Use Dragon Element Weapons
Arch-Tempered Arkveld is mostly weak to the Dragon element (specifically its chainblade wings). You'll want to focus on maximizing raw damage first, but If you have any space to fit in elemental skills, we recommend increasing it through Dragon Attack, Gogmapocalypse, or Coalescence. Hit its chainblades to deal the most amount of damage.
We recommend the use of Gogma Artian weapons for the most flexibility and stat boosts. These weapons can be rolled to maximize their base affinity and attack, as well as give additional Set Bonus and Group Skills to match with your existing armor.
New Arkveld Unleashed State
|
・Arkveld's Unleashed State allows AT Arkveld to generate Wylk crystals on attacks, similar to Zoh Shia and other Guardian monsters.
┗ This state features increased wound regeneration for AT Arkveld. ┗ Elemental slingers can detonate Wylk crystals. ・Stronger attack moves with AoE properties. |
Arch-Tempered Arkveld features an enhanced state, known as Unleashed State, that is triggered past its regular enraged state. During this state, Arkveld's attacks are enhanced, and it will have more aggressive attack patterns.
To power down its Unleashed State, deal damage to its chainblade wings. For this one, Dragon element is recommended. In this case, we recommend you at least have enough Dragon resistance to nullify dragonblight, or have Nulberries to cure yourself of this affliction.
Use Wylk Crystals Against AT Arkveld
Wylk crystals generated by AT Arkveld's attacks can be used against it by using elemental slinger ammo on them (similar to how they are used against Zoh Shia's Wylk crystals). Have AT Arkveld position itself on this crystals, then set them off to deal some damage.
AT Arkveld's starting area, Area 15, has Wyrmsbane that you can harvest for dragon-element slinger ammo. You can use those to trigger the generated Wylk crystals.
Use Falling Rocks on Arkveld

Use environmental traps to your advantage in the locale. Area 9 notably has an Entangled Rock that can be triggered to fall on Arkveld for around 2000+ damage.
Use Area 13 for a Nearer Popup Camp
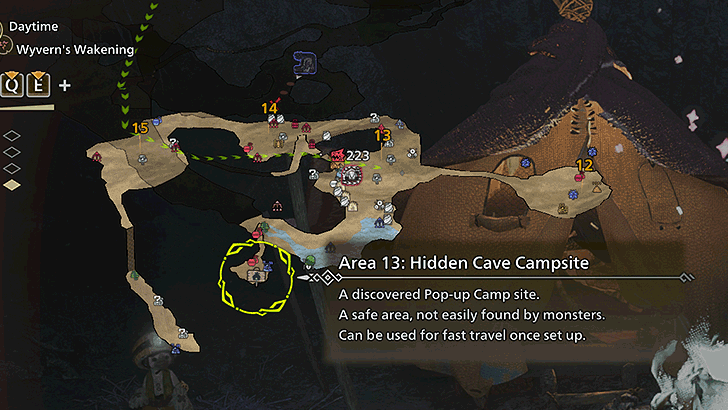
For a closer, same-level access to Area 15 where AT Arkveld starts in, you can set up a safe Popup camp in Area 13: Hidden Cave Campsite.
Capture for Faster Quest Clear

AT Arkveld can be captured, so we recommend this method of clearing the hunt if you're after clearing it or farming AT Arkveld as fast as possible. You can use any of the usual traps for the monster: Pitfall Traps and Shock Traps. Don't forget your Ghillie Mantle in case it turns aggressive when it's ready for capture.
AT Arkveld New Attacks
| New Attacks | |
|---|---|
Chain Uppercut |
AT Arkveld launches upwards while sending its chainblades towards you from its underside. This can be followed-up by another attack. |
Jumping Chain Slam |
A variation of Arkveld's existing downward chainblade slam. A jump is added to allow it to get closer towards you if you are far away. Chainblades are weakspots for a moment after the slam. |
Chain Hook-Slam |
AT Arkveld closes its distance to you by 'hooking' a chainblade in front of you, then slamming down on you. May sometimes be used in betweeen attack strings. |
Dragon Cone-Line Blast |
AT Arkveld sends dragonblight explosions forward in a cone of line patterns. This can happen during attack chains or in isolation. |
Wylk Blast |
A variation of Arkveld's Dragon blast. This generates Wylk crystals instead of dragon explosions. |
Air-to-Surface AoE Slam |
AT Arkveld launches upwards and readies its chainblades to slam towards you. This slam generates Wylk crystals, and is usually followed up by another attack. |
Charged Wylk Blast |
A variation of Arkveld's Charged Dragon Blast. Just like the Dragon version, this has a safe spot close to the front of Arkveld. Leaves weakspots on its chainblades right after, similar to its Dragon version. |
AT Arkveld sports new attack strings along with more varied attack patterns. This means it will be a widely new experience for both of the new and returning player in this hunt.
Some of AT Arkveld's attacks are now able to generate Wylk crystals which explode when hit by an element. This can be triggered either by AT Arkveld itself or from any other source, such as an elemental slinger.
Arch-Tempered Arkveld Weakness
| Arch-Tempered Arkveld has the same weaknesses as a regular Arkveld. |
Basic Information
 |
||
| Type | Roar | Wind Pressure |
|---|---|---|
| Flying Wyvern | Weak | Minor |
| Tremor | Status Effect | Element |
| None | Dragonblight | Dragon |
| Gold Crown Sizes | ||
|
|
||
Note: Gold Crown Sizes have ranges and may vary between hunters.
Damage Type Weakness
Hitzone Values and Weakness Breakdown
※ Click the tabs to switch between Damage Type and Elemental Damage Hitzone effectiveness.
| Part | |||
|---|---|---|---|
| Head | |||
| Torso | |||
| Left Wing | |||
| Right Wing | |||
| Left Chainblade | |||
| Right Chainblade | |||
| Left Leg | |||
| Right Leg | |||
| Tail | |||
| Overall |
| Part | |||||
|---|---|---|---|---|---|
| Head | |||||
| Torso | |||||
| Left Wing | |||||
| Right Wing | |||||
| Left Chainblade | |||||
| Right Chainblade | |||||
| Left Leg | |||||
| Right Leg | |||||
| Tail | |||||
| Overall |
The numbers shown above showcase the effectiveness of damage types against the monster's hitzones. Parts with higher numbers mean the damage type is more effective, with 1 being the lowest and 20 as the highest.
Arch-Tempered Arkveld Drops and Rewards
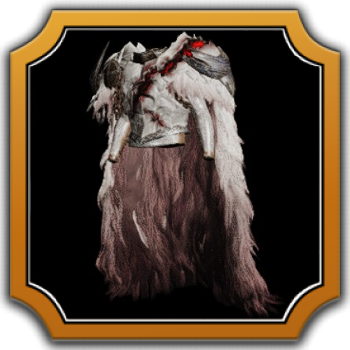
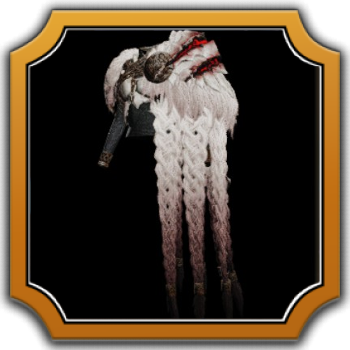
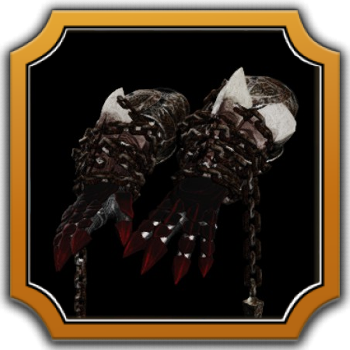
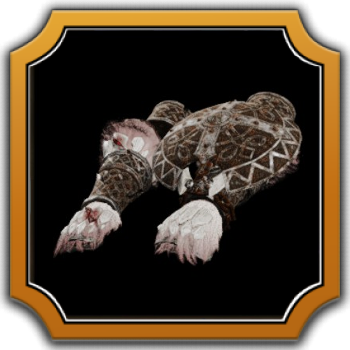
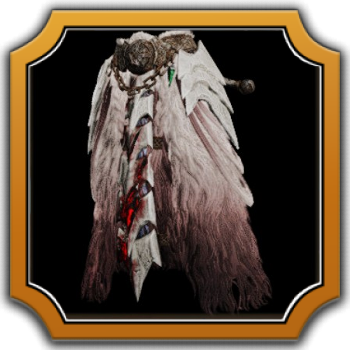
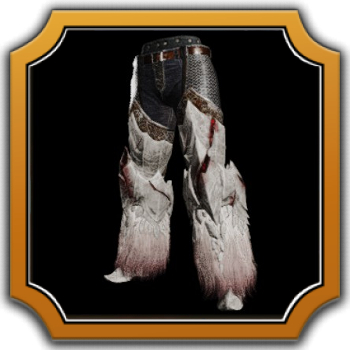
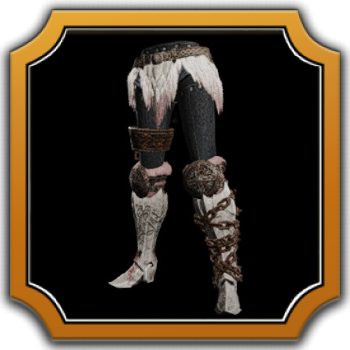
Crafting Materials for Arkveld (γ) Armor Set
| Arkveld (γ) Armor Set | |
|---|---|
 |
 |
 |
|
Defeating Arch-Tempered Arkveld will reward you with the crafting materials to forge the Arkveld (γ) armor set and the Arkveld (γ) Palico equipment set.
Arkveld γ Armor Skills and Slots
| Armor | Slots | Skills |
|---|---|---|
  |
②①ー | |
  |
③②ー | |
  |
①①ー |
|
  |
②②① |
|
  |
③③ー |
|
Decoration slots highlighted in red (if present) indicate additional slots gained through Armor Transcending.
Arkveld Gamma (γ) Armor Set Skills and Materials
Rewards Timeworn Charms
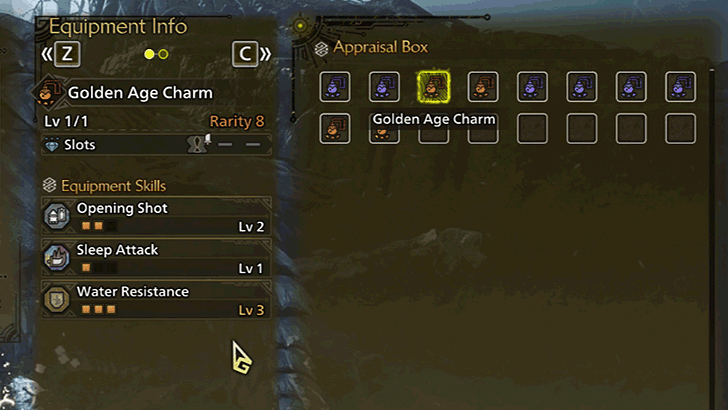
Note: Sample of Timeworn Charm results above.
 Timeworn Charm Timeworn Charm
|
|||
| Description | Contains an awesome power. Needs to be appraised in order to be equipped as a talisman. | ||
|---|---|---|---|
| Rarity | 8 | Type | Appraisal Item |
| Sell Price | - | Pouch Limit | - |
Defeating AT Arkveld will reward you with Timeworn Charms.
Timeworn Charms, when appraised, grant you loads of Rarity 7 and Rarity 8 Appraised Talismans. You can earn as much as around 4 Rarity 8 Talismans in this hunt, with the rest being around 8 Rarity 7 Talismans, more or less.
How to Get and Use Timeworn Charms
Rewards Battle-Tempered Emblems
 Battle-tempered Emblem Battle-tempered Emblem
|
|||
| Description | Proof that you've hunted a fierce monster. Has great value when used for melding, smelting, or upgrades. | ||
|---|---|---|---|
| Rarity | 8 | Type | Facility Item |
| Sell Price |
|
Pouch Limit | - |
AT Arkveld's quest, as well as other 10 Star quests, will reward Battle-tempered Emblems. These are primarily used for either reinforcing Gogma Artian weapons, smelting Ore and Armor spheres, or melding relics and decorations.
How to Get and Use Battle-tempered Emblem
High Rank Materials
| |
| |
| |
| |
Arch-Tempered Arkveld has the same drops as a regular High Rank Arkveld.
Monster Hunter Wilds Related Guides

All Monsters Guides
Arch-Tempered Monsters
| Arch-Tempered Monster Guides | |
|---|---|
 AT Rey Dau AT Rey Dau |
 AT Uth Duna AT Uth Duna |
 AT Nu Udra AT Nu Udra |
 AT Jin Dahaad AT Jin Dahaad |
 AT Arkveld AT Arkveld |
|
All Large Monsters
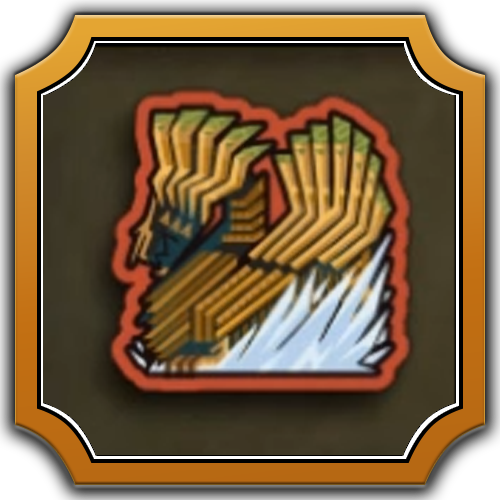
 Arkveld
 Rey Dau
 Nu Udra
 Balahara
 Doshaguma
 Chatacabra
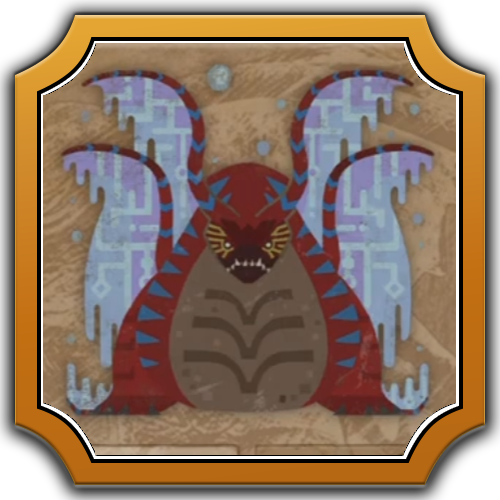 Uth Duna
 Lala Barina
 Quematrice
 Rompopolo
 Ajarakan
 Yian Kut-Ku
 Congalala
 Rathalos
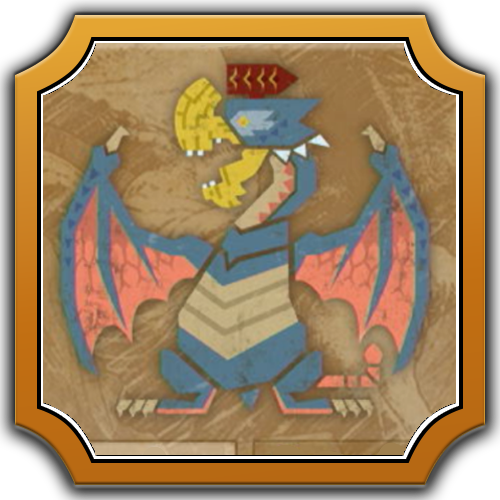 Gypceros
 Rathian
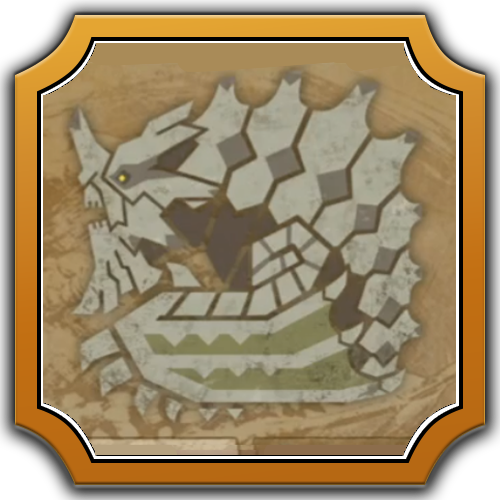 Gravios
 Nerscylla
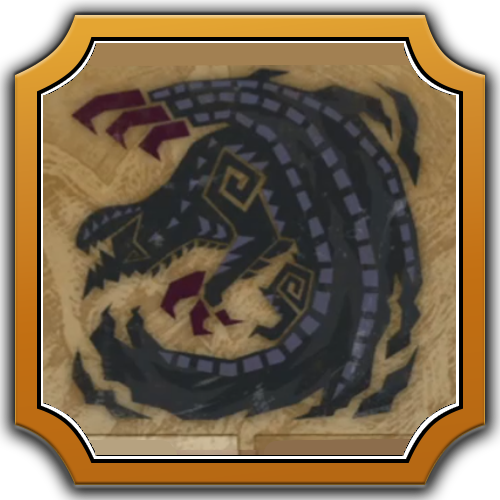 Gore Magala
 Hirabami
 Mizutsune
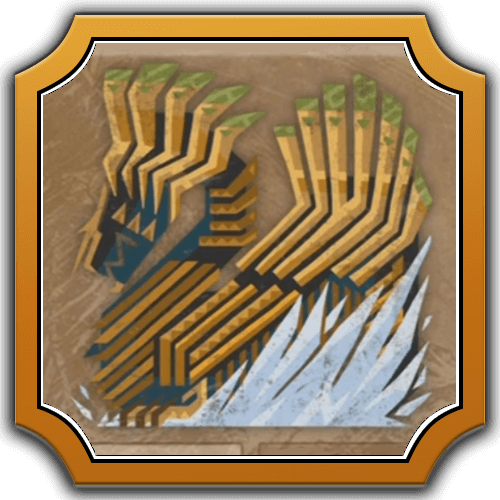 Jin Dahaad
 Blangonga
 Guardian Arkveld
 Guardian Doshaguma
 Guardian Rathalos
 Guardian Ebony Odogaron
 Xu Wu
Xu Wu Zoh Shia
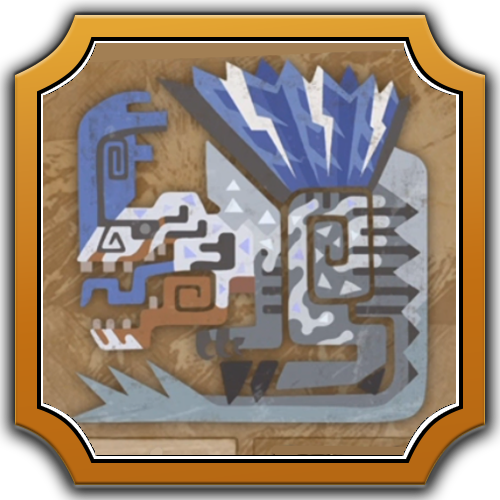 Guardian Fulgur Anjanath
 Lagiacrus
 Seregios
 Omega Planetes
 Gogmazios
Comment
So, this post is just full of lies. Literally anyone can test that, for example, he does not in fact take more damage from dragon element. Whatsoever.
Author

Arch-Tempered Arkveld Weakness and How to Beat
Premium Articles

Rankings
- We could not find the message board you were looking for.
Gaming News


![Death Stranding 2: On The Beach Review [PC] | A Port That Delivers](https://img.game8.co/4447392/15310a0c9aa1b6843bb713b2ea216930.jpeg/thumb)

Popular Games

Genshin Impact Walkthrough & Guides Wiki
Umamusume: Pretty Derby Walkthrough & Guides Wiki
Crimson Desert Walkthrough & Guides Wiki
Monster Hunter Stories 3: Twisted Reflection Walkthrough & Guides Wiki
Honkai: Star Rail Walkthrough & Guides Wiki
Pokemon Pokopia Walkthrough & Guides Wiki
The Seven Deadly Sins: Origin Walkthrough & Guides Wiki
Wuthering Waves Walkthrough & Guides Wiki
Zenless Zone Zero Walkthrough & Guides Wiki
Arknights: Endfield Walkthrough & Guides Wiki


Recommended Games
Fire Emblem Heroes (FEH) Walkthrough & Guides Wiki
Diablo 4: Vessel of Hatred Walkthrough & Guides Wiki
Cyberpunk 2077: Ultimate Edition Walkthrough & Guides Wiki
Yu-Gi-Oh! Master Duel Walkthrough & Guides Wiki
Super Smash Bros. Ultimate Walkthrough & Guides Wiki
Pokemon Brilliant Diamond and Shining Pearl (BDSP) Walkthrough & Guides Wiki
Elden Ring Shadow of the Erdtree Walkthrough & Guides Wiki
Monster Hunter World Walkthrough & Guides Wiki
The Legend of Zelda: Tears of the Kingdom Walkthrough & Guides Wiki
Persona 3 Reload Walkthrough & Guides Wiki


All rights reserved
©CAPCOM
The copyrights of videos of games used in our content and other intellectual property rights belong to the provider of the game.
The contents we provide on this site were created personally by members of the Game8 editorial department.
We refuse the right to reuse or repost content taken without our permission such as data or images to other sites.
Arkveld doesn't has an elemental weakness per se. The best is to attack his weakspot. It's the chainblades. You can see it ingame. Also they're pretty easy to hit. But they are immune, or at least very resistant to all elements. So I recommend a high raw damage on your weapon with Paralysis, Stun, or Exhaust, to stop or slower Arkveld. They have a 2-star effectiveness.