 State of the Meta
 Best Weapons Tier List
 Secondary Weapons
 Weapon Combos
 Best Items to Bring
 Armor Set Search
 Endgame Guide
 Unchangeable Features and Missables
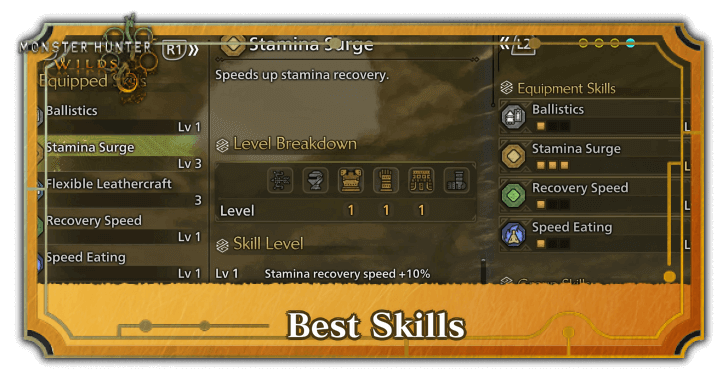 Best Skills
 Best Beginner Weapons
 Easter Eggs and Secrets
 Respawn Timers
 Is MH Wilds Too Easy?
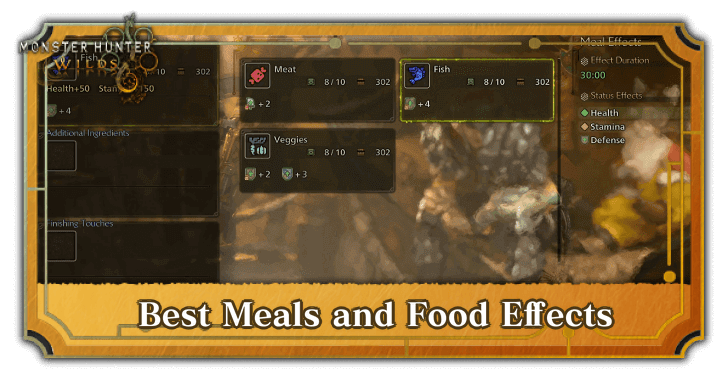 Best Meals and Food Effects
 Best Status Effect
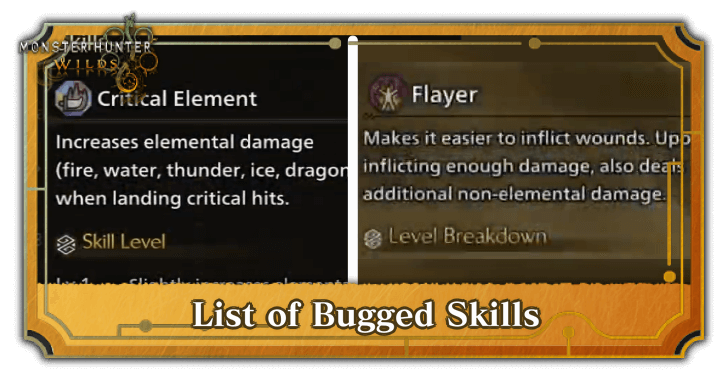 List of All Bugged Skills
 Best Co-op Strategies
 Weapon Popularity Tier List
 How to Prepare for Title Update 1
 Weapon Changes from the Beta
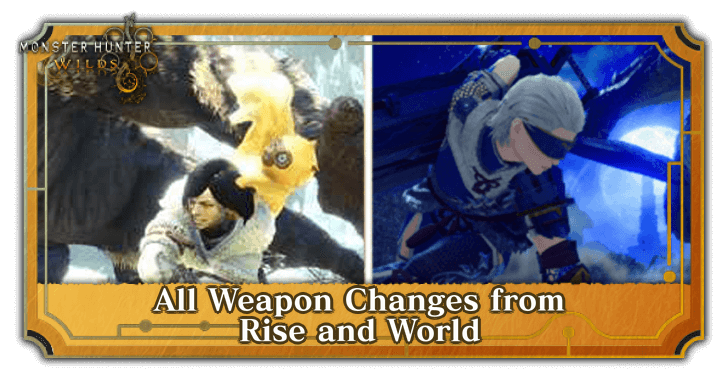 Weapon Changes from Rise and World
 List of All DLC and Prices
 Talisman Rating Tool
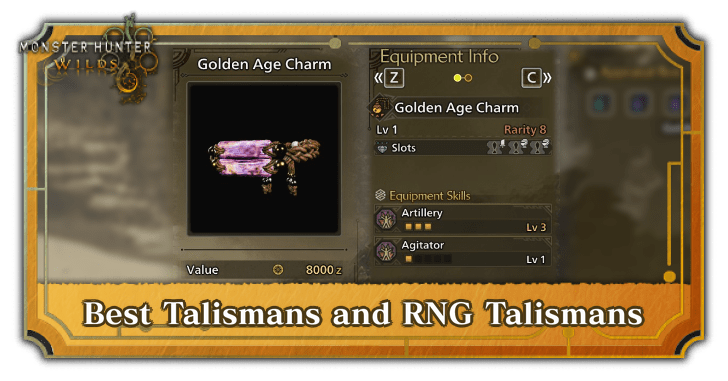 Best Talismans
 Armor Transcending Guide
This survey will take about 1 minute.
Your answers will help us to improve our website.
Monster Hunter Wilds
Interactive Map and List of Locations
★ Arkveld Gamma Armor | MH Stories 3 Collab
☆ Version 1.041: Sororal α Armor | Shatterseal
★ How to Unlock Proof of a Hero Quest
☆ Omega Planetes | Savage Omega | Builds vs Omega
★ Armor Set Search updated for Ver 1.041
☆ HR50+ Builds | Tier List | Weapon Guides
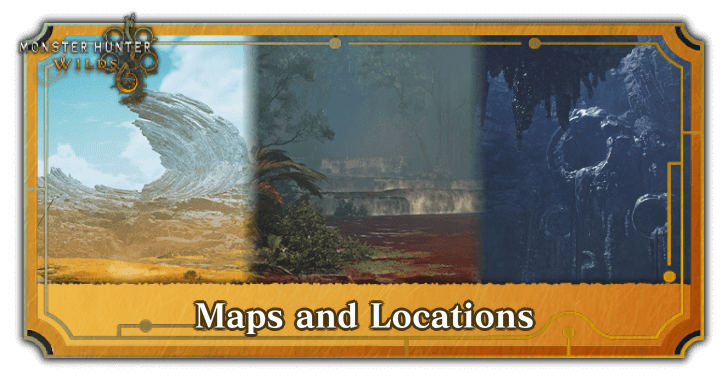
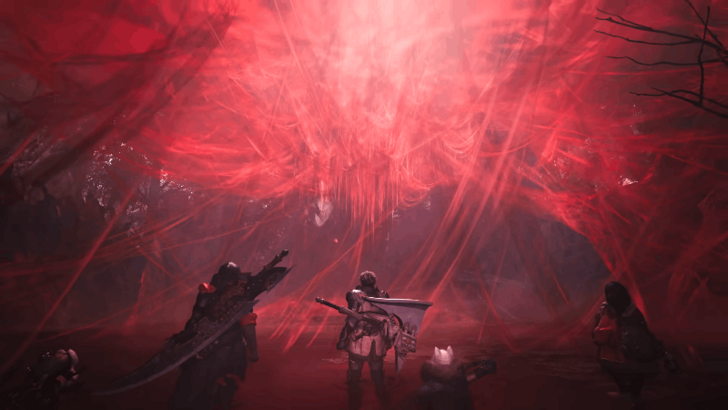
There are five major locations in Monster Hunter Wilds with a number of special areas. See an interactive map and overview of the different locations and the monsters you can hunt in them.
List of Contents
Monster Hunter Wilds Interactive Map
※ To search for a specific item or material, press the magnifying glass icon on the bottom right. Select from the dropdown button to see other levels and areas.
There are 5 regions you'll be able to freely explore in Monster Hunter Wilds, namely: Windward Plains, Scarlet Forest, Oilwell Basin, Iceshard Cliffs, and Ruins of Wyveria.
Some areas are not initially seen on your in-game map prompting players to explore. Our interactive map will be updated periodically to add more pins and locations.
Map Legend
Points of Interest
| Points of Interest | |||
|---|---|---|---|
|
|
|
||
Gatherables
Special Items
| Special Items | ||
|---|---|---|
| Windward Succulent Normally gives Windward Aloe, but on rare occasions can give Fine Windward Aloe. |
Fulgurite Crystal Normally gives Fulgurite Shards, but on rare occasions can give Pure Fulgurite. |
Exquisite Fossil Normally gives Fossilized Opal, but on rare occasions can give Fossilized Fire Opal. |
| Blackened Fossil Normally gives Ancient Fossil. |
Beautiful Aquatica Normally gives Drifitng Sea Pot, but on rare occasions can give Royal See Pot. |
Wylky Gemstone Normally gives Wylk Pebble, but on rare occasions can give Wylk Gem. |
| Sandpepper Normally gives Sandpepper, but during Plenty weather can give Fiery Sandpepper. |
Amber Deposit Normally gives Scarlet Amber Shard, but on rare occasions can give Fine Scarlet Amber. |
Weathered Treasure Normally gives Shiny Treasure, but on rare occasions can give Sparkly Treasure. |
| Glass Algae Normally gives Gobletweed , but on rare occasions can give Chaliceweed. |
Auric Oil Normally gives Auric Oil. |
Hopper Crystal Ore Normally gives Antimite, but on rare occasions can give Fine Antimite. |
|
Ancient Relic Normally gives Wyvernscale Vase, but on rare occasions can give Dragonscale Vase. |
Mysterious Fruit Normally gives Wyvveria Lantern, but on rare occasions can give Mature Wyveria Lantern. |
Cocoon Fiber Normally gives Milky Cocoon Web. |
| Wylky Crystal Outcrop There is always 1 node that will spawn in the Windward Plains outside of an emergence event and will give Time-honed Wylk Gem. |
- | - |
| Emergence Special Items Emergence Special Items Emergence events are randomly occuring events on the map that sometimes depend on the weather. |
||
| Great Windward Succulent This node will only appear during an emergence event. Will give Great Windward Aloe. |
Fulgurite Vein This node will only appear during an emergence event. Will give Thundering Fulgurite. |
Ephemeral Blossom Normally gives Nightflower Pollen but only emerges during a Full Moon. |
| Giant Hopper Crystal This node will only appear during an emergence event. Will give Antimite Mass. |
Magnificent Fossil This node will only appear during an emergence event. Will give Genesis Opal. |
Colossal Amber This node will only appear during an emergence event. Will give Eternal Scarlet Amber. |
| Bountiful Treasure This node will only appear during an emergence event. Will give Bulky Treasure. |
Remarkable Relic This node will only appear during an emergence event. Will give Large Goldenscale Vase. |
Whitegleam Gemstone This node appears only during an emergence event. Will give Origin Wylk Gem. |
|
Queen Rafflesia This node only appears during Plenty weather in Scarlet Forest. Will give Queensbloom Pollen. |
Wylky Crystal Outcrop This node usuallys appears in other regions as an emergence event and will give Time-honed Wylk Gem. |
- |
Slinger Ammo
| Slingers | ||
|---|---|---|
| Stone Slinger ammo that can be used ot hit faraway plant life and bombs. |
Thorngrass Pod Slinger ammo that lodges into a target. Attacking where its lodged deals extra damage. |
Rockburst Slinger ammo that detonates on impact. Use it to stagger a monster when you're in a pinch. |
| Grounding Stone Slinger ammo that can dissipate electricity from the area it lands. |
Sparkflint Slinger ammo that can be used to scare away creatures that don't like fire and draw in those that do. |
Frostlantern Slinger ammo imbued with ice element. |
| Thundercryst Slinger ammo imbued with thunder element. |
Watermoss Slinger ammo imbued with water element. Can remove some stasuses on monster. |
Brightmoss Slinger ammo that illuminates dark areas when fired and can dazzle flying monsters. |
| Crystalized Venom Slinger ammo that inflicts poison on a target upon impact. |
Wyrmsbane Slinger ammo imbued with dragon element. |
- |
Traps and Interactables
| Traps | ||
|---|---|---|
| Vine Trap An enormous mass of overgrown vines. They'll fall when struck, and monsters caught underneath will temporarily be unable to move. |
Poisoncup A poisonous pitcher plant poised to spill its noxious contents when disturbed. |
Lava Vent A dangerous place that spouts lava. Erupts more frequently at certain times. |
| Sporepuff A plant laden with spores. Strike it to release a dense cloud that can be used to hide a hunter from sight. |
Brittle Ice Floor A brittle sheet of ice formed over the broken parts of the bridge. A strong impact can send anything on top tumbling into the valley below. |
Giant Sand Pit A trap laid by a Balahara to snare prey. Large monsters that draw too close are caught in its flow and dragged underground. |
| Unstable Fulgurite Ground A brittle cliffside made of fulgurite. A strong impact will bring it down, revealing sharp crystalline thorns in its place. |
Unstable Fulgurite Outcrop A brittle outcropping of fulgurite. A strong impact will bring it down, revealing sharp crystalline thorns at its place. |
Giant Falling Boulder Large boulders that could fall at any moment. Hit them with your Slinger to make them dorp and hit what lurk underneath. |
| Entangled Rocks A mass of rocky rubble, held aloft by old and rotting vines and branches. A strong blow could cause it to crash down. |
Falling Stalactite A mineral formation of dripping limestone. Fragile at its base, a strong impact will cause the bulk of it to fall. |
Floating Rubble A mass of rubble suspended in midair. Use your Hook Slinger to pull it closer to you. |
| Sharp Crystal Pillar A jagged peak of keen fulgurite crystal. Crumbles on impact, collapsing atop anything caught beneath. |
Falling Grounding Pillar A grounding rock protrusion; easily felled when struck. The fallen fragments repel electricity, and can be used as Slinger ammunition. |
Falling Boulder Boulders that could fall at any moment. Use your Slinger to drop them onto unsuspecting targets. |
| Brittle Ice Pillar An icicle that looks like it could fall at any moment. Hitting it with a Slinger ammo should speed up the process. |
Dark Hornet Nest A hive build by fiercely territorial Dark Hornets. |
Grounding Pillar A large rock pillar that intercepts lightning strikes, affording protection to the surrounding area. |
| Icespikes Sharp icicles that stick out at an angle. Mounting a monster's head may cause it to ram into them, easily opening a wound. |
- | - |
| Interactables | ||
| Vitalily A plant that releases a healing nectar into the air when struck. |
Brush An area covered in tall grass that can conceal a crouching hunter from sight. |
|
| Dam Rubble A mass of rubble and drift wood accumulated atop the dam. A sharp tug from the Hook Slinger should send it cascading over the falls. |
Loch Ruins The unstable remains of some aged structure. A sharp tug from the Hook Slinger could bring it down on unsuspecting foes. |
The Ancient Forge A giant machine left in the Oilwell Basin. Pulling the upper lever with a Hook Slinger will trigger large pistons to thrust out from either side. |
| Lump of Wyrmsbane A huge lump of Wyrmsbane. Lift it to activate the energy inside, roll it, and then attack it to trigger an explosion. |
Lump of Blastcoal A large formation of highly flammable stone. Hold it aloft to spark an internal combustion reaction, roll it, then strike it for an explosion. |
Wyvern Milk Puddle A puddle of Wyvern Milk on the ground. It reacts to certain outside stimuli, forming Wylkrystals that enhances elemental effects. |
| Guardian Cocoon A cocoon with a small creature squirming inside. It seems to be waiting to hatch |
- | - |
List of Locations
| All Locations | |||||||||||
|---|---|---|---|---|---|---|---|---|---|---|---|
Windward Plains
| Windward Plains Overview | |||||||||||
|---|---|---|---|---|---|---|---|---|---|---|---|

|
|||||||||||
| Total Areas | 17 | ||||||||||
| Pop-Up Camp Locations | 13 | ||||||||||
| Inclemency | Sandtide | ||||||||||
| Local Settlement | Kunafa, Windsong Village | ||||||||||
| Large Monsters | |||||||||||
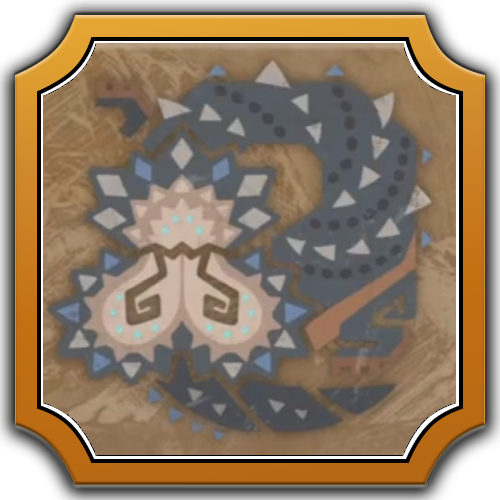
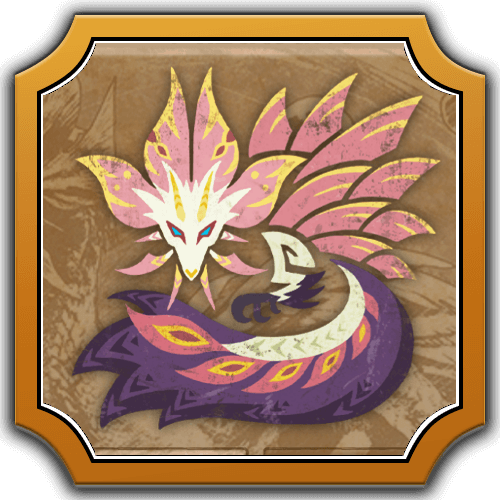
 Arkveld Arkveld
|
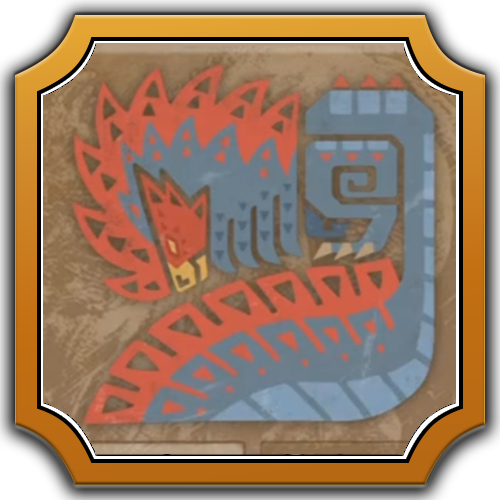
 Rey Dau Rey Dau
|
 Balahara Balahara
|
|||||||||
 Doshaguma Doshaguma
|
 Chatacabra Chatacabra
|
 Quematrice Quematrice
|
|||||||||
 Gypceros Gypceros
|
 Rathian Rathian
|
 Seregios Seregios
|
|||||||||
The Windward Plains features vast deserts and savannas and is exposed to the Sandtide that sweeps the location in a thick sandstrom that causes frequent lightning strikes. Sheltering in the center of the location is the village of Kunafa, which is populated by the Sandfolk.
Windward Plains Location Guide
Scarlet Forest
| Scarlet Forest Overview | |||||||||||
|---|---|---|---|---|---|---|---|---|---|---|---|
|
|||||||||||
| Total Areas | 18 | ||||||||||
| Pop-Up Camp Locations | 12 | ||||||||||
| Inclemency | Downpour | ||||||||||
| Local Settlement | Wudwud Hideout | ||||||||||
| Large Monsters | |||||||||||
|
Doshaguma
|
 Uth Duna Uth Duna
|
 Lala Barina Lala Barina
|
|||||||||
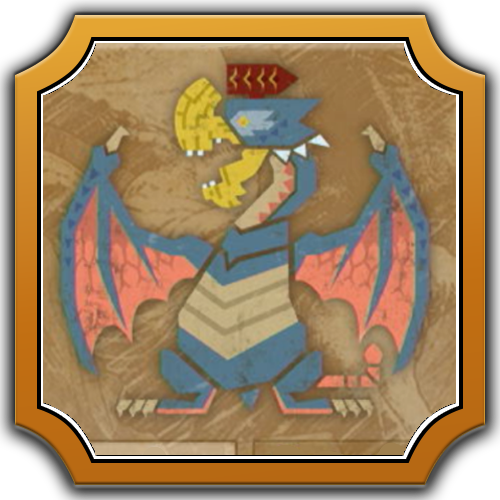
 Yian Kut-Ku Yian Kut-Ku
|
 Congalala Congalala
|
 Rathalos Rathalos
|
|||||||||
|
Rathian
|
 Mizutsune Mizutsune
|
||||||||||
Scarlet Forest is filled with dense foliage and vibrant bodies of water. This location suffers from extreme Downpour that floods the region in a devastating storm. The Wudwuds are a unique Lynian tribe that have adapted to the Scarlet Forest and the extreme weather in this location.
Oilwell Basin
| Oilwell Basin Overview | |||||||||||
|---|---|---|---|---|---|---|---|---|---|---|---|

|
|||||||||||
| Total Areas | 18 | ||||||||||
| Pop-Up Camp Locations | 7 | ||||||||||
| Inclemency | Firespring | ||||||||||
| Local Settlement | Azuz, the Everforge | ||||||||||
| Large Monsters | |||||||||||
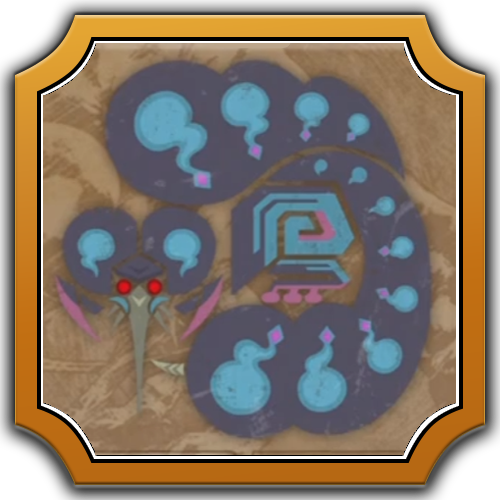
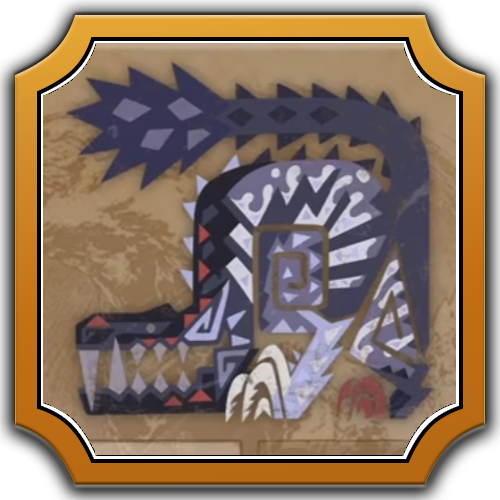
 Nu Udra Nu Udra
|
 Rompopolo Rompopolo
|
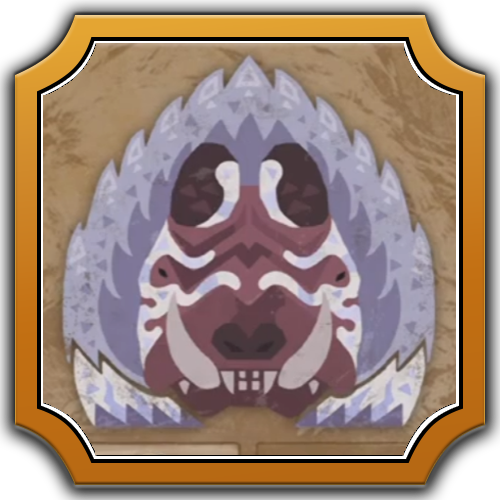
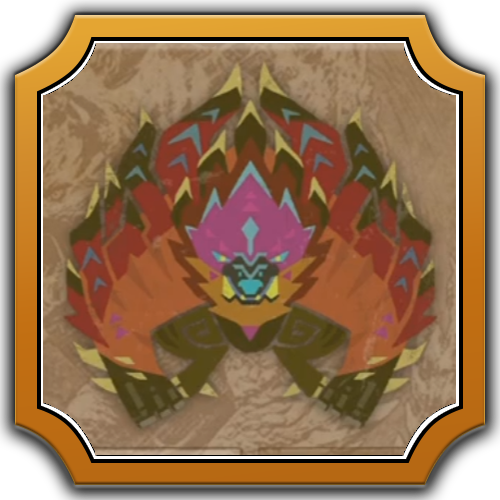 Ajarakan Ajarakan
|
|||||||||
|
Rathalos
|
Gypceros
|
Rathian
|
|||||||||
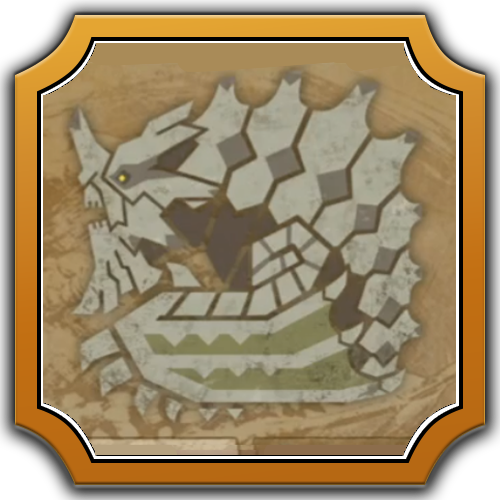 Gravios Gravios
|
 Nerscylla Nerscylla
|
||||||||||
The Oilwell Basin features vast oil deposits and ancient machinery that are used by the Azuz people in The Everforge. Using the Everforge causes the Firespring inclemency which causes the whole location to burn to unbearable temperatures!
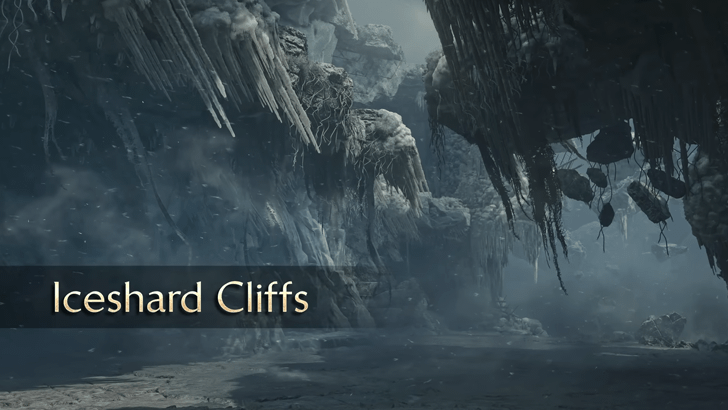
Iceshard Cliffs
| Iceshard Cliffs Overview | |||||||||||
|---|---|---|---|---|---|---|---|---|---|---|---|
|
|||||||||||
| Total Areas | 20 | ||||||||||
| Pop-Up Camp Locations | 7 | ||||||||||
| Inclemency | Frostwinds | ||||||||||
| Local Settlement | None | ||||||||||
| Large Monsters | |||||||||||
|
Yian Kut-Ku
|
Gypceros
|
Nerscylla
|
|||||||||
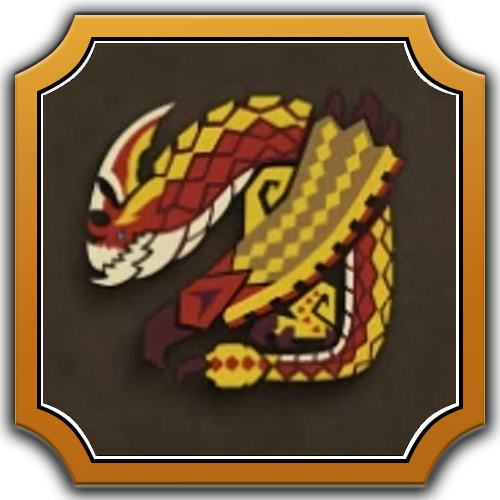
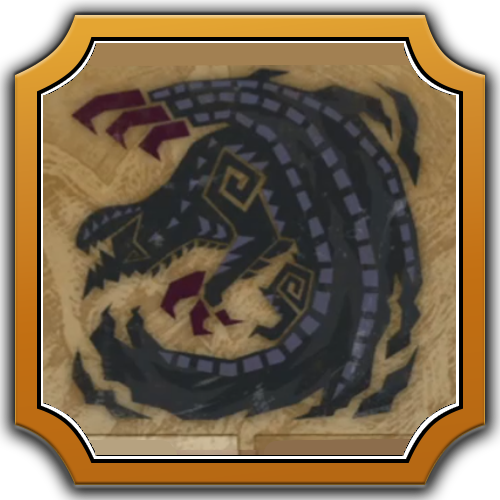 Gore Magala Gore Magala
|
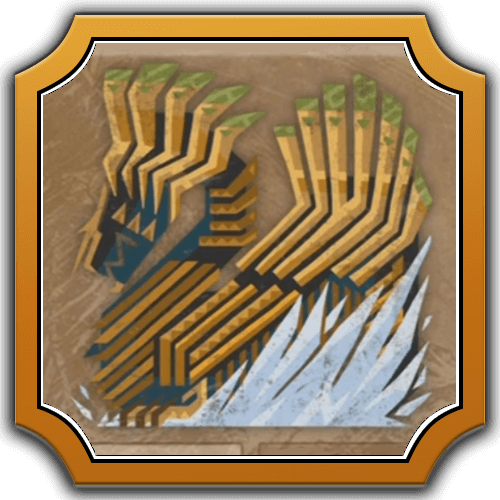
 Hirabami Hirabami
|
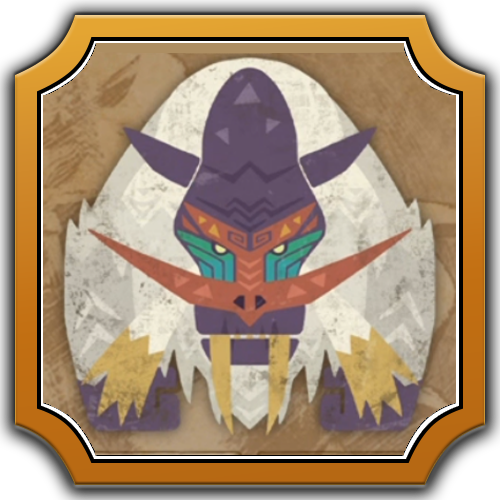
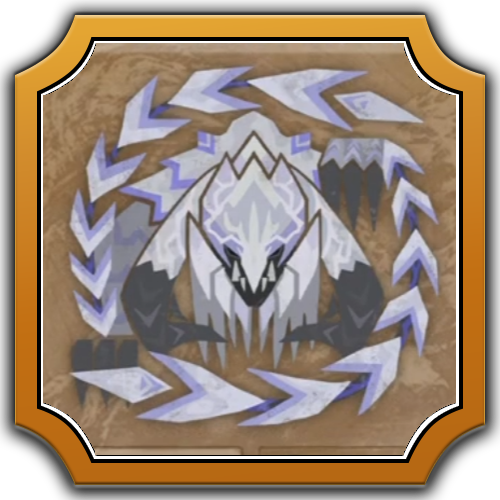
 Jin Dahaad Jin Dahaad
|
|||||||||
 Blangonga Blangonga
|
|||||||||||
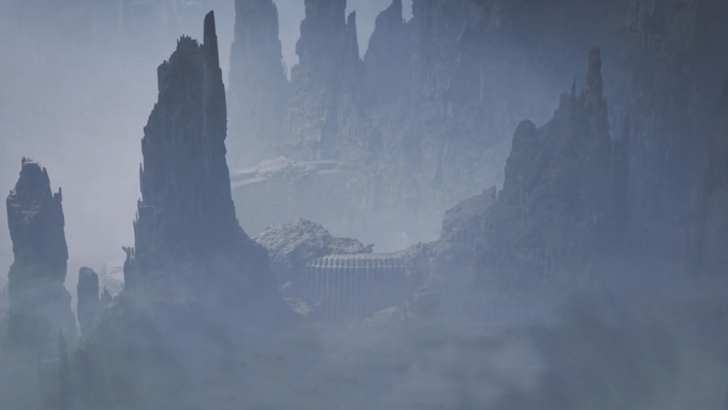
The Iceshard Cliffs is a snowy region with jagged cliffs and heavy snowfall. The harsh environment and low visibility lend themselves well to creatures that prefer to hide and ambush prey or dwell in solitude. The Frostwind inclemency swallows up the location in a deadly snowstorm that drastically cools everything to extreme temperatures.
Iceshard Cliffs Location Guide
Ruins of Wyveria
| Ruins of Wyveria Overview | |||||||||||
|---|---|---|---|---|---|---|---|---|---|---|---|
|
|||||||||||
| Total Areas | 15 | ||||||||||
| Pop-Up Camp Locations | 6 | ||||||||||
| Inclemency | Wyvern's Wakening | ||||||||||
| Local Settlement | Sild, the Keepers Vigil | ||||||||||
| Large Monsters | |||||||||||
|
Doshaguma
|
Lala Barina
|
Quematrice
|
|||||||||
|
Ajarakan
|
Congalala
|
Rathalos
|
|||||||||
|
Nerscylla
|
Hirabami
|
 Guardian Arkveld Guardian Arkveld
|
|||||||||
 Guardian Doshaguma Guardian Doshaguma
|
 Guardian Rathalos Guardian Rathalos
|
 Guardian Ebony Odogaron Guardian Ebony Odogaron
|
|||||||||
 Xu Wu Xu Wu
|
 Zoh Shia Zoh Shia
|
 Guardian Fulgur Anjanath Guardian Fulgur Anjanath
|
|||||||||
This location contains the remainders of the once very advanced civilization of the Wyverian people that created the Guardian monsters. The Wyrmways that envelop and go through the whole location fills the local ecosystem in mysterious wyvern energy.
Ruins of Wyveria Location Guide
Special Areas
| Special Areas | |||||||||||
|---|---|---|---|---|---|---|---|---|---|---|---|
 Training Area Training Area |
 Suja, Peaks of Accord Suja, Peaks of Accord |
 Wounded Hollow Basin Wounded Hollow Basin |
|||||||||
Training Area

The Training Area is a special in the Plains Base Camp where you can practice combos and test builds on a dummy monster. The dummy's behaviors can be changed to allow you to practice other mechanics such as using your weapon's Offset Attacks.
Training Area Location and Features
Suja, Peaks of Accord

Suja, Peaks of Accord is a small Wyverian town on top of the Iceshard Cliffs. Here you can access the services of Vio the Melder to transform unwanted decorations into another random decoration through Appraisal Items.
Wounded Hollow
The Wounded Hollow is a special area where hunters can test their prowess against monsters in a small, enclosed space. This area functions similarly to the Arena from previous Monster Hunter games.
Other Notable Locations
Pop-Up Camp Locations

All of the Pop-Up Camp locations are places you would have to discover before being able to build camps. These locations allows you to place a Pop-Up Camp in where you can manage items, equipment, or cook food.
Fishing Spots

Fishing spots are sometimes tricky to find because the map doesn't exactly pin where fish can be found. We've set up a map of all fishing spots as well as tag the fish you can find there.
All Fishing Spots and Aquatic Life Locations
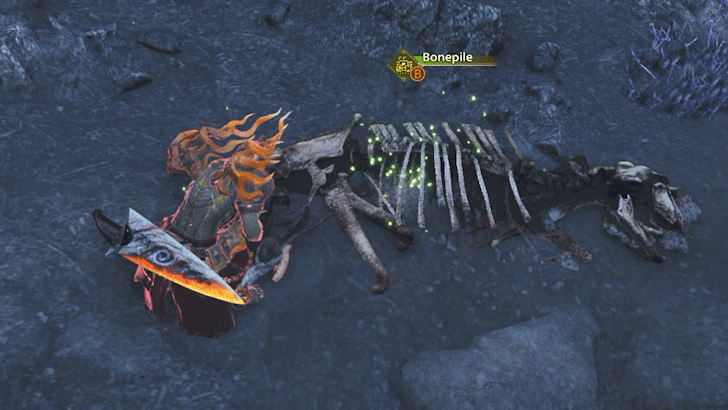
Bonepile Locations
Bonepiles contain valuable monster bones which you need to craft several Armor and Weapons with. Each location in Low Rank and High Rank will yield different types of bone items.
Mining Outcrop Locations

Mining Outcrops yield precious ores that will help you craft powerful Armor and Weapons. The type of ore you mine is determined on the location and whether you're in Low or High Rank.
How to Open the Map
Press the Dedicated Map Button to Open the Map
| Dedicated Map Controls | ||
|---|---|---|
| PlayStation | Xbox | PC |
|
|
|
|
Access the in-game map by pressing the dedicated Map Button on your platform. This opens a partial screen of the game map and the locations of all the Monsters, Items and other details of the location.
Toggle Between Partial Screen and Fullscreen

While in the Map, you can toggle between Partial Screen and Fullscreen by pressing the “Detailed Map” prompt below. This allows you to see a clearer version of the map in fullscreen.
How to Use the Map
Select Any Camp Location on the Map to Fast Travel

One function of the map is to Fast Travel to the Base Camp or any of your Pop-Up Camps. Simply drag the cursor to any of the available camps and select the Fast Travel option.
Use the Fast Travel List to Find All Available Fast Travel Points

You can access the Fast Travel List by pressing the left and right directional keys. This opens up a small menu of all the available Fast Travel points which you can select to travel to.
Travel to other Locations Using the World Map
You can access the World Map by opening the Locale Map first then pressing the World Map prompt. This opens a menu where you can see an overview of each location's monsters and weather, and fast-travel to any Base Camp or Pop-Up Camp in the selected location.
Item Filters Find, Highlight, or Hide Specific Items on the Map
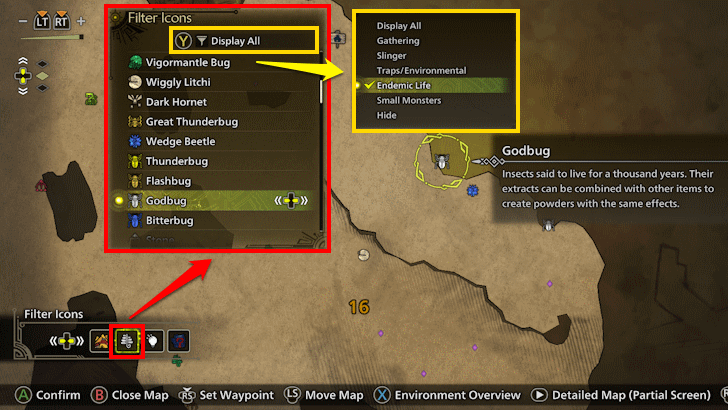
The Item Filter option allows you to search, highlight, or hide specific gatherable items, materials, or environmental traps. This can be useful for setting up farming routes for items you need. Press the left and right directional keys to access the Item Filters.
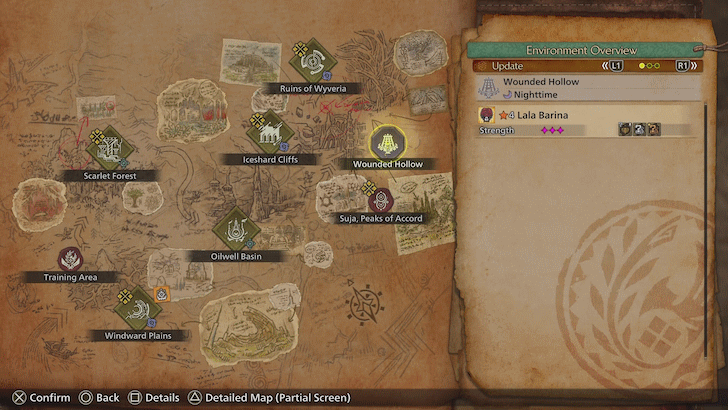
The Environment Overview Displays All Active and Future Map Events

Pressing the Environment Overview prompt on the bottom of the Map Menu opens up a small menu that highlights all the Monsters and environmental events on the current map. From here, you can view the current monsters and any others that will spawn in the future, the current and future time and weather, and the weather forecast.
Map Display Settings
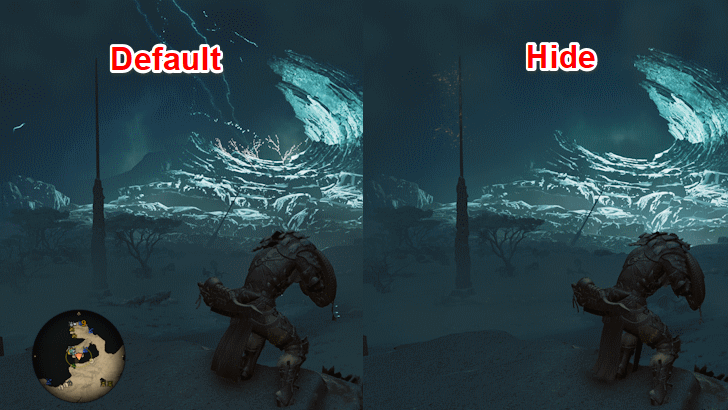
Display or Hide Minimap
HUD Settings |
|
| Recommended HUD Settings | |
|---|---|
| Minimap | Small, Default, or Large |
The HUD options on the Game Settings allows you to disable or resize the minimap. The size is entirely preference, but it's heavily recommended to not set it to Hide as the map displays many essential information you will need to traverse the various locales and hunt monsters.
Dynamic Minimap HUD Size

Minimap Sizes |
|
| Recommended Minimap Size Settings | |
|---|---|
| Town Areas | Large |
| Aim/Focus Mode | Small |
| Combat (Large Monsters) | Small or Default |
| Holding L1 / LB / Ctrl | Large |
The size of the minimap can be set to dynamically change based on your character's status or your button inputs. We recommend setting it to small for times where you have to focus on fighting a monster, and large when you're in town or traversing the map.
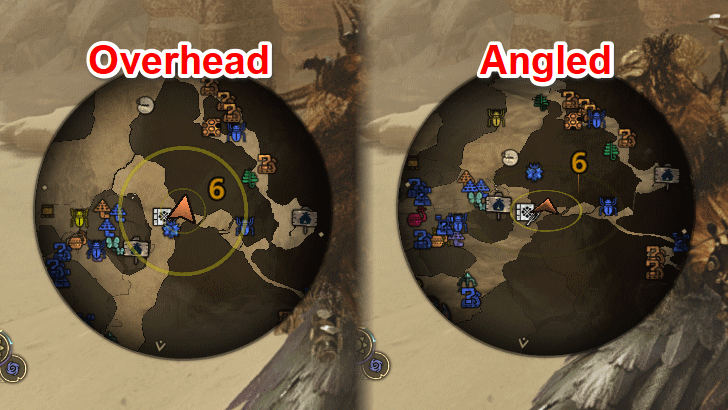
Dynamic Minimap Zoom

Different Minimap Zooms |
|
| Recommended Minimap Scale Settings | |
|---|---|
| Town Areas | Large |
| Aim/Focus Mode | Default |
| Combat (Large Monsters) | Default |
| Holding L1 / LB / Ctrl | Large |
The Minimap Scale option in the Game Settings dynamically changes the zoom level of your minimap depending on your button inputs or the status of your character. We recommend to set this to Large when in town or when pressing L1 / LB / Ctrl when you're exploring.
Minimap Rotation
 Minimap Rotation Settings |
|
| Recommended Minimap Rotation Settings | |
|---|---|
| Minimap Rotation | Rotating |
The Minimap rotation option in the Game Settings enables the rotation of the minimap based on where the camera is facing. We recommend using the “Rotating” option to access important directional information quicker during hunts.
Minimap Angle
Minimap Angles |
|
| Recommended Minimap Angle Settings | |
|---|---|
| Minimap Angle | Align Angle with Camera |
The Minimap rotation option in the Game Settings lets you control how the minimap displays the 3D layout of the map. Using the “Align Angle with Camera” option is recommended as it allows you to have both and overview or angled view of the map.
Monster Hunter Wilds Related Guides
Monster Hunter Wilds Walkthrough Wiki
| Monster Hunter Wilds Wiki Contents | |
|---|---|
 Weapons Weapons |
 Armor Sets Armor Sets |
 Monsters Monsters |
 Builds Builds |
 Story Walkthrough Story Walkthrough |
 Artian Weapons Artian Weapons
|
 Maps and Locations Maps and Locations |
 Items and Materials Items and Materials |
 Tips and Tricks Tips and Tricks |
 Game Mechanics Game Mechanics |
 Endemic Life Endemic Life |
 Skills Skills |
 Decorations Decorations |
 Talismans Talismans |
 Characters Characters |
 Quests Quests |
 Palico Palico |
 Trophies Trophies |
 Cosmetics Cosmetics |
 Furniture Furniture |
 Festivals Festivals
|
 News and Game Info News and Game Info |
 Message Boards Message Boards |
|
Recommended Guides
Author

Interactive Map and List of Locations
Please participate in our site
improvement survey
03/2026
improvement survey
03/2026
Would you assist in
improving Game8's site?
improving Game8's site?

×
We are listening to our users' valuable opinions and discussing how to act on them.
The information collected through this survey will be used for the purpose of improving our services. In addition, the information will only be disclosed a part of a statistic in a format that will not allow identification of personal information.
Begin Survey
Not Now
×
Please rate each item regarding Game8.co's Advertisements.
Amount of Ads
Very Dissatisfied
Somewhat Dissatisfied
Fine
Somewhat Satisfied
Highly Satisfied
Placement of Ads
Timing of Ad Display
Ad Loading Speed
Safeness of Ads
Content of Ads
×
Please rate each item regarding Game8.co's Quality of Articles.
Amount of information
Very Dissatisfied
Somewhat Dissatisfied
Fine
Somewhat Satisfied
Highly Satisfied
Frequency of updates
Speed of new information
Accuracy of articles
Understandibility of articles
Readability of sentences
×
Please rate each item regarding Game8.co's Usability of the Site.
Ease of finding information
Very Dissatisfied
Somewhat Dissatisfied
Fine
Somewhat Satisfied
Highly Satisfied
Loading Speed
Use of Color
Font Size
Visibility of Images
Easy to Understand Layout
×
Please rate each item regarding Game8.co's Message Boards, Comments.
Ease of Writing
Very Dissatisfied
Somewhat Dissatisfied
Fine
Somewhat Satisfied
Highly Satisfied
Readability
Ease in Finding Information
Comment Quality
Comment Quantity
Admin Response
×
Please rate each item regarding Game8.co's Site's new design.
Please rate our site's new design
Very Dissatisfied
Somewhat Dissatisfied
Fine
Somewhat Satisfied
Highly Satisfied
Do you think that the website's design change makes the site easier to use?
Has the new design made it easier for you to find information on the site?
Has the new design improved the overall visual appeal of the site?
How would you rate your overall satisfaction with the new design of the site?
×
How likely are you to recommend Game8 to someone you know?
Very Unlikely
0
1
2
3
4
5
6
7
8
9
10
Very Likely
If you have other opinions regarding potential improvement to the website, please share them with us. We would appreciate your honest opinion.
Note: This is a free response section, so you can proceed without entering anything.
Note: Please be sure not to enter any kind of personal information into your response.
Note: Please be sure not to enter any kind of personal information into your response.
×
Thank You
×
Thank you for participating in our survey! Your answers will help us to improve the quality of our website and services.
We hope you continue to make use of Game8.
We hope you continue to make use of Game8.
Close
Premium Articles
Rankings
Gaming News


![Everwind Review [Early Access] | The Shaky First Step to A Very Long Journey](https://img.game8.co/4440226/ab079b1153298a042633dd1ef51e878e.png/thumb)

![Monster Hunter Stories 3 Review [First Impressions] | Simply Rejuvenating](https://img.game8.co/4438641/2a31b7702bd70e78ec8efd24661dacda.jpeg/thumb)
Popular Games

Genshin Impact Walkthrough & Guides Wiki
Honkai: Star Rail Walkthrough & Guides Wiki
Umamusume: Pretty Derby Walkthrough & Guides Wiki
Pokemon Pokopia Walkthrough & Guides Wiki
Resident Evil Requiem (RE9) Walkthrough & Guides Wiki
Monster Hunter Wilds Walkthrough & Guides Wiki
Wuthering Waves Walkthrough & Guides Wiki
Arknights: Endfield Walkthrough & Guides Wiki
Pokemon FireRed and LeafGreen (FRLG) Walkthrough & Guides Wiki
Pokemon TCG Pocket (PTCGP) Strategies & Guides Wiki


Recommended Games
Diablo 4: Vessel of Hatred Walkthrough & Guides Wiki
Fire Emblem Heroes (FEH) Walkthrough & Guides Wiki
Yu-Gi-Oh! Master Duel Walkthrough & Guides Wiki
Super Smash Bros. Ultimate Walkthrough & Guides Wiki
Pokemon Brilliant Diamond and Shining Pearl (BDSP) Walkthrough & Guides Wiki
Elden Ring Shadow of the Erdtree Walkthrough & Guides Wiki
Monster Hunter World Walkthrough & Guides Wiki
The Legend of Zelda: Tears of the Kingdom Walkthrough & Guides Wiki
Persona 3 Reload Walkthrough & Guides Wiki
Cyberpunk 2077: Ultimate Edition Walkthrough & Guides Wiki


All rights reserved
©CAPCOM
The copyrights of videos of games used in our content and other intellectual property rights belong to the provider of the game.
The contents we provide on this site were created personally by members of the Game8 editorial department.
We refuse the right to reuse or repost content taken without our permission such as data or images to other sites.
Some of the maps are flips around and aren't facing north, making it difficult to read them