Fishing Guide
★ Arkveld Gamma Armor | MH Stories 3 Collab
☆ Version 1.041: Sororal α Armor | Shatterseal
★ How to Unlock Proof of a Hero Quest
☆ Omega Planetes | Savage Omega | Builds vs Omega
★ Armor Set Search updated for Ver 1.041
☆ HR50+ Builds | Tier List | Weapon Guides
Fishing in Monster Hunter Wilds is used to acquire marine creatures that can be used in different ways. Learn how to fish, use the fishing rod, where to look for fish, and fishing rewards here!
| Related Fishing Articles | |
|---|---|
| Fishing Guide | All Fish Locations |
List of Contents
How to Fish
Look for Bodies of Water
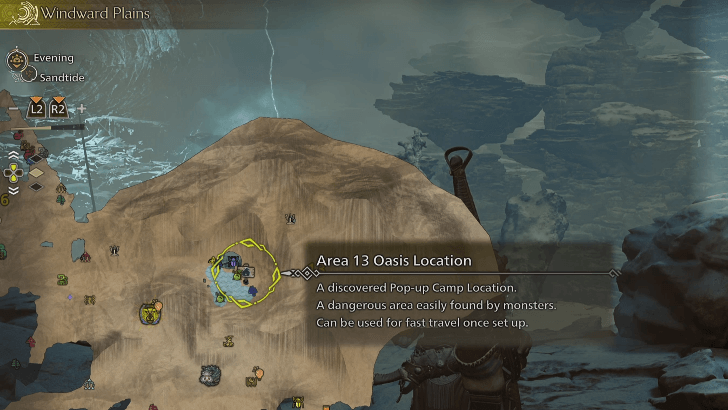
The most straightforward first step in fishing is to find a body of water of any kind. Check your map and see where bodies of water are located and make your way there.
Do take note that some of these bodies of water don't contain fish, so that will mean you'll have to try again. Some fishes also only appear during certain times of the day—some may appear exclusively during the day, and others at night.
Equip and Use the Fishing Rod
| Action | PC | PS5 | XBOX |
|---|---|---|---|
| Aim | |
||
| Cast ↓ Reel |
↓ (Hold) |
↓ |
↓ |
| Move Reel |
The Fishing Rod can be equipped using your shortcuts or radial menu. Once equipped, position yourself on the lake or river's outer banks and aim your rod. The rod's landing spot and range will be indicated by a white circle.
Be sure to aim for an area with fish, then cast your line by pressing the cast button on your device. Move the lure and attract the attention of nearby fish. Once you get a bite, press and hold the reel button to reel in your catch!
Rest In Camps to Change the Weather
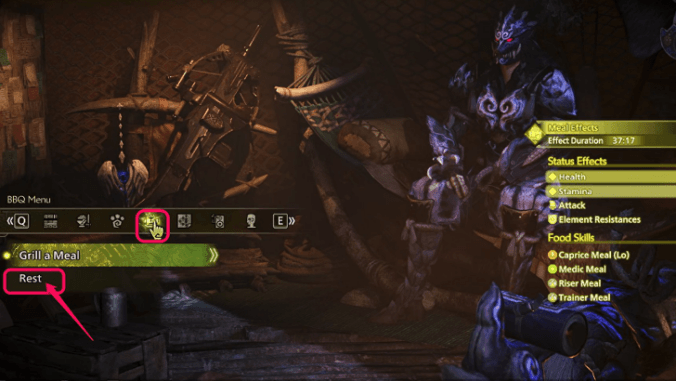
You'll have an easier time catching fish when fishing while the weather is Plenty.
You can change the weather for 500 Guild Points inside a tent or in a Pop-up Camp once you reach High Rank, under the Environment and Time Settings.
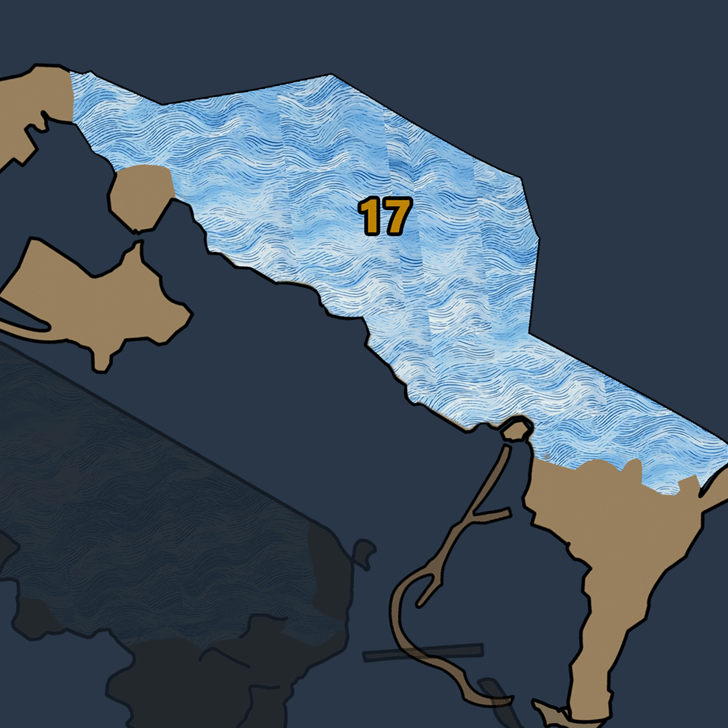
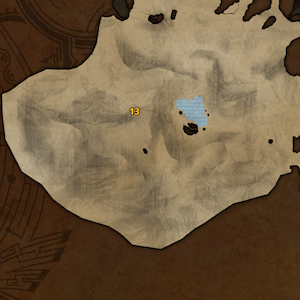
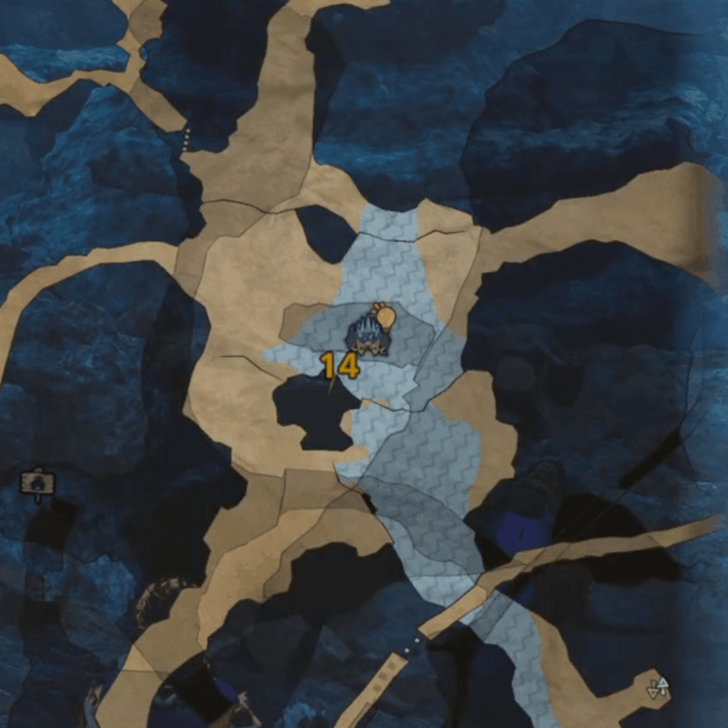
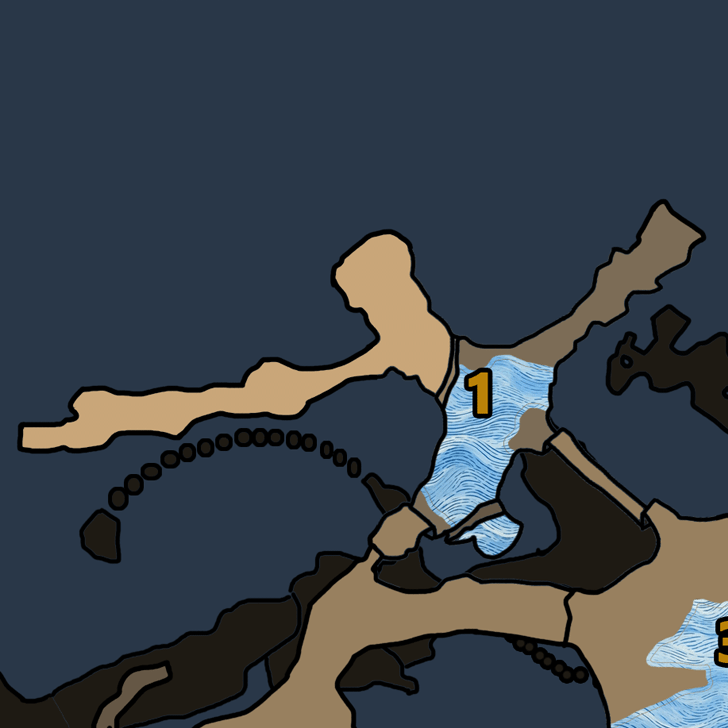
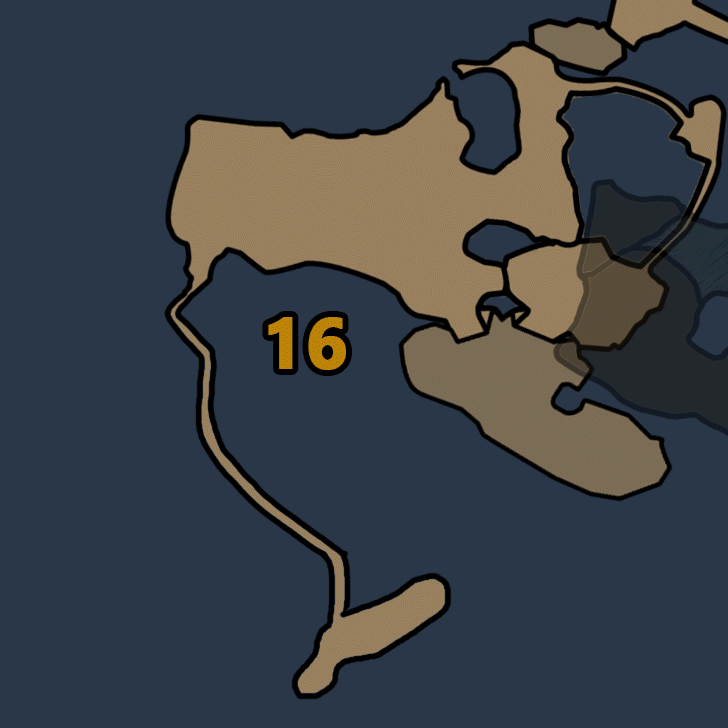
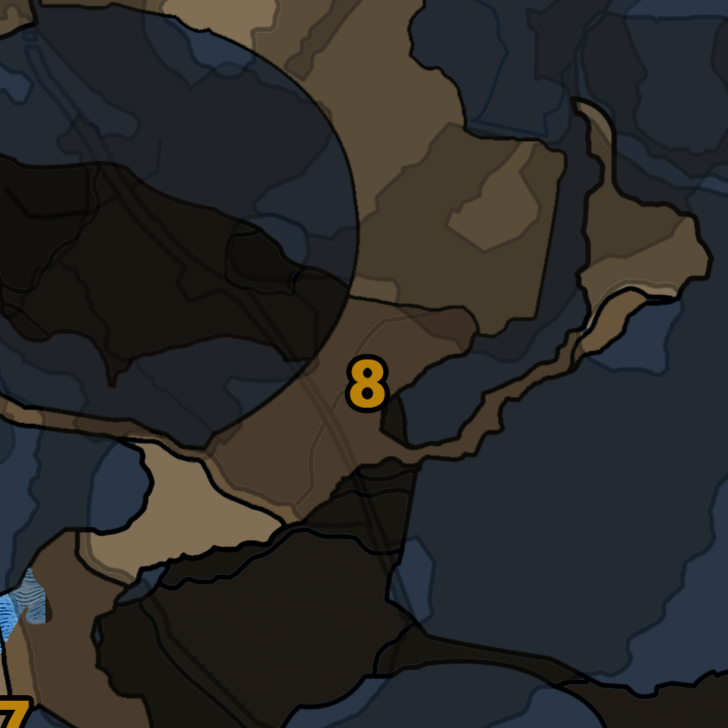
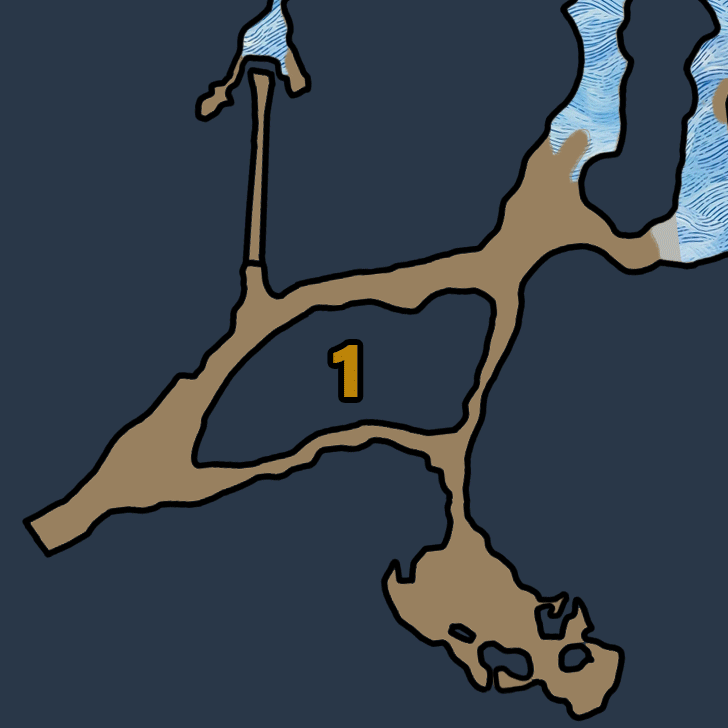
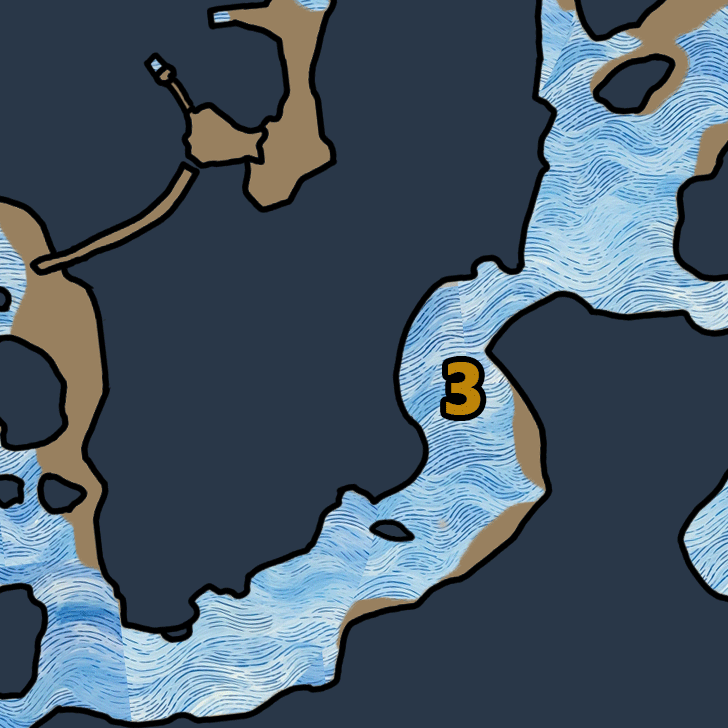
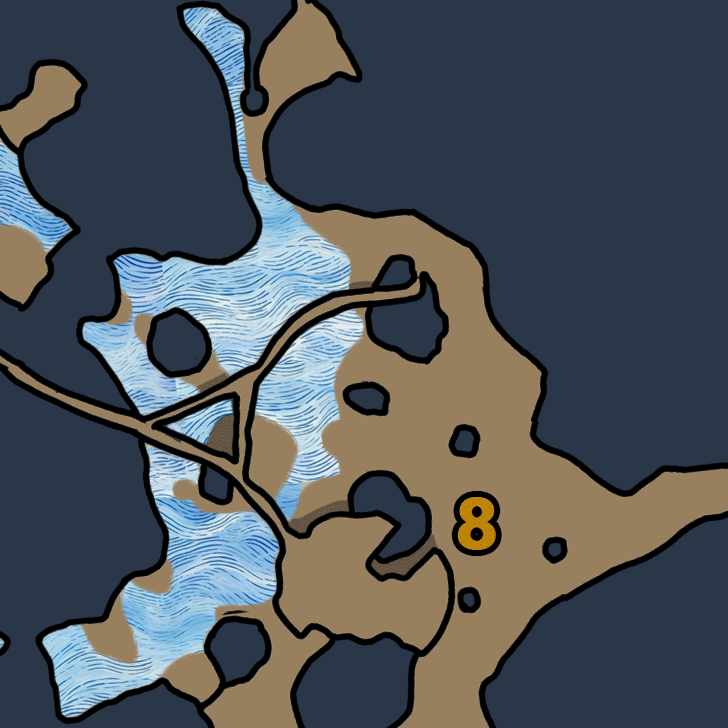
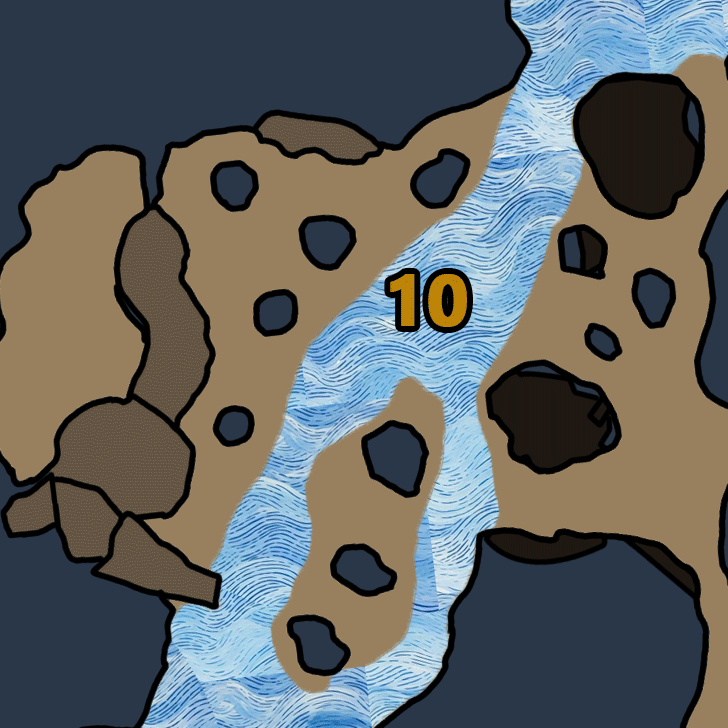
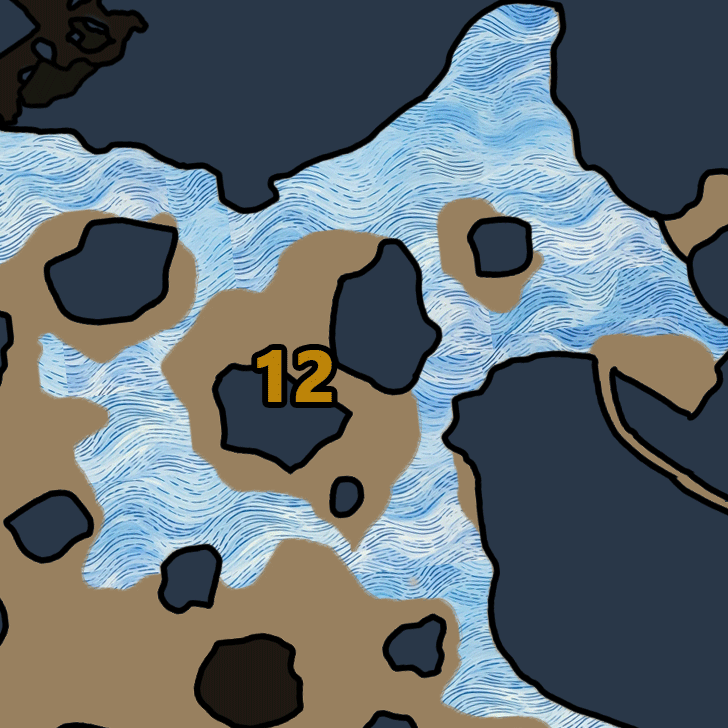
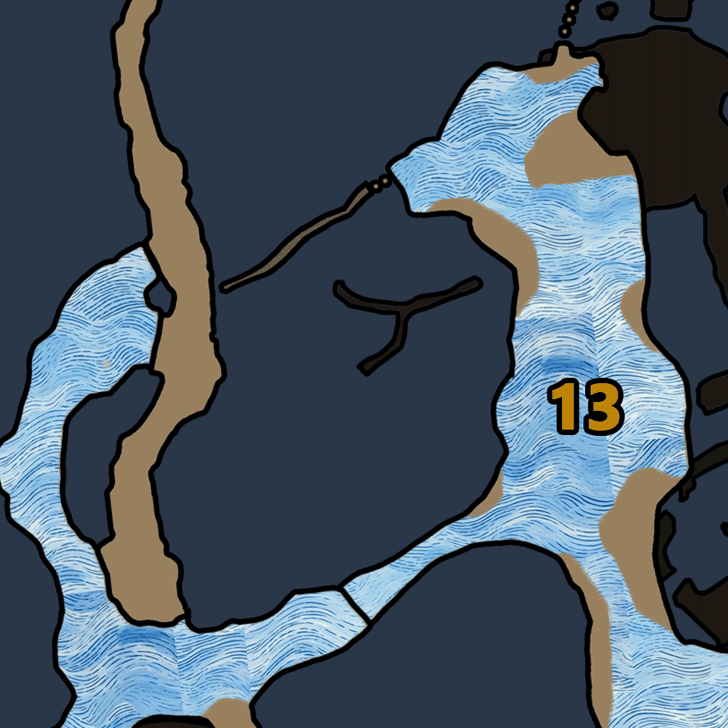
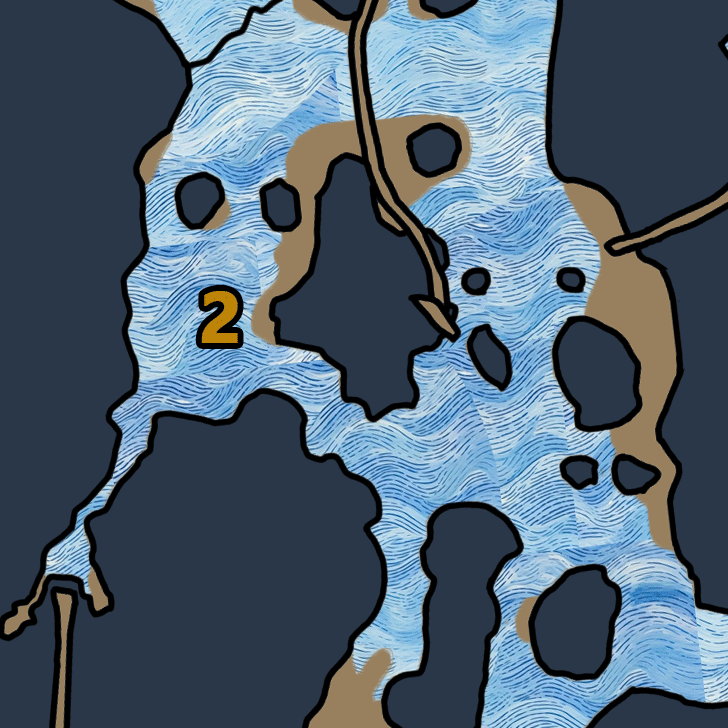
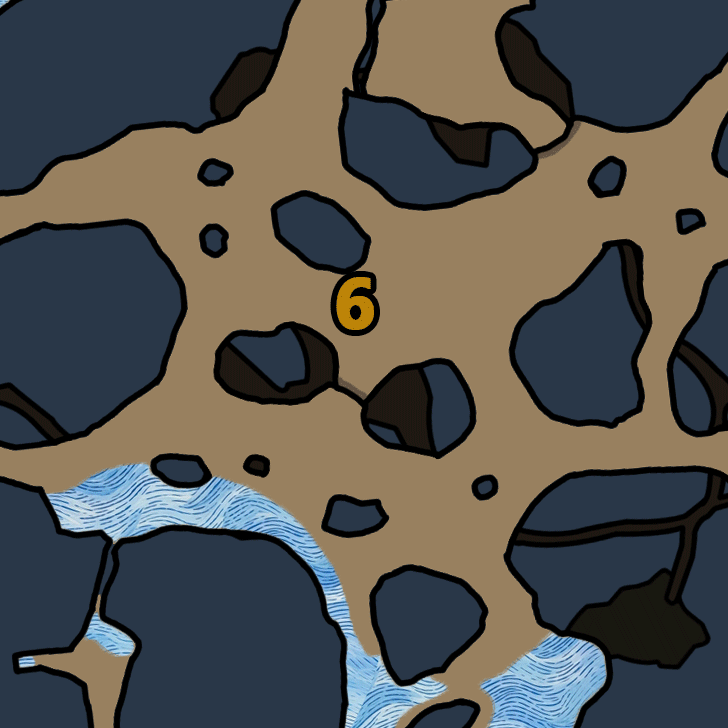
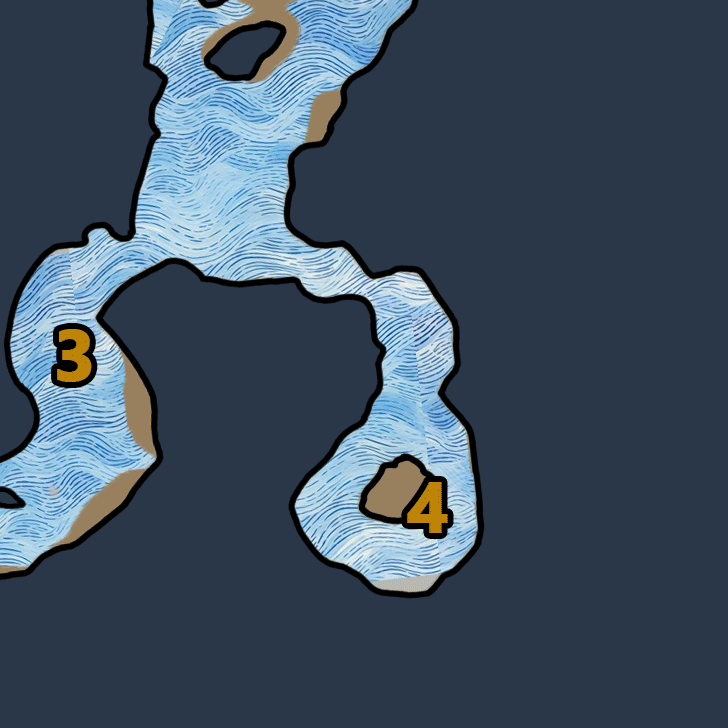
Fishing Spot Locations
says you can search via the search button below and switch maps via the drop down
Fishing Spot Map Locations
※ To search for a specific species, press the magnifying glass icon on the bottom right. Select from the dropdown button to see other levels and areas.
Interactive Map and List of Locations
List of Fishing Baits and Lures
Baits and Lures for Fishing
| Bait/Lure | Compatible Fish |
|---|---|
|
|
|
|
|
Various Types |
|
|
|
|
|
|
|
|
|
|
|
|
|
|
These are all the fishing baits and lures you can use to efficiently catch specific fish! Most fish can be caught using the Common Wood Minnow, but some fish such as Starduster and Blink Angler can only be captured using the Capture Net.
All Fishing Side Missions
List of All Fishing Side Missions
| Side Mission | Quest Details |
|---|---|
 Fishing: Life, in Microcosm Fishing: Life, in Microcosm
|
Quest Giver:
Location:
Catch: Any FishHow to Unlock: ・Reach Chapter 1 ・Complete Main Mission Forest Findings |
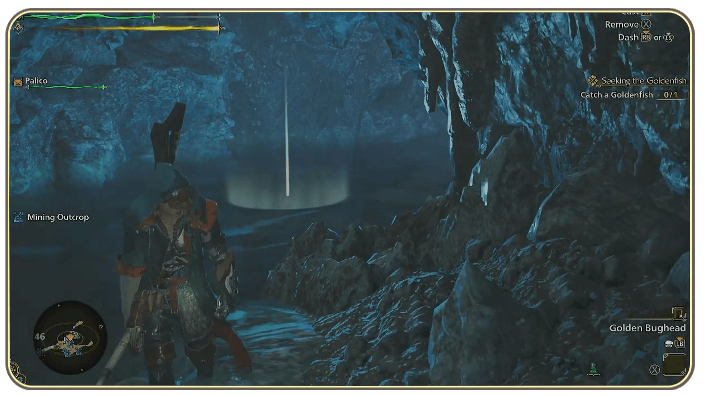
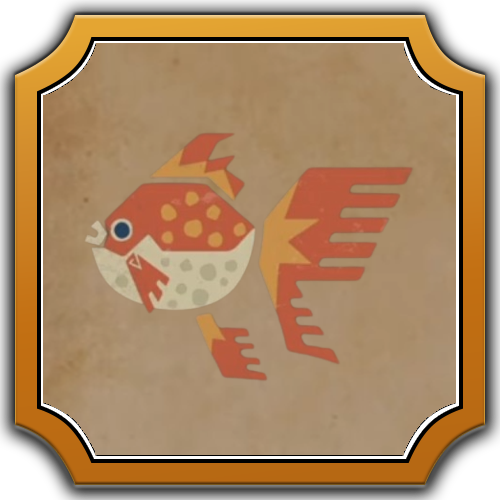
 Seeking the Golden Fish Seeking the Golden Fish
|
Quest Giver:
Location:
Catch:
How to Unlock:・Reach Chapter 1 ・Complete Side Mission Fishing: Life, in Microcosm |
 Fishing for Flavor Fishing for Flavor
|
Quest Giver:
Location:
Catch:
How to Unlock:・Reach Chapter 4 ・Complete Side Mission Seeking the Golden Fish |
 The Catch of a Lifetime The Catch of a Lifetime
|
Quest Giver:
Location:
Catch: A Whopper FishHow to Unlock: ・Reach Chapter 4 ・Complete Side Mission Fishing for Flavor |
 Razzle Dazzle Razzle Dazzle
|
Quest Giver:
Location:
Catch:
How to Unlock:・Reach Chapter 4 ・Complete Side Mission The Catch of a Lifetime |
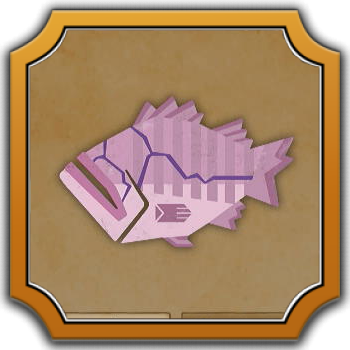
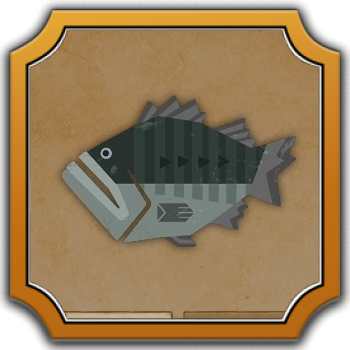
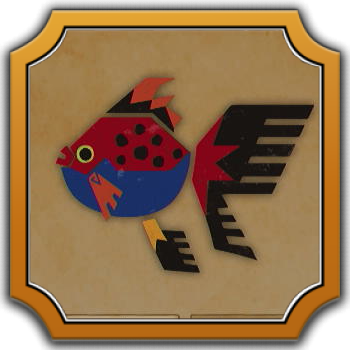
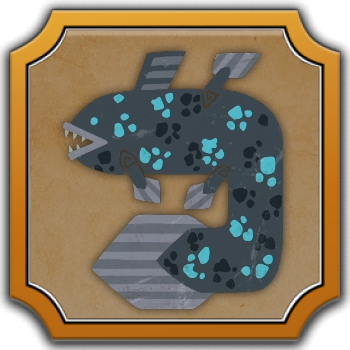
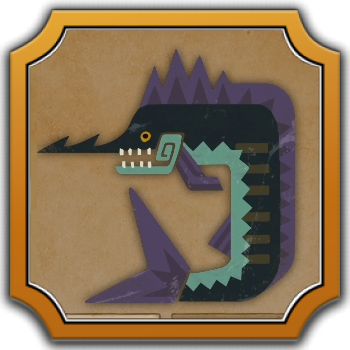
List of All Fishes
| Name | Habitat |
|---|---|
 Blind Perch Blind Perch
|
This blind fish is known to live where Wyvern Milk flows, the Cliffs and Wyveria. They can be baited with Emerald Jitterbait, or caught directly with your Net. They can be found at any time of day on any weather conditions.
Weather:
Time of Day:
|
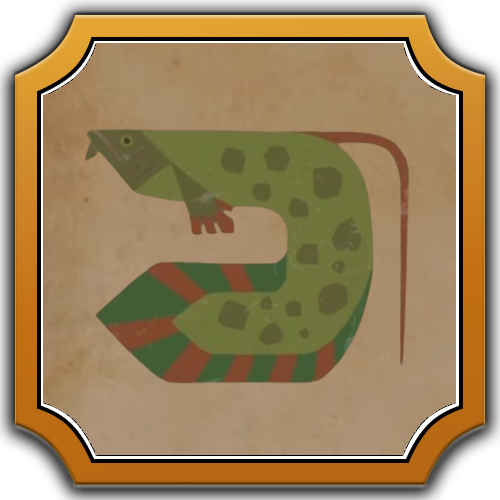
 Bomb Arowana Bomb Arowana
|
The Bomb Arowana is found to have a strong interest for the Emerald Jitterbait. This fish also gives Bomb Arowana Scale. They can be found at any time of day on any weather conditions.
Weather:
Time of Day:
|
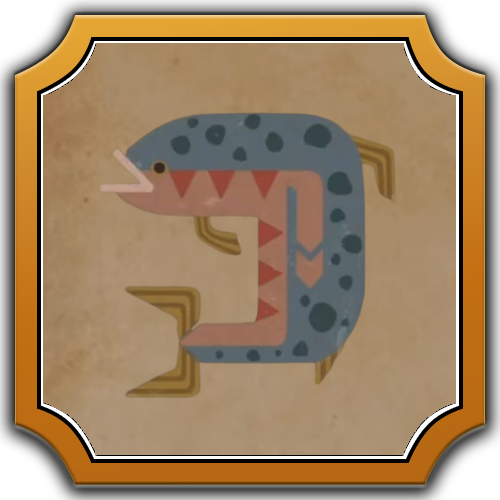
 Burst Arowana Burst Arowana
|
The Burst Arowana is found to have a strong interest for the Emerald Jitterbait. This fish also gives Burst Arowana Scale. They can be found at any time of day on any weather conditions.
Weather:
Time of Day:
|
 Escunite Escunite
|
These can be fished at night during the Plenty. They seem to prefer Tentacle Jig bait.
Weather:
Time of Day:
|
 Gajau Gajau
|
This whopper can be seen when the weather is favorable during the Plenty. They seem to have a strong interest in Duster Rigs.
Weather:
Time of Day:
|
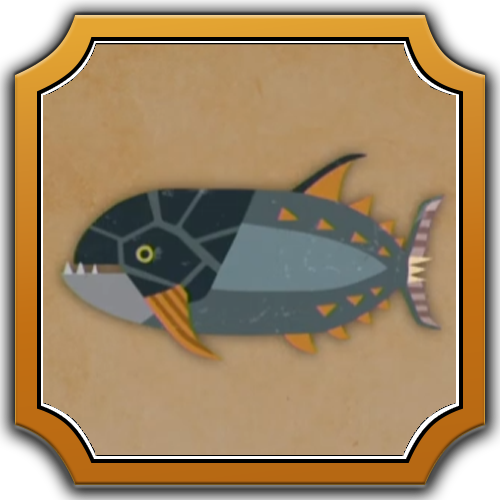 Gastronome Tuna Gastronome Tuna
|
This whopper can be seen mostly at night when the weather is Plenty. They seem to have a strong interest in Tuff Joint Bait.
Weather:
Time of Day:
|
 Glass Parexus Glass Parexus
|
These fish with transparent bodies are usually found in the Cliffs and Wyveria. They have no preference in bait, and can sometimes be caught with your Capture Net if they are close enough. They can be found at any time of day on any weather conditions.
Weather:
Time of Day:
|
 Goldenfish Goldenfish
|
These fish are quite common in dark areas where sunlight rarely enters. They have a strong interest for Golden Bughead bait. They can be found at any time of day on any weather conditions.
Weather:
Time of Day:
|
 Goldenfry Goldenfry
|
Much like the goldenfish, goldenfry thrive in dark places. They are smaller in size and have a strong interest in Golden Bughead bait. They can be found at any time of day on any weather conditions.
Weather:
Time of Day:
|
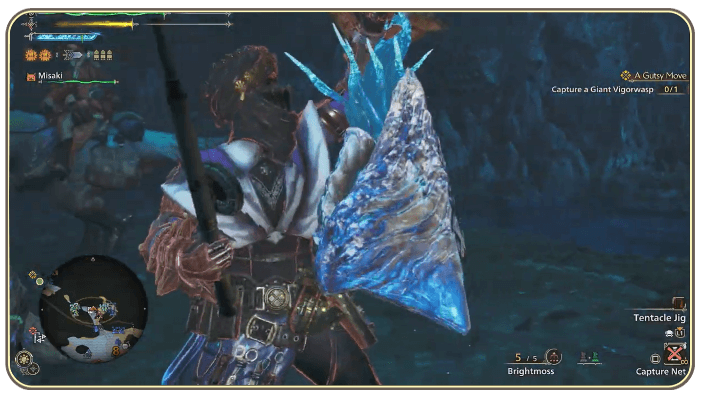
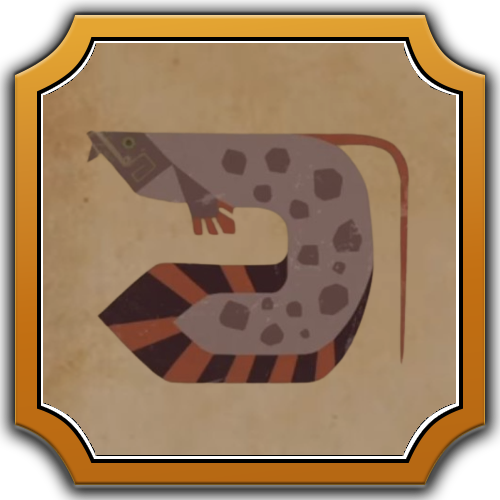
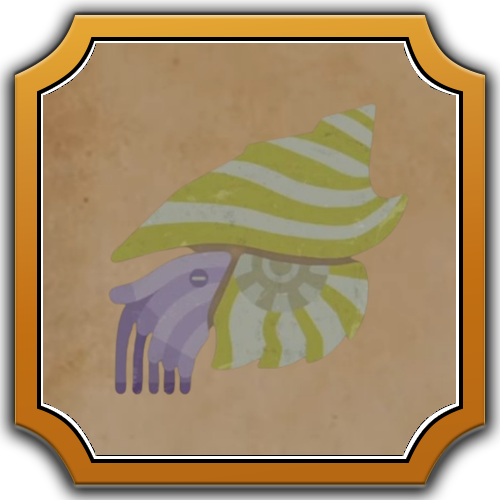
 Goliath Squid Goliath Squid
|
Goliath Squid are rare creatures that can only be hunted at night during the Plenty. They seem to have a strong interest in Tentacle Jig.
Weather:
Time of Day:
|
 Grand Escunite Grand Escunite
|
A larger species of Escunite. These whoppers can spawn at any time of day during any weather. They have a strong interest for Tentacle Jig.
Weather:
Time of Day:
|
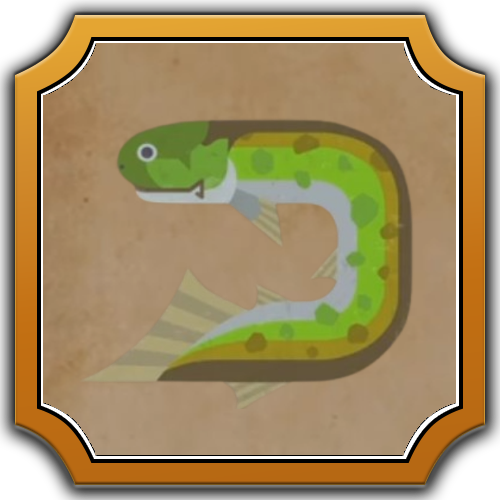
 Gravid Bowfin Gravid Bowfin
|
This fish can be found in numerous places during Plenty near dusk and dawn. It has a preference for Emerald Jitterbait.
Weather:
Time of Day:
|
 Great Trevally Great Trevally
|
A large perch that only comes out in the morning when the weather is Plently. This fish has a strong interest in Tuff Joint Bait.
Weather:
Time of Day:
|
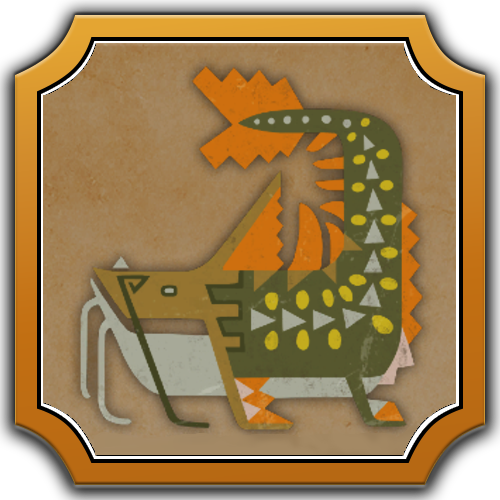
 Gunpowderfish Gunpowderfish
|
These fish have explosive scales useful in bomb-making. They show a strong interest in Emerald Jitterbait.They can be found at any time of day on any weather conditions.
Weather:
Time of Day:
|
 Petricanths Petricanths
|
Petricanths seem to thrive in the ruins of the Forest. They show a strong interest in Duster Rigs. They seem more likely to spawn at night during the Plenty and Inclemency weather.
Weather:
Time of Day:
|
 Platinumfish Platinumfish
|
Fish covered with platinum-colored scales. Like the Goldenfish, they have a strong interest in Golden Bughead bait. They can be found at any time of day on any weather conditions.
Weather:
Time of Day:
|
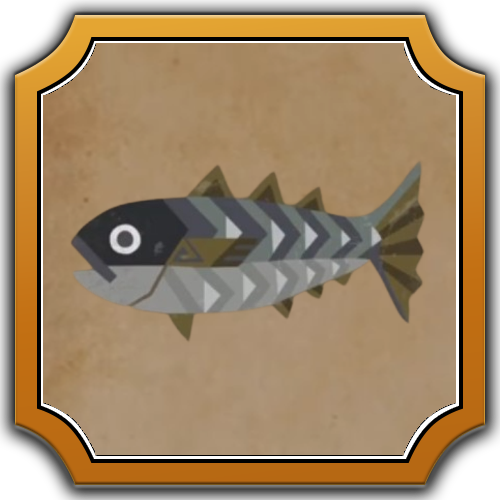
 Speartuna Speartuna
|
Large fish characterized by the long rostra extending from their heads commonly seen during the Fallow. Speartuna show a strong interest in Tuff Joint Bait.
Weather:
Time of Day:
|
 Sushifish Sushifish
|
A popular food source found in many a hunter's pouch. They give Sushifish Scales and have a strong interest in Emerald Jitterbait. They can be found at any time of day on any weather conditions.
Weather:
Time of Day:
|
 Virid Bowfin Virid Bowfin
|
A species endemic to the Eastlands. They are more common in warm areas, and have no particular interest in bait. They can be found at any time of day on any weather conditions.
Weather:
Time of Day:
|
 Whetfish Whetfish
|
Fish covered with scales and fins of considerable durability. They have a particular interest in Emerald Jitterbait and give Whetfish Scales. They can be found at any time of day on any weather conditions.
Weather:
Time of Day:

|


These are all the fish that you can catch in every locale in Monster Hunter Wilds. Make sure to set the weather to Plenty to easily catch them!
Fishing Rewards
Ingredients for Meals
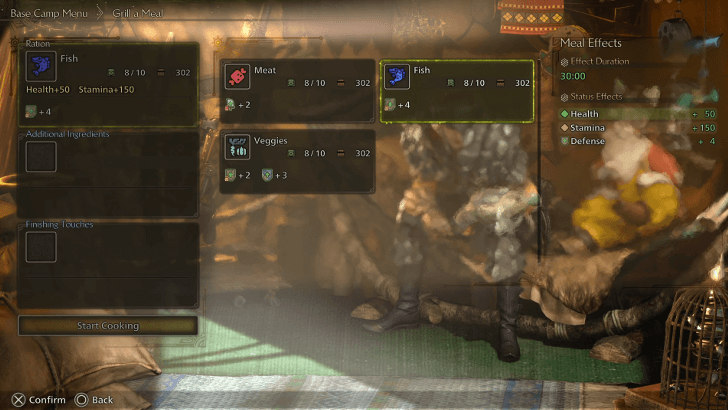
Fishes can be cooked in tents or camps and the Portable BBQ Grill. Meals can give you numerous buffs such as increased HP and Stamina, additional passive abilities, and many others. Catch as many as you can so that you'll never run out of rations!
Valuable Materials
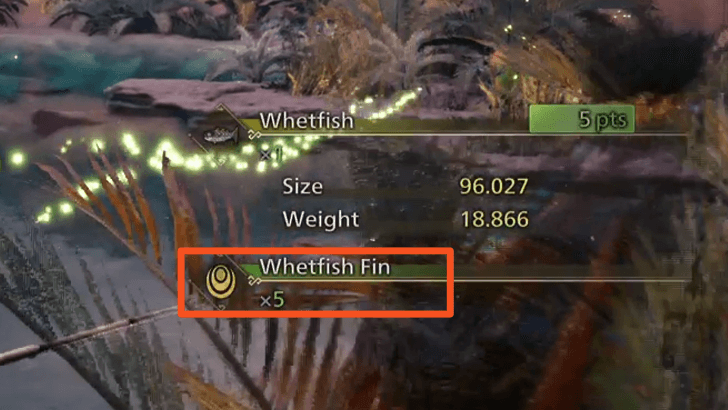
Some fishes can give you materials such as scales, which may be used for crafting. The bigger the fish, the more of these materials you will be able to gather, so aim for the largest ones!
Do take note that larger fishes mean larger struggles when it comes to reeling them in!
Grants Guild Points
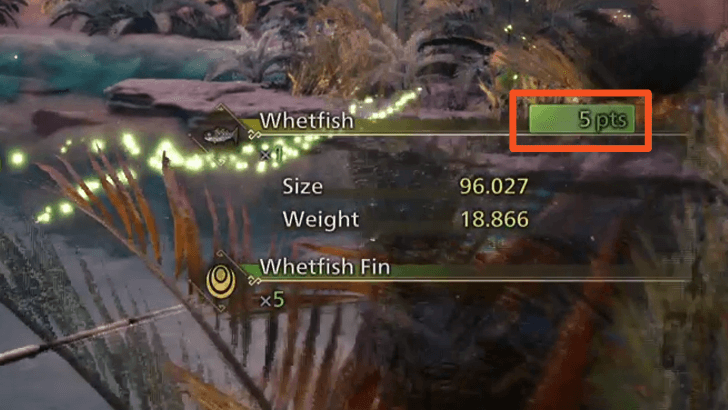
Fishing can grant you a certain amount of Guild Points, which you can spend on numerous things such as building pop-up camps. If you're running a little short on Guild Points, try catching some fish!
At the very least, fishing can grant Hunters 5 Guild Points, but this may change depending on how big and rare your catch is.
Get Fishing Trophies and Achievements
| Trophy | Objective |
|---|---|
 Monster (Squid) Hunter Monster (Squid) Hunter
|
Trophy: Caught a giant squid while fishing. |
 Angling for a Bite Angling for a Bite
|
Trophy: Successfully fished for the first time. |
 A-fish-ionado A-fish-ionado
|
Trophy: Reeled in 30 whoppers while fishing. |
There are some achievements that you can get while fishing. These aren't particularly hard to get and can be achieved even with some casual fishing!
Whopper List
|
Speartuna
|
Great Trevally
|
Gajau
|
|
Goliath Squid
|
Gastronome Tuna
|
Whoppers are more challenging fish to reel in. Capturing a whopper requires tiring out the fish before reeling them in. With some practice, you'll have it down in no time.
All Trophies and Achievements Guide
Monster Hunter Wilds Related Guides
All Tips and Tricks Guides
Comment
Author

Premium Articles

Rankings
Gaming News


![Monster Hunter Stories 3 Review [First Impressions] | Simply Rejuvenating](https://img.game8.co/4438641/2a31b7702bd70e78ec8efd24661dacda.jpeg/thumb)
Popular Games

Genshin Impact Walkthrough & Guides Wiki
Honkai: Star Rail Walkthrough & Guides Wiki
Umamusume: Pretty Derby Walkthrough & Guides Wiki
Pokemon Pokopia Walkthrough & Guides Wiki
Resident Evil Requiem (RE9) Walkthrough & Guides Wiki
Monster Hunter Wilds Walkthrough & Guides Wiki
Wuthering Waves Walkthrough & Guides Wiki
Arknights: Endfield Walkthrough & Guides Wiki
Pokemon FireRed and LeafGreen (FRLG) Walkthrough & Guides Wiki
Pokemon TCG Pocket (PTCGP) Strategies & Guides Wiki


Recommended Games
Diablo 4: Vessel of Hatred Walkthrough & Guides Wiki
Cyberpunk 2077: Ultimate Edition Walkthrough & Guides Wiki
Fire Emblem Heroes (FEH) Walkthrough & Guides Wiki
Yu-Gi-Oh! Master Duel Walkthrough & Guides Wiki
Super Smash Bros. Ultimate Walkthrough & Guides Wiki
Pokemon Brilliant Diamond and Shining Pearl (BDSP) Walkthrough & Guides Wiki
Elden Ring Shadow of the Erdtree Walkthrough & Guides Wiki
Monster Hunter World Walkthrough & Guides Wiki
The Legend of Zelda: Tears of the Kingdom Walkthrough & Guides Wiki
Persona 3 Reload Walkthrough & Guides Wiki


All rights reserved
©CAPCOM
The copyrights of videos of games used in our content and other intellectual property rights belong to the provider of the game.
The contents we provide on this site were created personally by members of the Game8 editorial department.
We refuse the right to reuse or repost content taken without our permission such as data or images to other sites.