Back to Camp Mission Walkthrough
★ Arkveld Gamma Armor | MH Stories 3 Collab
☆ Version 1.041: Sororal α Armor | Shatterseal
★ How to Unlock Proof of a Hero Quest
☆ Omega Planetes | Savage Omega | Builds vs Omega
★ Armor Set Search updated for Ver 1.041
☆ HR50+ Builds | Tier List | Weapon Guides
A walkthrough for Back To Camp in Monster Hunter Wilds. Read on for a detailed guide of Back To Camp, including mission rewards, and bosses, as well as useful tips for the quest, and completing this mission!
| ◄ Previous Mission | Next Mission ▶ |
|---|---|
| Desert Trotters | The Beginning |
List of Contents
Back To Camp Walkthrough
| Main Objectives | |
|---|---|
| 1 | Talk to Your Guildmates ┣ Talk to Nata ┗ Head to the Training Area |
| 2 | Enter the Tent ┗ Choosing the Best Weapon |
Talk to Your Guildmates
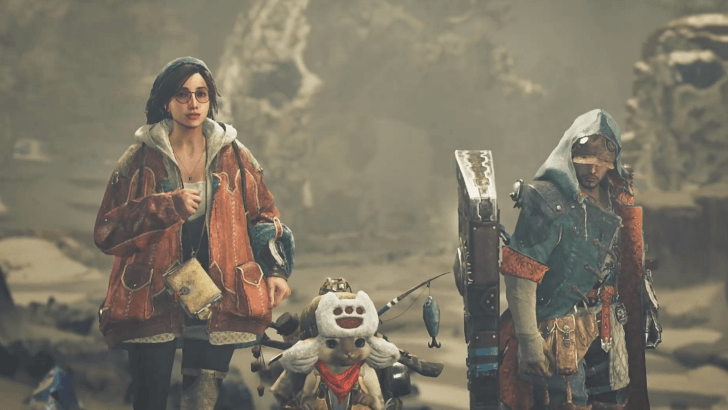
| 1 | 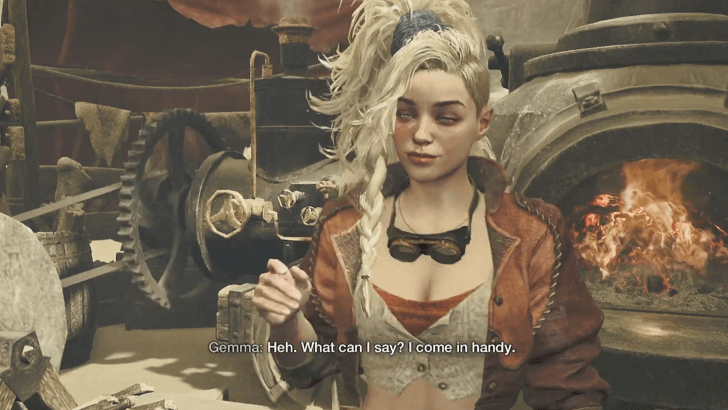 Gemma has set up the smithy and is now available for use. Armor can now be crafted, and Gemma will provide some materials for the hunter to use. ┗ Talk to Nata |
|---|---|
| 2 |  Talk to Olivia and she will tell you about her role in the expedition. Completing her dialog will allow you to enter the Training Area if you wish to test other weapons. ┗ Head to the Training Area |
| 3 | 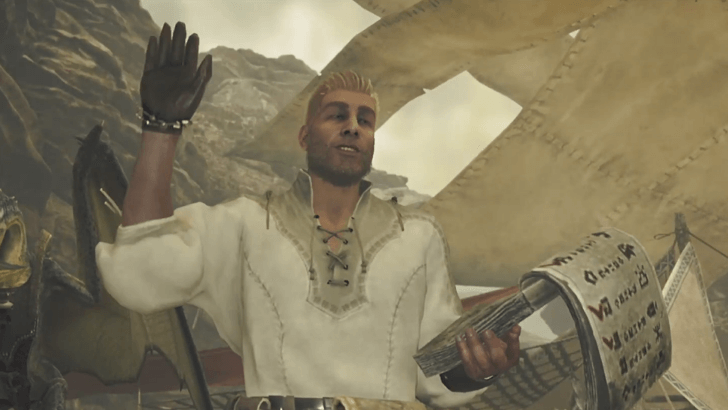 Talk to Jack and he'll tell you that they're still in the process of setting up provisions, so head to the next objective after he's finished talking. |
Talk to Nata
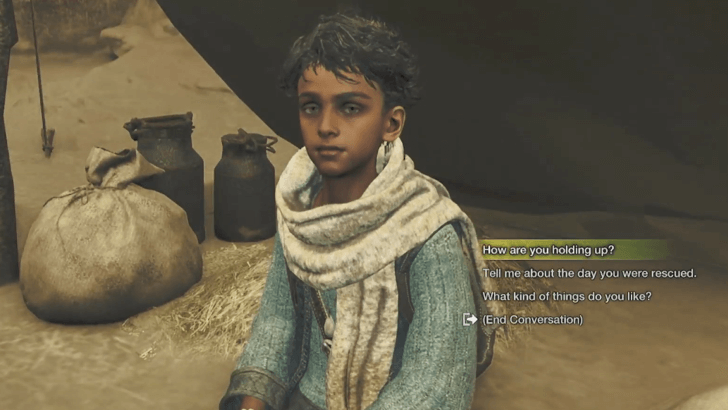
Hunters can talk to Nata if they wish, and he will have several dialog options to choose from if they want to learn more about him and see how he is doing.
Head to the Training Area
While completely optional, going to the training area can be useful for both new and returning hunters, as it provides a way for hunters to familiarize themselves with their weapon.
Feel free to skip this optional quest if you don't feel it's necessary.
Training Area Location and Features
Enter the Tent
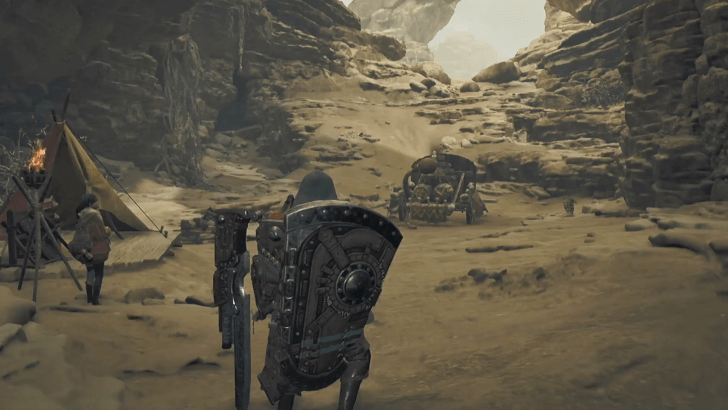
| 1 | 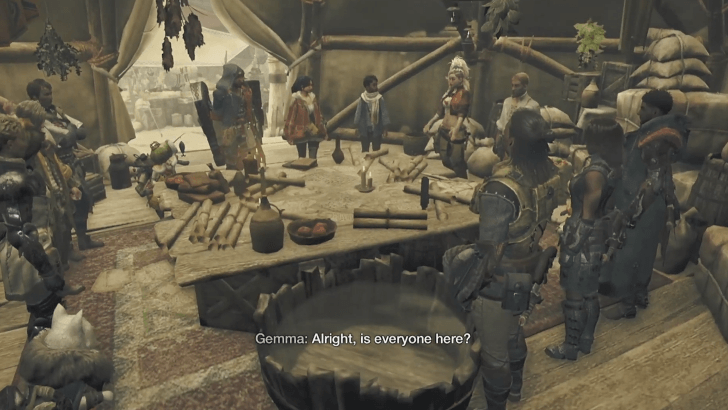 Head to the Expedition Command Tent, where the Expedition Team will meet to discuss how to proceed. |
|---|---|
| 5 |  Next, head to your tent. Entering the tent gives you access to the base camp menu, where you can stock up on items and equip the weapons you want in preparation for the next quest step. ┗ Choosing the Best Weapon |
Choosing the Best Weapon
In Monster Hunter Wilds, there are a total of 14 weapons to choose from, each with its own strengths and weaknesses. The training area is a great way to try out each new weapon, and hunters can make an informed decision once they have tried out all the weapons available.
Back to Camp Mission Rewards
Mission Rewards
This mission offers no rewards upon completion.
How to Unlock Back To Camp
Defeat the Chatacabra in Desert Trotters
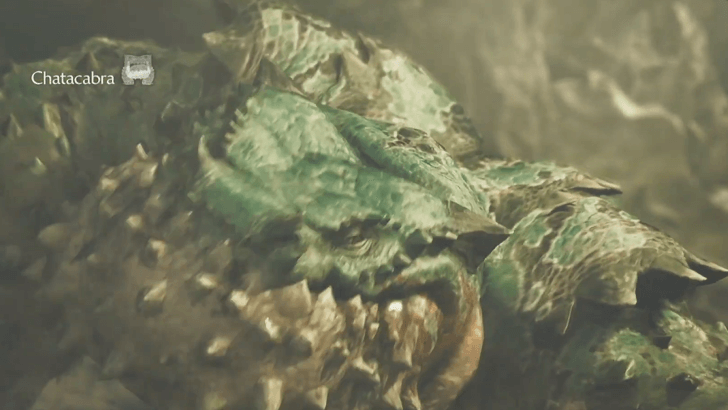
This quest is unlocked after returning to the base camp from the Chatacabra Hunt in the Desert Trotters quest.
Desert Trotters Mission Walkthrough
Monster Hunter Wilds Related Guides
Walkthrough and List of Main Story Chapters
List of All Chapters
List of Side Missions
Comment
Author

Back to Camp Mission Walkthrough
Premium Articles

Rankings
Gaming News


![Monster Hunter Stories 3 Review [First Impressions] | Simply Rejuvenating](https://img.game8.co/4438641/2a31b7702bd70e78ec8efd24661dacda.jpeg/thumb)
Popular Games

Genshin Impact Walkthrough & Guides Wiki
Honkai: Star Rail Walkthrough & Guides Wiki
Umamusume: Pretty Derby Walkthrough & Guides Wiki
Pokemon Pokopia Walkthrough & Guides Wiki
Resident Evil Requiem (RE9) Walkthrough & Guides Wiki
Monster Hunter Wilds Walkthrough & Guides Wiki
Wuthering Waves Walkthrough & Guides Wiki
Arknights: Endfield Walkthrough & Guides Wiki
Pokemon FireRed and LeafGreen (FRLG) Walkthrough & Guides Wiki
Pokemon TCG Pocket (PTCGP) Strategies & Guides Wiki


Recommended Games
Diablo 4: Vessel of Hatred Walkthrough & Guides Wiki
Cyberpunk 2077: Ultimate Edition Walkthrough & Guides Wiki
Fire Emblem Heroes (FEH) Walkthrough & Guides Wiki
Yu-Gi-Oh! Master Duel Walkthrough & Guides Wiki
Super Smash Bros. Ultimate Walkthrough & Guides Wiki
Pokemon Brilliant Diamond and Shining Pearl (BDSP) Walkthrough & Guides Wiki
Elden Ring Shadow of the Erdtree Walkthrough & Guides Wiki
Monster Hunter World Walkthrough & Guides Wiki
The Legend of Zelda: Tears of the Kingdom Walkthrough & Guides Wiki
Persona 3 Reload Walkthrough & Guides Wiki


All rights reserved
©CAPCOM
The copyrights of videos of games used in our content and other intellectual property rights belong to the provider of the game.
The contents we provide on this site were created personally by members of the Game8 editorial department.
We refuse the right to reuse or repost content taken without our permission such as data or images to other sites.