Doshaguma of the Hollow Quest and Rewards
★ Arkveld Gamma Armor | MH Stories 3 Collab
☆ Version 1.041: Sororal α Armor | Shatterseal
★ How to Unlock Proof of a Hero Quest
☆ Omega Planetes | Savage Omega | Builds vs Omega
★ Armor Set Search updated for Ver 1.041
☆ HR50+ Builds | Tier List | Weapon Guides
This is a complete guide on the Doshaguma of the Hollow Challenge Quest for Monster Hunter: Wilds. Read on to see the full guide on how to beat Doshaguma in the Arena, how to get A Rank, armor and weapon loadouts, and so much more!
How to Get A Rank
| Tips to Get A Rank |
|---|
|
|
Use the Heavy Bowgun as Primary
| Best Weapon Set for Solo |
|---|
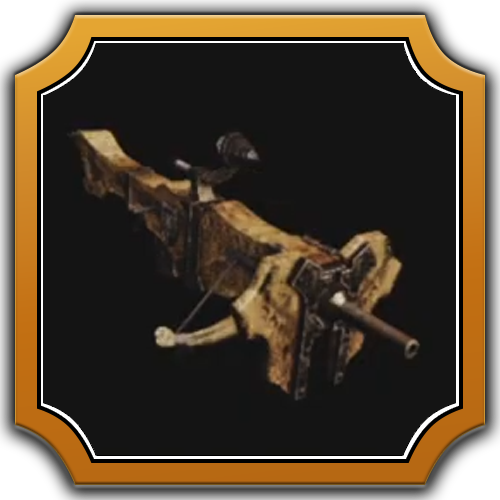 Bone Shooter III Bone Shooter III
▼Set A: Heavy Bowgun▼ |
If you're aiming for an easy A Rank against the Doshaguma, we recommend using the Heavy Bowgun. This weapon allows you to safely maintain distance while dishing out high damage using Flaming Ammo and Special Ammo in Ignition Mode, making it especially effective against Doshaguma’s mostly short-range attacks.
Apply Damage Buffs With Demon Ammo
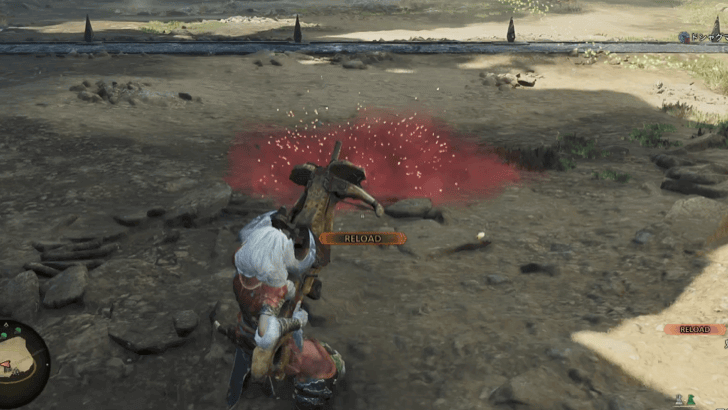
Before the fight officially begins, shoot Demon Ammo into the the ground, and pass through the powder that disperses to get an Attack Power buff. This will give you enough of an Attack Power boost that lasts for 3 minutes which will be crucial during the early phases of the battle.
Build Up Ignition Mode
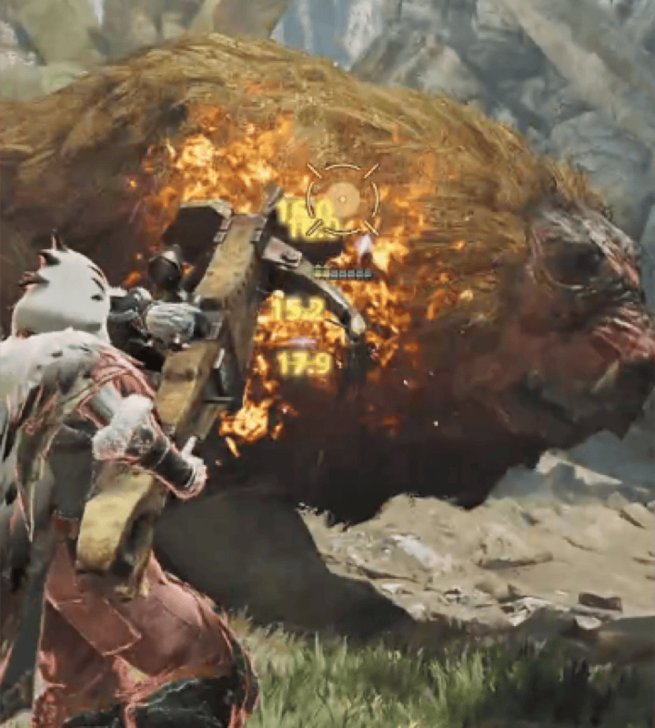 Flaming Ammo Flaming Ammo |
▶︎ |  Wyverheart Ignition Wyverheart Ignition |
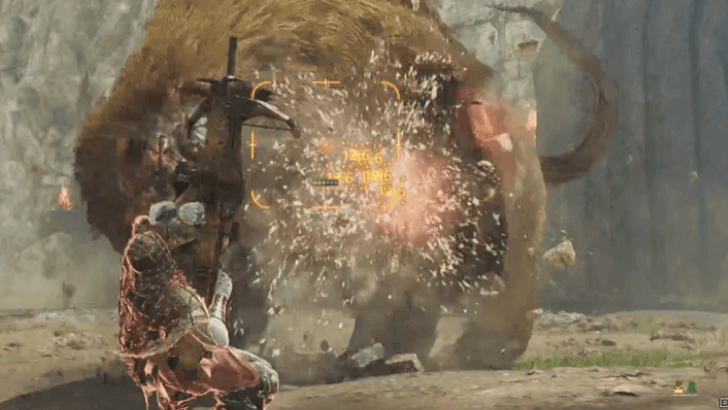
The best strategy is to start with Flaming Ammo to charge your Ignition Gauge. Once it's filled, switch to Ignition Mode and unleash Wyvernheart Ignition aimed at its head and forelegs to continuously apply pressure where it's most vulnerable.
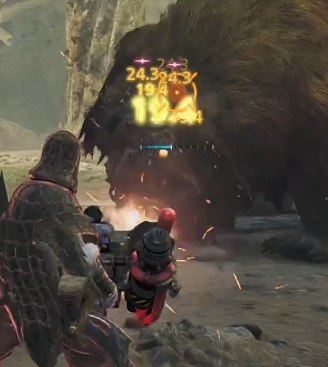
Use Spread Ammo in the Second Half
During the latter half of the battle, once your Fire Ammo is depleted, switch to Spread Ammo to keep up the pressure. Since Spread shots are short-ranged and come with significant recoil, avoid firing them in rapid succession.
Instead, position yourself strategically to maintain mobility and ensure you can still guard against incoming attacks when necessary.
Use Evasion Mantle During the Early Stages
The Set A preset includes an Evasion Mantle, which can be used during the early stages of the fight to boost your offensive potential. When activated, it allows you to perform a Perfect Dodge.
If timed correctly, this grants a 1.2x increase to Attack Power for 10 seconds, giving you a strong edge in combat.
Focus Strike During Ground Break Attack
When Doshaguma rears up on its hind legs and slowly advances toward the Hunter, it's a clear sign that it's about to unleash a Ground Break Attack.
During this motion, a wound will appear around its belly allowing you to land a Focus Strike. Hitting this vulnerable point can knock the Monster down, giving you a valuable opening to capitalize on.
How to Use Focus Mode and Focus Strike
Exploit Wounds When Enraged
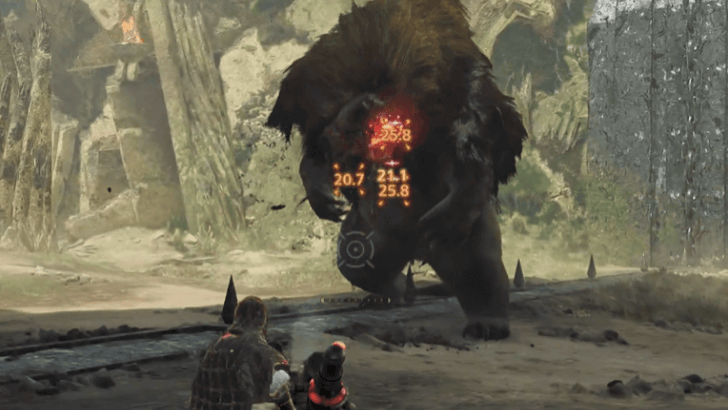
Exploiting wounds with Focus Strikes is especially effective when Doshaguma becomes enraged, as it can cause the Monster to flinch and interrupt its relentless assault.
How to Unlock Doshaguma of the Hollow Challenge Quest
Limited Challenge Quest
| Quest Availability |
|---|
| Event ended |
The Doshaguma of the Hollow quest is a limited time Challenge Quest that only ran from April 3 ET to April 17, 8PM ET. Playing through the quest and setting a time record will reward you with an exclusive pendant after the results are tallied.
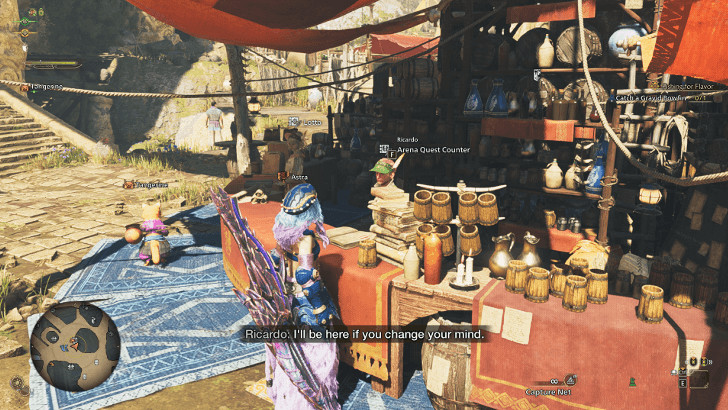
The quest could be started from the Arena Quest Counter found in the Grand Hub.
Previous Event Runs
| Previous Event Dates |
|---|
| 4/3~4/17 |
Event Quests Schedule and Rewards
Unlock the Grand Hub at HR 16
Doshaguma of the Hollow and other Challenge Quests was available once the Grand Hub has been unlocked. Players must reach HR16 and speak to Tetsuzan in Suja to unlock the Grand Hub, which will unlock the Arena Quest Counter along with Arena Quests and Challenge Quests.
Hunter Rank Farm Guide and Unlocks
Doshaguma of the Hollow Challenge Quest Overview
Basic Information
| Monsters | |||
|---|---|---|---|
| Time | 50 mins. | Type | Slaying |
| Client | Ricardo | Reward Money | 15840 |
| Difficulty | H★5 | Region | Wounded Hollow |
| Objective | Slay the Doshaguma | ||
| Conditions | ・HR 16 or higher | ||
| Failure |
・Time expires ・Faint 9 times |
||
| Support Hunter | ・Olivia/Hammer | ||
| Available Weapons | |||
| Set A | |||
| Set B | |||
| Set C | |||
Active Monsters
 Doshaguma Doshaguma
|
Rank Clear Times
| A Rank | 05'00''00 |
|---|---|
| B Rank | 10'00''00 |
| C Rank | 50'00''00 |
Doshaguma of the Hollow Challenge Quest Equipment
| Weapons and Armor | ||
|---|---|---|
| Set A: Great Sword Heavy Bowgun |
Set B: Insect Glaive Bow |
Set C: Lance Hunting Horn |
Set A: Great Sword/Heavy Bowgun
| Weapons | |
|---|---|
 Quematrice Espada III Quematrice Espada III
Great Sword |
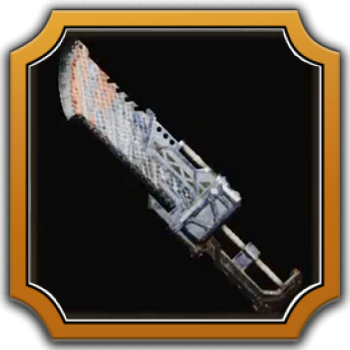
Bone Shooter III
Heavy Bowgun |
| Armor | Items |
|
・
Potion
x10
・
Mega Potion
x10
・
Ration
x10
・
Max Potion
x10
・
Whetfish Fin+
x10 |
|
| Talisman | Mantle |
| Decorations | Bowgun Ammo |
|
・
Steadfast Jewel【1】
x3
|
・
Normal Ammo
∞
・
Pierce Ammo
∞
・
Spread Ammo
∞
・
Cluster Bomb
x3
・
Flaming Ammo
x60
・
Demon Ammo
x3 |
Set B: Insect Glaive/Bow
| Weapons | |
|---|---|
 Princess Regalia I Princess Regalia I
Insect Glaive |
 Hope Bow IV Hope Bow IV
Bow |
| Armor | Items |
|
・
Potion
x10
・
Mega Potion
x10
・
Ration
x10
・
Max Potion
x2
・
Shock Trap
x1 |
|
| Talisman | Mantle |
| Decorations | |
Set C: Lance/Hunting Horn
| Weapons | |
|---|---|
 Nu Osminog I Nu Osminog I
Lance |
 Poisoned Capri I Poisoned Capri I
Hunting Horn |
| Armor | Items |
|
・
Potion
x10
・
Mega Potion
x10
・
Ration
x10
・
Max Potion
x2
・
Might Seed
x10
・
Adamant Seed
x10 |
|
| Talisman | Mantle |
| Decorations | |
|
・
Friendship Jewel【1】
x2
|
|
Doshaguma of the Hollow Challenge Quest Monsters
Doshaguma Details
Monster Weakness
| Doshaguma
|
||||||||||||||
|
|
|
|
||||||||||||
|
|
|
|
|
|
||||||||||
Doshaguma of the Hollow Challenge Quest Rewards
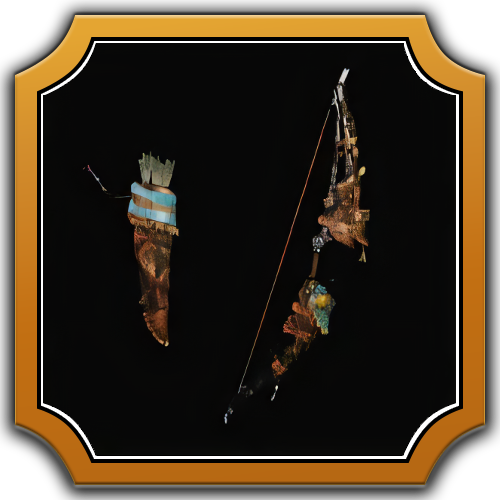
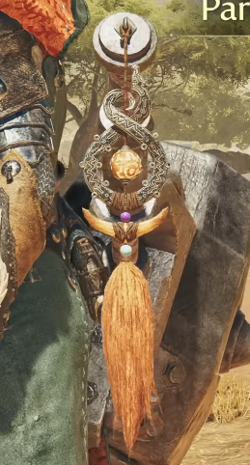
Exclusive Decorative Pendants
You can get an exclusive Pendant from participating in this quest while it is live. You can then attach this Pendant on your weapon or Seikret.
As of April 25, 2025, the Pendants can now be claimed at the Support Desk until July 23, 5PM PDT. The Pendants received depends on the player's participation and ranking. For this reason, players that achieved an A Rank reward can get all three pendants.
| Pendant | Condition |
|---|---|
 |
Participation (Any time and ranking) |
 |
Participation (Any time and ranking) |
 |
Rank A Time (5'00" or faster) |
Quest Rewards
| Rewards |
|---|
List of All Items and Materials
Monster Hunter Wilds Related Guides
Quest Guides by Type
 Assignment Quests Assignment Quests |
 Optional Quests Optional Quests |
 Event Quests Event Quests |
 Field Survey History Field Survey History |
 Investigation Quests Investigation Quests |
 Arena Quests Arena Quests |
 Challenge Quests Challenge Quests |
 Free Challenge Quests Free Challenge Quests |
List of Challenge Quests
|
|
|
|
| Event: Mark of a True King |
Event Quest Schedule
Comment
The quest says Rank A is required for the Bravery Reward, yet your guide is posting that it is available to anyone as long as they participate.
Author

Doshaguma of the Hollow Quest and Rewards
Premium Articles

Rankings
Gaming News

![Monster Hunter Stories 3 Review [First Impressions] | Simply Rejuvenating](https://img.game8.co/4438641/2a31b7702bd70e78ec8efd24661dacda.jpeg/show)


![Monster Hunter Stories 3 Review [First Impressions] | Simply Rejuvenating](https://img.game8.co/4438641/2a31b7702bd70e78ec8efd24661dacda.jpeg/thumb)
Popular Games

Genshin Impact Walkthrough & Guides Wiki
Honkai: Star Rail Walkthrough & Guides Wiki
Umamusume: Pretty Derby Walkthrough & Guides Wiki
Pokemon Pokopia Walkthrough & Guides Wiki
Resident Evil Requiem (RE9) Walkthrough & Guides Wiki
Monster Hunter Wilds Walkthrough & Guides Wiki
Wuthering Waves Walkthrough & Guides Wiki
Arknights: Endfield Walkthrough & Guides Wiki
Pokemon FireRed and LeafGreen (FRLG) Walkthrough & Guides Wiki
Pokemon TCG Pocket (PTCGP) Strategies & Guides Wiki


Recommended Games
Diablo 4: Vessel of Hatred Walkthrough & Guides Wiki
Cyberpunk 2077: Ultimate Edition Walkthrough & Guides Wiki
Fire Emblem Heroes (FEH) Walkthrough & Guides Wiki
Yu-Gi-Oh! Master Duel Walkthrough & Guides Wiki
Super Smash Bros. Ultimate Walkthrough & Guides Wiki
Pokemon Brilliant Diamond and Shining Pearl (BDSP) Walkthrough & Guides Wiki
Elden Ring Shadow of the Erdtree Walkthrough & Guides Wiki
Monster Hunter World Walkthrough & Guides Wiki
The Legend of Zelda: Tears of the Kingdom Walkthrough & Guides Wiki
Persona 3 Reload Walkthrough & Guides Wiki


All rights reserved
©CAPCOM
The copyrights of videos of games used in our content and other intellectual property rights belong to the provider of the game.
The contents we provide on this site were created personally by members of the Game8 editorial department.
We refuse the right to reuse or repost content taken without our permission such as data or images to other sites.
Hi! The pendant rewards for this quest were changed last April 15, as detailed on Twitter/X. The Mark of Bravery is now a participation reward, and all hunters who have attained an A rank can now get the Mark of Mastery. We hope this clears it up! https://x.com/monsterhunter/status/1912105873326882924