Ajarakan Weakness and Drops
★ Arkveld Gamma Armor | MH Stories 3 Collab
☆ Version 1.041: Sororal α Armor | Shatterseal
★ How to Unlock Proof of a Hero Quest
☆ Omega Planetes | Savage Omega | Builds vs Omega
★ Armor Set Search updated for Ver 1.041
☆ HR50+ Builds | Tier List | Weapon Guides
Ajarakan is a Fanged Beast in Monster Hunter Wilds. Learn how to beat Ajarakan, its weaknesses, drops, locations, attack patterns and more!
| All Related Ajarakan Articles | ||
|---|---|---|
 Ajarakan Ajarakan
|
 Weapons Weapons
|
 Armor Sets Armor Sets
|
List of Contents
Ajarakan Weakness
Basic Information
 |
||
| Type | Roar | Wind Pressure |
|---|---|---|
| Fanged Beast | Weak | None |
| Tremor | Status Effect | Element |
| Minor | Fireblight, Blastblight | Fire |
| Gold Crown Sizes | ||
|
|
||
Note: Gold Crown Sizes have ranges and may vary between hunters.
Damage Type Weakness
Hitzone Values and Weakness Breakdown
※ Click the tabs to switch between Damage Type and Elemental Damage Hitzone effectiveness.
| Part | |||
|---|---|---|---|
| Head | |||
| Left Foreleg | |||
| Right Foreleg | |||
| Belly | |||
| Back | |||
| Left Hind Leg | |||
| Right Hind Leg | |||
| Tail | |||
| Tail Tip | |||
| Overall |
| Part | |||||
|---|---|---|---|---|---|
| Head | |||||
| Left Foreleg | |||||
| Right Foreleg | |||||
| Belly | |||||
| Back | |||||
| Left Hind Leg | |||||
| Right Hind Leg | |||||
| Tail | |||||
| Tail Tip | |||||
| Overall |
The numbers shown above showcase the effectiveness of damage types against the monster's hitzones. Parts with higher numbers mean the damage type is more effective, with 1 being the lowest and 20 as the highest.
Hitzone DPS Summary
| Sever | Charge Blade Charge Blade is a transforming weapon that stores energy in Sword Mode and delivers an elemental slash in Axe Mode. Dual Blades The Dual Blades that excels at rapid successive attacks and lets you transform into a demon to enhance your attack power. Great Sword The Great Sword uses slow but powerful swings to attack. Gunlance The Gunlance is a weapon that offensive and defensive weapon that uses artillery fire as its main attack. Insect Glaive The Insect Glaive is a weapon that specializes in aerial combat and strengthens itself using monster extracts from hunting insects. Lance The Lance is a weapon that boasts extremely high defensive performance. It can be used to charge and guard against enemy attacks. Long Sword The Long Sword uses quick continuous attacks and allows you to perform a parry slash when avoiding a monster's attack. Switch Axe Switch Axe is a transforming weapon that switches between Axe Mode and Sword Mode. Axe Mode allows you to perform all kinds of attacks while Sword Mode lets you perform high speed attacks. Sword and Shield The Sword and Shield is a versatile weapon with balanced attack and defense. |
|---|---|
| | |
| Blunt | Hammer The Hammer is a weapon that delivers powerful ranged attacks and is especially good at aiming at a monster's head to stun it. Hunting Horn The Hunting Horn is a support weapon that plays a melody that strengthens allies. It is best used in multiplayer. Sword and Shield The Sword and Shield is a versatile weapon with balanced attack and defense. |
|---|---|
| | |
| Shot | Bow The Bow is a weapon that can be used from a distance with a large number of shots and can be used to deal more damage using charged shots or special arrows. Heavy Bowgun Heavy Bowguns can aim for great damage by releasing powerful bullets, and can be equipped with shields for added defense. Light Bowgun The Light Bowgun is long-range weapon with excellent mobility and a variety of agendas using status inflicting ammunition and support ammunition! |
|---|---|
| | |
| Water is the best element to use against Ajarakan. Try to aim for its Tail to deal the most amount of Water damage. |
Kinsect Extract From Parts
| Head | Left Foreleg | ||
|---|---|---|---|
| Right Foreleg | Belly | ||
| Back | Left Hind Leg | ||
| Right Hind Leg | Tail | ||
| Tail Tip | - | - |
Best Kinsects and All Kinsect Trees
Status Ailment and Item Weakness
| Status Ailment | Items | ||
|---|---|---|---|
| |
|
||
| |
|
||
| |
|
||
| |
|
||
| |
|
||
| |
|
||
Breakable Parts
| Breakable |
・Back ・Arm ・Tail |
|---|
Ajarakan Locations and Quests
Type and Known Habitats
| Region | Starting Area | Visited Areas | Resting Area |
|---|---|---|---|
 Oilwell Basin Oilwell Basin |

|

|
|
 Ruins of Wyveria Ruins of Wyveria |

|

|
|
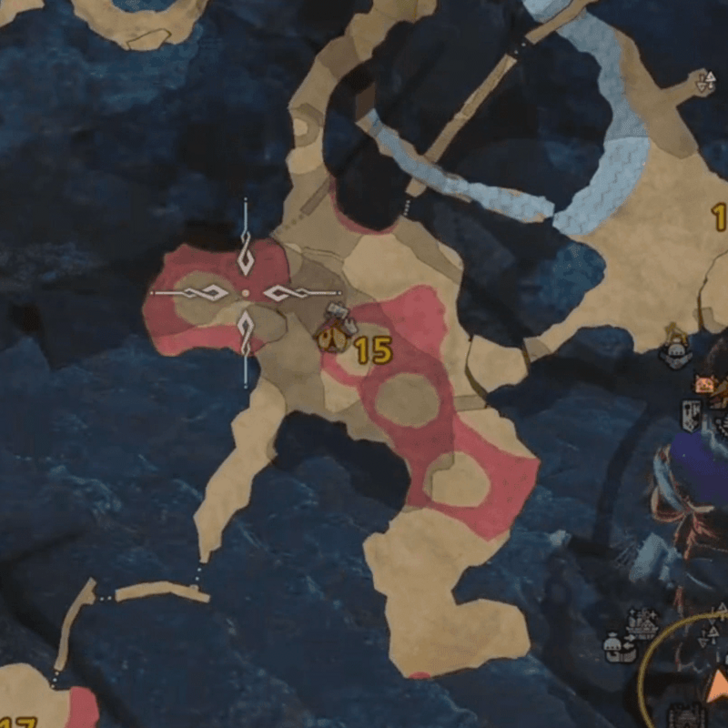
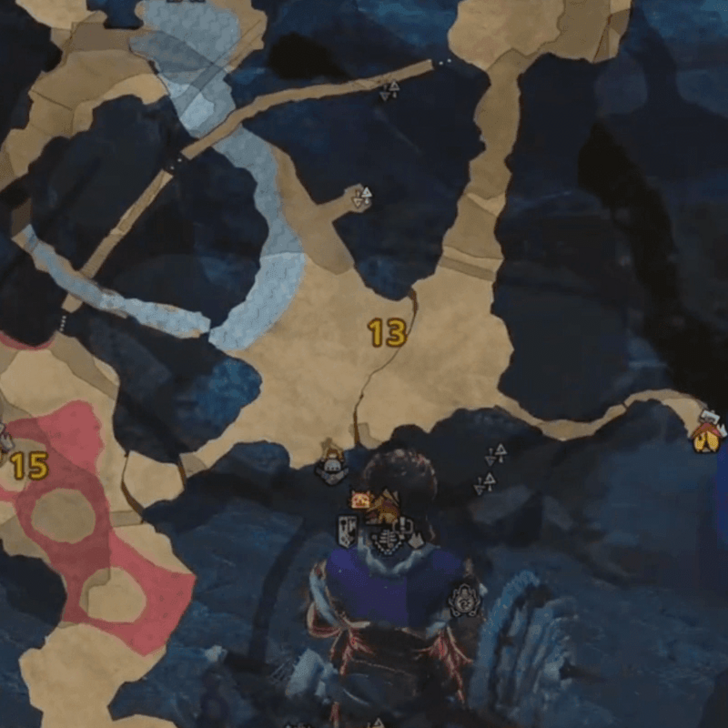
Ajarakan can also appear in the Wounded Hollow. When hunting for Gold Crowns, that locale is a good place to scout and reroll for monster sizes.
Interactive Map and List of Locations
Quest Appearances
| Quest Type | Lvl. | Quest Name |
|---|---|---|
| Assignment Quest | 2★ | Ajarakan Ablaze |
| Optional Quest | 1★ | Scorching Simian |
| Optional Quest | 5★ | Annihilating Anguish |
| Optional Quest | 5★ | As Gatekeeper |
| Optional Quest | 6★ | Troublemakers |
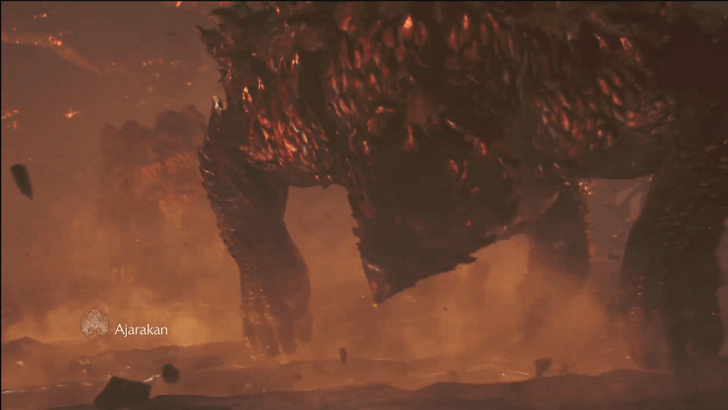
Ajarakan is Available In Oilwell Basin
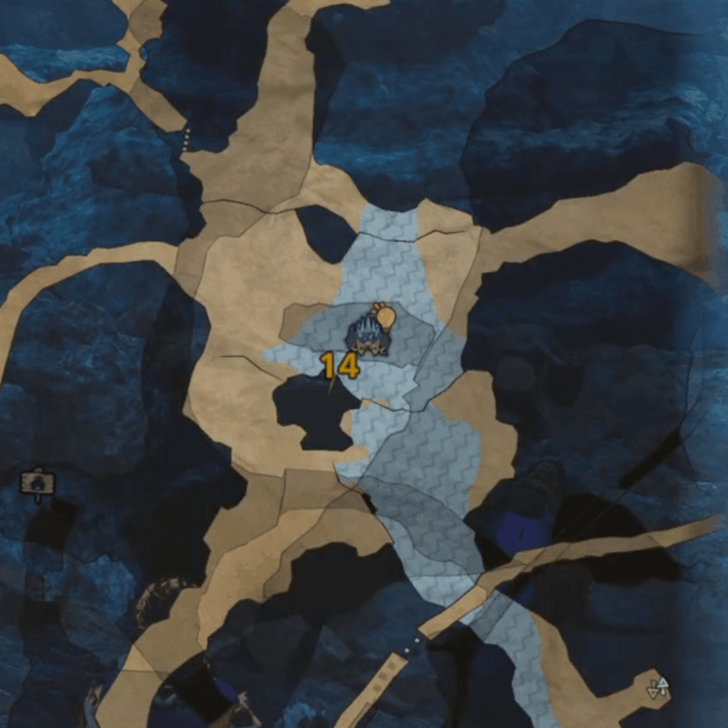
After completing the Long-Forgotten Flame quest, Ajarakan will be available and can be found roaming around Oilwell Basin.
Ajarakan Item Loadout
Recommend Items to Bring
|
|
|
|
|
|
|
|
|
|
|
The Ajarakan inflicts ailments such as Fireblight and Blastblight. It is recommended to bring items such as Nulberry and Deodorant to combat these ailments respectively. You can also use Pitfall Traps, Shock Traps, and Flash Pods to gain an offensive advantage during the hunt.
List of All Items and Materials
How to Beat Ajarakan
| Ajarakan Monster Fight Tips |
|---|
|
|
Cancel Ajarakan's Ignite by Dealing Enough Damage
Ajarakan's ignited state can be cancelled early by dealing enough damage to it. Cancelling its ignited state will knock it down. Note that its attacks become faster and stronger in this state so proceed with caution while going on the offensive.
Ajarakan's Arms Become a Weak Point After Its Lava Charge
After using its Lava Charge attack, Ajarakan's arms become a weak point. Deal a flurry of attacks or use your Focus Strike to make it flinch or knock it down.
How to Use Focus Mode and Focus Strike
Run Away as Soon as Ajarakan Performs Its Rolling Eruption
Ajarakan's Rolling Eruption attack move deals massive AoE damage. Avoid this by simply running away from the monster once it starts spinning. After it performs the move, go on the offensive as it takes its time removing itself from the ground.
Bring Nulberry and Deodorant to Counter Ailments
Most of Ajarakan's attacks are fire based especially when it gets ignited. Bring a Nulberry and Deodorant to remove the Fireblight and Blastblight ailment respectively when it is inflicted.
Use the Ancient Forge to Deal Massive Damage
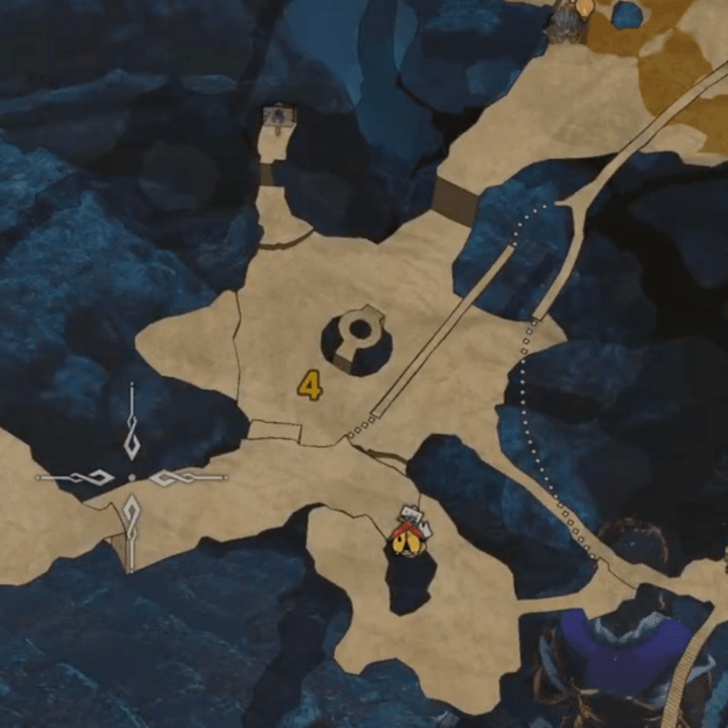
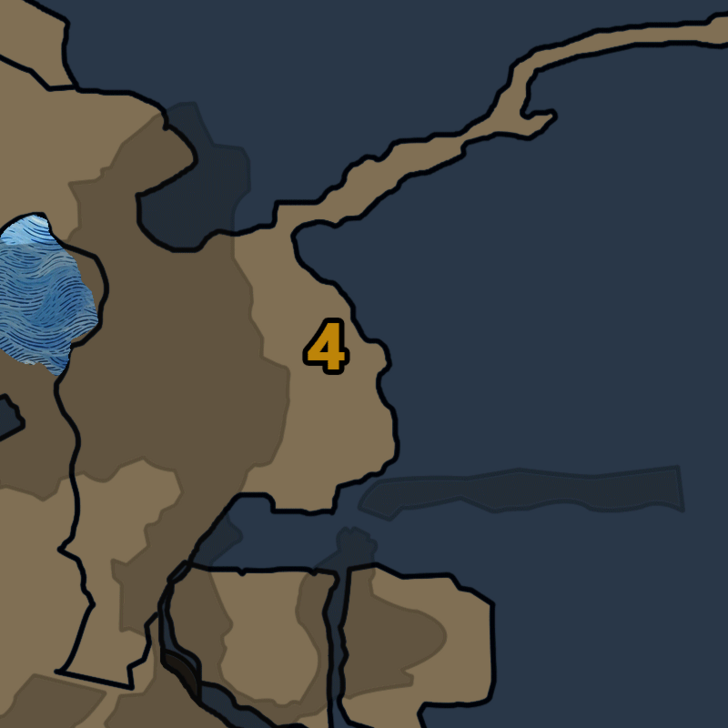
You can use Luring Pods to bring Ajarakan to Area 4 of Oilwell Basin where you can utilize The Ancient Forge to your advantage. Wait for Ajarakan to stand on the side of the forge before using your Slinger to activate it and deal massive damage to the monster.
Use Chillmantle to Counteract Heat
Interact with Chillmantle Bugs throughout the fight to counteract the heat and avoid getting your health depleted overtime during the fight.
Ajarakan is an aggressive monster that can hit hard fast so keeping your health up is important to avoid getting carted when you accidentally get caught in its combos.
Chillmantle Bug Location and How to Catch
Ajarakan Attack Patterns
Moveset and Openings
| Move | Explanation |
|---|---|
| Ground Punches | Ajarakan deliver two consecutive punches using each of its fist. You can either block or dodge both attacks by timing the movement of its arms. |
| Ground Pound | Ajarakan will raise both arms and slam them down to the ground, dealing damage to any nearby hunters. While ignited, the slam will produce lave from the ground. This can be countered with a Perfect Block to start a Power Clash. |
| Monkey Bars | Ajarakan will jump and hang from the ceiling. They can move around while hanging, and will likely be able to jump off and attack nearby hunters. Keep your eyes on the hanging Ajarakan before blocking its attack. You can also choose to dodge to the side to avoid the attack. |
| Rock Throw | Ajarakan will throw an explosive rock at you, dealing damage from afar. Block this attack, or dodge to the side to avoid it. |
| Shoulder Sparks/Magma | The Ajarakan will drive its shoulder to the ground, charging forward and releasing fiery sparks in front of it. While ignited, it will release magma instead of sparks. Dodge or go behind the Ajakaran to evade damage. |
| Lava Charge | While ignited, the Ajarakaran will slap its back with its tail two times before emitting fire and charge up to release a lava attack to its front. Run towards the Ajarakan's side and go on the offensive while dodging the damage of this move. You can also go behind or distance yourself from the Ajarakan to avoid this attack. |
| Rolling Eruption | In its ignited form, the Ajakaran will punch the ground and rapidly spin before jumping to slam down and release a devastating explosion around it. Avoid this by distancing yourself from the Ajarakan and press the attack, as the Ajarakan becomes stuck to the ground for a short period of time. |
| Grab Attack | If grabbed, Ajarakan will grip the hunter with both hands before slamming them to the ground. Dodge it as soon as it swings its arm for the grab. In case you weren't able to dodge, you can mash your knife or use slinger to be free from its grab. |
Ajarakan Variants
| All Ajarakan Variants | |
|---|---|
| Tempered | Frenzied |
Tempered Ajarakan
| Monster | Basic Information |
|---|---|
 Tempered Ajarakan Tempered Ajarakan |
Habitat: First Encounter: Unlocked after finishing the Storm-Cold Vortex quest. |
Tempered Ajarakan can be encountered in a Field Survey in Oilwell Basin. It will start appearing after finishing the Storm-Cold Vortex quest, making it a high rank hunt.
Tempered Ajarakan Appearance
Tempered Ajarakan are stronger and covered in large scars across their bodies which you can damage and open into Tempered Wounds which you can break with a Focus Strike to deal increased damaged and even knock them down to the ground!
Tempered Ajarakan Rewards
| Difficulty | Possible Rewards |
|---|---|
| 6★ | Hunt Completion Breaking Tempered Wounds |
As a 6★ difficulty monster, hunting Tempered Ajarakan will reward you with Rusted Weapon Shards and Hunter Symbol II.
Destroying a Tempered Ajarakan's tempered wound can also reward you with either a Wyverian Bloodstone (S), Wyverian Bloodstone, or Wyverian Bloodstone (L). These are used for Relic Melding.
There Is No Frenzied Ajakaran
There are no Frenzied Ajarakans as there are only 5 existing Monsters infected with the Frenzy Virus.
Ajarakan Drops
Low Rank Materials
| |
| |
| |
To obtain Ajarakan's rarest Low Rank material, the Ajarakan Certificate with its 8% chance of being obtained, it would be best to farm for Low Rank missions featuring the monster, such as the Scorching Simian Optional Quest.
High Rank Materials
| |
| |
| |
Ajarakan Medulla is different and more rare than the Ajarakan Marrow. You have a higher probability obtaining this item when you sever and carve the tail of Ajarakan.
Monster Hunter Wilds Related Guides

All Monsters Guides
Arch-Tempered Monsters
| Arch-Tempered Monster Guides | |
|---|---|
 AT Rey Dau AT Rey Dau |
 AT Uth Duna AT Uth Duna |
 AT Nu Udra AT Nu Udra |
 AT Jin Dahaad AT Jin Dahaad |
 AT Arkveld AT Arkveld |
|
All Large Monsters
 Arkveld
 Rey Dau
 Nu Udra
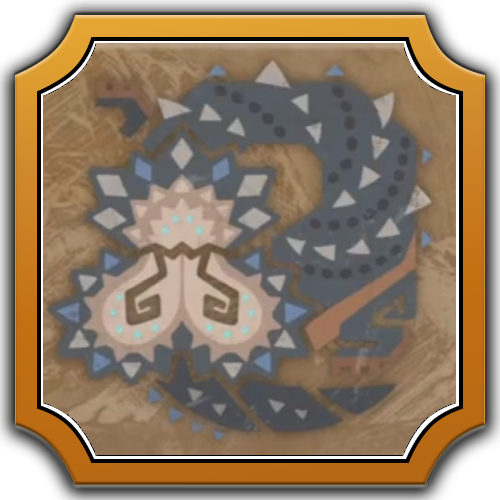 Balahara
 Doshaguma
 Chatacabra
 Uth Duna
 Lala Barina
 Quematrice
 Rompopolo
 Yian Kut-Ku
 Congalala
 Rathalos
 Gypceros
 Rathian
 Gravios
 Nerscylla
 Gore Magala
 Hirabami
 Mizutsune
 Jin Dahaad
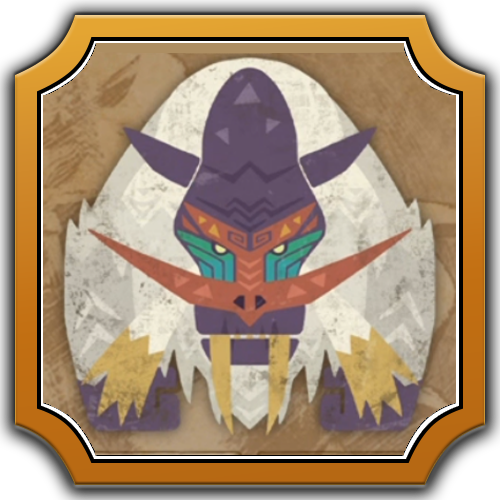 Blangonga
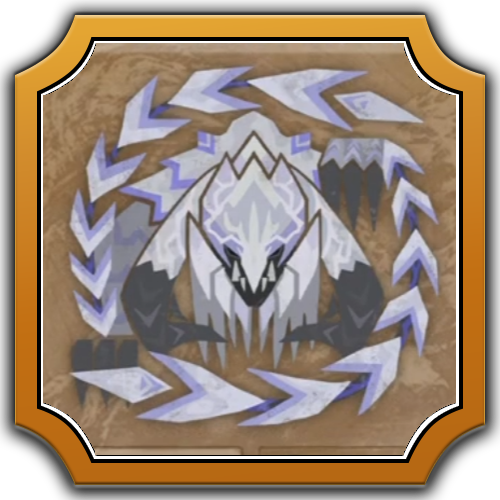 Guardian Arkveld
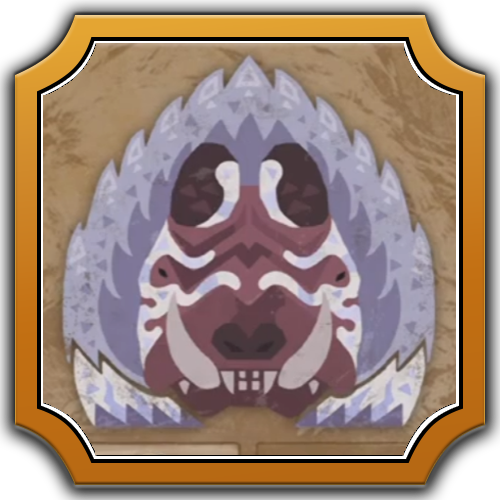 Guardian Doshaguma
 Guardian Rathalos
 Guardian Ebony Odogaron
 Xu Wu
Xu Wu Zoh Shia
 Guardian Fulgur Anjanath
 Lagiacrus
 Seregios
 Omega Planetes
Comment
Author

Ajarakan Weakness and Drops
Premium Articles

Rankings
Gaming News


![Monster Hunter Stories 3 Review [First Impressions] | Simply Rejuvenating](https://img.game8.co/4438641/2a31b7702bd70e78ec8efd24661dacda.jpeg/thumb)
Popular Games

Genshin Impact Walkthrough & Guides Wiki
Umamusume: Pretty Derby Walkthrough & Guides Wiki
Pokemon Pokopia Walkthrough & Guides Wiki
Honkai: Star Rail Walkthrough & Guides Wiki
Monster Hunter Stories 3: Twisted Reflection Walkthrough & Guides Wiki
Arknights: Endfield Walkthrough & Guides Wiki
Wuthering Waves Walkthrough & Guides Wiki
Zenless Zone Zero Walkthrough & Guides Wiki
Pokemon TCG Pocket (PTCGP) Strategies & Guides Wiki
Monster Hunter Wilds Walkthrough & Guides Wiki


Recommended Games
Diablo 4: Vessel of Hatred Walkthrough & Guides Wiki
Cyberpunk 2077: Ultimate Edition Walkthrough & Guides Wiki
Fire Emblem Heroes (FEH) Walkthrough & Guides Wiki
Yu-Gi-Oh! Master Duel Walkthrough & Guides Wiki
Super Smash Bros. Ultimate Walkthrough & Guides Wiki
Pokemon Brilliant Diamond and Shining Pearl (BDSP) Walkthrough & Guides Wiki
Elden Ring Shadow of the Erdtree Walkthrough & Guides Wiki
Monster Hunter World Walkthrough & Guides Wiki
The Legend of Zelda: Tears of the Kingdom Walkthrough & Guides Wiki
Persona 3 Reload Walkthrough & Guides Wiki


All rights reserved
©CAPCOM
The copyrights of videos of games used in our content and other intellectual property rights belong to the provider of the game.
The contents we provide on this site were created personally by members of the Game8 editorial department.
We refuse the right to reuse or repost content taken without our permission such as data or images to other sites.