Omega Planetes Weakness and Drops
★ Arkveld Gamma Armor | MH Stories 3 Collab
☆ Version 1.041: Sororal α Armor | Shatterseal
★ How to Unlock Proof of a Hero Quest
☆ Omega Planetes | Savage Omega | Builds vs Omega
★ Armor Set Search updated for Ver 1.041
☆ HR50+ Builds | Tier List | Weapon Guides
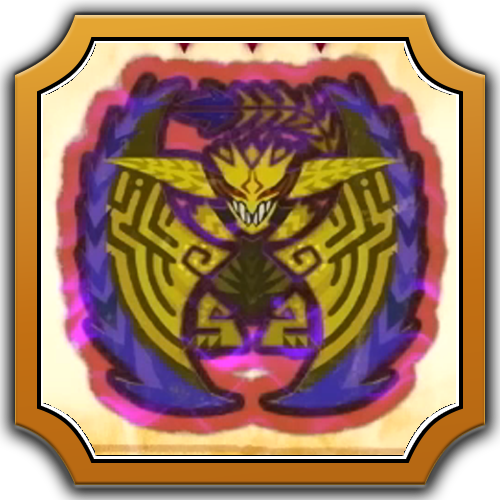
Omega Planetes is a monster from the Final Fantasy XIV Special Collaboration that is now live in Monster Hunter Wilds. Learn how to beat Omega Planetes, how to unlock it, its weakness, locations, drops, as well as if you can solo Omega Planetes, and more.
| All Related Omega Planetes Articles | |||||
|---|---|---|---|---|---|
Armor Sets |
|||||
List of Contents
Omega Planetes Weakness
Basic Information
 |
||
| Type | Roar | Wind Pressure |
|---|---|---|
| Unknown | None | None |
| Tremor | Status Effect | Element |
| None | Fireblight, HP Penalty | None |
| Gold Crown Sizes | ||
| TBD | ||
Note: Gold Crown Sizes have ranges and may vary between hunters.
Damage Type Weakness
Hitzone Values and Weakness Breakdown
※ Click the tabs to switch between Damage Type and Elemental Damage Hitzone effectiveness.
| Part | |||
|---|---|---|---|
| Head | |||
| Torso | |||
| Left Foreleg | |||
| Right Foreleg | |||
| Back | |||
| Left Hind Leg | |||
| Right Hind Leg | |||
| Rear Power Unit | |||
| Overall |
| Part | |||||
|---|---|---|---|---|---|
| Head | |||||
| Torso | |||||
| Left Foreleg | |||||
| Right Foreleg | |||||
| Back | |||||
| Left Hind Leg | |||||
| Right Hind Leg | |||||
| Rear Power Unit | |||||
| Overall |
Hitzone DPS Summary
| Sever | Charge Blade Charge Blade is a transforming weapon that stores energy in Sword Mode and delivers an elemental slash in Axe Mode. Dual Blades The Dual Blades that excels at rapid successive attacks and lets you transform into a demon to enhance your attack power. Great Sword The Great Sword uses slow but powerful swings to attack. Gunlance The Gunlance is a weapon that offensive and defensive weapon that uses artillery fire as its main attack. Insect Glaive The Insect Glaive is a weapon that specializes in aerial combat and strengthens itself using monster extracts from hunting insects. Lance The Lance is a weapon that boasts extremely high defensive performance. It can be used to charge and guard against enemy attacks. Long Sword The Long Sword uses quick continuous attacks and allows you to perform a parry slash when avoiding a monster's attack. Switch Axe Switch Axe is a transforming weapon that switches between Axe Mode and Sword Mode. Axe Mode allows you to perform all kinds of attacks while Sword Mode lets you perform high speed attacks. Sword and Shield The Sword and Shield is a versatile weapon with balanced attack and defense. |
|---|---|
| | |
| Blunt | Hammer The Hammer is a weapon that delivers powerful ranged attacks and is especially good at aiming at a monster's head to stun it. Hunting Horn The Hunting Horn is a support weapon that plays a melody that strengthens allies. It is best used in multiplayer. Sword and Shield The Sword and Shield is a versatile weapon with balanced attack and defense. |
|---|---|
| | |
| Shot | Bow The Bow is a weapon that can be used from a distance with a large number of shots and can be used to deal more damage using charged shots or special arrows. Heavy Bowgun Heavy Bowguns can aim for great damage by releasing powerful bullets, and can be equipped with shields for added defense. Light Bowgun The Light Bowgun is long-range weapon with excellent mobility and a variety of agendas using status inflicting ammunition and support ammunition! |
|---|---|
| | |
| Thunder is the best element to use against Omega Planetes. Aim for its Head, Forelegs, Hind Legs, and Back when attacking to deal the most amount of Thunder damage. |
Status Ailment and Item Weakness
| Status Ailment | Items | ||
|---|---|---|---|
| |
|
||
| |
|
||
| |
|
||
| |
|
||
| |
|
||
| |
|
||
Breakable Parts
| Breakable |
・Head ・Rear Power Unit ・Left Foreleg ・Right Foreleg ・Left Hind Leg ・Right Hind Leg |
|---|
How to Beat Omega Planetes
| Omega Planetes Fight Tips |
|---|
|
|
Always Play In A Group Of Four
| Role | Description |
|---|---|
| Enmity Drawer x1 (Tank) |
In charge of receiving and blocking Omega Planetes' attacks. Weapons with good guarding capabilities is recommended, such as Great Sword or Lance. Guard Up is highly recommended to be able to block Omega Planetes' stronger attacks. |
| Ally Support x1 (Healer) |
Will provide healing and buffs to the entire team. Wide-Range, Recovery Up and Speed Eating are highly recommended for quick consumable consumption. |
| Dedicated Attacker x2 (DPS) |
Dedicated attackers, as the name implies, will focus on attacking Omega Planetes. Bring Thunder weapons to maximize damage. |
Similar to a Light Party in Final Fantasy XIV, a four-player team is highly recommended, with each player having a dedicated role. Having a dedicated Tank and Healer will allow the DPS players to deal as much damage as they can without having to worry about dodging attacks or healing.
Playing with Support Hunters is Viable
If you cannot get a group of four together, or you do not want to play with random players, it is viable to beat Omega Planetes with Support Hunters. For best results, bring Alessa as your Tank, Kai as your Healer, and either Rosso or Olivia as one of your DPS.
How to Bring Support Hunters in Quests
Equip Guard Up If Using Weapon That Can Block
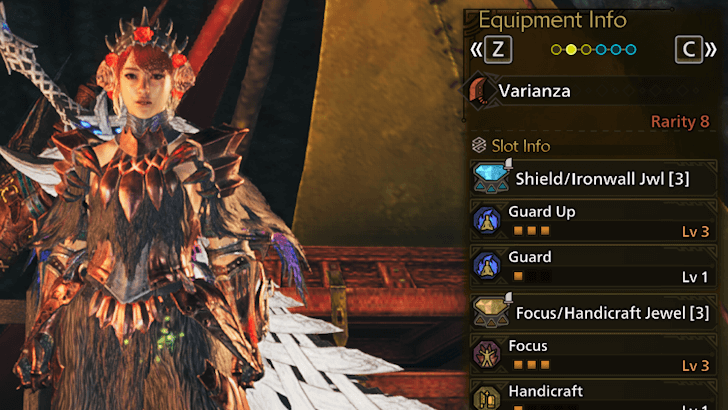
If you are bringing weapons that can block such as the Great Sword or Lance, try to equip Guard Up Level 3 as this will allow you to block most of Omega Planetes' attacks. The only attacks you will not be able to block are Mustard Bomb and Delta Attack.
Bring As Many Defensive Skills As Possible
As Omega Planetes can deal a lot of damage, bringing as many defensive skills as possible is a must. Good defensive skills include Fire Resistance to counter Omega Planetes' multiple fire moves, Divine Blessing for occasional daamge reduction, as well as Stun Resistance to avoid getting Stunned by its charge attack.
Bring Paralysis Weapons As Your Secondary
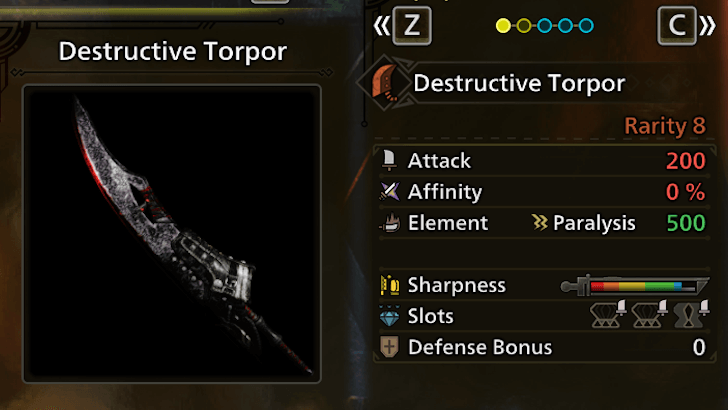
As both Omega Planetes and the Nerscylla Clone can be paralyzed, bringing a Paralysis weapon as your secondary will help in taking them down. This is especially helpful in fighting the Nerscylla Clone, as this will keep her in place, allowing you and your team to safely deal a lot of damage to it.
Bring Soul of the Pictomancer
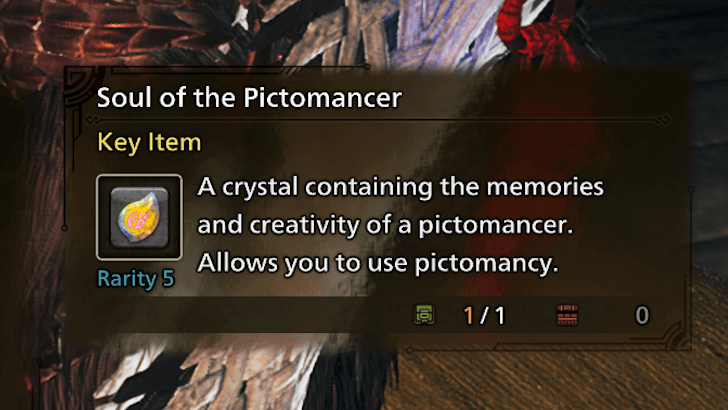
The Soul of the Pictomancer is a powerful item in this quest as it deals increased damage to the FFXIV Collaboration monsters. Whenever you have a safe window, use the item to freely deal damage to either Omega Planets or the Nerscylla Clone.
When used whenever it is off cooldown, you can deal more than 1000 total damage every minute and a half.
Use the Provided Supplies
Upon entering the quest, the Guild will provide numerous useful supplies such as the EZ Max Potion, EZ Lifepowder, and EZ Dust of Life. These supplies will be of great help to you, as they will keep you and your team alive whenever Omega Planetes performs a powerful attack.
Manage Enmity Effectively
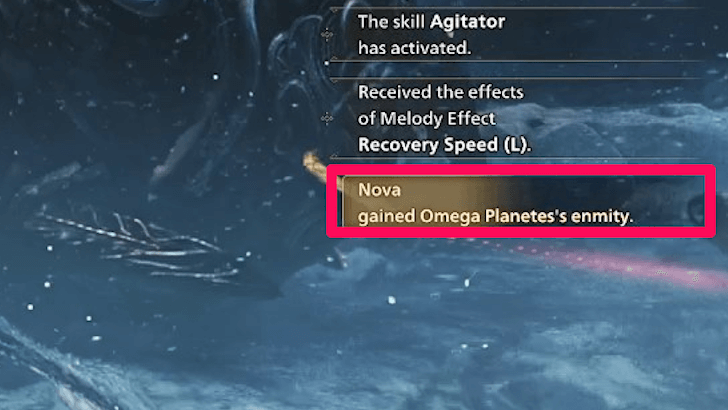
Managing who has Omega Planetes' Enmity is of utmost importance as Omega Planetes will primarily target whoever has Enmity. Having one party member (ideally the Tank) take Enmity will relieve pressure from the rest of the party, allowing them to focus on healing and dealing damage.
Tank Swap To Quicklty Remove HP Penalty
If the Tank receives the HP Penalty debuff, someone else must immediately take Enmity as the debuff eventually wears off as long you do not have Enmity. Once the debuff is removed, the Tank can resume taking Enmity.
Use Environmental Traps Where Possible
As you will be fighting Omega Planetes in Rimechain Peak, you will have access to numerous boulders and walls that you can pull down to deal damage to and knock Omega Planetes down. Take advantage of these environmental traps to deal bursts of damage to Omega Planetes, as well as interrupt any attacks they may be preparing.
Quickly Break Leg Wounds During Pantokrator
When Omega Planetes activates Pantokrator, it will start performing empowered versions of its attacks. To deactivate Pantokrator, players will need to apply wounds and destroy said wounds on Omega Planetes' legs. Destroying a total of three wounds will deactivate Pantokrator.
Defeat The Nerscylla Clone Quickly
Omega Planetes will summon a Nerscylla Clone before charging up his powerful Delta Attack. Defeat the Nerscylla Clone quickly as it will generate a powerful shield on death that can protect you from the Delta Attack. Failure to do so will wipe the entire team.
Use Shields As Much As Possible
Whenever you destroy a glowing Omega Micros, destroy a Wound on Omega Planetes' face, or use the Shield Generator Slinger Ammo, a blue shield will apear in the arena. You can get Shield Generator Ammo whenever you interact with an Omega Fragment that breaks off when you topple Omega Planetes in the final area.
Staying inside the shield will protect you from most of Omega Planetes' attacks, but take note that it will break after taking enough damage. Take note that this will not protect you from physical attacks, such as his Foot Slam, Charge Attack, and Body Slam. This will, however, protect you from its Rocket Punch.
You Can't Capture Omega Planetes
Focus all your offensive effort into slaying Omega Planetes as it cannot be captured. Netiher Pitfall Traps or Shock Traps will work on Omega Planetes or the Nerscylla Clone.
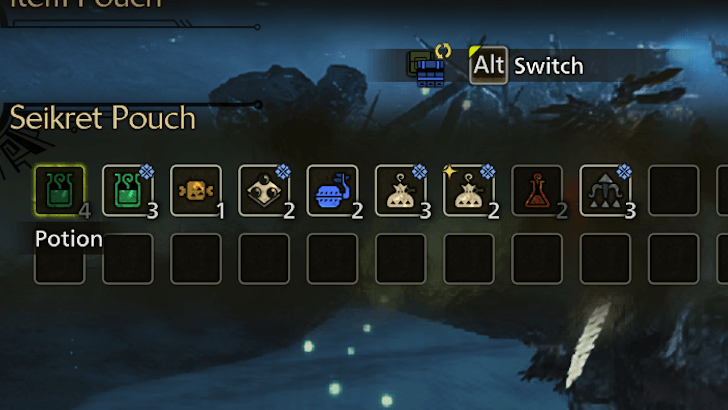
Omega Planetes Item Loadout
Recommend Items to Bring
|
|
|
|
|
|
|
|
|
|
|
|
|
|
|
Bring all healing and buffing items like Armorskin and Demondrug along with Adamant Seeds and Might Seeds to increase your damage and defense. You'll also want to bring Hot Drinks to avoid stamina depletion over time.
List of All Items and Materials
Omega Planetes Location
Known Habitats
| Region |
|---|
 Iceshard Cliffs Iceshard Cliffs |
Omega Planetes will be fought in the Rimechain Peak, the same arena you fight Jin Dahaad in.
Iceshard Cliffs Camps and Map Guide
Quest Appearances
| Quest Type | Lvl. | Quest Name |
|---|---|---|
| Assignments | 8★ | Invader from the Stars |
| Optional | 8★ | Planetes Protocol |
| Event Quest | 9★ | Planetes Protocol (Savage) |
Omega Planetes is initially available to hunt during the Assignment: Invader from the Stars, which is available from HR41 onwards.
Can Be Fought Again in Optional and Event Quest
After clearing the assignment, you can refight Omega Planetes in the Optional Quest: Planetes Protocol, and the Event Quest Planetes Protocol (Savage).
Note that Planetes Protocol (Savage) is accessible from HR100 onwards.
Omega Planetes Attack Patterns
All Omega Planetes Movesets
| Attack | Description |
|---|---|
| Delta Attack | Omega Planetes will generate a Nerscylla clone before charging up a laser and unleashing a powerful attack. Defeat the Nerscylla clone to generate a powerful shield that can block Delta Attack. Failure to do so will result in a team wipe. |
| Larboard/Starboard Wave Cannon | Omega Planetes will perform a half-circle laser attack that explodes after a short delay. It can perform this attack on the left (Larboard) or right (Starboard) side based on Omega Planetes. Make sure to look at which attack it will perform in the notifications, then go to the opposite side. |
| Omega Micros | Omega Planetes launches Omega Micros that chase after Hunters before self-destructing. Destroying the glowing Omega Micros will generate a protective shield where it died. |
| HP Penalty | Omega Planetes shoots a ball of energy that applies the HP Penalty debuff. This can stack, decreasing your HP more and more with each stack. This attack can be dodged, and the debuff will disappear as long as the Hunter avoids Enmity. |
| Rocket Punch | Omega Planetes launches Rocket Fists that chase after players. Omega Planetes will either launch two fists at one player or launch one fist at each player. |
| Ballistic Impact | Omega Planetes launches bombs into the air, with circular AoE markers appearing on the ground. After a short delay, the bombs will descend and explode on said markers. This can be blocked. In later stages of the fight, Omega Planetes can perform this attack multiple times in a row. |
| MRV Missile | Omega Planetes launches bombs into the air, targetting every party member. After a short delay, the bombs will descend and explode on said markers. This will repeat six times. Although this can be blocked, it is recommended that you **ride your Seikret and continuously move around the arena for the duration of the attack. |
| Mustard Bomb | Omega Planetes will target one Hunter with an AoE marker that follows the Hunter. After a short delay, it will shoot a bomb that leaves a puddle of fire. The targeted Hunter must bring the AoE away from the team. |
| Flamethrower (Cardinal) | Omega Planetes readies its flamethrower before shooting in four directions. Players can block this attack using a shield, which will drop either from defeating glowing Omega Micros, or from breaking one of Omega Planetes' legs. This can also be blocked if you have Guard Up. |
| Flamethrower (Chariot) | Omega Planetes readies its flamethrower before shooting fire underneath it. Players can block this attack using a shield, which will drop either from defeating glowing Omega Micros, or from breaking one of Omega Planetes' legs. This can also be blocked if you have Guard Up. |
| Flamethrower Frenzy | Omega Planetes will jump around before shooting its flamethrower. It will do this three times, shooting the flames in a random way each time. Flamethrower directions include in four directions, in one side, and in front or behind it. These can be blocked in the same way as its other flamethrower attacks. |
| Charge Attack | Omega Planetes charges up its boosters before charging forward, damaging and potentially stunning any Hunter in its way. Blocking this attack can lead to a Power Clash. |
| Leg Slam | Omega Planetes raises its leg before slamming it down. |
| Body Slam | Omega Planetes leaps up into the air and lands on a targeted Hunter. |
| Atomic Ray | Omega Planetes shoots a fan of lasers in one or all four cardinal directions (based on Omega Planetes). It can use this attack alongside other attacks. |
| Laser Attack | Omega Planetes will shoot a powerful laser at whover has Enmity. This can be blocked if you have Guard Up, and will protect anyone behind you. If you cannot block it, make sure to dodge to the sides. |
Some of the attack names and effects are based on their FFXIV counterparts.
Omega Planetes Variants
Omega Planetes (Savage)
Players can fight a harder version of Omega Planetes that has higher stats and new moves. Additionally, it can perform all of its attacks from the start.
Players can fight Omega Planetes (Savage) in the permanent Event Quest Planetes Protocol (Savage). This quest becomes available after completing Invader from the Stars and reaching HR100.
Omega Planetes (Savage) Rewards
Defeating Omega Planetes (Savage) will unlock the Omega Attire α armor set, as well as Omega's Sword, Omega's Rod, and the OMG Kinsect.
Additionally, you will also get the FFXIV Manderville Mambo Gesture, allowing you to pose like only a Manderville can.
Omega Planetes Drops and Rewards
High Rank Materials
| |
| |
| |
| |
Omega Planetes' rarest High Rank drop is the Omega Nodule. To increase the chances of obtaining this item, you can use Lucky Vouchers to double the hunt rewards, or eat the Hot Azuz Cuisine that has the Carver Meal Skill, which can give 2 to 3 extra carves.
Can You Solo Omega Planetes?
Possible to Solo with Support Hunters
While it's possible to take down Omega Planetes solo with Support Hunters, it's extremely difficult to do so without any other hunters in the party.
Omega Planetes features mechanics designed for multiplayer, including enmity management, tight damage windows, and DPS checks, which can easily overwhelm a lone hunter.
Omega Planetes Release Date
Omega Planetes has Officially been Released
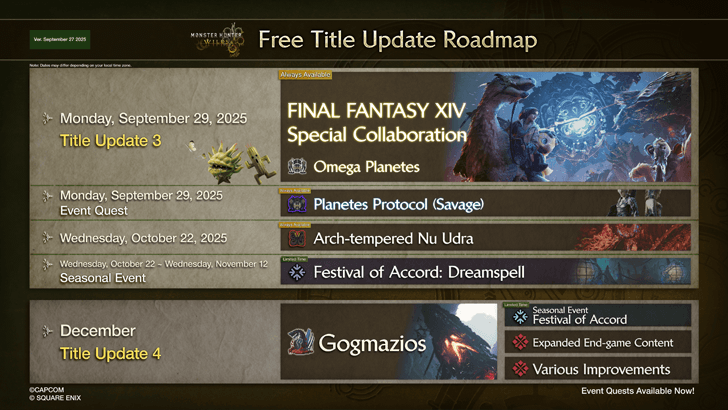
Omega Planetes is a collaboration monster that released along with Title Update 3 on September 29, 2025.
Similar to the Street Fighter collaboration, Omega Planetes won't be a limited-time monster and will always be available once released!
Part of Final Fantasy XIV Special Collaboration
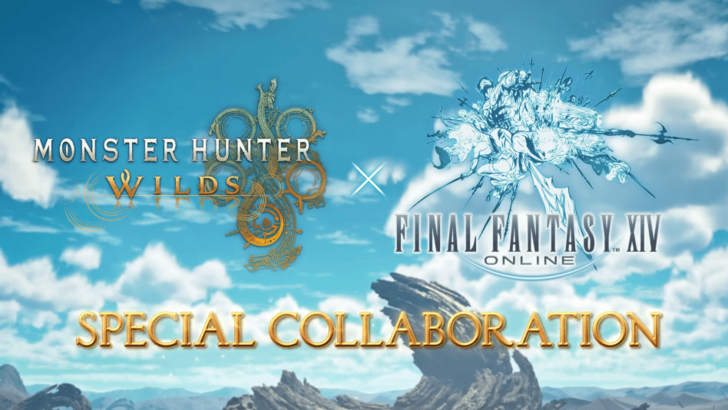
Revealed on Monster Hunter's official YouTube channel on August 19, 2025 (ET), a special collaboration with Final Fantasy XIV is now underway! This collab also features a Chocobo design for Seikrets, a Morbol armor for your Palico, as well as the Bale α armor set.
Final Fantasy XIV Collab Release Date
Monster Hunter Wilds Related Guides

All Monsters Guides
Arch-Tempered Monsters
| Arch-Tempered Monster Guides | |
|---|---|
 AT Rey Dau AT Rey Dau |
 AT Uth Duna AT Uth Duna |
 AT Nu Udra AT Nu Udra |
 AT Jin Dahaad AT Jin Dahaad |
 AT Arkveld AT Arkveld |
|
All Large Monsters
 Arkveld
 Rey Dau
 Nu Udra
 Balahara
 Doshaguma
 Chatacabra
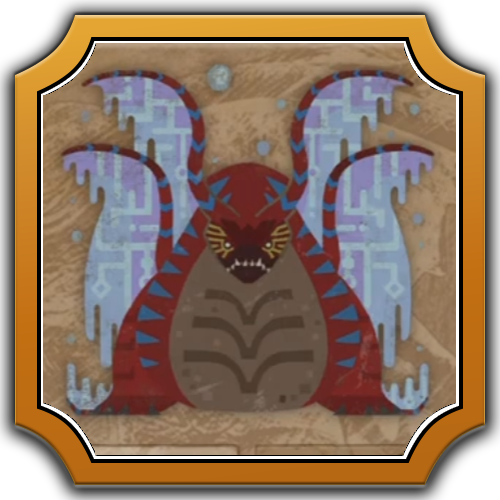 Uth Duna
 Lala Barina
 Quematrice
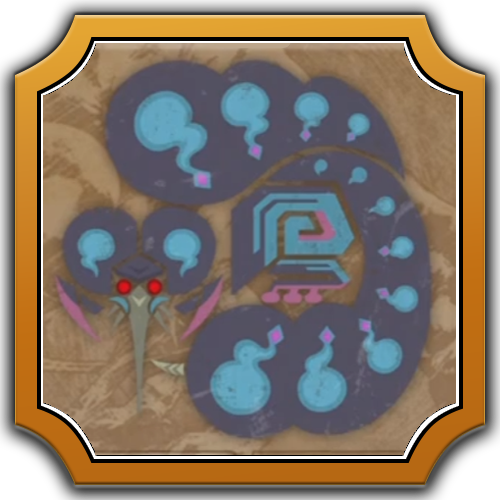 Rompopolo
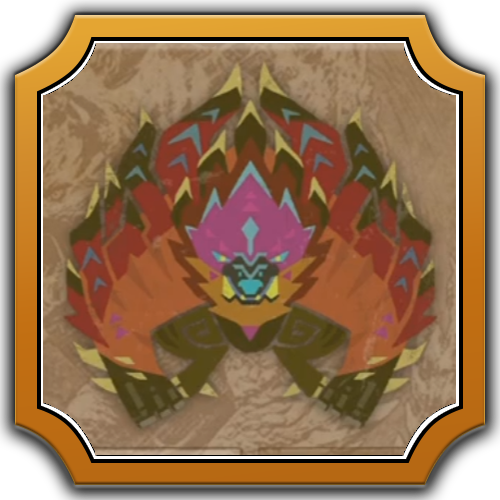 Ajarakan
 Yian Kut-Ku
 Congalala
 Rathalos
 Gypceros
 Rathian
 Gravios
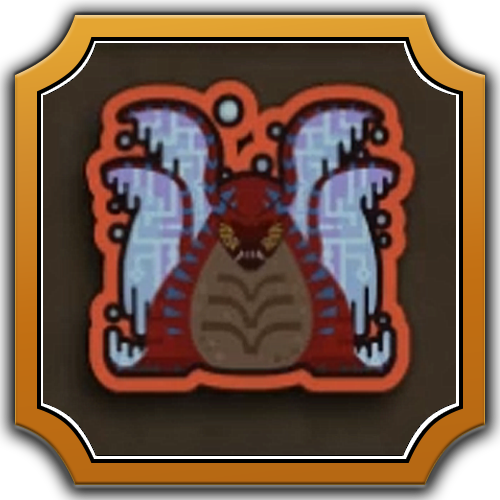
 Nerscylla
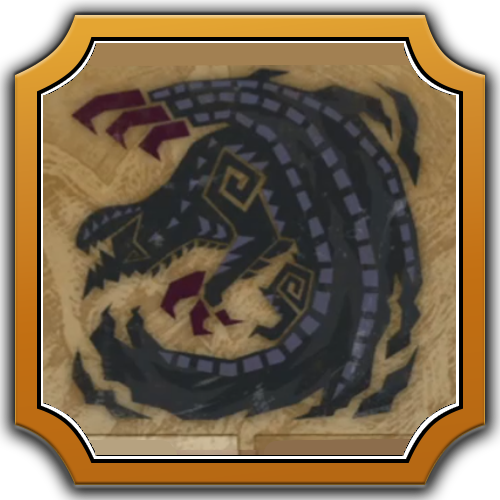 Gore Magala
 Hirabami
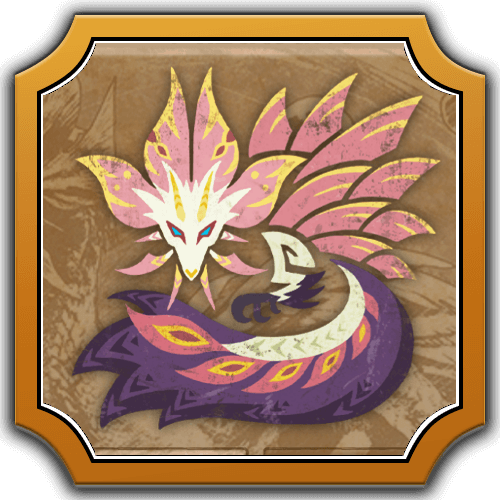 Mizutsune
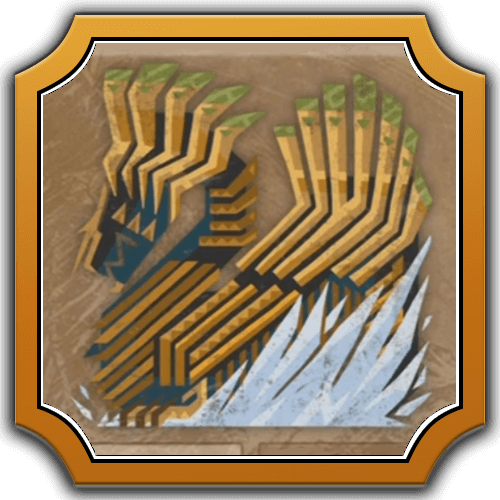 Jin Dahaad
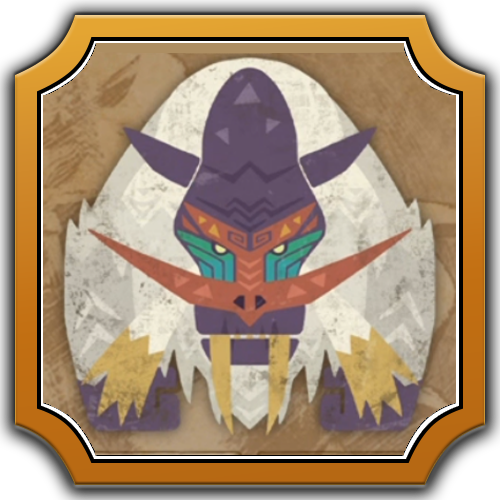 Blangonga
 Guardian Arkveld
 Guardian Doshaguma
 Guardian Rathalos
 Guardian Ebony Odogaron
 Xu Wu
Xu Wu Zoh Shia
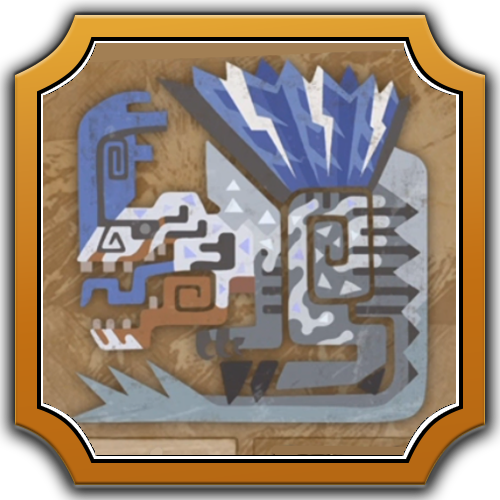 Guardian Fulgur Anjanath
 Lagiacrus
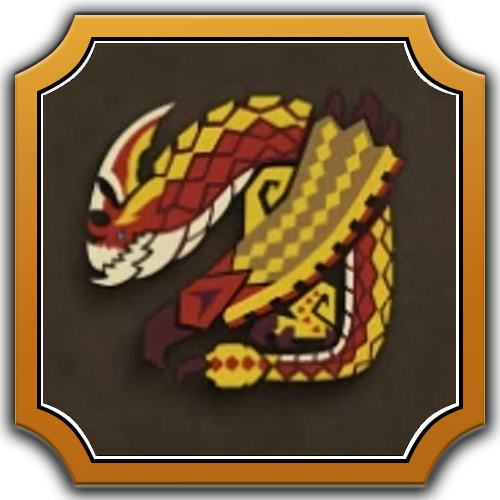 Seregios
 Omega Planetes
 Gogmazios
Author

Omega Planetes Weakness and Drops
Premium Articles

Rankings
- We could not find the message board you were looking for.
Gaming News


Popular Games

Genshin Impact Walkthrough & Guides Wiki
Umamusume: Pretty Derby Walkthrough & Guides Wiki
Pokemon Pokopia Walkthrough & Guides Wiki
Honkai: Star Rail Walkthrough & Guides Wiki
Monster Hunter Stories 3: Twisted Reflection Walkthrough & Guides Wiki
Arknights: Endfield Walkthrough & Guides Wiki
Wuthering Waves Walkthrough & Guides Wiki
Zenless Zone Zero Walkthrough & Guides Wiki
Pokemon TCG Pocket (PTCGP) Strategies & Guides Wiki
Monster Hunter Wilds Walkthrough & Guides Wiki


Recommended Games
Fire Emblem Heroes (FEH) Walkthrough & Guides Wiki
Diablo 4: Vessel of Hatred Walkthrough & Guides Wiki
Cyberpunk 2077: Ultimate Edition Walkthrough & Guides Wiki
Yu-Gi-Oh! Master Duel Walkthrough & Guides Wiki
Super Smash Bros. Ultimate Walkthrough & Guides Wiki
Pokemon Brilliant Diamond and Shining Pearl (BDSP) Walkthrough & Guides Wiki
Elden Ring Shadow of the Erdtree Walkthrough & Guides Wiki
Monster Hunter World Walkthrough & Guides Wiki
The Legend of Zelda: Tears of the Kingdom Walkthrough & Guides Wiki
Persona 3 Reload Walkthrough & Guides Wiki


All rights reserved
©CAPCOM
The copyrights of videos of games used in our content and other intellectual property rights belong to the provider of the game.
The contents we provide on this site were created personally by members of the Game8 editorial department.
We refuse the right to reuse or repost content taken without our permission such as data or images to other sites.
The end of Flamethrower frenzy has some strong tremor effect. When I don't block it, the tremor recovery takes about 80% of the duration Omega is down.