
 Arkveld
 Rey Dau
 Nu Udra
 Balahara
 Doshaguma
 Chatacabra
 Uth Duna
 Lala Barina
 Quematrice
 Rompopolo
 Ajarakan
 Yian Kut-Ku
 Congalala
 Rathalos
 Gypceros
 Rathian
 Gravios
 Nerscylla
 Gore Magala
 Mizutsune
 Jin Dahaad
 Blangonga
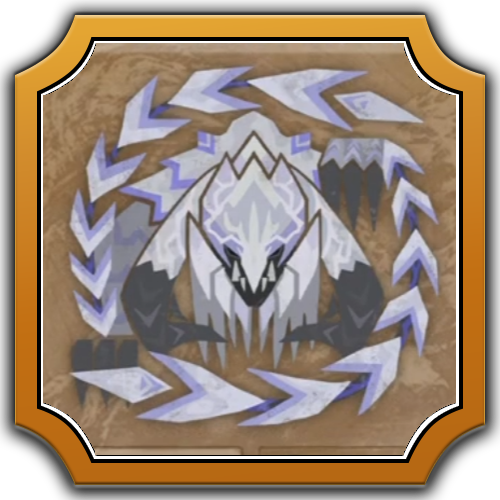 Guardian Arkveld
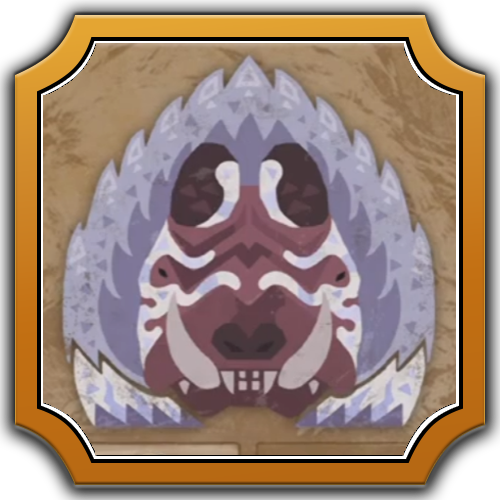 Guardian Doshaguma
 Guardian Rathalos
 Guardian Ebony Odogaron
 Xu Wu
Xu Wu Zoh Shia
 Guardian Fulgur Anjanath
 Lagiacrus
 Seregios
 Omega Planetes
 Gogmazios
This survey will take about 1 minute.
Your answers will help us to improve our website.
Monster Hunter Wilds
Hirabami Weakness and Drops
★ Arkveld Gamma Armor | MH Stories 3 Collab
☆ Version 1.041: Sororal α Armor | Shatterseal
★ How to Unlock Proof of a Hero Quest
☆ Omega Planetes | Savage Omega | Builds vs Omega
★ Armor Set Search updated for Ver 1.041
☆ HR50+ Builds | Tier List | Weapon Guides
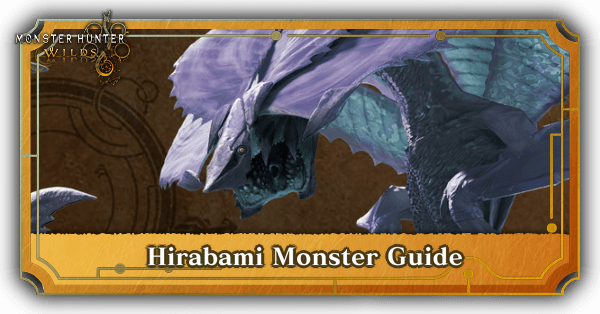
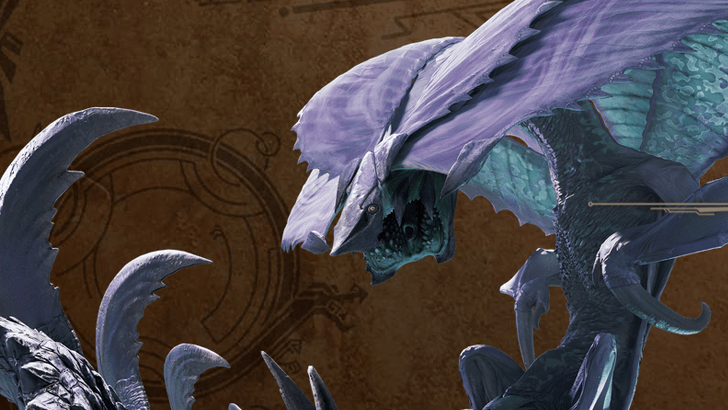
Hirabami is a Leviathan located in the Iceshard Cliffs in Monster Hunter Wilds. In this guide, you will find information about Hirabami, its weakness, location, drops, move set, and tips on how to beat it!
| All Related Hirabami Articles | ||
|---|---|---|
 Hirabami Hirabami
|
 Weapons Weapons
|
 Armor Sets Armor Sets
|
List of Contents
Hirabami Weakness
Basic Information
 |
||
| Type | Roar | Wind Pressure |
|---|---|---|
| Leviathan | Weak | None |
| Tremor | Status Effect | Element |
| None | Frostblight | Ice |
| Gold Crown Sizes | ||
|
|
||
Note: Gold Crown Sizes have ranges and may vary between hunters.
Damage Type Weakness
Hitzone Values and Weakness Breakdown
※ Click the tabs to switch between Damage Type and Elemental Damage Hitzone effectiveness.
Weapon Damage
Element
| Part | |||
|---|---|---|---|
| Head | |||
| Neck | |||
| Torso | |||
| Left Foreleg | |||
| Right Foreleg | |||
| Left Hind Leg | |||
| Right Hind Leg | |||
| Tail | |||
| Overall |
| Part | |||||
|---|---|---|---|---|---|
| Head | |||||
| Neck | |||||
| Torso | |||||
| Left Foreleg | |||||
| Right Foreleg | |||||
| Left Hind Leg | |||||
| Right Hind Leg | |||||
| Tail | |||||
| Overall |
The numbers shown above showcase the effectiveness of damage types against the monster's hitzones. Parts with higher numbers mean the damage type is more effective, with 1 being the lowest and 20 as the highest.
Hitzone DPS Summary
Sever
Blunt
Shot
| Sever | Charge Blade Charge Blade is a transforming weapon that stores energy in Sword Mode and delivers an elemental slash in Axe Mode. Dual Blades The Dual Blades that excels at rapid successive attacks and lets you transform into a demon to enhance your attack power. Great Sword The Great Sword uses slow but powerful swings to attack. Gunlance The Gunlance is a weapon that offensive and defensive weapon that uses artillery fire as its main attack. Insect Glaive The Insect Glaive is a weapon that specializes in aerial combat and strengthens itself using monster extracts from hunting insects. Lance The Lance is a weapon that boasts extremely high defensive performance. It can be used to charge and guard against enemy attacks. Long Sword The Long Sword uses quick continuous attacks and allows you to perform a parry slash when avoiding a monster's attack. Switch Axe Switch Axe is a transforming weapon that switches between Axe Mode and Sword Mode. Axe Mode allows you to perform all kinds of attacks while Sword Mode lets you perform high speed attacks. Sword and Shield The Sword and Shield is a versatile weapon with balanced attack and defense. |
|---|---|
| | |
| Blunt | Hammer The Hammer is a weapon that delivers powerful ranged attacks and is especially good at aiming at a monster's head to stun it. Hunting Horn The Hunting Horn is a support weapon that plays a melody that strengthens allies. It is best used in multiplayer. Sword and Shield The Sword and Shield is a versatile weapon with balanced attack and defense. |
|---|---|
| | |
| Shot | Bow The Bow is a weapon that can be used from a distance with a large number of shots and can be used to deal more damage using charged shots or special arrows. Heavy Bowgun Heavy Bowguns can aim for great damage by releasing powerful bullets, and can be equipped with shields for added defense. Light Bowgun The Light Bowgun is long-range weapon with excellent mobility and a variety of agendas using status inflicting ammunition and support ammunition! |
|---|---|
| | |
| Fire is the best element to use against Hirabami. Try to aim for its Head, Neck, or Tail to deal the most amount of Fire damage. |
Kinsect Extract From Parts
| Head | Neck | ||
|---|---|---|---|
| Torso | Left Wing | ||
| Right Wing | Left Leg | ||
| Right Leg | Tail |
Best Kinsects and All Kinsect Trees
Status Ailment and Item Weakness
| Status Ailment | Items | ||
|---|---|---|---|
| |
|
||
| |
|
||
| |
|
||
| |
|
||
| |
|
||
| |
|
||
Breakable Parts
| Breakable |
・Head ・Tail |
|---|
Hirabami Item Loadout
Recommend Items to Bring
|
|
|
|
|
|
|
|
|
|
|
|
|
|
|
|
It is recommended to bring a Cleanser to counter Frostblight when fighthing a Hirabami. Large Dung Pods also help to separate a herd of Hirabamis.
Bring items like the Armorskin and Demondrug to boost your stats, along with the Armorcharm and Powercharm. Lastly, a Flash Pod can knock it out of the air when it is hovering.
List of All Items and Materials
Hirabami Locations and Quests
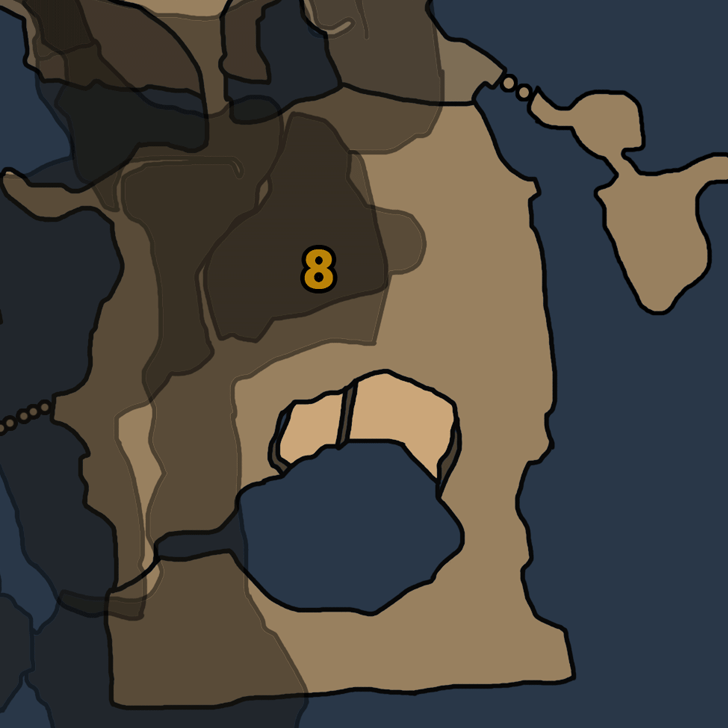
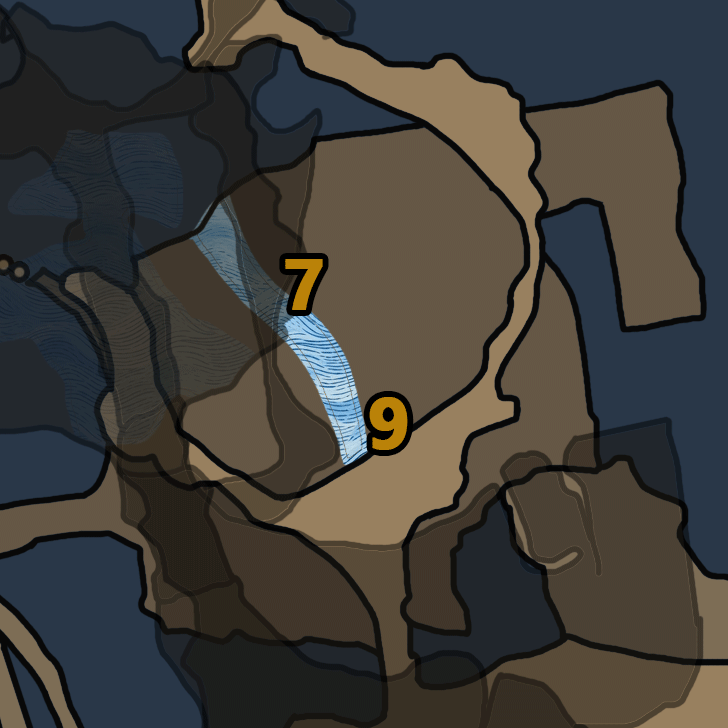
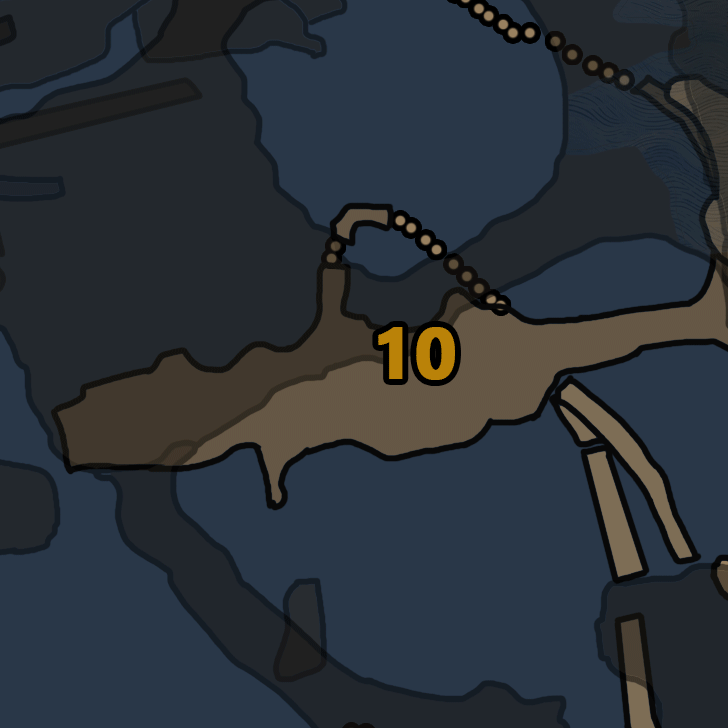
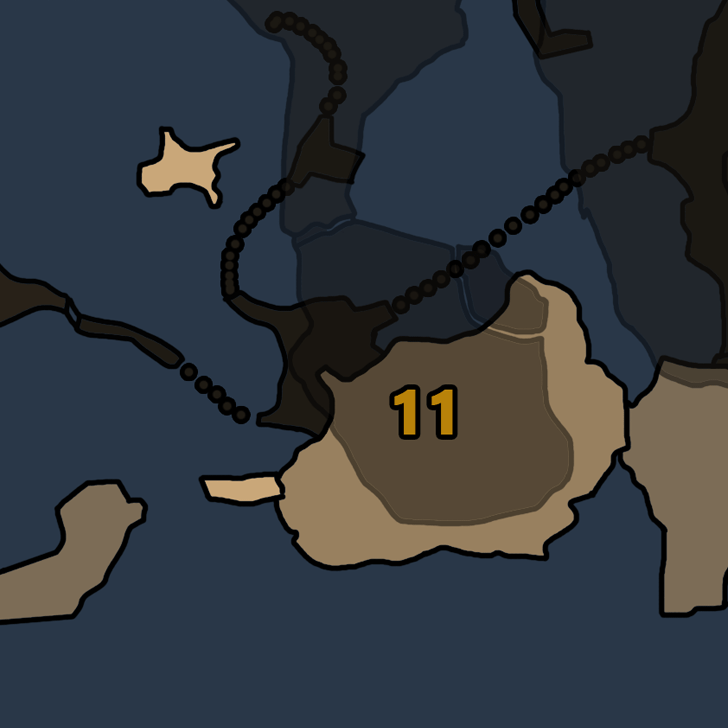
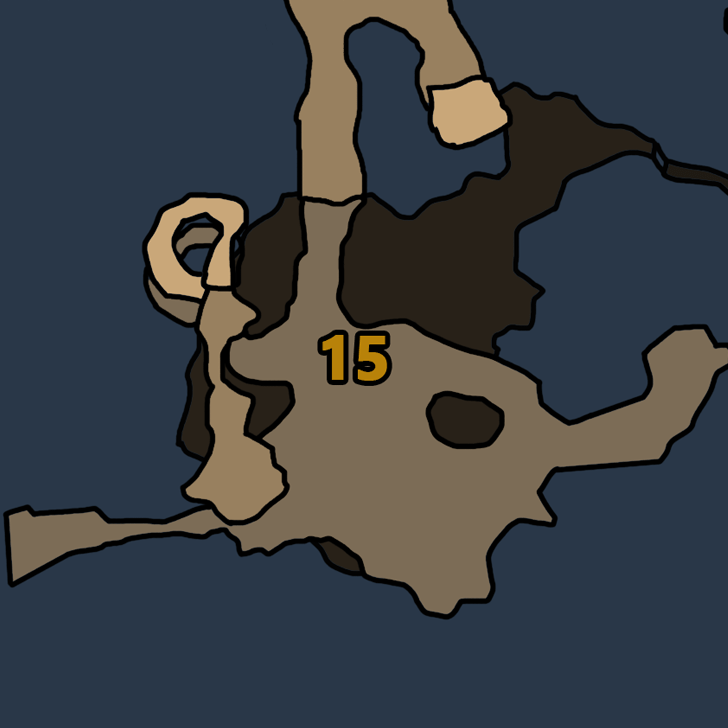
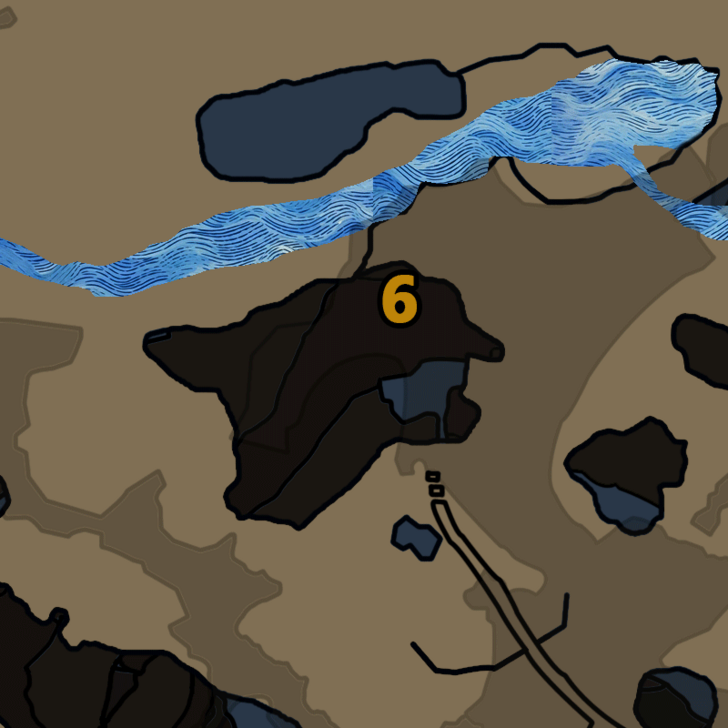
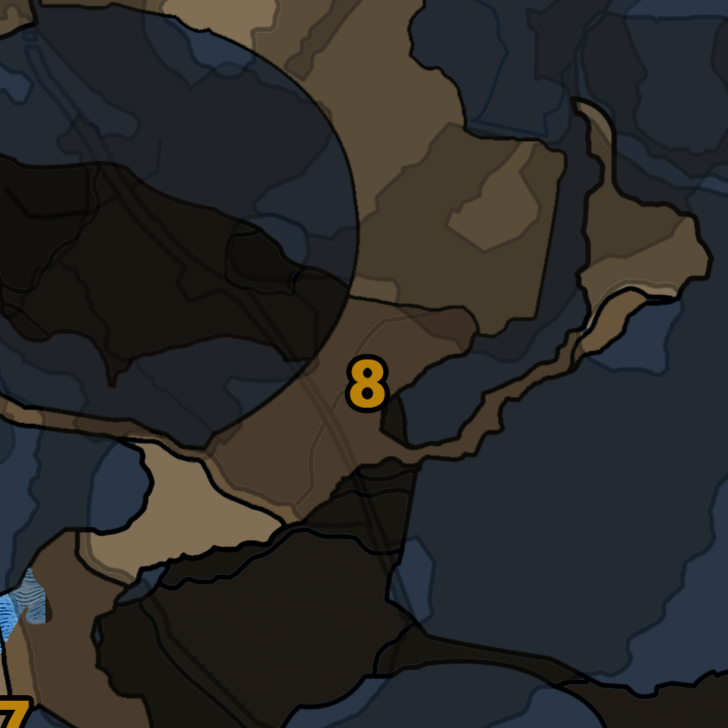
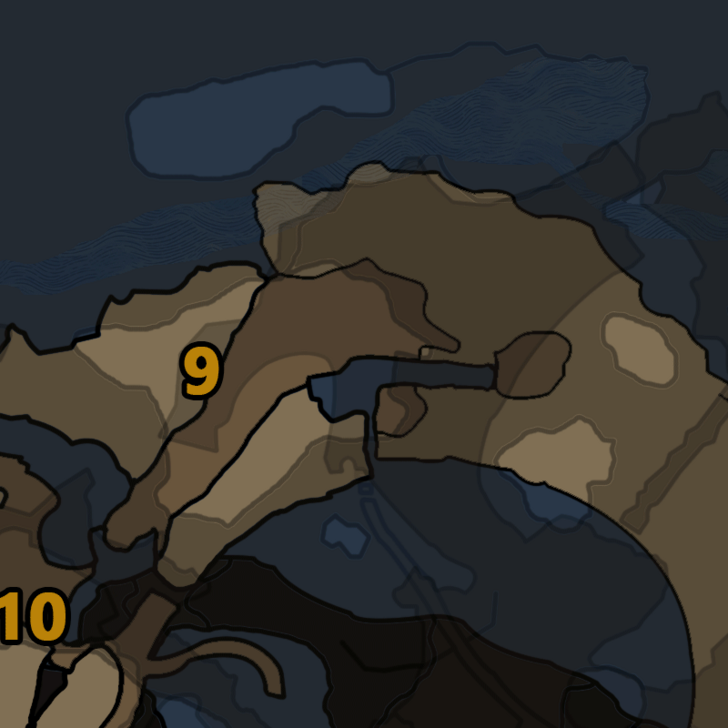
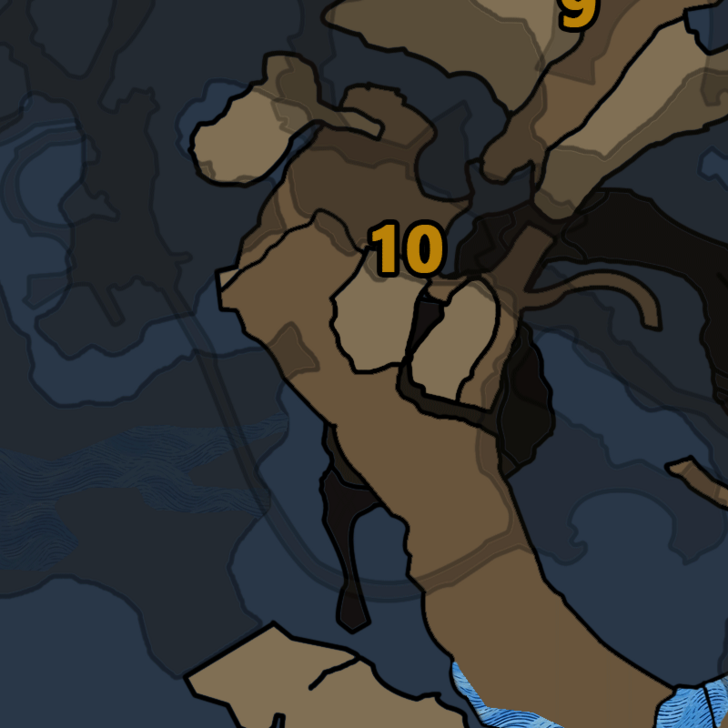
Known Habitats
| Region | Starting Area | Visited Areas | Resting Area |
|---|---|---|---|
 Iceshard Cliffs Iceshard Cliffs |
|
|
|
 Ruins of Wyveria Ruins of Wyveria |
- | 
|
|
Hirabami can also appear in the Wounded Hollow. When hunting for Gold Crowns, that locale is a good place to scout and reroll for monster sizes.
Interactive Map and List of Locations
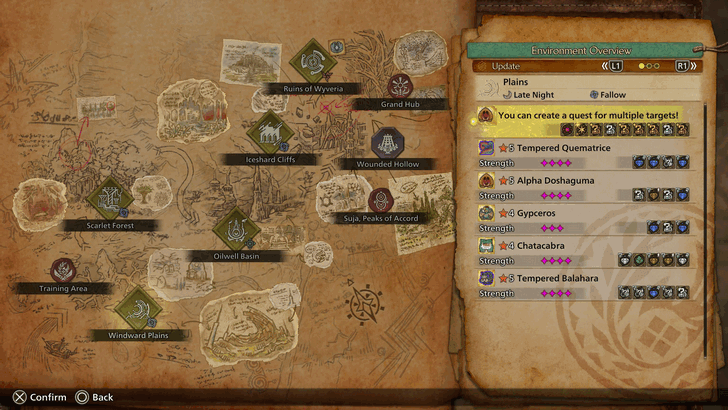
Quest Appearances
| Quest Type | Lvl. | Quest Name |
|---|---|---|
| Assignments | 2★ | Fight or Flight |
| Optional Quests | 2★ | Fleet Flight |
| Optional Quests | 4★ | Fleeting Victory |
| Optional Quests | 4★ | Secure Wounded Hollow |
| Optional Quests | 6★ | Echoing From the Cliffs |
Hirabami appears first during the story quest called Fight or Flight, and can be fought again in the optional quest Fleet Fight in the Low Rank.
For High Rank, Hirabami can be encountered in the Fleeting Victory and Secure Wounded Hollow quests. Lastly, a Tempered Hirabami features alongside a Tempered Blangonga in Echoing From the Cliffs.
Hunt Hirabami in Packs
Starting in Title Update 3, hunters will be able to hunt Hirabami in packs as quest targets with Heavy Armor Spheres as rewards. Other monsters that can be hunted in packs include Doshaguma and Yian Kut-ku.
How to Beat Hirabami
| Hirabami Monster Fight Tips |
|---|
|
|
Separate Hirabami With Large Dung Pods
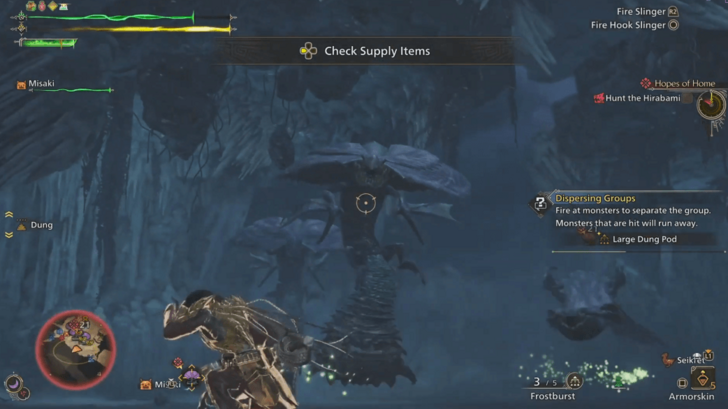
Hirabamis come as a pack, which makes them difficult to take down. You can even the odds by dispersing the group using Large Dung Pods so you can defeat them one by one.
Bring Hirabami Down With Heavy Slicing Pods
Breaking Hirabami's tail drops Tail Claw Shard. Picking this up will give you Heavy Slicing Pod Slinger ammo, which allows you to take down Hirabami from the air using your Slinger.
Knock the Hirabami Down With Flash Pods
Alternatively, you can use Flash Pods and similar effects on the Hirabami not only to blind it, but also to knock it out of the air when it is hovering. Blinding it mid-air will cause it to fall, allowing for a window of opportunity.
Avoid the Hirabami's Ice Projectiles
The Hirabami's ice projectiles that it spits can also freeze the Hunter in place, making them vulnerable to follow-up attacks. Try to dodge or block these projectiles when able. If frozen, use a Cleanser immediately, or spam movement commands in order to break free from the ice.
Then, if the situation allows, use a Focus Strike on the Hirabami's mouth, as the mouth turns into a weakspot briefly after it fires its projectiles.
How to Use Focus Mode and Focus Strike
Utilize Environmental Traps
Iceshard Cliffs has Ice Spikes, Brittle Ice Pillars, and Floating Rubble traps you can use against Hirabami. Activate them nearby Hirabami using your Slinger to deal heavy damage against them!
Hirabami Attack Patterns
Moveset and Openings
| Attack | Description |
|---|---|
| Swiping Bites | When you see Hirabami floating in a prone position, it could attempt to bite you, swiping its head left-to-right with each bite. If you're in the way of this attack, dodge in the direction opposite of where it's swiping (ex. dodge to the left if it's swiping towards your right). |
| Projectile Spit | Hirabami can spit one-to-two projectiles at you at a time, signified by it rearing its head back to prepare for the spit. Dodge or run sideways from each spit once you see it rear up to do so. |
| Side Roll | When angered, Hirabami can initiate a sideways-roll towards you. Watch out for this attack when it's on the ground and it starts to coil its body inward like an accordion. If you're near its ends, dodge away adjacent of the attack. If you're in in the mid section of the monster, dodge outwards, away from the roll. |
| Tail Smash and Swipe | While in an angered state, Hiramabi can smash its tail down on you then swipe it sideways. You'll know it's about to do this attack when it positions its tail above you before attacking. Dodge sideways from the smash before dodging inwards or outwards from the swipe. |
| Dive Attack | When angered, Hirabami can do a dive attack towards you, twirling like a blade while diving. Watch out when it does a loop in the air as it will proceed to quickly dive down towards you afterwards. Start running sideways once you see it do the loop, and dodge away once Hirabami dives. |
| Spin Smash | While angered, Hirabami can spin very quickly in the air before smashing down. This attack has quite the reach, so it's important you run or dodge away from it once you see it start spinning in the air. |
Hirabami Variants
| All Hirabami Variants | |
|---|---|
| Tempered | Frenzied |
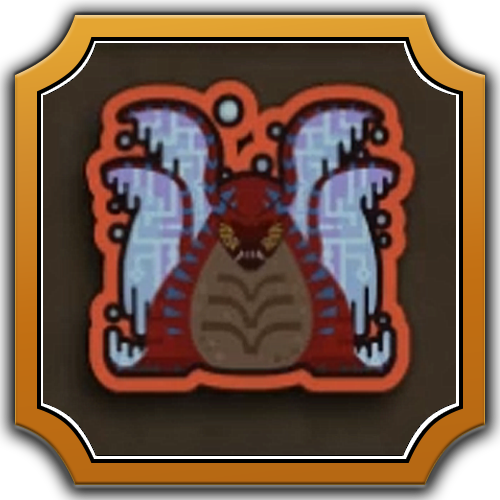
Tempered Hirabami
| Monster | Basic Information |
|---|---|
 Tempered Hirabami Tempered Hirabami |
Habitat: First Encounter: Unlocked after finishing the Wyvern Sparks and Rose Thorns quest. |
Tempered Hirabami Appearance
A Tempered Hirabami's most notable distinction compared to their regular counterparts are their large white scars, indicating that the monster is a survivor of tough battles, and that it is stronger than your regular Hirabami.
You can break these scars open to reveal a blue Tempered Wound that grants you extra rewards when it is broken!
Tempered Hirabami Rewards
| Difficulty | Possible Rewards |
|---|---|
| 5★ | Hunt Completion Breaking Tempered Wounds |
Completing a Tempered Hirabami hunt will award Damaged Weapon Shards and Hunter Symbol I, materials for crafting Rarity 6 Artian Weapons and other weapons of this tier.
Breaking its Tempered wounds will yield Wyverian Bloodstone Shard and Wyverian Bloodstone (S), useful resources for Relic Melding.
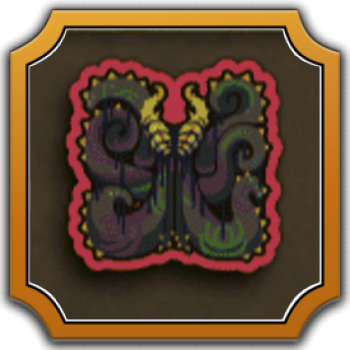
Frenzied Hirabami
| Monster | Basic Information |
|---|---|
 Frenzied Hirabami Frenzied Hirabami |
Habitat: First Encounter: Unlocked after finishing the Lurking Shadows quest. |
Frenzied Hirabami Appearance
A Frenzied Hirabami, on the other hand, takes on a darker coloring and has dark purple foam dripping from its mouth, a clear sign of the Gore Magala's Frenzy Virus having infected it.
In combat, it is more aggressive, and can inflict Frenzy on hunters when it lands enough attacks. Defeating one will earn you unique Frenzy-related materials that can be used for crafting.
Frenzied Hirabami Rewards
| Difficulty | Possible Rewards |
|---|---|
| 4★ | Hunt Reward |
Successfully taking down a Frenzied Hirabami will grant players Frenzy Shards, used to craft parts of the Gore Magala armor set and Gore Magala weapons, among other things.
Hirabami Drops
Low Rank Materials
Target
Broken Parts
Wound Destroy
Carves
| |
| |
| |
| |
Some materials, such as the Hirabami Tail Claw or Hirabami Webbing, are more easily obtained through breaking the Hirabami's Tail and Head respectively. The Partbreaker skill can make this task easier.
High Rank Materials
Target
Broken Parts
Wound Destroy
Carves
| |
| |
| |
| |
To get the 3% drop rate Wyvern Gem, it may be easier to search for Investigations that list the gem as a guaranteed reward. You may find your own such Investigations on the map, or check online through multiplayer for the gem.
Monster Hunter Wilds Related Guides
All Monsters Guides
Arch-Tempered Monsters
| Arch-Tempered Monster Guides | |
|---|---|
 AT Rey Dau AT Rey Dau |
 AT Uth Duna AT Uth Duna |
 AT Nu Udra AT Nu Udra |
 AT Jin Dahaad AT Jin Dahaad |
 AT Arkveld AT Arkveld |
|
All Large Monsters
Author

Hirabami Weakness and Drops
Please participate in our site
improvement survey
03/2026
improvement survey
03/2026
Would you assist in
improving Game8's site?
improving Game8's site?

×
We are listening to our users' valuable opinions and discussing how to act on them.
The information collected through this survey will be used for the purpose of improving our services. In addition, the information will only be disclosed a part of a statistic in a format that will not allow identification of personal information.
Begin Survey
Not Now
×
Please rate each item regarding Game8.co's Advertisements.
Amount of Ads
Very Dissatisfied
Somewhat Dissatisfied
Fine
Somewhat Satisfied
Highly Satisfied
Placement of Ads
Timing of Ad Display
Ad Loading Speed
Safeness of Ads
Content of Ads
×
Please rate each item regarding Game8.co's Quality of Articles.
Amount of information
Very Dissatisfied
Somewhat Dissatisfied
Fine
Somewhat Satisfied
Highly Satisfied
Frequency of updates
Speed of new information
Accuracy of articles
Understandibility of articles
Readability of sentences
×
Please rate each item regarding Game8.co's Usability of the Site.
Ease of finding information
Very Dissatisfied
Somewhat Dissatisfied
Fine
Somewhat Satisfied
Highly Satisfied
Loading Speed
Use of Color
Font Size
Visibility of Images
Easy to Understand Layout
×
Please rate each item regarding Game8.co's Message Boards, Comments.
Ease of Writing
Very Dissatisfied
Somewhat Dissatisfied
Fine
Somewhat Satisfied
Highly Satisfied
Readability
Ease in Finding Information
Comment Quality
Comment Quantity
Admin Response
×
Please rate each item regarding Game8.co's Site's new design.
Please rate our site's new design
Very Dissatisfied
Somewhat Dissatisfied
Fine
Somewhat Satisfied
Highly Satisfied
Do you think that the website's design change makes the site easier to use?
Has the new design made it easier for you to find information on the site?
Has the new design improved the overall visual appeal of the site?
How would you rate your overall satisfaction with the new design of the site?
×
How likely are you to recommend Game8 to someone you know?
Very Unlikely
0
1
2
3
4
5
6
7
8
9
10
Very Likely
If you have other opinions regarding potential improvement to the website, please share them with us. We would appreciate your honest opinion.
Note: This is a free response section, so you can proceed without entering anything.
Note: Please be sure not to enter any kind of personal information into your response.
Note: Please be sure not to enter any kind of personal information into your response.
×
Thank You
×
Thank you for participating in our survey! Your answers will help us to improve the quality of our website and services.
We hope you continue to make use of Game8.
We hope you continue to make use of Game8.
Close
Premium Articles

Rankings
- We could not find the message board you were looking for.
Gaming News


![Everwind Review [Early Access] | The Shaky First Step to A Very Long Journey](https://img.game8.co/4440226/ab079b1153298a042633dd1ef51e878e.png/thumb)

![Monster Hunter Stories 3 Review [First Impressions] | Simply Rejuvenating](https://img.game8.co/4438641/2a31b7702bd70e78ec8efd24661dacda.jpeg/thumb)
Popular Games

Genshin Impact Walkthrough & Guides Wiki
Honkai: Star Rail Walkthrough & Guides Wiki
Umamusume: Pretty Derby Walkthrough & Guides Wiki
Pokemon Pokopia Walkthrough & Guides Wiki
Resident Evil Requiem (RE9) Walkthrough & Guides Wiki
Monster Hunter Wilds Walkthrough & Guides Wiki
Wuthering Waves Walkthrough & Guides Wiki
Arknights: Endfield Walkthrough & Guides Wiki
Pokemon FireRed and LeafGreen (FRLG) Walkthrough & Guides Wiki
Pokemon TCG Pocket (PTCGP) Strategies & Guides Wiki


Recommended Games
Diablo 4: Vessel of Hatred Walkthrough & Guides Wiki
Fire Emblem Heroes (FEH) Walkthrough & Guides Wiki
Yu-Gi-Oh! Master Duel Walkthrough & Guides Wiki
Super Smash Bros. Ultimate Walkthrough & Guides Wiki
Pokemon Brilliant Diamond and Shining Pearl (BDSP) Walkthrough & Guides Wiki
Elden Ring Shadow of the Erdtree Walkthrough & Guides Wiki
Monster Hunter World Walkthrough & Guides Wiki
The Legend of Zelda: Tears of the Kingdom Walkthrough & Guides Wiki
Persona 3 Reload Walkthrough & Guides Wiki
Cyberpunk 2077: Ultimate Edition Walkthrough & Guides Wiki


All rights reserved
©CAPCOM
The copyrights of videos of games used in our content and other intellectual property rights belong to the provider of the game.
The contents we provide on this site were created personally by members of the Game8 editorial department.
We refuse the right to reuse or repost content taken without our permission such as data or images to other sites.
But the real enemy is the camera, which does absolutely crazy things in the cramped arena, against flying enemies.