Doshaguma Weakness and Drops
★ Arkveld Gamma Armor | MH Stories 3 Collab
☆ Version 1.041: Sororal α Armor | Shatterseal
★ How to Unlock Proof of a Hero Quest
☆ Omega Planetes | Savage Omega | Builds vs Omega
★ Armor Set Search updated for Ver 1.041
☆ HR50+ Builds | Tier List | Weapon Guides
Doshaguma is a Fanged Beast in Monster Hunter Wilds. Learn how to beat Doshaguma, its weaknesses, drops, locations, attack patterns and more!
| All Related Doshaguma Articles | ||
|---|---|---|
 Doshaguma Doshaguma
|
 Weapons Weapons
|
 Armor Sets Armor Sets
|
List of Contents
Doshaguma Weakness
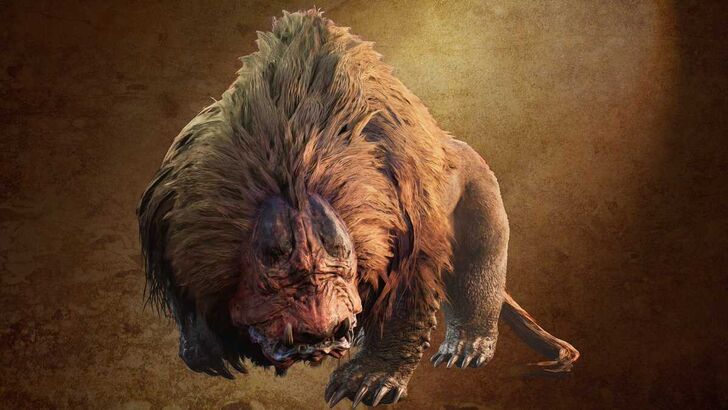
Basic Information
 |
||
| Type | Roar | Wind Pressure |
|---|---|---|
| Fanged Beast | Weak | Minor |
| Tremor | Status Effect | Element |
| Minor | None | None |
| Gold Crown Sizes | ||
|
|
||
Note: Gold Crown Sizes have ranges and may vary between hunters.
Damage Type Weakness
Hitzone Values and Weakness Breakdown
※ Click the tabs to switch between Damage Type and Elemental Damage Hitzone effectiveness.
| Part | |||
|---|---|---|---|
| Head | |||
| Torso | |||
| Left Foreleg | |||
| Right Foreleg | |||
| Left Hind Leg | |||
| Right Hind Leg | |||
| Tail Hair | |||
| Overall |
| Part | |||||
|---|---|---|---|---|---|
| Head | |||||
| Torso | |||||
| Left Foreleg | |||||
| Right Foreleg | |||||
| Left Hind Leg | |||||
| Right Hind Leg | |||||
| Tail Hair | |||||
| Overall |
The numbers above showcase damage types' effectiveness against the monster's hitzones. Parts with higher numbers mean the damage type is more effective, with 1 being the lowest and 20 as the highest.
Hitzone DPS Summary
| Fire is the best element to use against Doshaguma. Try to aim for its Head to deal the most amount of Fire damage. |
Kinsect Extract From Parts
| Head | Torso | ||
|---|---|---|---|
| Left Foreleg | Right Foreleg | ||
| Left Hind Leg | Right Hind Leg | ||
| Tail Hair | - | - |
Insect Glaive Weapon Guide and Best Combos
Status Ailment and Item Weakness
| Status Ailment | Items | ||
|---|---|---|---|
| |
|
||
| |
|
||
| |
|
||
| |
|
||
| |
|
||
| |
|
||
Breakable Parts
| Breakable |
・Forelegs ・Tail Hair |
|---|
Doshaguma Locations and Quests
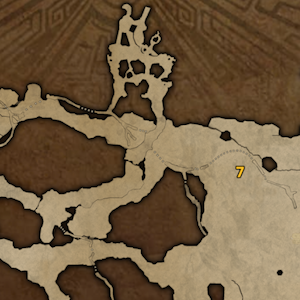
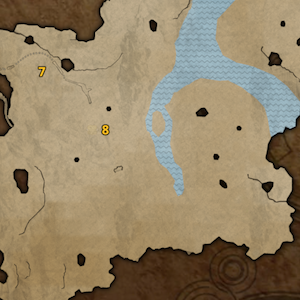
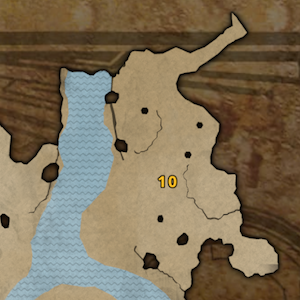
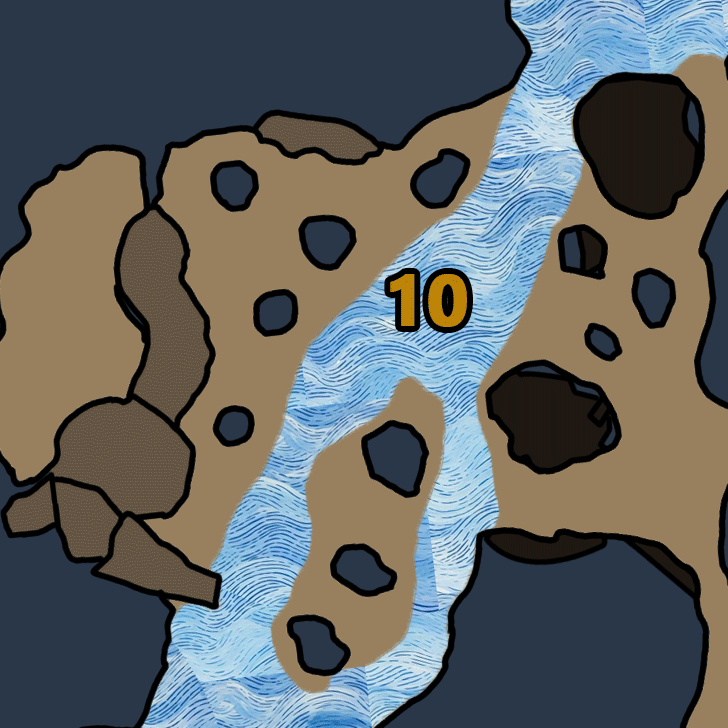
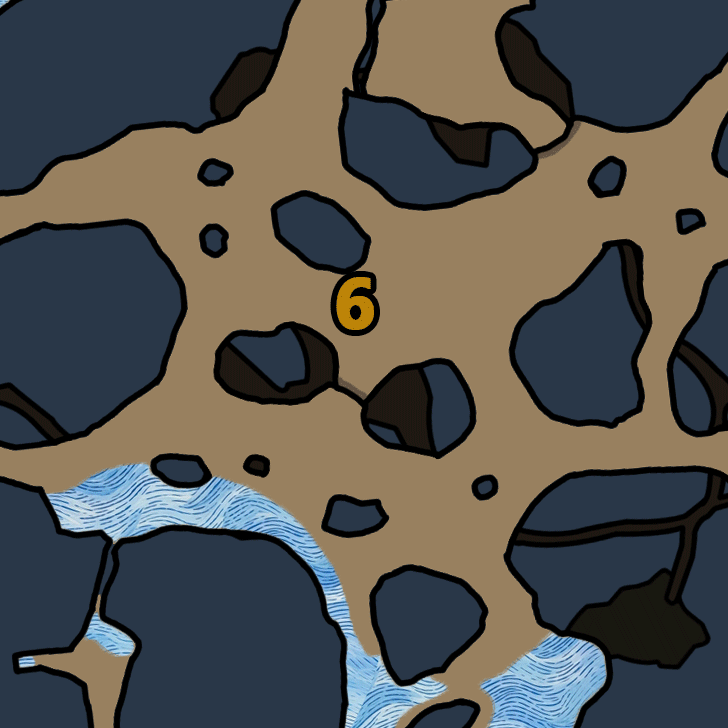
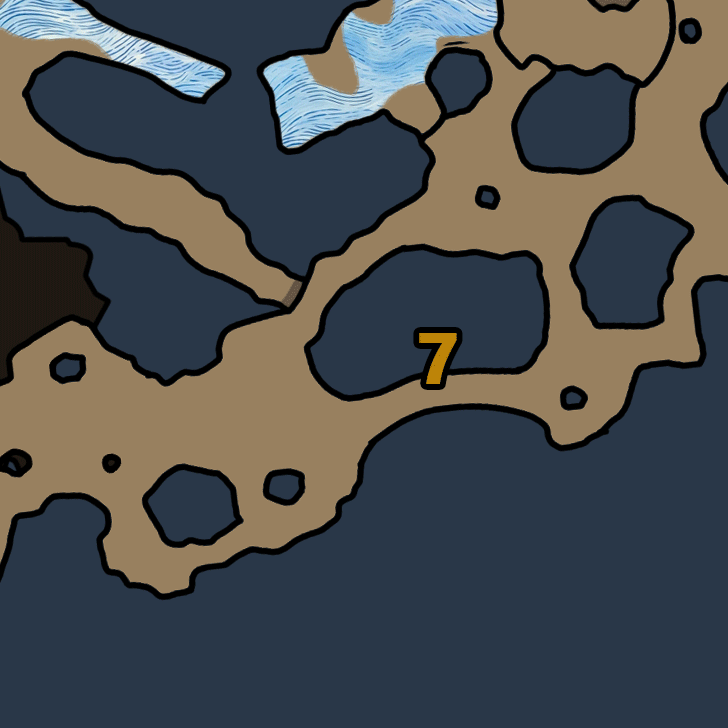
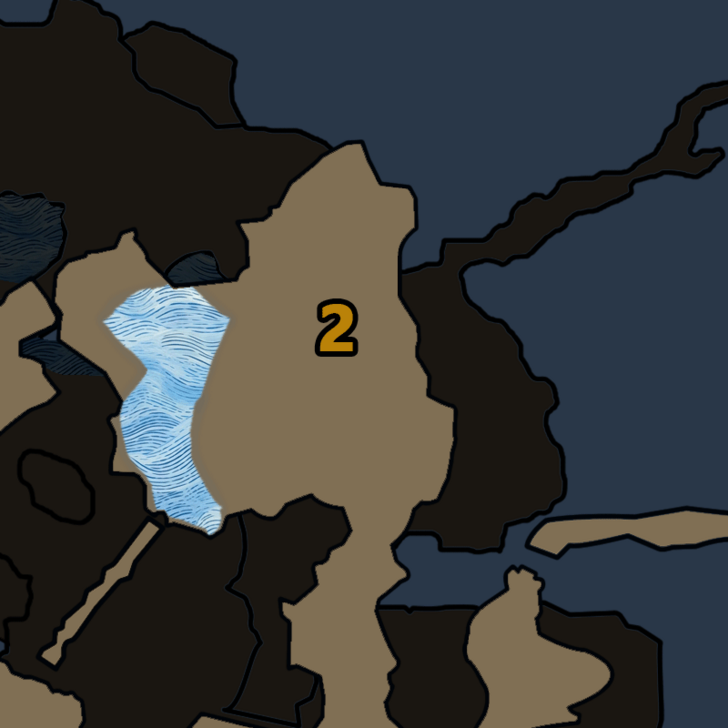
Known Habitats
| Region | Starting Area | Visited Areas | Resting Area |
|---|---|---|---|
 Windward Plains Windward Plains |
|
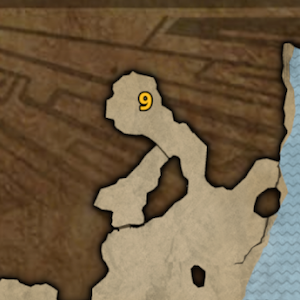
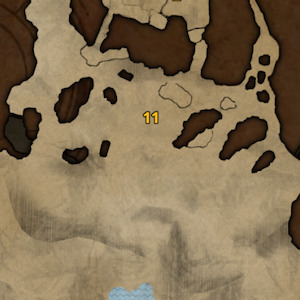
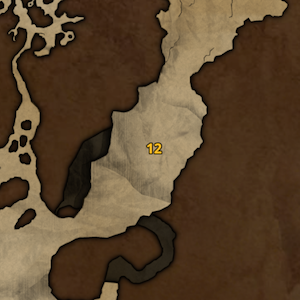
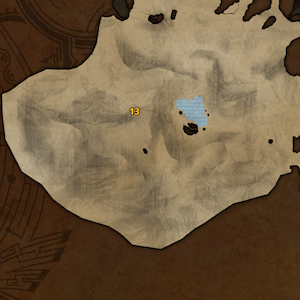
|
|
 Scarlet Forest Scarlet Forest |
|
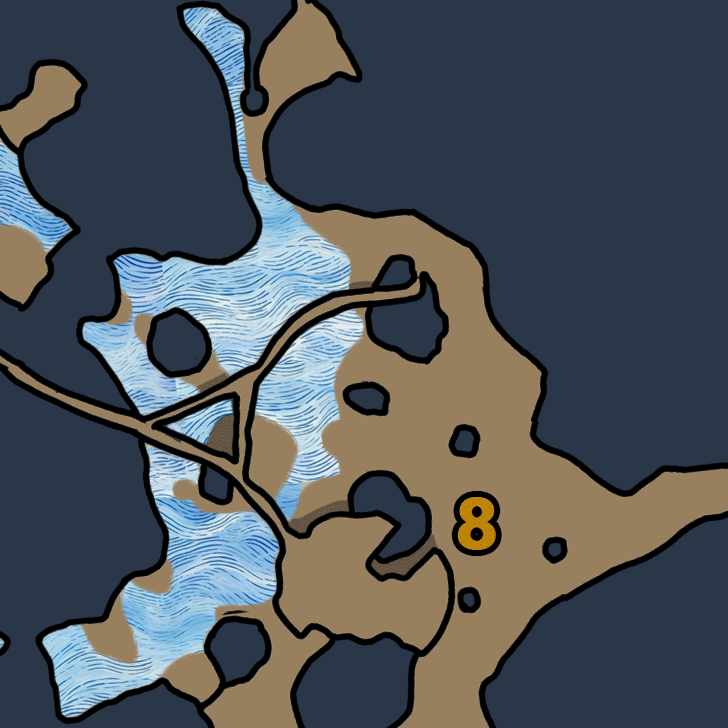
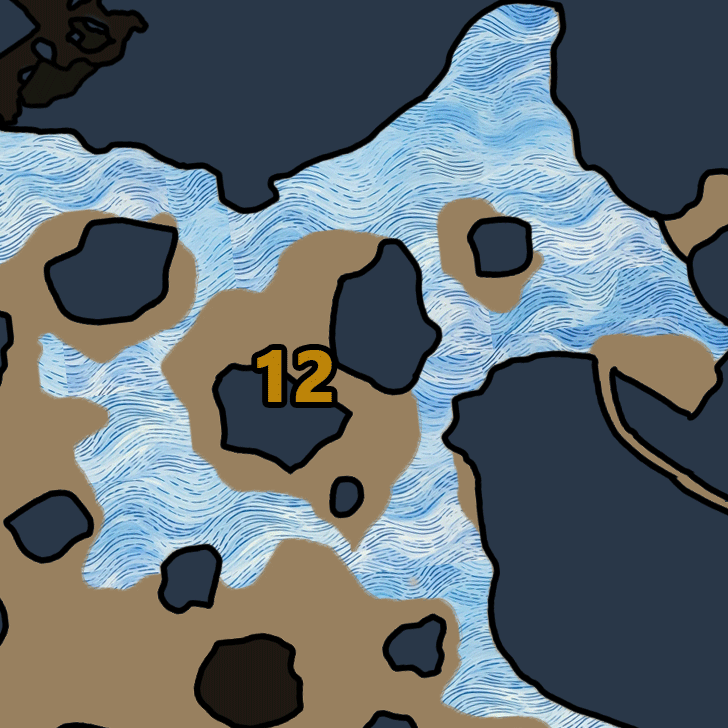
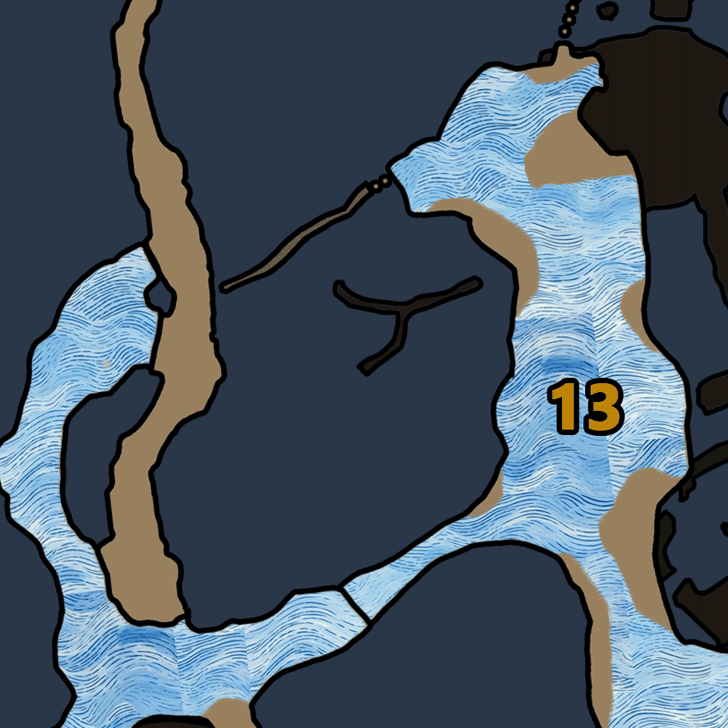
|

|
 Ruins of Wyveria Ruins of Wyveria |
- | 
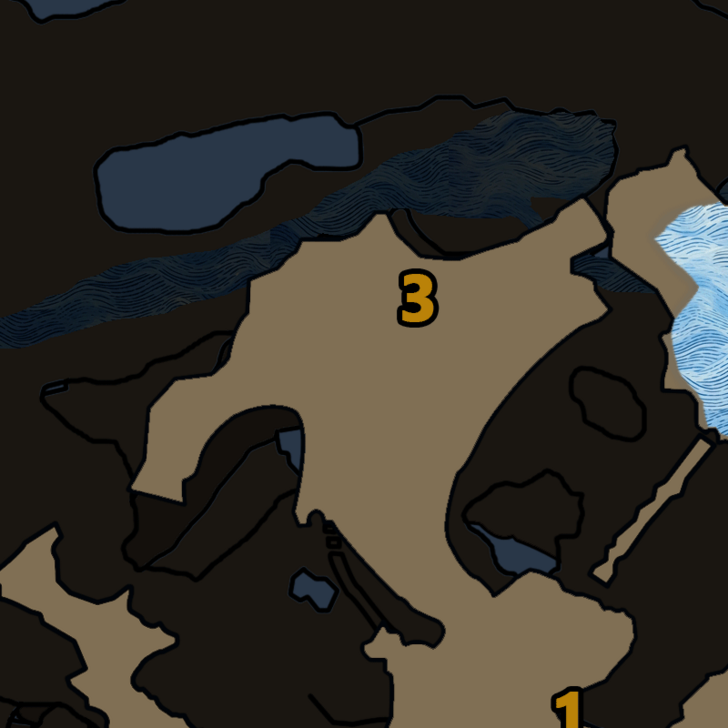

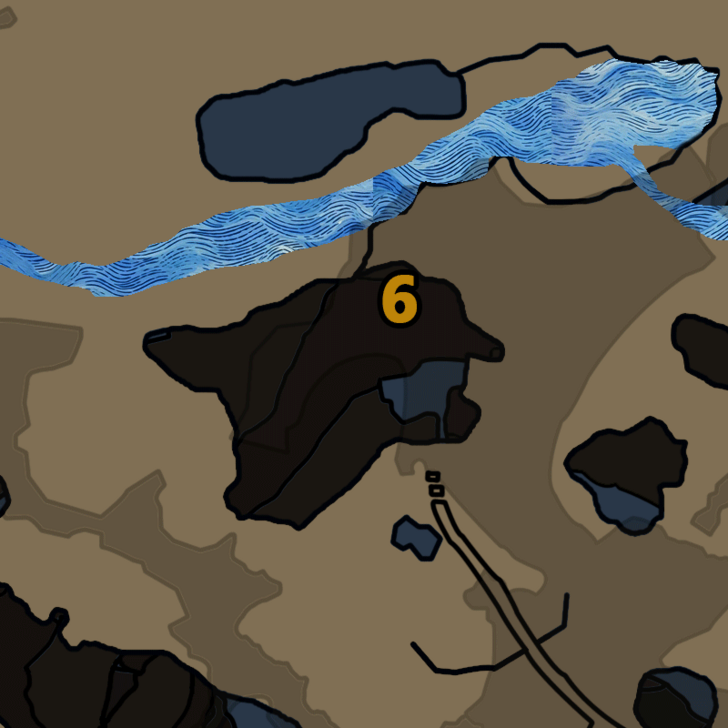
|
- |
Doshaguma can also appear in the Wounded Hollow. When hunting for Gold Crowns, that locale is a good place to scout and reroll for monster sizes.
Interactive Map and List of Locations
Quest Appearances
| Quest Type | Lvl. | Quest Name |
|---|---|---|
| Assignment | 1★ | Pinnacle of the Pack |
| Optional Quest | 1★ | Forest Outlaw |
| Optional Quest | 5★ | Doshaguma Hunt |
| Event | 5★ | Sand-Scarred Soul |
After defeating it in Chapter 1, A Hunter's Pride, Doshaguma will start to randomly appear in Windward Plains, Scarlet Forest, and Wounded Hollow on Low and High Rank. You're able to hunt it in Low and High Rank Field Surveys or Investigations by then.
Hunt Doshaguma in Packs
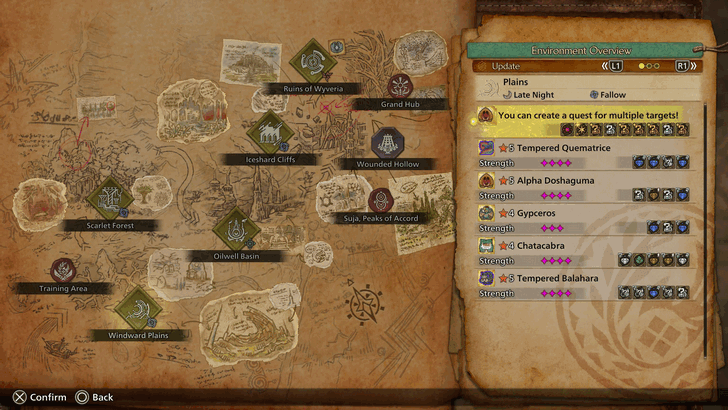
Starting in Title Update 3, hunters will be able to hunt Doshaguma in packs as quest targets with Heavy Armor Spheres as rewards. Other monsters that can be hunted in packs include Hirabami and Yian Kut-ku.
Doshaguma Item Loadout
Recommend Items to Bring
|
|
|
|
|
|
|
|
|
|
|
|
When Doshagumas are in a pack, use Large Dung Pods to disperse the group so you don't have to fight multiple of them at once.
For survivability, it's recommended to bring healing items like Mega Potions, Max Potions, and crafting materials for Mega Potions. Use Pitfall Traps and Shock Traps to trap Doshaguma and give yourself damage windows.
List of All Items and Materials
How to Beat Doshaguma
| Doshaguma Monster Fight Tips |
|---|
|
|
Use Large Dung Pods to Disperse a Pack
Doshagumas may come in a pack, led by an Alpha Doshaguma. To avoid fighting the whole pack, separate the herd by using either Large Dung Pods, Dung Pods, or Luring Pods. Large Dung Pods are the most convenient to use as they disperse the entire pack with a single pod.
Exploit Its Wounds
Doshaguma gets wounded easily the longer you fight it. Make sure to constantly check for wounds and exploit them to constantly flinch Doshaguma. This is especially useful whenever it's aggressive, as that's when its attacks are most dangerous.
Focus Strike Its Belly During Ground Break Attack
When Doshaguma prepares to do its Ground Break attack, its belly can become a Weak Spot. When this spot glows red in Focus Mode, use Focus Strike on it to stop the attack and stagger Doshaguma.
Be careful as this attack deals a lot of damage to hunters caught in it. Act quickly once you see Doshaguma stand on its hind legs to prepare for the attack.
How to Use Focus Mode and Focus Strike
Get It in Turf Wars
Doshaguma can get into Turf Wars with numerous monsters. Turf Wars often deal significant damage to one or both of the monsters, even leaving them wounded. Take advantage of this once the Turf War ends, but be careful if both monsters decide to stick around after.
How to Start Monster Fights and Turf Wars
Initiate Power Clashes
Numerous of Doshaguma's attacks can trigger a Power Clash, which can be achieved if you do a Perfect Guard against one of its attacks. Successfully doing so will topple Doshaguma and give you a window for dealing additional damage.
Doshaguma Attack Patterns
Moveset and Openings
Moves labeled with a shield icon indicate that you can trigger a Power Clash with them. On the other hand, moves labeled with a sword icon indicate that you can counter them with an Offset Attack.
| Attack | Description |
|---|---|
| Ground Break | Doshaguma will stand on its hind legs for a long while, before slamming both forelimbs on the ground, causing the terrain in front of it to shatter. Run to the sides or back of Doshaguma to avoid damage. Alternatively, you can interrupt the attack by doing a Focus Strike on Doshaguma's belly once it stands up. |
| Circular Sweep | Doshaguma will sweep its claws around itself twice. Dodge away from the initial sweep then run away to avoid follow-up attacks. |
| Claw Slam |
Doshaguma will briefly stand on its hind legs and raise one of its forelimbs before slamming it on the ground. Doshaguma can do this attack three times in a row. Roll to the side to avoid damage. |
| Grab Lunge |
Doshaguma will rear up to stand on its hind legs before lunging down to grab you with both of its claws. Dodge sideways or diagonally right before the attack hits you. |
| Standing Ground Drag | Doshaguma stands on its hind legs before dropping down to scoop the ground and drag it across you. Dodge diagonally towards its back once it stands up to avoid the attack. |
| Ground Drag | Similar to the Standing Ground Drag, except it stays on all four of its legs. Doshaguma will dig both of its forelimbs into the ground before swiping it toward your direction. Dodge diagonally or backward from this attack before it hits you. |
| Body Slam | Doshaguma will rear back before leaping and slamming its entire body at you. Start running to the side as soon as you see it rear up. |
| Charge |
Doshaguma will lightly dig into the ground to prepare its charge towards you. Time your sideways dodge right before it hits you. |
| Small Monster Throw | When near Small Monsters, Doshaguma can grab one of them with its jaws before throwing them at you. Start running sideways once you see it grab a Small Monster, then dodge right before it hits you. |
| Bite Lunges | Doshaguma will lunge forward with a bite at least two times. Dodge diagonally to the side of Doshaguma to avoid getting bit. |
| Snout Drag |
Doshaguma will dig its snout into the ground before swiping it sideways. Dodge backward from this attack. |
| Bite | Doshaguma will chomp forward. Move behind Doshaguma's front legs to avoid the bite. |
| Claw Swipe |
Doshaguma will use its forelimbs to sweep hunters to the side, interrupting their attacks and dealing moderate damage. Perfectly time a roll away from the swipe. |
Doshaguma Variants
| All Doshaguma Variants | |
|---|---|
| Tempered | Frenzied |
Tempered Doshaguma
| Monster | Basic Information |
|---|---|
 Tempered Doshaguma Tempered Doshaguma |
Habitat: First Encounter: After completing Storm-cold Vortex |
Tempered Doshagumas can be encountered after completing the High Rank mission Storm-cold Vortex. They can randomly appear in the Windward Plains, Scarlet Forest, Ruins of Wyveria, and Wounded Hollow.
Tempered Doshaguma Appearance
Tempered Doshagumas are stronger and covered in large scars across their bodies which you can damage and open into Tempered Wounds which you can break with a Focus Strike to deal increased damage and even knock them down to the ground!
Tempered Doshaguma Rewards
| Difficulty | Possible Rewards |
|---|---|
| 6★ | Hunt Completion Breaking Tempered Wounds |
As a 6★ difficulty monster, hunting Tempered Doshaguma will reward you with Rusted Weapon Shards and Hunter Symbol II.
Destroying a Tempered Doshaguma's tempered wound can also reward you with either a Wyverian Bloodstone (S), Wyverian Bloodstone, or Wyverian Bloodstone (L). These are used for Relic Melding.
There Is No Frenzied Doshaguma
There are no Frenzied Doshagumas. Among all the Monsters in the Forbidden Lands, there are only 5 that can be infected with the Frenzy Virus, and they all reside in the Iceshard Cliffs.
Doshaguma Drops
Low Rank Materials
| |
| |
| |
| |
To obtain Doshaguma's rarest Low Rank drop, the Doshaguma Certificate with its 11% drop rate as a Target Reward, it's best to grind the monster's Low-Rank Optional Missions. Quests like Forest Outlaw are well-suited for grinding this material.
High Rank Materials
| |
| |
| |
| |
The Beast Gem is Doshaguma's rarest High Rank drop, with a 3% drop chance. Multiple monsters can drop this material, such as Congalala and Guardian Doshaguma. To obtain it from Doshaguma, it's best to keep hunting the monster and carve its body. Carving its body gives a 5% drop chance.
Remember to also check Doshaguma Investigations or SOS quests and look for the rewards. Some quests will have these rare materials as guaranteed rewards! You can also opt to use Lucky Vouchers and utilize the Lucky Meal or Capture Pro Meal food skill to improve your chances of getting these rare materials overall.
Monster Hunter Wilds Related Guides
All Monsters Guides
Arch-Tempered Monsters
| Arch-Tempered Monster Guides | |
|---|---|
 AT Rey Dau AT Rey Dau |
 AT Uth Duna AT Uth Duna |
 AT Nu Udra AT Nu Udra |
 AT Jin Dahaad AT Jin Dahaad |
 AT Arkveld AT Arkveld |
|
All Large Monsters
Comment
Author
Doshaguma Weakness and Drops
improvement survey
03/2026
improving Game8's site?

Your answers will help us to improve our website.
Note: Please be sure not to enter any kind of personal information into your response.

We hope you continue to make use of Game8.
Premium Articles
Rankings
- We could not find the message board you were looking for.
Gaming News
Popular Games

Genshin Impact Walkthrough & Guides Wiki

Honkai: Star Rail Walkthrough & Guides Wiki

Umamusume: Pretty Derby Walkthrough & Guides Wiki

Pokemon Pokopia Walkthrough & Guides Wiki

Resident Evil Requiem (RE9) Walkthrough & Guides Wiki

Monster Hunter Wilds Walkthrough & Guides Wiki

Wuthering Waves Walkthrough & Guides Wiki

Arknights: Endfield Walkthrough & Guides Wiki

Pokemon FireRed and LeafGreen (FRLG) Walkthrough & Guides Wiki

Pokemon TCG Pocket (PTCGP) Strategies & Guides Wiki
Recommended Games

Diablo 4: Vessel of Hatred Walkthrough & Guides Wiki

Fire Emblem Heroes (FEH) Walkthrough & Guides Wiki

Yu-Gi-Oh! Master Duel Walkthrough & Guides Wiki

Super Smash Bros. Ultimate Walkthrough & Guides Wiki

Pokemon Brilliant Diamond and Shining Pearl (BDSP) Walkthrough & Guides Wiki

Elden Ring Shadow of the Erdtree Walkthrough & Guides Wiki

Monster Hunter World Walkthrough & Guides Wiki

The Legend of Zelda: Tears of the Kingdom Walkthrough & Guides Wiki

Persona 3 Reload Walkthrough & Guides Wiki

Cyberpunk 2077: Ultimate Edition Walkthrough & Guides Wiki
All rights reserved
©CAPCOM
The copyrights of videos of games used in our content and other intellectual property rights belong to the provider of the game.
The contents we provide on this site were created personally by members of the Game8 editorial department.
We refuse the right to reuse or repost content taken without our permission such as data or images to other sites.

 Arkveld
 Rey Dau
 Nu Udra
 Balahara
 Chatacabra
 Uth Duna
 Lala Barina
 Quematrice
 Rompopolo
 Ajarakan
 Yian Kut-Ku
 Congalala
 Rathalos
 Gypceros
 Rathian
 Gravios
 Nerscylla
 Gore Magala
 Hirabami
 Mizutsune
 Jin Dahaad
 Blangonga
 Guardian Arkveld
 Guardian Doshaguma
 Guardian Rathalos
 Guardian Ebony Odogaron
 Xu Wu
Xu Wu Zoh Shia
 Guardian Fulgur Anjanath
 Lagiacrus
 Seregios
 Omega Planetes


![Everwind Review [Early Access] | The Shaky First Step to A Very Long Journey](https://img.game8.co/4440226/ab079b1153298a042633dd1ef51e878e.png/thumb)

![Monster Hunter Stories 3 Review [First Impressions] | Simply Rejuvenating](https://img.game8.co/4438641/2a31b7702bd70e78ec8efd24661dacda.jpeg/thumb)


