Omega Micros Shield and Drops
★ Arkveld Gamma Armor | MH Stories 3 Collab
☆ Version 1.041: Sororal α Armor | Shatterseal
★ How to Unlock Proof of a Hero Quest
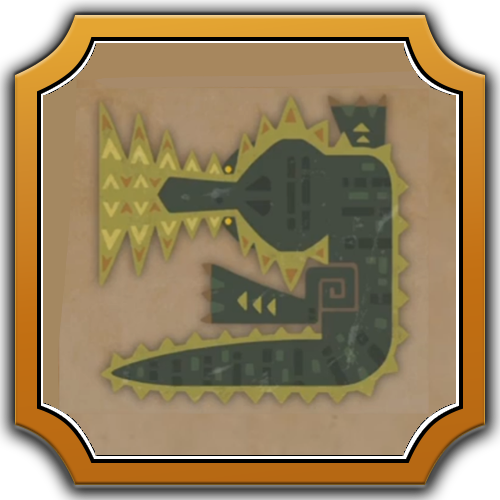
☆ Omega Planetes | Savage Omega | Builds vs Omega
★ Armor Set Search updated for Ver 1.041
☆ HR50+ Builds | Tier List | Weapon Guides
Omega Micros is an Unknown Small Monster that you will encounter in Monster Hunter Wilds as part of the Final Fantasy XIV Collaboration Event. In this guide, learn how to use Omega Micros as shields against Omega Planetes, its location, and drops!
List of Contents
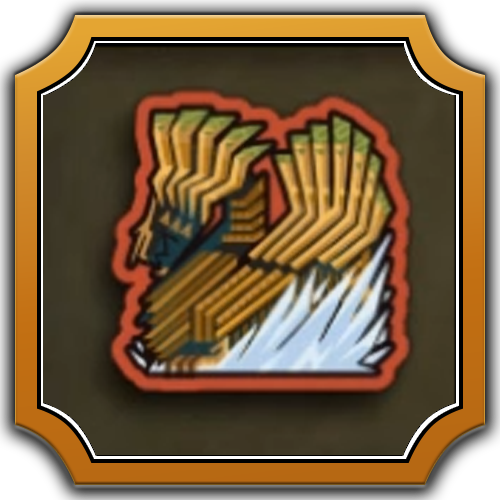
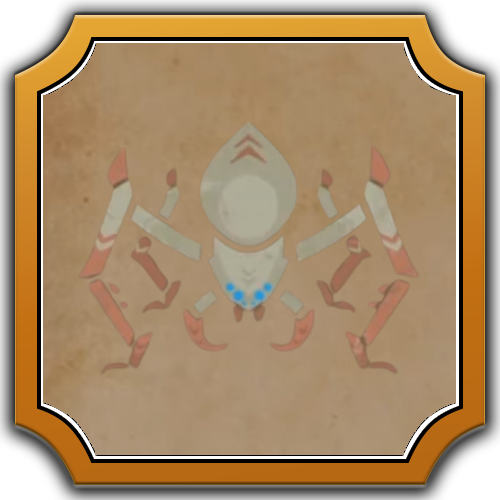
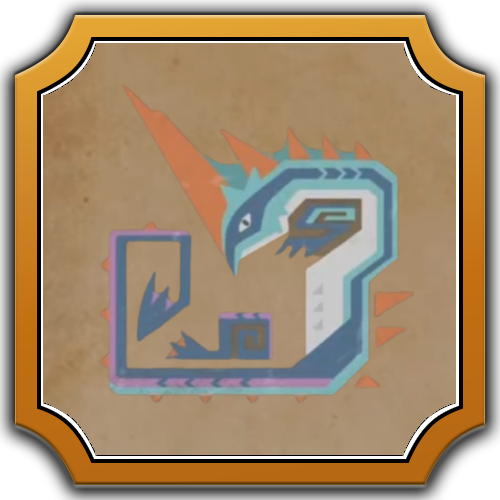
Omega Micros Information
 Omega Micros Omega Micros
|
||
| Type | ||
|---|---|---|
| Unknown | ||
| Description | ||
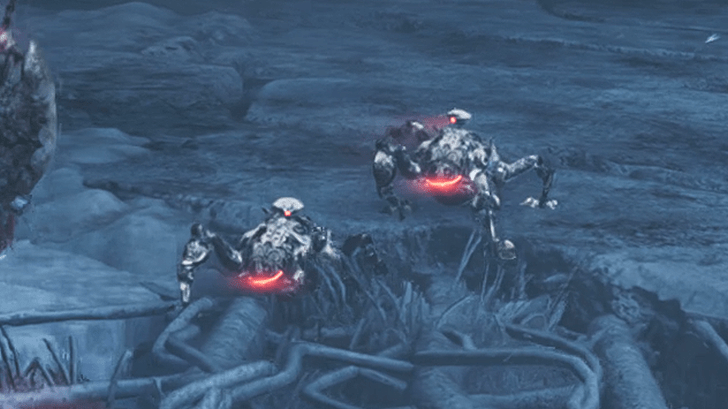
| Omega Micros are small machines manufactured by Omega Planetes that home in on hunters and self-destruct. Attention can be drawn with a sonic bomb. Will sometimes create a shield when destroyed. | ||
Glowing Micros Generate Shields

Omega Micros with a blue glowing hue will generate a shield (as a static spherical force field) when destroyed. They must be destroyed through your attacks, since letting them jump and explode on you will not generate a shield. They can sometimes be lured by EZ Sonic Bombs from your Seikret's Pouch or the equivalent Screamer Pods.
When fighting Omega Planetes, shields are extremely important objects you should use to negate all outside projectile and non-physical attacks (except physical contact attacks) made by Omega Planetes.
Omega Micros Locations
Spawns from Omega Planetes
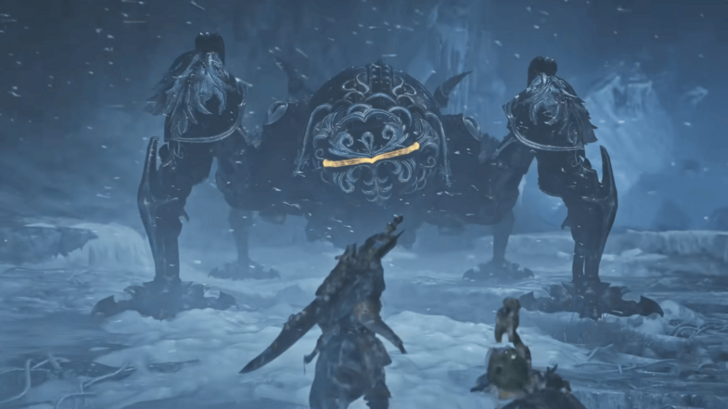
Omega Micros are encountered as mission targets as early as The Beacon of Invasion Extra 4 mission in the Iceshard Cliffs. But they primarily spawn in groups from the large monster Omega Planetes in Rimechain Peak, usually signalled by the 'deploying combat modules' subtitle.
Omega Planetes is encountered as the main target in the Assignment Invader from the Stars, in the Optional Quest Planetes Protocol, and its harder version the permanent Event Quest Planetes Protocol (Savage). You will need to be HR41+ to start the assignment and HR100+ to start the Event Quest version.
Omega Micros Drops
High Rank Materials
| All Drops |
|---|
|
Omega Screw [20%]
|
Monster Hunter Wilds Related Guides

All Monsters Guides
Arch-Tempered Monsters
| Arch-Tempered Monster Guides | |
|---|---|
 AT Rey Dau AT Rey Dau |
 AT Uth Duna AT Uth Duna |
 AT Nu Udra AT Nu Udra |
 AT Jin Dahaad AT Jin Dahaad |
 AT Arkveld AT Arkveld |
|
All Small Monsters
 Ceratonoth Ceratonoth
|
 Dalthydon Dalthydon
|
 Bulaqchi Bulaqchi
|
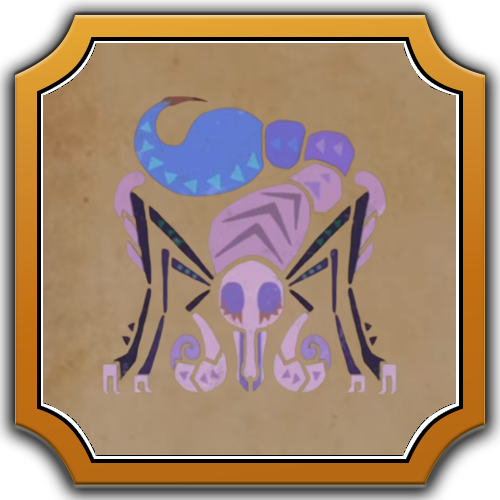
 Gajios Gajios
|
 Baunos Baunos
|
 Talioth Talioth
|
 Gelidron Gelidron
|
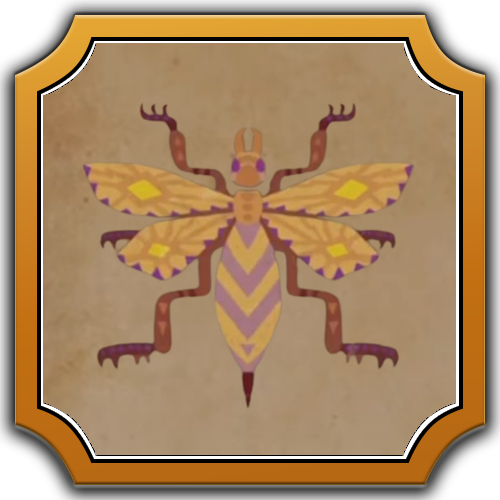 Vespoid Vespoid
|
 Conga Conga
|
 Nerscylla Hatchling Nerscylla Hatchling
|
 Comaqchi Comaqchi
|
 Rafma Rafma
|
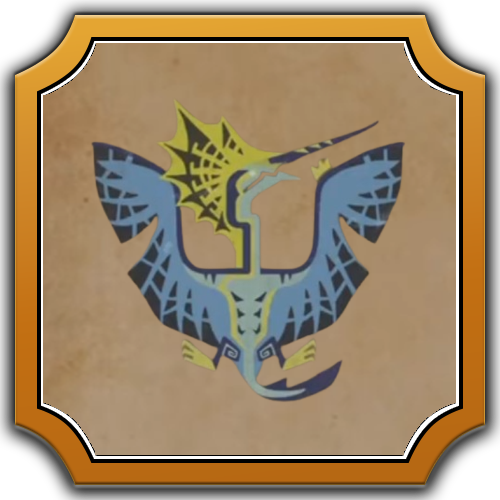 Harpios Harpios
|
 Kranodath Kranodath
|
 Piragill Piragill
|
 Porkeplume Porkeplume
|
 Guardian Seikret Guardian Seikret
|
 Blango Blango
|
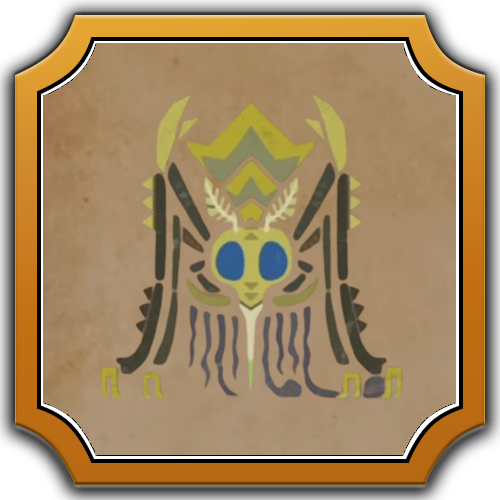
 Omega Micros Omega Micros
|
Comment
Author

Omega Micros Shield and Drops
Premium Articles

Rankings
- We could not find the message board you were looking for.
Gaming News


Popular Games

Genshin Impact Walkthrough & Guides Wiki
Umamusume: Pretty Derby Walkthrough & Guides Wiki
Pokemon Pokopia Walkthrough & Guides Wiki
Honkai: Star Rail Walkthrough & Guides Wiki
Monster Hunter Stories 3: Twisted Reflection Walkthrough & Guides Wiki
Arknights: Endfield Walkthrough & Guides Wiki
Wuthering Waves Walkthrough & Guides Wiki
Zenless Zone Zero Walkthrough & Guides Wiki
Pokemon TCG Pocket (PTCGP) Strategies & Guides Wiki
Monster Hunter Wilds Walkthrough & Guides Wiki


Recommended Games
Fire Emblem Heroes (FEH) Walkthrough & Guides Wiki
Diablo 4: Vessel of Hatred Walkthrough & Guides Wiki
Cyberpunk 2077: Ultimate Edition Walkthrough & Guides Wiki
Yu-Gi-Oh! Master Duel Walkthrough & Guides Wiki
Super Smash Bros. Ultimate Walkthrough & Guides Wiki
Pokemon Brilliant Diamond and Shining Pearl (BDSP) Walkthrough & Guides Wiki
Elden Ring Shadow of the Erdtree Walkthrough & Guides Wiki
Monster Hunter World Walkthrough & Guides Wiki
The Legend of Zelda: Tears of the Kingdom Walkthrough & Guides Wiki
Persona 3 Reload Walkthrough & Guides Wiki


All rights reserved
©CAPCOM
The copyrights of videos of games used in our content and other intellectual property rights belong to the provider of the game.
The contents we provide on this site were created personally by members of the Game8 editorial department.
We refuse the right to reuse or repost content taken without our permission such as data or images to other sites.