The Secret of Al-Ahmar Quest Guide
✉ Send your thoughts in our Genshin 6.4 Patch Survey!
★ Exclusive: Dive back in time with the Meta History
◆ Hot: Version 6.4, Luna 5 Codes
◆ Builds: Varka, Flins, Skirk, Escoffier
◆ Events: Travelers' Tales, He Who Caught the Wind
◆ Future: Linnea, Version 6.5 Luna VI
The Secret of Al-Ahmar is the third archaeological quest of the Golden Slumber chain in Sumeru for Genshin Impact. See how to unlock The Secret of Al-Ahmar World Quest, and how to proceed deeper within the ruins in this guide!
List of Contents
How to Unlock The Secret of Al-Ahmar
Finish Golden Slumber: An Introduction to Indoor Archaeology

The Secret of Al-Ahmar automatically unlocks after you finish the An Introduction to Indoor Archaeology sub-quest in Golden Slumber.
An Introduction to Indoor Archaeology
The Secret of Al-Ahmar Quest Walkthrough
Enter the secret passage behind the mural
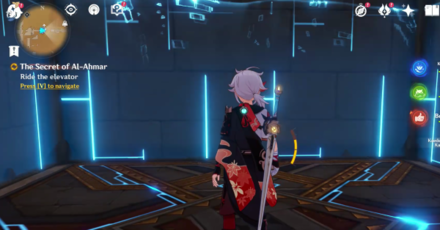
Upon completing the previous quest, head up the stairs inside the mural secret passage.
Go to King Deshret's Mausoleum
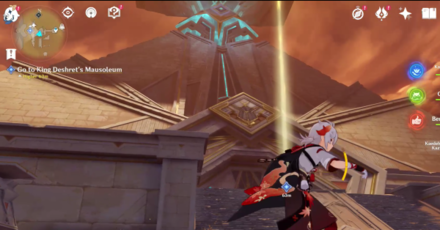
After waiting the long ride out of the elevator, proceed to the massive pyramid of King Deshret's Mausoleum. Benben will open up the entrance for you.
Defeat the opponents
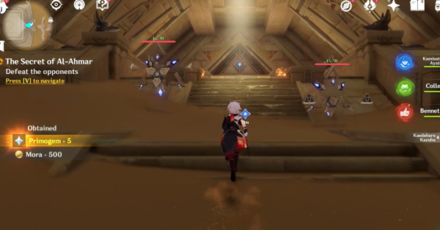
Once inside the Mausoleum, defeat the Primal Constructs with Jeht and Jebrael. Proceed forward to the main room of the pyramid.
Four Primal Embers to open the coffin
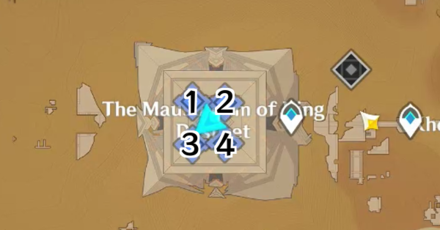
You will then have to find the four primal embers to open the big sarcophagus in the middle of the room. Here's how to get all of them:
How to Get the First Primal Ember
| Primal Ember #1 Walkthrough | |
|---|---|
| 1 |  From the entrance of the main room, go to the right path. |
| 2 | 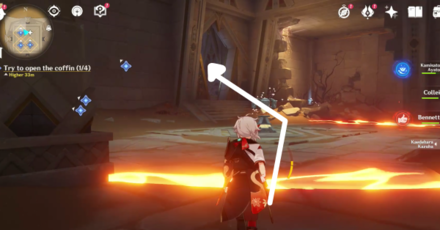 Go inside the far left corridor by the trap mechanism. |
| 3 | 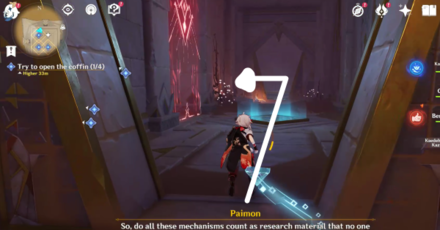 Continue moving forward. There are time puzzles here but they are not required for completion. |
| 4 | 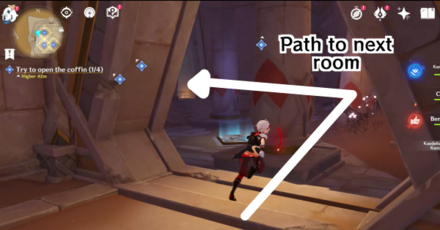 Proceed to the room with a seelie and go inside the top left path. |
| 5 | 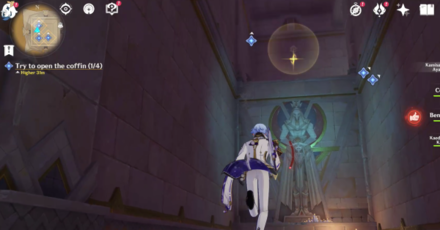 Look up the mural and swing yourself to the top floor. |
| 6 | 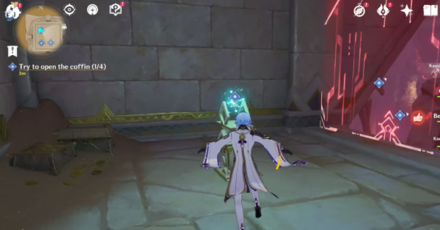 Release the first Primal Ember to the sarcophagus. |
How to Get the Second Primal Ember
| Primal Ember #2 Walkthrough | |
|---|---|
| 1 |  From the entrance of the main room, go to the right path. |
| 2 | 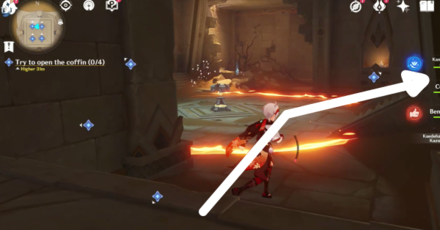 Go inside the right corridor by the trap mechanism. |
| 3 | 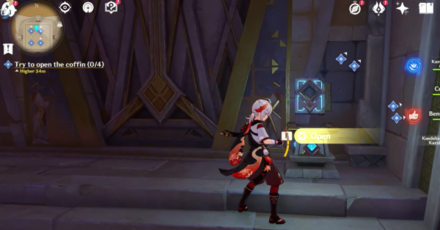 Open the door with the blue book mechanism. |
| 4 | 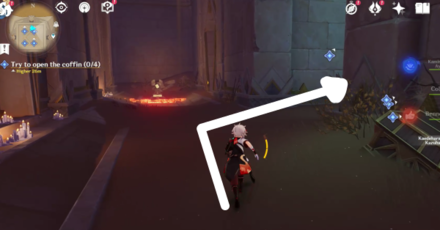 Once inside the corridor, immediately look to the right open path. |
| 5 | 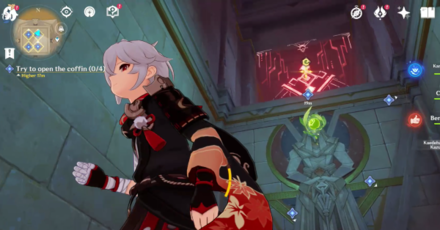 Look up the mural and swing yourself to the top floor. A Dendroculus can also be found inside! |
| 6 | 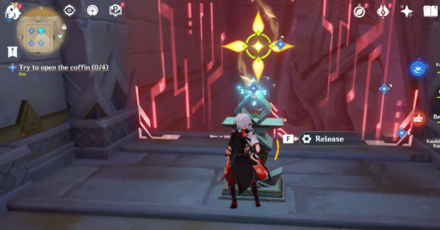 Release the second first Primal Ember to the sarcophagus. |
How to Get the Third Primal Ember
| Primal Ember #3 Walkthrough | |
|---|---|
| 1 | 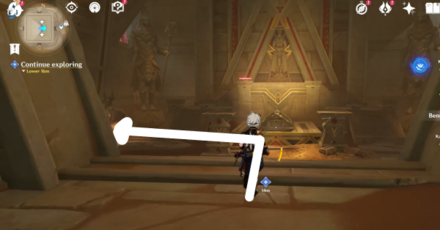 From the entrance of the main room, go to the left path. |
| 2 | 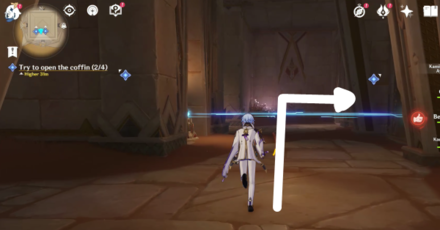 Proceed forward and head to the right corridor. |
| 3 |  Enter the first open path to your right. |
| 4 | 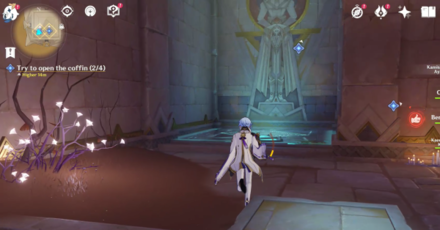 Head to the mural and ride up the wind current emanating from the pad. |
| 5 | 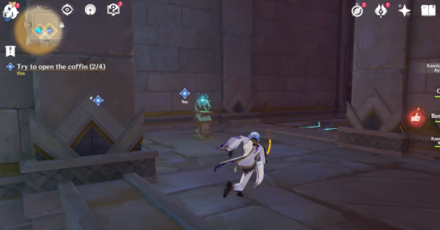 Release the third first Primal Ember to the sarcophagus. |
How to Get the Fourth Primal Ember
| Primal Ember #4 Walkthrough | |
|---|---|
| 1 |  From the entrance of the main room, go to the left path. |
| 2 | 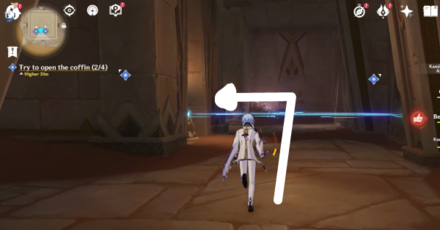 Proceed forward and head to the far left corridor. |
| 3 | 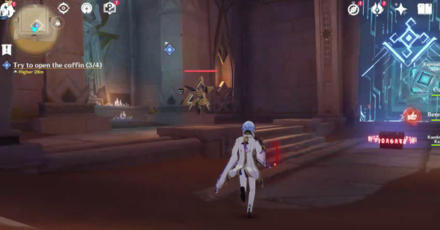 Look for the mural on the left side of the room by the Primal Construct. |
| 4 | 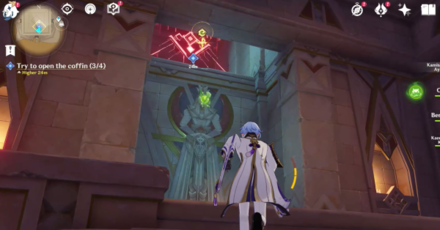 Swing yourself up the mural. A Dendroculus can be found on the location as well! |
| 5 | 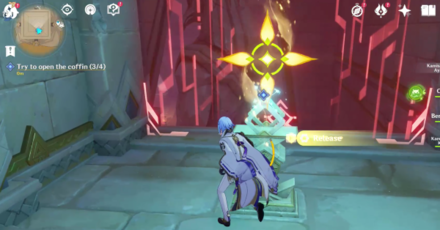 Release the fourth first Primal Ember to the sarcophagus. |
Find the way to the upper floor
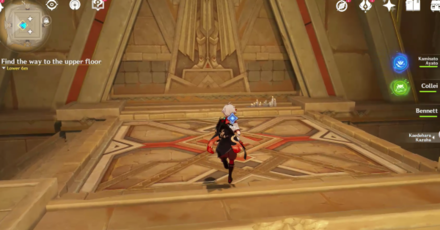
Above the sarcophagus, activate the elevator to get up the room to the highest floor.
Go to the highest floor of the Mausoleum
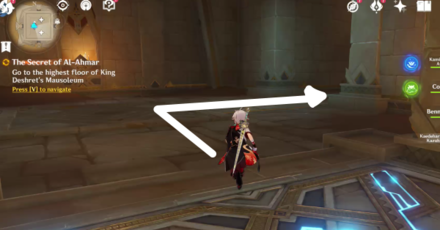
Upon arriving from the elevator, head to the right corridor, then go up the staircases. The highest floor location of the Mausoleum can be found by the big structure in the center of the room.
Clearance Level 1 Unlock

Completing this objective will also give you Clearance Level 1, which enables you access to the Everlight Cell puzzles.
Find the members of the archaeological team
 |
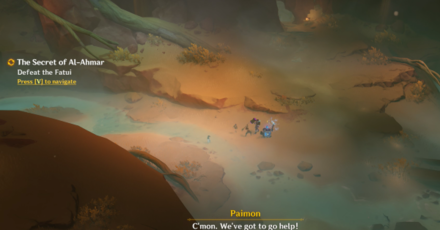 |
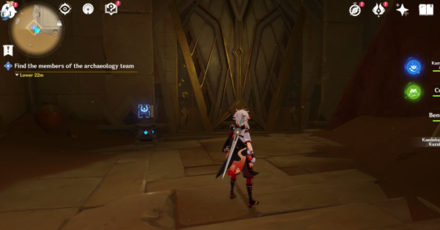
After the cutscene, you will be transported to an underground area. Exit the room you're currently in with the blue book device. Once you're outside, defeat the Fatui who are fighting Jeht and Jebrael.
Proceed deeper within and find Benben
At this point, you'll need to try and find Benben by exploring the underground cavern.
| How to Find Benben | |
|---|---|
| 1 | 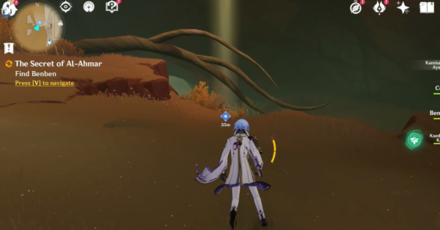 Go forward below the fallen branch. |
| 2 | 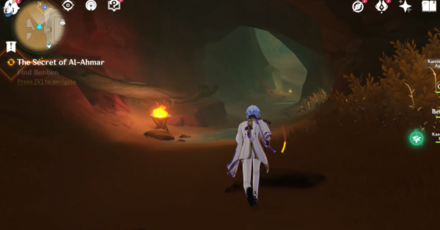 Inside a deeper cavern past the brazier. |
| 3 | 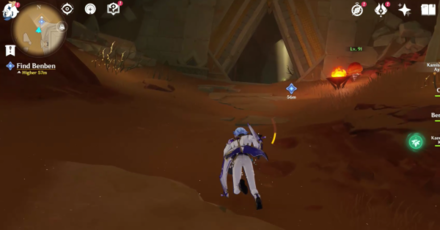 Head inside the triangular ruin entrance. |
| 4 | 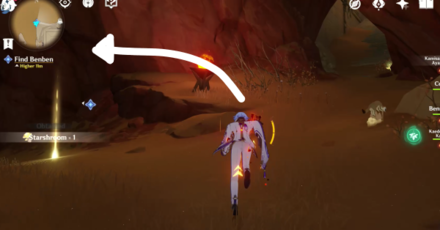 Go to the left path. |
| 5 | 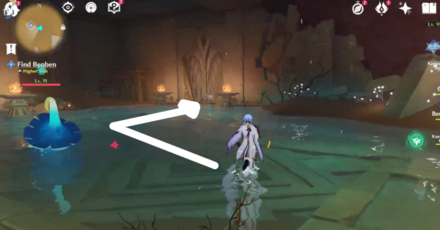 Inside the flooded room, go to the door with an interactable blue book. |
| 6 |  Head outside past the Fatui Geochanter. |
| 7 | 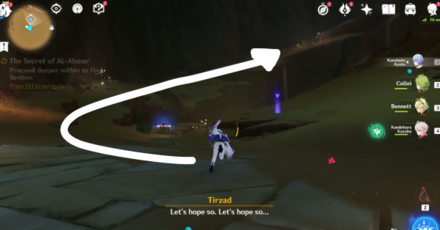 Up the ramp on the left side. |
| 8 | 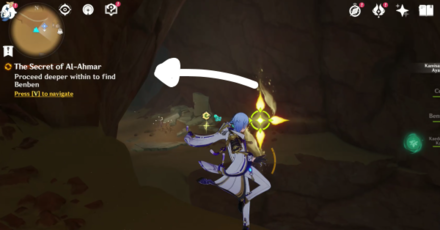 Use the four-left sigil to get across the hole on the left side. |
| 9 | 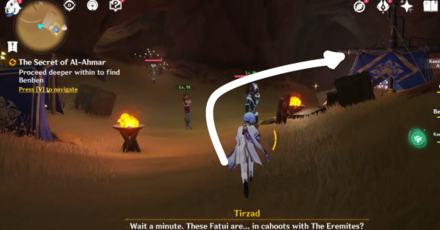 To the Fatui Camp, then head to the right side of the fork. |
| 10 | 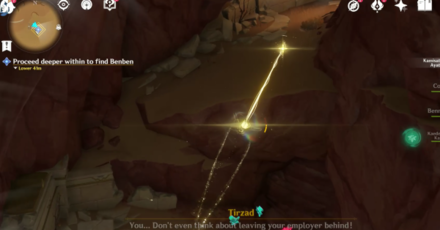 Use the four-leaf sigils once more to get to the last area. You can find the final location by the hidden underground teleport waypoint. |
Go to the Fatui camp and Defeat Samail
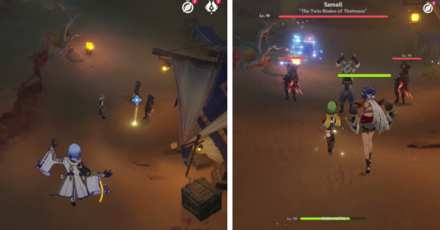
From the Teleport Waypoint, drop down then approach the Fatui. Defeat Samail, a Sunfrost Eremite, accompanied by two Pyro Fatui.
Proceed deeper within the ruins (0/2)
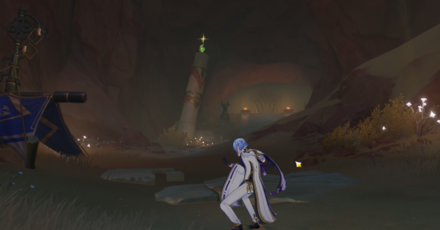
You will have to find two Primal Embers inside Opet Hall. You can start by entering the ruins from the Fatui camp going south.
How to Get the First Opet Hall Primal Ember
| Opet Hall Primal Ember #1 Walkthrough | |
|---|---|
| 1 | 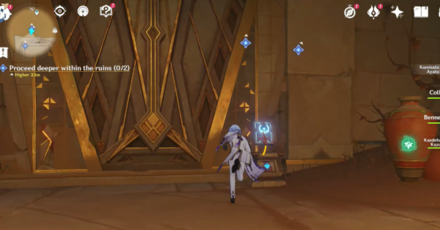 Enter the room by opening it with the blue book device. |
| 2 | 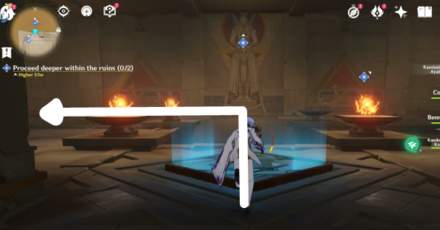 Go up the stairs, then head to the left corridor. |
| 3 | 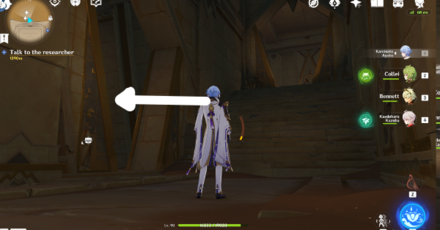 Go up the next set of stairs until you've come across the first open path to your left. |
| 4 | 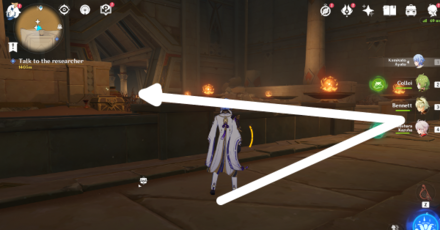 Once inside the room, enter the bigger room on your left. |
| 5 | 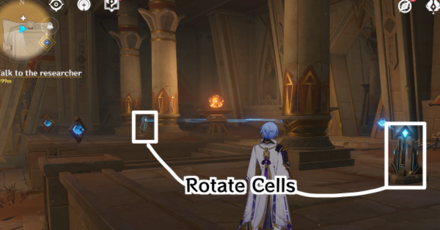 Open the right door by rotating the cells closest to the door. These two cells must link to their respective floating Primal Beam connector to open the door. |
| 6 | 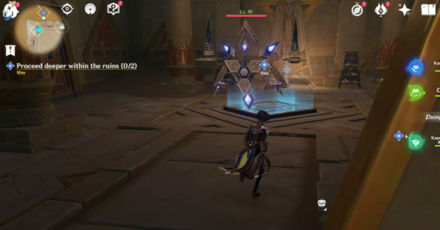 Once the door opens, defeat the Primal Construct. |
| 7 | 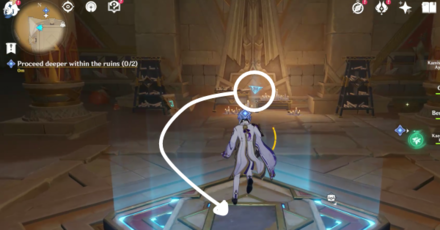 Get the floating Forged Primal Light and activate the Replicator Keystone device to spawn the Primal Ember. |
| 8 | 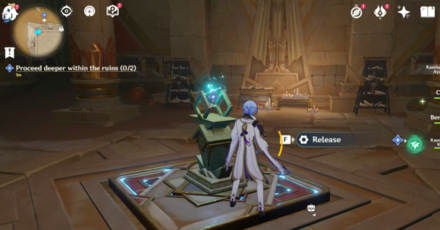 Release the Primal Ember from its pedestal. |
| 9 | 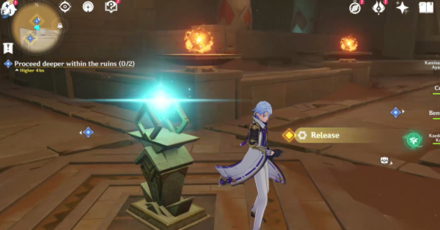 Follow the Ember to the previous rooms. Release it again once it settles to a pedestal. |
| 10 | 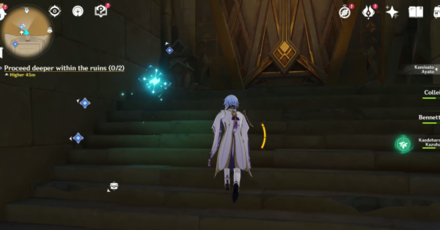 Go outside the room and head up the upper stairs this time. Open the door to go outside the ruins. |
| 11 | 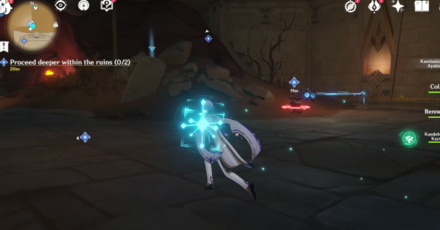 At this point you'll notice the second Primal Ember in this location. The puzzle for the first Primal Ember stops here, so you can solve the second one and guide both Embers at the same time. |
How to Get the Second Opet Hall Primal Ember
| Opet Hall Primal Ember #2 Walkthrough | |
|---|---|
| 1 |  In the same room as you guided the first one, check the cells puzzle on your right. |
| 2 | 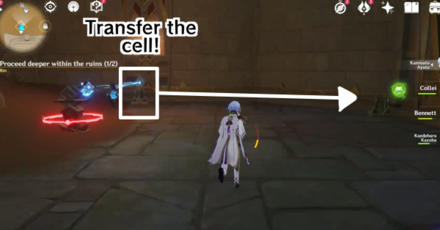 Press the button prompt to move the cell from the left side to the right side nearest to the door. |
| 3 | 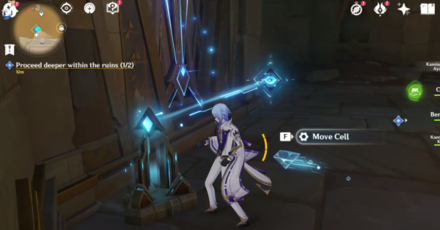 Once the cell reaches to the other side, it will automatically link. This will open the door. |
| 4 | 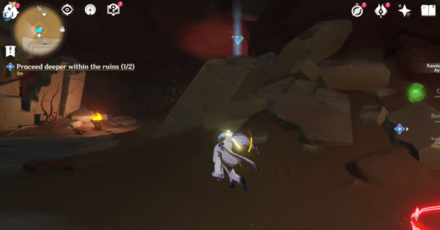 Before going inside, collect the Forged Primal Light behind you. |
| 5 | 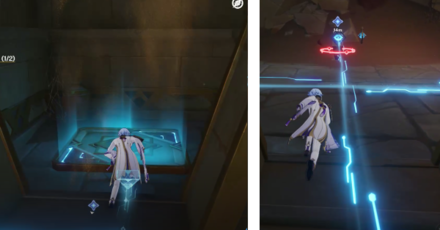 Create another cell by placing the Forged Primal Light to the Replicator Keystone panel, which should automatically link to the monument. |
| 6 | 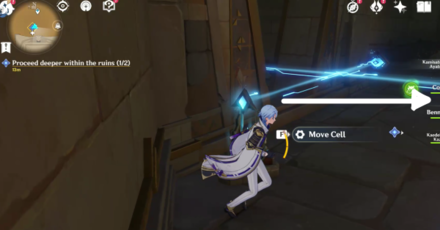 Return the first cell back to its original position. |
| 7 |  The second Primal Ember will unlock. |
Guide both Primal Embers
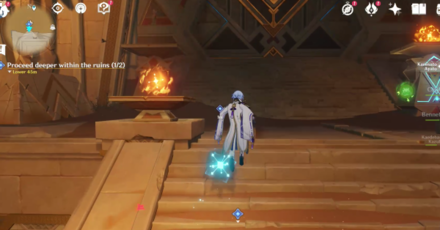
Once both Primal Embers have been unlocked, simply follow it until it goes to their own respective Primal Torch above the room.
Investigate the room located deep within
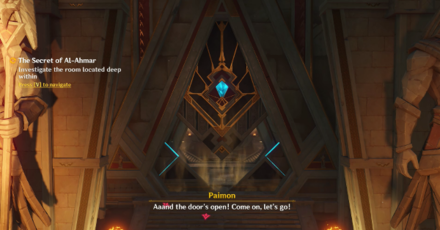
Once both Primal Embers have lit up the big torches, the entrance to the room above the stairs will open. Head inside to complete the quest!
The Secret of Al-Ahmar Information
Sub-quest of Golden Slumber

This quest is the third sub-quest to complete the long Desert quest chain, under Golden Slumber. You'll need to complete all quests to unlock ruins and exploration abilites in the Desert area of Sumeru!
Golden Slumber World Quest Chain Guide
The Secret of Al-Ahmar Rewards
Total Quest Rewards
| Total Quest Rewards |
 Primogem x40 |
 Mora x40000 |
|---|---|---|
 Hero's Wit x3 |
 Adventure EXP x350 |
|
Genshin Impact Related Guides

Other Golden Slumber Quest Guides
| Golden Slumber World Quest Guides | ||
|---|---|---|
| Lost in the Sands | An Introduction to Indoor Archaeology | The Secret of Al-Ahmar |
| Dreams Beneath the Searing Sand | ||
Comment
Heyy, I have a problem: I am currently at the "secret of Al-ahmar", where you should use the elevator to get to the highest floor. Problem: I missed it. Now I can't get up, and the elevator won't come back - does anyone have a solution for this??? TwT
Author
The Secret of Al-Ahmar Quest Guide
improvement survey
03/2026
improving Game8's site?

Your answers will help us to improve our website.
Note: Please be sure not to enter any kind of personal information into your response.

We hope you continue to make use of Game8.
Rankings
Gaming News
Popular Games

Genshin Impact Walkthrough & Guides Wiki

Honkai: Star Rail Walkthrough & Guides Wiki

Umamusume: Pretty Derby Walkthrough & Guides Wiki

Pokemon Pokopia Walkthrough & Guides Wiki

Resident Evil Requiem (RE9) Walkthrough & Guides Wiki

Monster Hunter Wilds Walkthrough & Guides Wiki

Wuthering Waves Walkthrough & Guides Wiki

Arknights: Endfield Walkthrough & Guides Wiki

Pokemon FireRed and LeafGreen (FRLG) Walkthrough & Guides Wiki

Pokemon TCG Pocket (PTCGP) Strategies & Guides Wiki
Recommended Games

Diablo 4: Vessel of Hatred Walkthrough & Guides Wiki

Fire Emblem Heroes (FEH) Walkthrough & Guides Wiki

Yu-Gi-Oh! Master Duel Walkthrough & Guides Wiki

Super Smash Bros. Ultimate Walkthrough & Guides Wiki

Pokemon Brilliant Diamond and Shining Pearl (BDSP) Walkthrough & Guides Wiki

Elden Ring Shadow of the Erdtree Walkthrough & Guides Wiki

Monster Hunter World Walkthrough & Guides Wiki

The Legend of Zelda: Tears of the Kingdom Walkthrough & Guides Wiki

Persona 3 Reload Walkthrough & Guides Wiki

Cyberpunk 2077: Ultimate Edition Walkthrough & Guides Wiki
All rights reserved
Copyright© 2012-2024 HoYoverse — COGNOSPHERE. All Rights Reserved.
The copyrights of videos of games used in our content and other intellectual property rights belong to the provider of the game.
The contents we provide on this site were created personally by members of the Game8 editorial department.
We refuse the right to reuse or repost content taken without our permission such as data or images to other sites.


![Everwind Review [Early Access] | The Shaky First Step to A Very Long Journey](https://img.game8.co/4440226/ab079b1153298a042633dd1ef51e878e.png/thumb)

![Monster Hunter Stories 3 Review [First Impressions] | Simply Rejuvenating](https://img.game8.co/4438641/2a31b7702bd70e78ec8efd24661dacda.jpeg/thumb)


* Ahhhh, okayy. Problem solved. There is some kind of button, or device you can use, to call the elevator back