The Temple Where Sand Flows Like Tears Quest Guide
✉ Send your thoughts in our Genshin 6.4 Patch Survey!
★ Exclusive: Dive back in time with the Meta History
◆ Hot: Version 6.4, Luna 5 Codes
◆ Builds: Varka, Flins, Skirk, Escoffier
◆ Events: Travelers' Tales, He Who Caught the Wind
◆ Future: Linnea, Version 6.5 Luna VI
The Temple Where Sand Flows Like Tears is the second quest of The Dirge of Bilqis chain in Sumeru for Genshin Impact. See how to unlock the quest, how to open the gate, and a full walkthrough here!
| The Dirge of Bilqis Quest Guides | |
|---|---|
| Wisdom Has Built Her House | Temple Where Sand Flows |
| Dune-Entombed: Part I | Dune-Entombed: Part II |
| Dune-Entombed: Part III | The Eternal Dream, Ever Lush |
How to Unlock The Temple Where Sand Flows Like Tears
Finish Wisdom Has Built Her House, She Has Hewn Out Her Seven Pillars

The Temple Where Sand Flows Like Tears automatically unlocks after you finish the Wisdom Has Built Her House, She Has Hewn Out Her Seven Pillars sub-quest in The Dirge of Bilqis.
Wisdom Has Built Her House Quest Guide
How to Open the Gate in The Temple Where Sand Flows Like Tears
Attack the Rune Mechanism
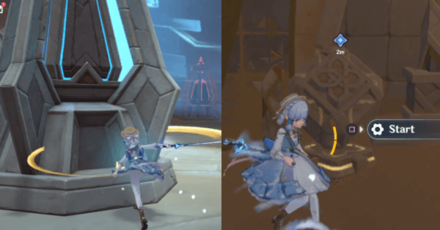
To open the gate inside the temple, simply attack the giant Rune Mechanism and have its light face toward the door by the back. Afterwards, use the mechanism by the door to open the gate.
The Temple Where Sand Flows Like Tears Quest Walkthrough
Activate the Device and Open the Gate
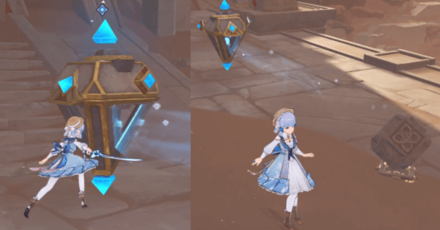
After heading to the Temple of Gurabad and talking to Azariq, simply attack the Rune Mechanism and have its light point towards the sand pile. Afterwards, use the device to open the gate.
Touch the Giant Device
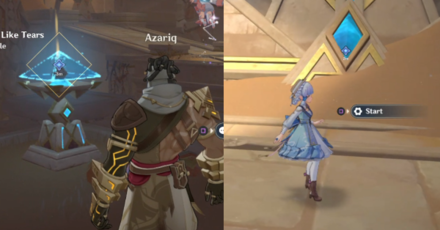
Once you head inside the Temple of Gurabad, activate the glowing device and then touch the giant device; which is the pyramid.
Activate the device, and in turn, another machine somewhere (Part 1)
| How to Activate the Device & Another Machine I | |
|---|---|
| 1 | 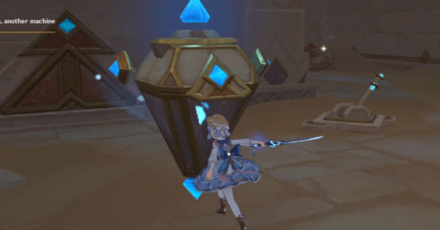 Attack the Rune Mechanism, and have its light point toward the triangle on the wall then use the lever on the right. |
| 2 | 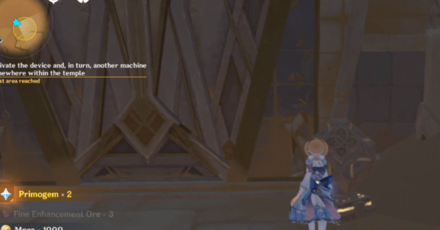 Activate the mechanism by the door. |
| 3 | 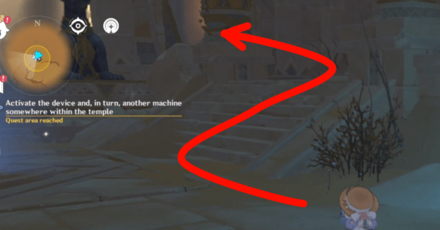 After entering the door, enter the next door to your right. |
| 4 | 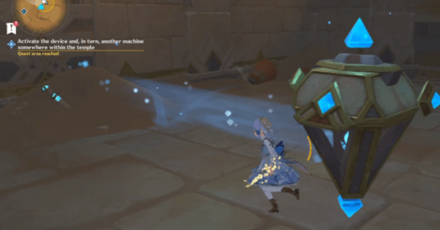 Attack the Rune Mechanism inside and have it point toward the sand pile. Use the lever and then attack the Rune Mechanism again to have it point toward the triangle on the wall. |
| 5 | 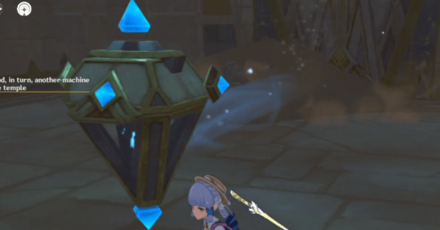 Head out and go to the other door. Attack the Rune Mechanism and have it point toward the sand pile to open the door mechanism. |
| 6 | 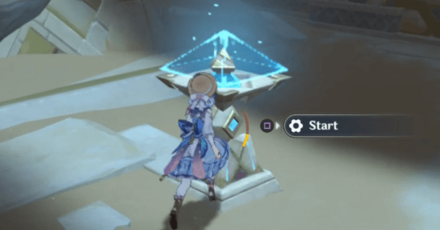 Go inside and turn right. You will find a room with a glowing mechanism. Use the mechanism to activate. |
Look for another exit
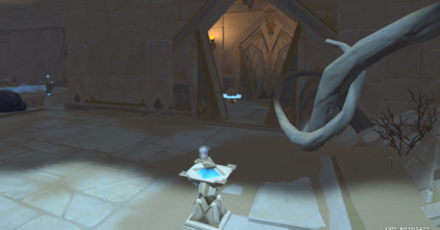
To look for another exit, simply head outside the room with the glowing mechanism and open the door nearby it.
Find the activated machine
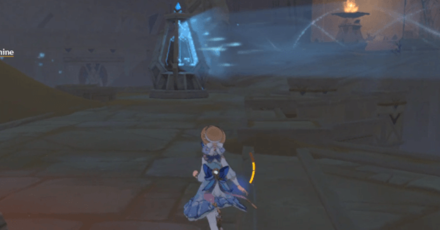
After entering the main room again, go near the newly activated machine.
Scatter the dust around the sealing machine
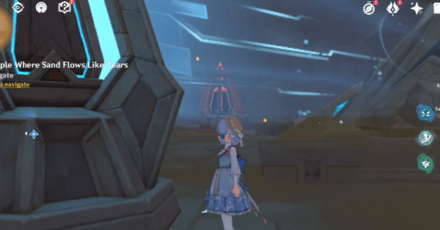
Attack the newly activated machine and have it point toward the giant machine to scatter the dust around the sealing machine.
Activate the device, and in turn, another machine somewhere (Part 2)
| How to Activate the Device & Another Machine II | |
|---|---|
| 1 | 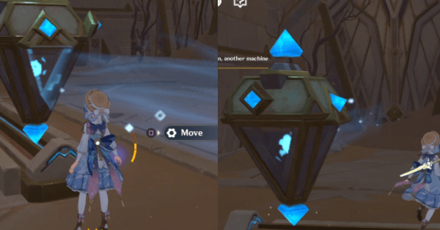 Move the Rune Mechanism to the other side and attack it to have it point toward the door. Afterwards, open the door and enter. |
| 2 | 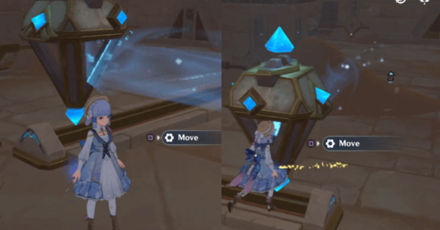 In the next room, move the Rune Mechanism to the other side and attack it to have it point toward the sand pile. Afterwards, use the lever to activate the mechanism and open the door. You can move the Rune Mechanism back and have it point toward the triangle to free up a chest. |
| 3 | 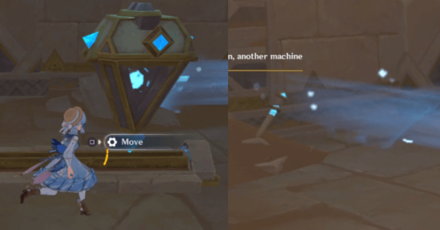 Go to the door on your right and move the Rune Mechanism. Afterwards, point it to the sand pile to open up a lever. |
| 4 | 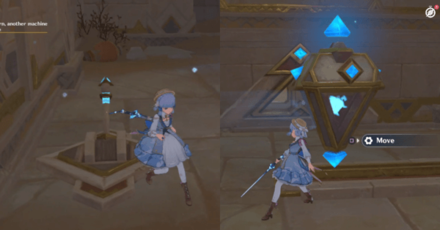 Use the lever and attack the Rune Mechanism and have its light point toward the triangle on the wall. |
| 5 |  Go outside and enter the room on the other side by just moving the Rune Mechanism. |
| 6 | 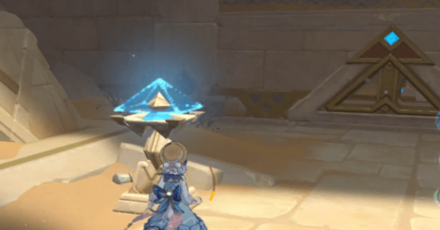 Enter the room and start the glowing mechanism. |
Look for a way back to the temple (Part 1)
| How to look for a way back to the temple I | |
|---|---|
| 1 | 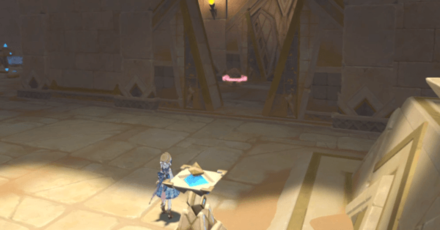 Enter the door nearby. |
| 2 | 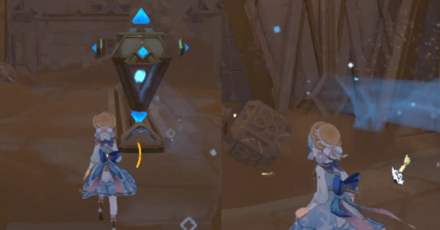 Move the Rune Mechanism and have it point toward the door. |
| 3 | 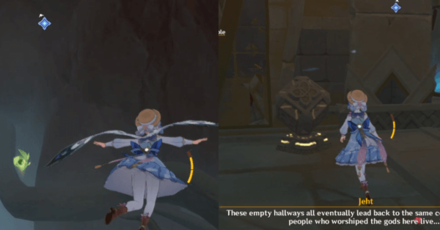 Head downstairs and move toward the marker until you find a door mechanism. |
Activate the device, and in turn, another machine somewhere (Part 3)
| How to Activate the Device & Another Machine III | |
|---|---|
| 1 | 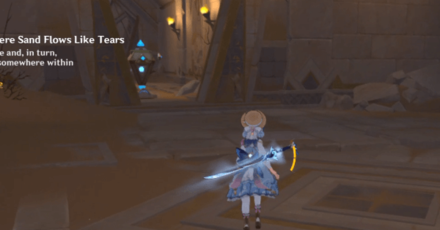 Enter the room on the left to move the Rune Mechanism and point it toward the door to activate the mechanism nearby. |
| 2 | 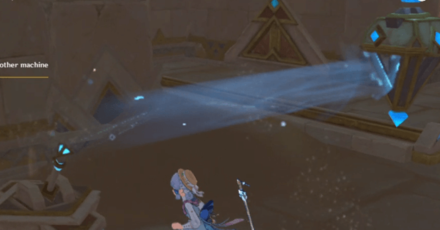 In the next room, attack the Rune Mechanism to have it point toward the sand pile to open up a lever and pull it. |
| 3 | 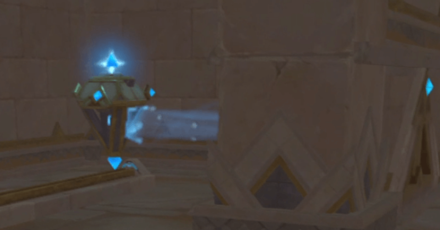 Move the same Rune Mechanism and have it point toward the triangle on the wall. |
| 4 | 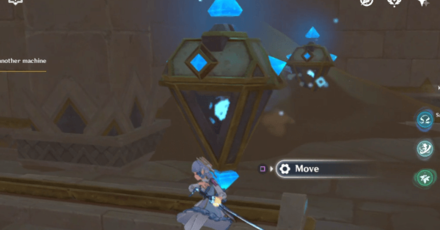 Move the next Rune Mechanism and attack it have its light point toward the large sand pile. |
| 5 | 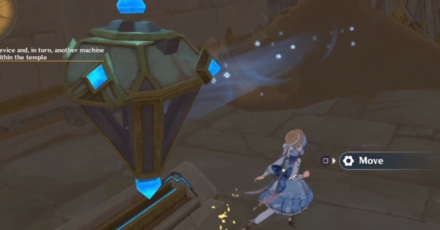 Move the next Rune Mechanism and attack it have its light point toward the door to enter inside the next room. |
| 6 | 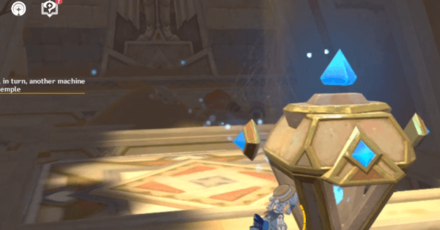 Go upstairs and attack the Rune Mechanism to have it point toward the sand pile. |
| 7 | 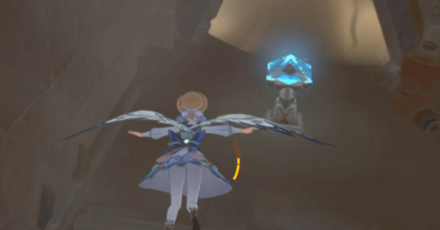 Fall down the hole behind you and start the glowing mechanism. |
Look for a way back to the temple (Part 2)
| How to look for a way back to the temple II | |
|---|---|
| 1 | 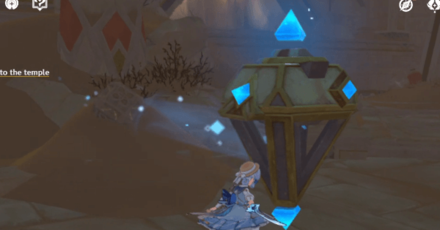 Go outside the room with the glowing mechanism and head left. Use the Rune Mechanism and have it point toward the nearby sand pile. |
| 2 | 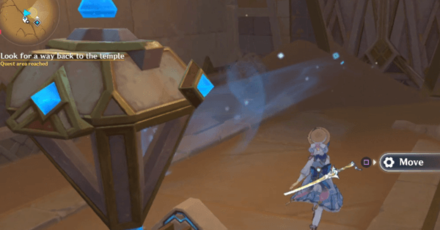 Go inside the room to move the Rune Mechanism and have it point toward the nearby sand pile. |
Touch the giant device at the temple's center
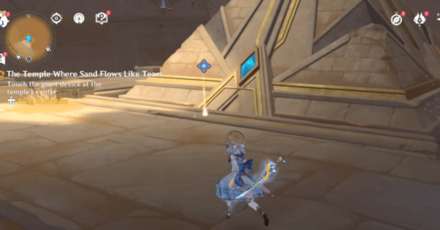
After removing all of the dust, touch the giant device at the temple's center. You will find a Luxurious Chest inside it.
Go Outside to the Next Temple
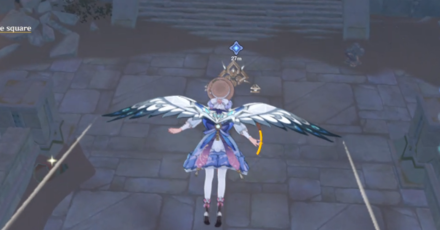
After activating the giant device, you can head out and enter the other ruins in front of the Temple of Gurabad. You will have to fight a Primal Construct before entering.
Collect Liloupar
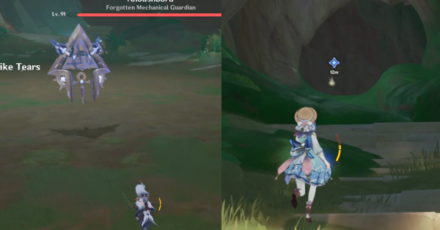
Once you've entered the ruin, you'll have to fight another Primal Construct. Afterwards, go to the shining object to collect the Jinni in the Magic Bottle - Liloupar Gadget.
How to Level Up Liloupar Gadget
Leave Through the Gap
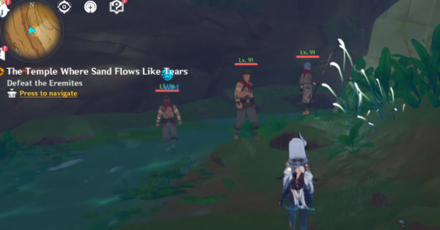
After collecting the gadget, head to the marked location. Jeht will leave you after the next cutscene. The next few locations will be pathways until you come accross some Eremites.
Investigate the opposing Eremite's camp
After defeating the Eremites, move forward until you need to investigate the Eremite's Camp.
Part I
| How to Investigate the opposing Eremite's camp | |
|---|---|
| 1 | 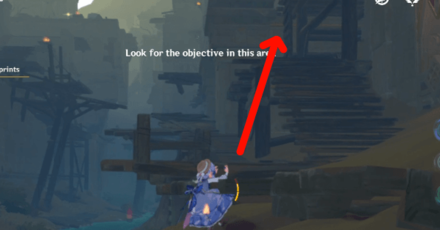 Head up the ladder on your right. |
| 2 | 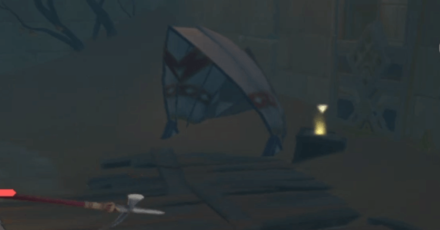 Defeat the eremites and check out the note nearby the tent. |
Part II
| How to Investigate the opposing Eremite's camp | |
|---|---|
| 1 | 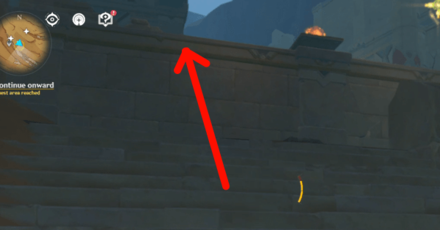 After continuing onward, climb up the wall in front of you. |
| 2 | 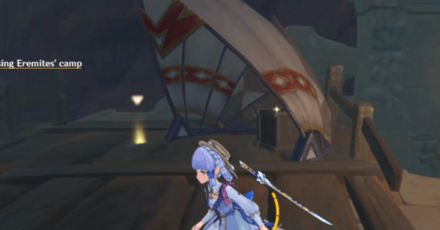 Defeat the eremites and check out the note nearby the tent. |
Part III
| How to Investigate the opposing Eremite's camp | |
|---|---|
| 1 | 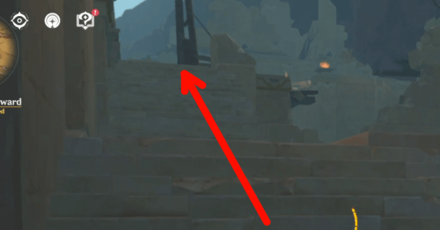 After climbing up the steps, go to the right. |
| 2 | 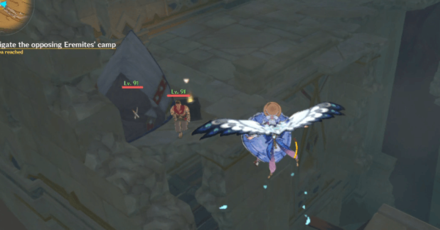 Defeat the eremites and check out the note nearby the tent. |
Go Back to Tanit Camps
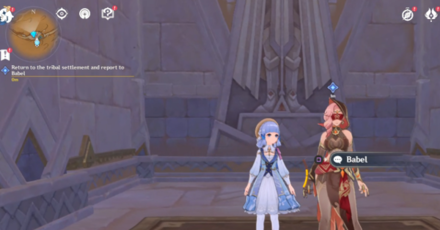
After Investigating the Eremite camps, go outside and head back to the Tanit Camps and talk to Babel.
Talk to Azariq and Jeht
| Azariq's Main Character Cards | |
|---|---|
 Fatui Skirmisher - Hydrogunner Legionnaire Fatui Skirmisher - Hydrogunner Legionnaire
|
 Mirror Maiden Mirror Maiden
|
At the end of the quest, you must talk to Azariq and Jeht. You can choose to accept or decline Azariq's offer in playing Genius Invokation.
The Temple Where Sand Flows Like Tears Information
Sub-Quest of The Dirge of Bilqis
This quest is a sub-quest to complete the Desert of Hadramaveth quest chain under The Dirge of Bilqis.
The Dirge of Bilqis World Quest Chain Guide
Quest Release Date
| Genshin Impact Version 3.4 | |
|---|---|
 |
|
| Release Date | January 18, 2023 |
The Temple Where Sand Flows Like Tears was released in Version 3.4, which went live on January 18, 2023! Check out everything in the 3.4 update here:
Version 3.4 Banners and Patch Notes
The Temple Where Sand Flows Like Tears Rewards
Total Quest Rewards
| Quest Rewards | ||
|---|---|---|
|
|
|
|
|
|
||
Genshin Impact Related Guides

Other The Dirge of Bilqis Quest Guides
| The Dirge of Bilqis World Quest Guides | ||
|---|---|---|
| Wisdom Has Built Her House, She Has Hewn Out Her Seven Pillars | The Temple Where Sand Flows Like Tears | Dune-Entombed Fecundity: Part I |
| Dune-Entombed Fecundity: Part II | Dune-Entombed Fecundity: Part III | The Eternal Dream, Ever Lush |
Author
The Temple Where Sand Flows Like Tears Quest Guide
improvement survey
03/2026
improving Game8's site?

Your answers will help us to improve our website.
Note: Please be sure not to enter any kind of personal information into your response.

We hope you continue to make use of Game8.
Rankings
Gaming News
Popular Games

Genshin Impact Walkthrough & Guides Wiki

Honkai: Star Rail Walkthrough & Guides Wiki

Umamusume: Pretty Derby Walkthrough & Guides Wiki

Pokemon Pokopia Walkthrough & Guides Wiki

Resident Evil Requiem (RE9) Walkthrough & Guides Wiki

Monster Hunter Wilds Walkthrough & Guides Wiki

Wuthering Waves Walkthrough & Guides Wiki

Arknights: Endfield Walkthrough & Guides Wiki

Pokemon FireRed and LeafGreen (FRLG) Walkthrough & Guides Wiki

Pokemon TCG Pocket (PTCGP) Strategies & Guides Wiki
Recommended Games

Diablo 4: Vessel of Hatred Walkthrough & Guides Wiki

Fire Emblem Heroes (FEH) Walkthrough & Guides Wiki

Yu-Gi-Oh! Master Duel Walkthrough & Guides Wiki

Super Smash Bros. Ultimate Walkthrough & Guides Wiki

Pokemon Brilliant Diamond and Shining Pearl (BDSP) Walkthrough & Guides Wiki

Elden Ring Shadow of the Erdtree Walkthrough & Guides Wiki

Monster Hunter World Walkthrough & Guides Wiki

The Legend of Zelda: Tears of the Kingdom Walkthrough & Guides Wiki

Persona 3 Reload Walkthrough & Guides Wiki

Cyberpunk 2077: Ultimate Edition Walkthrough & Guides Wiki
All rights reserved
Copyright© 2012-2024 HoYoverse — COGNOSPHERE. All Rights Reserved.
The copyrights of videos of games used in our content and other intellectual property rights belong to the provider of the game.
The contents we provide on this site were created personally by members of the Game8 editorial department.
We refuse the right to reuse or repost content taken without our permission such as data or images to other sites.


![Everwind Review [Early Access] | The Shaky First Step to A Very Long Journey](https://img.game8.co/4440226/ab079b1153298a042633dd1ef51e878e.png/thumb)

![Monster Hunter Stories 3 Review [First Impressions] | Simply Rejuvenating](https://img.game8.co/4438641/2a31b7702bd70e78ec8efd24661dacda.jpeg/thumb)


who tf made this 😭✌️