Decode This Level's Puzzle Guide
✉ Send your thoughts in our Genshin 6.4 Patch Survey!
★ Exclusive: Dive back in time with the Meta History
◆ Hot: Version 6.4, Luna 5 Codes
◆ Builds: Varka, Flins, Skirk, Escoffier
◆ Events: Travelers' Tales, He Who Caught the Wind
◆ Future: Linnea, Version 6.5 Luna VI
Decode This Level's Puzzle is an objective in Savior's Wake quest in Genshin Impact 4.2. See how to solve the puzzles of the two levels and complete the objectives in this guide!
List of Contents
How to Decode the First Level's Puzzle
Step-by-Step Summary
- Rotate the Eliphas Beam to the southwest wall
- Go to the lower level
- Jump off the edge to reach a lower level
Rotate the Eliphas Beam to the Southwest Wall
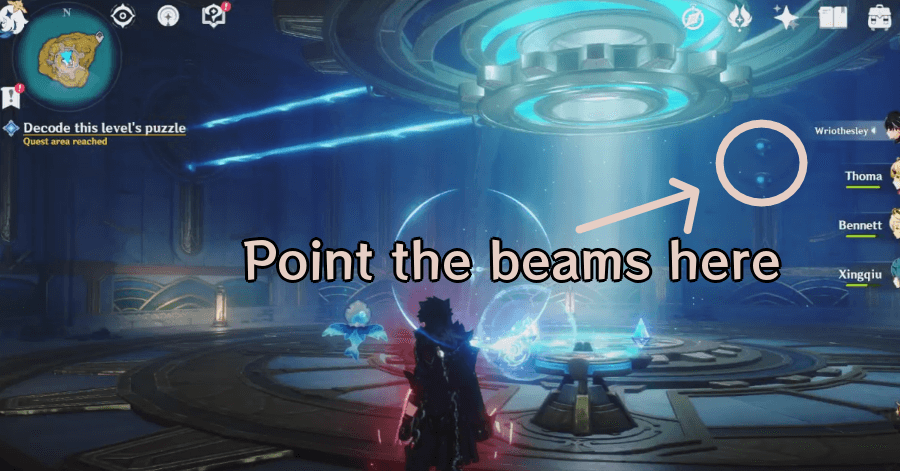
To decode this level's puzzle, interact with the orb on the capsule so you can move the Eliphas Beam in front of it. Rotate the mechanism so that the beams on the ceiling reaches the reticles on the southwest wall.
Go to the Lower Level

A new marker will appear at the center after completing the first objective. Stand on the marked spot to exit to the lower level.
Jump Off the Edge to Reach a Lower Level

Jump out of the tube where you're teleported to find a sealed chest, more mechanisms, and a dew bubble. Jump off the edge of this platform to find another floor leading to the next objective.
How to Decode the Second Level's Puzzle
Step-by-Step Summary
- Defeat the Recon Log Meks
- Activate the Mechanism and Go Down
- Defeat the Specialist Mek and Activate the Mechanism
- Unlock the Right Door for Another Mechanism
- Align the Two Beams and Use Them to Unlock the Left Door
- Defeat the Specialist Meks and Activate the Mechanism
- Obtain the First Root Cycle
- Obtain the Second Root Cycle
- Obtain the Third Root Cycle
Defeat the Recon Log Meks
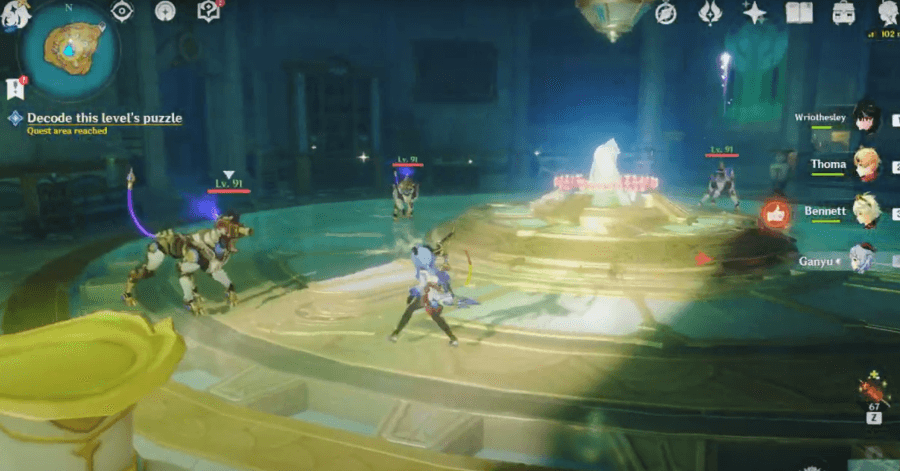
Deal with the four Recon Log Meks in the room to unseal the mechanism at the center.
Activate the Mechanism and Go Down
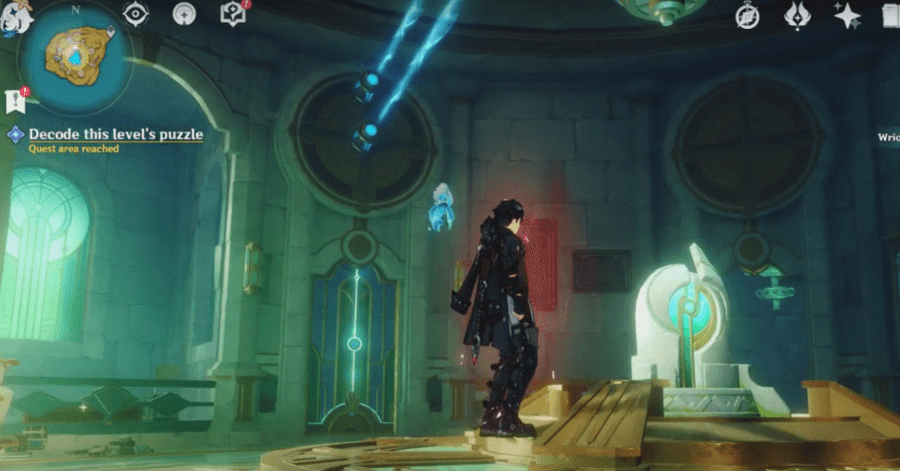
The mechanism should now be interactable. Use it to activate the Eliphas Beams and take the revealed platform down to the lower level.
Defeat the Specialist Mek and Activate the Mechanism
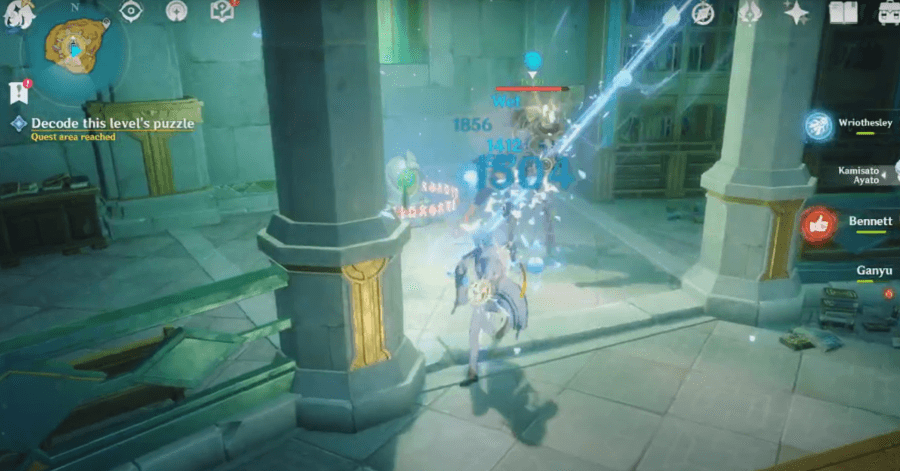
Defeat the Assault Specialist Mek and activate the mechanism so you can move the Eliphas Beams
Unlock the Right Door for Another Mechanism
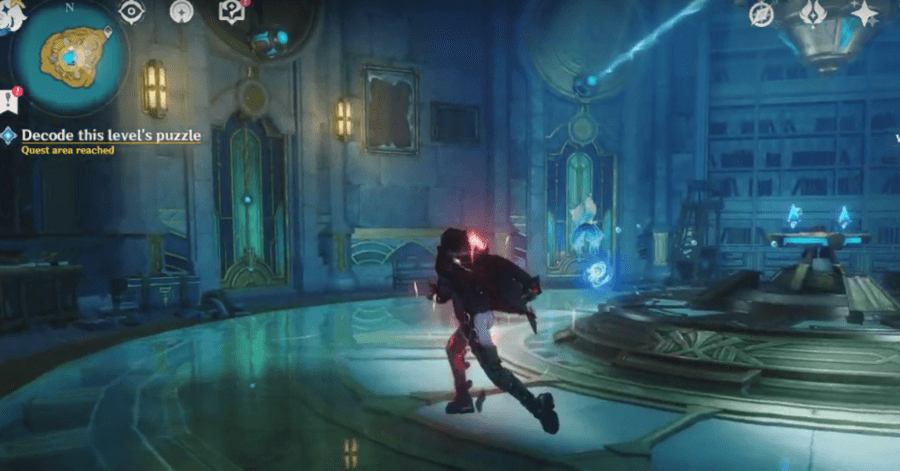
Grab the orb and rotate the lower Eliphas Beam to open the door on the right. This contains another mechanism that will disconnect the lower beam from the upper beam so you can change the upper beam's position freely.
Align the Two Beams and Use Them to Unlock the Left Door
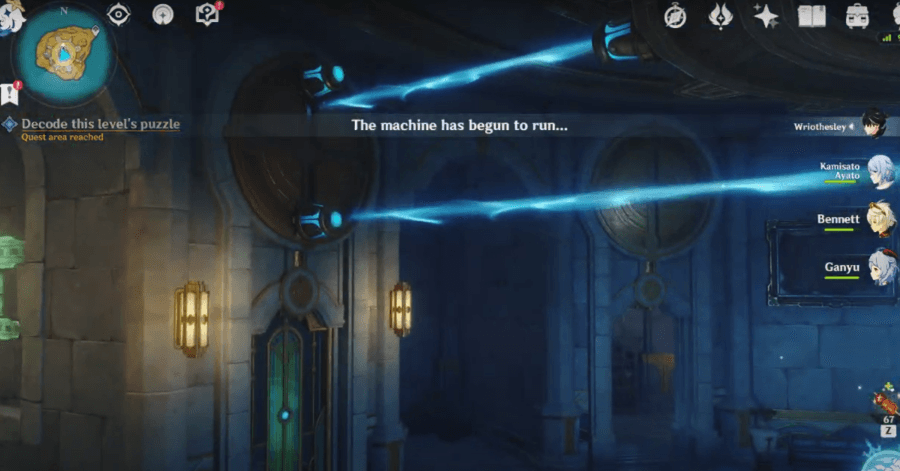
Rotate the upper Eliphas Beam and align it to the lower beam then interact with the first mechanism (the one guarded by the Specialist Mek) to lock the beams again together.
Go back to the Eliphas Beam controller and rotate the beams toward the left door. Now, you just need to move the upper beam "up".
Interact with the second mechanism again to finally unlock the left door that contains the elevator to the lower floor.
Defeat the Specialist Meks and Activate the Mechanism
Deal with the two Annihilation Specialist Meks here. Activating the mechanism will instantly open the next door with another elevator platform.
Obtain the First Root Cycle
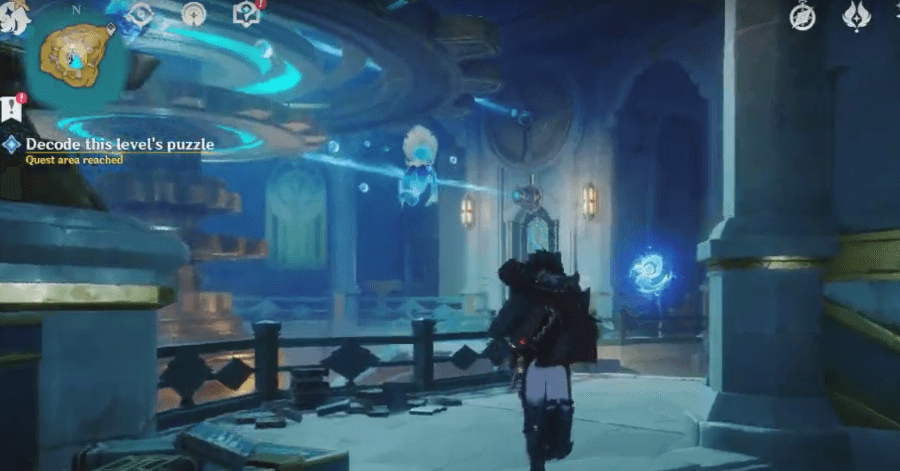
Turn left and grab the orb for the controller. Rotate the lowest beam and point it towards the locked door on the right to open it. Examine the glowing spot inside to obtain the first Root Cycle.
Obtain the Second Root Cycle
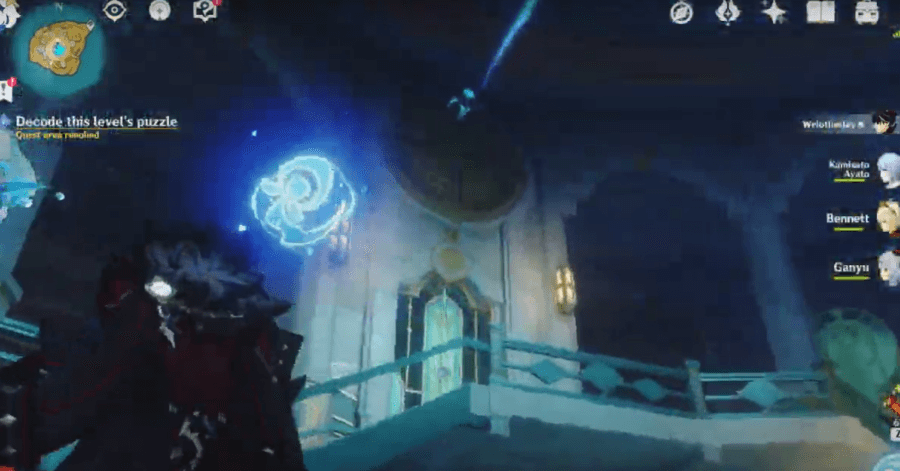
Activate the mechanism next to the Root Cycle to disconnect the upper gear. Return to the Eliphas Beam controller and rotate the upper beams so that the higher beam opens the left door that contains the second Root Cycle.
Do not activate the mechanism next to the second Root Cycle yet.
Obtain the Third Root Cycle

Go back to the controller and align the upper beam to the lower beam then go back to the previous mechanism and activate it to connect the two gears.
Use the two beams to unlock the central door where the third Root Cycle is.
Bring the three Root Cycles to the center to complete the objective.
Decoding Level Puzzles Information
Part of the Savior's Wake World Quest

You will need to decode two level puzzles as your first objective during In the Wake of Narcissus: Act II, Savior's Wake. This World Quest was added in Genshin Impact 4.2.
Genshin Impact Related Guides
All Tips and Tricks Guides

All Version 4.2 Tips & Tricks
| Other Tips & Tricks | ||
|---|---|---|
| How to Reveal the Altar's Secrets | Decode This Level's Puzzle Guide | How to Brainstorm and Find a Breakthrough Guide |
| How to Search for the key near the Mouth of the Spring | Salvage the Lost Items Guide | How to Solve the Orthant's Puzzle |
Other Quest Tips & Tricks
Comment
Author
Decode This Level's Puzzle Guide
Rankings
Gaming News
Popular Games

Genshin Impact Walkthrough & Guides Wiki

Honkai: Star Rail Walkthrough & Guides Wiki

Umamusume: Pretty Derby Walkthrough & Guides Wiki

Pokemon Pokopia Walkthrough & Guides Wiki

Resident Evil Requiem (RE9) Walkthrough & Guides Wiki

Monster Hunter Wilds Walkthrough & Guides Wiki

Wuthering Waves Walkthrough & Guides Wiki

Arknights: Endfield Walkthrough & Guides Wiki

Pokemon FireRed and LeafGreen (FRLG) Walkthrough & Guides Wiki

Pokemon TCG Pocket (PTCGP) Strategies & Guides Wiki
Recommended Games

Diablo 4: Vessel of Hatred Walkthrough & Guides Wiki

Cyberpunk 2077: Ultimate Edition Walkthrough & Guides Wiki

Fire Emblem Heroes (FEH) Walkthrough & Guides Wiki

Yu-Gi-Oh! Master Duel Walkthrough & Guides Wiki

Super Smash Bros. Ultimate Walkthrough & Guides Wiki

Pokemon Brilliant Diamond and Shining Pearl (BDSP) Walkthrough & Guides Wiki

Elden Ring Shadow of the Erdtree Walkthrough & Guides Wiki

Monster Hunter World Walkthrough & Guides Wiki

The Legend of Zelda: Tears of the Kingdom Walkthrough & Guides Wiki

Persona 3 Reload Walkthrough & Guides Wiki
All rights reserved
Copyright© 2012-2024 HoYoverse — COGNOSPHERE. All Rights Reserved.
The copyrights of videos of games used in our content and other intellectual property rights belong to the provider of the game.
The contents we provide on this site were created personally by members of the Game8 editorial department.
We refuse the right to reuse or repost content taken without our permission such as data or images to other sites.


![Monster Hunter Stories 3 Review [First Impressions] | Simply Rejuvenating](https://img.game8.co/4438641/2a31b7702bd70e78ec8efd24661dacda.jpeg/thumb)


