This survey will take about 1 minute.
Your answers will help us to improve our website.
Genshin Impact
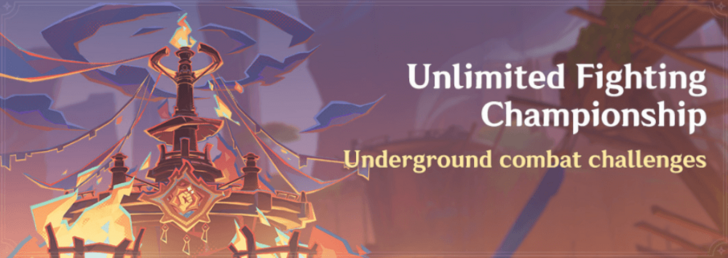
Unlimited Fighting Championship
✉ Send your thoughts in our Genshin 6.4 Patch Survey!
★ Exclusive: Dive back in time with the Meta History
◆ Hot: Version 6.4, Luna 5 Codes
◆ Builds: Varka, Flins, Skirk, Escoffier
◆ Events: Travelers' Tales, He Who Caught the Wind
◆ Future: Linnea, Version 6.5 Luna VI
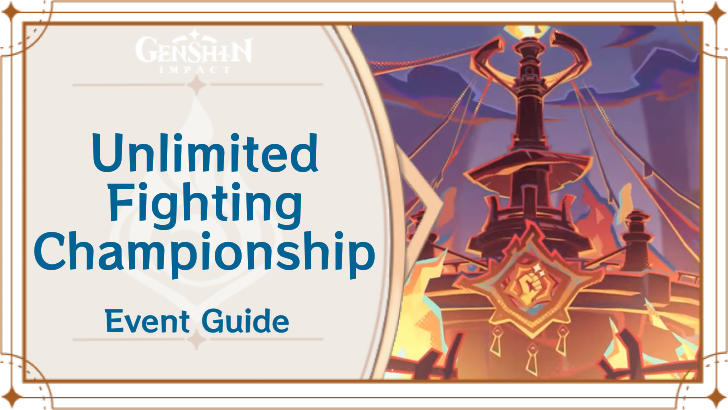
Unlimited Fighting Championship is a boss rush combat event for Genshin Impact 5.5. See all event stages, how to play, and all event rewards in this guide!
| Unlimited Fighting Championship Stages | ||||
|---|---|---|---|---|
Unlimited Fighting Championship Schedule
Unlimited Fighting Championship Stages and Dates
| Stages | Dates |
|---|---|
| 1 - Extinction: Aeonblight's End | April 7, 2025 |
| 2 - Ruin: Summit the Mountain King | April 8, 2025 |
| 3 - Blaze: Lay Low the Lava's Lord | April 9, 2025 |
| 4 - Shatter: Formidable Fungi Monster | April 10, 2025 |
| 5 - Showdown: Apex Adversary | April 11, 2025 |
Stage 1 - Aeonblight Drake
| Trial Characters | ||
|---|---|---|
| Enemies | Phase 1 |
Phase 2 |
| Best Teams | Phase 1 F2P |
Phase 2 F2P |
In the first stage, phase 1 consists of a Cryo and an Electro Abyss Mage that appear in waves. Use anemo characters to defeat the Abyss Mages quickly and get all the buffs for phase 2!
In Phase 2, a team that deals constant elemental reaction damage is ideal, along with at least one bow character that can shoot down the Aeonblight Drake's wings and weaknesses.
Extinction: Aeonblight's End Guide
Stage 2 - Gluttonous Yumkasaur Mountain King
| Trial Characters | ||
|---|---|---|
| Enemies | Phase 1 |
Phase 2 |
| Best Teams | Phase 1 F2P |
Phase 2 F2P |
Phase 1 pits you against waves of Ruin Guards and Hilichurls, rewarding the use of Electro-Charged characters that rely on their Elemental Bursts in order to rack up buffs for Phase 2.
In Phase 2, bring Shielded teams that can do Vaporize or Melt damage constantly to take advantage of the buffs you activated in Phase 1.
Ruin: Summit the Mountain King Guide
Stage 3 - Lava Dragon Statue
| Trial Characters | ||
|---|---|---|
| Enemies | Phase 1 |
Phase 2 |
| Best Teams | Phase 1 F2P |
Phase 2 F2P |
With Phase 1 requiring you to stay above 85% HP while taking out multiple Rifthounds, we recommend running an Electro-Charged team along with a healer in order to easily clear this phase.
Afterwards, focus on applying Pyro on the Lava Dragon Statue in Phase 2 in order to immobilize it and render it vulnerable.
Blaze: Lay Low the Lava's Lord Guide
Stage 4 - Jadeplume Terrorshroom
| Trial Characters | ||
|---|---|---|
| Enemies | Phase 1 |
Phase 2 |
| Best Teams | Phase 1 F2P |
Phase 2 F2P |
Phase 1 only requires you to continuously freeze the enemy, allowing you to essentially run any Freeze team variant so long as they have enough damage to kill the frozen enemies.
Phase 2 on the other hand requires you to have strong units that can activate the Jadeplume Terrorshroom or just completely overwhelm it with damage.
Shatter: Formidable Fungi Monster Guide
Stage 5 - Secret Source Automaton: Configuration Device
| Trial Characters | ||
|---|---|---|
| Enemies | Phase 1 |
Phase 2 |
| Best Teams | Phase 1 |
Phase 2 F2P |
The last stage favors as much Natlan characters with Nightsoul as you can to trigger Nightsoul Burst cooldown faster for Phase 1. You only need to trigger Nightsoul Burst to accumulate the gauge, so defeating enemies aren't needed.
For Phase 2, when the boss creates the Phlogiston Pillars, climb or jump up the rock with characters like Kachina or Mavuika, then destroy the mechanism on top of it to paralyze the boss. Characters with Nightsoul Blessing are recommeded to make this phase appear faster.
Use Normal Attacks with Mualani At Every 10th Second Mark with 3 Natlan Characters
With 3 Natlan characters, the cooldown for triggering Nightsoul Burst in Phase 1 goes down to 9 seconds by simply auto-attacking with Mualani.
Showdown: Apex Adversary Guide
How to Play Unlimited Fighting Championship
Gain Buffs on the First Half
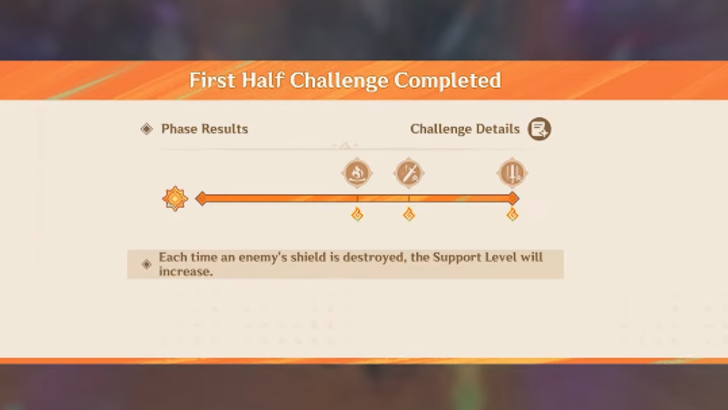
In the Unlimited Fighting Championship, each stage consists of two rounds of battle. During the first half, Travelers must follow the stage rules to gain buffs. These buffs will be used in the second half of the stage.
Deplete Boss's HP Bar in the Second Half

In the second half, Travelers have a limited amount of time to use the buffs to deplete as many of the boss's HP bars as possible to obtain higher-level medals and rewards.
Unlimited Fighting Championship Event Information
Fighting Championship Event Details
| Event Start | April 07, 2025 |
|---|---|
| Event End | April 21, 2025 |
| How to Unlock | Adventure Rank 20 Complete Prologue: Act 3 - The Song of the Dragon and Freedom |
| Rewards |
What is the Unlimited Fighting Championship?
The Unlimited Fighting Championship is a combat event in which you must reduce the boss's HP as much as possible to earn higher-level medals and rewards!
Other Current & Upcoming Events
How to Unlock Unlimited Fighting Championship
Complete Archon Quest Prologue Act 3

To unlock Unlimited Fighting Championship, you must complete the Prologue Act 3 Archon Quest, Song of the Dragon and Freedom and reach at least Adventure Rank 20!
Prologue Act 3 Archon Quest Guide
Unlimited Fighting Championship Event Rewards
Total Unlimited Fighting Championship Rewards
| All Unlimited Fighting Event Rewards | |
|---|---|
|
|
|
|
|
|
We'll update this section once more information is available!
Unlimited Fighting Championship Stage Rewards
| Stage | Objectives | Rewards |
|---|---|---|
| 1 | In a single attempt, deplete the HP bar of a boss in the second half 5 times | |
| In a single attempt, deplete the HP bar of a boss in the second half 40 times | ||
| In a single attempt, deplete the HP bar of a boss in the second half 200 times | ||
| In a single attempt, deplete the HP bar of a boss in the second half 900 times | ||
| 2 | In a single attempt, deplete the HP bar of a boss in the second half 5 times | |
| In a single attempt, deplete the HP bar of a boss in the second half 40 times | ||
| In a single attempt, deplete the HP bar of a boss in the second half 200 times | ||
| In a single attempt, deplete the HP bar of a boss in the second half 900 times | ||
| 3 | In a single attempt, deplete the HP bar of a boss in the second half 5 times | |
| In a single attempt, deplete the HP bar of a boss in the second half 40 times | ||
| In a single attempt, deplete the HP bar of a boss in the second half 200 times | ||
| In a single attempt, deplete the HP bar of a boss in the second half 900 times | ||
| 4 | In a single attempt, deplete the HP bar of a boss in the second half 5 times | |
| In a single attempt, deplete the HP bar of a boss in the second half 40 times | ||
| In a single attempt, deplete the HP bar of a boss in the second half 200 times | ||
| In a single attempt, deplete the HP bar of a boss in the second half 900 times | ||
| 5 | In a single attempt, deplete the HP bar of a boss in the second half 5 times | |
| In a single attempt, deplete the HP bar of a boss in the second half 40 times | ||
| In a single attempt, deplete the HP bar of a boss in the second half 200 times | ||
| In a single attempt, deplete the HP bar of a boss in the second half 900 times |
Genshin Impact Related Guides

Current Events
| Event Guide | Date and Rewards |
|---|---|
 Homeward, He Who Caught the Wind Homeward, He Who Caught the Wind
|
02/27/2026 - 03/16/2026
+ Weapon and Talent Up Materials + Catalyst Weapon Skin |
Upcoming Events
| Event Guide | Date and Rewards |
|---|---|
 Sightseeing With Friends Sightseeing With Friends
|
03/16/2026 - 03/26/2026
|
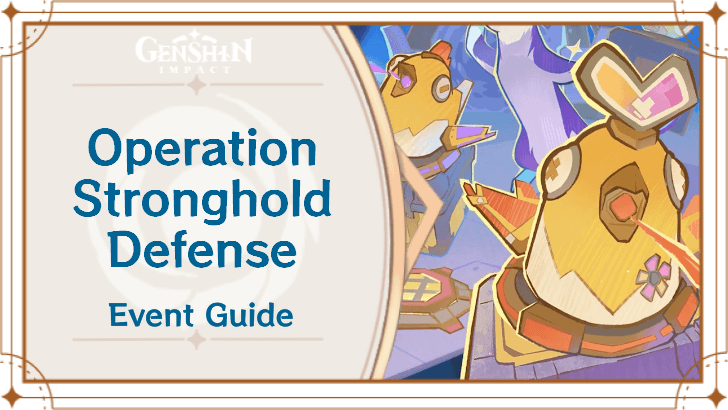 Operation Stronghold Defense Operation Stronghold Defense
|
03/23/2026 - 04/02/2026
|
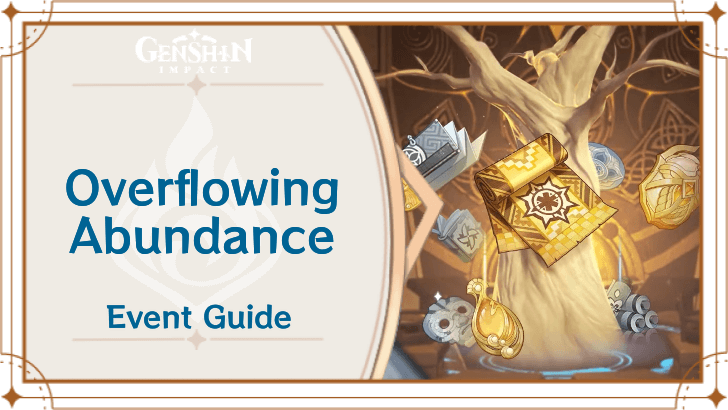 Overflowing Abundance 6.4 Rerun Overflowing Abundance 6.4 Rerun
|
03/30/2026 - 04/06/2026
Weapon and Talent Up Materials
|
Permanent/Recurring Events
| Event Guide | Date and Rewards |
|---|---|
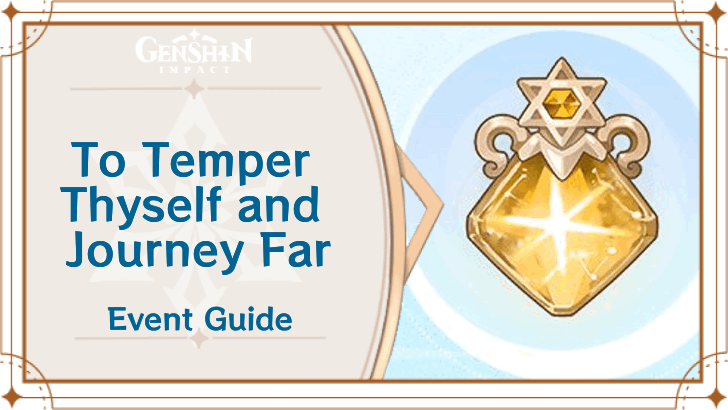 To Temper Thyself and Journey Far To Temper Thyself and Journey Far
|
02/23/2026 - 05/18/2026
+ 5-Star Stella Fortuna |
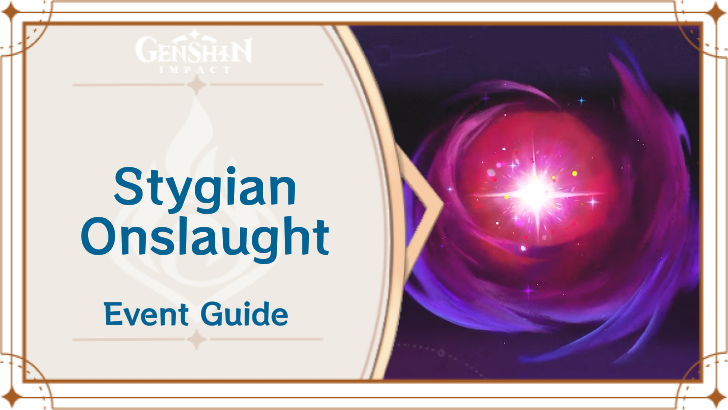 Stygian Onslaught Stygian Onslaught
|
03/04/2026 - 04/07/2026
+ Dust of Enlightenment |
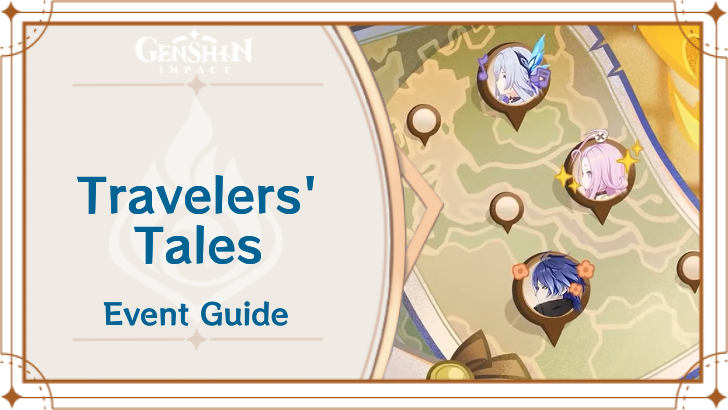 Travelers' Tales Travelers' Tales
|
Permanently Available after Version 6.0
|
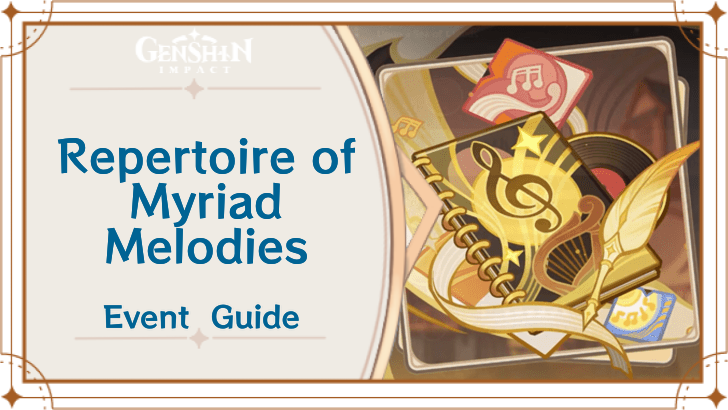 Repertoire of Myriad Melodies Repertoire of Myriad Melodies
|
Permanently Available
|
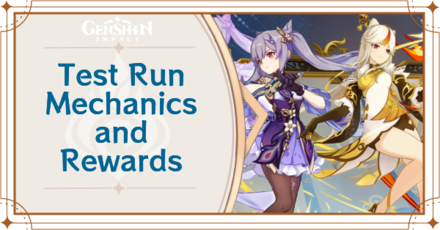 Test Run Test Run
|
Permanently Available
+ Ascension Materials |
 Hangout Events Hangout Events
|
Permanently Available after Version 1.4
+ Talent Materials + Specialty Dish |
 Baptism of Song Baptism of Song
|
Permanently Available
+ Free Barbara
|
 Daily Check-In Daily Check-In
|
2021/03/01 - Permanently Available
|
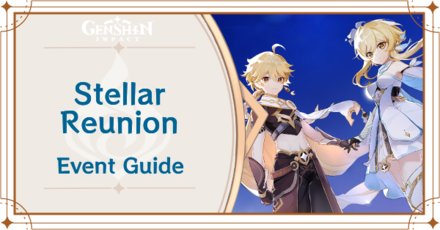 Stellar Reunion Returnee Event Stellar Reunion Returnee Event
|
Permanently Available
+ Prototype Rancour |
Past Events
Comment
10  Helena 11 months
This event suffers from the same as Tempered Valor in 5.4, at least there isn't a name card behind the power creep bs going on in this game this time around, but still, small consolation. I don't know if it just me, but I feel like the first round shield braking is too random to be reliably achieved at the tempo they intended. And achieving 900+ for the platinum, the best with all buffs and decent loadouts I mustered was 400, and I have played since 2021. Genshin Impact development team, please!
Author

Unlimited Fighting Championship
Please participate in our site
improvement survey
03/2026
improvement survey
03/2026
Would you assist in
improving Game8's site?
improving Game8's site?

×
We are listening to our users' valuable opinions and discussing how to act on them.
The information collected through this survey will be used for the purpose of improving our services. In addition, the information will only be disclosed a part of a statistic in a format that will not allow identification of personal information.
Begin Survey
Not Now
×
Please rate each item regarding Game8.co's Advertisements.
Amount of Ads
Very Dissatisfied
Somewhat Dissatisfied
Fine
Somewhat Satisfied
Highly Satisfied
Placement of Ads
Timing of Ad Display
Ad Loading Speed
Safeness of Ads
Content of Ads
×
Please rate each item regarding Game8.co's Quality of Articles.
Amount of information
Very Dissatisfied
Somewhat Dissatisfied
Fine
Somewhat Satisfied
Highly Satisfied
Frequency of updates
Speed of new information
Accuracy of articles
Understandibility of articles
Readability of sentences
×
Please rate each item regarding Game8.co's Usability of the Site.
Ease of finding information
Very Dissatisfied
Somewhat Dissatisfied
Fine
Somewhat Satisfied
Highly Satisfied
Loading Speed
Use of Color
Font Size
Visibility of Images
Easy to Understand Layout
×
Please rate each item regarding Game8.co's Message Boards, Comments.
Ease of Writing
Very Dissatisfied
Somewhat Dissatisfied
Fine
Somewhat Satisfied
Highly Satisfied
Readability
Ease in Finding Information
Comment Quality
Comment Quantity
Admin Response
×
Please rate each item regarding Game8.co's Site's new design.
Please rate our site's new design
Very Dissatisfied
Somewhat Dissatisfied
Fine
Somewhat Satisfied
Highly Satisfied
Do you think that the website's design change makes the site easier to use?
Has the new design made it easier for you to find information on the site?
Has the new design improved the overall visual appeal of the site?
How would you rate your overall satisfaction with the new design of the site?
×
How likely are you to recommend Game8 to someone you know?
Very Unlikely
0
1
2
3
4
5
6
7
8
9
10
Very Likely
If you have other opinions regarding potential improvement to the website, please share them with us. We would appreciate your honest opinion.
Note: This is a free response section, so you can proceed without entering anything.
Note: Please be sure not to enter any kind of personal information into your response.
Note: Please be sure not to enter any kind of personal information into your response.
×
Thank You
×
Thank you for participating in our survey! Your answers will help us to improve the quality of our website and services.
We hope you continue to make use of Game8.
We hope you continue to make use of Game8.
Close


Rankings
- We could not find the message board you were looking for.
Gaming News


![Monster Hunter Stories 3 Review [First Impressions] | Simply Rejuvenating](https://img.game8.co/4438641/2a31b7702bd70e78ec8efd24661dacda.jpeg/thumb)
Popular Games

Genshin Impact Walkthrough & Guides Wiki
Honkai: Star Rail Walkthrough & Guides Wiki
Umamusume: Pretty Derby Walkthrough & Guides Wiki
Pokemon Pokopia Walkthrough & Guides Wiki
Resident Evil Requiem (RE9) Walkthrough & Guides Wiki
Monster Hunter Wilds Walkthrough & Guides Wiki
Wuthering Waves Walkthrough & Guides Wiki
Arknights: Endfield Walkthrough & Guides Wiki
Pokemon FireRed and LeafGreen (FRLG) Walkthrough & Guides Wiki
Pokemon TCG Pocket (PTCGP) Strategies & Guides Wiki


Recommended Games
Diablo 4: Vessel of Hatred Walkthrough & Guides Wiki
Cyberpunk 2077: Ultimate Edition Walkthrough & Guides Wiki
Fire Emblem Heroes (FEH) Walkthrough & Guides Wiki
Yu-Gi-Oh! Master Duel Walkthrough & Guides Wiki
Super Smash Bros. Ultimate Walkthrough & Guides Wiki
Pokemon Brilliant Diamond and Shining Pearl (BDSP) Walkthrough & Guides Wiki
Elden Ring Shadow of the Erdtree Walkthrough & Guides Wiki
Monster Hunter World Walkthrough & Guides Wiki
The Legend of Zelda: Tears of the Kingdom Walkthrough & Guides Wiki
Persona 3 Reload Walkthrough & Guides Wiki


All rights reserved
Copyright© 2012-2024 HoYoverse — COGNOSPHERE. All Rights Reserved.
The copyrights of videos of games used in our content and other intellectual property rights belong to the provider of the game.
The contents we provide on this site were created personally by members of the Game8 editorial department.
We refuse the right to reuse or repost content taken without our permission such as data or images to other sites.
What are those recommendations here? How are you supposed to get anywhere near 900 with both Chevreuse and Bennett in your squard. They're trash.