Road to the Singularity Quest Guide
✉ Send your thoughts in our Genshin 6.4 Patch Survey!
★ Exclusive: Dive back in time with the Meta History
◆ Hot: Version 6.4, Luna 5 Codes
◆ Builds: Varka, Flins, Skirk, Escoffier
◆ Events: Travelers' Tales, He Who Caught the Wind
◆ Future: Linnea, Version 6.5 Luna VI
Road to the Singularity is a World Quest introduced in Fontaine in Genshin Impact 4.1. See how to unlock this quest, its walkthrough, and all the rewards of this quest here in this guide!
List of Contents
How to Unlock Road to the Singularity
Quest Unlock Requirements
| Quest Unlock Requirements | |
|---|---|
 |
|
 |
Aha! Looks like Road to the Singularity is not locked behind any quest! |
Go to the Fontaine Research Institute
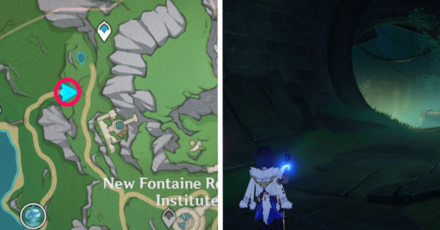
Road to the Singularity is located in the Fontaine Research Institute Region, in the nation of Fontaine. Use the Teleport Waypoint and head southwest to this path to discover a cave entrance that leads to an automated lift.
Once you approach the automated lift, you will immediately obtain the Road to the Singularity World Quest!
How to Get to Fontaine and Map Guide
Road to the Singularity Walkthrough
Explore the Mysterious Building
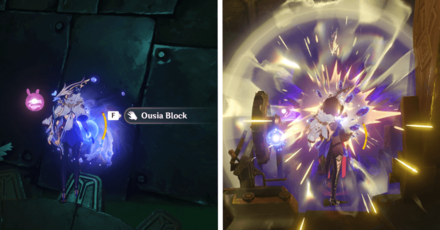
To take the lift, you need to use the Ousia Block nearby for the Pneuma terminal. Ride the lift and soon you will hear people speaking. After the lift stops, exit and head down the path to discover a person trapped in a cage along with two Energy Transfer Terminals.
Talk to the Trapped Person
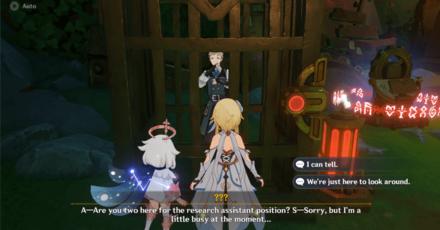
Talk to Kuisel who is locked in the cage. He will ask you to help him out, so you have to solve the Energy Transfer Terminal puzzle to proceed.
Operate the Energy Transfer Terminal
To unlock the cage, interact with the terminal near the cage first then use the viewfinder to view and transfer energy to the cell near the second terminal. Find the next viewfinder on the top of the metal door then select it.
Use the Viewfinder to Transfer Energy
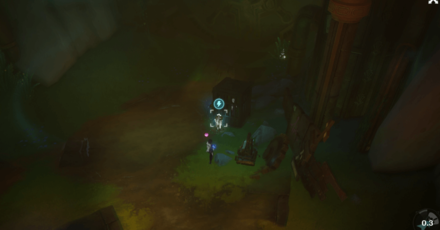
Using the second viewfinder, transfer energy to the cell near the cage. This will unlock the cage and set Kuisel free.
Talk to Kuisel
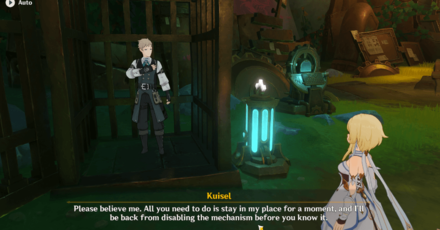
After using the Energy Transfer Terminals and unlocking the cage, talk to Kuisel. He will ask you to switch places with him in the cage for a moment. After a while, it turns out that you've been tricked.
Work With Paimon to Open the Cage
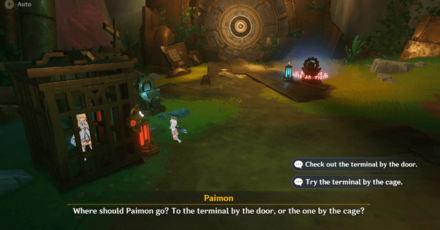
Next, you will have to work with Paimon to open the cage. Once Paimon asks where she should go, select the following dialogue options in order: Try the terminal by the cage and Activate the energy storage device by the door.
Lastly, select Activate the energy storage device by the cage. This will unlock the cage you are locked in!
Explore up Ahead
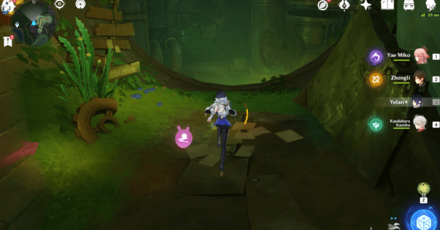
Once free from the cage, head deeper into the mysterious building by going through the opened metal door. Down the path, you will see another area that leads deeper into the building and another locked door. You need to solve a Valve Puzzle to open it.
Shut Off All the Valves
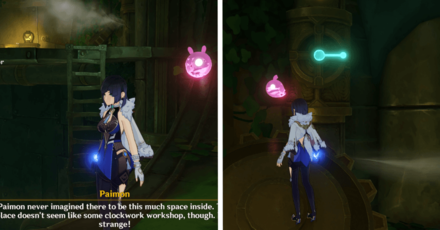
To open the metal door, you need to shut off all the valves. The first valve is up the ladder, right at the entrance of the area. Turn the valve until the highlighted part points to the right. This will make the smoke stop.
Shut Off the Second and Third Valves
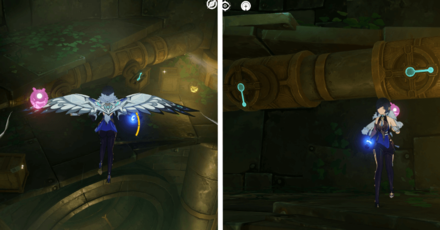
The second valve and third valves are on a platform just by the left side of the area. Glide to them and shut the valves off to make the smoke stop. Turn the second valve until it points down then turn the third valve until it points right.
Use Pneuma for the Ousia Statue
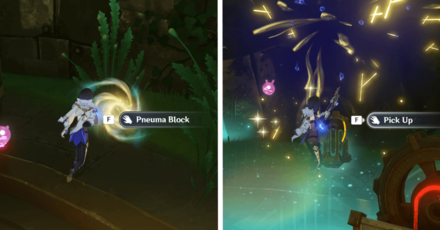
The fourth valve is locked in a cage. To unlock the cage, you need to use an energy cell locked within an Ousia statue. Use the Pneuma nearby then attack the Ousia statue to get the energy cell.
Use the Energy Cell to Unlock the Cage
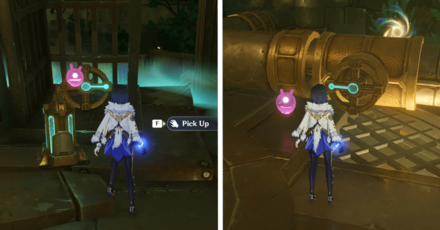
Now that you have the energy cell, place it down near to cage to unlock it. Take the fourth valve and use it on the smoking pipe nearby, then turn it until it points left. Once finished, use the terminal near the door to open it.
Defeat the Clockwork Meka
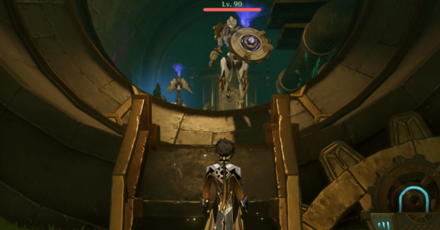
After opening the door, you will be surprised by Clockwork Meka. Defeat them then use the lift to head to the next area of the building.
Solve the Gear Puzzle
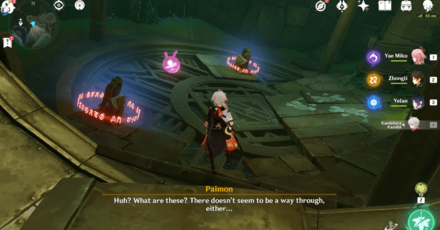
When the lift stops, exit it and head down the path. You will be greeted by a Gear Puzzle and another sealed door. You must solve the puzzle to unlock the door. There are two terminals, so interact with the terminal on the left first.
Solve the First Terminal
For the first terminal, move the gear down then rotate the pipe until it aligns with the pipe it connects to. Once finished, you can move on to the second terminal.
Solve the Second Terminal
The second terminal is a bit more complicated. To move the right pipe, you need to move the gear next to it down. Keep moving and rotating the pipes until they reach the positions you see in the video above. After, just rotate once to finish solving the puzzle.
Continue Exploring
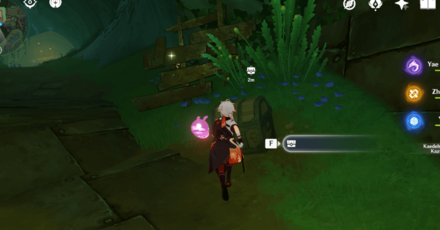
Ride the wind current that just activated upward and head in the door that just opened. Don't forget to claim the Exquisite Chest once you enter the hallway. Head down the path and you will find another area with Clockwork Meks.
Defeat the Clockwork Meka Again
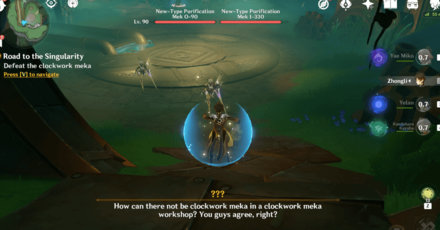
Defeat the Clockwork Meka that appeared. Upon defeating the Meka, you will obtain two Energy Concentrating Components. Proceed until you see more Clockwork Meka and another locked door. To unlock the door, you have to do another puzzle.
Solve Another Gear Puzzle
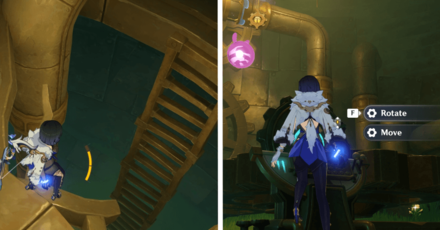
Near the center of the area, there is a hole with a ladder. Jump down the hole to see a terminal and a Gear Puzzle. Interact with the terminal to begin solving the puzzle.
Rotate the Pipes
First, rotate the pipes. You need to do this first since if you rotate the pipes without moving the gear, only the right pipe rotates. Now, rotate the pipes until the left pipe reaches the position in the video above.
Move the Gear to the Right
You can then move the gear so only the right pipe rotates. Rotate the right pipe until it reaches the position in the video above.
Move the Gear to the Left
Move the gear back to the left then rotate once, then move the gear again to the right to finish the puzzle. The final position of the pipes should be the position in the video above. Once finished, the pipes will click in place and the gears will start rotating again.
Use Terminal to Open the Door
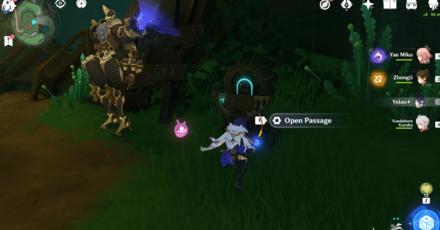
You can now use the terminal near the door to open it. However, the stationary Clockwork Meka will become hostile so you need to defeat them. After beating the Meka, head down the hallway and enter the lift.
Talk to Coutrot and Bricole
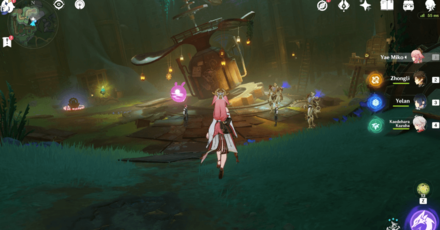
Upon exiting the lift, head down the path to see Kuisel and Bricole. Approach them and a dialogue will start, where it turns out that Kuisel is Coutrot. Finish the dialogue and Coutrot will battle you.
Defeat Coutrot
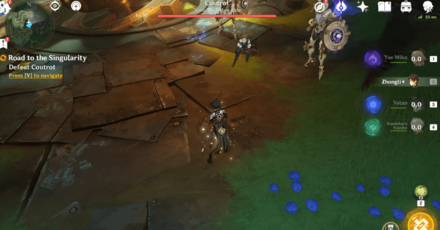
Defeat Coutrot and another dialogue will happen. Bricole will send him to court and this quest will be finished!
Road to the Singularity Rewards
Total Quest Rewards
| Total Quest Rewards |
 Primogem x50 |
 Mora x34000 |
|---|---|---|
 Hero's Wit x5 |
||
Additionally, you will be able to obtain a Hydroculus, a Luxurious Chest, and a Mysterious Ore nearby for your efforts!
Genshin Impact Related Guides

Other Fontaine Quest Guides
Comment
"To unlock the door, you have to do another puzzle". Oh gee thanks...
Author
Road to the Singularity Quest Guide
improvement survey
03/2026
improving Game8's site?

Your answers will help us to improve our website.
Note: Please be sure not to enter any kind of personal information into your response.

We hope you continue to make use of Game8.
Rankings
Gaming News
Popular Games

Genshin Impact Walkthrough & Guides Wiki

Honkai: Star Rail Walkthrough & Guides Wiki

Umamusume: Pretty Derby Walkthrough & Guides Wiki

Pokemon Pokopia Walkthrough & Guides Wiki

Resident Evil Requiem (RE9) Walkthrough & Guides Wiki

Monster Hunter Wilds Walkthrough & Guides Wiki

Wuthering Waves Walkthrough & Guides Wiki

Arknights: Endfield Walkthrough & Guides Wiki

Pokemon FireRed and LeafGreen (FRLG) Walkthrough & Guides Wiki

Pokemon TCG Pocket (PTCGP) Strategies & Guides Wiki
Recommended Games

Diablo 4: Vessel of Hatred Walkthrough & Guides Wiki

Cyberpunk 2077: Ultimate Edition Walkthrough & Guides Wiki

Fire Emblem Heroes (FEH) Walkthrough & Guides Wiki

Yu-Gi-Oh! Master Duel Walkthrough & Guides Wiki

Super Smash Bros. Ultimate Walkthrough & Guides Wiki

Pokemon Brilliant Diamond and Shining Pearl (BDSP) Walkthrough & Guides Wiki

Elden Ring Shadow of the Erdtree Walkthrough & Guides Wiki

Monster Hunter World Walkthrough & Guides Wiki

The Legend of Zelda: Tears of the Kingdom Walkthrough & Guides Wiki

Persona 3 Reload Walkthrough & Guides Wiki
All rights reserved
Copyright© 2012-2024 HoYoverse — COGNOSPHERE. All Rights Reserved.
The copyrights of videos of games used in our content and other intellectual property rights belong to the provider of the game.
The contents we provide on this site were created personally by members of the Game8 editorial department.
We refuse the right to reuse or repost content taken without our permission such as data or images to other sites.


![Monster Hunter Stories 3 Review [First Impressions] | Simply Rejuvenating](https://img.game8.co/4438641/2a31b7702bd70e78ec8efd24661dacda.jpeg/thumb)


that's described in the next section. You have to jump through a hole in the floor