This survey will take about 1 minute.
Your answers will help us to improve our website.
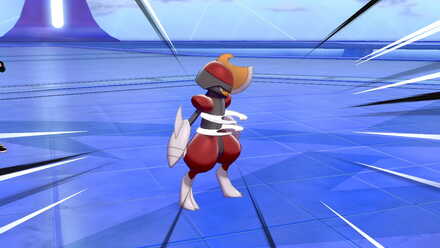
Pokemon Sword and Shield
Bisharp - Moveset & Best Build for Ranked Battle
★ Tier List / Doubles Tier List / Movesets / Rental Teams
✬ Pokemon HOME Dex Completion Shiny Rewards:
┗ Meloetta | Manaphy | Enamorus | Keldeo | Meltan
☆ Competitive Battle Guide
| Bisharp Movesets in Other Games | |
|---|---|
 SV SV |
 SWSH SWSH |

This is a strategy guide for using Bisharp in competitive play for the games Pokemon Sword and Shield. Read on for tips on the best Nature, EV spreads, Movesets, and Held Items to use with Bisharp, as well as its strengths and weak points.
| Bisharp - Related Guides | |
|---|---|
 Evolution and Learnset Evolution and Learnset |
 Build for Ranked Battle Build for Ranked Battle |
List of Contents
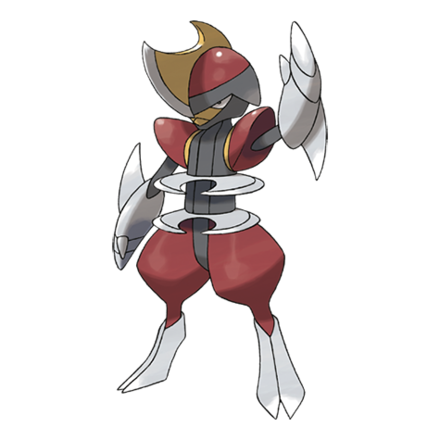
Basic Information for Bisharp
Types and Abilities
| Pokemon | Type 1 | Type 2 |
|---|---|---|

|

|
|
| Abilities | ||
| Inner Focus | The Pokemon is protected from flinching. | |
| Defiant | When its stats are lowered its Attack increases. | |
| Pressure (Hidden) | The Pokemon raises the foe's PP usage. | |
Bisharp Weaknesses and Resistances
| Type | |
|---|---|
| Takes 4x damage |

|
| Takes 2x damage |


|
| Takes 0.5x damage |


|
| Takes 1/4x damage |
|
| Takes 0x damage |


|
Base Stats
| HP | Attack | Defense | Sp. Atk | Sp. Def | Speed |
|---|---|---|---|---|---|
| 65 | 125 | 100 | 60 | 70 | 70 |
Best Nature for Bisharp
| Best Nature |
|---|
| Adamant (+Atk, -Sp.Atk) |
Singles Movesets for Bisharp
Anti-Togekiss Occa Berry Moveset & Best Build
| Nature | Adamant(+Atk, -Sp.Atk) |
|---|---|
| EV Spread | HP 4 / Atk 252 / Spd 252 |
| Final Stat Values | HP 172 / Atk 194 / Def 120 / Sp.Def 90 / Speed 91 |
| Ability | Defiant |
| Held Item | Occa Berry |
| Moveset | ・Sucker Punch ・Iron Head ・Throat Chop ・Swords Dance |
Thanks to its Occa Berry, Bisharp will be able to handle enemies who try to burn it down with Fire-type attacks. This allows Bisharp to be an effective Pokemon against Dynamaxed Togekiss who often carries Max Flare. Bisharp can retaliate with Iron Head followed by a Sucker Punch.
About Bisharp's Moves
Throat Chop is a Dark-type move which has the added benefit of disabling sound-based moves for the next few turns.
As a Steel type, Bisharp benefits from STAB Iron Head which is extremely useful with the plethora of Fairy-types in the metagame.
Bisharp can get around its mediocre base 70 Speed with one of the strongest Sucker Punches in the game. This really threatens the survivability of sweepers as their health gets decimated leaving them vulnerable to other sweepers.
Finally, Swords Dance offers Bisharp a way to gain even more attack boosts against walls. You can also use Swords Dance if you predict the enemy to switch out to get a free boost.
About Bisharp's EV Spread
Since we want to uphold Bisharp's survivability while still being able to maintain power, max investment into HP and Attack will help us achieve this.
About Bisharp's Ability
Defiant gives Bisharp a +2 Attack boost whenever any of it's stats are lowered. This is exremely useful against teams with Intimidate or Defog.
About Bisharp's Held Item
As explained above, an Occa Berry allows Bisharp to tank a Fire-type move to maintain its survivability. Alternatively, Focus Sash may also be an option.
Other Viable Moves
| Brick Break | Very useful move against opposing Steel types who would otherwise wall Bisharp's STAB moves. Has the added utility of breaking Reflect and Light Screen |
|---|---|
| Taunt | Useful against Pokemon who may want to try to set up against Bisharp. Has good synergy with Sucker Punch |
Focus Sash Metal Burst Moveset & Best Build

| Nature | Adamant(+Atk, -Sp. Atk) |
|---|---|
| EV Spread | HP 252 / Atk 252 / Def 4 |
| Final Stat Values | HP 172 / Atk 194 / Def 121 / Sp.Def 90 / Spd 90 |
| Ability | Defiant |
| Held Item | Focus Sash |
| Moveset | ・Sucker Punch ・Metal Burst ・Iron Head ・Guillotine |
About Bisharp's Moves
This set relies on Bisharp surviving a near-fatal blow with a Focus Sash and revenge killing with Metal Burst. Just in case the damage won't be enough, Sucker Punch as a priority move can be used for good measure.
Guillotine is a risky move which, if it connects, can be used for a guaranteed OHKO.
About Bisharp's EV Spread
To maximize power from Metal Burst max investment into HP and Attack will help us take more damage, and in return deal more damage.
About Bisharp's Ability
Defiant gives Bisharp a +2 Attack boost whenever any of it's stats are lowered. This is exremely useful against teams with Intimidate or Defog.
About Bisharp's Held Item
Focus Sash guarantees that Bisharp will land at least one Metal Burst before falling.
Other Viable Moves
| Taunt | Useful against Pokemon who may want to try to set up against Bisharp. Has good synergy with Sucker Punch |
|---|---|
| Brick Break | Very useful move against opposing Steel types who would otherwise wall Bisharp's STAB moves. Has the added utility of breaking Reflect and Light Screen |
| Swords Dance | Offers Bisharp a way to gain even more attack boosts against walls. |
How to Use Bisharp Effectively
Take Full Advantage of Defiant
Defiant is one of the reasons why Bisharp has a reliable presence in the metagame. Whereas most physical attackers might be worried about the Attack drop against Intimidate users, Bisharp effectively gets an Attack boost when it's stats are lowered.
Defiant discourages opponents with Intimidate to switch into Bisharp. It also works well with Pokemon who set up entry hazards, as those who will try to Defog it away will drop Bisharp's evasion, and give it a sharp boost in Attack. It also gives Bisharp an edge against teams who have laid down Sticky Web.
Against Corviknight with Mirror Armor you can also try attacking with Max Darkness to lower your own Special Defense to trigger Defiant.
Deal Powerful Damage with Sucker Punch
Bisharp's base 125 Attack Stat and powerful STAB attacks make it a force to be reckoned with in the Pokemon Metagame. Bisharp excels as one of the most threatening users of Sucker Punch, ever since it was introduced in Generation 5.
As mentioned above, Bisharp can get around its mediocre base 70 Speed with one of the strongest Sucker Punches in the game. This really threatens the survivability of sweepers as their health gets decimated, leaving them vulnerable to other sweepers.
How to Build a Team with Bisharp
By making significant dents into the enemy team, Bisharp works well as a secondary physical attacker for the team, who they can set up for success.
Secondary Attacker for Offensive Teams
Bisharp will serve as a wallbreaker and will whittle down the enemy team's HP. Its key resistances should help its survivability a bit, but, due to its low Speed, may need a fellow teammate to clean up the kills.
Example Offensive Team
| Primary Special Attacker | Secondary Physical Attacker | Stealth Rock Pivot |
|---|---|---|
 Tapu Koko Tapu Koko
|
 Bisharp Bisharp
|
 Swampert Swampert
|
This core revolves around the idea of whittling down the opponents with Bisharp's Sucker Punches and Swampert's Stealth Rocks. Once sufficiently weakened, Both Bisharp and Tapu Koko can proceed to clean up.
Tapu Koko's Electric Surge and Bisharp's Taunt can prevent opponents from recovering with Rest or trying to set up. This allows you to keep the offensive pressure.
Meanwhile, pivot moves like Tapu Koko's Volt Switch and Swampert's Flip Turn can help keep the momentum going by switching to favorable matchups.
Learn more about building Offense teams by checking out our full guide below.
How to Build an Offensive Team | Best Hyper Offense-Team
Counters for Bisharp
| Weakness |
|
|---|
Exploit Its Weaknesses
Bisharp may have a high Attack stat, but its defenses are mediocre at best. It's best to bring in bulky Pokemon who can take Bisharp's hits, and dish out super-effective moves of their own.
Best Pokemon to Use
| Pokemon | Description |
|---|---|
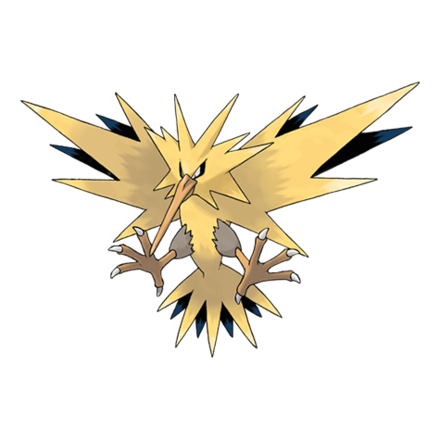 Zapdos Zapdos
|
Ranking: ★★★★★ ・You may try to paralyze Bisharp to hamper its offensie. ・Zapdos can easily fit on many teams. Moveset & Best Build for Zapdos' |
 Cinderace Cinderace
|
Ranking: ★★★★★ ・Pyroball can easily KO even Bulky Bisharp variants ・Cinderace's versatility allows it to be fit in most teams. Moveset & Best Build for 'Cinderace' |
 Urshifu Rapid-Strike Style Urshifu Rapid-Strike Style
|
Ranking: ★★★★★ ・Can OHKO even Dynamaxed Bisharp. ・Resists Bisharp's Steel-type moves. Moveset & Best Build for 'Urshifu Rapid-Strike Style |
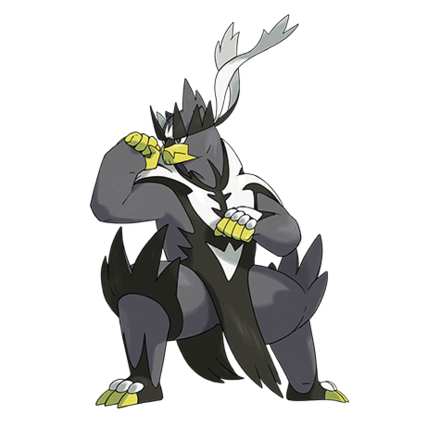 Urshifu Single-Strike Style Urshifu Single-Strike Style
|
Ranking: ★★★★★ ・Can OHKO even Dynamaxed Bisharp ・Resists Bisharp's Dark-type moves. Moveset & Best Build for 'Urshifu Single-Strike Style' |
Use Pokemon Who Resist Bisharp's Moves
Bisharp's STAB moves doesn't leave it many options when against bulky Steel or Poison types.
Try to take this opportunity to bring your tank in, to set up against Bisharp. However, be wary of Bisharp's access to Taunt.
Best Pokemon to Use
| Pokemon | Description |
|---|---|
 Celesteela Celesteela
|
Ranking: ★★★★★ ・Celesteela's bulk allows it to take most hits ・Leech Seed + Protect can be an effective combo. Moveset & Best Build for 'Celesteela' |
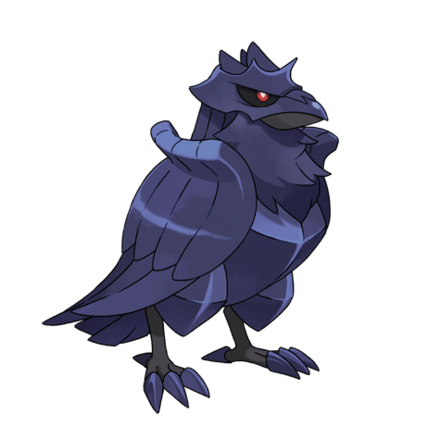 Corviknight Corviknight
|
Ranking: ★★★★★ ・Recover HP with Roost ・Exploit Bisharp's 4x weaknessto Fighting-type moves with Body Press. Moveset & Best Build for 'Corviknight' |
 Toxapex Toxapex
|
Ranking: ★★★★ ・Recover HP with Recover ・You can inflict burn with Scald to cripple Bisharp's offenses. Moveset & Best Build for 'Toxapex' |
Related Links

All Competitive Builds for Ranked Battle
Competitive Guides for Pokemon Sword and Shield
| Competitive Pokemon Battle Guides | |||||
|---|---|---|---|---|---|
 Tier List Tier List |
 Best Builds Best Builds |
 Series 10 List of Contenders Series 10 List of Contenders |
|||
 Doubles Tier List Doubles Tier List
|
 Team Building Team Building |
 Rental Teams Rental Teams |
|||
Best Builds for Returning Pokemon
All Competitive Builds for Ranked Battle
## Competitive Guides for Pokemon Sword and Shield
| Competitive Pokemon Battle Guides | |||||
|---|---|---|---|---|---|
| Tier List |
Best Builds |
Series 10 List of Contenders |
|||
| Doubles Tier List
|
Team Building |
Rental Teams |
|||
Best Builds for Returning Pokemon
Author

Bisharp - Moveset & Best Build for Ranked Battle
Please participate in our site
improvement survey
03/2026
improvement survey
03/2026
Would you assist in
improving Game8's site?
improving Game8's site?

×
We are listening to our users' valuable opinions and discussing how to act on them.
The information collected through this survey will be used for the purpose of improving our services. In addition, the information will only be disclosed a part of a statistic in a format that will not allow identification of personal information.
Begin Survey
Not Now
×
Please rate each item regarding Game8.co's Advertisements.
Amount of Ads
Very Dissatisfied
Somewhat Dissatisfied
Fine
Somewhat Satisfied
Highly Satisfied
Placement of Ads
Timing of Ad Display
Ad Loading Speed
Safeness of Ads
Content of Ads
×
Please rate each item regarding Game8.co's Quality of Articles.
Amount of information
Very Dissatisfied
Somewhat Dissatisfied
Fine
Somewhat Satisfied
Highly Satisfied
Frequency of updates
Speed of new information
Accuracy of articles
Understandibility of articles
Readability of sentences
×
Please rate each item regarding Game8.co's Usability of the Site.
Ease of finding information
Very Dissatisfied
Somewhat Dissatisfied
Fine
Somewhat Satisfied
Highly Satisfied
Loading Speed
Use of Color
Font Size
Visibility of Images
Easy to Understand Layout
×
Please rate each item regarding Game8.co's Message Boards, Comments.
Ease of Writing
Very Dissatisfied
Somewhat Dissatisfied
Fine
Somewhat Satisfied
Highly Satisfied
Readability
Ease in Finding Information
Comment Quality
Comment Quantity
Admin Response
×
Please rate each item regarding Game8.co's Site's new design.
Please rate our site's new design
Very Dissatisfied
Somewhat Dissatisfied
Fine
Somewhat Satisfied
Highly Satisfied
Do you think that the website's design change makes the site easier to use?
Has the new design made it easier for you to find information on the site?
Has the new design improved the overall visual appeal of the site?
How would you rate your overall satisfaction with the new design of the site?
×
How likely are you to recommend Game8 to someone you know?
Very Unlikely
0
1
2
3
4
5
6
7
8
9
10
Very Likely
If you have other opinions regarding potential improvement to the website, please share them with us. We would appreciate your honest opinion.
Note: This is a free response section, so you can proceed without entering anything.
Note: Please be sure not to enter any kind of personal information into your response.
Note: Please be sure not to enter any kind of personal information into your response.
×
Thank You
×
Thank you for participating in our survey! Your answers will help us to improve the quality of our website and services.
We hope you continue to make use of Game8.
We hope you continue to make use of Game8.
Close
Rankings
- We could not find the message board you were looking for.

Gaming News


![Monster Hunter Stories 3 Review [First Impressions] | Simply Rejuvenating](https://img.game8.co/4438641/2a31b7702bd70e78ec8efd24661dacda.jpeg/thumb)
Popular Games

Genshin Impact Walkthrough & Guides Wiki
Honkai: Star Rail Walkthrough & Guides Wiki
Umamusume: Pretty Derby Walkthrough & Guides Wiki
Pokemon Pokopia Walkthrough & Guides Wiki
Resident Evil Requiem (RE9) Walkthrough & Guides Wiki
Monster Hunter Wilds Walkthrough & Guides Wiki
Wuthering Waves Walkthrough & Guides Wiki
Arknights: Endfield Walkthrough & Guides Wiki
Pokemon FireRed and LeafGreen (FRLG) Walkthrough & Guides Wiki
Pokemon TCG Pocket (PTCGP) Strategies & Guides Wiki


Recommended Games
Diablo 4: Vessel of Hatred Walkthrough & Guides Wiki
Cyberpunk 2077: Ultimate Edition Walkthrough & Guides Wiki
Fire Emblem Heroes (FEH) Walkthrough & Guides Wiki
Yu-Gi-Oh! Master Duel Walkthrough & Guides Wiki
Super Smash Bros. Ultimate Walkthrough & Guides Wiki
Pokemon Brilliant Diamond and Shining Pearl (BDSP) Walkthrough & Guides Wiki
Elden Ring Shadow of the Erdtree Walkthrough & Guides Wiki
Monster Hunter World Walkthrough & Guides Wiki
The Legend of Zelda: Tears of the Kingdom Walkthrough & Guides Wiki
Persona 3 Reload Walkthrough & Guides Wiki


All rights reserved
©2019 Pokémon. ©1995-2019 Nintendo/Creatures Inc. /GAME FREAK inc.
The copyrights of videos of games used in our content and other intellectual property rights belong to the provider of the game.
The contents we provide on this site were created personally by members of the Game8 editorial department.
We refuse the right to reuse or repost content taken without our permission such as data or images to other sites.