Floating Jade, Treasure of Chenyu Quest Guide
✉ Send your thoughts in our Genshin 6.4 Patch Survey!
★ Exclusive: Dive back in time with the Meta History
◆ Hot: Version 6.4, Luna 5 Codes
◆ Builds: Varka, Flins, Skirk, Escoffier
◆ Events: Travelers' Tales, He Who Caught the Wind
◆ Future: Linnea, Version 6.5 Luna VI
Floating Jade, Treasure of Chenyu is the second quest under the Chenyu's Blessings of Sunken Jade quest chain in the Chenyu Vale for Genshin Impact 4.4. See how to unlock the World Quest, its walkthrough, and the complete rewards here in this guide!
List of Contents
How to Unlock Floating Jade, Treasure of Chenyu
Complete the Qiaoying of the Sacred Mountain Quest
To unlock Floating Jade, Treasure of Chenyu, you must have completed the previous subquest of Chenyu's Blessings of Sunken Jade, Qiaoying of the Sacred Mountain!
Qiaoying of the Sacred Mountain Quest Guide
Floating Jade, Treasure of Chenyu Walkthrough
Follow Little Mao
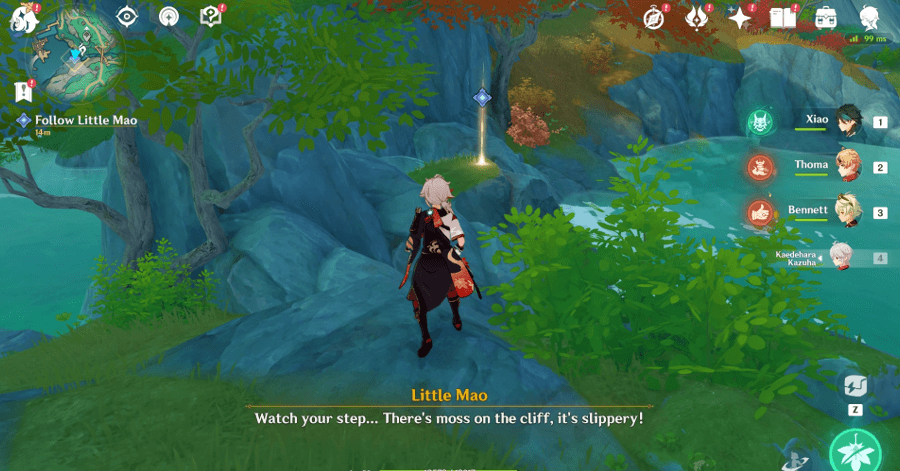
After discussing about your next steps to restore the nature, follow Little Mao to the location marked on your map. Once there, try entering the waterfall to reach the cavern inside.
How to Try to Enter the Waterfall
| How to Enter the Waterfall | |
|---|---|
| 1 | To enter the waterfall, first break the clump of rock located to your left. |
| 2 | Then, use your Adeptal Energy on the rock platform to elevate it. Doing so reveals a path which you can use to reach the cavern within the waterfall! |
Explore the domain
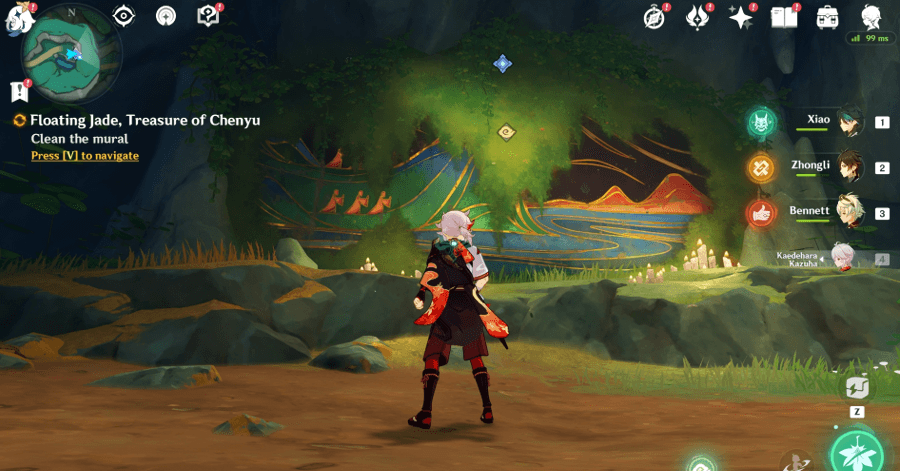
Once inside, explore the domain with Little Mao until you both reach a mural covered with moss. Use your Adeptal Energy to clean the mural.
Talk to Little Mao
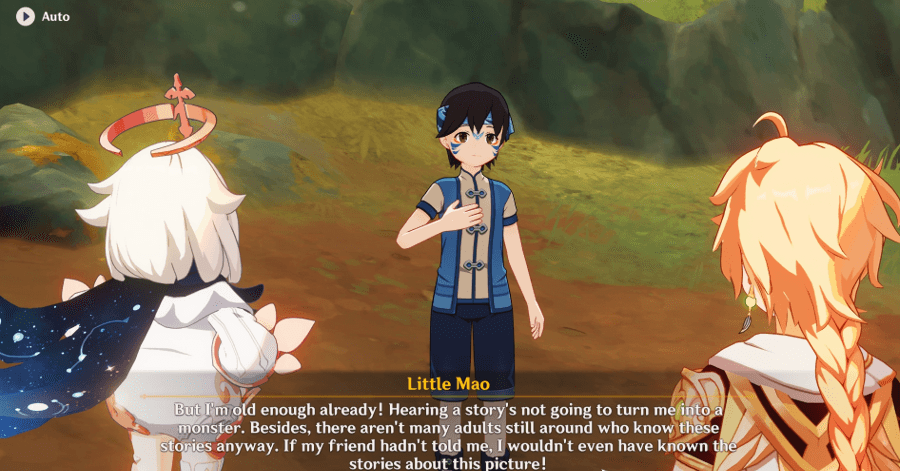
After cleaning it, talk to Little Mao, and listen to him as he regale you with the folklore and legends in Chenyu Vale that closely depicts the one in the picture!
Go to the watchtower at Yilong Wharf
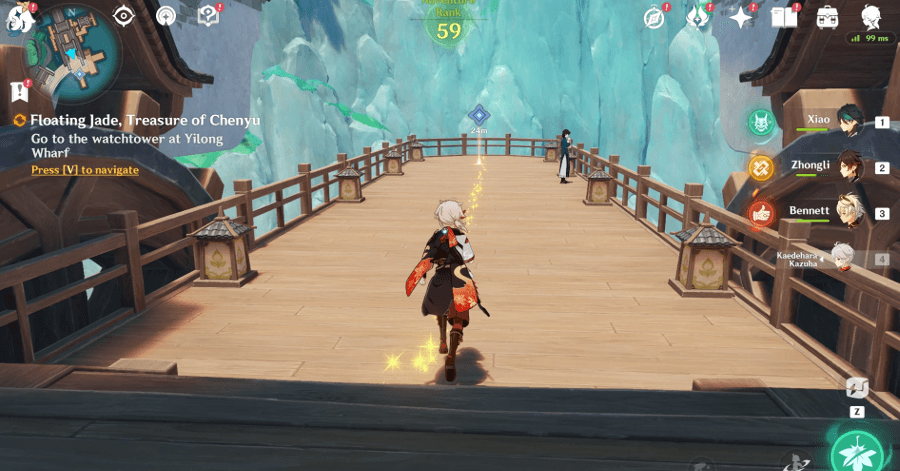
Then, go to the watchtower at Yilong Wharf to easily observe the flow of the river. Fortunately, you're immediately teleported to the location, so just simply walk towards the quest marker once you've reached the area.
Board the Bamboo Raft
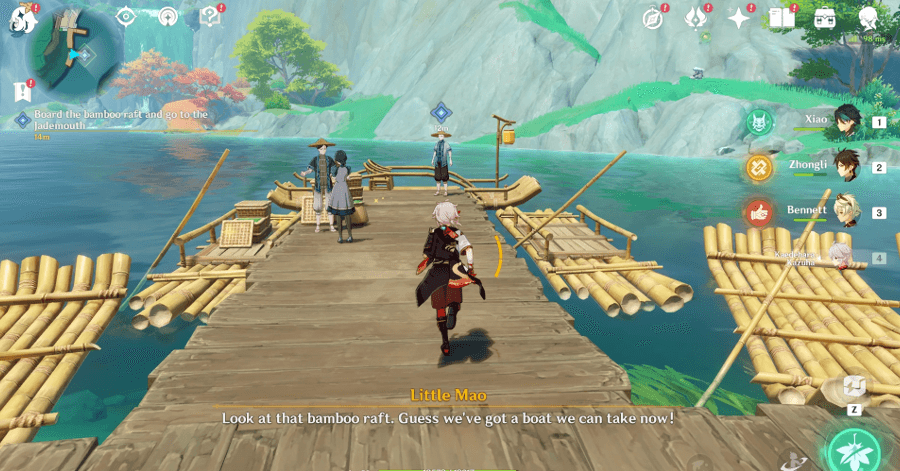
As you observe the flow of the river, talk to Little Mao about where the Jade could've been located. After zeroing in on Jademouth, glide down from the watchtower and board the bamboo raft and go to the Jademouth.
Talk to Little Mao
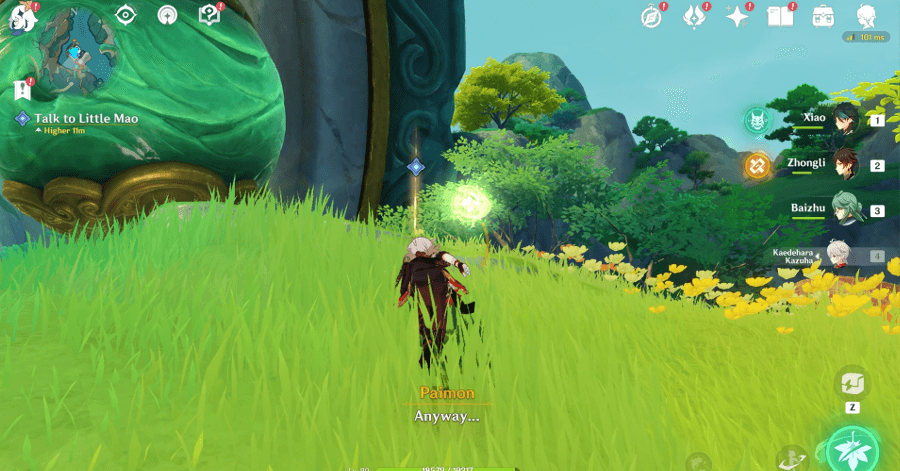
Once you've reached the Jademouth, talk to Little Mao about your next steps. He then tells you about a folksong sung by an old lady that talks about the shrines that keep a mighty whirlpool suppressed!
Investigate the stone shrine
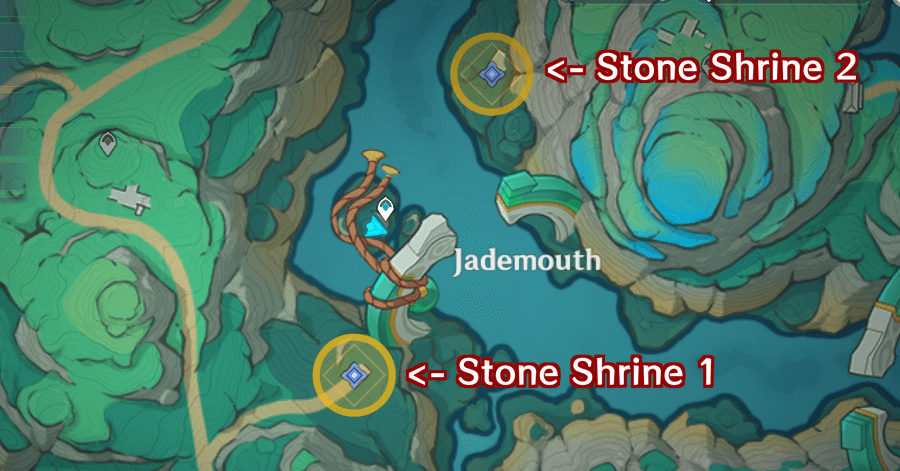
To investigate the stone shrine, solve the puzzles in each shrine, then use your Adeptal Energy to interact with the nearby stone altar!
How to Investigate the Stone Shrine 1
| How to Investigate the First Stone Shrine | |
|---|---|
| 1 | To investigate the Stone Shrine 1 located to your south, head towards the marked location until you see the Jade Incense Cauldron puzzle. |
| 2 | Then, use your Adeptal Energy to light all the nearby censers at once. To do this, only interact with each Jade Incense Cauldron, one at a time, and make sure to use your Adeptal Energy only when you're beside the farthest censer diagonally across each Cauldron! |
| 3 | Do the same thing with the other Jade Cauldron until you complete the puzzle! |
| 4 | After lighting up all the censers, head towards the Stone Shrine at the middle, and use your Adeptal Energy to complete the puzzle! |
How to Investigate the Stone Shrine 2
| How to Investigate the Second Stone Shrine | |
|---|---|
| 1 | To investigate the Stone Shrine 2, luckily there's no puzzle to solve! Simply head to the marked location, defeat all the enemies, and use your Adeptal Energy to interact with the Stone Shrine! |
How to Investigate the Stone Shrine
Go back beneath the jade
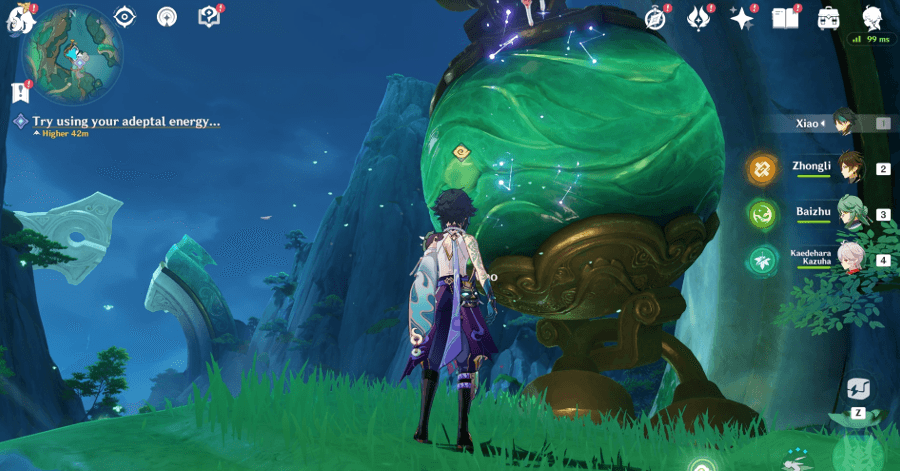
After interacting with the two Stone Shrines, go back beneath the jade, and try using your Adeptal Energy to make the whirlpool appear. Afterwards, jump into the whirlpool.
Follow the carp
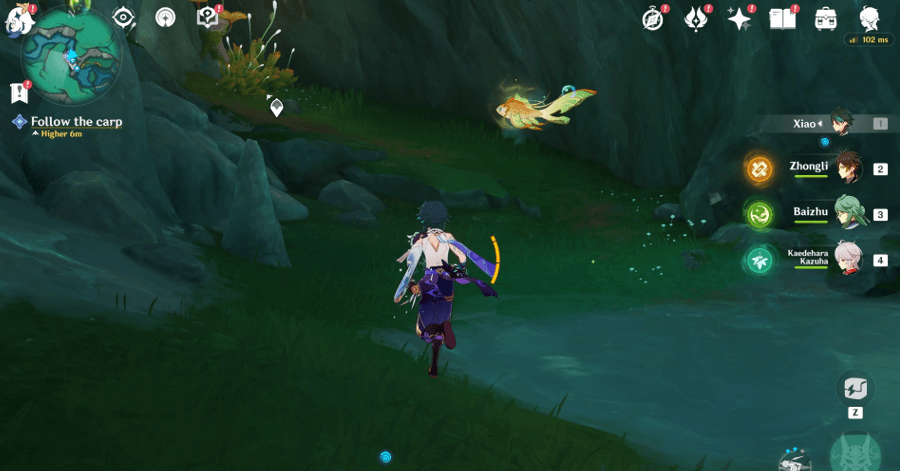
Once you're inside a cavern underneath the whirpool, follow the carp, until you reach a hibernating Votive Rainjade. Talk to Adeptus Fujin about your next steps once you've reached the location!
Collect the scattered adeptal energy
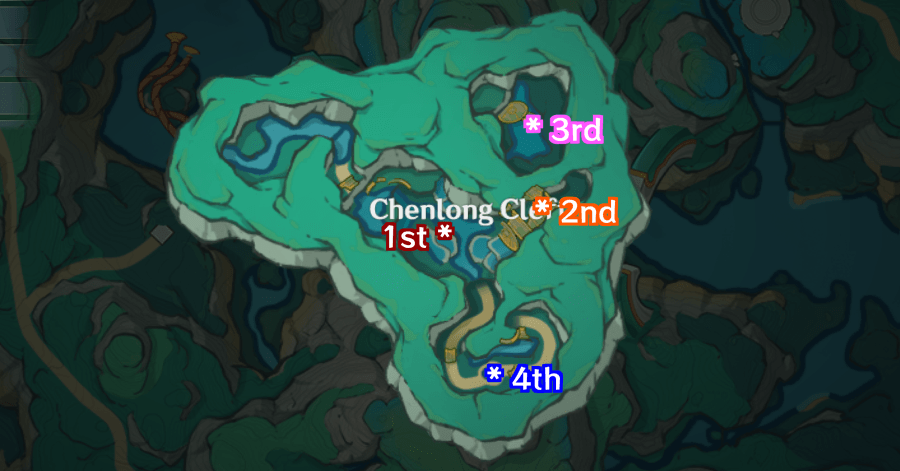
Afterwards, you must restore the Votive Rainjade by filling it with the scattered Adeptal Energy! There are a total of four Scattered Adeptal Energy nearby which you can use to fix the Rainjade.
How to Collect the First Scattered Adeptal Energy
| First Scattered Adeptal Energy Location | |
|---|---|
| 1 | 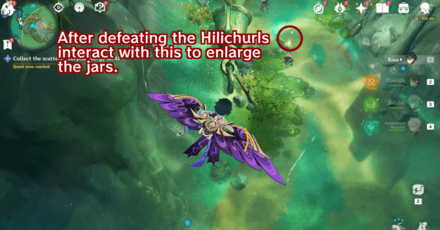 To collect the first Scattered Adeptal Energy, jump to your left and glide down, until you see a group of Hilichurl enemies positioned nearby the rust-torn jars. |
| 2 | 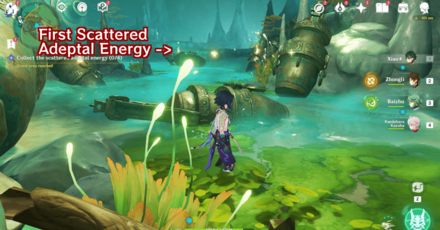 After defeating the Hilichurls, interact with the marker on the ground. Doing so enlarges the nearby Jars, which you can opt to investigate all of them. The first Scattered Adeptal Energy is located on the farthest jar directly across you! |
How to Collect the Second Scattered Adeptal Energy
| Second Scattered Adeptal Energy Location | |
|---|---|
| 1 | 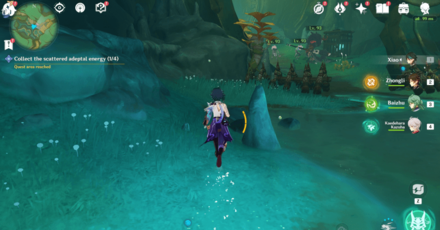 To collect the second Scattered Adeptal Energy, walk towards the direction of the imprisoned Seelie just a couple of steps away from the first scattered adeptal energy, and defeat all Hilichurls to free it. |
| 2 | 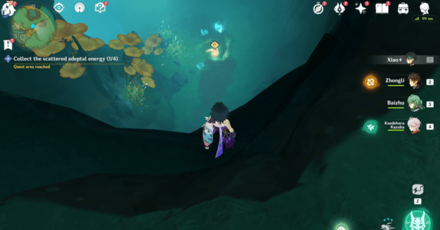 Once it's free, the Seelie will call two of its Seelie friends from nearby. Follow the three Seelies until they stop beside the second Scattered Adeptal Energy. Interact with it to redirect back to the Votive Rainjade! |
How to Collect the Third Scattered Adeptal Energy
| Third Scattered Adeptal Energy Location | |
|---|---|
| 1 | 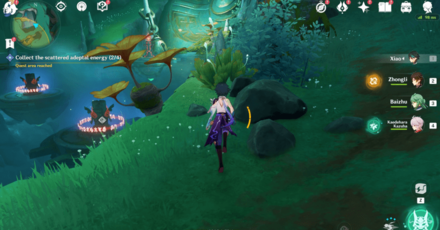 To collect the third Scattered Adeptal Energy, from the second Adeptal Energy, press forward until you see a chamber with three Pyro Monuments. |
| 2 | Use your Adeptal Energy on the submerged monuments, and hit them with Pyro until of them are lit up. We strongly recommend using a Pyro bow character for this, as the totems seem to be time-limited and auto-deactivate after a short amount of time! |
| 3 | Once all monuments are lit up, collect the third Scattered Adeptal Energy from the middle platform! |
How to Collect the Fourth Scattered Adeptal Energy
| Fourth Scattered Adeptal Energy Location | |
|---|---|
| 1 | To collect the fourth Scattered Adeptal Energy, go back to the location of the first adeptal energy by tracing back your steps, or using the nearby Golden Carp's Leap. |
| 2 | Once you're by the jar where the first adeptal energy is located, walk to your right until you see a clump of Adeptal Energy. Interact with it using your Adeptal Energy to move it, and to change its form to a Hydro Mimic Boar-looking energy. |
| 3 | Follow the Boar to wherever it goes, and defeat the Hydro Mimic enemies it summons along its trail. |
| 4 | Once the boar reaches a large cavern, it will change its form once more, and transform to a large Mimic Boar named as the Beast Lord of Fuyu. Defeat the Beast Lord of Fuyu to get the Fourth Scattered Adeptal Energy! |
How to Collect the Scattered Adeptal Energy
Return to the Votive Rainjade
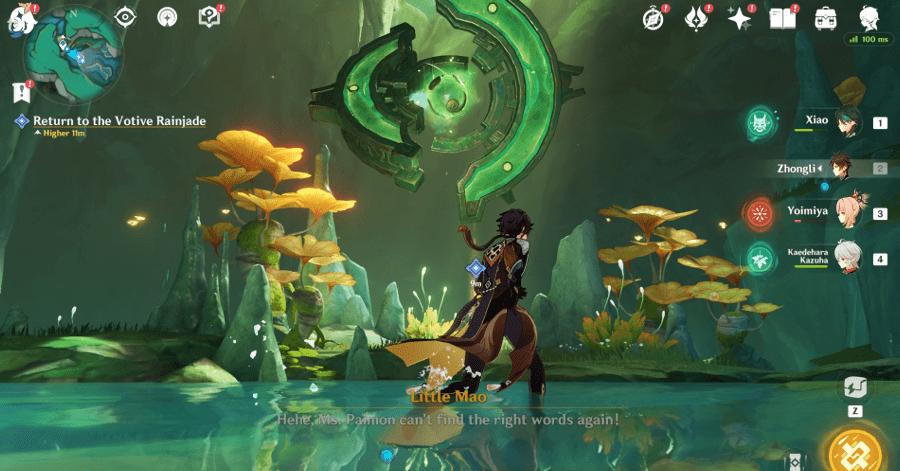
After collecting all four scattered Adeptal Energy, return to the Votive Rainjade. From its former deactivated state, the Rainjade is now activated and hovering mid-air! After collecting the Rainjade, head over to the location Fujin mentioned!
Floating Jade, Treasure of Chenyu Information
Sub-Quest of Chenyu's Blessings of Sunken Jade

Floating Jade, Treasure of Chenyu is a subquest of the quest, Chenyu's Blessings of Sunken Jade, where we help the Adeptus Fujin to restore the balance between water and soil all throughout Chenyu Vale!
Floating Jade, Treasure of Chenyu is the second part of the Chenyu's Blessings of Sunken Jade world quest chain.
Floating Jade, Treasure of Chenyu Rewards
Total Quest Rewards
| Total Quest Rewards |
 Primogem x40 |
 Mora x30000 |
|---|---|---|
 Hero's Wit x4 |
 Adventure EXP x350 |
|
Genshin Impact Related Guides

Other Chenyu's Blessings of Sunken Jade Quest Guides
| Chenyu's Blessings of Sunken Jade World Quest Guides | ||
|---|---|---|
| Qiaoying of the Sacred Mountain | Floating Jade, Treasure of Chenyu | An Ancient Sacrifice of Sacred Brocade |
Comment
I don't think a Guide should skip past how to make the Whirlpool appear, especially given how it resets if you go the wrong way.
Author
Floating Jade, Treasure of Chenyu Quest Guide
improvement survey
03/2026
improving Game8's site?

Your answers will help us to improve our website.
Note: Please be sure not to enter any kind of personal information into your response.

We hope you continue to make use of Game8.
Rankings
- We could not find the message board you were looking for.
Gaming News
Popular Games

Genshin Impact Walkthrough & Guides Wiki

Honkai: Star Rail Walkthrough & Guides Wiki

Umamusume: Pretty Derby Walkthrough & Guides Wiki

Pokemon Pokopia Walkthrough & Guides Wiki

Resident Evil Requiem (RE9) Walkthrough & Guides Wiki

Monster Hunter Wilds Walkthrough & Guides Wiki

Wuthering Waves Walkthrough & Guides Wiki

Arknights: Endfield Walkthrough & Guides Wiki

Pokemon FireRed and LeafGreen (FRLG) Walkthrough & Guides Wiki

Pokemon TCG Pocket (PTCGP) Strategies & Guides Wiki
Recommended Games

Diablo 4: Vessel of Hatred Walkthrough & Guides Wiki

Fire Emblem Heroes (FEH) Walkthrough & Guides Wiki

Yu-Gi-Oh! Master Duel Walkthrough & Guides Wiki

Super Smash Bros. Ultimate Walkthrough & Guides Wiki

Pokemon Brilliant Diamond and Shining Pearl (BDSP) Walkthrough & Guides Wiki

Elden Ring Shadow of the Erdtree Walkthrough & Guides Wiki

Monster Hunter World Walkthrough & Guides Wiki

The Legend of Zelda: Tears of the Kingdom Walkthrough & Guides Wiki

Persona 3 Reload Walkthrough & Guides Wiki

Cyberpunk 2077: Ultimate Edition Walkthrough & Guides Wiki
All rights reserved
Copyright© 2012-2024 HoYoverse — COGNOSPHERE. All Rights Reserved.
The copyrights of videos of games used in our content and other intellectual property rights belong to the provider of the game.
The contents we provide on this site were created personally by members of the Game8 editorial department.
We refuse the right to reuse or repost content taken without our permission such as data or images to other sites.


![Everwind Review [Early Access] | The Shaky First Step to A Very Long Journey](https://img.game8.co/4440226/ab079b1153298a042633dd1ef51e878e.png/thumb)

![Monster Hunter Stories 3 Review [First Impressions] | Simply Rejuvenating](https://img.game8.co/4438641/2a31b7702bd70e78ec8efd24661dacda.jpeg/thumb)


er, as in the how with the adeptsl energy part. Not the before.