 Sandstorms in the Desert
 Atmospheric Vortexes
 Sacred Seals
 Primal Obelisks
 Rune Mechanisms
 Weathered Obelisk
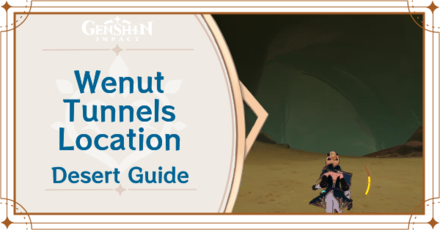 Wenut Tunnels
 Cascade Pools and Spouts
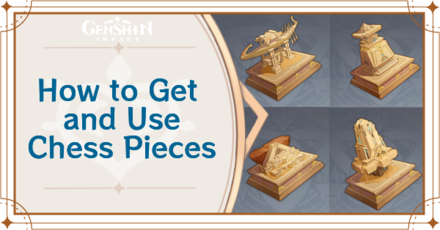 Chess Pieces
 Chess Activation Device
 Memories of Eternal Oasis
 Mysterious Stone Slate
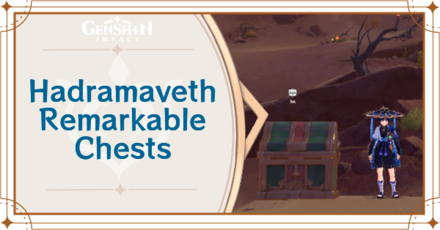 Remarkable Chests
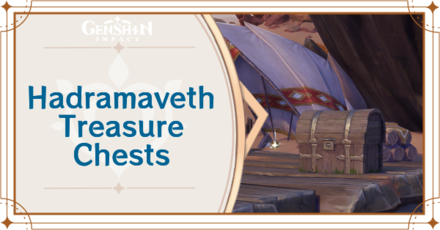 Treasure Chests
 Safhe Shatranj Puzzle
 Debris of Panjvahe Puzzle
 Passage of the Ghouls Puzzle
 Passage of Ghouls Totems
 Dual-Phase Neverlight Cells
 Weathered Rocks
 Runic Window and Pane
 Hadramaveth Viewpoints
 Gurabad's Ruin
 Enigmatic Pages
 Seelie Locations
 Wadi Al-Majuj Sacred Seals
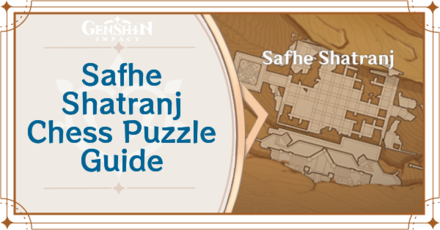 Safhe Shatranj Chess Puzzle
This survey will take about 1 minute.
Your answers will help us to improve our website.
Genshin Impact
Investigate the Hilichurl Camp Guide
✉ Send your thoughts in our Genshin 6.4 Patch Survey!
★ Exclusive: Dive back in time with the Meta History
◆ Hot: Version 6.4, Luna 5 Codes
◆ Builds: Varka, Flins, Skirk, Escoffier
◆ Events: Travelers' Tales, He Who Caught the Wind
◆ Future: Linnea, Version 6.5 Luna VI

Investigate the Hilichurl Camp is an objective of the Behold, the Sign Comes Like A Thief for Her Foes Rage Like Great Waters World Quest in Genshin Impact 3.4. Check out how to Investigate the Hilichurl Camp in this guide!
How to Investigate the Hilichurl Camp
Defeat the Hilichurls
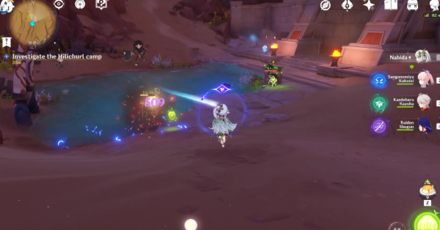
Upon following the caravan's trail of clues, defeat the Samachurl, Mitachurl, and three Hilichurls before investigating their camp. This will help you check out the Hilichurl Camp without trouble.
There will be three clues to investigate in the Hilichurl Camp. You can learn more about caravan and save time by skipping the first two investigations, then head straight away to the Hilichurl Tower!
Check out the Pyro Torch
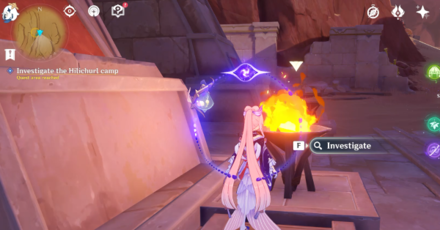
The first clue to look into is located near the Dendro Samachurl. The Pyro torch won't have any noteworthy information and is alright to skip.
Head to the Layer of Boxes
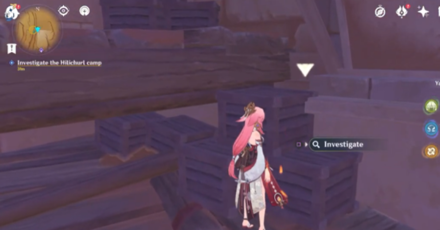
The next clue is located at the back of a Cryo Hilichurl Shooter. There won't be any supplies from the caravan here as well and is fine to skip.
Investigate the Scrap Materials near the Hilichurl Tower
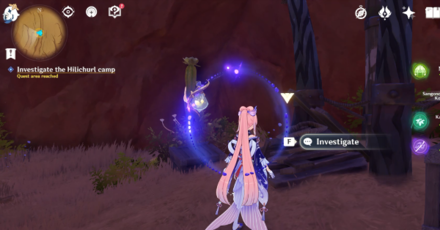
The third and last clue in the Hilichurl Camp is located near a Hilichurl Tower. There will be scrap materials in front of the tower to investigate. Interacting with this spot will provide more info and leads you to the quest's next objective.
Investigate the Hilichurl Camp Info
Objective of Behold, the Sign Comes Like A Thief
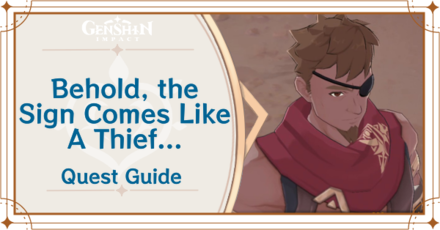
Behold, the Sign Comes Like A Thief is the first subquest of the world quest, Her Foes Rage Like Great Waters... on the Desert of Hadramaveth
Her Foes Rage Like Great Waters Part 1
Genshin Impact Related Guides

Guides to Sumeru Areas
| Sumeru Area Guides | |
|---|---|
 Rainforest Area Rainforest Area |
 Desert Area Desert Area |
Guide to Desert Regions
| Sumeru Desert Guides | ||
|---|---|---|
 The Great Red Sand The Great Red Sand |
 Desert of Hadramaveth Desert of Hadramaveth |
 Girdle of the Sands Girdle of the Sands |
Map Features in Desert of Hadramaveth
| Notable Hadramaveth Desert Guides | |
|---|---|
 Dendroculus Locations Dendroculus Locations |
 Shrine of Depths Shrine of Depths |
 Hidden Waypoints Hidden Waypoints |
 Fishing Spots Fishing Spots |
 Hadramaveth Clearance Hadramaveth Clearance |
|
Desert of Hadramaveth Domains
| Hadramaveth Desert Domains | |
|---|---|
 Fane of Panjvahe Fane of Panjvahe |
 City of the Deceased City of the Deceased |
Desert of Hadramaveth World Quests
Desert of Hadramaveth Exploration Guides
Tips and Tricks
| Tips and Tricks for Things in Hadramaveth Desert | |
|---|---|
 How to Open the Ancient Gate How to Open the Ancient Gate |
 How to Restore Power to the Left Arm How to Restore Power to the Left Arm |
 Activate the Device and Open the Gate Activate the Device and Open the Gate |
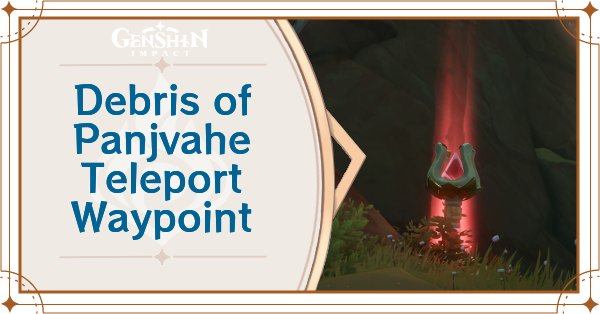 Debris of Panjvahe Teleport Waypoint Debris of Panjvahe Teleport Waypoint |
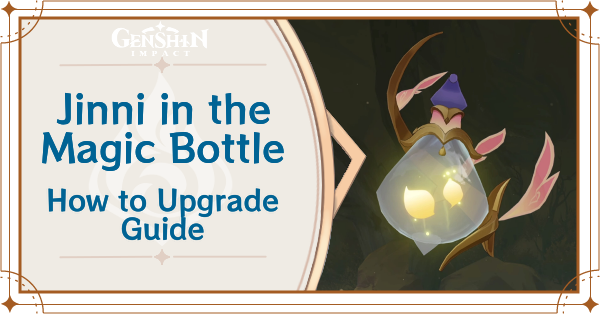 Jinni in the Magic Bottle Upgrades Jinni in the Magic Bottle Upgrades |
|
Items in the Desert of Hadramaveth
| Items found in the Desert of Hadramaveth | |
|---|---|
 Liloupar Gadget Liloupar Gadget |
 Sand Grease Pupa Sand Grease Pupa |
 Ancient Stone Key Ancient Stone Key |
 Fatui Stronghold Key Fatui Stronghold Key |
Creatures in the Desert of Hadramaveth
Enemies in the Desert of Hadramaveth
| Enemy and Boss Guides | ||
|---|---|---|
 Setekh Wenut Setekh Wenut |
 Eremite Floral Ring-Dancer Eremite Floral Ring-Dancer |
 Eremite Scorching Loremaster Eremite Scorching Loremaster |
 Consecrated Flying Serpent Consecrated Flying Serpent |
 Consecrated Scorpion Consecrated Scorpion |
 Consecrated Red Vulture Consecrated Red Vulture |
Wildlife in the Desert of Hadramaveth
| Wildlife in the Desert of Hadramaveth | ||
|---|---|---|
 Flying Serpent Flying Serpent |
All Interactive Map Guides

Comment
Author

Investigate the Hilichurl Camp Guide
Please participate in our site
improvement survey
03/2026
improvement survey
03/2026
Would you assist in
improving Game8's site?
improving Game8's site?

×
We are listening to our users' valuable opinions and discussing how to act on them.
The information collected through this survey will be used for the purpose of improving our services. In addition, the information will only be disclosed a part of a statistic in a format that will not allow identification of personal information.
Begin Survey
Not Now
×
Please rate each item regarding Game8.co's Advertisements.
Amount of Ads
Very Dissatisfied
Somewhat Dissatisfied
Fine
Somewhat Satisfied
Highly Satisfied
Placement of Ads
Timing of Ad Display
Ad Loading Speed
Safeness of Ads
Content of Ads
×
Please rate each item regarding Game8.co's Quality of Articles.
Amount of information
Very Dissatisfied
Somewhat Dissatisfied
Fine
Somewhat Satisfied
Highly Satisfied
Frequency of updates
Speed of new information
Accuracy of articles
Understandibility of articles
Readability of sentences
×
Please rate each item regarding Game8.co's Usability of the Site.
Ease of finding information
Very Dissatisfied
Somewhat Dissatisfied
Fine
Somewhat Satisfied
Highly Satisfied
Loading Speed
Use of Color
Font Size
Visibility of Images
Easy to Understand Layout
×
Please rate each item regarding Game8.co's Message Boards, Comments.
Ease of Writing
Very Dissatisfied
Somewhat Dissatisfied
Fine
Somewhat Satisfied
Highly Satisfied
Readability
Ease in Finding Information
Comment Quality
Comment Quantity
Admin Response
×
Please rate each item regarding Game8.co's Site's new design.
Please rate our site's new design
Very Dissatisfied
Somewhat Dissatisfied
Fine
Somewhat Satisfied
Highly Satisfied
Do you think that the website's design change makes the site easier to use?
Has the new design made it easier for you to find information on the site?
Has the new design improved the overall visual appeal of the site?
How would you rate your overall satisfaction with the new design of the site?
×
How likely are you to recommend Game8 to someone you know?
Very Unlikely
0
1
2
3
4
5
6
7
8
9
10
Very Likely
If you have other opinions regarding potential improvement to the website, please share them with us. We would appreciate your honest opinion.
Note: This is a free response section, so you can proceed without entering anything.
Note: Please be sure not to enter any kind of personal information into your response.
Note: Please be sure not to enter any kind of personal information into your response.
×
Thank You
×
Thank you for participating in our survey! Your answers will help us to improve the quality of our website and services.
We hope you continue to make use of Game8.
We hope you continue to make use of Game8.
Close


Rankings
- We could not find the message board you were looking for.
Gaming News


![Slay the Spire 2 Review [Early Access] | Still the Deckbuilder to Beat](https://img.game8.co/4433115/44e19e1fb0b4755466b9e516ec7ffb1e.png/thumb)

![Resident Evil Village Review [Switch 2] | Almost Flawless Port](https://img.game8.co/4432790/e1859f64830960ce4248d898f8cd38d9.jpeg/thumb)
Popular Games

Genshin Impact Walkthrough & Guides Wiki
Honkai: Star Rail Walkthrough & Guides Wiki
Umamusume: Pretty Derby Walkthrough & Guides Wiki
Pokemon Pokopia Walkthrough & Guides Wiki
Resident Evil Requiem (RE9) Walkthrough & Guides Wiki
Monster Hunter Wilds Walkthrough & Guides Wiki
Wuthering Waves Walkthrough & Guides Wiki
Arknights: Endfield Walkthrough & Guides Wiki
Pokemon FireRed and LeafGreen (FRLG) Walkthrough & Guides Wiki
Pokemon TCG Pocket (PTCGP) Strategies & Guides Wiki


Recommended Games
Fire Emblem Heroes (FEH) Walkthrough & Guides Wiki
Diablo 4: Vessel of Hatred Walkthrough & Guides Wiki
Yu-Gi-Oh! Master Duel Walkthrough & Guides Wiki
Super Smash Bros. Ultimate Walkthrough & Guides Wiki
Pokemon Brilliant Diamond and Shining Pearl (BDSP) Walkthrough & Guides Wiki
Elden Ring Shadow of the Erdtree Walkthrough & Guides Wiki
Monster Hunter World Walkthrough & Guides Wiki
The Legend of Zelda: Tears of the Kingdom Walkthrough & Guides Wiki
Persona 3 Reload Walkthrough & Guides Wiki
Cyberpunk 2077: Ultimate Edition Walkthrough & Guides Wiki


All rights reserved
Copyright© 2012-2024 HoYoverse — COGNOSPHERE. All Rights Reserved.
The copyrights of videos of games used in our content and other intellectual property rights belong to the provider of the game.
The contents we provide on this site were created personally by members of the Game8 editorial department.
We refuse the right to reuse or repost content taken without our permission such as data or images to other sites.