For a Green Island... Quest Guide
✉ Send your thoughts in our Genshin 6.4 Patch Survey!
★ Exclusive: Dive back in time with the Meta History
◆ Hot: Version 6.4, 6.4 Codes, Linnea, Version 6.5
◆ Builds: Varka, Flins, Skirk, Escoffier
◆ Events: Travelers' Tales, Sightseeing With Friends
◆ Endgame: Spiral Abyss (March 2026)
For a Green Island... is a quest under the Polkka Beneath the Moon's Oracle quest chain in Hiisi Island for Genshin Impact Luna I. See how to unlock this quest, its location, how to enter the cave and search for fragment, how to find the Kuuhenki to activate the mirror, how to retrieve the fragment from the moon mirror, its walkthrough, and the rewards here in this guide!
List of Contents
For a Green Island... Quest Location
Southwest Island of Hiisi Island
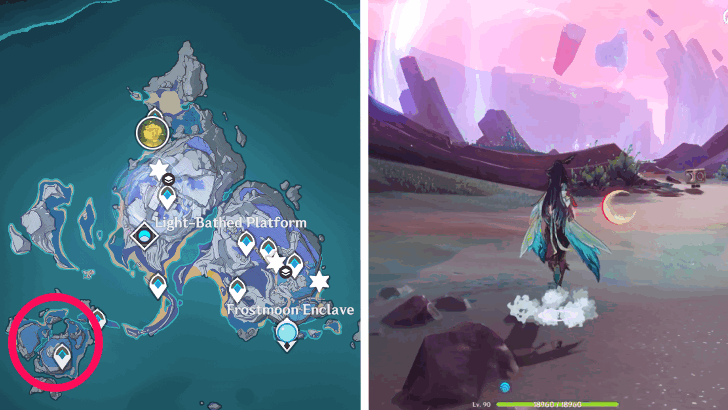
For a Green Island... is located at Hiisi Island, in the nation of Nod-Krai. You can reach the quest location by using either of the two teleport waypoints at the southwest side of Hiisi Island.
Nod-Krai Location and How to Unlock
How to Unlock For a Green Island...
Approach the Force Field at the Southwest Island
Once you reach the weird island at the southwest side, approach the force field at the middle to start the For a Green Island... world quest.
Nod-Krai Location and How to Unlock
For a Green Island... Walkthrough
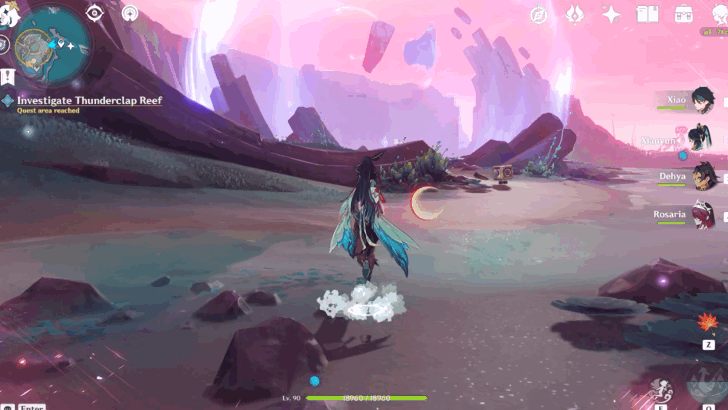
Investigate Thunderclap Reef

Head over to the weird force field at the middle of the southwest island of Hiisi Island. Once you are near, a cutscene where a weird little robot can be seen going inside a cave.
Follow the Robot

Follow the robot inside the cave. Once inside, you will get to meet Verna. She is the one responsible for experimenting the weird force field happening around the little island.
Enter the Cave and Search for Fragment(s)
Go deeper into the cave and you will find the first fragment just as you are about to go down the hole. So, be careful not to jump back down yet.
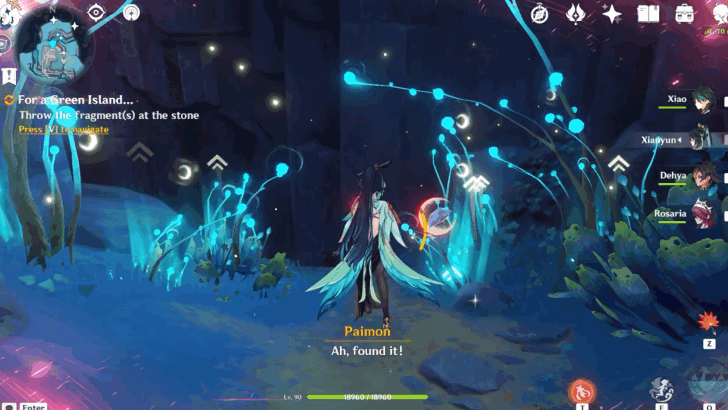
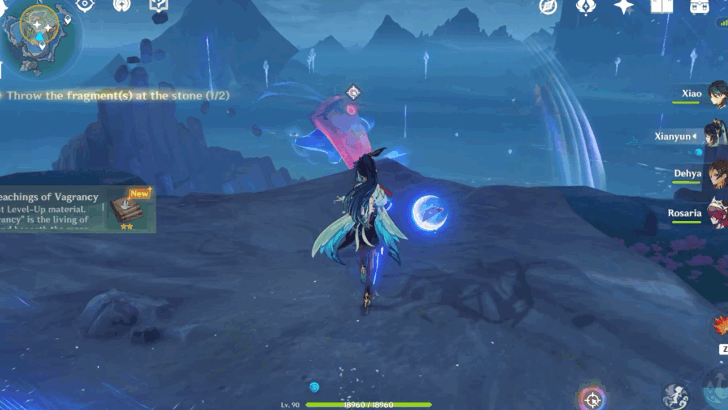
Throw the Fragment(s) at the Stone
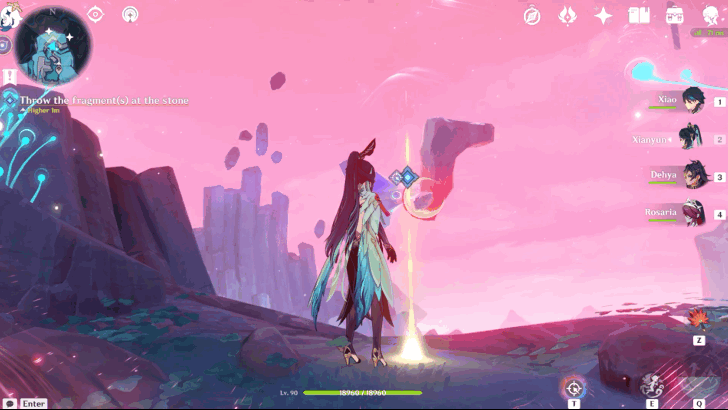
Head to the hole at the top of the cave, where you met Verna before, and try to place the fragment on the floating stones outside of the cave.
Enter the Cave and Search for Fragment(s)
Go back deeper into the cave and jump down the hole to find the other fragment. You will need to approach the little robots who are showing directional signs to help you find it. From there, you will need to accompany them so they can help you get the fragment.
Bipolar and Unipolar Objects Guide
How to Enter the Cave and Search for Fragment
| How to Search for Fragment in the Cave | |
|---|---|
| 1 |  Approach the two robots that are showing directional signs. Then, they will show you the right path to take to find the fragment in the cave. |
| 2 | 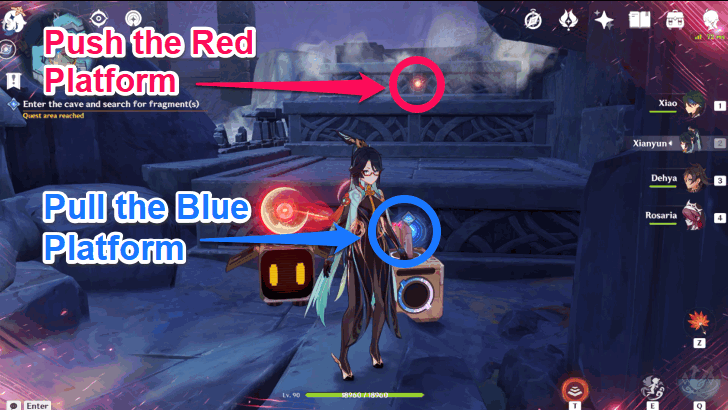 Follow the little robots to one corner of the area. Next, you need to use your Kuuvahki powers to pull closer the platform with a blue force field, and push away the platform with red force field. This is to make a runway for the robots and further accompany you into the cave. |
| 3 | 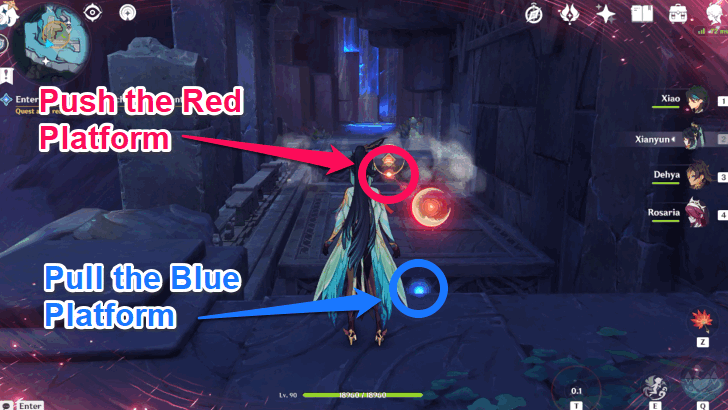 Around the next corner you will encounter platforms with red and blue force fields again. Like before, pull the platform with a blue force field, and push away the platform with red force field to form a runway for the little robots. |
| 4 | 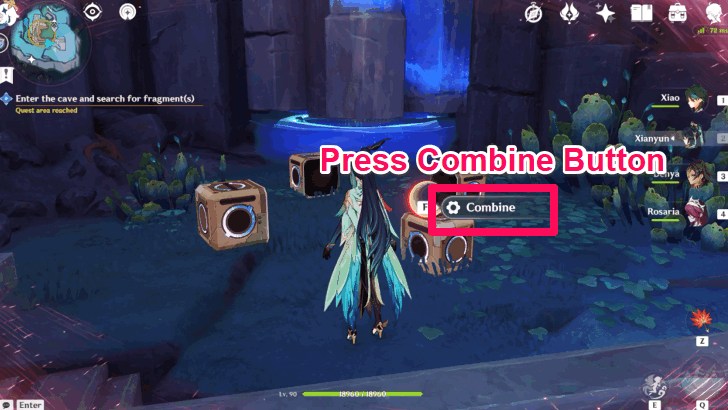 At the end of the path, there will be a rock with blue force field. Approach the little robots and press on the combine button prompt to destroy the rock. |
| 5 | 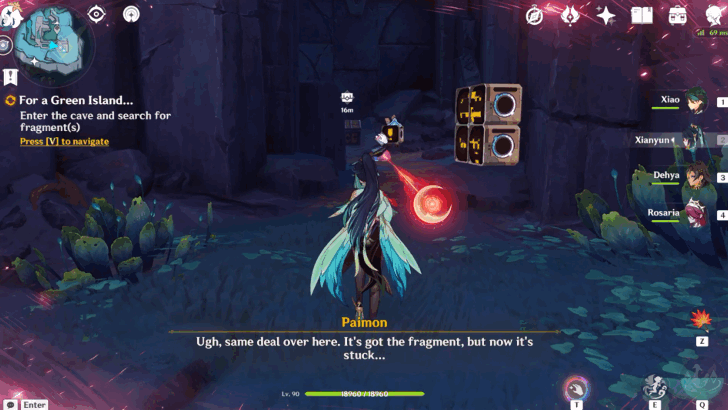 Get the fragment from the other side of the rock. |
| 6 | 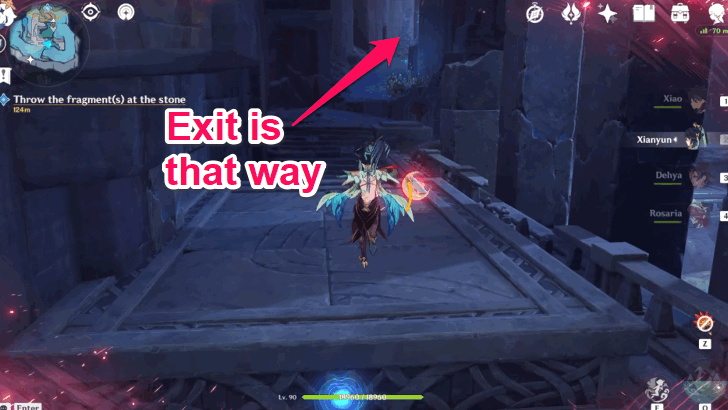 Proceed to the exit at the opposite side of the path where you obtained the fragment. |
Throw the Fragment(s) at the Stone
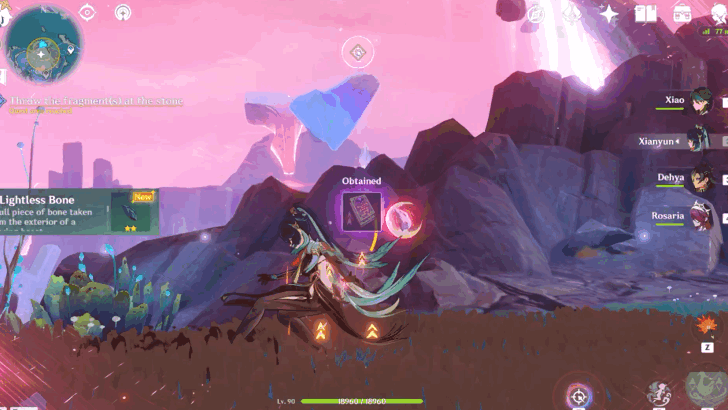
Go back up outside the cave and head to a higher ground to try and attach the fragment onto the floating stones outside the cave.
It might be hard to attach it, so what you can do is time it perfectly while the stones rotate or find a good angle.
Talk to Verna
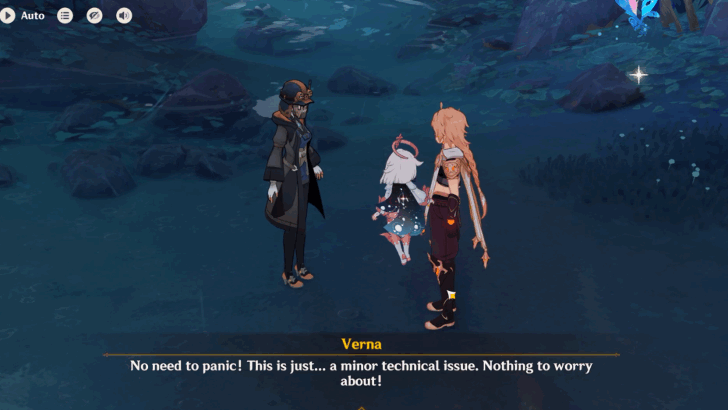
Head to Verna's location and talk to her about the current situation. She will say there is a minor technical issue, so she finds other things around that can possibly help.
Search for New Fragment(s) Nearby
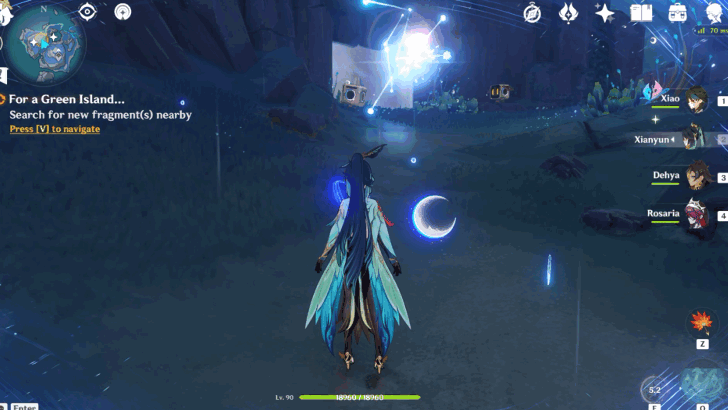
Approach the moon mirror on the side of a stone wall and a cutscene will occur, where a strange woman from the Frostmoon Scions can be seen. She says that she can help you with current situation.
Head to the Top of Thunderclap Reef
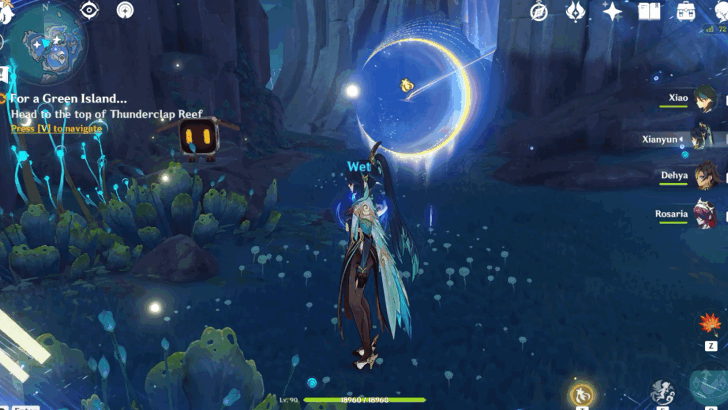
Ride the moonlane to get to the top of Thunderclap Reef. You will only to press the button that wil prompt once you get near the moonlane.
Investigate Moon Mirror
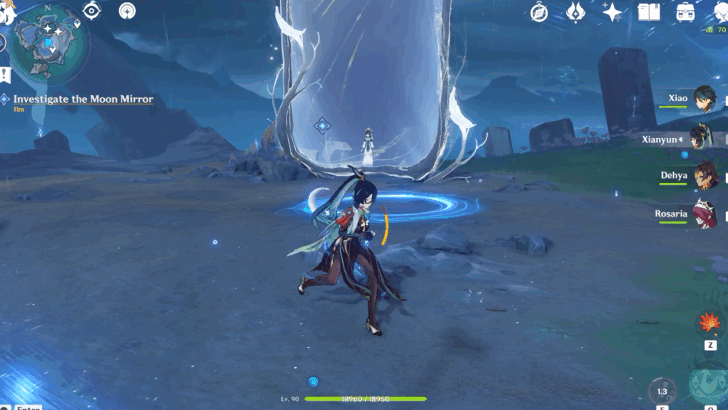
Once you investigate the moon mirror, the lady from before will show up again. This time Verna thinks she's playing a trick on you. Once the cutscene ends, a powerful monster will show up on the side.
Defeat the Awakened Frostnight Scion
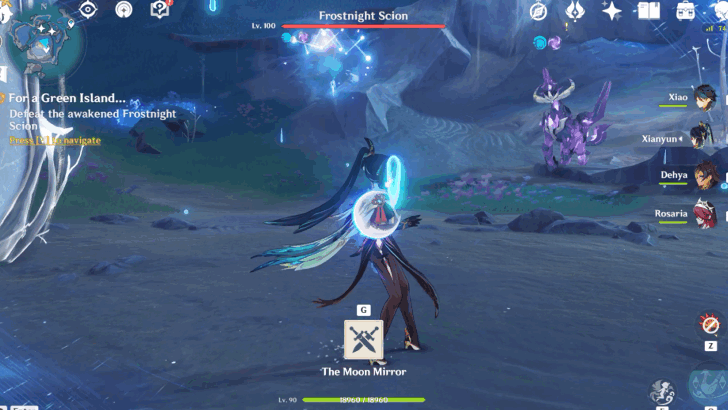
You can defeat the Frostnight Scion by using Cryo or Pyro attacks as it is made of Electro. It also has no special way of defeating, so you can just go all out on it with your preferred combos.
Find the Kuuhenki to Activate the Moon Mirror
There will be three white Kuuhenki's you need to find to activate the moon mirror. They are all located near the top of the Thunderclap Reef. Luckily, they are all convenient to find.
The Moon Mirror Mechanism Guide
How to Find the Kuuhenki to Activate the Moon Mirror #1
| Where to Find the Kuuhenki Location 1 | |
|---|---|
| 1 |  The first Kuuhenki is found on the side of a cliff, near where Verna is located. Approach it to make it go to Verna's location and activate the moon mirror. |
How to Find the Kuuhenki to Activate the Moon Mirror #2
| Where to Find the Kuuhenki Location 2 | |
|---|---|
| 1 | 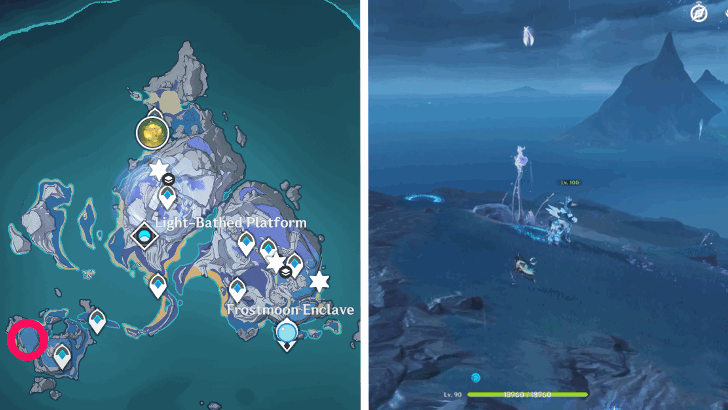 The second Kuuhenki is at the west side of the Thunderclap Reef and is guarded by another Frostnight Scion. Fortunately, you can avoid it and still get the Kuuhenki in one piece. |
| 2 | 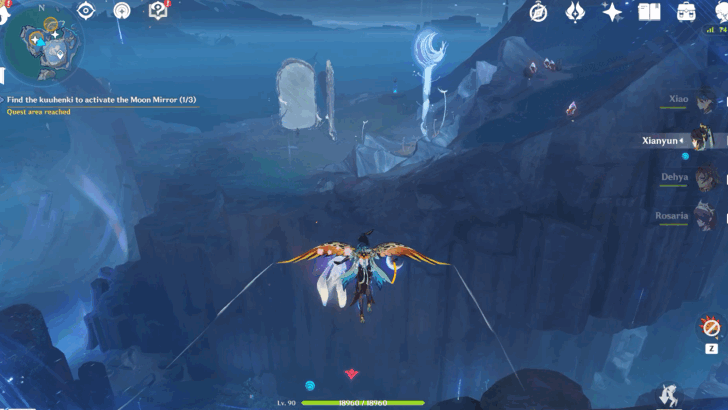 Go to any of the blue circles on the ground and jump high enough to approach the Kuuhenki floating in the air. Once you are in the air, glide as fast you can and follow the Kuuhenki as it will stop one more time before going to Verna and activating the moon mirror. |
How to Find the Kuuhenki to Activate the Moon Mirror #3
| Where to Find the Kuuhenki Location 3 | |
|---|---|
| 1 | 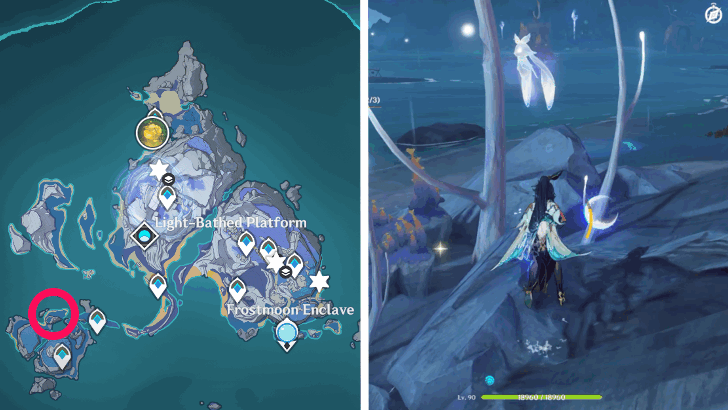 The third Kuuhenki is at the shore on the north side of the Thunderclap Reef. There will be another Frostnight Scion there, but this time you need to defeat it to get the Kuuhenki to activate moon mirror. After defeating the enemy, ride the moonlane, and follow the Kuuhenki to Verna's location. |
Retrieve the Fragment from the Moon Mirror
Use the Kuuvahki to pull and push the platforms inside the moon mirrors to get the last two fragment for the two floating stones in the middle of Thunderclap Reef.
How to Retrieve the Fragment from the Moon Mirror
| How to Get the Fragment from the Mirror | |
|---|---|
| 1 | 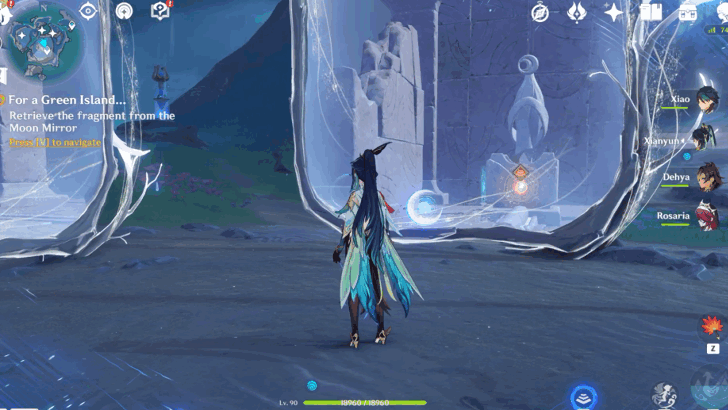 Pull the statue towards you by using the red force field side. |
| 2 | 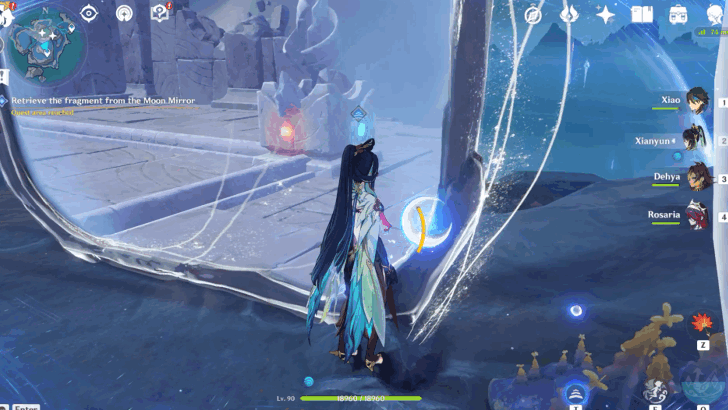 Push the statue away by using the blue force field side. |
| 3 | 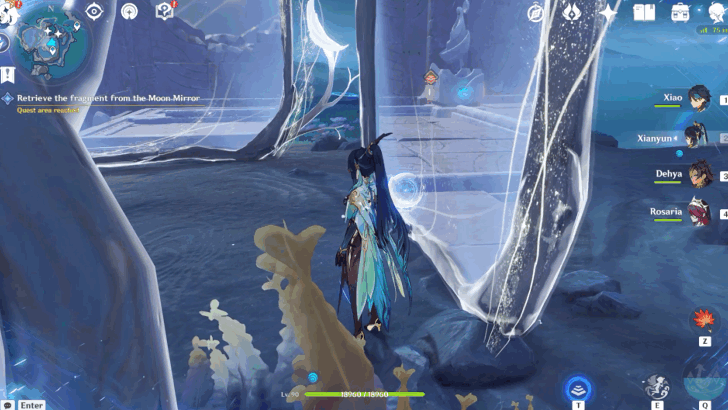 Pull the statue to the left by using the red force field side. |
| 4 | 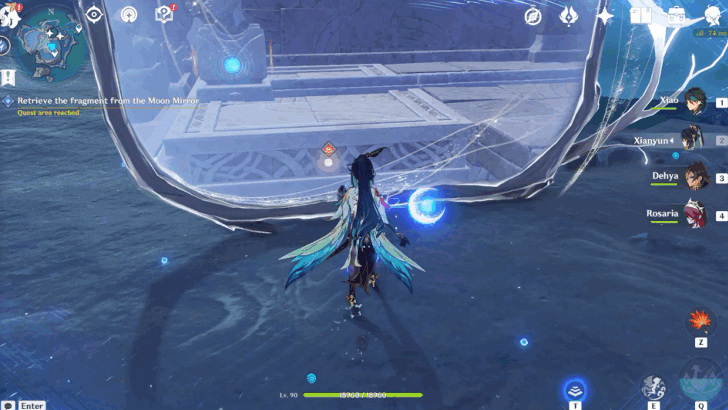 Pull the statue's platform by going near the mirror and pulling the whole stone platform with the red force field. |
| 5 | 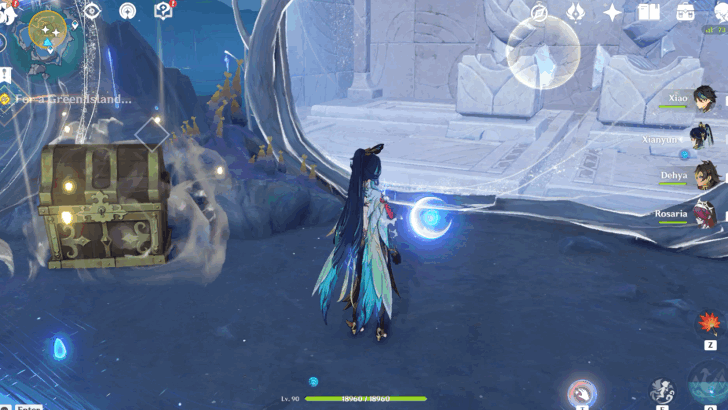 Grab the two fragments from the two statues. |
Throw the Fragment(s) at the Stone
Carefully go to the side of the cliff, wait for the rotating floating stones to turn, and attach the fragments one-by-one. Afterward, a cutscene will occur and the quest will conclude.
For a Green Island... Rewards
Total Quest Rewards
| Total Quest Rewards |
 Primogem x40 |
 Mora x33,000 |
|---|---|---|
 Hero's Wit x2 |
||

Genshin Impact Related Guides
Other Polkka Beneath the Moon's Oracle Quest Guides
| Polkka Beneath the Moon's Oracle World Quest Guides | ||
|---|---|---|
| For a Green Island... | Gift of the Mirage | The Tale of the Gate Stone |
| The Mirrors, the Maze, and the Tsar | Echoes of an Unfinished Past | |
Author

For a Green Island... Quest Guide


Rankings
Gaming News


![The Liar Princess and the Blind Prince Review [PC] | Lovely to Look at but Tedious to Play](https://img.game8.co/4442586/8d95f5faf05780f1765ce7e0938bd825.jpeg/thumb)
![Marathon Cryo Archive Map Teased as [REDACTED] on Selection Screen](https://img.game8.co/4442236/6357203e58172f6de57f1991e7c39b22.png/thumb)

Popular Games

Genshin Impact Walkthrough & Guides Wiki
Umamusume: Pretty Derby Walkthrough & Guides Wiki
Pokemon Pokopia Walkthrough & Guides Wiki
Honkai: Star Rail Walkthrough & Guides Wiki
Monster Hunter Stories 3: Twisted Reflection Walkthrough & Guides Wiki
Arknights: Endfield Walkthrough & Guides Wiki
Wuthering Waves Walkthrough & Guides Wiki
Zenless Zone Zero Walkthrough & Guides Wiki
Pokemon TCG Pocket (PTCGP) Strategies & Guides Wiki
Monster Hunter Wilds Walkthrough & Guides Wiki


Recommended Games
Diablo 4: Vessel of Hatred Walkthrough & Guides Wiki
Cyberpunk 2077: Ultimate Edition Walkthrough & Guides Wiki
Fire Emblem Heroes (FEH) Walkthrough & Guides Wiki
Yu-Gi-Oh! Master Duel Walkthrough & Guides Wiki
Super Smash Bros. Ultimate Walkthrough & Guides Wiki
Pokemon Brilliant Diamond and Shining Pearl (BDSP) Walkthrough & Guides Wiki
Elden Ring Shadow of the Erdtree Walkthrough & Guides Wiki
Monster Hunter World Walkthrough & Guides Wiki
The Legend of Zelda: Tears of the Kingdom Walkthrough & Guides Wiki
Persona 3 Reload Walkthrough & Guides Wiki


All rights reserved
Copyright© 2012-2024 HoYoverse — COGNOSPHERE. All Rights Reserved.
The copyrights of videos of games used in our content and other intellectual property rights belong to the provider of the game.
The contents we provide on this site were created personally by members of the Game8 editorial department.
We refuse the right to reuse or repost content taken without our permission such as data or images to other sites.
Too much work for so little rewards..