Hadramaveth Desert Cave Entrance Locations
✉ Send your thoughts in our Genshin 6.4 Patch Survey!
★ Exclusive: Dive back in time with the Meta History
◆ Hot: Version 6.4, Luna 5 Codes
◆ Builds: Varka, Flins, Skirk, Escoffier
◆ Events: Travelers' Tales, He Who Caught the Wind
◆ Future: Linnea, Version 6.5 Luna VI
The Desert of Hadramaveth contains multiple underground cave entrances hidden from the map in Genshin 3.4. Here's how to get to each cave entrances in Sumeru and a guide to everything in it!
List of Contents
Hadramaveth Desert Cave Entrance Locations
Located in the Desert of Hadramaveth
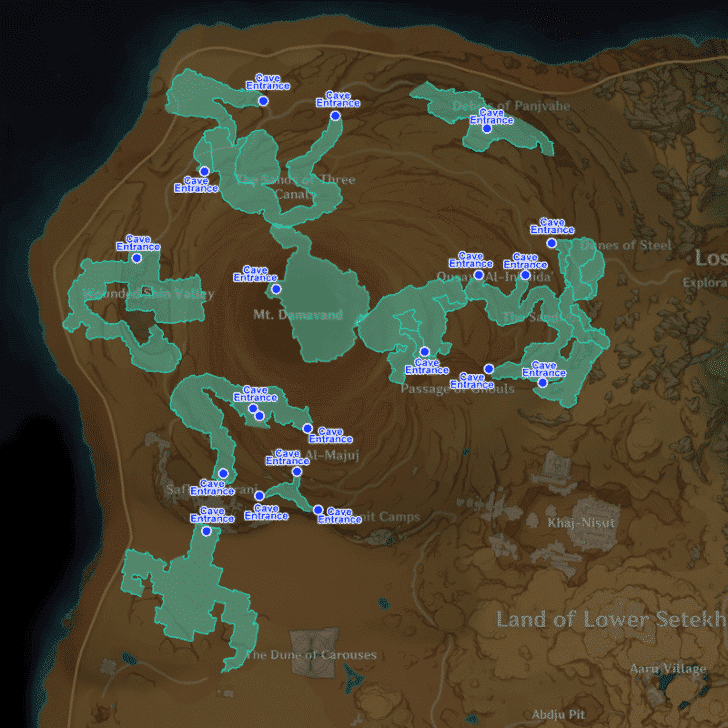
Sumeru's Desert area is full of underground caverns, half-buried ruins, and hidden areas, including in the Hadramaveth Desert.
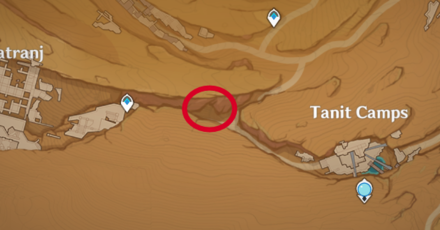
Tanit Camps Cave Entrance and Location
| Tanit Camps | |
|---|---|
 Map Guide |
 Overworld |
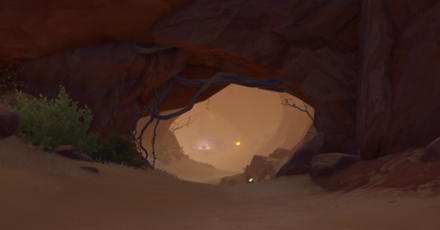
From the waypoint, head east until you see the cave entrance. A Fatui camp is camped near the cave entrance.
Safhe Shatranj Cave Entrances and Locations
Safhe Shatranj Area 1
| Safhe Shatranj Area 1 | |
|---|---|
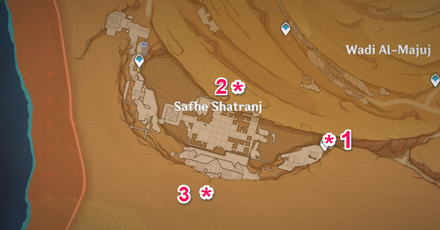 Map Guide |
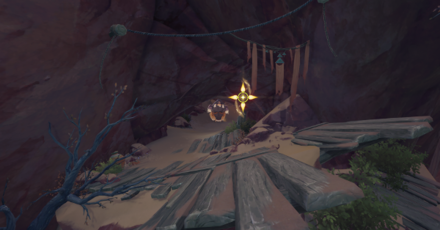 Overworld |
From the waypoint, use the Four-Leaf Sigils to quickly go down the cave entrance. This cave is linked to the one in Tanit Camps.
Safhe Shatranj Area 2
| Safhe Shatranj Area 2 | |
|---|---|
 Map Guide |
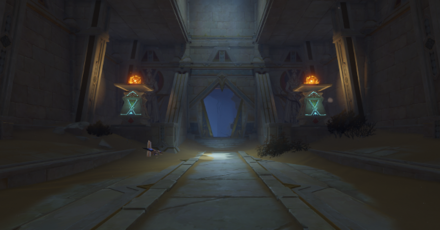 Overworld |
From the Easter teleport waypoint, use the Four-Leaf Sigils to quickly catapult yourself to the Chess Board area. From there, move north until you see the entrance. This area is also unlocked behind the Dirge of Bilqis quest.
Safhe Shatranj Area 3
| Safhe Shatranj Area 3 | |
|---|---|
 Map Guide |
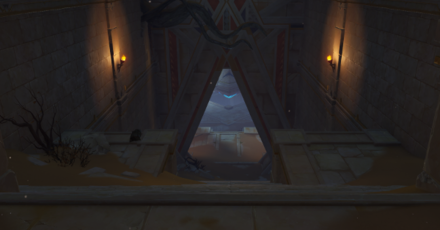 Overworld |
From the waypoint, climb up the stairs of the ruined temple until you see the entrance. This is also the quest area for the Dirge of Bilqis quest.
Wadi Al-Majuj Cave Entrances and Locations
Wadi Al-Majuj Area 1
| Wadi Al-Majuj Area 1 | |
|---|---|
 Map Guide |
 Overworld |
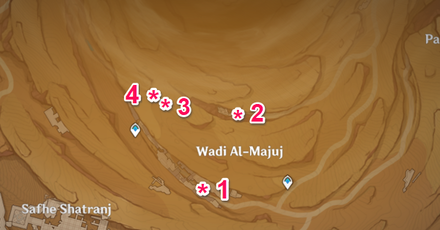
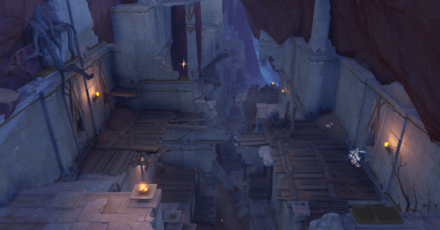
From the waypoint, head west until you spot the ruins filled with Eremites. Moving deeper in the cave, you'll see the area's 3rd entrance.
Wadi Al-Majuj Area 2
| Wadi Al-Majuj Area 2 | |
|---|---|
 Map Guide |
 Overworld |
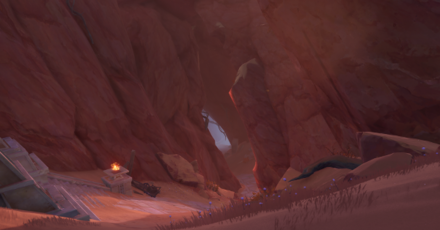
Move to the far north from the teleport waypoint. This area leads inside the Temple of Gurabad, which is hidden until you've accomplished the Apocalypse Lost quest.
Wadi Al-Majuj Area 3
| Wadi Al-Majuj Area 3 | |
|---|---|
 Map Guide |
 Overworld |
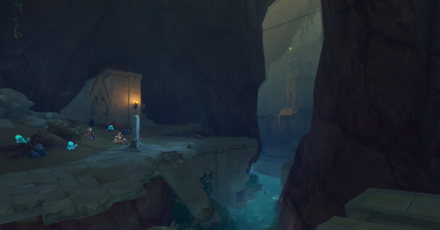
This entrance is connected to the area's 1st and 4th cave entrance; take the left road to see the ruins and stream of river. A Primal Obelisk is stationed here, surrounded by Eremites and a Primal Construct.
Wadi Al-Majuj Area 4
| Wadi Al-Majuj Area 4 | |
|---|---|
 Map Guide |
 Overworld |
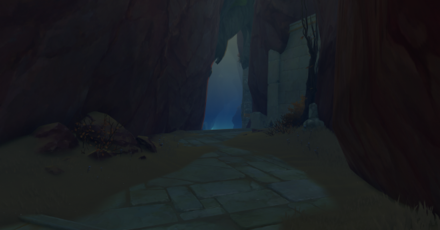
This entrance is connected to the area's 3rd cave entrance; take the right road. Fungi enemies will be camped here. Move further in and you will reach the back of Liloupar's Cell. This area is hidden behind the Dirge of Bilqis quest.
Wounded Shin Valley Cave Entrance and Location
| Wounded Shin Valley | |
|---|---|
 Map Guide |
 Overworld |
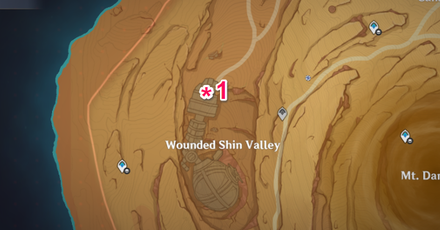
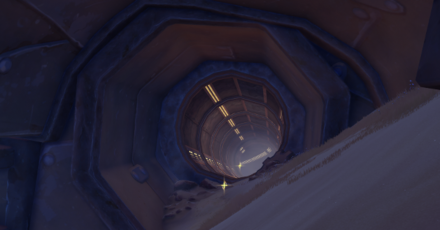
This cave entrance is hidden under the arm of the Ruin Golem. This area can be unlocked by going through the Dirge of Bilqis quest. Use the Four-Leaf Sigils to quickly cross the robot's body and reach the underground ruins and cave.
Passage of Ghouls Cave Entrances and Locations
Passage of Ghoul Area 1
| Passage of Ghouls | |
|---|---|
 Map Guide |
 Overworld |
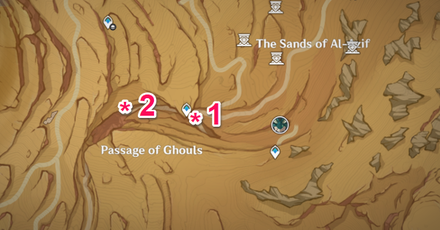
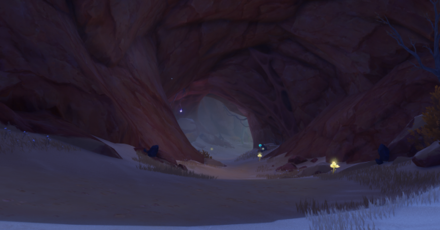
From the waypoint, head east and drop down. There's a couple of Pyro Whopperflower by the entrance. Going further deeper leads you to the Setekh Wenut boss area.
Balt Ay-Muazzam Area
| Balt Ay-Muazzam | |
|---|---|
 Map Guide |
 Overworld |
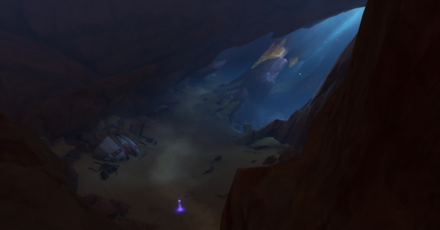
Glide down from the waypoint, heading West of the map. Inside the cave, you will see a Pipe Diverter Valve mechanism and other desert puzzles to solve. This area is also connected to the Dirge of Bilqis quest.
The Sands of Al-Azif Cave Entrances and Locations
The Sands of Al-Azif Area 1
| The Sands of Al-Azif Area 1 | |
|---|---|
 Map Guide |
 Overworld |
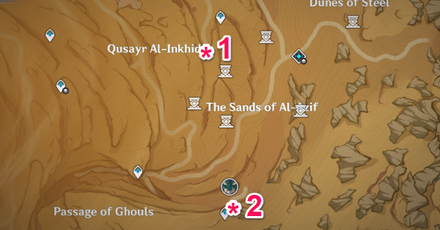
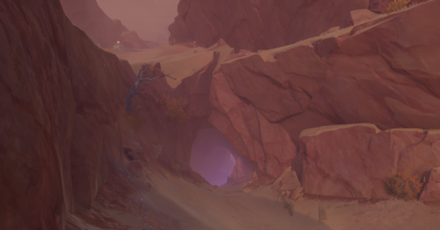
South of the waypoint, this cave entrance is connected to the cave in Qusayr Al-Inkhida'. It is home to the Consecrated Scorpion and other scorpions in this part of the desert.
The Sands of Al-Azif Area 2
| The Sands of Al-Azif Area 2 | |
|---|---|
 Map Guide |
 Overworld |
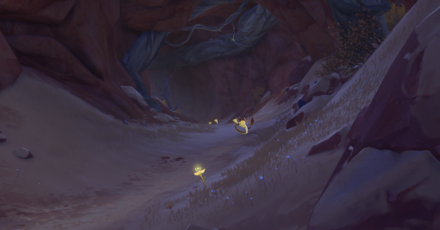
The waypoint is positioned directly at the entrance of the cave, so you only need to teleport here to reach this place. This cave is the entrance to the Wenut Tunnels and the City of Deceased domain. It is also the home to the Consecrated Flying Serpent and its kin.
Qusayr Al-Inkhida' Cave Entrance and Location
| Qusayr Al-Inkhida' | |
|---|---|
 Map Guide |
 Overworld |
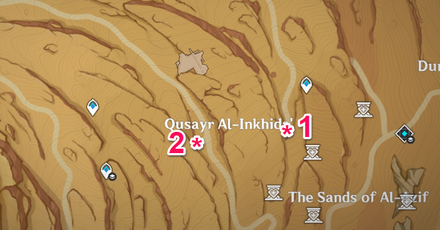
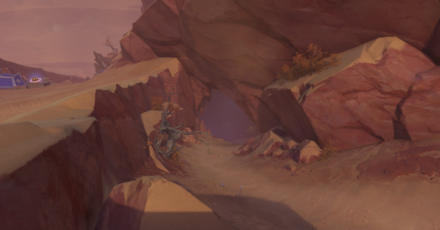
Move southwest from the teleport waypoint. The Fatui and Ruin Crusaders are stationed near the cave, so watch out for them. This cave is home to scorpions and a Consecrated Scorpion awaits you deeper in the cave.
The Sands of Three Canals Cave Entrance and Location
The Sands of Three Canals Area 1
| The Sands of Three Canals Area 1 | |
|---|---|
 Map Guide |
 Overworld |
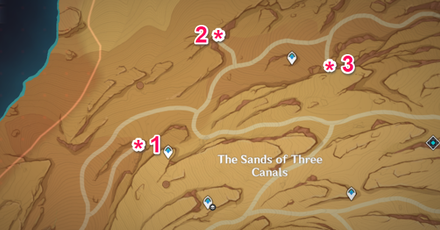
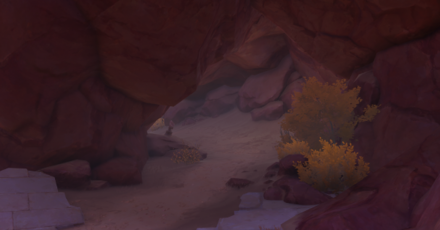
Move a bit of northwest and glide down until you see the cave entrance. Move further in until you see the cave open up to a ruined statue and an area filled with Consecrated Red Vulture.
The Sands of Three Canals Area 2
| The Sands of Three Canals Area 2 | |
|---|---|
 Map Guide |
 Overworld |
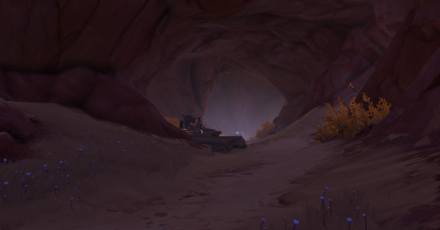
Travel northwest of the waypoint until you see the cave entrance. There will be a couple of Hilichurl enemies by the entrance until you move further down the cave and see it open to an area filled with Consecrated Red Vulture.
The Sands of Three Canals Area 3
| The Sands of Three Canals Area 3 | |
|---|---|
 Map Guide |
 Overworld |
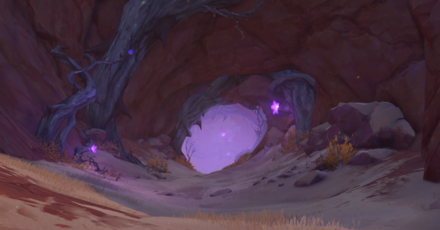
Head east until you see a glowing purple hue by the walls of the cave. An Eremite sentry can be found near its entrance. Move further inside and you will find a gate to the ruined temple.
Debris of Panjvahe Cave Entrance and Location
| Debris of Panjvahe | |
|---|---|
 Map Guide |
 Overworld |
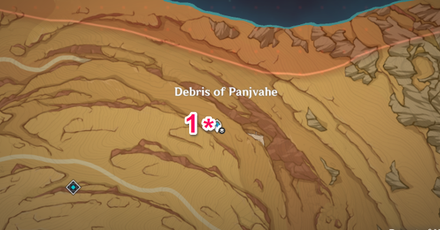
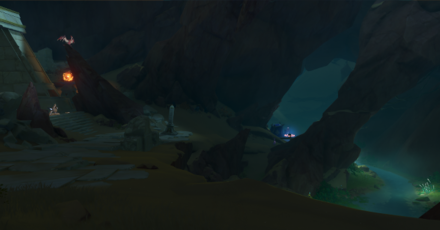
Teleport to the waypoint. A Dendroculus will be found in this area. A Primal Obelisk can be found near the waypoint. Moving further inside will lead you to the only fishing spot in the Hadramaveth Desert.
Dunes of Steel Cave Entrance and Location
| Dunes of Steel | |
|---|---|
 Map Guide |
 Overworld |
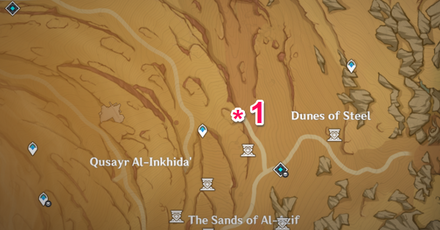
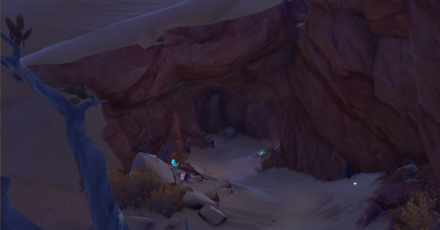
Move northeast from the waypoint and drop down. Moving further down the cave will lead you to the City of Deceased domain and deeper in the Wenut Tunnel system.
Genshin Impact Related Guides

Guides to Sumeru Areas
| Sumeru Area Guides | |
|---|---|
 Rainforest Area Rainforest Area |
 Desert Area Desert Area |
Guide to Desert Regions
| Sumeru Desert Guides | ||
|---|---|---|
 The Great Red Sand The Great Red Sand |
 Desert of Hadramaveth Desert of Hadramaveth |
 Girdle of the Sands Girdle of the Sands |
Map Features in Desert of Hadramaveth
| Notable Hadramaveth Desert Guides | |
|---|---|
 Dendroculus Locations Dendroculus Locations |
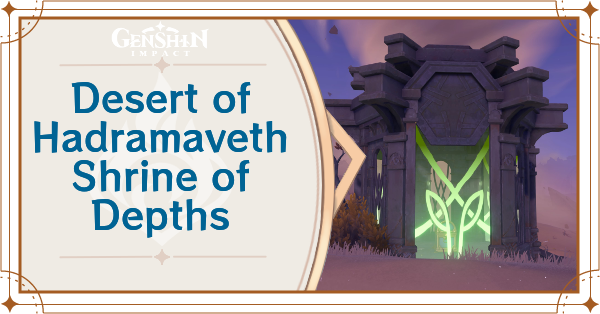 Shrine of Depths Shrine of Depths |
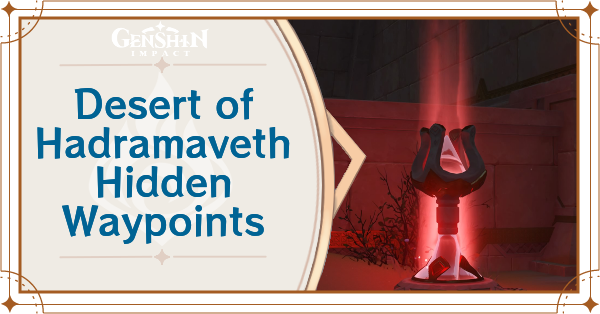 Hidden Waypoints Hidden Waypoints |
 Fishing Spots Fishing Spots |
 Hadramaveth Clearance Hadramaveth Clearance |
|
Desert of Hadramaveth Domains
| Hadramaveth Desert Domains | |
|---|---|
 Fane of Panjvahe Fane of Panjvahe |
 City of the Deceased City of the Deceased |
Desert of Hadramaveth World Quests
Desert of Hadramaveth Exploration Guides
Tips and Tricks
| Tips and Tricks for Things in Hadramaveth Desert | |
|---|---|
 How to Open the Ancient Gate How to Open the Ancient Gate |
 How to Restore Power to the Left Arm How to Restore Power to the Left Arm |
 Activate the Device and Open the Gate Activate the Device and Open the Gate |
 Debris of Panjvahe Teleport Waypoint Debris of Panjvahe Teleport Waypoint |
 Jinni in the Magic Bottle Upgrades Jinni in the Magic Bottle Upgrades |
|
Items in the Desert of Hadramaveth
| Items found in the Desert of Hadramaveth | |
|---|---|
 Liloupar Gadget Liloupar Gadget |
 Sand Grease Pupa Sand Grease Pupa |
 Ancient Stone Key Ancient Stone Key |
 Fatui Stronghold Key Fatui Stronghold Key |
Creatures in the Desert of Hadramaveth
Enemies in the Desert of Hadramaveth
| Enemy and Boss Guides | ||
|---|---|---|
 Setekh Wenut Setekh Wenut |
 Eremite Floral Ring-Dancer Eremite Floral Ring-Dancer |
 Eremite Scorching Loremaster Eremite Scorching Loremaster |
 Consecrated Flying Serpent Consecrated Flying Serpent |
 Consecrated Scorpion Consecrated Scorpion |
 Consecrated Red Vulture Consecrated Red Vulture |
Wildlife in the Desert of Hadramaveth
| Wildlife in the Desert of Hadramaveth | ||
|---|---|---|
 Flying Serpent Flying Serpent |
All Interactive Map Guides

Comment
Author
Hadramaveth Desert Cave Entrance Locations
improvement survey
03/2026
improving Game8's site?

Your answers will help us to improve our website.
Note: Please be sure not to enter any kind of personal information into your response.

We hope you continue to make use of Game8.
Rankings
- We could not find the message board you were looking for.
Gaming News
Popular Games

Genshin Impact Walkthrough & Guides Wiki

Honkai: Star Rail Walkthrough & Guides Wiki

Umamusume: Pretty Derby Walkthrough & Guides Wiki

Pokemon Pokopia Walkthrough & Guides Wiki

Resident Evil Requiem (RE9) Walkthrough & Guides Wiki

Monster Hunter Wilds Walkthrough & Guides Wiki

Wuthering Waves Walkthrough & Guides Wiki

Arknights: Endfield Walkthrough & Guides Wiki

Pokemon FireRed and LeafGreen (FRLG) Walkthrough & Guides Wiki

Pokemon TCG Pocket (PTCGP) Strategies & Guides Wiki
Recommended Games

Diablo 4: Vessel of Hatred Walkthrough & Guides Wiki

Cyberpunk 2077: Ultimate Edition Walkthrough & Guides Wiki

Fire Emblem Heroes (FEH) Walkthrough & Guides Wiki

Yu-Gi-Oh! Master Duel Walkthrough & Guides Wiki

Super Smash Bros. Ultimate Walkthrough & Guides Wiki

Pokemon Brilliant Diamond and Shining Pearl (BDSP) Walkthrough & Guides Wiki

Elden Ring Shadow of the Erdtree Walkthrough & Guides Wiki

Monster Hunter World Walkthrough & Guides Wiki

The Legend of Zelda: Tears of the Kingdom Walkthrough & Guides Wiki

Persona 3 Reload Walkthrough & Guides Wiki
All rights reserved
Copyright© 2012-2024 HoYoverse — COGNOSPHERE. All Rights Reserved.
The copyrights of videos of games used in our content and other intellectual property rights belong to the provider of the game.
The contents we provide on this site were created personally by members of the Game8 editorial department.
We refuse the right to reuse or repost content taken without our permission such as data or images to other sites.
 Sandstorms in the Desert
 Atmospheric Vortexes
 Sacred Seals
 Primal Obelisks
 Rune Mechanisms
 Weathered Obelisk
 Wenut Tunnels
 Cascade Pools and Spouts
 Chess Pieces
 Chess Activation Device
 Memories of Eternal Oasis
 Mysterious Stone Slate
 Remarkable Chests
 Treasure Chests
 Safhe Shatranj Puzzle
 Debris of Panjvahe Puzzle
 Passage of the Ghouls Puzzle
 Passage of Ghouls Totems
 Dual-Phase Neverlight Cells
 Weathered Rocks
 Runic Window and Pane
 Hadramaveth Viewpoints
 Gurabad's Ruin
 Enigmatic Pages
 Seelie Locations
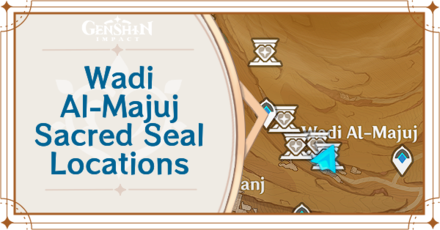 Wadi Al-Majuj Sacred Seals
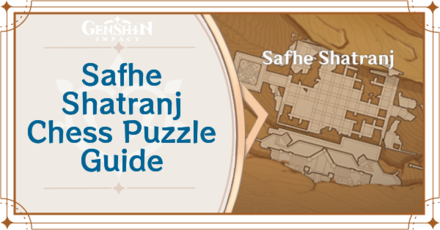 Safhe Shatranj Chess Puzzle


![Monster Hunter Stories 3 Review [First Impressions] | Simply Rejuvenating](https://img.game8.co/4438641/2a31b7702bd70e78ec8efd24661dacda.jpeg/thumb)


