

This survey will take about 1 minute.
Your answers will help us to improve our website.
Genshin Impact
Searing Quest Guide
★ Exclusive: See results of the February 2026 Survey
◆ Hot: Version 6.5, 6.5 Codes
◆ New: Etherwing Moth, Memory Factor
◆ Builds: Linnea, Chasca, Lauma, Nefer
◆ Events: Imaginarium Theater, Anecdotes
Searing is the third sub-quest of the Song of the Welkin Moon Prelude - The Journey Home Archon Story Quest in Genshin Impact. See how to unlock this quest about Ineffa's story, how to avoid the moving walls, how to head deeper into the ruins, its walkthrough, and the rewards here in this guide!
List of Contents
How to Unlock Searing
Complete the Searing Prerequisite Sub-Quest
To unlock Searing quest, you must first complete the previous subquest of the Song of the Welkin Moon Prelude - The Journey Home Archon Quest, Smoldering!
Searing Quest Walkthrough
Enter the Ruins

Follow after Ineffa towards the cliff ruins on the north side of the Flower-Feather clan.
You will be entering the Temple of Cascading Colors - Ch'upikaq Tajin domain, where the recommended elements are Hydro and Electro. Note, a trial use of Ineffa will be available inside the domain, giving you a party of 5 characters.
Catch Up to Ineffa
Once inside the domain, ride the elevator to reach the lower floors and catch up to Ineffa near the entrance.
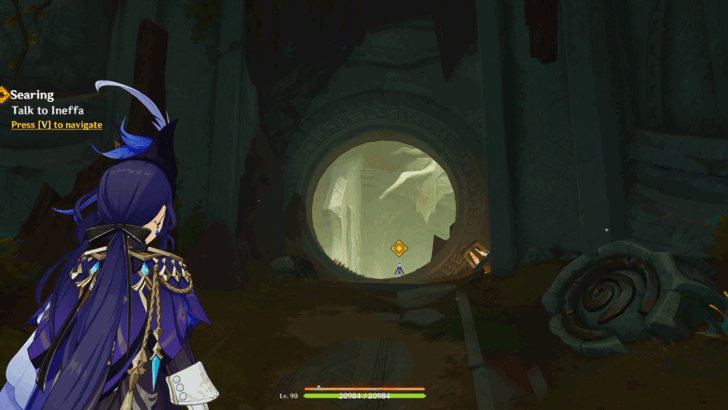
Talk to Ineffa
Once you reach Ineffa's location and talk to her, she apologizes that she rushed into the domain as she was controlled by an external source for a temporary moment.
Head Deeper Into the Ruins
After scanning the whole area, you decide to go deeper into the ruins in search of answers for Ineffa's memories and attachments to the Flower-Feather clan.
Open the entrance to the secondary access tunnel by defeating two Secret Source Automaton Hunter-Seekers. Inside the tunnel, Travelers need to avoid moving orange walls or else they will get sent back outside.
After passing through the second moving wall, Travelers will encounter a hole in the ground. Drop down the hole to progress deeper into the ruins.
How to Avoid the Moving Walls
| How to Avoid the Moving Wall | |
|---|---|
| 1 | 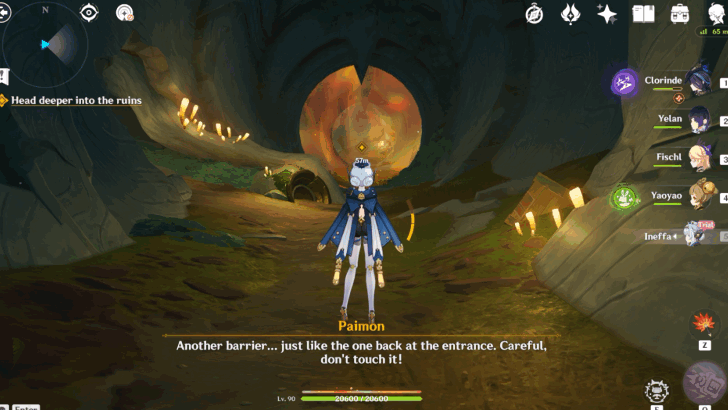 For the first moving wall, hide in the hole at the left side of the tunnel as fast as you can, let the moving wall pass through, and go forward until you reach the end of the tunnel. Make sure to go near the stone inside the hole to safely avoid the moving wall. |
| 2 | 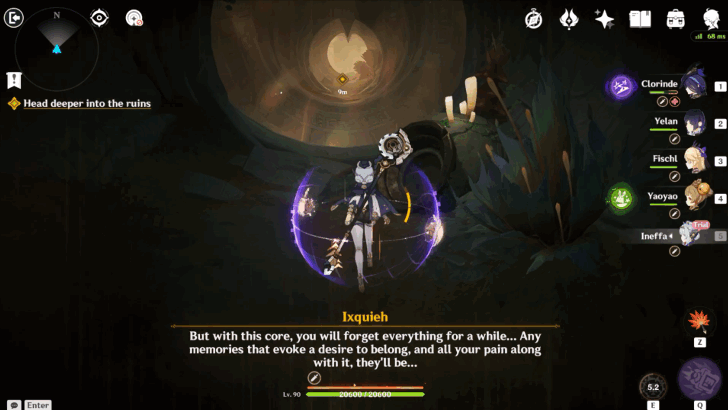 At the second moving wall, wait for it to reach your side of the tunnel, then follow it as it goes in the opposite direction, and jump down the crack on the ground. |
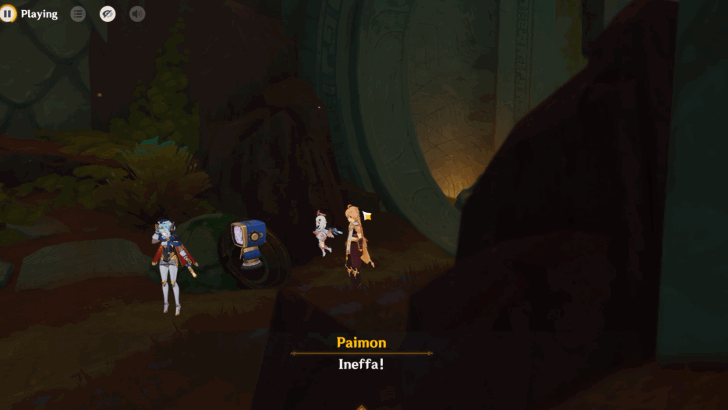
Talk to the Service Bot
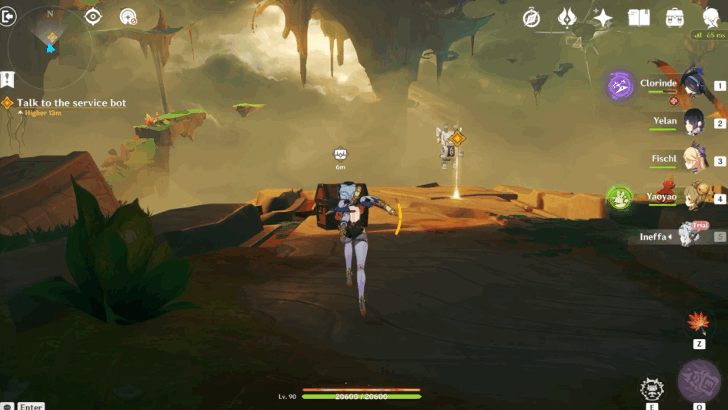
Upon reaching the deeper part of the ruins, you encounter a service bot at the end of a broken bridge that recognizes Ineffa as one of its administrators.
Wait for the Access Module
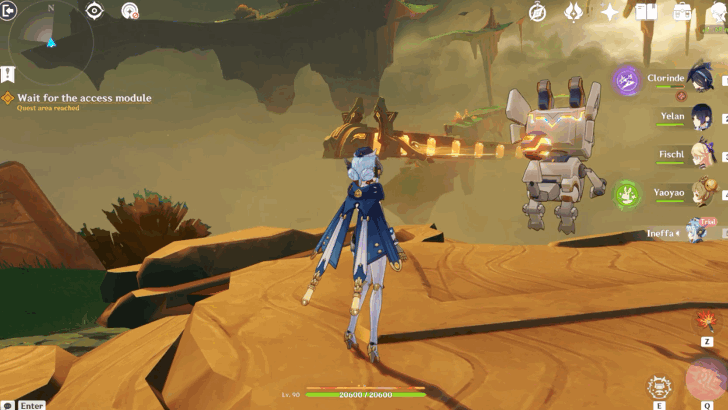
After talking to the service bot, you patiently wait for the access module that calls a mechanical dragon that will give you a ride through the domain to reach the next quest location.
Ride the Access Module
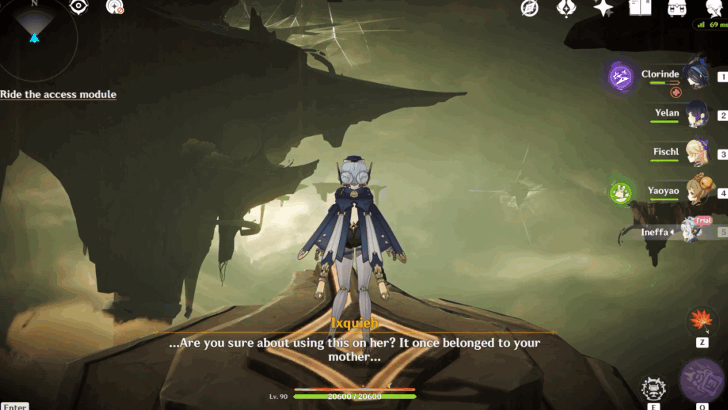
Ride on the access module, the big mechanical dragon, to reach the next quest location. While on the ride, a series of voice lines about Ineffa's history can be listened to.
Upon reaching the destination, a group of Fatui can be seen going towards you. To avoid them, Ineffa leads the way through the secret passageway at the side of the island.
Continue Onward Through the Secret Passageway
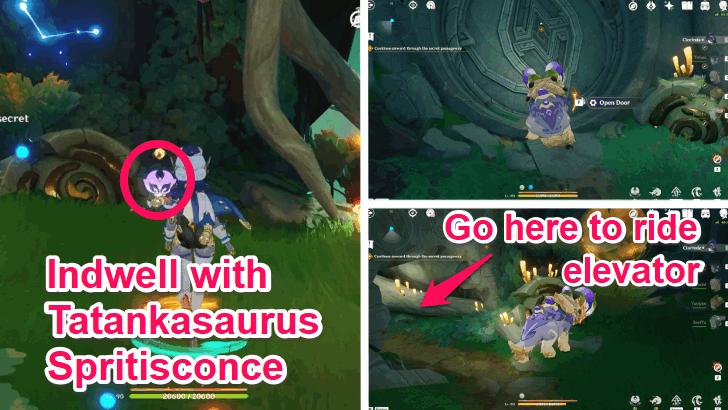
Use the Tatankasaurus Spiritsconce at the side and break through the solid phlogiston walls to continue through the domain. You will also encounter two Secret Source Automaton Hunter-Seekers once you are inside.
After defeating the automatons, open the door, go through the tunnel while indwelling with the Tatankasaur, and go to the hole on the left at the end of the tunnel. Then, wait for a mechanical block to come down and ride it like an elevator.
Head to the Deepest Area
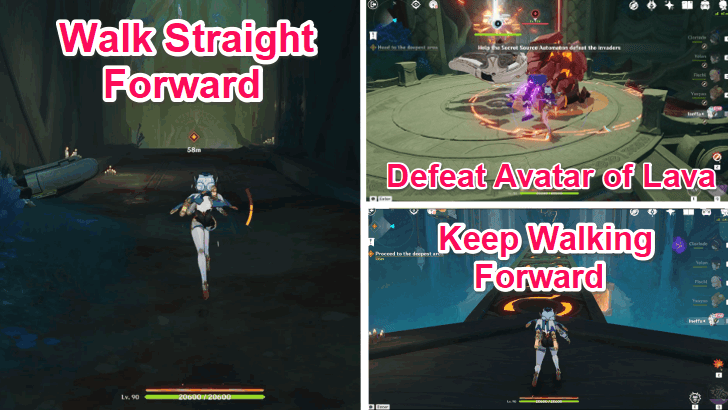
After the cutscene with the Fatui, head straight forward into the corridors, defeat the Fluid Avatar of Lava, then continue walking until you reach the room with the Priestess of Floral Candles and Skyborne Feathers.
Embark on “The Journey Home”
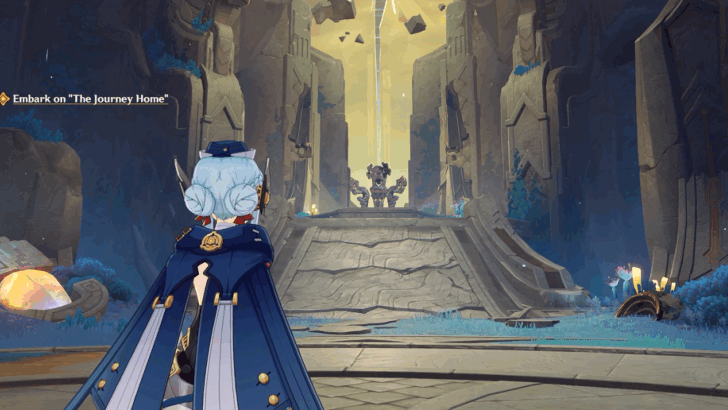
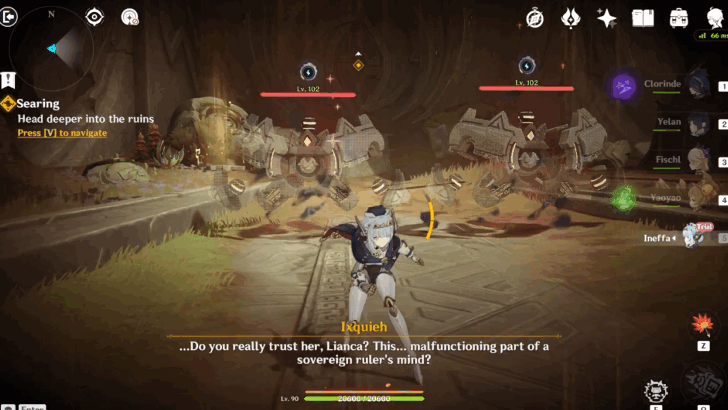
While talking with the Priestess of Floral Candles and Skyborne Feathers, embark on The Journey Home by walking straight forward towards the mechanical boss.
After the custcene, the former sovereign ruler takes over Ineffa's body and endangers Paimon and the Traveler by trapping them between two moving walls.
Defeat the “Sovereign Ruler”
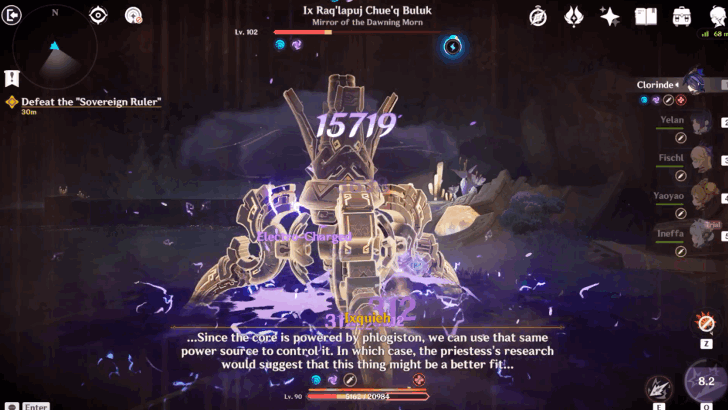
The sovereign ruler can be defeated easily by utilizing Electro-Charged and Lunar-Charged reactions. Initially, you will need to use Electro-Charged attacks during the first part of the fight.
But once you take down 1/4 of the boss's HP, a cutscene will occur where Ineffa finally gets her Electro vision and rejoins your team. Then, you can use Lunar-Charged reactions with Ineffa that will quickly defeat the sovereign ruler.
Open the Letter in the Flower-Feather Clan
After defeating the sovereign ruler and reuniting with everyone outside the domain, you get teleported to a cliff at the Flower-Feather clan. Ineffa finally deciphers the package she was supposed to give you.
The package contains Varka's letter to you from Nod-Krai, saying that the Grand Master can't wait for you to meet him at The Flagship, a tavern.
Searing Quest Rewards
Total Quest Rewards
| Total Quest Rewards |
 Primogem x60 |
 Mora x54,000 |
|---|---|---|
 Hero's Wit x4 |
||
Genshin Impact Related Guides

Other Prelude The Journey Home Quest Guides
| Prelude The Journey Home Quest Guides | ||
|---|---|---|
| Flamelets | Smoldering | Searing |
Comment
Searing Quest Guide
Please participate in our site
improvement survey
04/2026
improvement survey
04/2026
Would you assist in
improving Game8's site?
improving Game8's site?

×
We are listening to our users' valuable opinions and discussing how to act on them.
The information collected through this survey will be used for the purpose of improving our services. In addition, the information will only be disclosed a part of a statistic in a format that will not allow identification of personal information.
Begin Survey
Not Now
×
Please rate each item regarding Game8.co's Advertisements.
Amount of Ads
Very Dissatisfied
Somewhat Dissatisfied
Fine
Somewhat Satisfied
Highly Satisfied
Placement of Ads
Timing of Ad Display
Ad Loading Speed
Safeness of Ads
Content of Ads
×
Please rate each item regarding Game8.co's Quality of Articles.
Amount of information
Very Dissatisfied
Somewhat Dissatisfied
Fine
Somewhat Satisfied
Highly Satisfied
Frequency of updates
Speed of new information
Accuracy of articles
Understandibility of articles
Readability of sentences
×
Please rate each item regarding Game8.co's Usability of the Site.
Ease of finding information
Very Dissatisfied
Somewhat Dissatisfied
Fine
Somewhat Satisfied
Highly Satisfied
Loading Speed
Use of Color
Font Size
Visibility of Images
Easy to Understand Layout
×
Please rate each item regarding Game8.co's Message Boards, Comments.
Ease of Writing
Very Dissatisfied
Somewhat Dissatisfied
Fine
Somewhat Satisfied
Highly Satisfied
Readability
Ease in Finding Information
Comment Quality
Comment Quantity
Admin Response
×
Please rate each item regarding Game8.co's Site's new design.
Please rate our site's new design
Very Dissatisfied
Somewhat Dissatisfied
Fine
Somewhat Satisfied
Highly Satisfied
Do you think that the website's design change makes the site easier to use?
Has the new design made it easier for you to find information on the site?
Has the new design improved the overall visual appeal of the site?
How would you rate your overall satisfaction with the new design of the site?
×
How likely are you to recommend Game8 to someone you know?
Very Unlikely
0
1
2
3
4
5
6
7
8
9
10
Very Likely
If you have other opinions regarding potential improvement to the website, please share them with us. We would appreciate your honest opinion.
Note: This is a free response section, so you can proceed without entering anything.
Note: Please be sure not to enter any kind of personal information into your response.
Note: Please be sure not to enter any kind of personal information into your response.
×
Thank You
×
Thank you for participating in our survey! Your answers will help us to improve the quality of our website and services.
We hope you continue to make use of Game8.
We hope you continue to make use of Game8.
Close
Premium Articles


Rankings
Gaming News

![Forza Horizon 6 Review [Preview] | Beautiful Roads With a Whole Lot of Oversteer](https://img.game8.co/4460981/a7254c24945c43fbdf6ad9bea52b5ce9.png/show)


![Forza Horizon 6 Review [Preview] | Beautiful Roads With a Whole Lot of Oversteer](https://img.game8.co/4460981/a7254c24945c43fbdf6ad9bea52b5ce9.png/thumb)
Popular Games

Genshin Impact Walkthrough & Guides Wiki
Crimson Desert Walkthrough & Guides Wiki
Umamusume: Pretty Derby Walkthrough & Guides Wiki
Honkai: Star Rail Walkthrough & Guides Wiki
Monster Hunter Stories 3: Twisted Reflection Walkthrough & Guides Wiki
Wuthering Waves Walkthrough & Guides Wiki
The Seven Deadly Sins: Origin Walkthrough & Guides Wiki
Pokemon TCG Pocket (PTCGP) Strategies & Guides Wiki
Pokemon Pokopia Walkthrough & Guides Wiki
Zenless Zone Zero Walkthrough & Guides Wiki


Recommended Games
Monster Hunter World Walkthrough & Guides Wiki
Fire Emblem Heroes (FEH) Walkthrough & Guides Wiki
Pokemon Brilliant Diamond and Shining Pearl (BDSP) Walkthrough & Guides Wiki
Super Smash Bros. Ultimate Walkthrough & Guides Wiki
Diablo 4: Vessel of Hatred Walkthrough & Guides Wiki
Cyberpunk 2077: Ultimate Edition Walkthrough & Guides Wiki
Yu-Gi-Oh! Master Duel Walkthrough & Guides Wiki
Elden Ring Shadow of the Erdtree Walkthrough & Guides Wiki
The Legend of Zelda: Tears of the Kingdom Walkthrough & Guides Wiki
Persona 3 Reload Walkthrough & Guides Wiki


All rights reserved
Copyright© 2012-2024 HoYoverse — COGNOSPHERE. All Rights Reserved.
The copyrights of videos of games used in our content and other intellectual property rights belong to the provider of the game.
The contents we provide on this site were created personally by members of the Game8 editorial department.
We refuse the right to reuse or repost content taken without our permission such as data or images to other sites.