The Raven's Legacy Quest Guide
✉ Send your thoughts in our Genshin 6.4 Patch Survey!
★ Exclusive: Dive back in time with the Meta History
◆ Hot: Version 6.4, 6.4 Codes, Linnea, Version 6.5
◆ Builds: Varka, Flins, Skirk, Escoffier
◆ Events: Travelers' Tales, Sightseeing With Friends
◆ Endgame: Spiral Abyss (March 2026)

The Raven's Legacy is the Reed Miller World Quest under the East of the Moon, West of the Sun quest chain found in Piramida in Genshin Impact Luna IV version. See how to unlock this quest, how to find a way to open the door and leave, its walkthrough, and all the rewards of this quest here in this guide!
List of Contents
How to Unlock The Raven's Legacy
Collect Four Proofs of Cognoscenti
You can unlock The Raven's Legacy after collecting four Proofs of Cognoscenti by completing all four quests of East of the Moon, West of the Sun quest chain. The quest automatically appears on your quest journal after doing so, which tells you to go to Piramida and talk to Tolfin!
How to Get the Proof of Cognoscenti
Proof of Cognoscenti Locations
| Subquest | Reward |
|---|---|
| The Tale-Telling Heart | |
| The Shoemaker's Children Go Barefoot | |
| Whisper Beneath the Waves | |
| Return to Sender |
The Raven's Legacy Walkthrough
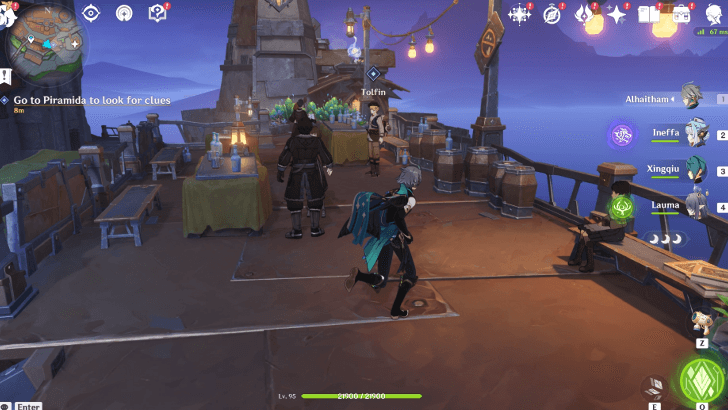
Go to Piramida to look for clues
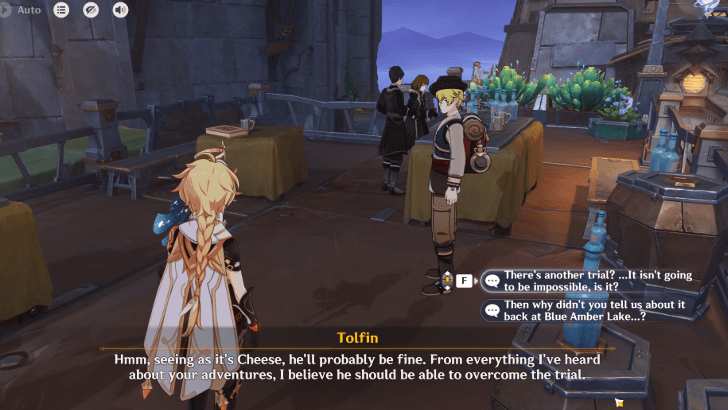
Go to Piramida to look for clues about the treasure of Reed Miller. As you teleport to the city proper, you'll see a familiar figured, Tolfin, whom you've first during the Whisper Beneath the Waves quest. After catching up with him and telling him about the Proofs of Cognoscenti you've collected, go to the place indicated by Tolfin, where you're supposed to get the last proof.
Have a friendly spar with the Black-Barrel Hag
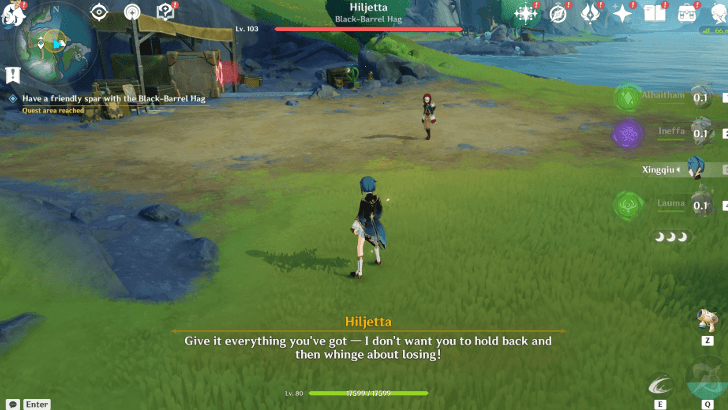
After exhausting all the dialogue with the grandmother-grandson duo, have a friendly spar with the Black-Barrel Hag, Hiljetta. She's weak against Frozen and Overloaded, so make sure to leverage on any of these reactions to defeat her quickly. Consquently, HIljetta is also one of the Valiant Chronicles, but winning against this spar wouldn't count towards your Valiant Chronicles achievement!
Go to the East of the Moon, West of the Sun
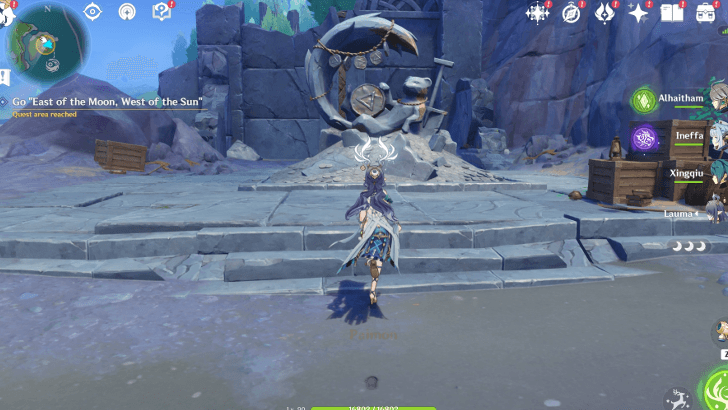
Once defeated, talk to Hiljetta, and she'll give you the last Proof of Cognoscenti, Memorata-Cognoscenti's Jest. This completes your collection, which means you can now go to the East of the Moon, West of the Sun, where Reed Miller's treasure is supposedly hidden!
Find a way to open the door and leave
After opening the hatch, enter the treasure site and explore deep within. As you head inside, you'll see a locked door with a bunch of Weasel Thieves hanging around, as well as three Weasels holding a colored key that unlocks the door.
Pick the Metal Key to Open the Door
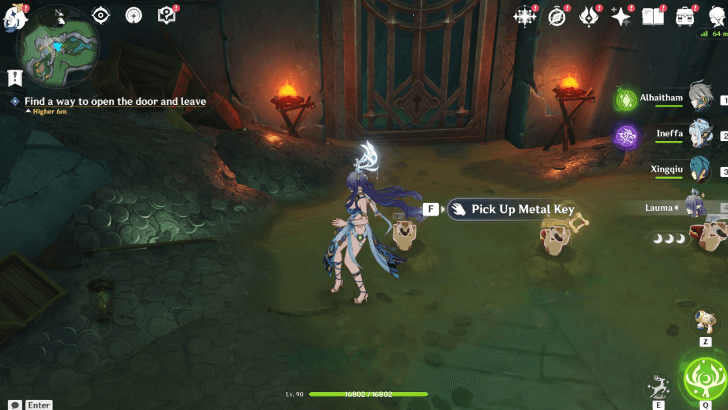
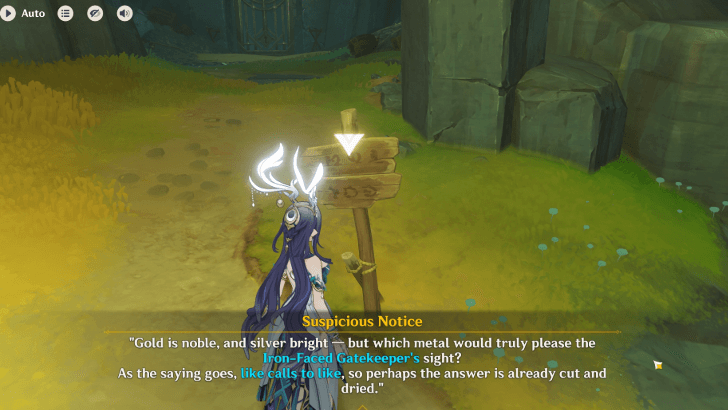
If you interact with the Suspicious Notice, two clues will be provided. First is the Iron-Faced Gatekeeper, and the phrase like calls to like. Since the keeper is iron-faced, choosing the iron key is the most straightforward thing to do, since iron calls to iron!
Leave here and keep moving forward
Once done, leave the area and the keep moving forward. Another locked door will block your way, and another puzzle is waiting for you to solve. Instead of choosing the correct key, this time you'll have to search for the key to open the locked door, which is hidden within one of the digging sites marked with an indicator!
How to Find a Way to Open the Door and Leave
| How to Find the Key | |
|---|---|
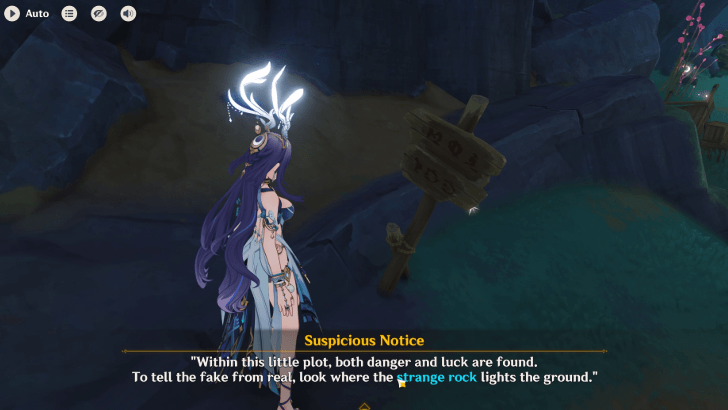
| 1 | To find the key, disregard all the digging sites showed by the weasel as all of them are misdirections to steer you away from the real location of the key. As mentioned on the clue, "look where the strange rock lights the ground", which means none of the presently marked sites are correct! |
| 2 | 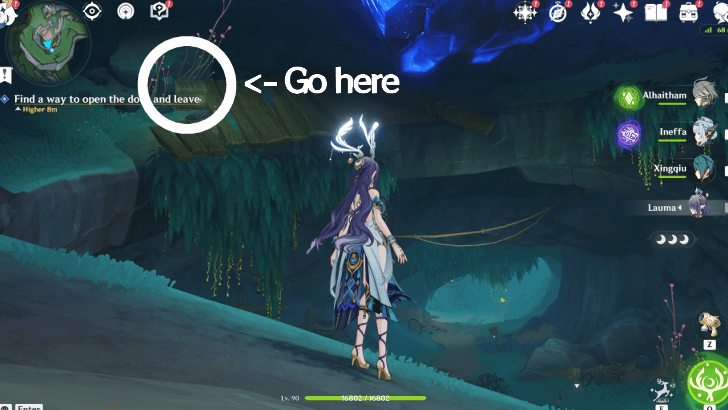 Instead, go to your left and head straight to the second Kuuvahki plant you see, located past the locked door. |
| 3 | 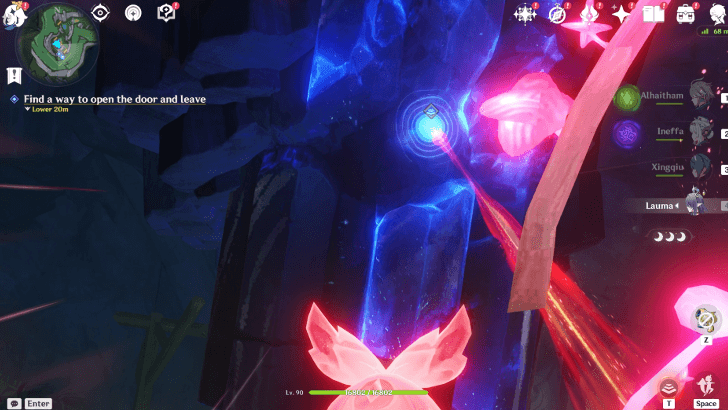 Then, suffuse yourself with Kuuvahki, and transform to a red Kuuhenki to interact with strange stone protruding from the ceiling. Using Kuuvahki, pull the stone to dislodge it from the ceiling, then make a beeline towards the location where it shines its light upon. |
| 4 | 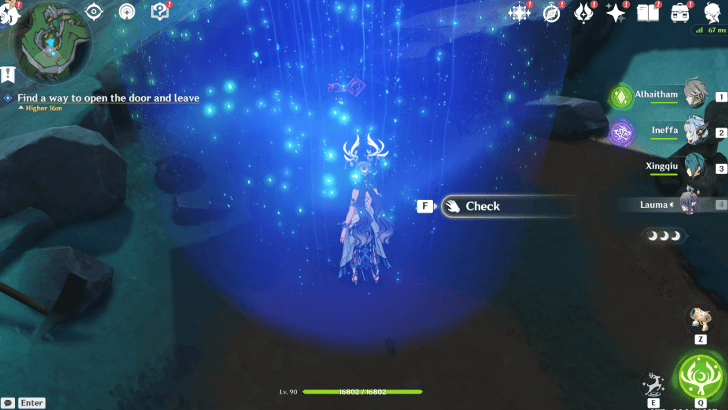 Head down until you see the light, then interact with the ground to reveal the key. Use it to open the door and leave the area! |
Find the Weasel Thief Holding the Key
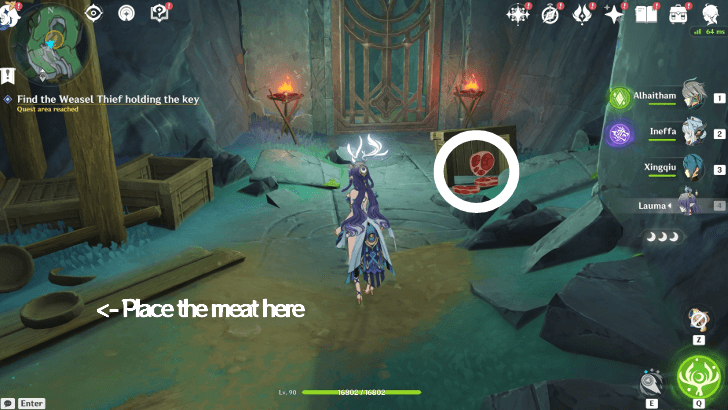
To find the weasel thief holding the key, you can throw the coins on the ground to halt the Weasel Thieves' movements and pick them one by one, or simply, you can head towards the crate right by the lock door, and pick up the Mysterious Meat. Then, place the meat inside the feeder then wait for the Weasel get lured by it, and deliver you the key itself!
Look for the strange Iron Coins
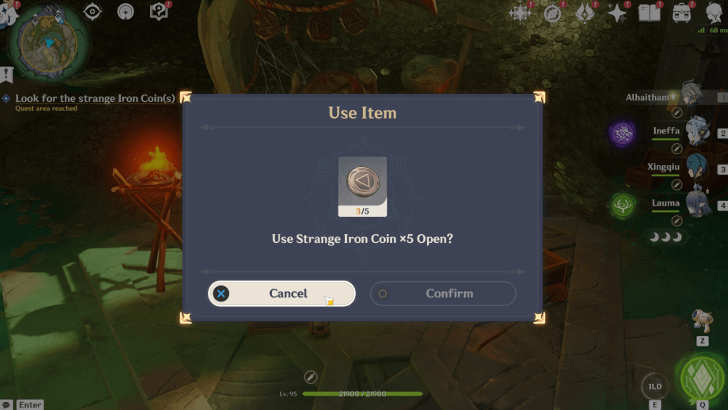
After opening the door, continue exploring until you see the large cavern with piles after piles of Iron Coins lying around. Head towards the Weasel Thief statue in the middle, which can only interacted with enough coins. Look for the Strange Iron Coins left around, as you'll still be needing two out of the five pieces you need.
Strange Iron Coins Locations
| Where to Find the Strange Iron Coins | |
|---|---|
| 1 | 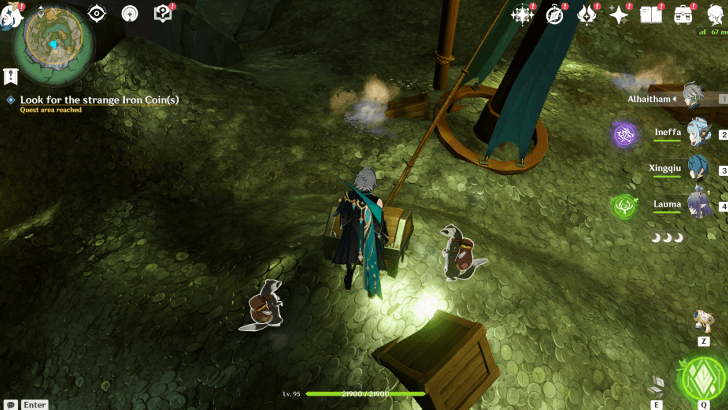 Strange Iron Coin #4 is located inside the locked chest behind the Weasel Thief Statue. The weasel thief that's needed to open the chest is located on the empty area a bit to your left, where several Weasels are seen standing. Interact with the burrowed weasel to get the Strange Iron Coin! |
| 2 | 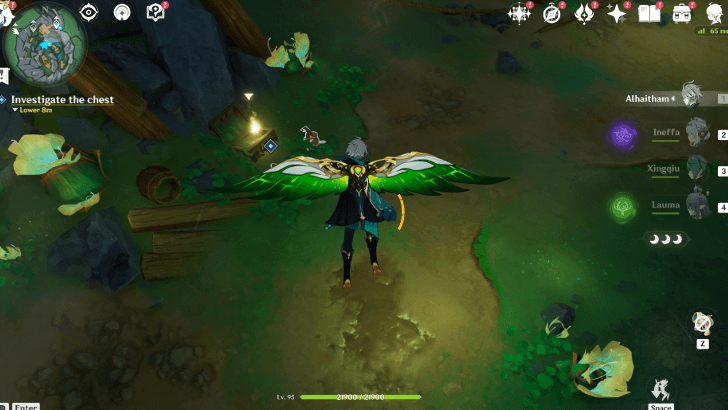 Strange Iron Coin #5 is inside the chest on spot directly across the overlooking from the Weasel Thief Statue. This chest is guarded by a Radiant Lunapod, which you'll have to defeat to get the last Strange Iron Coin! |
Investigate the mysterious ship
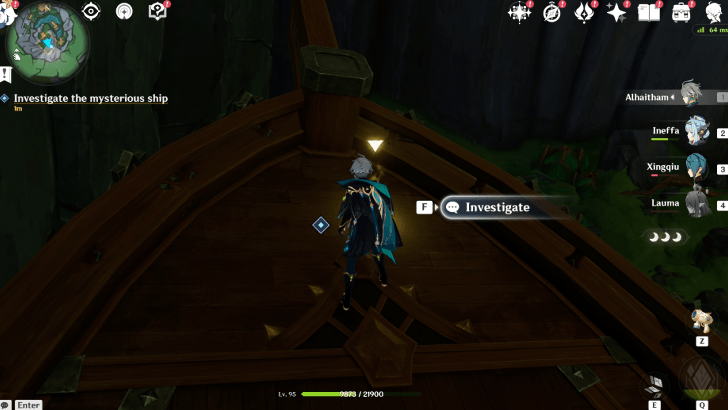
After obtaining all the Iron Coins, offer them to the Weasel Thief Statue and watch a brief cutscene unfold. Then, investigate the mysterious ship that appeared by looting all the chests that spawned with it, as well as Brahe's Notes (III) located right across the ship's helm to know more about this history of the Proof of Cognoscenti!
Try taking the helm
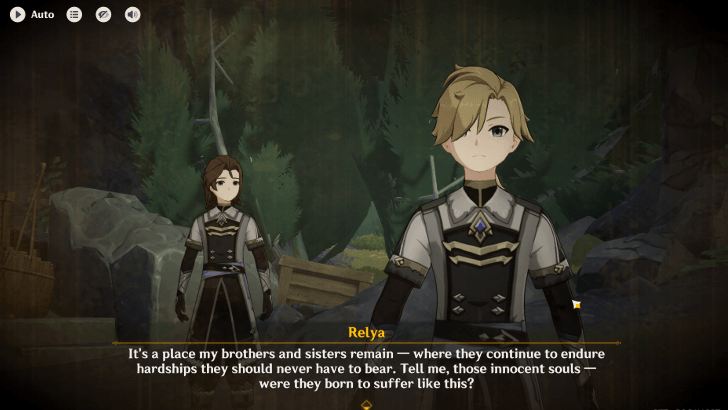
Once done, try taking the helm of the ship, and watch another cutscene play out between Relya and Silve, or commonly known as Avrelian and Silvestr, the founder and co-founder of the Treasure Hoarders. Afterwards, get the First Iron Coin, and head back to Piramida to talk to Tolfin and conclude the quest!
The Raven's Legacy Rewards
Total Quest Rewards
| Total Quest Rewards |
 Primogem x40 |
 Mora x33000 |
|---|---|---|
 Hero's Wit x2 |
||

Special Rewards
| Quest Rewards | |
|---|---|
 First Iron Coin First Iron Coin |
|
The First Iron Coin currently does nothing, but it is highly possible to be a key item that unlocks or progresses future quests in the following versions.
Genshin Impact Related Guides

Other East of the Moon, West of the Sun Quest Guides
| East of the Moon, West of the Sun World Quest Guides | ||
|---|---|---|
| The Tale-Telling Heart | The Shoemaker's Children Go Barefoot | Whisper Beneath the Waves |
| Return to Sender | The Raven's Legacy | |
Comment
i need help cuz i lagged while doing it and when i hit the rock the light doesnt show
Author

The Raven's Legacy Quest Guide


Rankings
- We could not find the message board you were looking for.
Gaming News

![The Liar Princess and the Blind Prince Review [PC] | Lovely to Look at but Tedious to Play](https://img.game8.co/4442586/8d95f5faf05780f1765ce7e0938bd825.jpeg/show)
![The Liar Princess and the Blind Prince Review [PC] | Lovely to Look at but Tedious to Play](https://img.game8.co/4442586/8d95f5faf05780f1765ce7e0938bd825.jpeg/thumb)
![Marathon Cryo Archive Map Teased as [REDACTED] on Selection Screen](https://img.game8.co/4442236/6357203e58172f6de57f1991e7c39b22.png/thumb)

Popular Games

Genshin Impact Walkthrough & Guides Wiki
Umamusume: Pretty Derby Walkthrough & Guides Wiki
Pokemon Pokopia Walkthrough & Guides Wiki
Honkai: Star Rail Walkthrough & Guides Wiki
Monster Hunter Stories 3: Twisted Reflection Walkthrough & Guides Wiki
Arknights: Endfield Walkthrough & Guides Wiki
Wuthering Waves Walkthrough & Guides Wiki
Zenless Zone Zero Walkthrough & Guides Wiki
Pokemon TCG Pocket (PTCGP) Strategies & Guides Wiki
Monster Hunter Wilds Walkthrough & Guides Wiki


Recommended Games
Diablo 4: Vessel of Hatred Walkthrough & Guides Wiki
Cyberpunk 2077: Ultimate Edition Walkthrough & Guides Wiki
Fire Emblem Heroes (FEH) Walkthrough & Guides Wiki
Yu-Gi-Oh! Master Duel Walkthrough & Guides Wiki
Super Smash Bros. Ultimate Walkthrough & Guides Wiki
Pokemon Brilliant Diamond and Shining Pearl (BDSP) Walkthrough & Guides Wiki
Elden Ring Shadow of the Erdtree Walkthrough & Guides Wiki
Monster Hunter World Walkthrough & Guides Wiki
The Legend of Zelda: Tears of the Kingdom Walkthrough & Guides Wiki
Persona 3 Reload Walkthrough & Guides Wiki


All rights reserved
Copyright© 2012-2024 HoYoverse — COGNOSPHERE. All Rights Reserved.
The copyrights of videos of games used in our content and other intellectual property rights belong to the provider of the game.
The contents we provide on this site were created personally by members of the Game8 editorial department.
We refuse the right to reuse or repost content taken without our permission such as data or images to other sites.
Um.. I think it's possible to destroy the gate without taking each of the 3 keys