Return to Sender Quest Guide
✉ Send your thoughts in our Genshin 6.4 Patch Survey!
★ Exclusive: Dive back in time with the Meta History
◆ Hot: Version 6.4, 6.4 Codes, Linnea, Version 6.5
◆ Builds: Varka, Flins, Skirk, Escoffier
◆ Events: Travelers' Tales, Sightseeing With Friends
◆ Endgame: Spiral Abyss (March 2026)
Return to Sender is a World Quest under the East of the Moon, West of the Sun quest chain found in Piramida in Genshin Impact Luna IV version. See how to unlock this quest, how to adjust the valves, how to defeat the Ultimate Calamity, its walkthrough, and all the rewards of this quest here in this guide!
List of Contents
How to Unlock Return to Sender
Not Locked Behind Any Quest
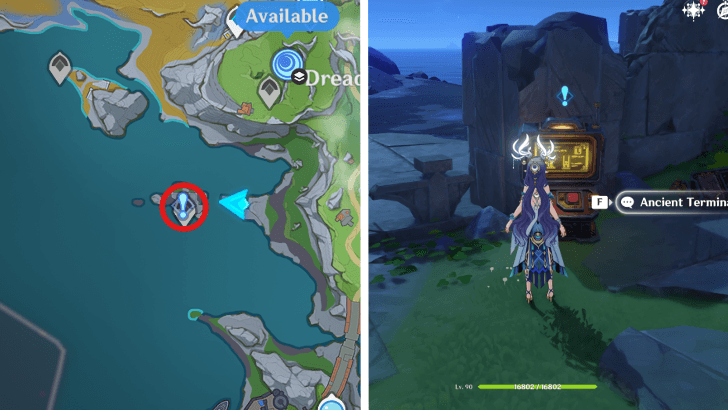
Return to Sender is not locked behind any quest, and could be readily played as soon as you visit its starting point located to the west of Piramida. You know you're on the correct location if you see a bunch of decrepit ruins surrounded by a massive a body of water.
Return to Sender Walkthrough
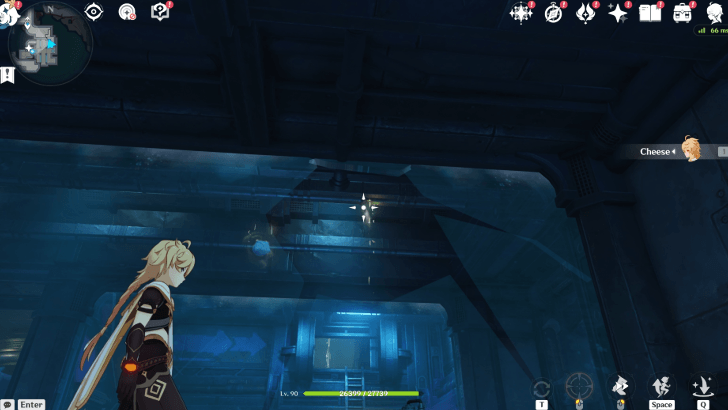
Enter the bunker
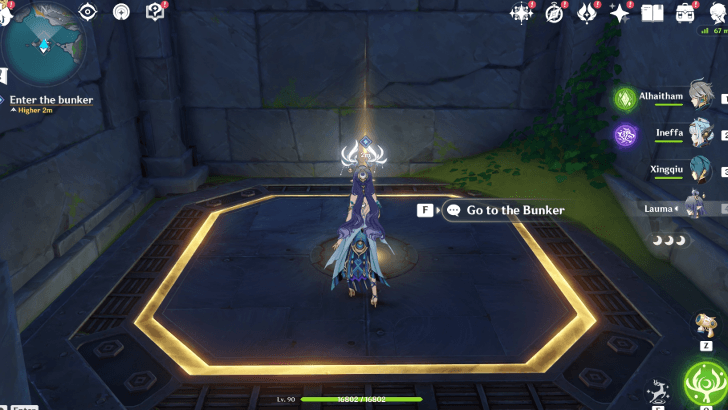
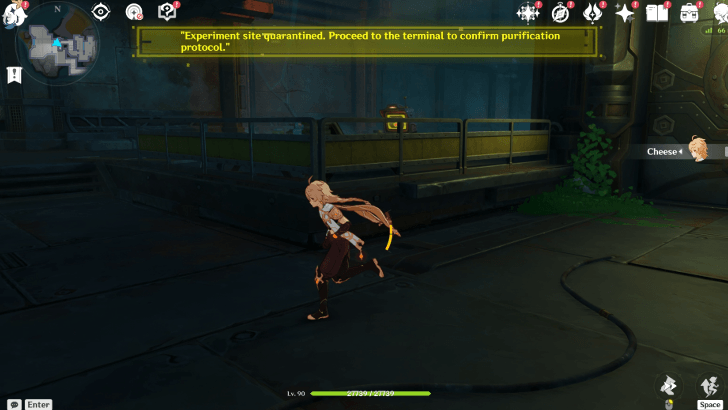
As soon as you enter the vicinity of the quest location, a dialogue about the bunker and the apocalypse will flash on your screen. Head towards the beaten-down ruins in front of you and interact with the Ancient Terminal to get the Tier I Bunker Access Card, which you'll need to enter the bunker.
Continue onward
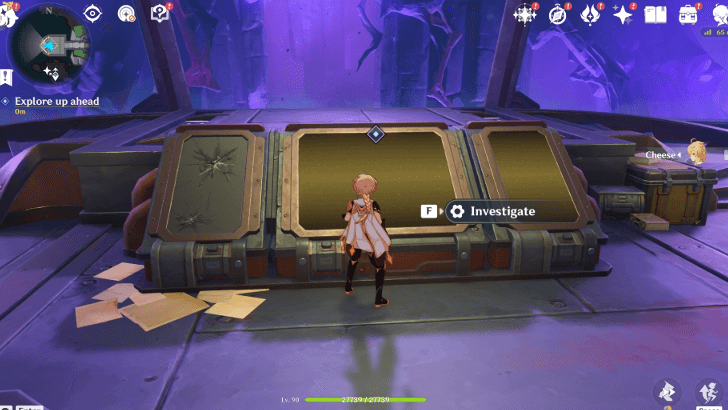
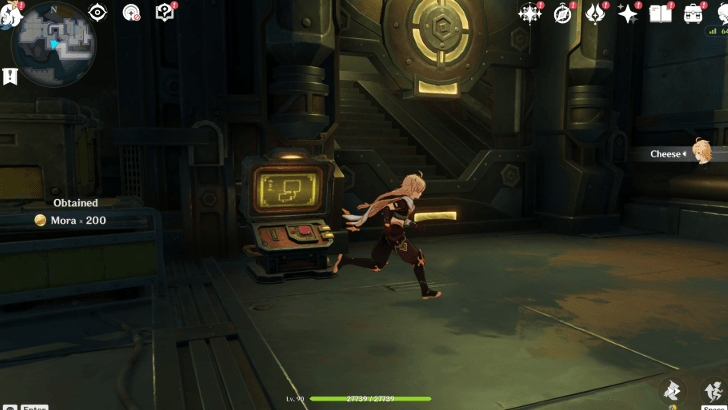
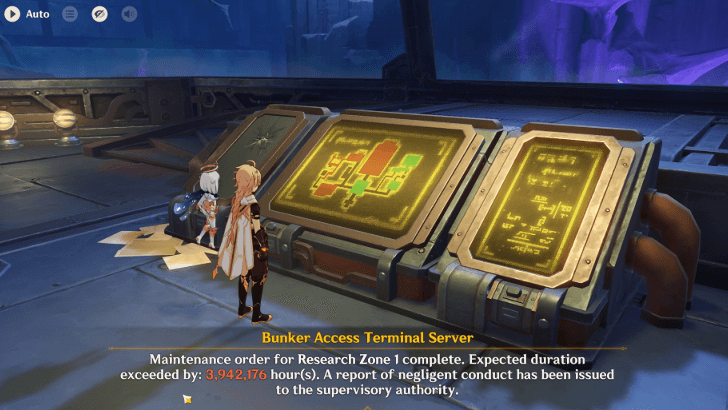
After entering the bunker, continue onward until you come across another Ancient Terminal that will confiscate all your weapons. At this point your team will be temporarily disabled, and all weapons in your repetoire will be rendered unusable until you finish the quest. Explore up ahead and interact with the Bunker Access Terminal Server, afterwards.
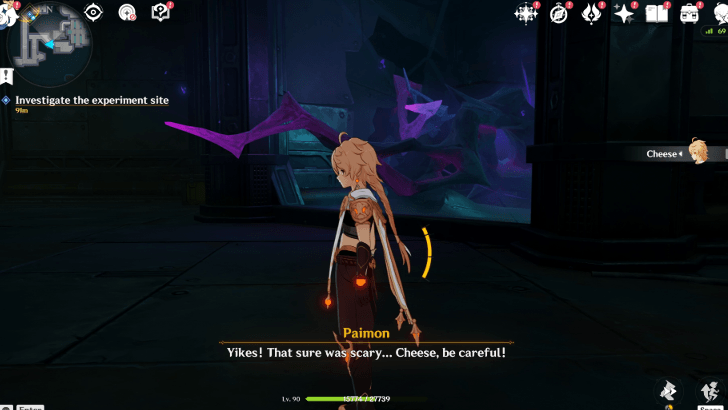
Investigate the experiment site
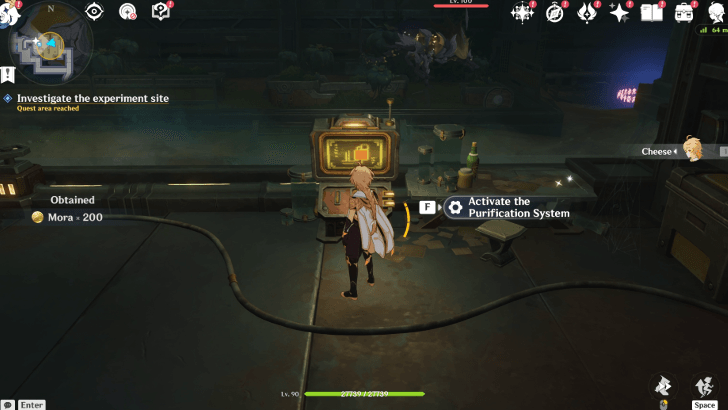
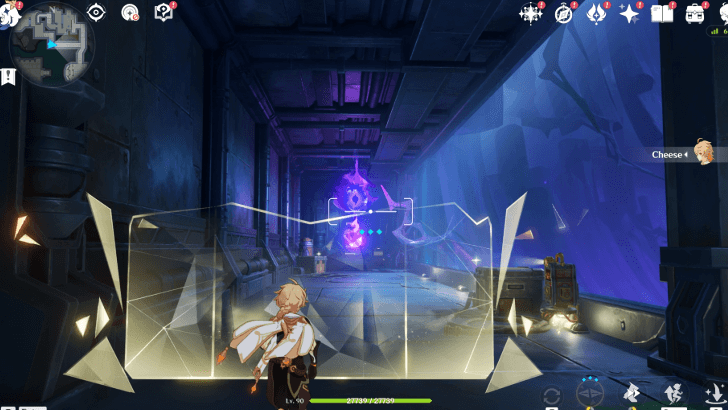
Once you've gained access on the second floor, pass through the door to your right, and continue walking along the hallway until you're inside a room that has a Rifthound nearby. Activate the Purification System by interacting with the terminal to expunge the room of the Rifthound.
Reach the Next Experiment Site
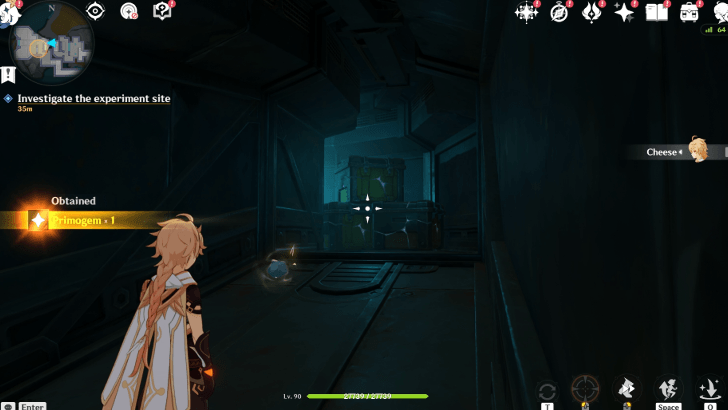
Then, proceed to the secondary purification device by passing by the room with the Rifthound. Activate the lift, then use the rock enveloped in Kuuvahki to destroy the box piles blocking your way. Continue straight ahead and jump down the hatch to reach the next experiment site.
Examine the control terminal
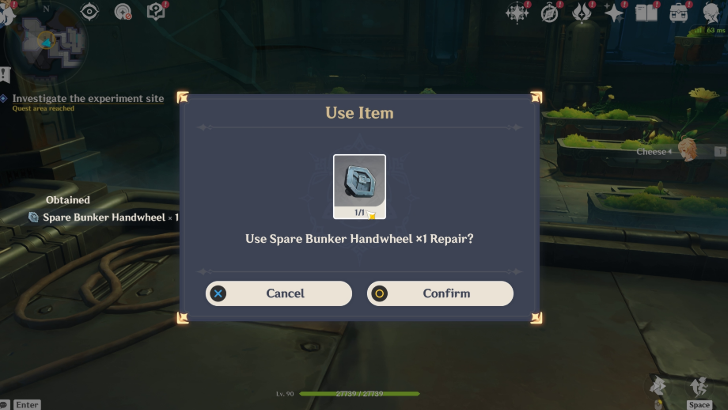
Before heading to the control terminal, make sure to pick up the Spare Bunker Handwheel, and slot it to the valve before operating the terminal. After the quick cutscene, the Apocalypse Purification System will tell you that manual valve adjustment is required for it to operate.
Enter the experiment site and adjust the valves
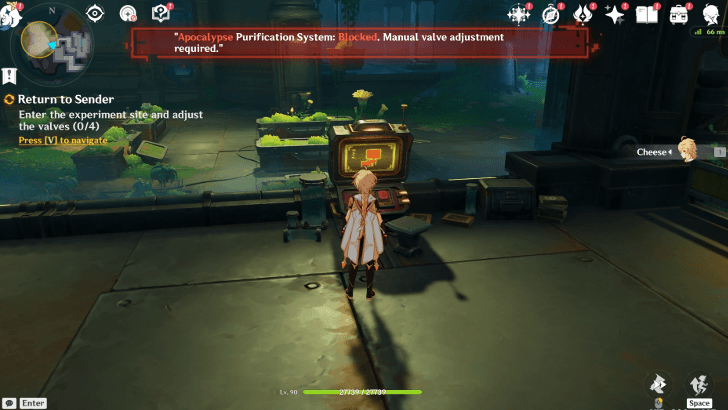
To enter the experiment site and adjust the valves, you'll have to sneak behind the Rifthounds, and manually turn the four valves to activate the Purification System. The key to solving this puzzle is by making sure none of the hounds spot you, otherwise the puzzle will reset and you'll have to redo it from the start!
How to Enter the Experiment Site and Adjust the Valves
| How to Adjust the Valves | |
|---|---|
| 1 | To repair the first valve, enter the experiment site and make a sharp to turn your left. Pressing repair will trigger the system and release the Rifthounds. |
| 2 | To get to the second valve, use the rock enveloped in Kuuvahki to destroy the chest across you. This will temporarily distract the Rifthound away from Valve #2, so make a beeline to it once done. |
| 3 | To repair the third valve, tread along the wall carefully and make sure to crouch by pressing Space. The rifthound guarding Valve #3 moves around pretty frequently, which means it's easier to repair it compared to the rest of the valves. After repairing it, immediately hide behind the bush, right beside the Bloodstained Logs. |
| 4 | To repair the fourth valve, continue treading along the wall while crouching until you reach it. There's a breakable chest beside it which you can break, however, we suggest using it as a cover instead to easily repair Valve #4. |
Leave the experiment site
Once all valves are repaired, the system will tell you to leave the experiement site before the gate closes. Keep in mind that once Rifthounds spot you, the timer resets, but fortunately you won't have to redo adjusting the valves when this happens during this time! It's also easier to get spotted and start afresh, since the aggro count of the hounds will also reset. Head to the exit within 30 seconds by sprinting towards it to leave the experiment site!
Examine the terminal
Next, examine the terminal once more to confirm the purification protocol. Once cleansed, a Precious Chest will spawn. Loot it, then return to the main control terminal via the exit at the back.
Defeat the monsters
As you head to the main control terminal, you'll spot a Glimmerbloom and Sharp Spireblooms which you can use to defeat the Evil Eye of Blightseep. To defeat the monsters, simply interact with the Spirebloom and press the corresponding button to fire a wave of Kuuvahki at the eye to whittle down its HP.
The most effective way to defeat the Evil Eye of Blightseep is by holding down the power of the Sharp Spirebloom and releasing it once the projectiles from the Eye are about to hit you. This will parry and counter-attack the Eye, which deals more damage than by simply hitting it with the Spirebloom's attack.
Return to the main control terminal
After defeating the monsters, safely return to the main control terminal, and use the Tier 2 Access Card to gain access to the Research Zone 2.
Investigate the Nearby Area
Once you've gained access to the Research Zone 2, head straight to the recently closed door and pass through the hallway until you see a research lab with a broken glass wall. To solve the Mandragora Puzzle, you'll have to connect the Mandragoras with each other for the flow of Kuuvahki to reach and cleanse the nearby Abyssal Contamination!
How to Solve the Mandragora Puzzle
| How to Solve the Mandragora Puzzle | |
|---|---|
| 1 | Using the nearby rock enveloped in Kuuvahki, hit the leaking pipe thru the broken glass by aiming the rock at it. Doing so attracts the Mandragora below, which lets it enter a Suffused state the effectively cleanses the Abyssal Contamination around the terminal. |
| 2 | Once the gate has opened, pass through it and head straight to the Mandragoras to the left side of the lab, which are tethered to a Solaris Core. You'll notice two Mandragoras connected to it, but you'll only have to slightly adjust the second one nearest to the door, to proceed to the next step. It's important to take note that throwing the Mandragora disables their connection, so make sure to simply drop them to keep them tethered! |
| 3 | Then, get the third Mandragora from the location of the pipe leak, and place it right across the deactivated Solaris Core. Make sure that the connection between the three Mandragoras are not broken. |
| 4 | Lastly, grab a power of Kuuvahki from the nearby Glimmerbloom and position yourself between the third Mandragora and the disabled Solaris Core to complete the connection. Do not drop the glimmerbloom, otherwise the connection will be broken! |
Investigate the Experiment Site
From the Mandragora puzzle, head deeper within the area and investigate the experiment site. The overall vibe of the lab suddenly shifts to something eerie, and you'll see a bunch of jumpscare gimmicks that will keep you on your toes. Press on until you see the giant Rifthound that spawns after debugging the terminal.
Defeat the Rifthound
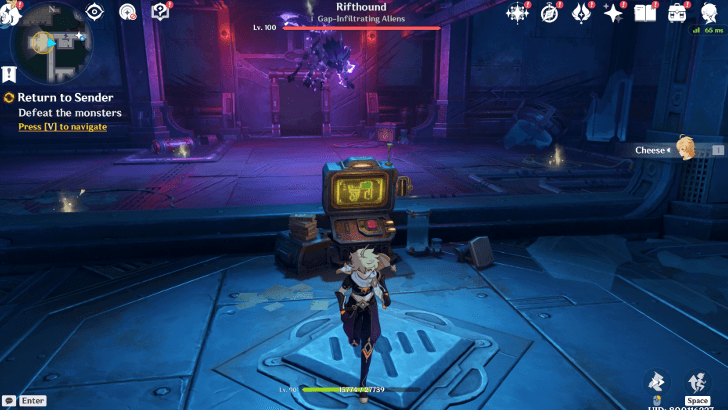
To defeat the Rifthound, lure the monster on the posoition of the pipes leaking with Kuuvahki which are scattered all around the area. Keep in mind that the Rifhthound will not use its burrowing attack unless you step inside the mini-boss area, so make sure that you head in before anything else!
How to Defeat the Rifthound
| How to Defeat the Gap-Infiltrating Alien | |
|---|---|
| 1 | Once inside the laboratory, wait for the burrowing attack of the Rifthound, marked by a glowing circle on the ground. Once the circle has locked its position, quickly sprint out of it to avoid any damage from the Rifthound. |
| 2 | When the Rifthound is about to be defeated, search around for a rock enveloped in Kuuvahki, and hit the pipe above the Rifthound's original position using it, by aiming your cursor right at the leak! |
Return to the Main Control Terminal
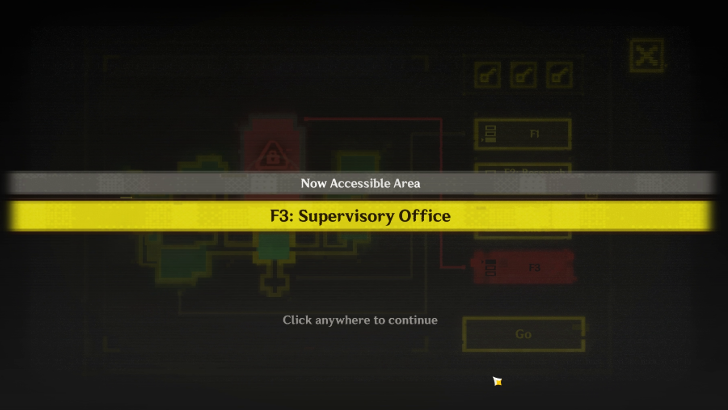
Once the rifthound has been defeated, retrieve the Tier 3 keycard from the machine, and return to the Main Control Terminal to access the third floor, the Supervisory Office!
Defeat the Ultimate Calamity
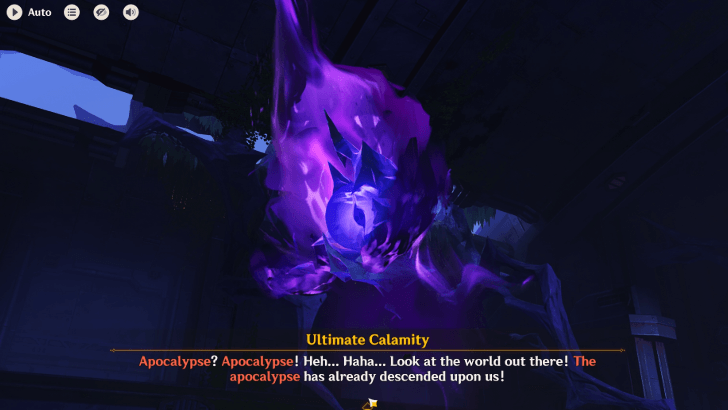
After reaching the third floor of the Bunker, pass through the closed gate just past the bridge. Once inside, a brief cutscene with the Ultimate Calamity will play out. Afterwards, you'll have to defeat the Ultimate Calamity using the power of the Sharp Spirebloom nearby!
How to Defeat the Ultimate Calamity
| How to Defeat the Ultimate Calamity | |
|---|---|
| 1 | As with the previous encounter, you can defeat the Ultimate Calamity by parrying its attacks and counter-attacking them using the power of the Sharp Spirebloom. There's only one Spirebloom present nearby, but it recharges infinitely, so long as you throw a Mandragora beside it once it withers out! |
| 2 | Once the Ultimate Calamity fires a projectile at you, hold down the Spirebloom attack and release it right after it's about to hit your character. Doing so parries and creates a counterattack that deals massive damage to the calamity, so keep on doing this without being hit by any of its attack. |
| 3 | When its HP is almost 50% down, a giant Mandragora empowers the Spirebloom, granting your character unlimited ammo you can use to defeat the monster. By this time, the monster should've also empowered itself by firing multiple shots at once! |
Leave the bunker
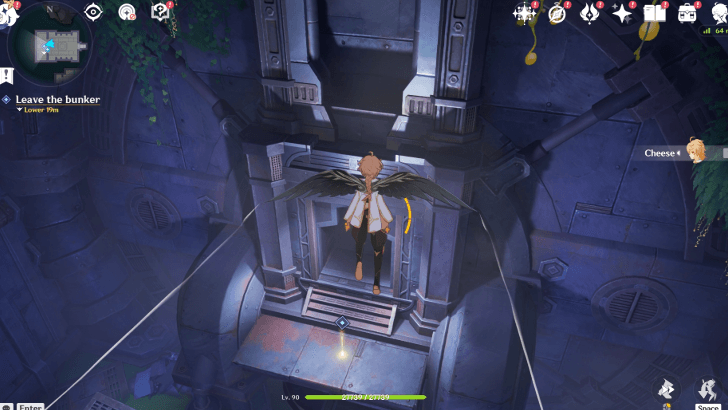
Once the Calamity has been felled, loot the chests that spawn and leave the bunker at once. This concludes this quest, and also auto-unlocks the last quest of this series, the Raven's Legacy!
Return to Sender Rewards
Total Quest Rewards
| Total Quest Rewards |
 Primogem x50 |
 Mora x54500 |
|---|---|---|
 Hero's Wit x5 |
||

Special Rewards
| Quest Rewards | |
|---|---|
 Devocina-Cognoscenti's Sorrow Devocina-Cognoscenti's Sorrow |
|
Return to Sender also rewards players the 4th Proof of Cognoscenti, Devocina-Cognoscenti's Sorrow! In addition, completing this quest also auto-unlocks The Raven's Legacy, the concluding quest of the East of the Moon, West of the Sun quest chain, which tells the story of Treasure Hoarder's founder, Reed Miller!
How to Get the Proof of Cognoscenti
Genshin Impact Related Guides

Other East of the Moon, West of the Sun Quest Guides
| East of the Moon, West of the Sun World Quest Guides | ||
|---|---|---|
| The Tale-Telling Heart | The Shoemaker's Children Go Barefoot | Whisper Beneath the Waves |
| Return to Sender | The Raven's Legacy | |
Comment
 Caleb Osoriø about 2 months
Well in my side after I defeat the rifthount with the rock there is a corridor that is blocked and does not let me go through, and this guide just say "go to the main computer" without providing any help on that.
Author

Return to Sender Quest Guide


Rankings
Gaming News

![The Liar Princess and the Blind Prince Review [PC] | Lovely to Look at but Tedious to Play](https://img.game8.co/4442586/8d95f5faf05780f1765ce7e0938bd825.jpeg/show)
![The Liar Princess and the Blind Prince Review [PC] | Lovely to Look at but Tedious to Play](https://img.game8.co/4442586/8d95f5faf05780f1765ce7e0938bd825.jpeg/thumb)
![Marathon Cryo Archive Map Teased as [REDACTED] on Selection Screen](https://img.game8.co/4442236/6357203e58172f6de57f1991e7c39b22.png/thumb)

Popular Games

Genshin Impact Walkthrough & Guides Wiki
Umamusume: Pretty Derby Walkthrough & Guides Wiki
Pokemon Pokopia Walkthrough & Guides Wiki
Honkai: Star Rail Walkthrough & Guides Wiki
Monster Hunter Stories 3: Twisted Reflection Walkthrough & Guides Wiki
Arknights: Endfield Walkthrough & Guides Wiki
Wuthering Waves Walkthrough & Guides Wiki
Zenless Zone Zero Walkthrough & Guides Wiki
Pokemon TCG Pocket (PTCGP) Strategies & Guides Wiki
Monster Hunter Wilds Walkthrough & Guides Wiki


Recommended Games
Diablo 4: Vessel of Hatred Walkthrough & Guides Wiki
Cyberpunk 2077: Ultimate Edition Walkthrough & Guides Wiki
Fire Emblem Heroes (FEH) Walkthrough & Guides Wiki
Yu-Gi-Oh! Master Duel Walkthrough & Guides Wiki
Super Smash Bros. Ultimate Walkthrough & Guides Wiki
Pokemon Brilliant Diamond and Shining Pearl (BDSP) Walkthrough & Guides Wiki
Elden Ring Shadow of the Erdtree Walkthrough & Guides Wiki
Monster Hunter World Walkthrough & Guides Wiki
The Legend of Zelda: Tears of the Kingdom Walkthrough & Guides Wiki
Persona 3 Reload Walkthrough & Guides Wiki


All rights reserved
Copyright© 2012-2024 HoYoverse — COGNOSPHERE. All Rights Reserved.
The copyrights of videos of games used in our content and other intellectual property rights belong to the provider of the game.
The contents we provide on this site were created personally by members of the Game8 editorial department.
We refuse the right to reuse or repost content taken without our permission such as data or images to other sites.
i am not allowed to use the shield i just throw it so i cant do anything??? ive tried to retry/die multiple times and i cant get the shield