Ripples That Will Never Reach Quest Guide
✉ Send your thoughts in our Genshin 6.4 Patch Survey!
★ Exclusive: Dive back in time with the Meta History
◆ Hot: Version 6.4, 6.4 Codes, Linnea, Version 6.5
◆ Builds: Varka, Flins, Skirk, Escoffier
◆ Events: Travelers' Tales, Sightseeing With Friends
◆ Endgame: Spiral Abyss (March 2026)

Ripples That Will Never Reach is the second part of the Archon Quest, A Nocturne of the Far North, in Genshin Impact 6.2 Luna III. See how to guide and protect Razmaspes, quest walkthrough, and all the rewards of this quest here in this guide!
List of Contents
How to Unlock Ripples That Will Never Reach
Complete the Prerequisites

You can unlock Ripples That Will Never Reach Quest by completing the In the Shifting Light of the Moon Archon Quest!
In the Shifting Light of the Moon Quest Guide
Ripples That Will Never Reach Quest Walkthrough
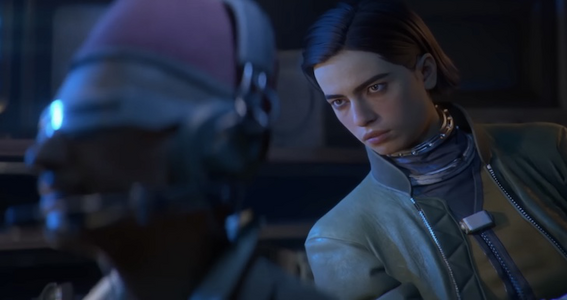
Go Meet Columbina
Continue the quest by returning to the Silvermoon Hall to speak with Columbina and learn about her preferred gifts.
But once there, you'll discover that Columbina is nowhere to be found. After a while, you'll be led to Lauma to see if she knows anything.
Go to Nasha Town to Collect Intel
Unfortunately, Lauma has also no idea where Columbina is.
The three of you will then decide to go to Nasha Town to obtain more intel.
Simply follow the marker at the town's entrance to be greeted by someone.
Stroll through the Frostmoon Enclave
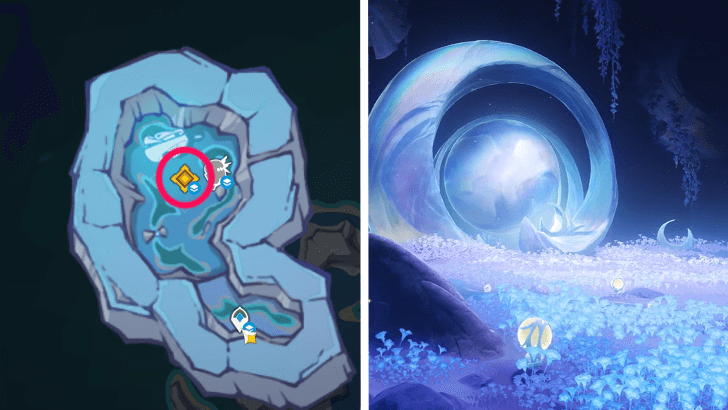
After a while, the scene will shift to Columbina's point of view. Simply continue the dialogues, and you will eventually arrive at the Frostmoon Enclave.
Once you are able to move, investigate the two quest markers; you can begin with either of them.
Once completed, you will be back in the Traveler's pov; simply continue the dialogue at this point.
Continue Strolling through Nasha Town

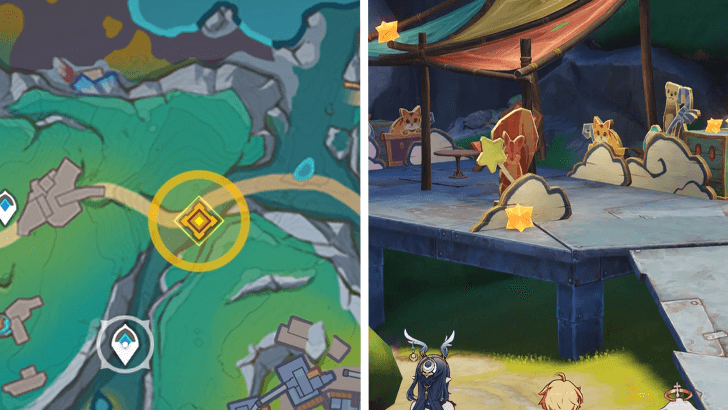
Columbina also decided to take a stroll around Nasha Town, looking for the Traveler.
Once you can move, follow the marker to the candy stall and play the dialogue scenes until you return to the Traveler's pov.
Look for the Mage Nicole
When you're ready, proceed to Hiisi Island and search for Nicole.
Search for Information in the Frostmoon Enclave

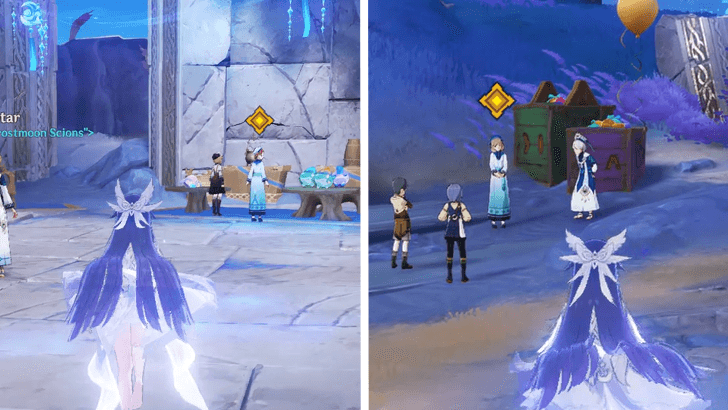
Following the lengthy conversation, proceed to the Frostmoon Enclave and help Lauma in searching for information about Columbina.
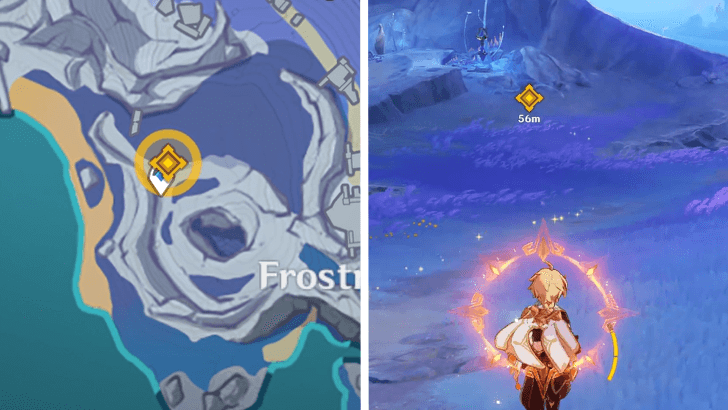
Return to Nasha Town and Contact Varka
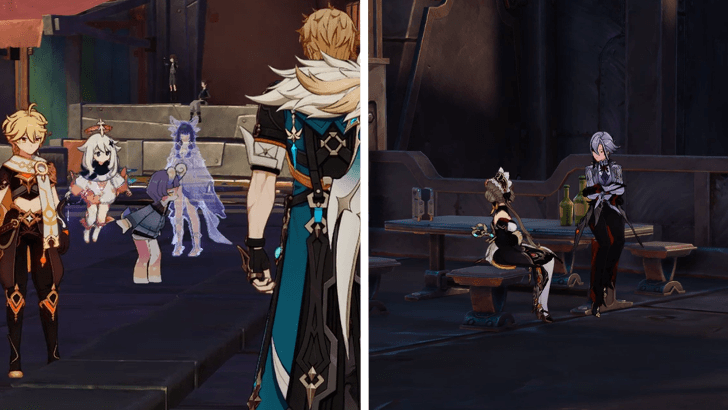
Head next to Nasha Town and find Varka; during the conversation, you'll encounter another familiar character, and you'll finally be taken to the Fatui Facility for a discussion with Sandrone and Arlecchino.
Aid Razmaspes

After a while, you'll switch to Durin, Albedo, and Wanderer's point of view, where they intend to make contact with the phantoms.
From here on out, you will face a series of puzzles in which you must aid and protect the phantom Razmaspes by guiding him with Durin's powers.
Interact with the Pillars and Barrels with Durin
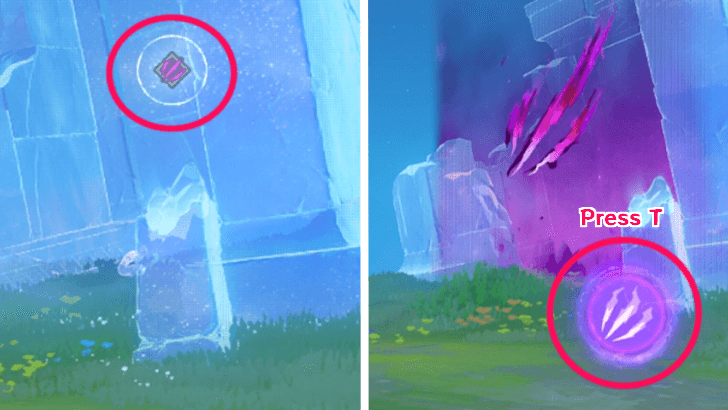
To successfully direct Razmaspes, you must either obstruct his path or clear out debris. Throughout the challenge, you will come across indicators on pillars or barrels that allow you to interact with them. To interact, simply press T or the button next to the elemental skill.
How to Guide Razmaspes
| How to Guide Razmaspes | |
|---|---|
| 1 | Make use of the Stone Pillar to aid Razmaspes The first pillar will be in front of Razmaspes; proceed to interact with it in order to put up a barrier. This will prevent Razmaspes from entering and getting killed. |
| 2 | Make it Possible for Razmaspes to Pass Through The following area will have two pillars; block the path on the left first to prevent monsters from entering. Wait for Razmaspes to enter the right structure, then block the door so he cannot leave and is not noticed by the monster. Once the monster has passed, open it. |
| 3 | Make Use of Explosives to Aid Razmaspes The next step is to clear the path ahead by blowing up the barrel. However, before proceeding, interact with the pillar first to put up a barrier that will protect Razmaspes from the explosion. |
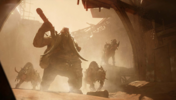
Protect Razmaspes
The next area requires you to blow up barrels to protect Razmaspes from the approaching wave of monsters. This can be challenging since if only one of the monsters gets through, the whole thing resets.
Wait for the Monsters to Enter the Barrel AoE
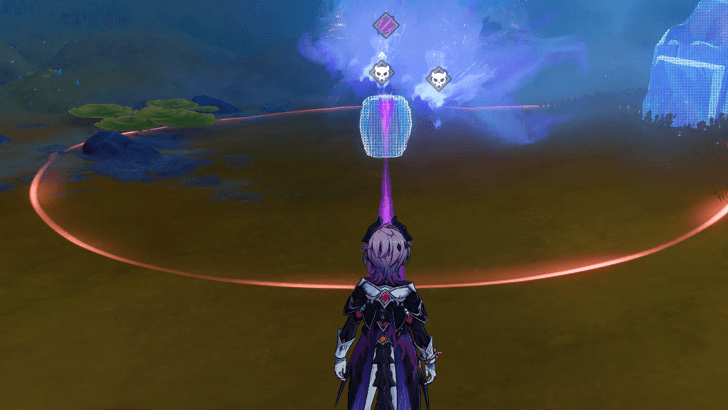
The barrel will have an explosive radius as indicated by the circle surrounding it. Make sure that the monsters are inside the circle before activating the barrel to eliminate them.
Prioritize the Monsters Closest to the Barrel
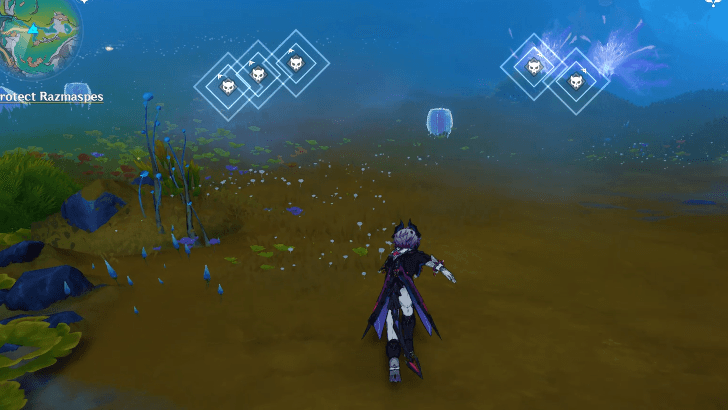
Keep an eye on the monster spawn order and tackle the monsters closest to the barrel first, as some of them may rush past it. Pay special attention to the last two sets of monsters, and handle the one in the back first because they will spawn near to the barrel.
Continue Escorting Razmaspes
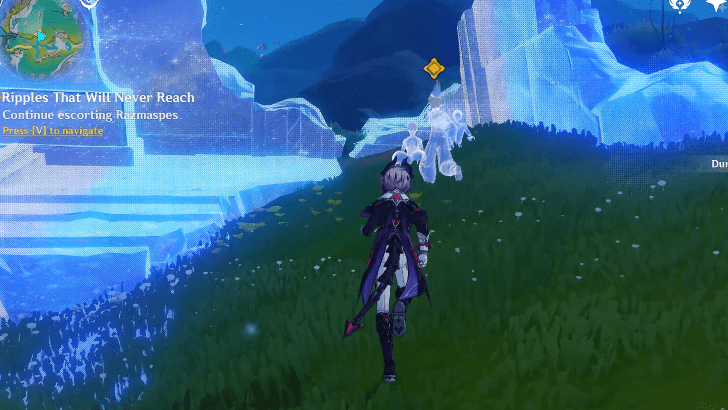
After succesfully protecting Razmaspes wait for him to approach and converse with the other phantom. After a while a monster will appear and he will get killed and the scene restarts.
How to Escort Razmaspes
| How to Escort Razmaspes | |
|---|---|
| 1 | Continue Escorting Razmaspes Once the scene restarts, race Razmaspes into the pillar and interact with it to create a barrier that prevents him from entering. |
| 2 | 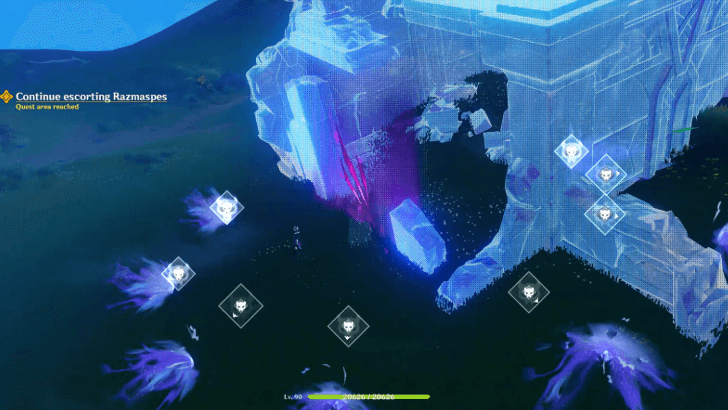 Protect Razmaspes When Razmaspes is inside the building, a wave of monster will spawn; simply repeat the previous sequence, but this time there are a large number of monsters, and you will eventually be overrun by them, causing the scene to reset. |
| 3 | 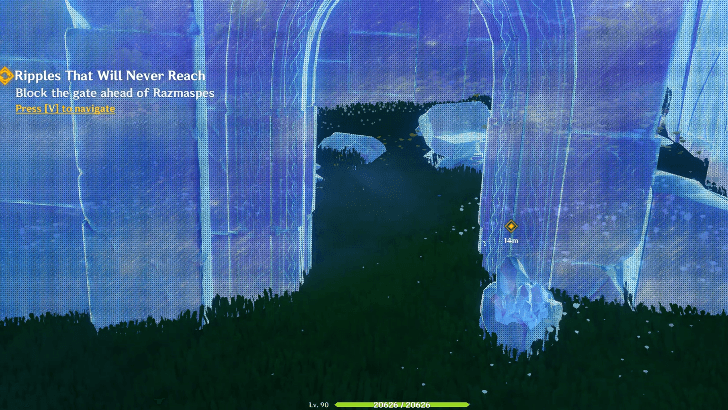 Block the Gate Ahead of Razmaspes Once the scene resets, you must block the entryway where the clue is located to prevent Razmaspes from entering, and this will conclude the puzzle. |
Talk to Razmaspes
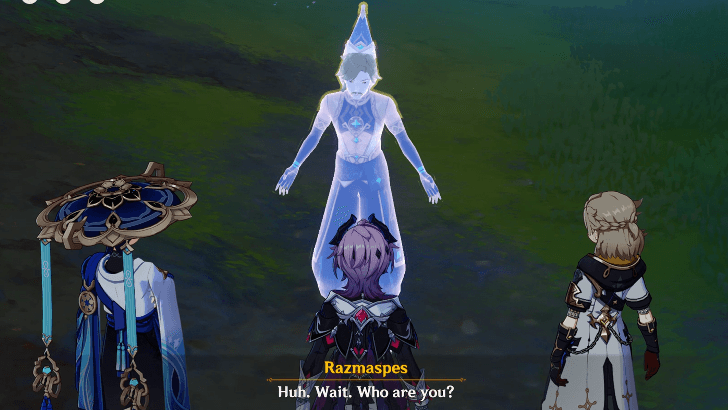
After a while, you'll be able to communicate with Razmaspes. Go ahead and speak with him and the rest of the crew to complete this quest.
Ripples That Will Never Reach Quest Rewards
Total Quest Rewards
| Total Quest Rewards |
 Primogem x30 |
 Mora x76475 |
|---|---|---|
 Hero's Wit x6 |
||

Genshin Impact Related Guides

Other A Nocturne of the Far North Quest Guides
| A Nocturne of the Far North Quest Guides | ||
|---|---|---|
| In the Shifting Light of the Moon | Ripples That Will Never Reach | |
Comment
Absolutely agree. iPad users are, as usual, left flailing in the dark because no one thinks to test on anything but high level PC.
Author

Ripples That Will Never Reach Quest Guide


Rankings
- We could not find the message board you were looking for.
Gaming News


Popular Games

Genshin Impact Walkthrough & Guides Wiki
Umamusume: Pretty Derby Walkthrough & Guides Wiki
Pokemon Pokopia Walkthrough & Guides Wiki
Honkai: Star Rail Walkthrough & Guides Wiki
Monster Hunter Stories 3: Twisted Reflection Walkthrough & Guides Wiki
Arknights: Endfield Walkthrough & Guides Wiki
Wuthering Waves Walkthrough & Guides Wiki
Zenless Zone Zero Walkthrough & Guides Wiki
Pokemon TCG Pocket (PTCGP) Strategies & Guides Wiki
Monster Hunter Wilds Walkthrough & Guides Wiki


Recommended Games
Diablo 4: Vessel of Hatred Walkthrough & Guides Wiki
Cyberpunk 2077: Ultimate Edition Walkthrough & Guides Wiki
Fire Emblem Heroes (FEH) Walkthrough & Guides Wiki
Yu-Gi-Oh! Master Duel Walkthrough & Guides Wiki
Super Smash Bros. Ultimate Walkthrough & Guides Wiki
Pokemon Brilliant Diamond and Shining Pearl (BDSP) Walkthrough & Guides Wiki
Elden Ring Shadow of the Erdtree Walkthrough & Guides Wiki
Monster Hunter World Walkthrough & Guides Wiki
The Legend of Zelda: Tears of the Kingdom Walkthrough & Guides Wiki
Persona 3 Reload Walkthrough & Guides Wiki


All rights reserved
Copyright© 2012-2024 HoYoverse — COGNOSPHERE. All Rights Reserved.
The copyrights of videos of games used in our content and other intellectual property rights belong to the provider of the game.
The contents we provide on this site were created personally by members of the Game8 editorial department.
We refuse the right to reuse or repost content taken without our permission such as data or images to other sites.
WHY ARE THE BLUE RUINS SO LAGGY OMG THAT HAS NEVER HAPPENED TO ME BEFORE 😭