All Seelie Locations in 3.6 Girdle of the Sands
★ Exclusive: Check out the State of Meta for Nod-Krai!
◆ Hot: Luna 5 Livestream & Luna 5 Livestream Codes
◆ Builds: Columbina, Zibai, Illuga, Ineffa, Neuvillette
◆ Luna 4, Lantern Rite 2026, Moonlit Patrol Exercise
◆ Future: Version 6.4, Varka, Lohen
Seelies are a mysterious creature that players may come across while exploring Genshin Impact's new Girdle of the Sands 3.6 in the Sumeru Desert area. Check out all of Seelies' locations in the Version 3.6 Girdle of the Sands!
List of Contents
All Seelie Locations in the 3.6 Desert
3.6 Seelie Locations
| All 3.6 Seelie Locations |
|---|
There are currently 20 Seelies scattered throughout the Girdle of the Sands located within the Sumeru Desert, some of which can be found underground or trapped within puzzles.
| Seelie Locations | |
|---|---|
| 1 | 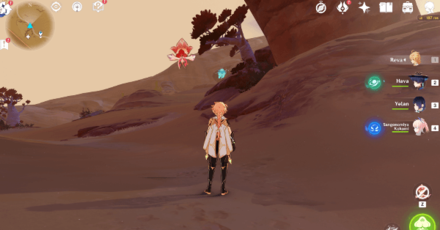 Head south of Molten Iron Fortress domain to find the Seelie sitting under the stone arch near the Hilichurl camp. |
| 2 | 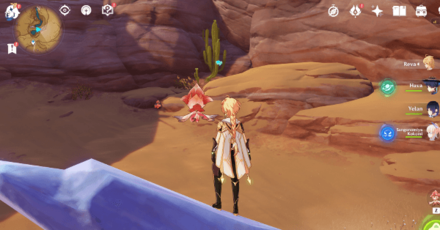 Head north from the waypoint near the Molten Iron Fortress domain, then glide down to the Seelie near the Gray Crystals. |
| 3 | 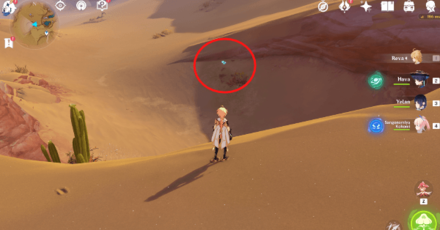 Continue west from Seelie #2 to find Seelie #3, which is located past the Hilichurl Rogue. |
| 4 | 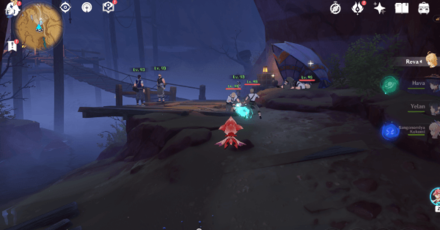 This Seelie is located inside a cave in the Temir Mountains, surrounded by Treasure Hoarders. You must first defeat all enemies in order to free the Seelie. |
| 5 | 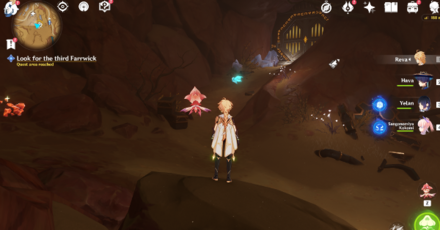 The Seelie #5 is situated in the Temir Mountains' underground cave. You can reach this area by completing the Khvarena of Good and Evil quest. |
| 6 | 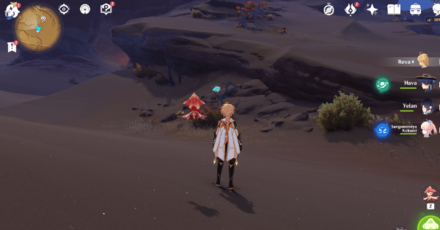 Teleport to the Gate of Zulqarnain waypoint, then head south to find the Seelie perched on a dead tree near the Pyro totems. |
| 7 | 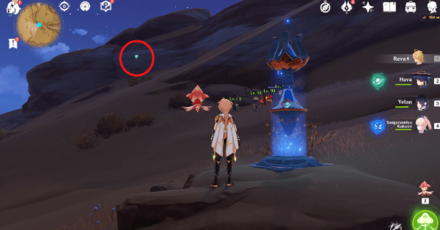 Located west of the Gate of Zulqarnain waypoint, close to the Hilichurls and Pyro Abyss Mage. |
| 8 | 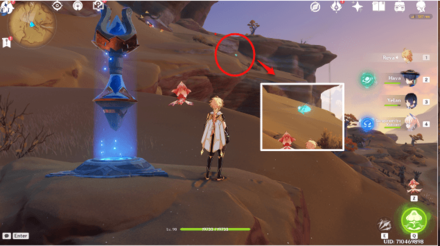 Head north from the same location as Seelie #7 to find Seelie #8. |
| 9 | 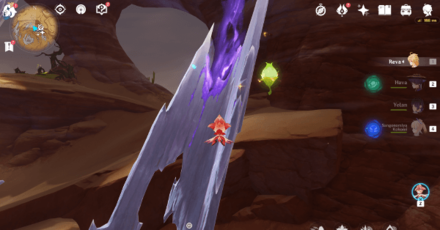 Situated north of Tunigi Hollow, floating above the Gray Crystals. You can easily climb the crystal by using the four-leaf sigil located next to the Seelie. |
| 10 | 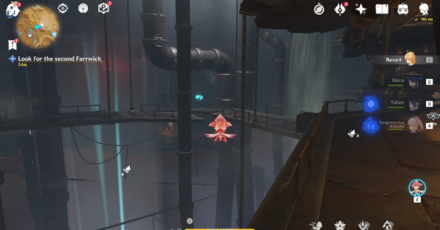 The #10 Seelie is located in the underground room, perched on the metal bridge. You can get to this area by completing the Khvarena of Good and Evil quest. |
| 11 | 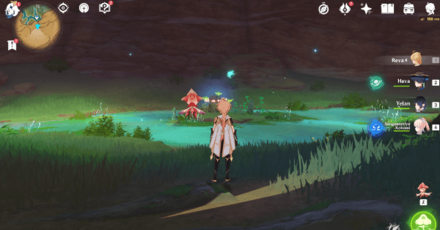 This Seelie is located south of Vourukasha Oasis, close to the teleport waypoint. To get the Seelie to move, you must first complete the Mayfly challenge. |
| 12 | 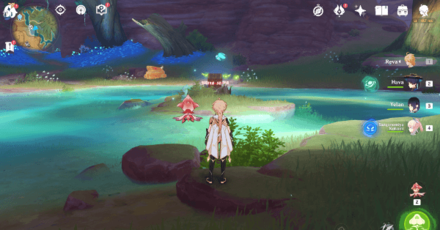 Located west of Vourukasha Oasis, near the Statue of Seven. Complete the Mayfly challenge first to free the Seelie. |
| 13 | 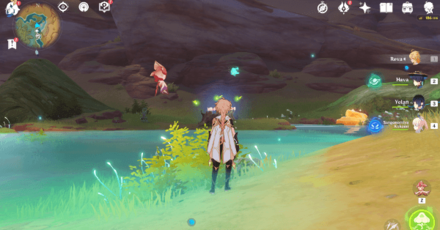 This seelie is located east of Vourukasha Oasis. To free the Seelie, you must also complete the Mayfly challenge. |
| 14 | 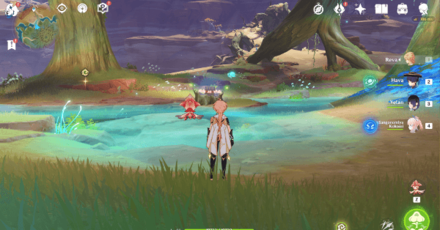 Located north of Vourukasha Oasis, near the wooden bridge. Complete the Mayfly challenge first to free the Seelie. |
| 15 | 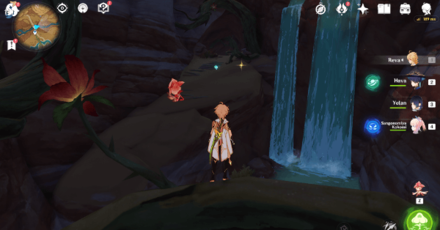 Glide down the bridge to find Seelie #15 next to the waterfall. |
| 16 | 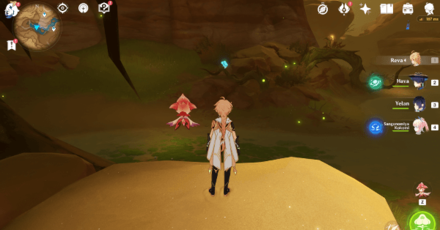 Located west of Asipattravana Swamp, perched on top of a dead branch. |
| 17 |  The #17 seelie is directly in front of the #16 seelie, surrounded by purple mist. To free the Seelie, use Sorush to defeat the defiled entities. |
| 18 | 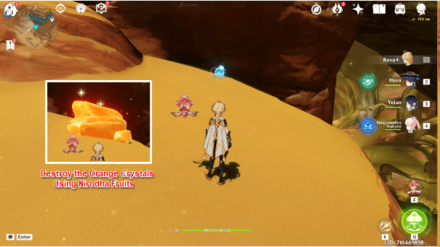 The #18 is concealed beneath the orange crystal. Sorush can be used to obtain a Nirodha fruit and destroy the orange crystal. |
| 19 |  The #19 is in an underground room near Samudra Coast. To get to this area, you must first complete the Khvarena of Good and Evil quest. |
| 20 |  The #20 is located in the same room as the #19. |
Genshin Impact Related Guides

Guides to Sumeru Areas
| Sumeru Area Guides | |
|---|---|
 Rainforest Area Rainforest Area |
 Desert Area Desert Area |
Guide to Desert Regions
| Sumeru Desert Guides | ||
|---|---|---|
 The Great Red Sand The Great Red Sand |
 Desert of Hadramaveth Desert of Hadramaveth |
 Girdle of the Sands Girdle of the Sands |
Guide to 3.6 Desert Regions
| 3.6 Sumeru Desert Guides | ||
|---|---|---|
 Gavireh Lajavard Gavireh Lajavard |
 Realm of Farakhkert Realm of Farakhkert |
|
Girdle of the Sands Desert Features and Puzzles
 3.6 Dendroculus
 3.6 Shrine of Depths
 Amrita Pool
 Plume of Purifying Light
 Fravashi Trees
 Udumbara Pistils
 Power of Khvarena
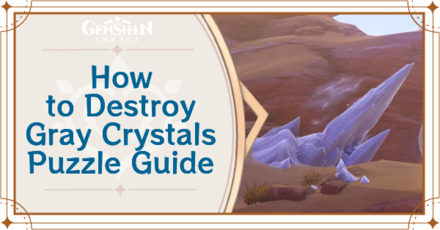 Gray Crystals
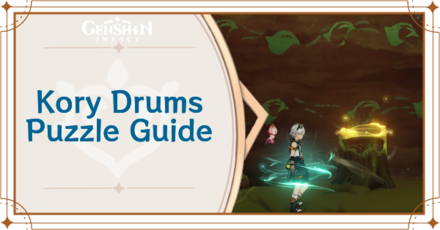 Kory Drums
 Drum's Score Performance
 Sunyata Flowers
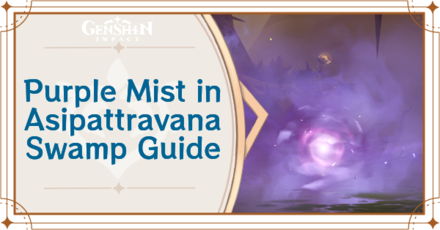 Purple Mist
 3.6 Fishing Spots
 Bright Flame Altar
 3.6 Remarkable Chests
 Gate to Khaenri'ah
 Special Four-Leaf Sigils
 Amrita Mayflies
 Farrwick
 Vourukasha Oasis Heart Pool
 Elemental Totems
 3.6 Treasure Chests
 3.6 Time Trials
 Ruebright Blooms
 Soul Bells
 3.6 Torch Puzzles
 3.6 Cave Entrances
 3.6 Viewpoints
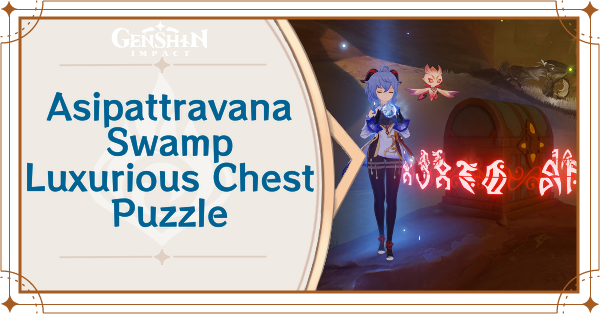 Asipattravana Swamp Puzzle
Girdle of the Sands Quests
Girdle of the Sands Quest Puzzle Guides
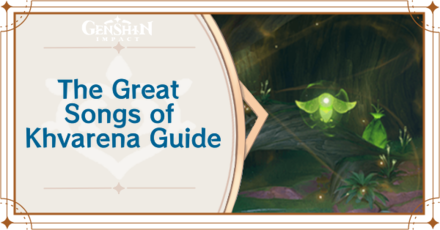 Great Songs of Khvarena
 Other Kory Drums
 Find Energy Block
 Connect the Circuit
 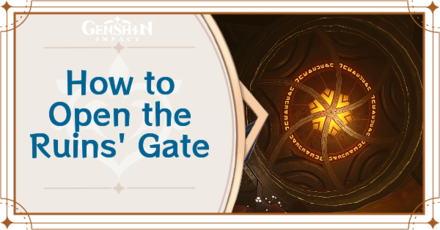 Open the Ruins' Gate
 Show Julien a Special Sight
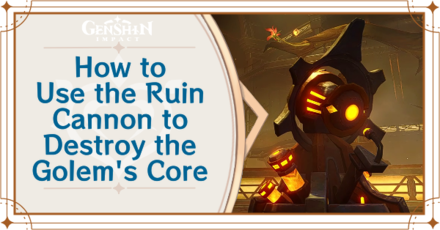 Destroy the Golem's Core
 How to Use the Farrwick
 Khvarena Mayfly
 Activate the Control Device
 Defiled Chambers
Girdle of the Sands Domains
| Girdle of the Sands Domain Guides | ||
|---|---|---|
 Molten Iron Fortress Molten Iron Fortress |
 Purification Spring Domain Purification Spring Domain |
 Somalata Inland Sea Somalata Inland Sea |
Girdle of the Sands Desert Items
| 3.6 Desert Items | ||
|---|---|---|
 Mourning Flower Mourning Flower |
 Trishiraite Trishiraite |
 Sorush Gadget Sorush Gadget |
Creatures in the Girdle of the Sands Desert
Enemies in the 3.6 Desert
| 3.6 Desert Enemies | ||
|---|---|---|
 Guardian of Apep's Oasis Guardian of Apep's Oasis |
 Iniquitous Baptist Iniquitous Baptist |
 Hydro Hilichurl Rogue Hydro Hilichurl Rogue |
 Anemo Hilichurl Rogue Anemo Hilichurl Rogue |
 Consecrated Fanged Beast Consecrated Fanged Beast |
 Consecrated Horned Crocodile Consecrated Horned Crocodile |
Animals in the 3.6 Desert
| 3.6 Desert Animals |
|---|
 Tent Tortoise Tent Tortoise |
All Interactive Map Guides

Comment
Author

All Seelie Locations in 3.6 Girdle of the Sands
Premium Articles

Rankings
- We could not find the message board you were looking for.
Gaming News
![Animal Crossing: New Horizons Review [Switch 2] | Needlessly Crossing Over to a New Generation](https://img.game8.co/4391759/47d0408b0b8a892e453a0b90f54beb8a.png/show)


Popular Games

Genshin Impact Walkthrough & Guides Wiki
Honkai: Star Rail Walkthrough & Guides Wiki
Arknights: Endfield Walkthrough & Guides Wiki
Umamusume: Pretty Derby Walkthrough & Guides Wiki
Wuthering Waves Walkthrough & Guides Wiki
Pokemon TCG Pocket (PTCGP) Strategies & Guides Wiki
Abyss Walkthrough & Guides Wiki
Zenless Zone Zero Walkthrough & Guides Wiki
Digimon Story: Time Stranger Walkthrough & Guides Wiki
Clair Obscur: Expedition 33 Walkthrough & Guides Wiki


Recommended Games
Fire Emblem Heroes (FEH) Walkthrough & Guides Wiki
Pokemon Brilliant Diamond and Shining Pearl (BDSP) Walkthrough & Guides Wiki
Diablo 4: Vessel of Hatred Walkthrough & Guides Wiki
Super Smash Bros. Ultimate Walkthrough & Guides Wiki
Yu-Gi-Oh! Master Duel Walkthrough & Guides Wiki
Elden Ring Shadow of the Erdtree Walkthrough & Guides Wiki
Monster Hunter World Walkthrough & Guides Wiki
The Legend of Zelda: Tears of the Kingdom Walkthrough & Guides Wiki
Persona 3 Reload Walkthrough & Guides Wiki
Cyberpunk 2077: Ultimate Edition Walkthrough & Guides Wiki


All rights reserved
Copyright© 2012-2024 HoYoverse — COGNOSPHERE. All Rights Reserved.
The copyrights of videos of games used in our content and other intellectual property rights belong to the provider of the game.
The contents we provide on this site were created personally by members of the Game8 editorial department.
We refuse the right to reuse or repost content taken without our permission such as data or images to other sites.