Amakumo Peak Puzzle Walkthrough
✉ Send your thoughts in our Genshin 6.4 Patch Survey!
★ Exclusive: Dive back in time with the Meta History
◆ Hot: Version 6.4, Luna 5 Codes
◆ Builds: Varka, Flins, Skirk, Escoffier
◆ Events: Travelers' Tales, He Who Caught the Wind
◆ Future: Linnea, Version 6.5 Luna VI
The Amakumo Peak Puzzle is a Genshin Impact pressure plate puzzle found on Seirai Island, Inazuma. See how to solve the Amakumo Peak Puzzle, its rewards, and other information in this puzzle guide!
List of Contents
How to Unlock the Amakumo Peak Puzzle
Solve the Pressure Plate Puzzle
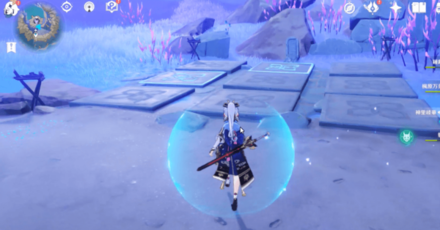
In order to unlock the main set of puzzles, you need to solve a Pressure Plate Puzzle. Reading the stone tablet will give a clue on how to solve it! We also recommend completing the Seirai Stormchasers quest to get rid of the Balethunder!
All Seirai Stormchasers World Quest Guides
How to Solve the Amakumo Peak Puzzle
Amakumo Peak Walkthrough Summary
| Amakumo Peak Puzzle Summary | |
|---|---|
| 1 | Solve the Pressure Plate Puzzle below the Thunder Manifestation. Click here to jump to the puzzle guide! |
| 2 | Glide down, defeat the Ruin Sentinels, and start the mechanism. |
| 3 | Solve Color Barrier Mechanisms in three areas. Click here to jump to the puzzle guides! |
| 4 | Lead Seelies to their court. |
| 5 | Get the chests in the deepest part of the ruin. |
Part 1: Amakumo Peak Tile Puzzle
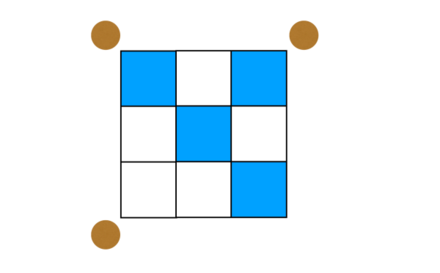
Light-Up Tile Puzzle Solution
 |
|
| Blue | Lit up pressure plates. |
|---|---|
| Brown | Torch placements. |
Amakumo Peak Puzzle Hint Locations
 |
|
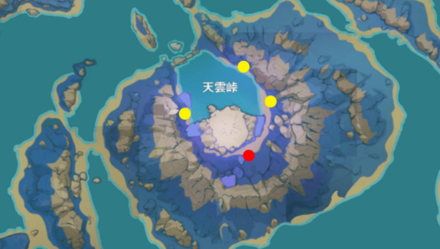
| Red | Puzzle Location |
|---|---|
| Yellow | Hint Locations |
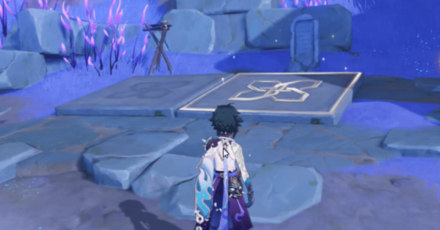
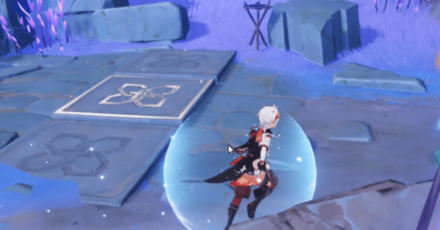
The stone tablet hints that other three pressure plates in the area are hints to solve the puzzle. The light on the plates are actually the ones that shouldn't be lighted up.
Light-Up Tile Puzzle Hints
 |
 |
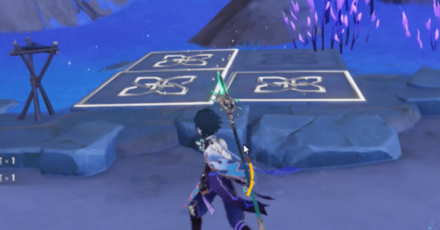 |
Each pressure plate hint have torches near them which indicate the row or column where it belongs.
Part 2: Color Door Puzzle
All Color Door Puzzle Guides
| Click to jump to a puzzle guide! | ||
|---|---|---|
| Area 1 | Area 2 | Area 3 |
Color Door Puzzle Solution
| Color Barrier Solution | |
|---|---|
 Color Barrier |
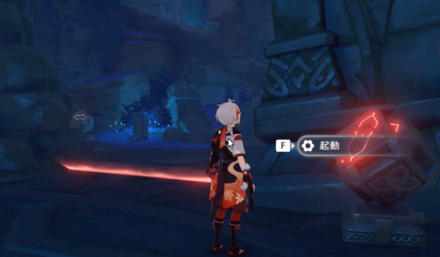 Matching Cube Device |
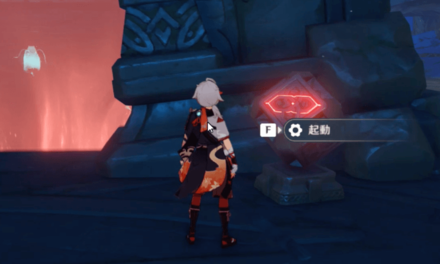
The underground ruins of Amakumo Peak will have colored barrier puzzles blocking the way. You can open and close those colored barriers by interact with a cube mechanism of the same color!
When a barrier opens, another closes!
Using the cube mechanism to open a color barrier with close another barrier of the same color. The key to solving this puzzle is the order you use the cube mechanism in!
Area 1 Door Puzzle Walkthrough
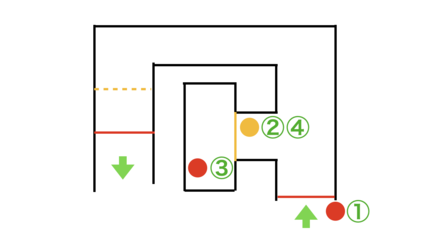
| Area 1 Puzzle Map | |
|---|---|
 |
|
| Circle | Colored Cube Mechanisms |
| Full Line | Closed Color Barriers |
| Dot Line | Open Color Barriers |
| Number | Correct order of the Cube Mechanisms |
| Arrow | Puzzle Route |
Full Walkthrough for Area and Seelie 1
| How to Solve the Color Puzzle | |
|---|---|
| 1 | 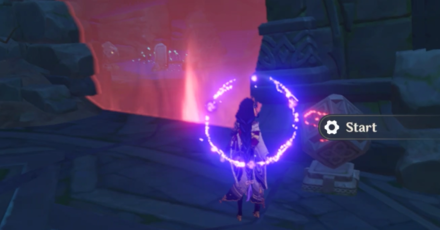 Activate the red Cube Mechanism to pass through the first barrier with the Seelie. |
| 2 | 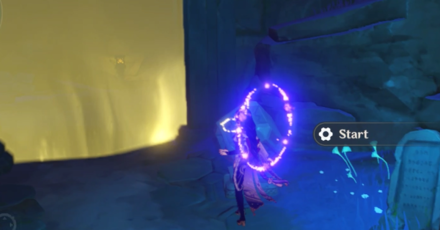 Go right then activate the yellow Cube Mechanism and go inside the small room. |
| 3 | 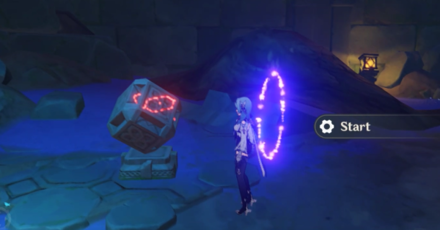 Activate the red Cube Mechanism inside the small room. |
| 4 | 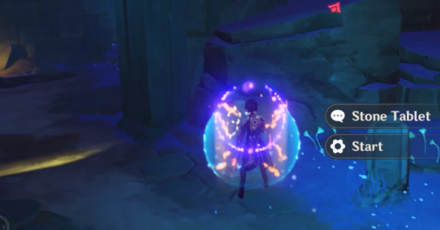 Go back to activate the yellow Cube Mechanism at the entrance of the small room again. |
| 5 | 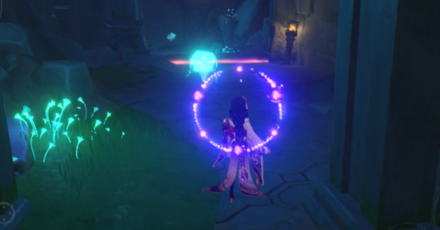 Climb the stairs until you see a Seelie. |
| 6 | 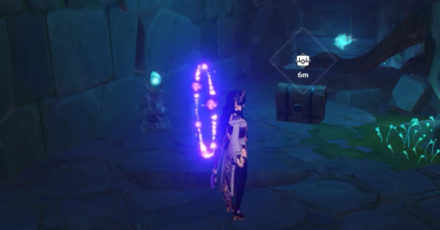 Continue to guide the Seelie until the end of the path, to its home down the aisle. |
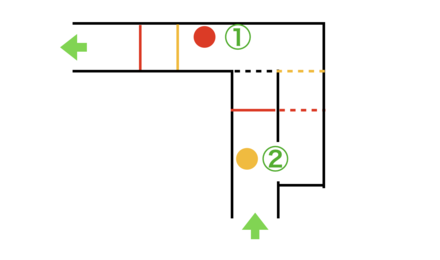
Area 2 Door Puzzle Walkthrough
| Area 2 Puzzle Map | |
|---|---|
 |
|
| Circle | Colored Cube Mechanisms |
| Full Line | Closed Color Barriers |
| Dot Line | Open Color Barriers |
| Number | Correct order of the Cube Mechanisms |
| Arrow | Puzzle Route |
Full Walkthrough for Area and Seelie 2
| How to Solve the Color Puzzle | |
|---|---|
| 1 | 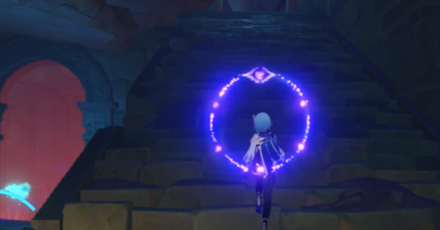 Keep moving to follow the next Seelie down the hole and climb up the stairs. |
| 2 | 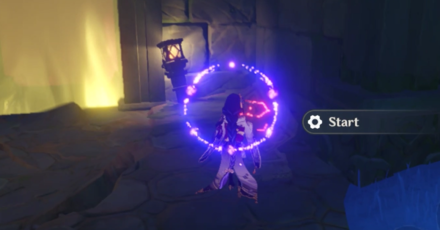 Activate the red Cube Mechanism once you get upstairs. |
| 3 | 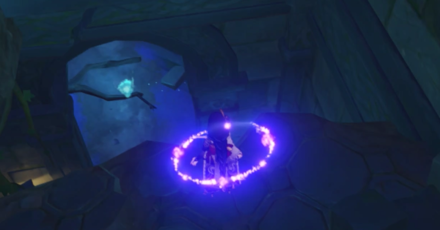 Jump downstairs from the hole. |
| 4 | 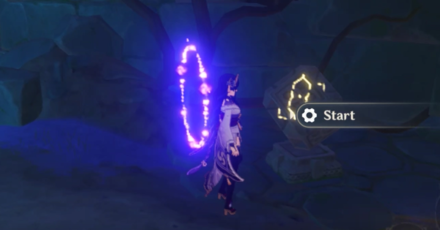 Activate the yellow Cube Mechanism downstairs. |
| 5 | 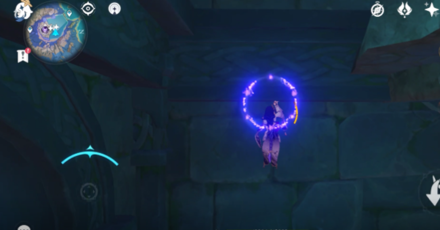 Go to the small room, then climb the wall. |
| 6 | 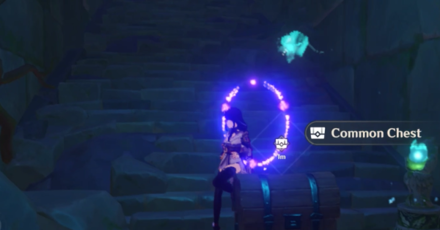 Guide the Seelie to its court. |
Area 3 Door Puzzle Walkthrough
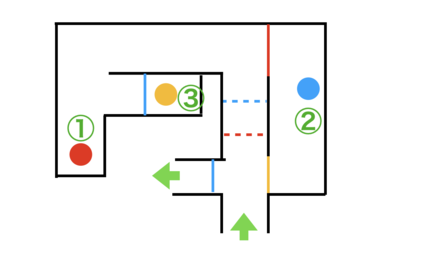
| Area 3 Puzzle Map | |
|---|---|
 |
|
| Circle | Colored Cube Mechanisms |
| Full Line | Closed Color Barriers |
| Dot Line | Open Color Barriers |
| Number | Correct order of the Cube Mechanisms |
| Arrow | Puzzle Route |
Full Walkthrough for Area and Seelie 3
| How to Solve the Color Puzzle | |
|---|---|
| 1 | 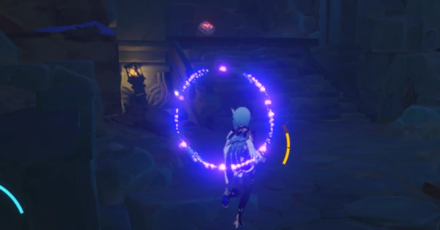 Head straight down the hall and climb the stairs until you see a red cube mechanism. |
| 2 | 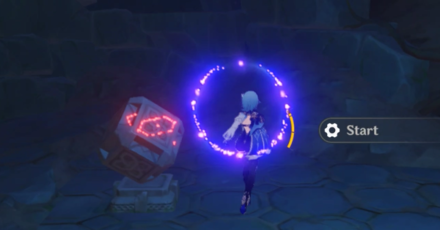 Activate the red Cube Mechanism in the small room. |
| 3 | 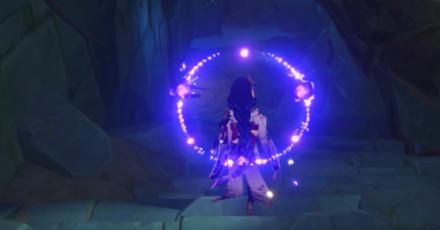 Go back downstairs. |
| 4 | 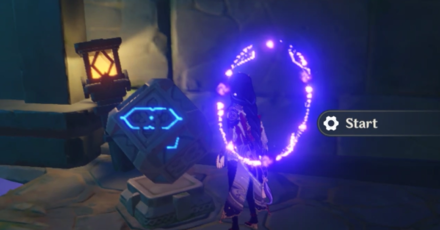 Activate the blue Cube Mechanism. |
| 5 | 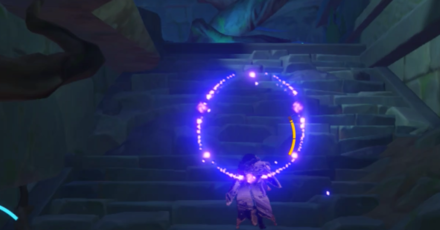 Go upstairs again. |
| 6 | 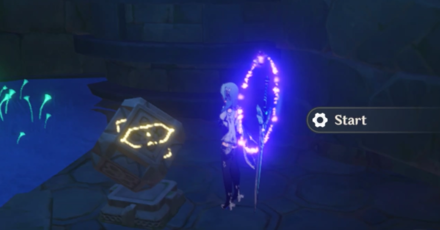 Activate the yellow Cube Mechanism in the small room. |
| 7 | 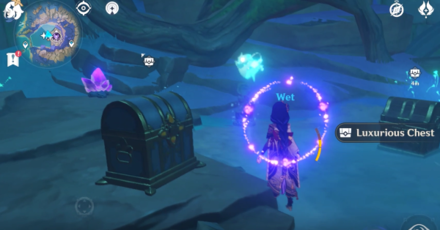 Return to where you started and go up the stairs to meet the Seelie. Start the cube mechanism and guide it to its court. |
Underground Ruins Walkthrough
Amakumo Peak Ruins Guide
| How to Solve the Puzzle | |
|---|---|
| 1 | 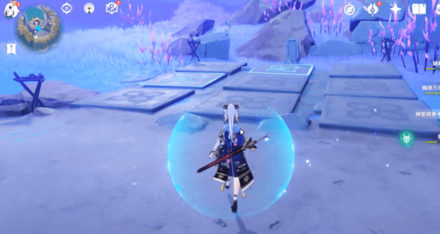 Solve the Pressure Plate puzzle in the middle of Amakumo Peak. A Treasure Chest will appear when you solve it. Click here to jump to the puzzle guide! |
| 2 | 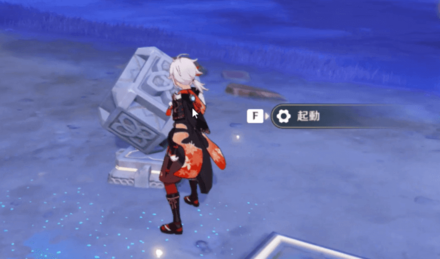 Use the Cube Mechanism near the Pressure Plate Puzzle. |
| 3 | 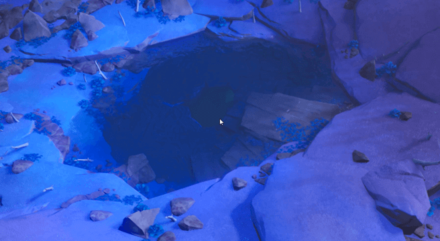 A cutscene will play. Once the cutscene ends, there will now be an entrance to the underground ruins. |
| 4 | 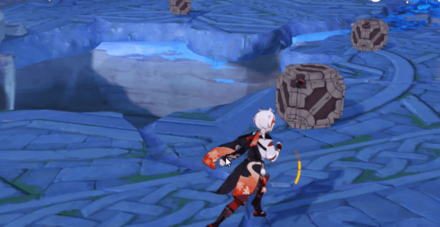 Go into the ruins by jumping into the hole in the floor. |
| 5 | 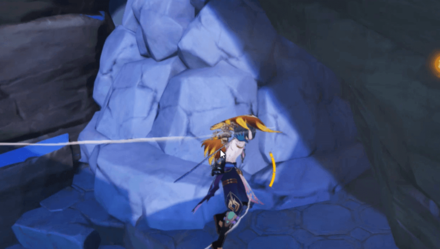 Break the Electro Stone Pile near the second hole to get an Electroculus! |
| 6 | 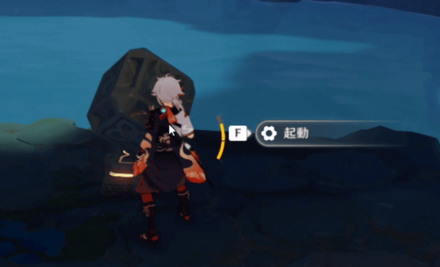 Defeat the Ruin Machines to unlock the Cube Mechanism and Treasure Chest. |
| 7 | 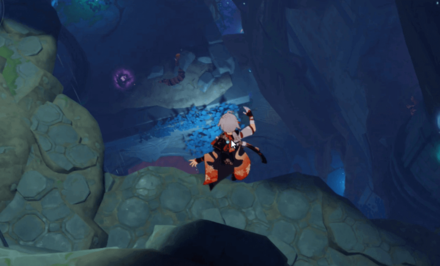 Use the Cube Mechanism and go further underground. A cutscene will play, and you will be able to proceed after it ends. |
| 8 | 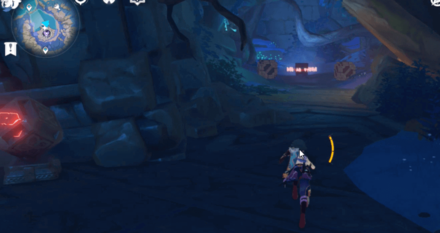 There will be a Treasure Chest in a corner of the bottom floor. It will be guarded by Ruin Machines. |
| 9 | 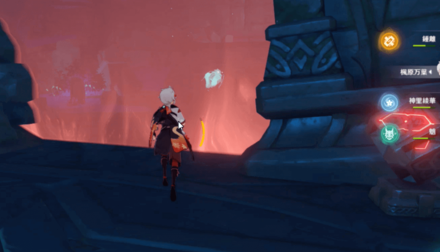 Approach the Seelie at the entrance and follow it. |
| 10 | 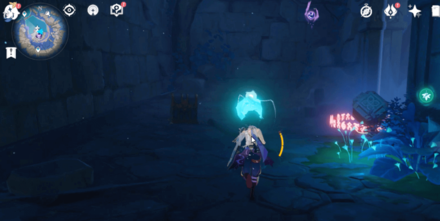 Use the Cube Mechanism to solve the Color Barrier Puzzle and proceed to the back room. There's a Treasure Chest and an Electroculus inside! Click here to jump to the puzzle guides! |
| 11 | 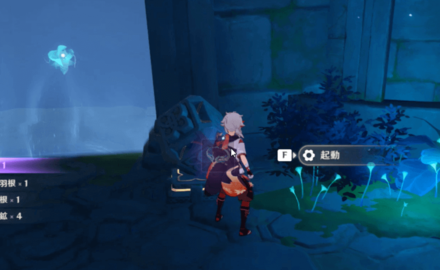 Activate the Cube Mechanism in the room to remove the barrier. |
| 12 | 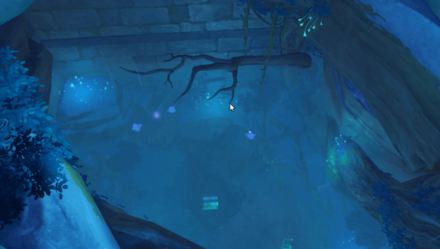 A cutscene will play, and you will be able to go to an ever lower floor after it ends. |
| 13 | 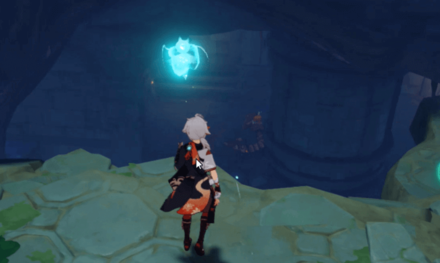 Guide the Seelie into the lower levels of the ruins. |
| 14 | 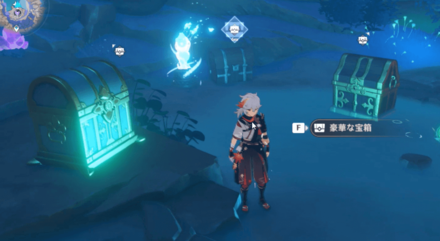 Open the three Treasure Chests in the bottom floor. |
| 15 | 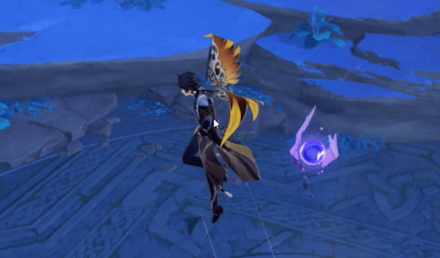 Use the Sakura Bough to summon an Electrograna. Zip through the Thunder Spheres to return to ground level and collect the Electroculus by the entrance! |
Amakumo Peak Puzzle Tips & Tricks
Bring a Strong DPS Character
Once you glide below the hole, you will encounter various types of Ruin Sentinels and slimes, so it's best to bring a DPS Character with you to clear them out with ease!
Character Tier List
Electroculus Locations
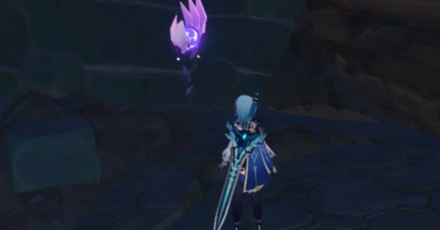
There are three Electroculus in this Puzzle Area. The one above the hole, the one hidden behind a rock, and the one near chests. Don't forget to get any of these!
Electroculus Locations
Get the Enigmatic Page
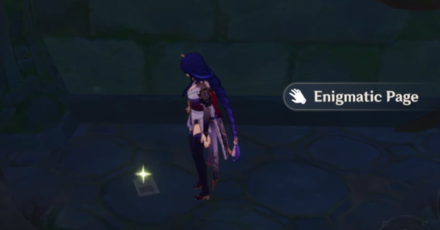
Located below the locked mechanism guarded by Ruin Sentinels. It's near the opening for the first area!
Enigmatic Page Guide
Amakumo Peak Puzzle Achievement
Great Amakumo Peak Achievement
| Achievement | Rank | Primogem Reward |
 Great Amakumo Peak Great Amakumo Peak
|
★ | 5 Primogems |
|---|---|---|---|
| Objective : Unlock the mechanism beneath Amakumo Peak | |||
Genshin Impact Related Guides
Guides to Inazuma Areas
| Inazuma Area Guides | |
|---|---|
| Narukami Island | Kannazuka |
| Yashiori Island | Seirai Island |
| Tsurumi Island | Watatsumi Island |
Guides to Inazuma Features
Guides to Inazuma Puzzles
Guides to Inazuma Domains
| Inazuma Domain Puzzle Guides | |
|---|---|
| Shakkei Pavilion | Formation Estate |
| Empty Boat to a Thousand Gates | Palace in a Pool |
| Moshiri Kara | |
Guides to Inazuma Quests
All Interactive Map Guides
Comment
thank you for putting the actual HINT on how to solve the Light-Up_Tile_Puzzles
Author
Amakumo Peak Puzzle Walkthrough
improvement survey
03/2026
improving Game8's site?

Your answers will help us to improve our website.
Note: Please be sure not to enter any kind of personal information into your response.

We hope you continue to make use of Game8.
Rankings
- We could not find the message board you were looking for.
Gaming News
Popular Games

Genshin Impact Walkthrough & Guides Wiki

Honkai: Star Rail Walkthrough & Guides Wiki

Umamusume: Pretty Derby Walkthrough & Guides Wiki

Pokemon Pokopia Walkthrough & Guides Wiki

Resident Evil Requiem (RE9) Walkthrough & Guides Wiki

Monster Hunter Wilds Walkthrough & Guides Wiki

Wuthering Waves Walkthrough & Guides Wiki

Arknights: Endfield Walkthrough & Guides Wiki

Pokemon FireRed and LeafGreen (FRLG) Walkthrough & Guides Wiki

Pokemon TCG Pocket (PTCGP) Strategies & Guides Wiki
Recommended Games

Diablo 4: Vessel of Hatred Walkthrough & Guides Wiki

Fire Emblem Heroes (FEH) Walkthrough & Guides Wiki

Yu-Gi-Oh! Master Duel Walkthrough & Guides Wiki

Super Smash Bros. Ultimate Walkthrough & Guides Wiki

Pokemon Brilliant Diamond and Shining Pearl (BDSP) Walkthrough & Guides Wiki

Elden Ring Shadow of the Erdtree Walkthrough & Guides Wiki

Monster Hunter World Walkthrough & Guides Wiki

The Legend of Zelda: Tears of the Kingdom Walkthrough & Guides Wiki

Persona 3 Reload Walkthrough & Guides Wiki

Cyberpunk 2077: Ultimate Edition Walkthrough & Guides Wiki
All rights reserved
Copyright© 2012-2024 HoYoverse — COGNOSPHERE. All Rights Reserved.
The copyrights of videos of games used in our content and other intellectual property rights belong to the provider of the game.
The contents we provide on this site were created personally by members of the Game8 editorial department.
We refuse the right to reuse or repost content taken without our permission such as data or images to other sites.


![Everwind Review [Early Access] | The Shaky First Step to A Very Long Journey](https://img.game8.co/4440226/ab079b1153298a042633dd1ef51e878e.png/thumb)

![Monster Hunter Stories 3 Review [First Impressions] | Simply Rejuvenating](https://img.game8.co/4438641/2a31b7702bd70e78ec8efd24661dacda.jpeg/thumb)


wow