

This survey will take about 1 minute.
Your answers will help us to improve our website.
Genshin Impact
The Wind Has Ceased Quest Guide
★ Exclusive: See results of the February 2026 Survey
◆ Hot: Version 6.5, 6.5 Codes
◆ New: Etherwing Moth, Memory Factor
◆ Builds: Linnea, Chasca, Lauma, Nefer
◆ Events: Imaginarium Theater, Anecdotes
The Wind Has Ceased is a subquest of Magic Mountain from the A Long Day in the Mountains quest chain in Genshin Impact Luna VI. See how to unlock the World Quest, its walkthrough, and the complete rewards here in this guide!
List of Contents
How to Unlock The Wind Has Ceased
Go to Dornman Port
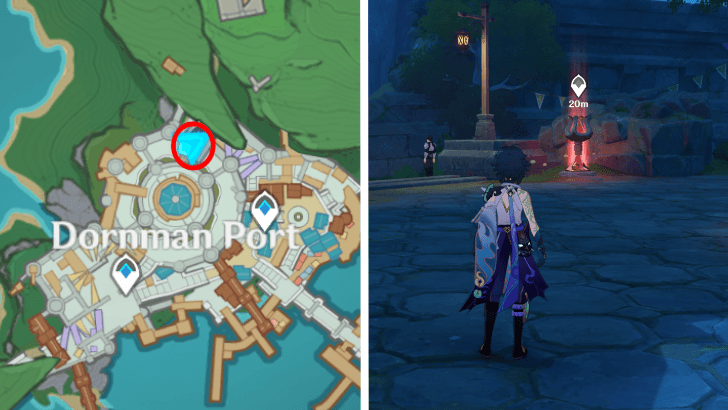
The Wind Has Ceased is located at Dornman Port in Windrest Peak, in the nation of Mondstadt. From the Statues of The Seven in Windrest Peak, follow the path north to enter the town area. Head to the town's northern waypoint where the World Quest will automatically start.
The Wind Has Ceased Walkthrough
Patrol the Sanatorium
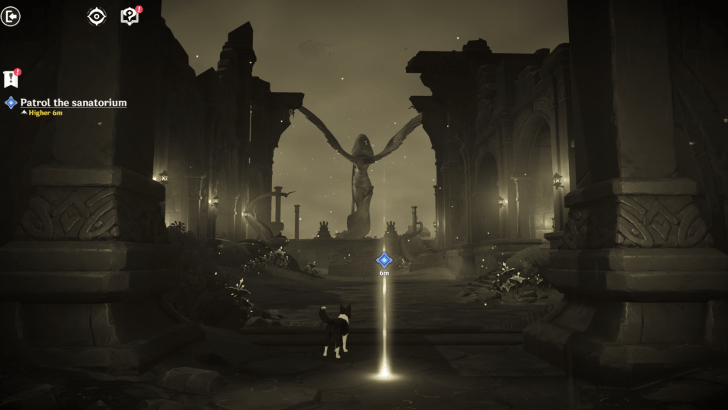
The quest starts with a first-person point of view gameplay of Mann. Go forward to where Hauptmann the dog is barking. Then walk towards the Sunsettia that rolled down.
Investigate the Corridor
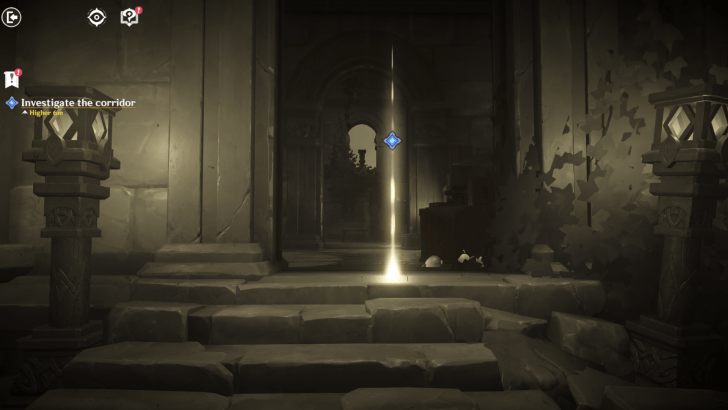
Go up the stairs and enter the corridor to the left. A Weasel Thief will be seen running out of the room.
Follow Hauptmann
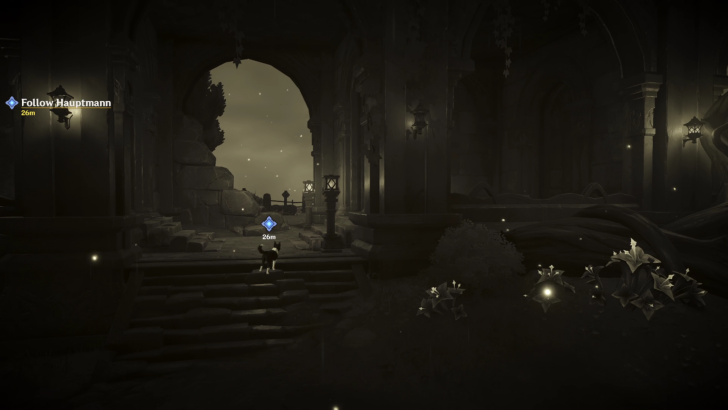
Go down the stairs and move over to where Hauptmann is. You will notice that the lights will flicker out before Hauptmann enters the room.
Investigate the Anomaly and Examine Carefully
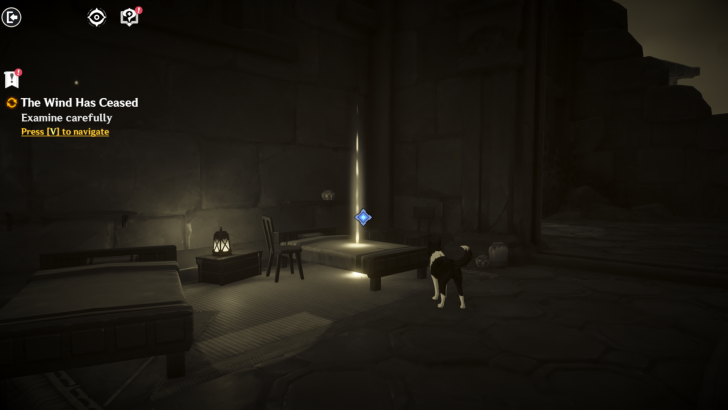
Enter the room where Hauptmann is. You will notice that it's barking at the bed. Investigate the bed to see a lizard run out of it. Hauptmann will then run out of the room.
Follow Hauptmann Again
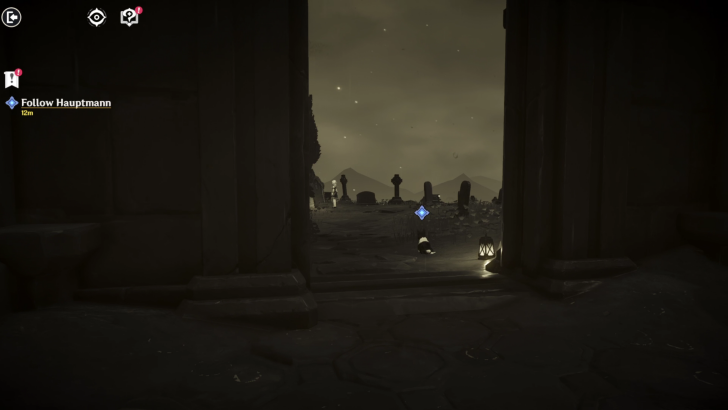
Follow Hauptmann into the cemetery, where you'll see a girl standing.
Ask the Mysterious Girl
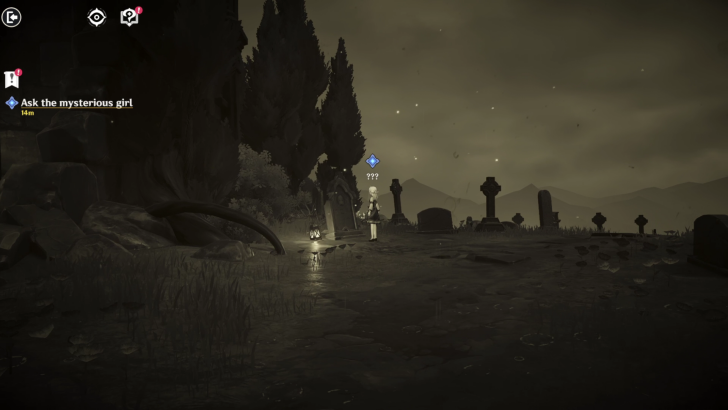
Approaching the girl will make her turn around, letting you see that she looks like the person on the gravestone. Mann's flashback sequence ends here.
Go to the Cemetery During the Night
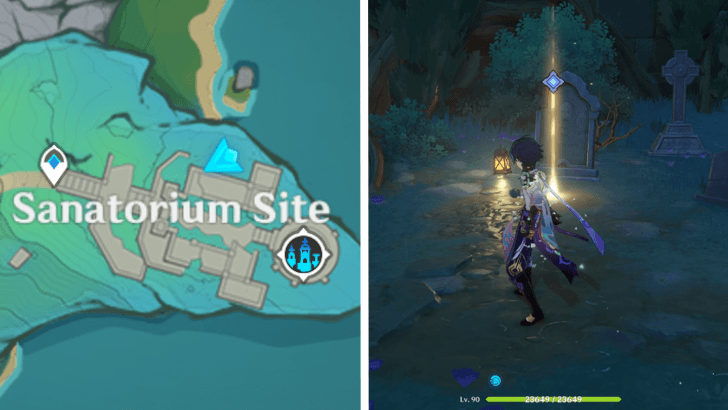
Go to the Sanatorium by following the path north of the town before heading east. To proceed with the quest, you will need to go there when the in-game time is 20:00-21:00. Head to the cemetery where Mann saw the girl. Approaching the gravestone will trigger a cutscene, and the girl will appear again. This time, she introduces herself as Zeitlind, the sister of the girl depicted on the gravestone.
Look for the Traces Left by Zeitlind's Older Sister
Investigate the Crate Near the Bed
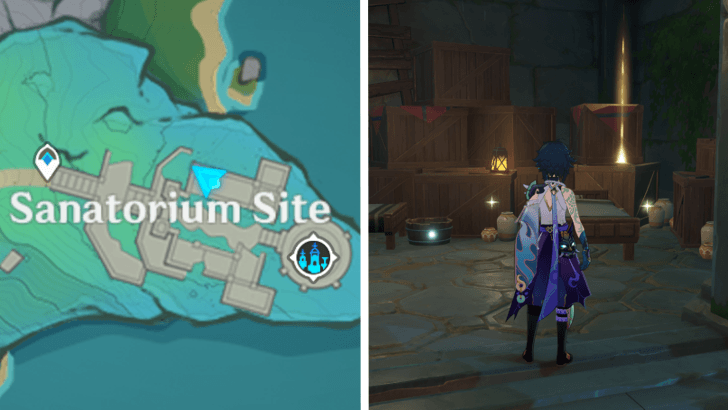
Enter the northern corridor and investigate the crate near the bed in the west room.
Investigate the Stack of Books
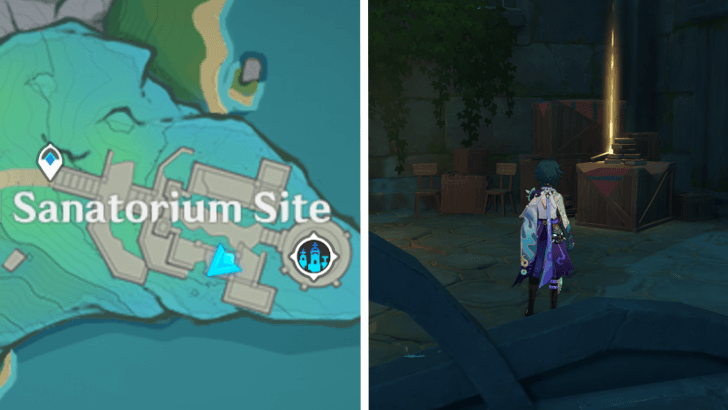
Enter the southern corridor and investigate the stack of books on top of a crate.
Talk to Zeitlind
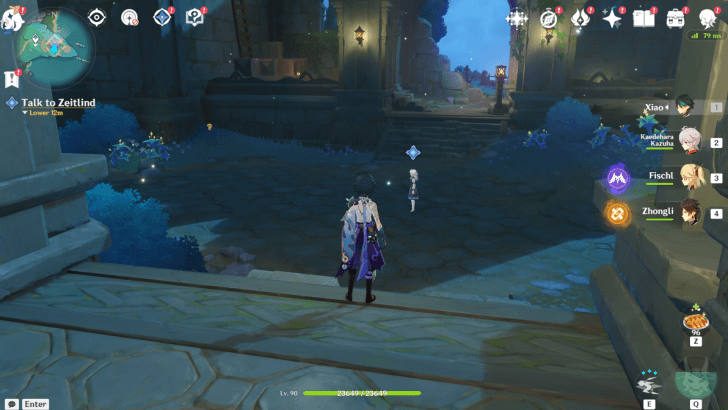
Approach Zeitlind, who's standing in the middle of the sanatorium. She will point out that the Anemo Archon statue looks different. She'll then get whisked away by Nihilita, the Watcher of Nothingness.
Investigate the Anemo Archon Statue
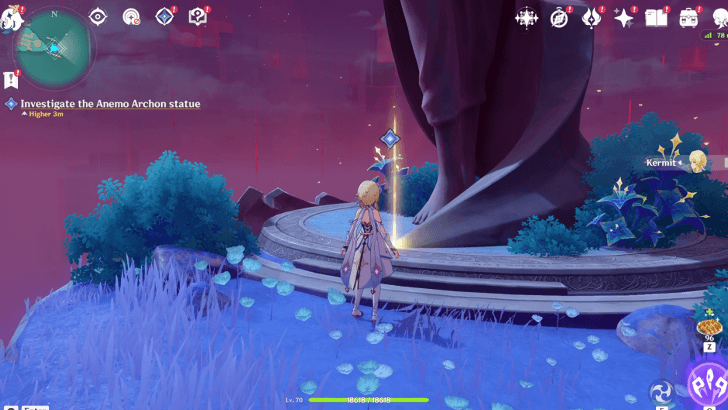
Go to the Anemo Archon statue and investigate it.
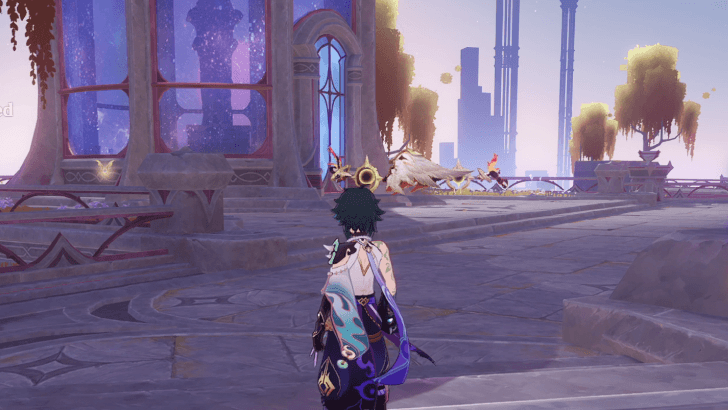
Head to the Temple of Space

Investigating the Anemo Archon statue will allow you to fly. The game will automatically fly you towards your destination, the Temple of Space. After arriving in the new area, you will see Zeitlind again.
Temple of Space Chest Map and Locations
Continue Onward
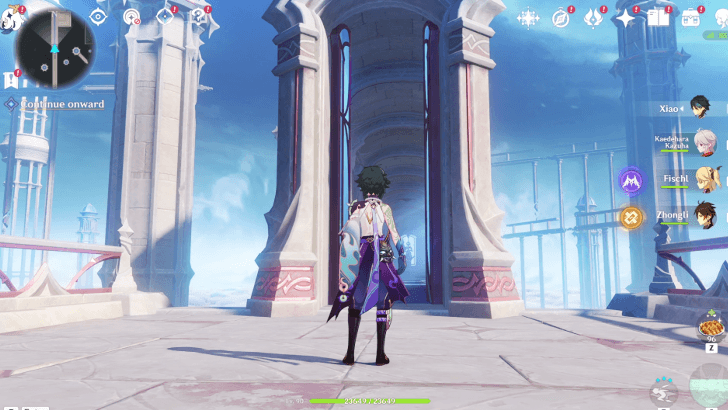
After talking to Zeitlind, follow the path north until you enter a corridor.
Use Dex's Ability to Move the Statue to the Correct Position
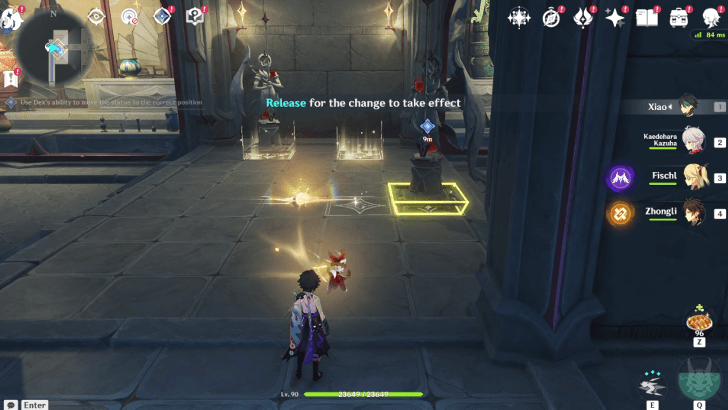
While in range and looking at the statue, press the Interact key and hold and drag the statue towards the left. Doing so will move the statue and open the path forward.
Continue Exploring
Move the Northern Statue
| Move the Northern Statue | |
|---|---|
| 1 | 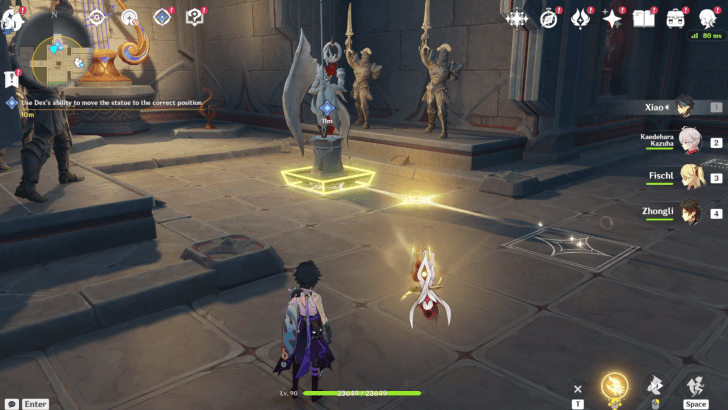 Go to the northern side of the room and simply use Dex's ability to hold and drag the statue towards the center of the room. |
| 2 | 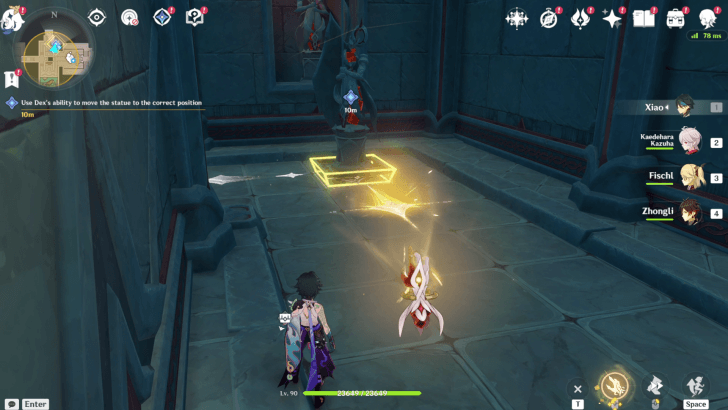 After the statue repositions itself, drag it towards the east side of the room. |
Move the Southern Statue
| Move the Southern Statue | |
|---|---|
| 1 | 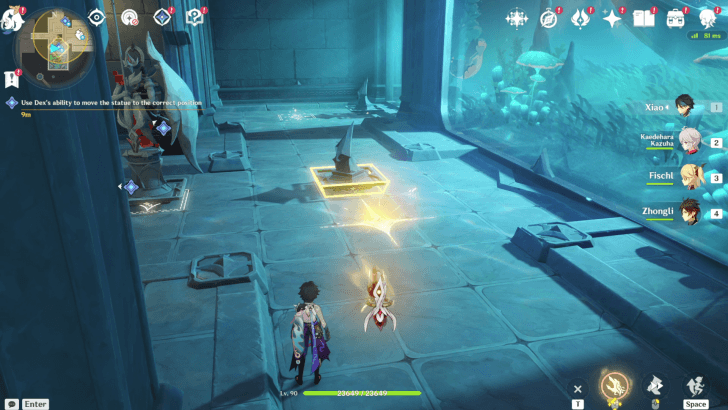 The southern statue's path is blocked by a smaller statue. Move the smaller one out of the way by dragging it towards the corner of the room. |
| 2 | 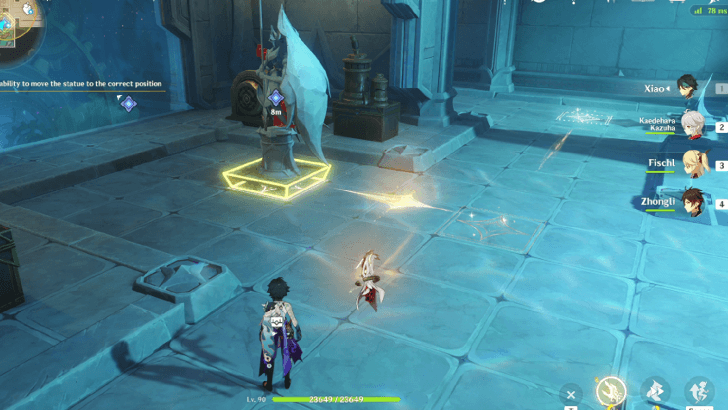 You can now use Dex's ability to drag the southern statue towards the middle of the room, where the smaller statue initially was. |
| 3 | 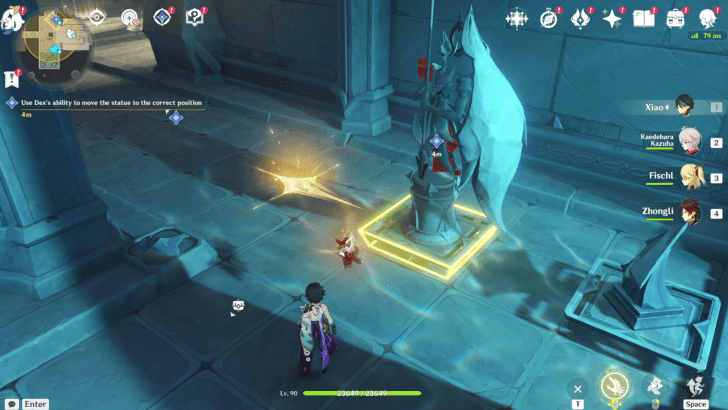 Use Dex's ability on the statue again and drag it towards the east side of the room. |
Talk to the Strange Person
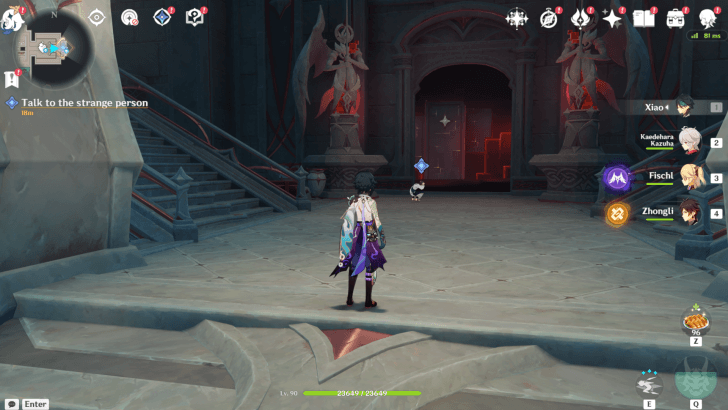
Entering the room that was unlocked by the two statues will reveal a person crouching by the east side. Approach them to find out who they are.
Go to the Center of the Pillar Hall of Space
| Go to the Center of the Pillar Hall of Space | |
|---|---|
| 1 | 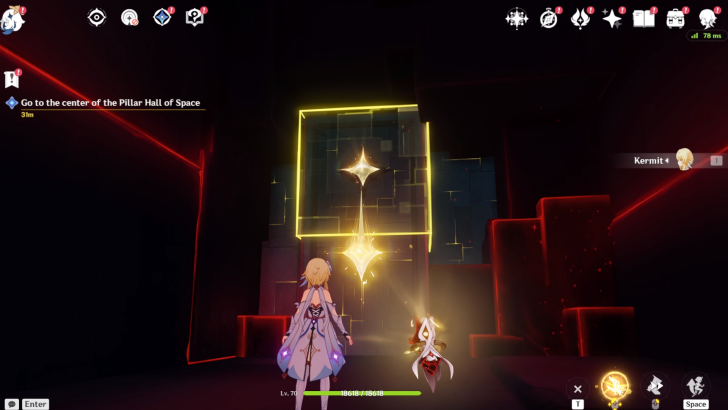 Enter the room where Istoria was crouched. The first malleable platform you'll encounter can be reshaped with Dex's ability by dragging it downwards. |
| 2 | 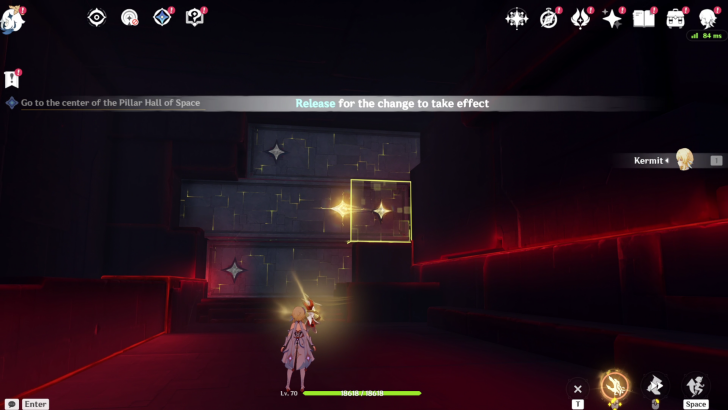 The second set of malleable platforms should be dragged towards the left. |
| 3 | 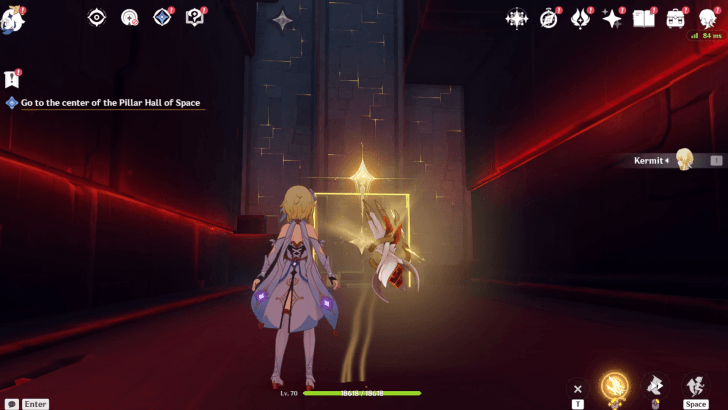 The last set of malleable platforms should be dragged upwards to reveal the exit. |
Defeat the Keepers
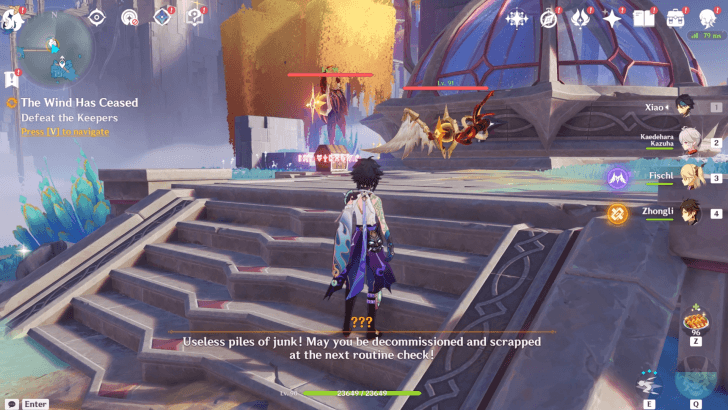
Jump and glide down towards the island in the north. Defeat the Domain Keepers near the chest.
Domain Keeper Location and Enemy Guide
Restore the Display Case and Free the Trapped Person
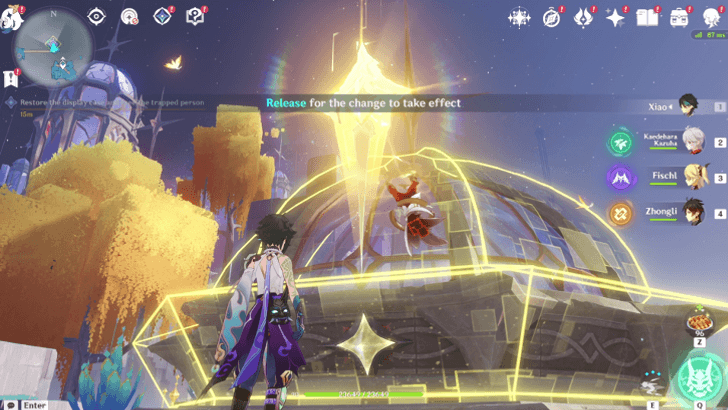
Use Dex's ability on the collapsed dome structure and drag it upwards to restore it.
Continue Exploring
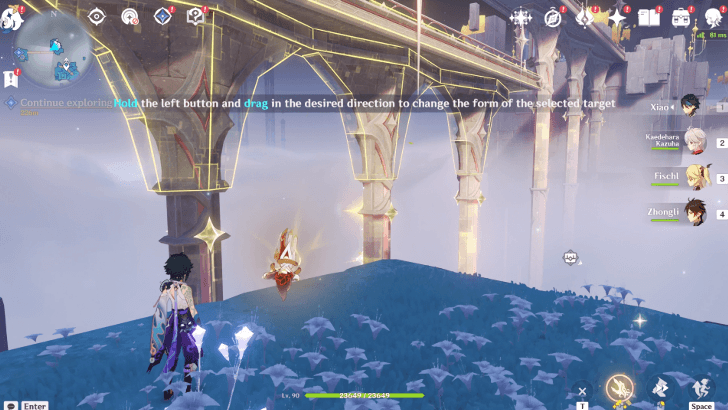
Use Dex's ability on the nearby bridge and drag it downwards so you can get on it. Make sure to get on the bridge before its position resets. After the bridge's position resets, use Dex's ability on the next part and do the same thing.
You can optionally defeat the Domain Keeper after getting off the bridge and save the person trapped in the structure.
Go to the Center of the Pillar Hall of Space
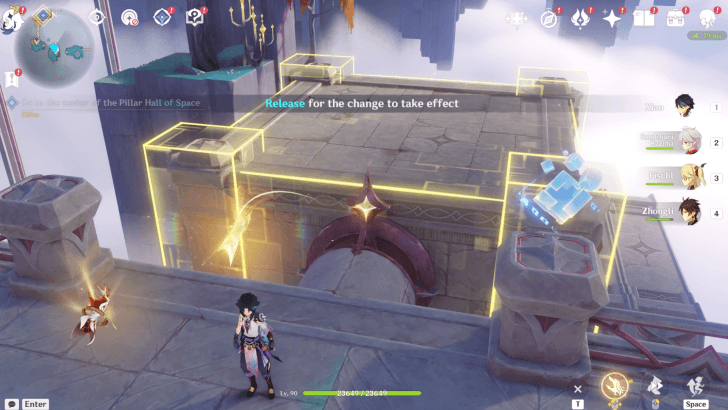
You will need to use Dex's ability on one of the islands south of the Pillar Hall Central Zone. Use Dex's ability to flip it over and then extend the path to the west, allowing you to cross over to the island with the waypoint.
You will encounter bridges that can be moved using Dex's ability again. Solve it the same way as earlier, and you will finally arrive at the Pillar Hall of Space.
Talk to Your Companions
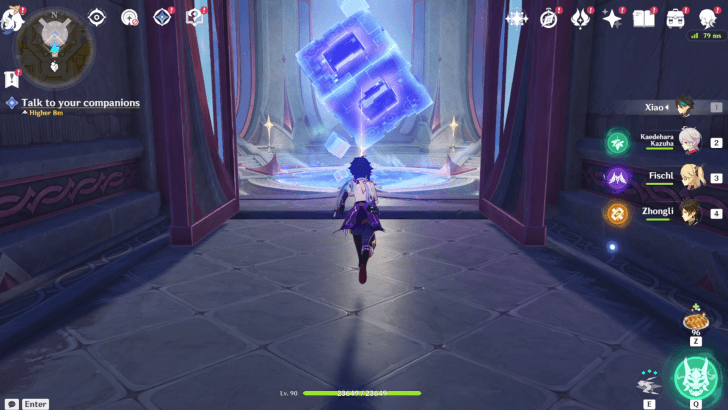
Enter the Pillar Hall of Space and approach your companions to discuss your situation. You will unlock the Temple of Space: Memory Core system after completing this step.
Memory Core How to Unlock and Rewards
Retrieve Zeitlind's Suitcase
Head north, and you will see two Domain Keepers in front of a building. Defeat them to gain access to the building, where Zeitlind's suitcase is.
The Wind Has Ceased Information
Sub-Quest of A Long Day in the Mountains
The Wind Has Ceased is the only subquest of Magic Mountain under the quest chain, A Long Day in the Mountains.
The Wind Has Ceased is the first part of the A Long Day in the Mountains world quest chain.
A Long Day in the Mountains Quest Guide
The Wind Has Ceased Rewards
Total Quest Rewards
| Total Quest Rewards |
 Primogem x40 |
 Mora x33,000 |
|---|---|---|
 Hero's Wit x2 |
||
Obtain Memory Factor From Chests
As you progress through The Wind Has Ceased, all chests that you've encountered will yield varying amounts of Memory Factor, which you can then offer to the Memory Core in exchange of valuable rewards!
Memory Factor Locations and How to Get
Genshin Impact Related Guides

Other A Long Day in the Mountains Quest Guides
| A Long Day in the Mountains World Quest Guides | ||
|---|---|---|
| A Long Day in the Mountains | The Wind Has Ceased | Paradise |
| Lion's Celerity | The Final Judgment | |
Comment
The Wind Has Ceased Quest Guide
Please participate in our site
improvement survey
04/2026
improvement survey
04/2026
Would you assist in
improving Game8's site?
improving Game8's site?

×
We are listening to our users' valuable opinions and discussing how to act on them.
The information collected through this survey will be used for the purpose of improving our services. In addition, the information will only be disclosed a part of a statistic in a format that will not allow identification of personal information.
Begin Survey
Not Now
×
Please rate each item regarding Game8.co's Advertisements.
Amount of Ads
Very Dissatisfied
Somewhat Dissatisfied
Fine
Somewhat Satisfied
Highly Satisfied
Placement of Ads
Timing of Ad Display
Ad Loading Speed
Safeness of Ads
Content of Ads
×
Please rate each item regarding Game8.co's Quality of Articles.
Amount of information
Very Dissatisfied
Somewhat Dissatisfied
Fine
Somewhat Satisfied
Highly Satisfied
Frequency of updates
Speed of new information
Accuracy of articles
Understandibility of articles
Readability of sentences
×
Please rate each item regarding Game8.co's Usability of the Site.
Ease of finding information
Very Dissatisfied
Somewhat Dissatisfied
Fine
Somewhat Satisfied
Highly Satisfied
Loading Speed
Use of Color
Font Size
Visibility of Images
Easy to Understand Layout
×
Please rate each item regarding Game8.co's Message Boards, Comments.
Ease of Writing
Very Dissatisfied
Somewhat Dissatisfied
Fine
Somewhat Satisfied
Highly Satisfied
Readability
Ease in Finding Information
Comment Quality
Comment Quantity
Admin Response
×
Please rate each item regarding Game8.co's Site's new design.
Please rate our site's new design
Very Dissatisfied
Somewhat Dissatisfied
Fine
Somewhat Satisfied
Highly Satisfied
Do you think that the website's design change makes the site easier to use?
Has the new design made it easier for you to find information on the site?
Has the new design improved the overall visual appeal of the site?
How would you rate your overall satisfaction with the new design of the site?
×
How likely are you to recommend Game8 to someone you know?
Very Unlikely
0
1
2
3
4
5
6
7
8
9
10
Very Likely
If you have other opinions regarding potential improvement to the website, please share them with us. We would appreciate your honest opinion.
Note: This is a free response section, so you can proceed without entering anything.
Note: Please be sure not to enter any kind of personal information into your response.
Note: Please be sure not to enter any kind of personal information into your response.
×
Thank You
×
Thank you for participating in our survey! Your answers will help us to improve the quality of our website and services.
We hope you continue to make use of Game8.
We hope you continue to make use of Game8.
Close
Premium Articles


Rankings
Gaming News

![Forza Horizon 6 Review [Preview] | Beautiful Roads With a Whole Lot of Oversteer](https://img.game8.co/4460981/a7254c24945c43fbdf6ad9bea52b5ce9.png/show)

![Forza Horizon 6 Review [Preview] | Beautiful Roads With a Whole Lot of Oversteer](https://img.game8.co/4460981/a7254c24945c43fbdf6ad9bea52b5ce9.png/thumb)
![Borderlands Mobile Review [Playtest] | The Same Borderlands Made Easy](https://img.game8.co/4465500/aac0c880a39ec5cd46073e49d18f3ed5.png/thumb)
Popular Games

Genshin Impact Walkthrough & Guides Wiki
Crimson Desert Walkthrough & Guides Wiki
Umamusume: Pretty Derby Walkthrough & Guides Wiki
Honkai: Star Rail Walkthrough & Guides Wiki
Monster Hunter Stories 3: Twisted Reflection Walkthrough & Guides Wiki
Wuthering Waves Walkthrough & Guides Wiki
The Seven Deadly Sins: Origin Walkthrough & Guides Wiki
Pokemon TCG Pocket (PTCGP) Strategies & Guides Wiki
Pokemon Pokopia Walkthrough & Guides Wiki
Zenless Zone Zero Walkthrough & Guides Wiki


Recommended Games
Fire Emblem Heroes (FEH) Walkthrough & Guides Wiki
Pokemon Brilliant Diamond and Shining Pearl (BDSP) Walkthrough & Guides Wiki
Super Smash Bros. Ultimate Walkthrough & Guides Wiki
Diablo 4: Vessel of Hatred Walkthrough & Guides Wiki
Cyberpunk 2077: Ultimate Edition Walkthrough & Guides Wiki
Yu-Gi-Oh! Master Duel Walkthrough & Guides Wiki
Elden Ring Shadow of the Erdtree Walkthrough & Guides Wiki
Monster Hunter World Walkthrough & Guides Wiki
The Legend of Zelda: Tears of the Kingdom Walkthrough & Guides Wiki
Persona 3 Reload Walkthrough & Guides Wiki


All rights reserved
Copyright© 2012-2024 HoYoverse — COGNOSPHERE. All Rights Reserved.
The copyrights of videos of games used in our content and other intellectual property rights belong to the provider of the game.
The contents we provide on this site were created personally by members of the Game8 editorial department.
We refuse the right to reuse or repost content taken without our permission such as data or images to other sites.