Elemental Trials in Temple of the Lion
★ Exclusive: Check out the State of Meta for Nod-Krai!
◆ Hot: Luna 5 Livestream & Luna 5 Livestream Codes
◆ Builds: Columbina, Zibai, Illuga, Ineffa, Neuvillette
◆ Luna 4, Lantern Rite 2026, Moonlit Patrol Exercise
◆ Future: Version 6.4, Varka, Lohen
The Elemental Trials in the Temple of the Lion Domain is a series of Elemental Reaction Trials in Genshin Impact. Find out about the Elemental Trials, how elemental reactions work, Trial enemies, rewards and other information here!
List of Contents
What Are Elemental Trials?
Trial Domain Challenges
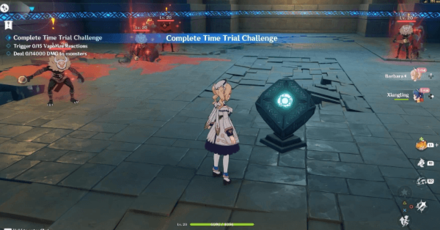
Elemental Trials are a series of challenges that can be found in the Temple of the Lion domain. These challenges are designed to help Travelers learn more about Elemental Reactions, which is an important part of the game's combat system.
Complete each challenge to gain weapon and character EXP materials, along with some precious Mora!
Temple of the Lion Domain Guide
All Elemental Trials
List of All Elemental Trials
| Click to jump to a section! | |||
|---|---|---|---|
| Vaporize | Melt | Overloaded | Superconduct |
| Electro-Charged | Frozen | Crystallize | Swirl |
Elemental Trial: Vaporize

Trigger Vaporize with Hydro and Pyro
The first Elemental Trial is for the Vaporize Reaction. The best way to finish this trial quickly is by using Xiangling's skill, and switching to Barbara and using her charged attack. This allows you to vaporize multiple enemies at once, and do some high damage numbers in the process.
Challenge Objectives and Details
| Objectives | |||||
|---|---|---|---|---|---|
|
・Trigger 15 Vaporize Reactions ・Deal 14,000 DMG to monsters |
|||||
| Playable Characters | |||||
|
|
|
||||
| Rewards | |||||
|
|
|
|
|||
Elemental Trial: Melt
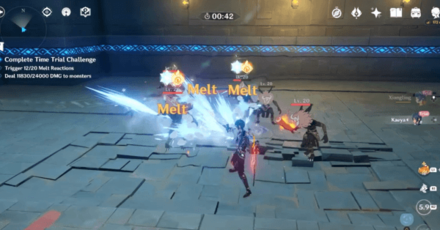
Trigger Melt with Cryo and Pyro
Similar to Vaporize, Melt is another reaction that you can use early in the game. Constantly switch between Xiangling and Kaeya's elemental skills, and you would be able to create multiple reactions quickly.
Challenge Objectives and Details
| Objectives | |||||
|---|---|---|---|---|---|
|
・Trigger 20 Melt Reactions ・Deal 24000 DMG to Monsters |
|||||
| Playable Characters | |||||
|
|
|
||||
| Rewards | |||||
|
|
|
|
|||
Elemental Trial: Overloaded
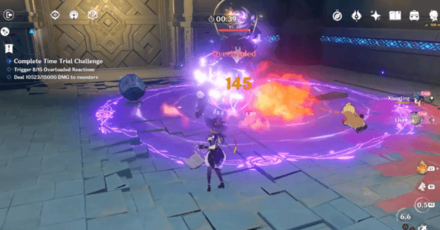
Trigger Overloaded with Pyro and Electro
Overloaded is an Elemental Reaction caused by inflicting Pyro and Electro damage. The best way to finish this trial is by using Lisa's Elemental Skill on multiple enemies, and then switching to Xiangling to create the reaction once enough enemies are hit.
Challenge Objectives and Details
| Objectives | |||||
|---|---|---|---|---|---|
|
・Trigger 15 Overloaded Reactions ・Deal 15000 DMG to monsters |
|||||
| Playable Characters | |||||
|
|
|
||||
| Rewards | |||||
|
|
|
|
|||
Elemental Trial: Superconduct
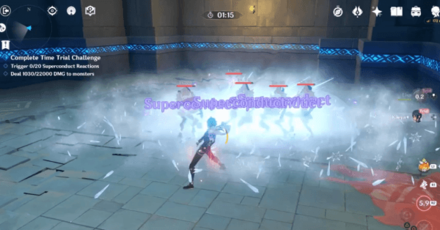
Trigger Superconduct with Cryo and Electro
Superconduct is an Electro and Cryo combination, which is effective in areas like Dragonspine. Similar to the Overloaded Trial, use Lisa's Elemental Skill to set your enemies up for Kaeya's Cryo skill.
Challenge Objectives and Details
| Objectives | |||||
|---|---|---|---|---|---|
|
・Trigger 20 Superconduct Reactions ・Deal 22000 DMG to monsters |
|||||
| Playable Characters | |||||
|
|
|
||||
| Rewards | |||||
|
|
|
|
|||
Elemental Trial: Electro-Charged
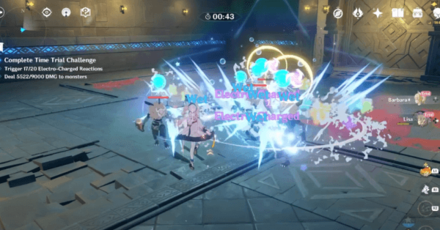
Trigger Electro-Charged with Electro and Hydro
This trial requires you to use Lisa and Barbara, who are both Catalyst users. Use Lisa's attack and skill to inflict Electro, and then use Barbara's charged attack to hit more enemies and trigger the reaction.
Challenge Objectives and Details
| Objectives | |||||
|---|---|---|---|---|---|
|
・Trigger 20 Electro-Charged Reactions ・Deal 9000 DMG to monsters |
|||||
| Playable Characters | |||||
|
|
|
||||
| Rewards | |||||
|
|
|
|
|||
Elemental Trial: Frozen
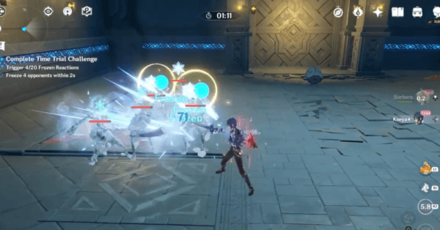
Trigger Frozen with Hydro and Cryo
This Elemental Trial requires you to freeze multiple opponents at the same time. Set this up by using Barbara to inflict the Wet status and use Kaeya's skill to freeze them in place.
Challenge Objectives and Details
| Objectives | |||||
|---|---|---|---|---|---|
|
・Trigger 20 Frozen Reactions ・Freeze 4 opponents within 2s. |
|||||
| Playable Characters | |||||
|
|
|
||||
| Rewards | |||||
|
|
|
|
|||
Elemental Trial: Crystallize

Trigger Crystallize with Geo and Other Elements
This is one of the more challenging Trials, as you'll be switching around between three elements to create shields. Use Xiangling and Kaeya's skills on enemies, and then attack them with Ningguang to gather crystals. You would have to get hit by enemies in this challenge while you have a shield, which means you have to stop yourself from dodging attacks to block the required amount of damage.
Challenge Objectives and Details
| Objectives | |||||
|---|---|---|---|---|---|
|
・Block 1500 DMG using Shields ・Create 8 Pyro Shards via Crystallize Reactions ・Create 8 Cryo Shards via Crystallize Reactions |
|||||
| Playable Characters | |||||
|
|
|
|
|||
| Rewards | |||||
|
|
|
|
|||
Elemental Trial: Swirl
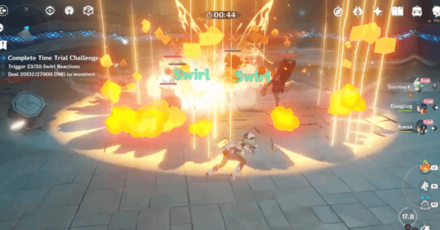
Trigger Swirl with Anemo and Other Elements
Swirl is an Elemental Reaction that works best against groups of enemies, and this Trial will help you learn how to combine different elements with it. Gather up your enemies using Sucrose's skill and burst, and combine it with Xiangliang's or Kaeya's skills to deal massive damage!
Challenge Objectives and Details
| Objectives | |||||
|---|---|---|---|---|---|
|
・Trigger 30 Swirl Reactions ・Deal 27000 DMG to Monsters |
|||||
| Playable Characters | |||||
|
|
|
|
|||
| Rewards | |||||
|
|
|
|
|||
Related Guides
One-Time Domains

All One-Time Domain Guides
| Mondstadt's One-Time Domains | |
|---|---|
| Temple of the Falcon | Temple of the Wolf |
| Temple of the Lion | Eagle's Gate |
| Liyue's One-Time Domains | |
| Domain of Forsaken Ruins | Hidden Palace of Guizang Formula |
| Domain of the Wayward Path | |
| Inazuma's One-Time Domains | |
| Empty Boat of a Thousand Gates | Shakkei Pavillion |
| Formation Estate | Palace in a Pool |
| Moshiri Kara | |
| Sumeru's One-Time Domains | |
| Under the Umbrella's Shade | The Dark Valley |
| Fragment of Childhood Dreams | The Coordinates of Sun and Rain |
| Altar of Mirages | Red Desert Threshold |
| Garden of Endless Pillars | City of the Deceased |
| Fane of Panjvahe | Purification Spring |
| Somalata Inland Sea | |
Comment
Author
Elemental Trials in Temple of the Lion
Premium Articles
Rankings
Gaming News
Popular Games

Genshin Impact Walkthrough & Guides Wiki

Honkai: Star Rail Walkthrough & Guides Wiki

Arknights: Endfield Walkthrough & Guides Wiki

Umamusume: Pretty Derby Walkthrough & Guides Wiki

Wuthering Waves Walkthrough & Guides Wiki

Pokemon TCG Pocket (PTCGP) Strategies & Guides Wiki

Abyss Walkthrough & Guides Wiki

Zenless Zone Zero Walkthrough & Guides Wiki

Digimon Story: Time Stranger Walkthrough & Guides Wiki

Clair Obscur: Expedition 33 Walkthrough & Guides Wiki
Recommended Games

Fire Emblem Heroes (FEH) Walkthrough & Guides Wiki

Pokemon Brilliant Diamond and Shining Pearl (BDSP) Walkthrough & Guides Wiki

Diablo 4: Vessel of Hatred Walkthrough & Guides Wiki

Super Smash Bros. Ultimate Walkthrough & Guides Wiki

Yu-Gi-Oh! Master Duel Walkthrough & Guides Wiki

Elden Ring Shadow of the Erdtree Walkthrough & Guides Wiki

Monster Hunter World Walkthrough & Guides Wiki

The Legend of Zelda: Tears of the Kingdom Walkthrough & Guides Wiki

Persona 3 Reload Walkthrough & Guides Wiki

Cyberpunk 2077: Ultimate Edition Walkthrough & Guides Wiki
All rights reserved
Copyright© 2012-2024 HoYoverse — COGNOSPHERE. All Rights Reserved.
The copyrights of videos of games used in our content and other intellectual property rights belong to the provider of the game.
The contents we provide on this site were created personally by members of the Game8 editorial department.
We refuse the right to reuse or repost content taken without our permission such as data or images to other sites.


![Neverness to Everness (NTE) Review [Beta Co-Ex Test] | Rolling the Dice on Something Special](https://img.game8.co/4414628/dd3192c8f1f074ea788451a11eb862a7.jpeg/show)


