This survey will take about 1 minute.
Your answers will help us to improve our website.
Where Winds Meet
The River's Fury Walkthrough and Rewards
NEW: Hexi Map | Chapter 3 | Flute Mystic Skill
★ Unfettered and Everspring Build
☆ Liangzhou | Cat Fever | Prismatic Essence
✪ Updated: Best Weapon | Best Builds
☆ WWM Game8 Twitter: New tips daily!
Recruit using our Guild Recruitment Board!
The River's Fury is the 09 Jianghu Legacy found in Kaifeng in Where Winds Meet. Find out The River's Fury's quest objectives, what rewards you receive, and how to unlock it here.
List of Contents
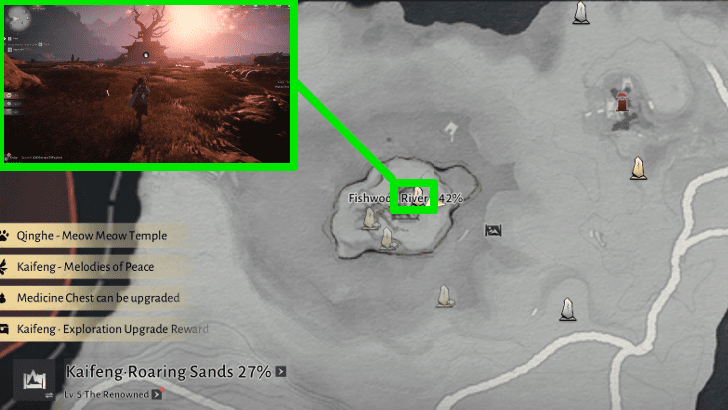
How to Unlock The River's Fury
Track the Jianghu Legacy 09 from the Kaifeng Exploration Menu
 |
|
| Region | Roaring Sands , Kaifeng |
|---|---|
| Unlock Req. |
Ask the Wayfarer at Roaring Sands |
To unlock the quest Jianghu Legacy - 09 A River's Fury, talk to the Wayfarer of Roaring Sands. To track the quest, select it from the Side Story tab of the Exploration menu and inspect it to reveal its location and start tracking the quest.
The River's Fury Walkthrough
- Go to the Eternal Solitude Hall
- Deliver the Items to the Eccentric Elder
- Investigate the Underground Chamber
- Lower the Water Level
- Find the Source of the Tremors
- Jump Down the Hole To Go Further
- Dive Underwater to Reach the Next Area
- Activate the Contraption in the Room
- Repair the Water Dragonhead Contraption
- Activate the Contraption to Drain the Water
- Go to Deeper Down the Cave
- Activate the Contraption On the Upper Floor
- Drain the Water on the Bottom Floor
- Continue to the Next Area
- Go Back to the Altar and Repair the Water Dragonhead
- Free A'Yu
- Head to the Final Burial Chamber
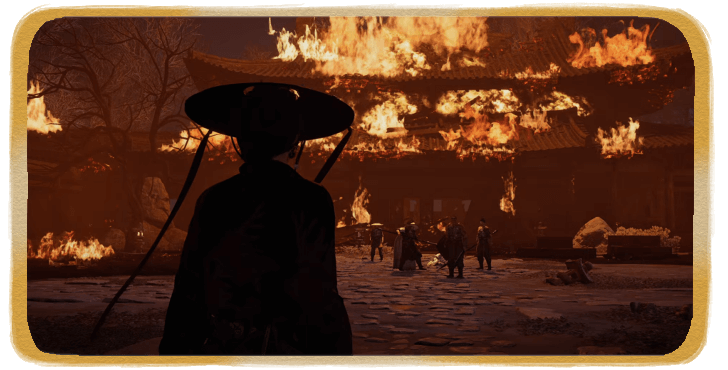
1. Go to the Eternal Solitude Hall
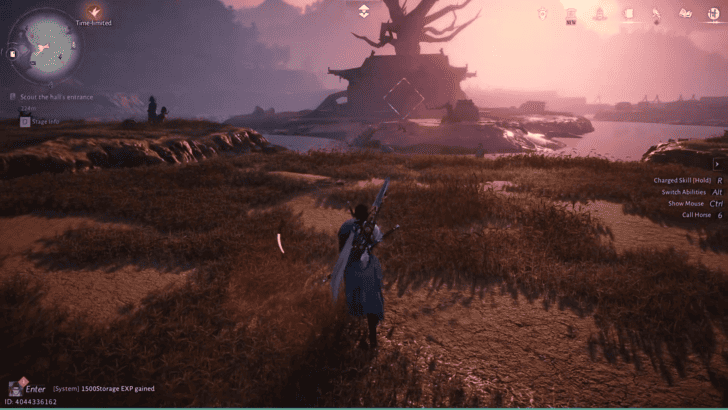
Near the Fallen Invader's Mound Boundary Stone, go to the Hall and enter the building. You can also teleport directly to the location if you've unlocked the Eternal Solitude Hall Boundary Stone.
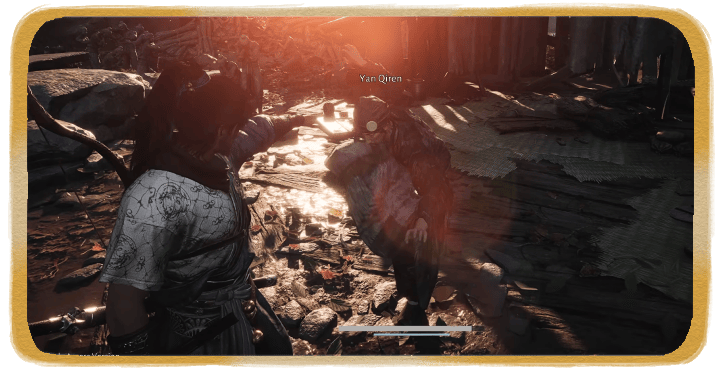
2. Deliver the Items to the Eccentric Elder
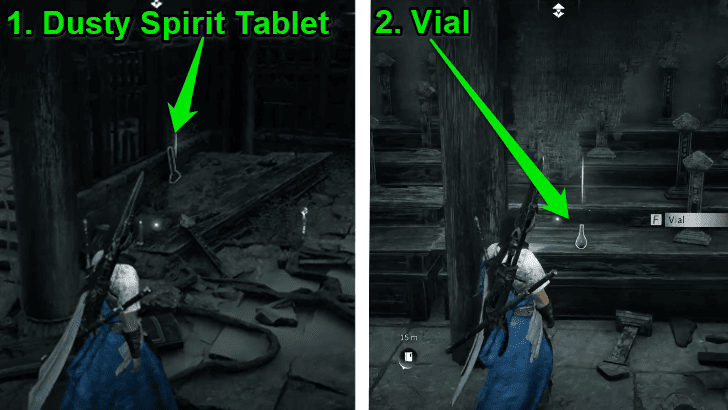
After the cut scene, speak with the eccentric Elder. Use Wind Sense to look for the anomalies, deliver these items to the Elder:
- The Dusty Spirit Tablet will be on the right when you are facing the elder. It will be near the fence on top of the rubble.
- The Vial will be on the left, go up the stairs into the elevated area, and the Vial will be on the pedestal.
After delivering the items, the elder will move away. Take his place and bow to the altar; this will open the path underground.
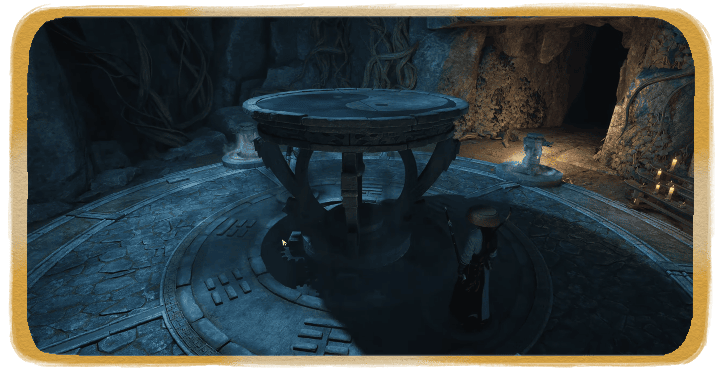
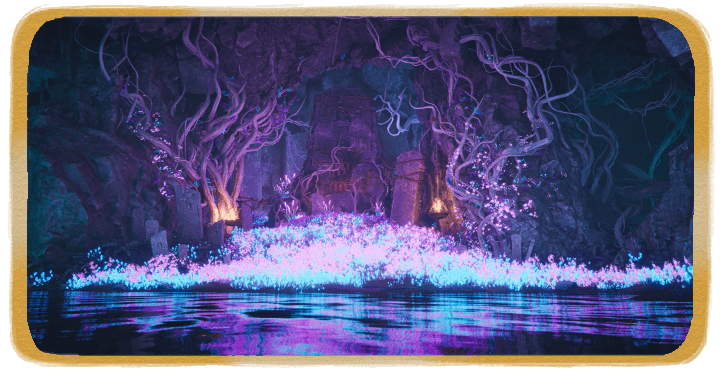
3. Investigate the Underground Chamber
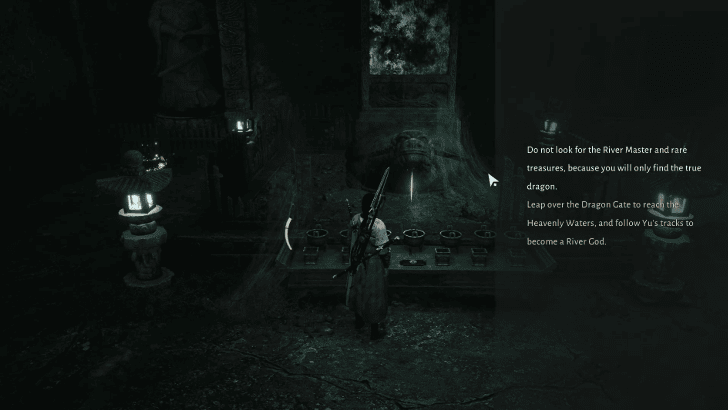
Investigate the underground chamber. First, approach the altar and read the clue. On the left side of the Altar is a chest you can get, and on the right is a Boundary Stone.
4. Lower the Water Level
Go down the stairs and step on the slab to trigger the mechanism. Once you step on the slab, the Water Dragonhead will spout water. Use Tai Chi to alter the water's direction so that it flows towards the water wheel. Once it hits the contraption, the water's level will change.
Make sure to avoid the red plants, touching them will make it explode.
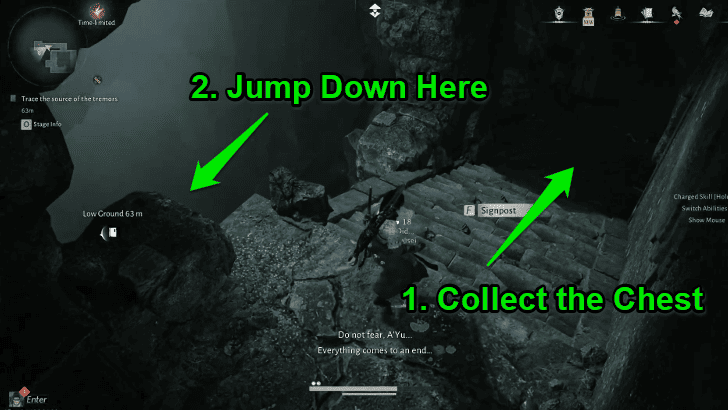
5. Find the Source of the Tremors
Before you go down the lower floor, jump to the other side and use Celestial Seize to get the chest surrounded by snakes. Go down the empty pool and enter the door. Once you do, a roar will shake the chamber. Find the source of the tremors by delving further down.
6. Jump Down the Hole To Go Further
Continue climbing down the stairs, and at the very bottom will be a chest guarded by snakes. After collecting the chest, jump down the hole to go further down.
7. Dive Underwater to Reach the Next Area
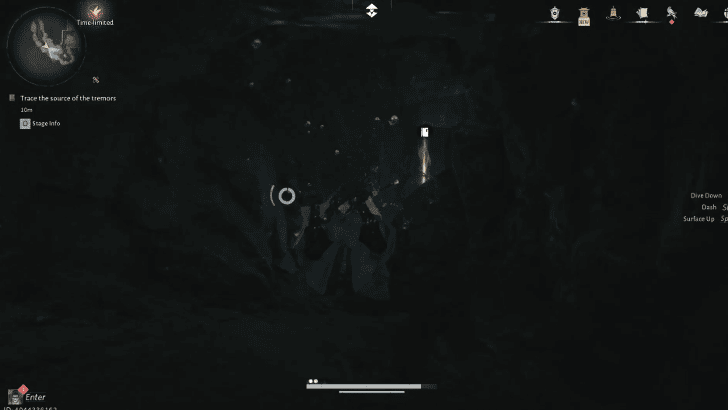
Once you reach the Bottom, go into the water and dive. After squeezing through a small passage, grab the chest, then go up for air before proceeding to the next waypoint to emerge into a large hall.
8. Activate the Contraption in the Room
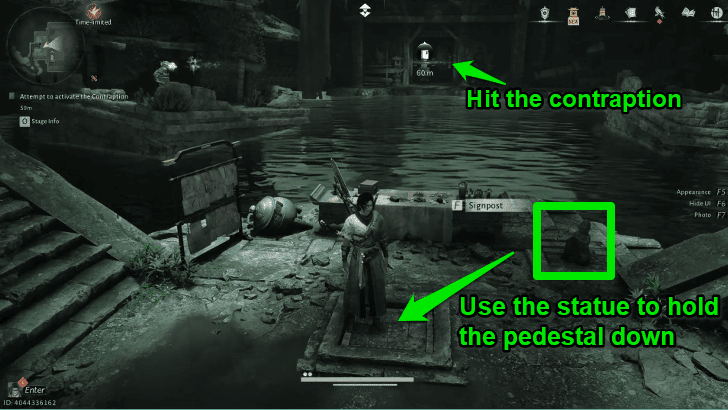
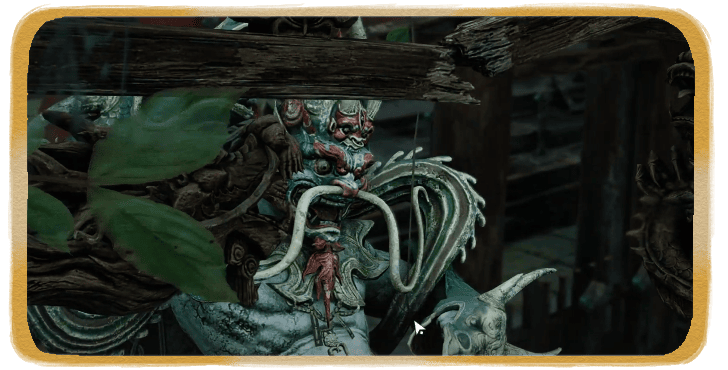
Use the statue beside the table to hold the pedestal down and activate the water dragonhead. Swim to the platform across the water dragonhead and use Tai Chi to redirect the water to the contraption. This will raise the water level, letting you reach the gate.
9. Repair the Water Dragonhead Contraption
Pull on the lever beside the gate to open it. Another contraption will be revealed. Swim across to the other side and unlock the Boundary Stone. When you step on the slab, the water dragonhead won’t activate. Examine the statue.
To repair it dive down into the opening beside the Boundary Stone. Follow the waypoint and grab the Chest and Hetu Fragment. Swim out the open door, back into the main area, and swim back up to wear the broken water dragonhead to repair it.
10. Activate the Contraption to Drain the Water
Go back to the slab and step on it, and quickly step forward to catch the water with Tai Chi. Throw the water across the room to the contraption. This will drain the water in the room, letting you access the lowest floor.
Mighty Drop your way down to avoid injury. Once you reach the bottom, go through the door and activate the Hero’s Tomb.
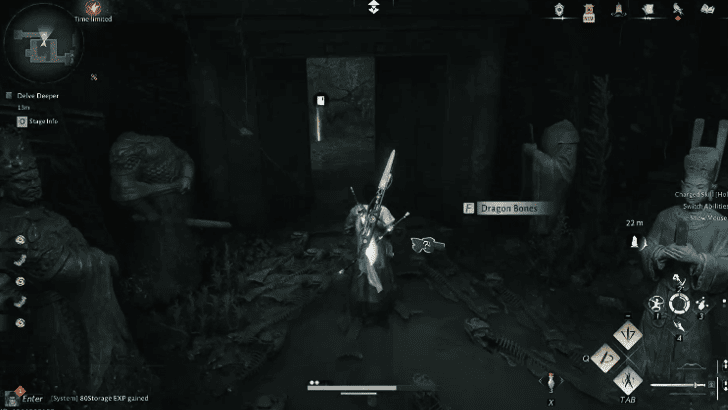
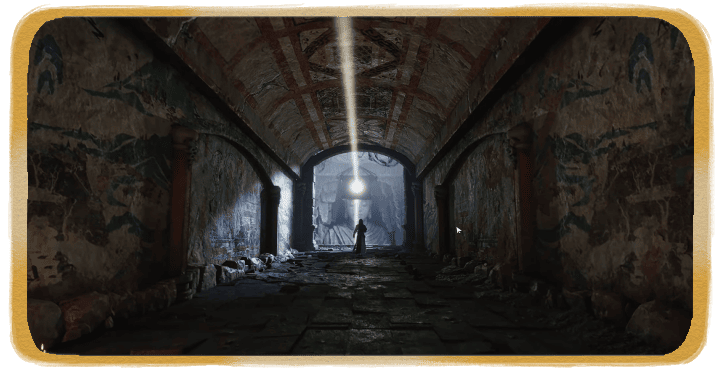
11. Go to Deeper Down the Cave
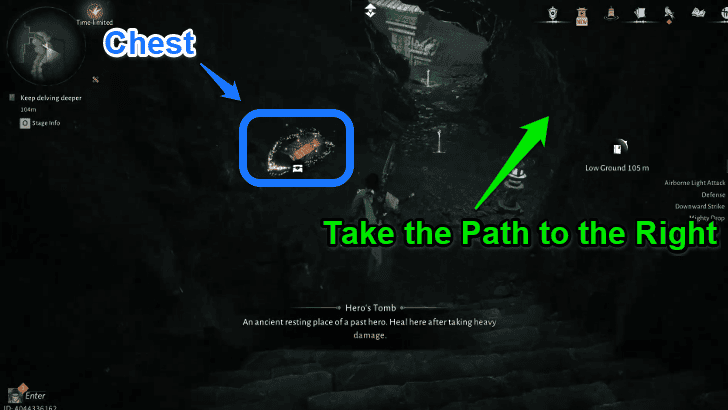
You will pass by a chest as you go down the stairs. After grabbing it, the ground will tremble. Take the path to the right until you reach the Boundary Stone.
12. Activate the Contraption On the Upper Floor
After unlocking Boundary Stone, follow the waypoint to a path to the left. If you go near the water, the fish will attack you. Once you reach the top, pull the lever to reveal a water dragonhead.
Step on the slab in front of the gate and catch the water before it hits you, and redirect it to the contraption to activate it.
13. Drain the Water on the Bottom Floor
Go pass the slab into the opening leading to the next area, take a sharp left, and go into the room to grab the chest and statue. Follow the waypoint and place the statue on the slab.
Go back to the room where you got the statue and redirect the water to the contraption to open the gate. After that position yourself close to the cliff and use Tai Chi again to redirect the water to the Contraption on the Lower Floor to drain more water.
14. Continue to the Next Area
| 14.1 | 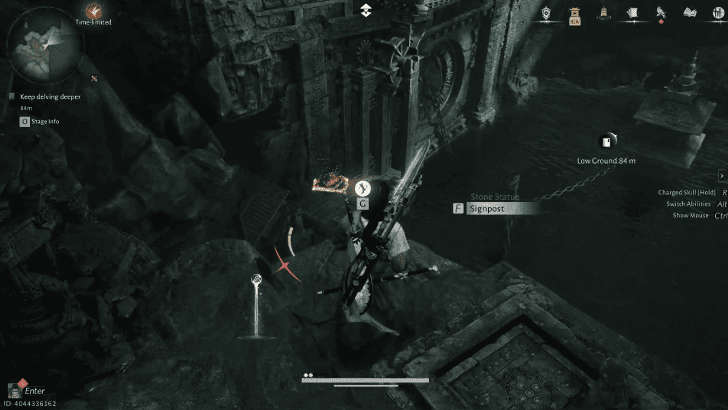 From the slab outside the gate, Cloud steps down to where the chest is. Continue Cloud Stepping to reach the next area . Make sure to watch out for the snakes as you progress. |
| 14.2 | 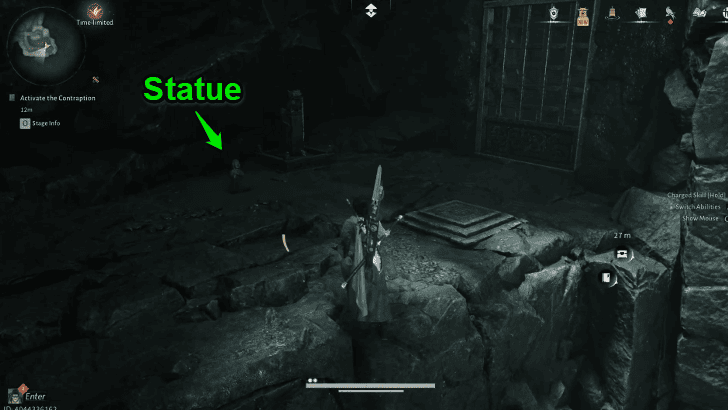 In the next main area, climb the stone wall and place the statue on the slab. Use Tai Chi to hit the contraption. This will open the gate on the ground floor. |
| 14.3 |  Hop down and enter the gate. Go up the ramp and grab the chest. After that, enter the path beside the contraption and pull the lever to open the gate leading back to the water dragon head. Use Tai Chi to hit the first contraption again to open the gate on the upper level. |
| 14.4 | Go back up to the area where the gate opened and use Tai Chi to activate the second contraption and open the gate beside it. |
15. Go Back to the Altar and Repair the Water Dragonhead
| 15.1 | 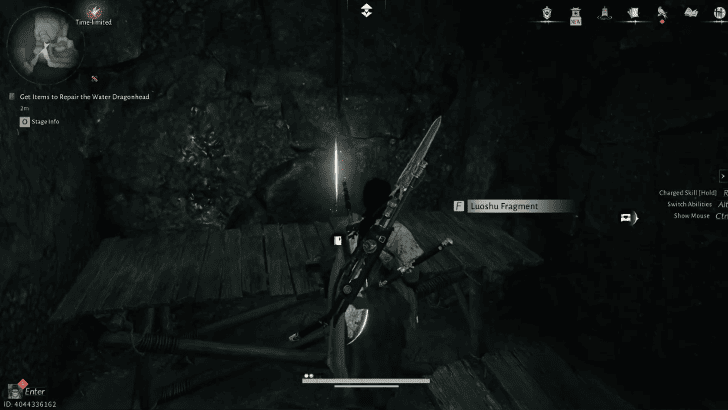 After going through the gate, grab the Luoshu Fragment on the table and pull the lever to open the next gate. Grab the chest before cloud stepping back down to the area where the altar and Boundary Stone are. |
| 15.2 | 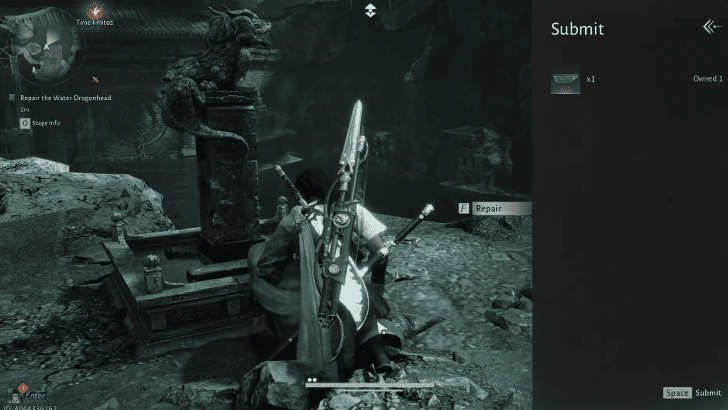 Approach the water dragonhead and repair it using the Luoshu Fragment. Then go back to the slab in front of the altar. |
| 15.3 |  After activating the slab, rush to the right side cliff and use Tai Chi to redirect the water to the contraption. A cut scene will play after this. |
16. Free A'Yu
| 16.1 |  After the cut scene revealing the gigantic fish, speak with the Eccentric Elder. After another cut scene, examine the Nuo Dance Mask on the Altar. |
| 16.2 | 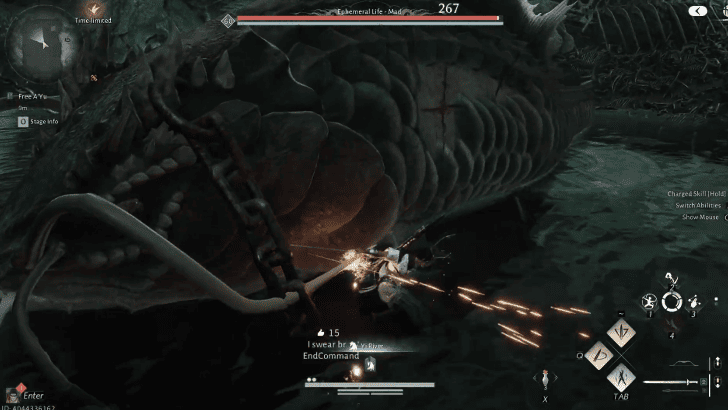 Pick up the mask and free A’yu from its captivity. Keep attacking until the creature is defeated. |
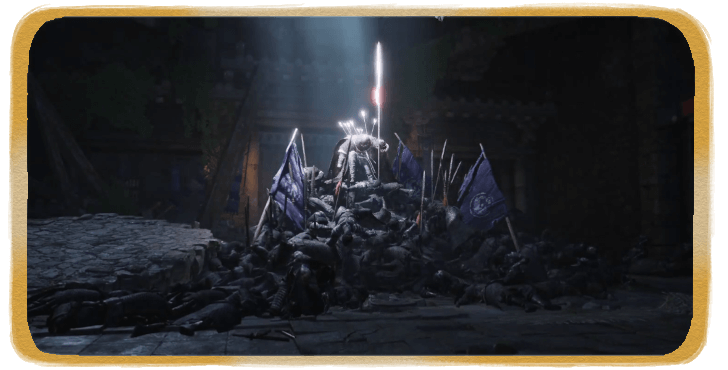
17. Head to the Final Burial Chamber

After defeating A’yu, go to the Final Burial Chamber behind the altar to claim the chest and examine the remains. Leave the Burial Chamber and perform the Zuoyi Salute to the Altar at the Entrance to end the quest.
The River's Fury Rewards
Rewards from the Quest
|
・Red Fish Sword
・Red Sleeve Disc ・Inner Way Note - Custom Chest x5 ・Medicinal Tales ・Lv. 2 Ebon Iron x2 ・Echo Jade x20 ・Kaifeng Exploration x30 ・Enlightenment Points x100 ・12,000 Character EXP ・12,000 Coins |
These are all the rewards you can get by doing The River's Fury. The rewards listed above are the total earned as you progress through the quest and upon completing it.
Where Winds Meet Related Guides
| Types of Side Quests | |
|---|---|
| Jianghu Legacy | Campaign |
| World Affairs | Exploration |
| Encounters | Wandering Tales |
List Of All Qinghe Jianghu Legacy Quest
 Echoes in the Shrine Echoes in the Shrine
|
 Where a Thousand Buddhas Wept Where a Thousand Buddhas Wept
|
 Meridian Touch Meridian Touch
|
 Echoes of Old Battles Echoes of Old Battles
|
 Blind to the World Blind to the World
|
 Afterglow Afterglow
|
 Cries in the Distance Cries in the Distance
|
 The Promised Light The Promised Light
|
List Of All Kaifeng Jianghu Legacy Quest
 An Unholy Prophecy An Unholy Prophecy
|
 Streetwise Sage Streetwise Sage
|
 Veiled Blades Veiled Blades
|
 Shadows in Bloom Shadows in Bloom
|
 Under Another's Roof Under Another's Roof
|
 March of the Dead March of the Dead
|
 Twelve Years of Feuds Twelve Years of Feuds
|
 An Unnatural Omen An Unnatural Omen
|
 The River's Fury The River's Fury
|
 Gambit Beneath the Shimmer Gambit Beneath the Shimmer
|
Author

The River's Fury Walkthrough and Rewards
Please participate in our site
improvement survey
03/2026
improvement survey
03/2026
Would you assist in
improving Game8's site?
improving Game8's site?

×
We are listening to our users' valuable opinions and discussing how to act on them.
The information collected through this survey will be used for the purpose of improving our services. In addition, the information will only be disclosed a part of a statistic in a format that will not allow identification of personal information.
Begin Survey
Not Now
×
Please rate each item regarding Game8.co's Advertisements.
Amount of Ads
Very Dissatisfied
Somewhat Dissatisfied
Fine
Somewhat Satisfied
Highly Satisfied
Placement of Ads
Timing of Ad Display
Ad Loading Speed
Safeness of Ads
Content of Ads
×
Please rate each item regarding Game8.co's Quality of Articles.
Amount of information
Very Dissatisfied
Somewhat Dissatisfied
Fine
Somewhat Satisfied
Highly Satisfied
Frequency of updates
Speed of new information
Accuracy of articles
Understandibility of articles
Readability of sentences
×
Please rate each item regarding Game8.co's Usability of the Site.
Ease of finding information
Very Dissatisfied
Somewhat Dissatisfied
Fine
Somewhat Satisfied
Highly Satisfied
Loading Speed
Use of Color
Font Size
Visibility of Images
Easy to Understand Layout
×
Please rate each item regarding Game8.co's Message Boards, Comments.
Ease of Writing
Very Dissatisfied
Somewhat Dissatisfied
Fine
Somewhat Satisfied
Highly Satisfied
Readability
Ease in Finding Information
Comment Quality
Comment Quantity
Admin Response
×
Please rate each item regarding Game8.co's Site's new design.
Please rate our site's new design
Very Dissatisfied
Somewhat Dissatisfied
Fine
Somewhat Satisfied
Highly Satisfied
Do you think that the website's design change makes the site easier to use?
Has the new design made it easier for you to find information on the site?
Has the new design improved the overall visual appeal of the site?
How would you rate your overall satisfaction with the new design of the site?
×
How likely are you to recommend Game8 to someone you know?
Very Unlikely
0
1
2
3
4
5
6
7
8
9
10
Very Likely
If you have other opinions regarding potential improvement to the website, please share them with us. We would appreciate your honest opinion.
Note: This is a free response section, so you can proceed without entering anything.
Note: Please be sure not to enter any kind of personal information into your response.
Note: Please be sure not to enter any kind of personal information into your response.
×
Thank You
×
Thank you for participating in our survey! Your answers will help us to improve the quality of our website and services.
We hope you continue to make use of Game8.
We hope you continue to make use of Game8.
Close
Rankings
Gaming News


Popular Games

Genshin Impact Walkthrough & Guides Wiki
Honkai: Star Rail Walkthrough & Guides Wiki
Umamusume: Pretty Derby Walkthrough & Guides Wiki
Pokemon Pokopia Walkthrough & Guides Wiki
Resident Evil Requiem (RE9) Walkthrough & Guides Wiki
Monster Hunter Wilds Walkthrough & Guides Wiki
Wuthering Waves Walkthrough & Guides Wiki
Arknights: Endfield Walkthrough & Guides Wiki
Pokemon FireRed and LeafGreen (FRLG) Walkthrough & Guides Wiki
Pokemon TCG Pocket (PTCGP) Strategies & Guides Wiki


Recommended Games
Fire Emblem Heroes (FEH) Walkthrough & Guides Wiki
Diablo 4: Vessel of Hatred Walkthrough & Guides Wiki
Yu-Gi-Oh! Master Duel Walkthrough & Guides Wiki
Super Smash Bros. Ultimate Walkthrough & Guides Wiki
Pokemon Brilliant Diamond and Shining Pearl (BDSP) Walkthrough & Guides Wiki
Elden Ring Shadow of the Erdtree Walkthrough & Guides Wiki
Monster Hunter World Walkthrough & Guides Wiki
The Legend of Zelda: Tears of the Kingdom Walkthrough & Guides Wiki
Persona 3 Reload Walkthrough & Guides Wiki
Cyberpunk 2077: Ultimate Edition Walkthrough & Guides Wiki


All rights reserved
©1997-2025 NetEase, Inc. All Rights Reserved
The copyrights of videos of games used in our content and other intellectual property rights belong to the provider of the game.
The contents we provide on this site were created personally by members of the Game8 editorial department.
We refuse the right to reuse or repost content taken without our permission such as data or images to other sites.
BUG.. 15.2 REPAIRED THE FOUNTAIN THEN NOTHING HAPPEN AND ALL DOORS CLOSED.. Blocked at last door WTF