Gleaming Abyss Walkthrough and Rewards
NEW: Hexi Map | Chapter 3 | Flute Mystic Skill
★ Unfettered and Everspring Build
☆ Liangzhou | Cat Fever | Prismatic Essence
✪ Updated: Best Weapon | Best Builds
☆ WWM Game8 Twitter: New tips daily!
Recruit using our Guild Recruitment Board!
Gleaming Abyss is a Campaign Quest found in Moonveil Mountain in Qinghe. Check this guide to find out how to solve the Deer Shadow Stone Coffin puzzle to finish the quest and receive your rewards.
List of Contents
How to Unlock Gleaming Abyss
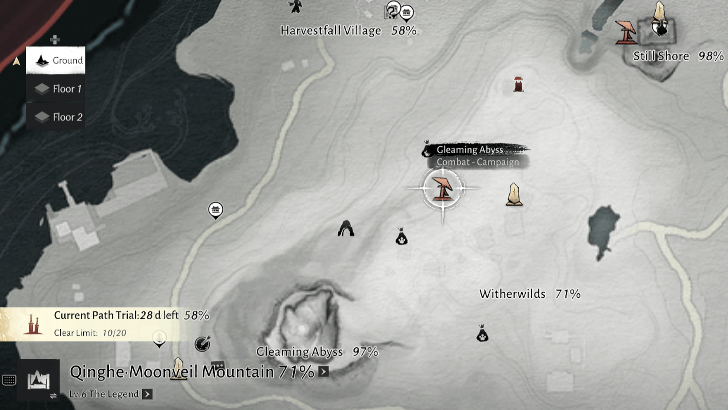
Track Unknown Mysterious Colossus Southwest of Wraith Village
 |
|
| Region | Moonveil Mountain , Qinghe |
|---|---|
Track the Unknown Mysterious Colossus near Wraith Village in the Moonveil Mountain.
Gleaming Abyss Walkthrough
- Imitate the Statues in Front of the Colossus
- Track the Deer with Wind Sense
- Use Meridian Touch to Maintain the Pose
- Press Deeper into the Cave
- Quell the Stone Coffin's Wrath
- Overcome the Peril in the Stone Coffin
- Find All Keys of the Formless
- Defeat the Void King
- Uncover the Final Story
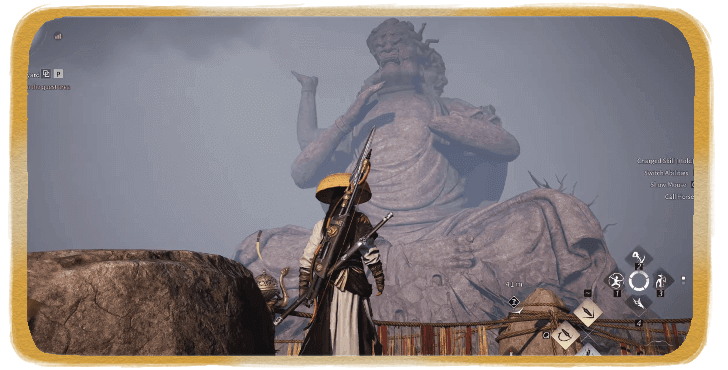
1. Imitate the Statues in Front of the Colossus
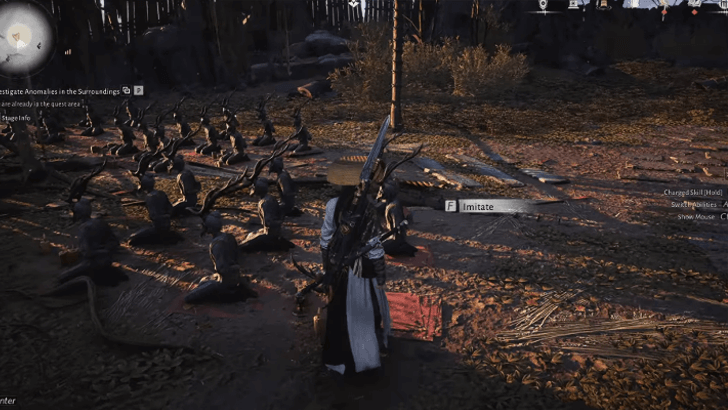
Teleport to the Wraith Village and head slightly southwest to a courtyard where a colossal statue is. You can investigate the sitting statues. Walk past the large stone to see a red mat on the ground. Press the prompt to imitate the statues' position.
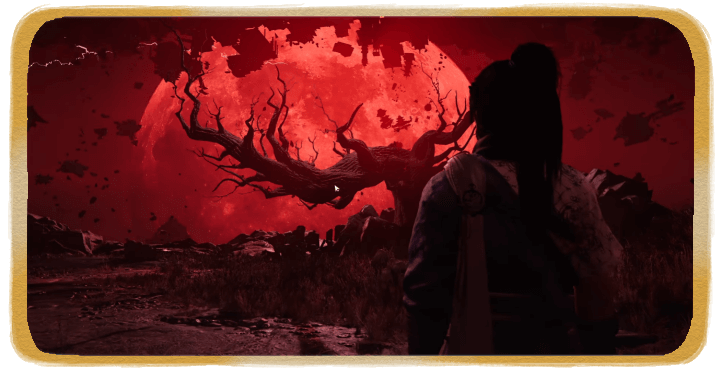
A scene will play where the area darkens and a deer spirit emerges before disappearing.
2. Track the Deer with Wind Sense
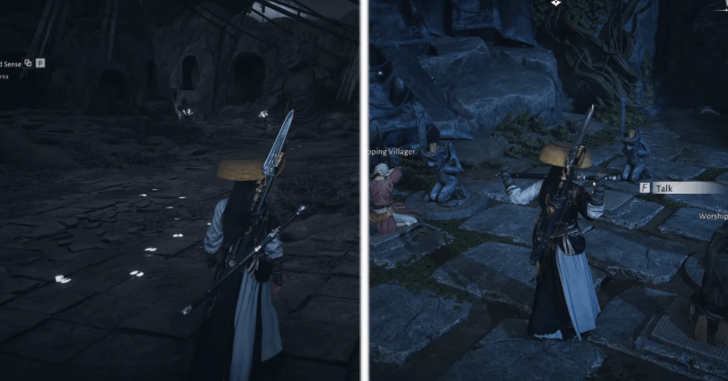
Track the deer by activating Wind Sense. On the ground, you can see white deer hoofprints leading somewhere. Follow the prints through a stone passage until you reach a stone door. You will see two people worshiping two small statues. There is a third statue at the middle.
3. Use Meridian Touch to Maintain the Worshipers' Pose

If you talk to the worshipers, you will get the hint to “maintain their pose”. Equip the Mystic Skill Meridian Touch and aim at the worshipers to immobilize them. Then, make an offering at the third statue to pose in front of it and unlock the stone door.
4. Press Deeper into the Cave
| 4.1 |  Upon entering the cave, you will be blocked from going back. Trigger the Boundary Stone to teleport back to the Gleaming Abyss Campaign Zone anytime. Also, take note of the restrictions inside the area. |
|---|---|
| 4.2 | 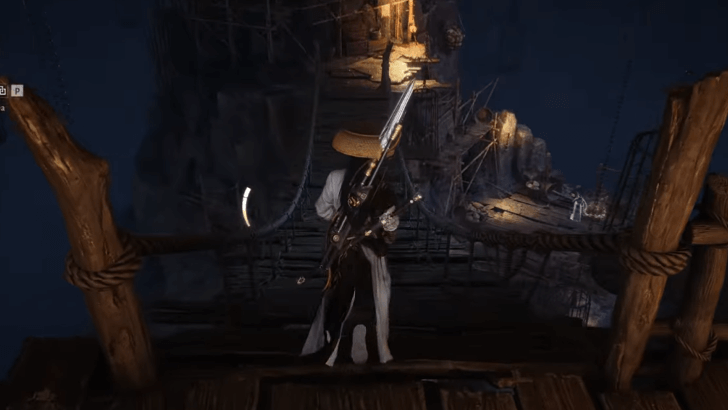 Head over to a bridge flanked by torches, then make your descent deeper into the cave by climbing down the wooden structure. |
| 4.3 | 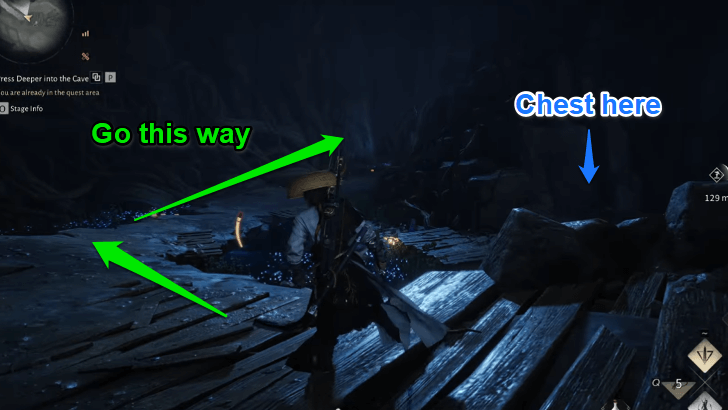 At the bottom, encounter and defeat a new enemy type, the Glorious Dream Puppet. Watch out as it detonates after being killed. To the right side, you can find a chest. Be careful going there as the water is toxic. Follow the path to the left to progress further. |
5. Quell the Stone Coffin's Wrath
| Jump to a Deer Shadow | ||
|---|---|---|
| Drum's Top | Vine's Depths | Water's Edge |
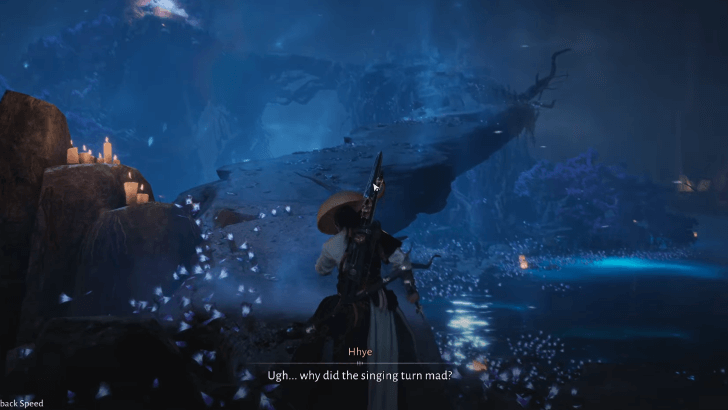
Past the passage is a Stone Coffin up the steps. Find the source of the singing by attempting to go to it. You will be stopped by a barrier. To clear it, you have to find three Deer Shadows to quell the Stone Coffin's wrath.
Drum's Top
| 1 |  Facing the coffin, turn slightly right to where the icon of the Deer Immortal is with blue torches. You have to shoot the vines between the torches to summon platforms from the water. |
|---|---|
| 2 | 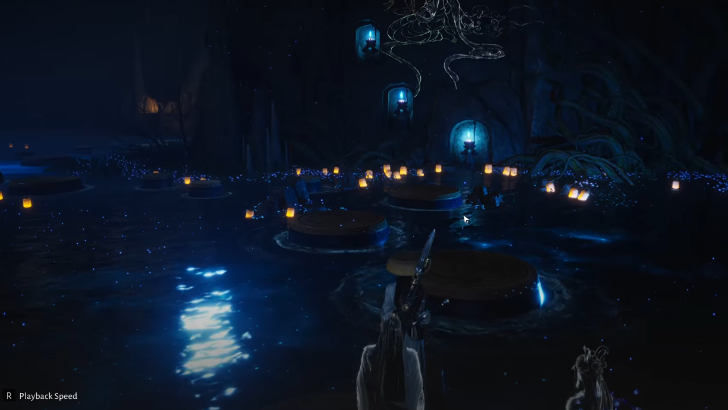 After the platforms rise, the ghostly figures will demonstrate that you have to jump on the platforms to reach the other side. Pass through the blue mist to jump on the platforms. Note that you do this automatically without pressing the jump button. |
| 3 |  On the other side, sense the Dream Echo to send the Deer Shadow to the Stone Coffin. Return to the starting area by passing through the blue mist. |
Vine's Depths
| 1 | 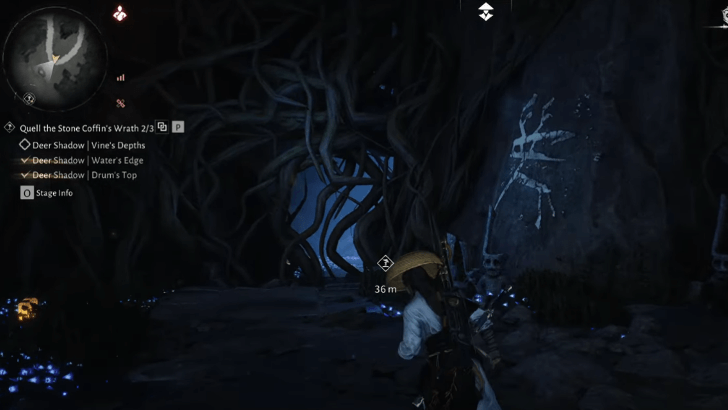 Facing the Stone Coffin, turn to the rightmost side of the area where you can see vines blocking a path. |
|---|---|
| 2 |  Go right, hugging the wall, until you see a hole to crouch into. The way inside is dark, so take a firefly in the vicinity to unlock the Glow of Fireflies Mystic Skill. Equip it to summon a swarm of fireflies to light your way. There are two paths in the passage: both lead to chests but the left is the right way to the Deer Shadow. |
| 3 | 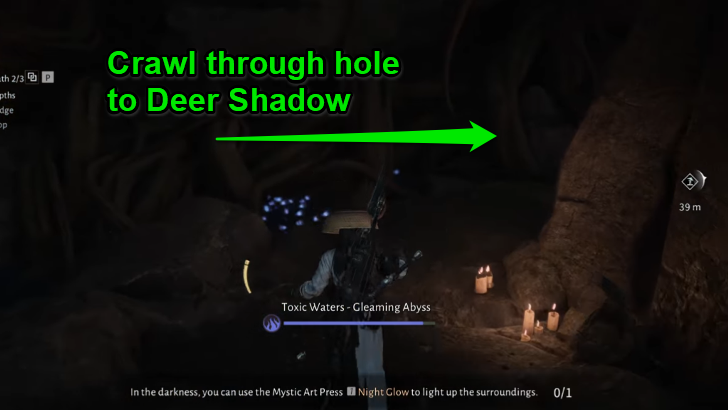 After opening the chest, turn around and you will see another passage lit by some candles. Crawl through another hole to find the Deer Shadow there. Sense the Dream Echo to send it to the Stone Coffin. |
| 4 | 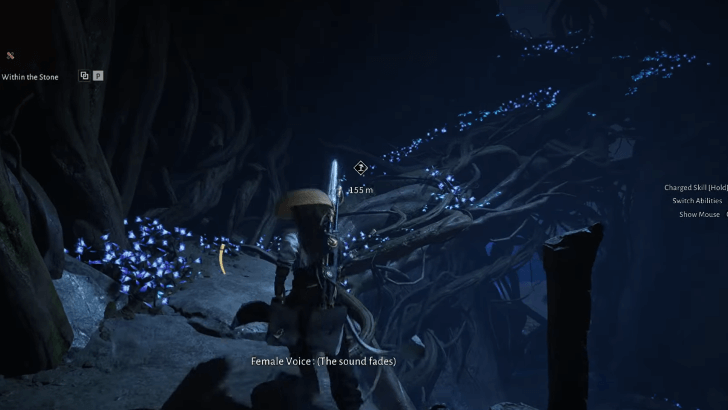 Leave the enclosed space by running up the path of roots. |
Water's Edge
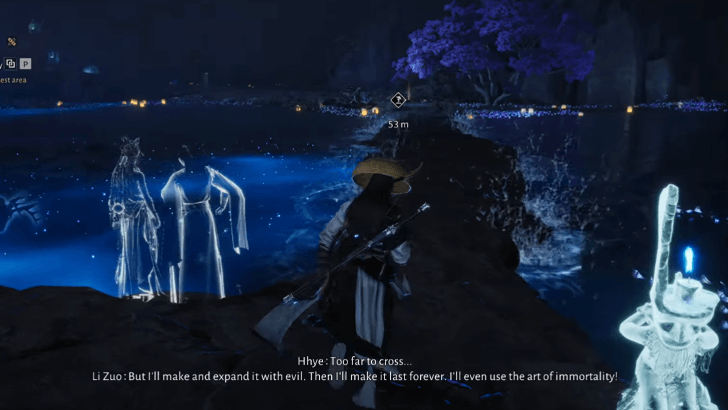
| 1 | 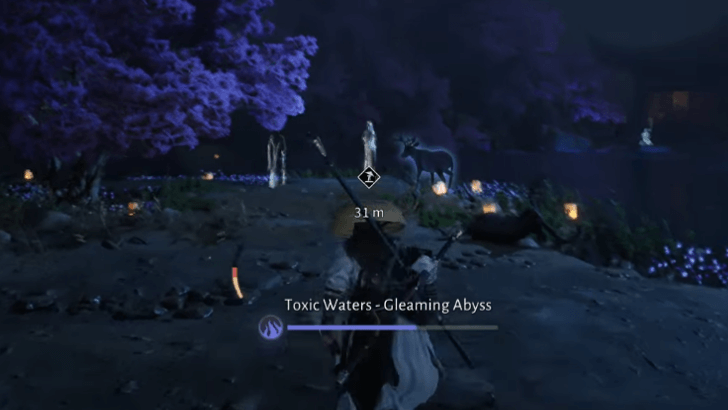 Facing the Stone Coffin, go left to see two ghostly figures by the toxic water. All you have to do is approach them and sense the Dream Echo. After the cutscene, the Deer Shadow will go to the coffin. |
|---|
6. Overcome the Peril in the Stone Coffin
| 6.1 | 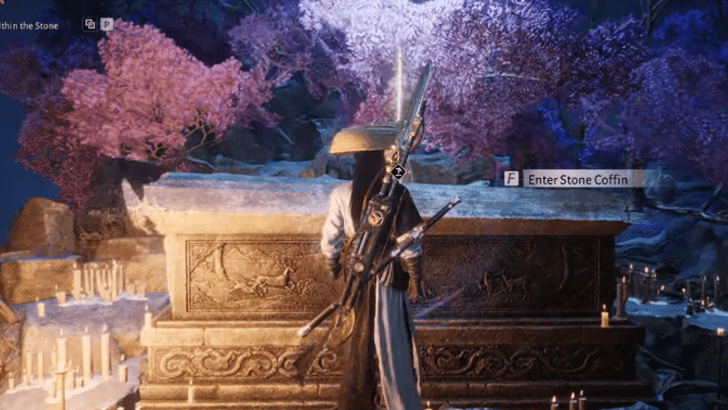 With the barrier gone, you can safely go to the Stone Coffin. Enter the coffin to trigger a cutscene where you will be pulled into it, transporting you to another area. |
|---|---|
| 6.2 | 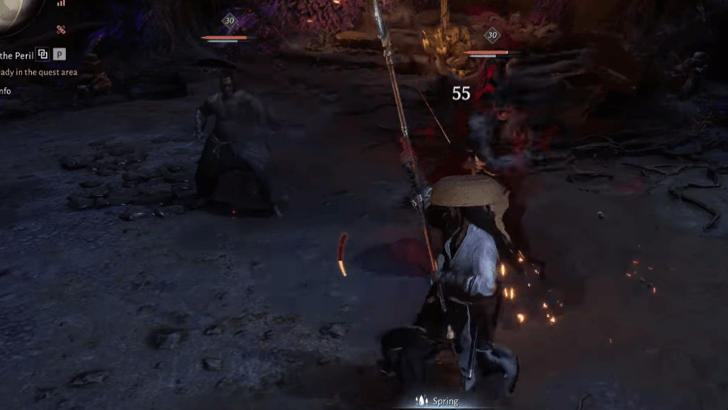 Hop down to an arena-like space. There is a chest you can get by the stone gate at the end. Defeat the Dream Puppets emerging from the mist. Then, examine the statue by the gate. You need to find a key to unlock it. |
| 6.3 | 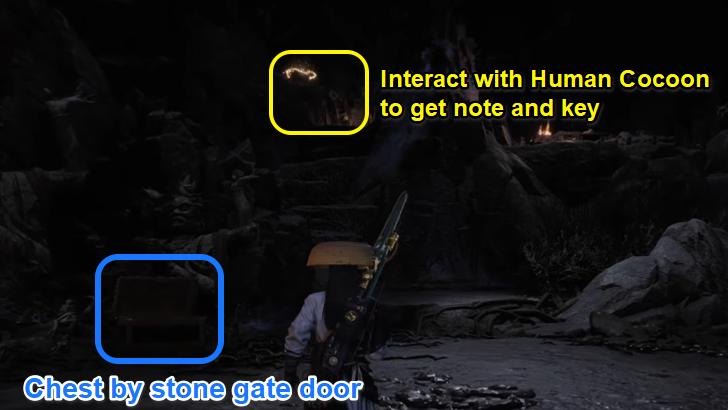 Beside the chest you opened by the stone gate, hug left and go up the stairs. Interact with the Human Cocoon to get a note and the key. Open the chest too. To the right side is a ghostly figure and a Deer Shadow. Purify the skull to get a Key of the Formless. |
| 6.4 | Return to the statue to unlock the stone gate. |
7. Find All Keys of the Formless
| 7.1 | 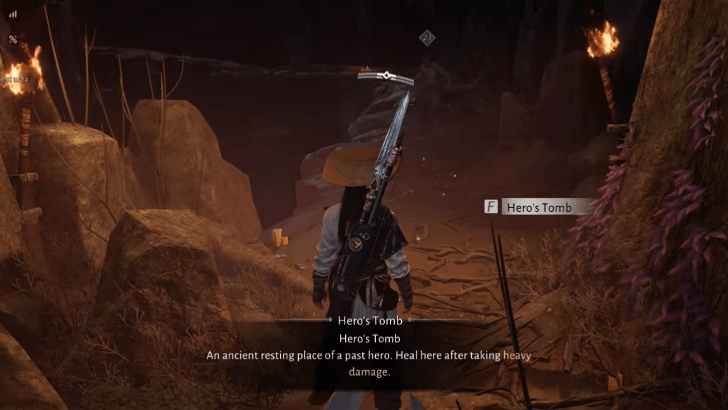 Defeat the enemies obstructing your way. Up ahead, get the Gleaming Abyss - Bottom Boundary Stone and enter the small passage. Approach the stone wall and place the Key of the Formless skull. You will enter Build Mode upon pressing the prompt to place it. |
|---|---|
| 7.2 | 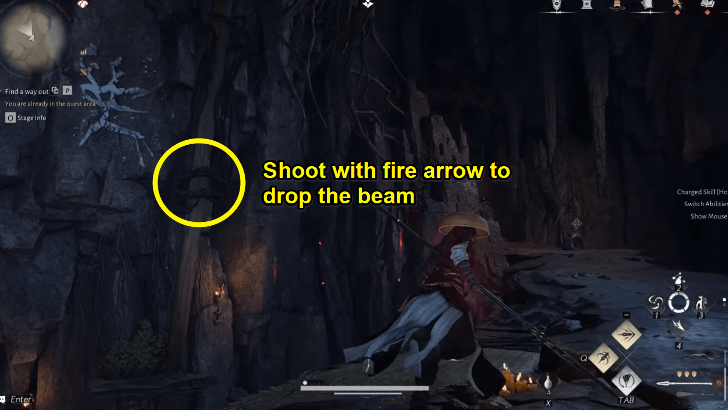 Leave the passage. On the right, there is the blue "Deer" character on the wall. Just beside it is a beam held by vines. Shoot the vines with a fire arrow to drop the beam. Cross it to reach the platform at the bottom, where a chest and a ghostly figure are. |
| 7.3 | 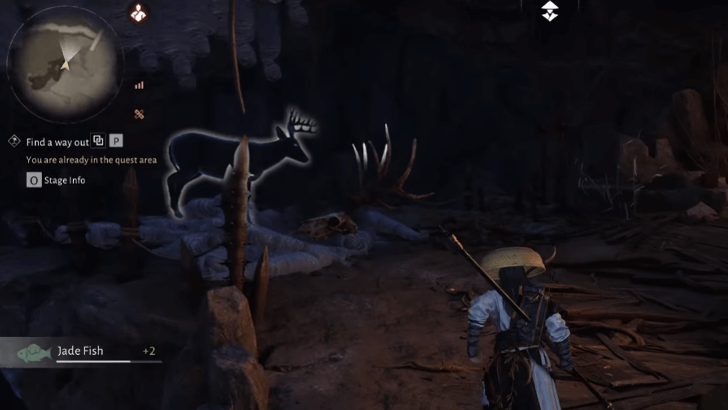 Hop down to the ground and follow the path. The next gate piece is guarded by a Deer Shadow. Purify the skull to take the piece. |
| 7.4 | 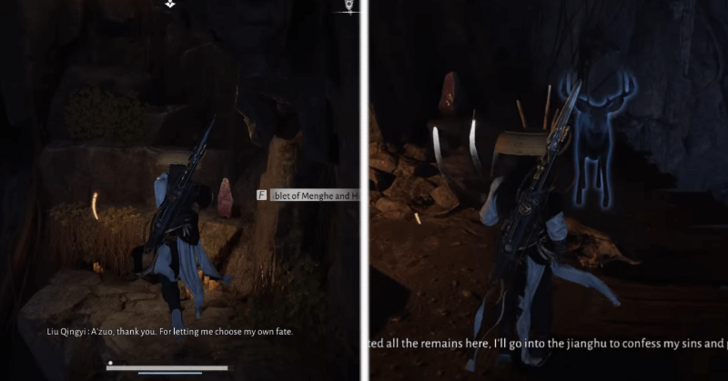 Following the path again, you will come across a wall of ledges. Jump and climb up to reach a wooden platform where another Deer Shadow is. Purify the skull to get the last piece. Look down from the platform and jump off to the path back to the gate. |
| 7.5 | 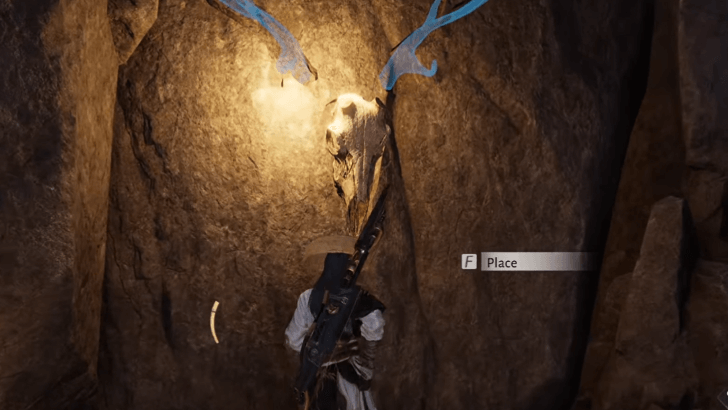 Place the last pieces on the gate to unlock it. |
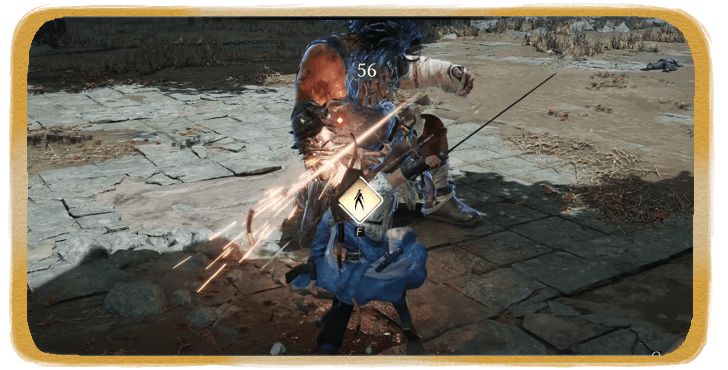
8. Defeat the Void King

Defeat the Formless, also called the Void King. The Void King is a powerful boss who changes his attack patterns depending on your position. Stay close to defeat him more effectively.
▼ The Void King Boss Overview ▼
9. Uncover the Final Story
After defeating the Void King, enter the mist gate to be transported elsewhere. Follow the waypoint up and around a series of stairs. At the top, activate the glowing statue by the water to summon a path to cross. Before crossing, go inside the house to open the golden chest.
Cross the path and take the Deerwell Spring to end the campaign.
Gleaming Abyss Boss Guide
The Void King Overview
 The Void King The Void King
|
Difficulty Rating | ★★★★★ |
|---|---|---|
| Location | ||
| Found at Gleaming Abyss in Moonveil Mountain | ||
The Void King is a boss fought during the Gleaming Abyss Quest. Try to stay close to The Void King throughout the fight as he adjusts his attacks based on the distance between you two. If you are too far, he will start doing ranged attacks and possibly execute a yellow unblockable attack that you need to dodge.
We recommend staying close to make him execute his red attack and prepare to deflect it for a counterattack and slowly whittle down his Qi bar to exhaust him.
The Void King Location and How to Beat
Gleaming Abyss Rewards
Rewards from the Quest
|
・Hawking Set
・Gleaming Abyss Cosmetic Chest ・Crimson Leaves Chest ・Bellstrike Umbra Tips ・Atunement Stone Fieryheart ・Internal Art Note Custom Chest ・Oscillating Jade ・Coins x3200 ・Character EXP x4000 +200 per level |
These are all the rewards you can get by doing Gleaming Abyss. The rewards listed above are the total earned as you progress through the quest and upon completing it.
Where Winds Meet Related Guides
| Types of Side Quests | |
|---|---|
| Jianghu Legacy | Campaign |
| World Affairs | Exploration |
| Encounters | Wandering Tales |
List Of All Qinghe Campaign Quest
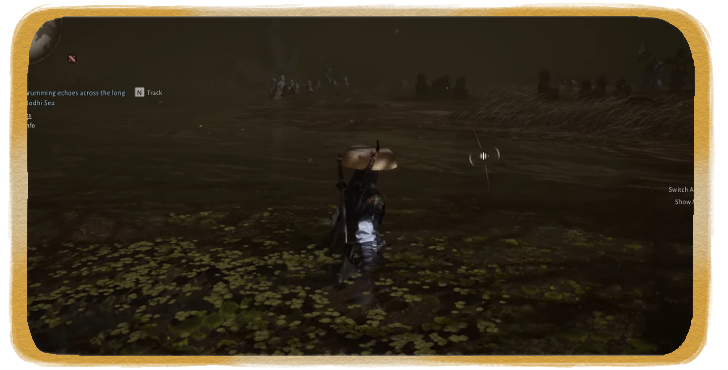 Bodhi Sea Bodhi Sea
|
 Palace of Annals Palace of Annals
|
 Gleaming Abyss Gleaming Abyss
|
 Still Shore Still Shore
|
 Halo Peak Halo Peak
|
 Blissful Retreat Blissful Retreat
|
Comment
 Fated 4 months
Missing 1 chest and the last antique. Literally no idea where it could be.
Author

Gleaming Abyss Walkthrough and Rewards
Rankings
Gaming News


![Monster Hunter Stories 3 Review [First Impressions] | Simply Rejuvenating](https://img.game8.co/4438641/2a31b7702bd70e78ec8efd24661dacda.jpeg/thumb)

![The Seven Deadly Sins: Origin [First Impressions] | A Promising Start](https://img.game8.co/4440581/584e0bfb87908f12c4eab6e846eb1afd.png/thumb)
Popular Games

Genshin Impact Walkthrough & Guides Wiki
Umamusume: Pretty Derby Walkthrough & Guides Wiki
Pokemon Pokopia Walkthrough & Guides Wiki
Honkai: Star Rail Walkthrough & Guides Wiki
Monster Hunter Stories 3: Twisted Reflection Walkthrough & Guides Wiki
Arknights: Endfield Walkthrough & Guides Wiki
Wuthering Waves Walkthrough & Guides Wiki
Zenless Zone Zero Walkthrough & Guides Wiki
Pokemon TCG Pocket (PTCGP) Strategies & Guides Wiki
Monster Hunter Wilds Walkthrough & Guides Wiki


Recommended Games
Diablo 4: Vessel of Hatred Walkthrough & Guides Wiki
Cyberpunk 2077: Ultimate Edition Walkthrough & Guides Wiki
Fire Emblem Heroes (FEH) Walkthrough & Guides Wiki
Yu-Gi-Oh! Master Duel Walkthrough & Guides Wiki
Super Smash Bros. Ultimate Walkthrough & Guides Wiki
Pokemon Brilliant Diamond and Shining Pearl (BDSP) Walkthrough & Guides Wiki
Elden Ring Shadow of the Erdtree Walkthrough & Guides Wiki
Monster Hunter World Walkthrough & Guides Wiki
The Legend of Zelda: Tears of the Kingdom Walkthrough & Guides Wiki
Persona 3 Reload Walkthrough & Guides Wiki


All rights reserved
©1997-2025 NetEase, Inc. All Rights Reserved
The copyrights of videos of games used in our content and other intellectual property rights belong to the provider of the game.
The contents we provide on this site were created personally by members of the Game8 editorial department.
We refuse the right to reuse or repost content taken without our permission such as data or images to other sites.
Hi! Regarding the remaining chest, you can check out our map for all chest locations in this link: https://game8.co/games/Where-Winds-Meet/archives/565795