 under the page's title to be notified of any updates!
This survey will take about 1 minute.
Your answers will help us to improve our website.
Where Winds Meet
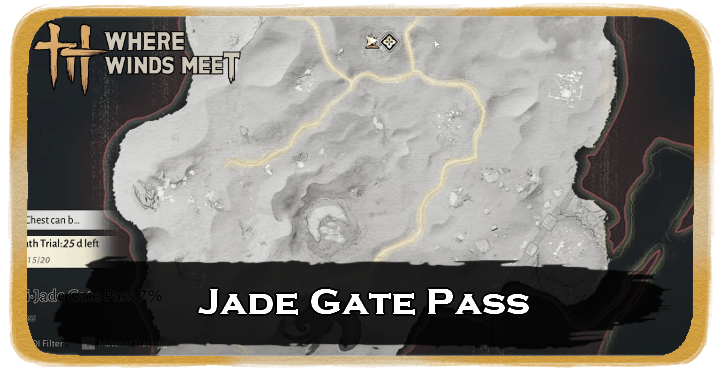
Jade Gate Pass 100% Exploration Guide
03/06: Hexi Map | Chapter 3
★ Unfettered and Everspring Build
☆ Hexi Bosses: Guo Xin | Wandering Ark
✪ Updated: Best Weapon | Best Builds
☆ WWM Game8 Twitter: New tips daily!
Recruit using our Guild Recruitment Board!
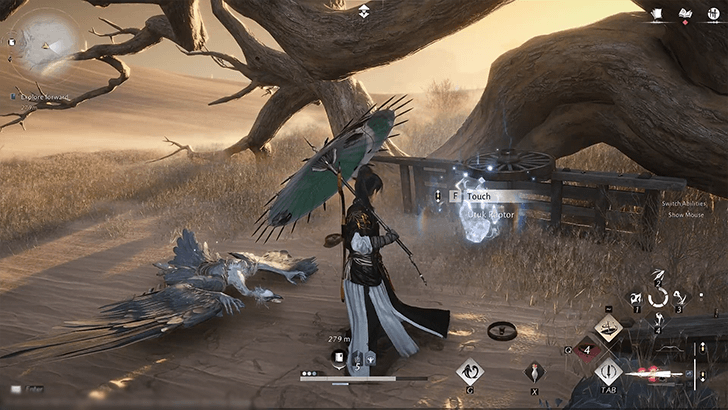
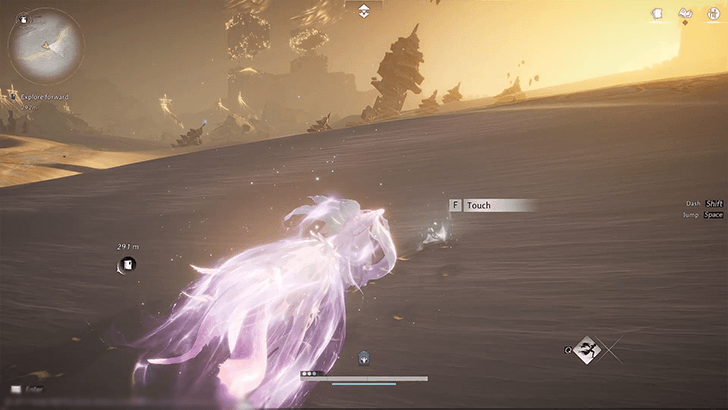
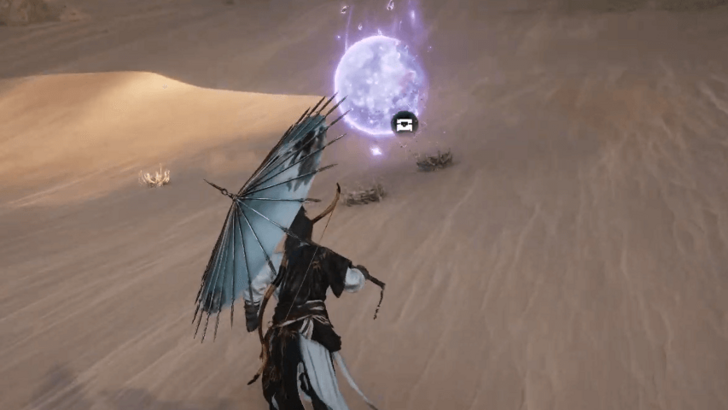
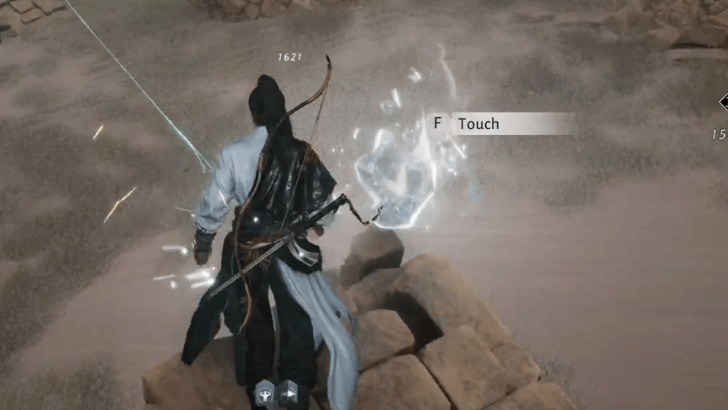
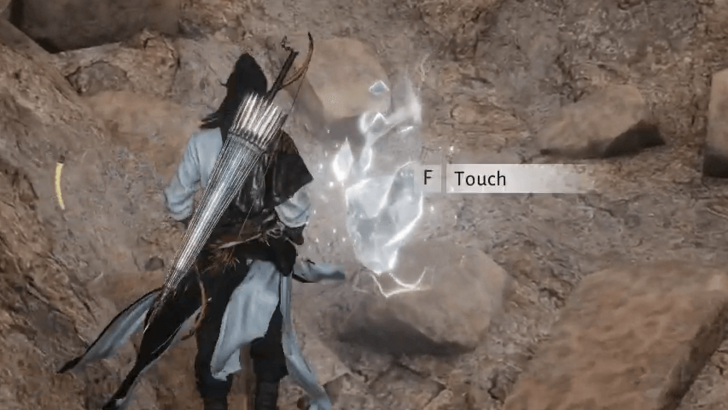
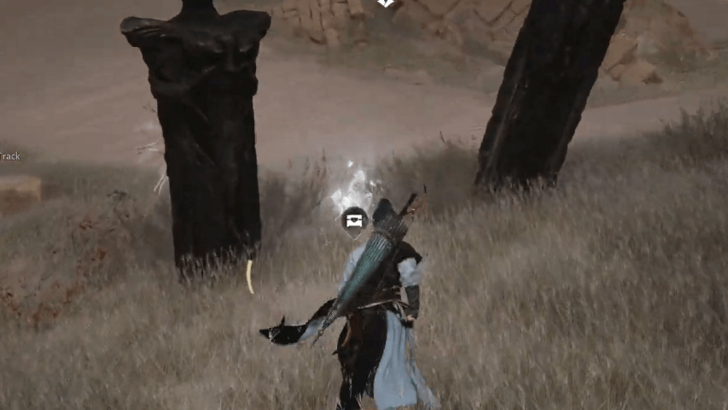
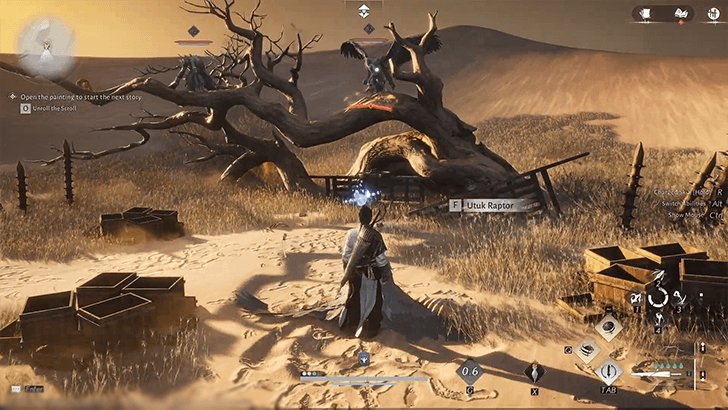
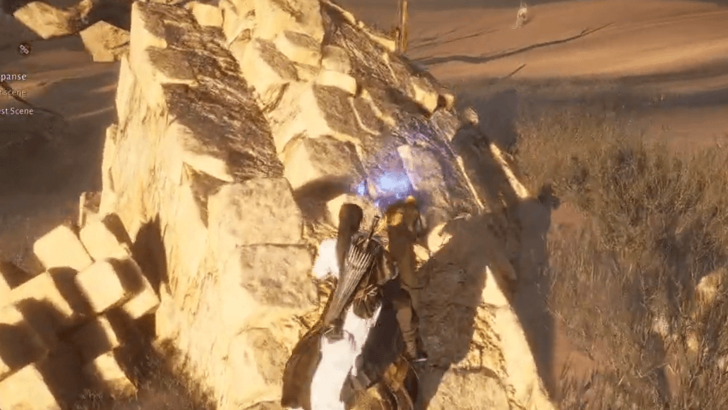
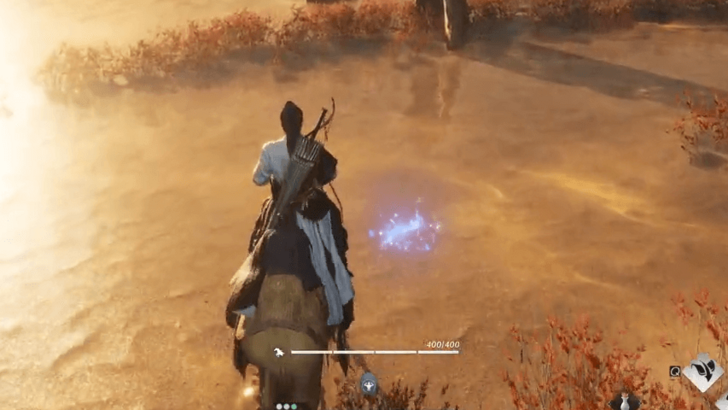
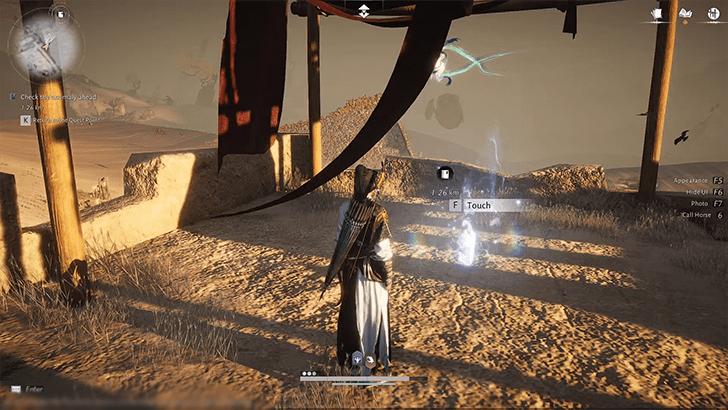
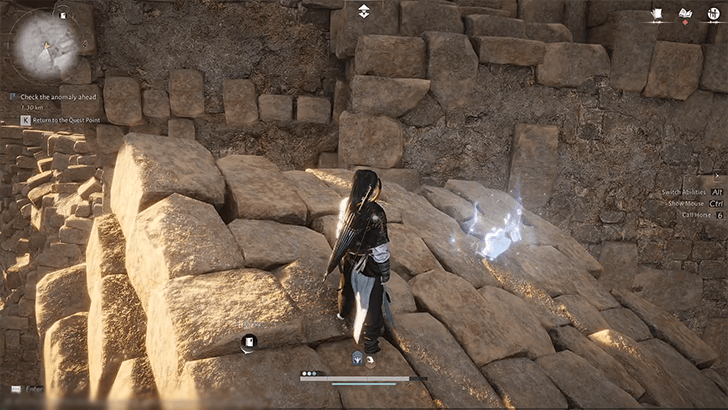
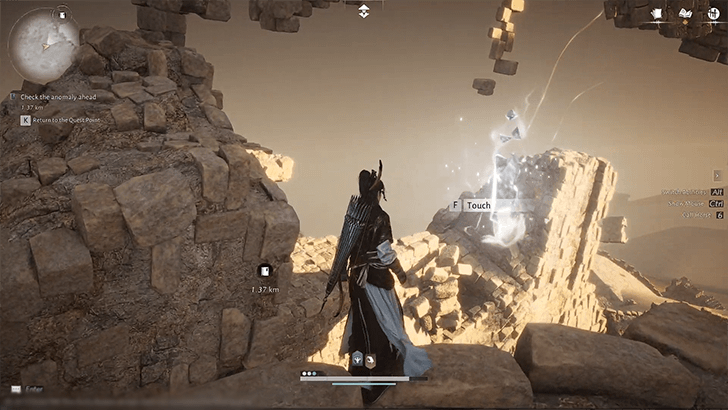
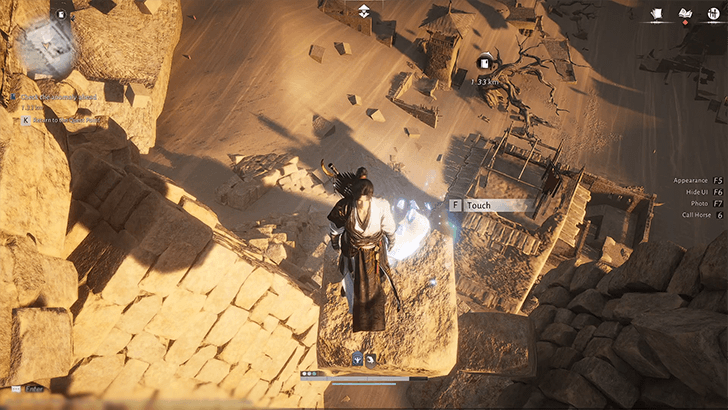
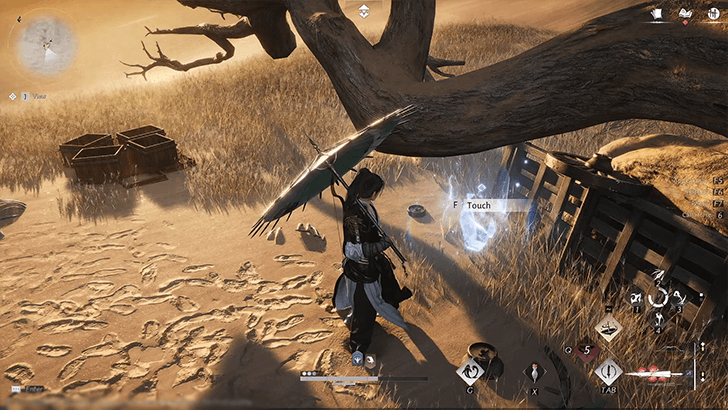
Jade Gate Pass is a subregion of Hexi region in Where Winds Meet. Learn of all Jade Gate Pass' Sentient Beings from each area, its outposts location, quests, and NPC location in this article.
| All Hexi Subregions | ||
|---|---|---|
| Jade Gate Pass NEW | Liangzhou Town | Qinchuan Path |
 Attention! |
We are currently rushing out guides as quickly as possible. More details will be added here soon! |
|---|
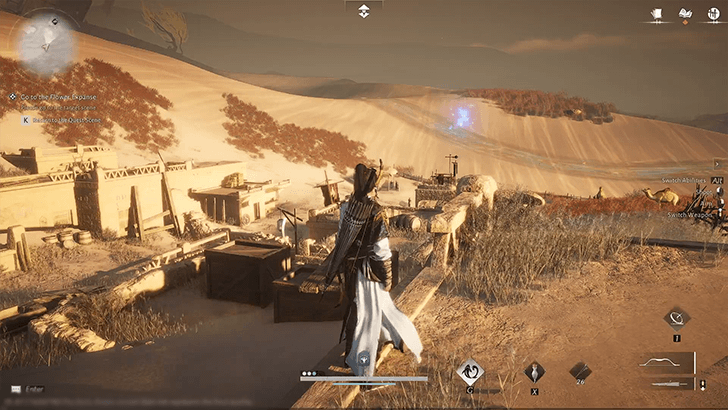
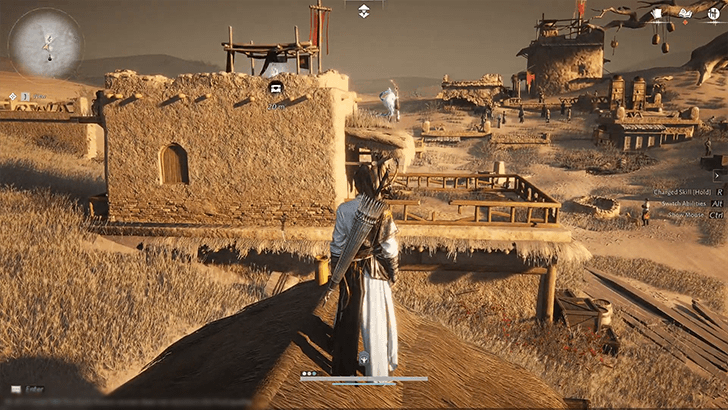
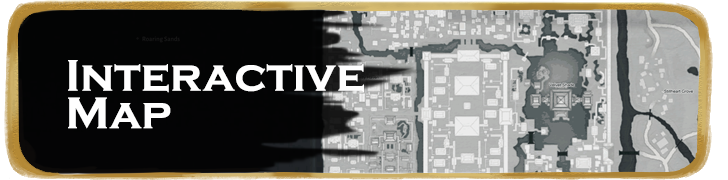
Jade Gate Pass Interactive Map
| TIP: Use the "All Regions" dropdown in the sidebar and select "Jade Gate Pass" to filter to pins for that region only! |
Where Winds Meet Interactive Map
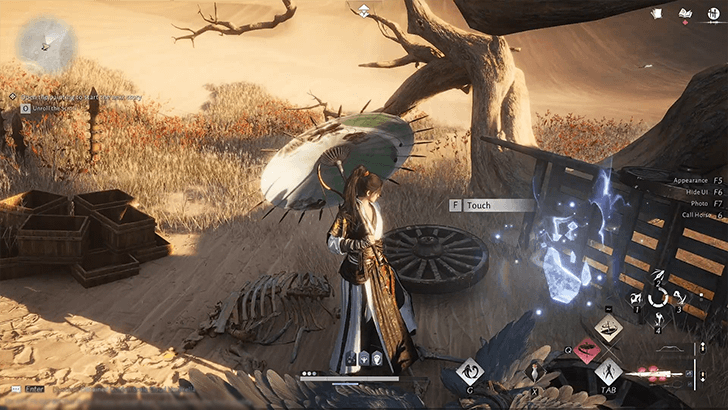
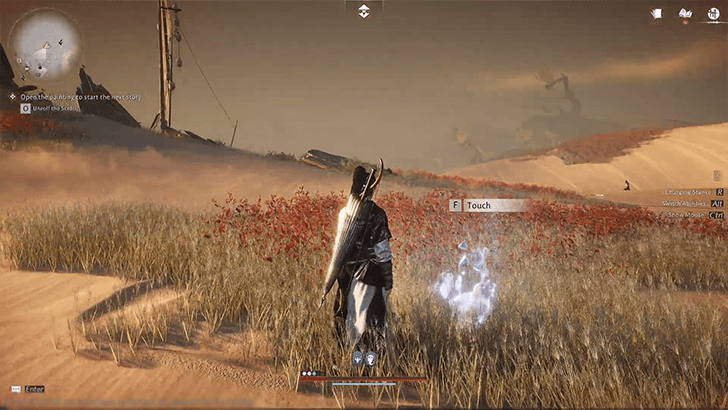
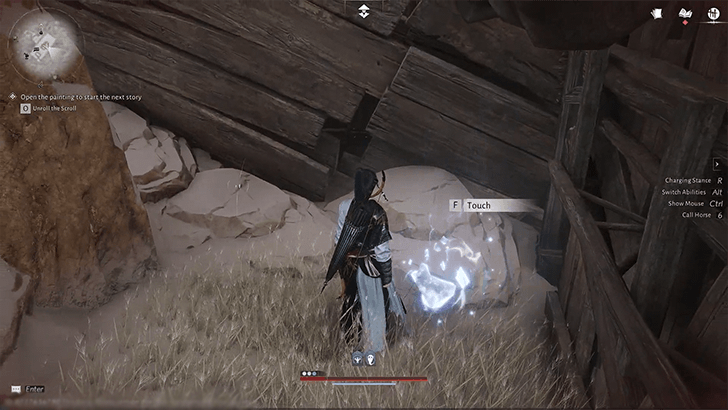
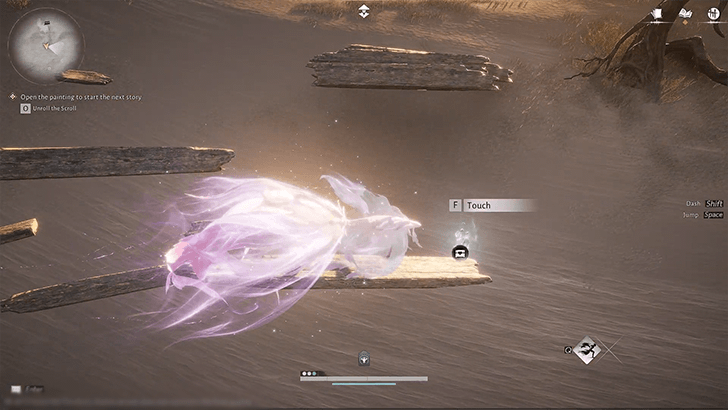
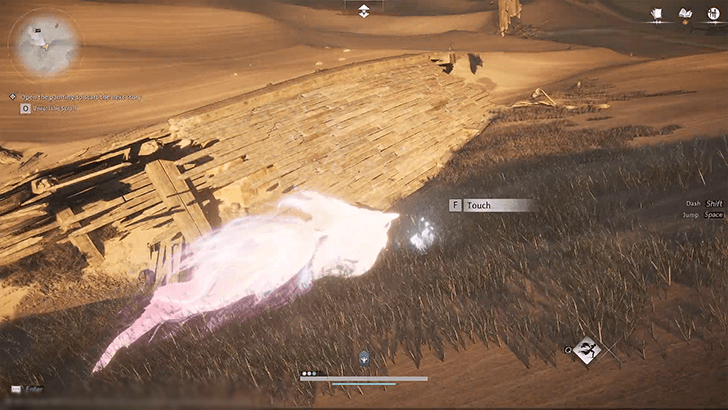
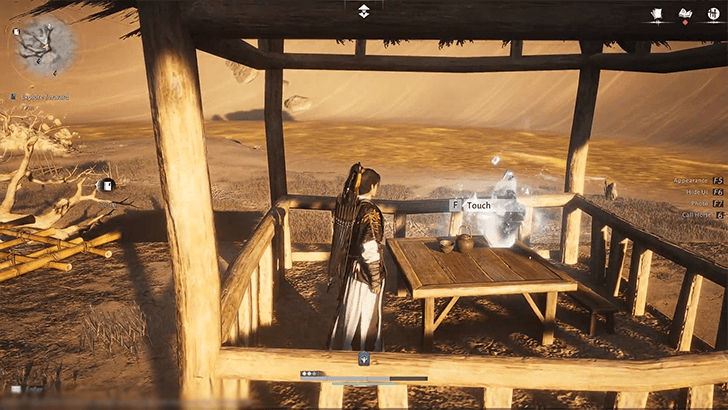
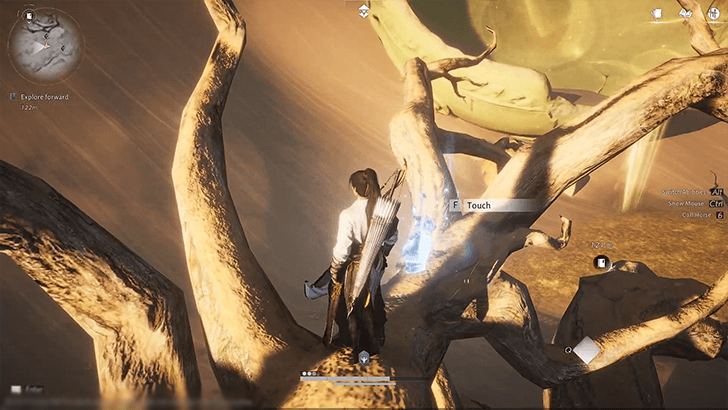
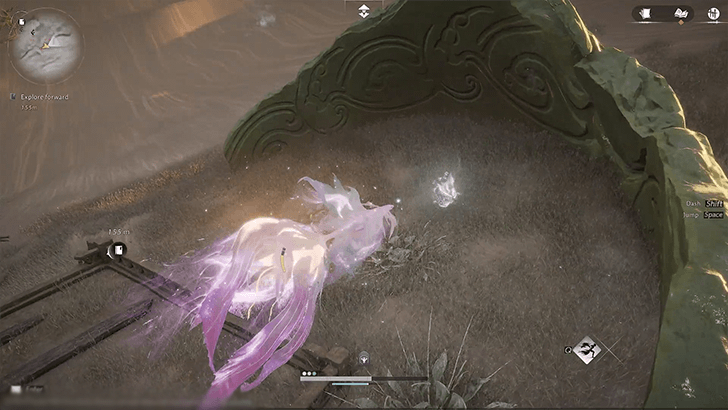
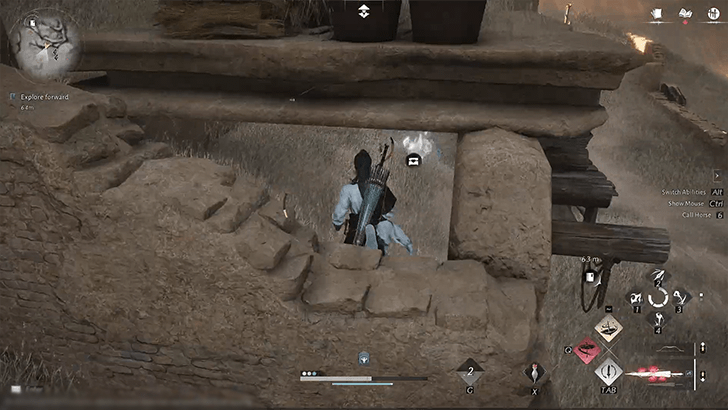
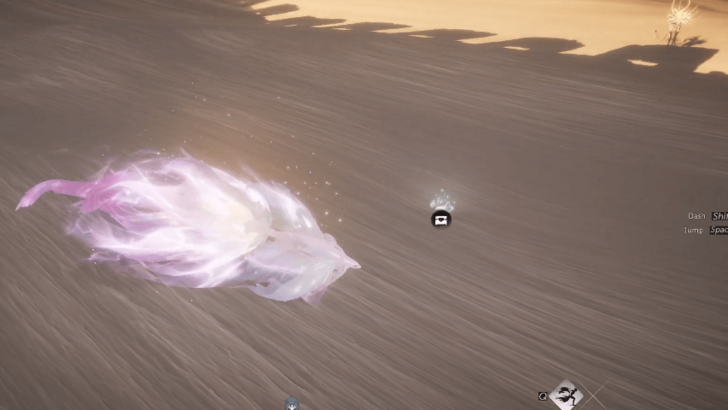
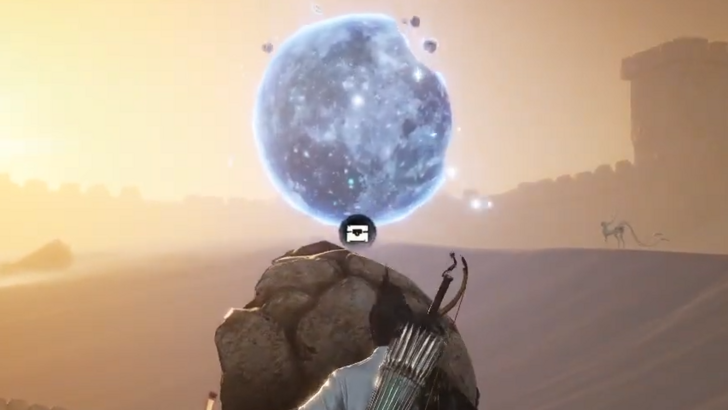
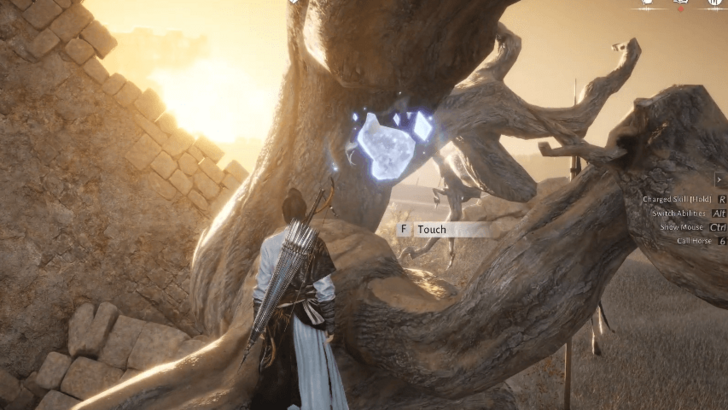
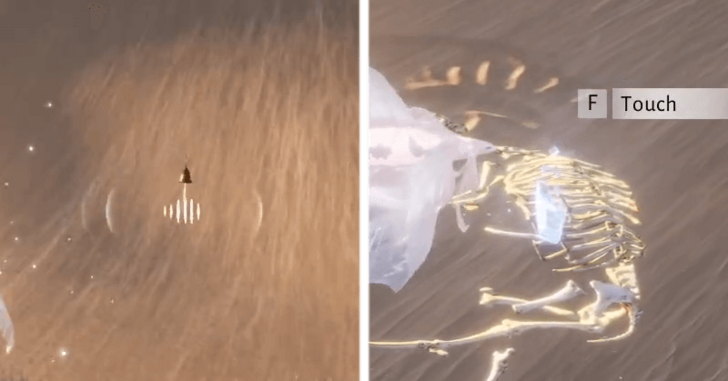
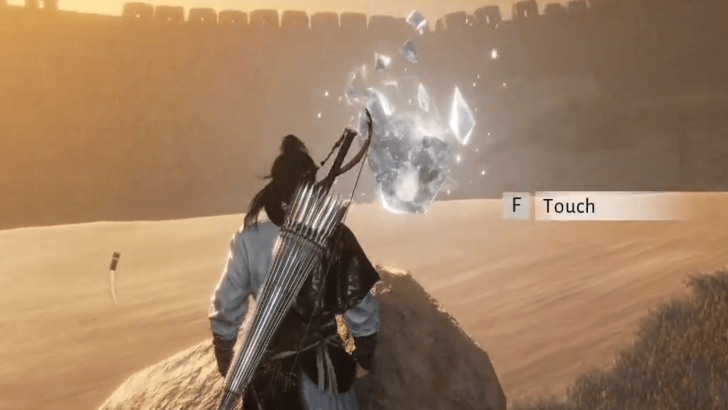
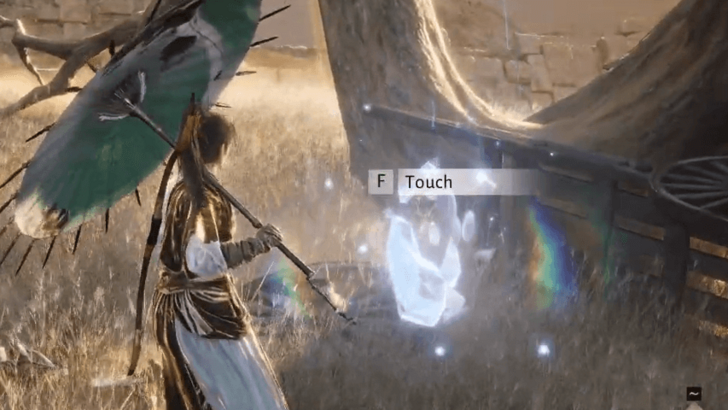
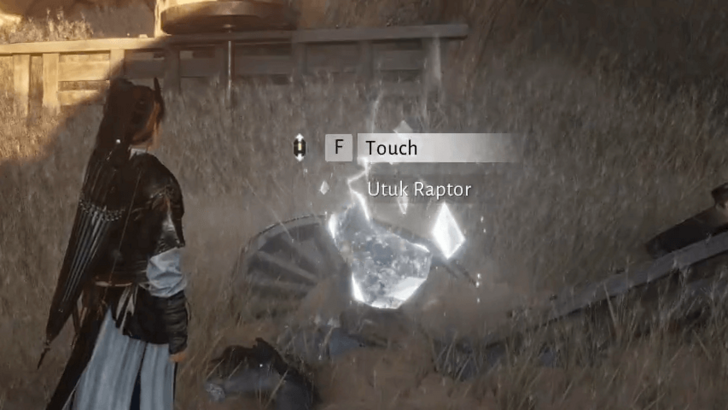
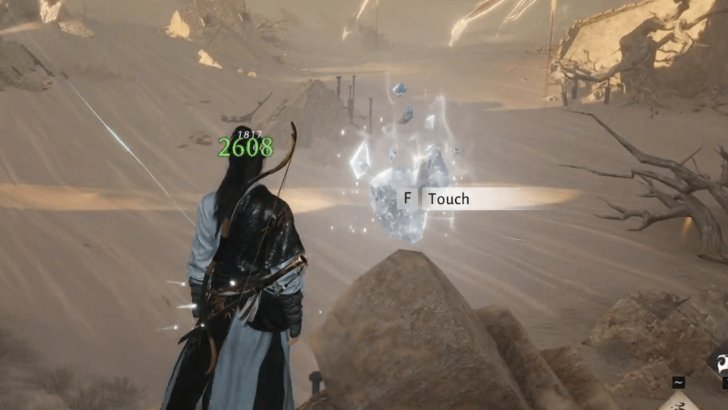
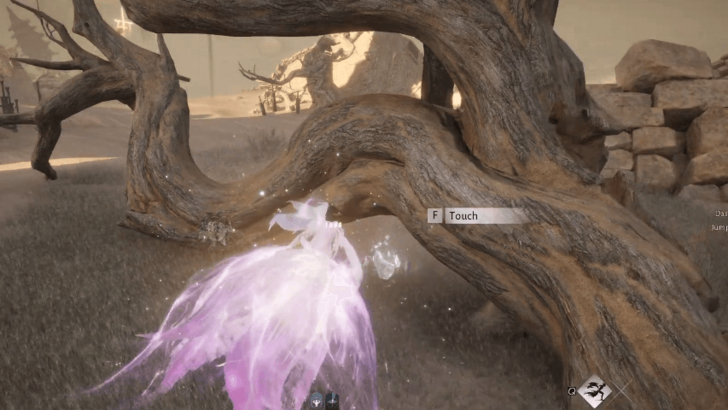
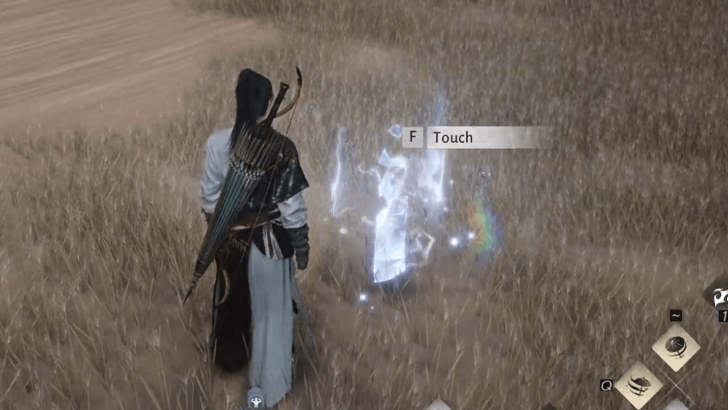
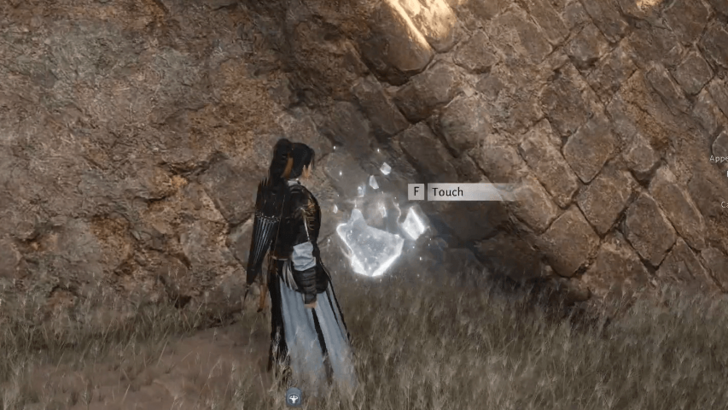
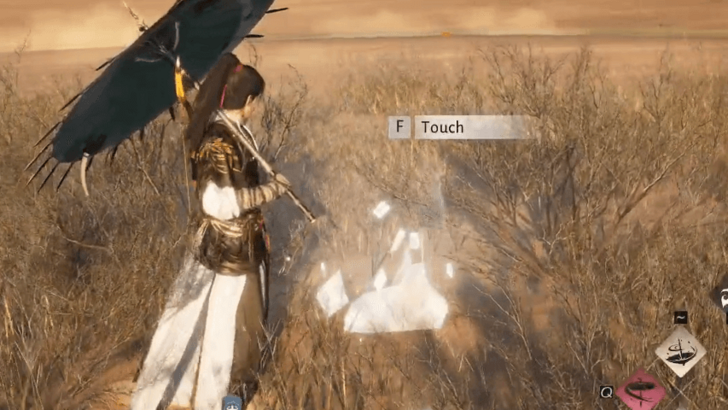
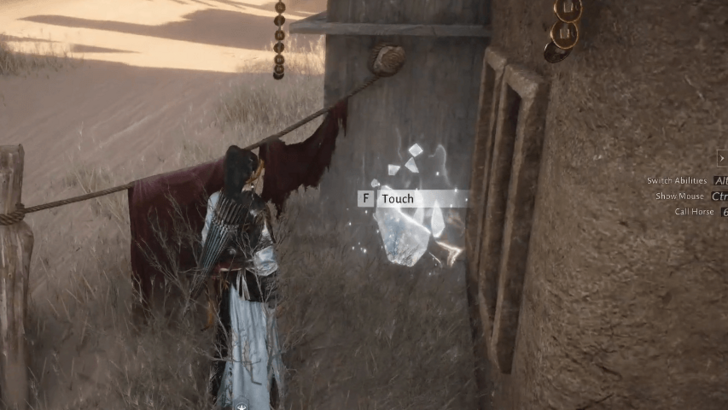
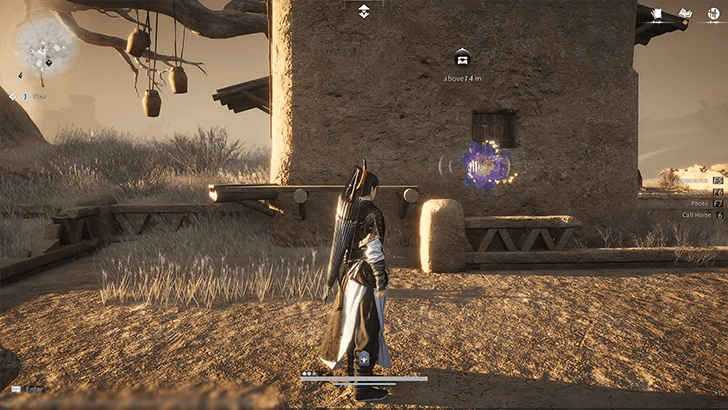
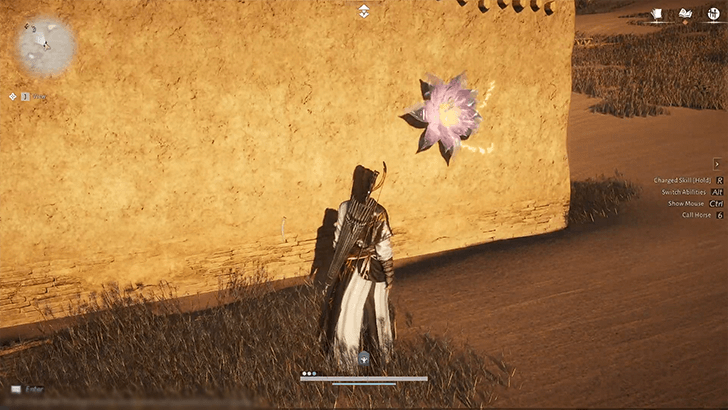
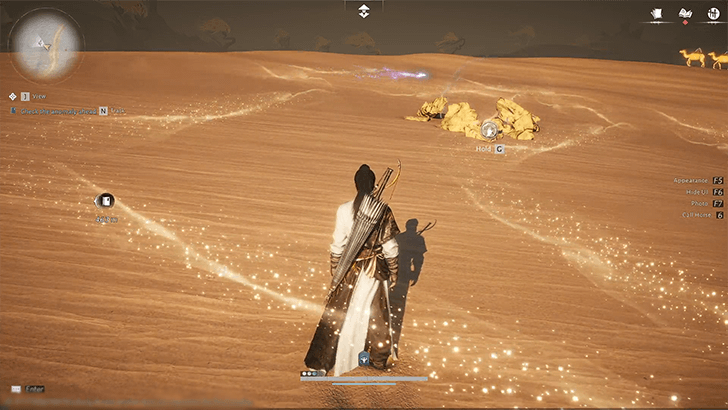
List of Jade Gate Pass Sentient Beings
| Lost Crossing | Golden Sands River |
| Straying Steed Sands | Ayisu |
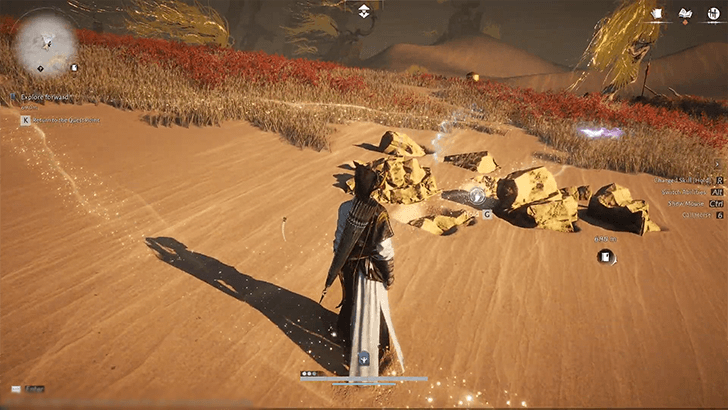
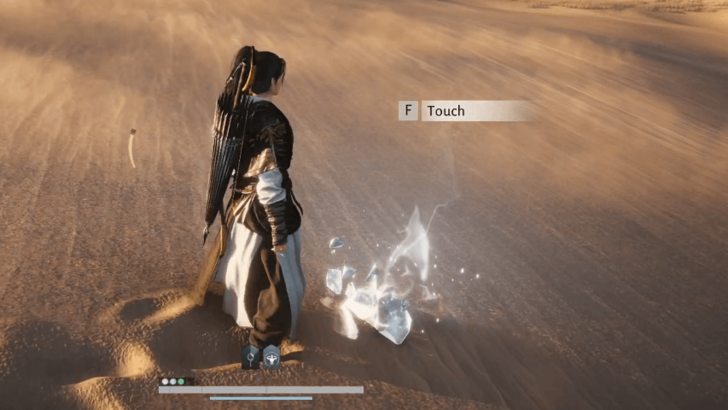
Lost Crossing
| Point of Interest | Details |
|---|---|
|
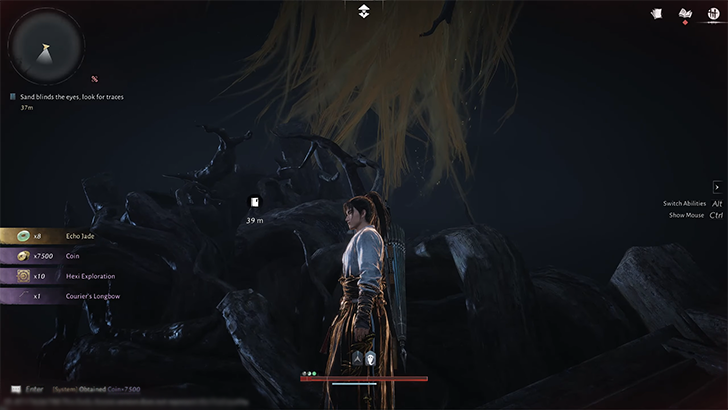
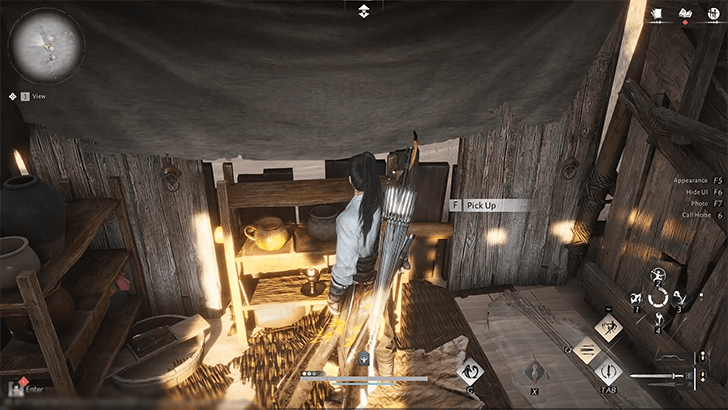
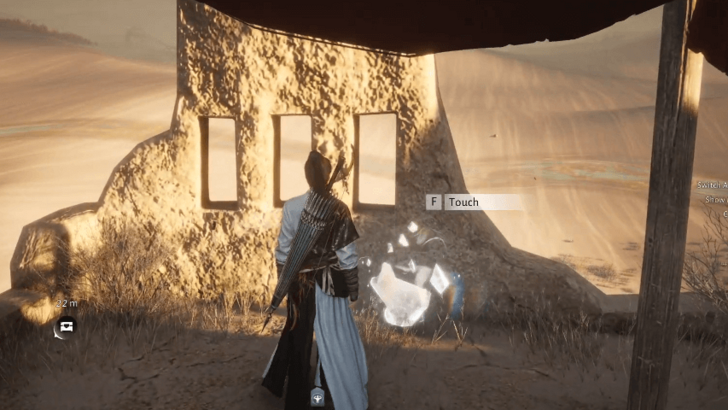
Courier’s Longbow
(Antique) |
 |
|
Station Master’s Token
(Antique) |
 |
|
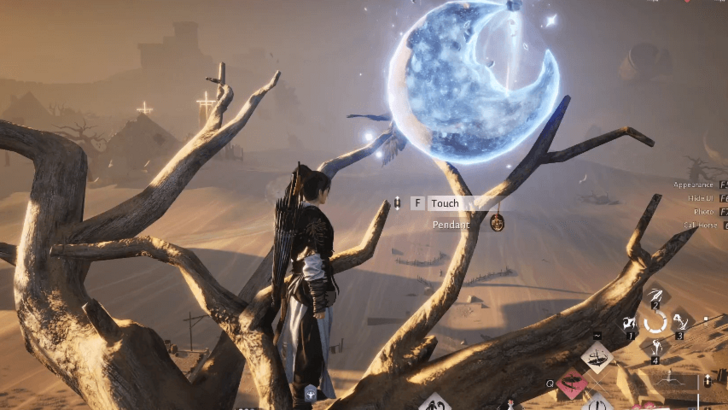
Newborn's Jade
(Antique) |
 |
|
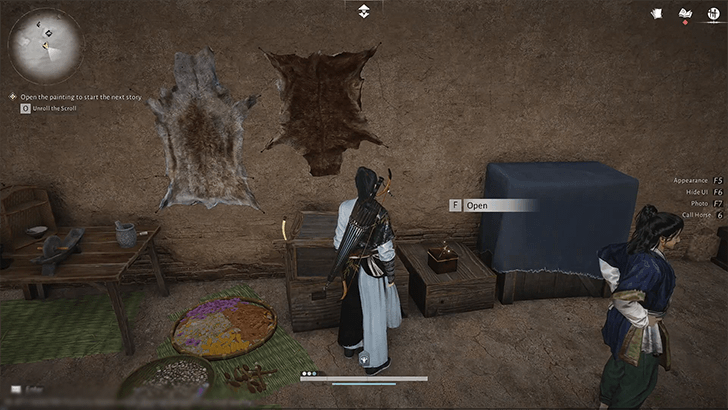
Sunward Spear
(Antique) |
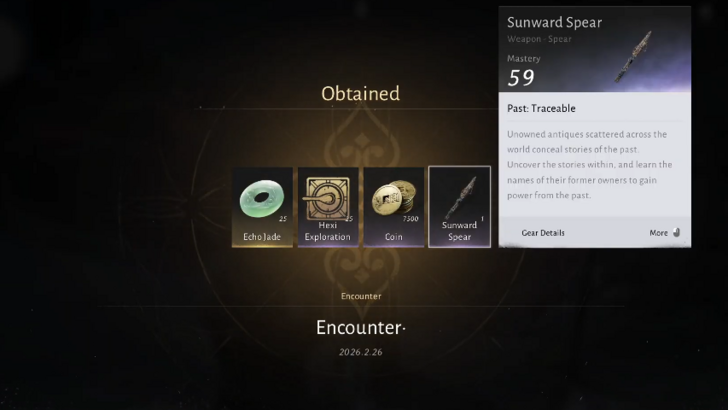 |
|
Tiny Gourd
(Antique) |
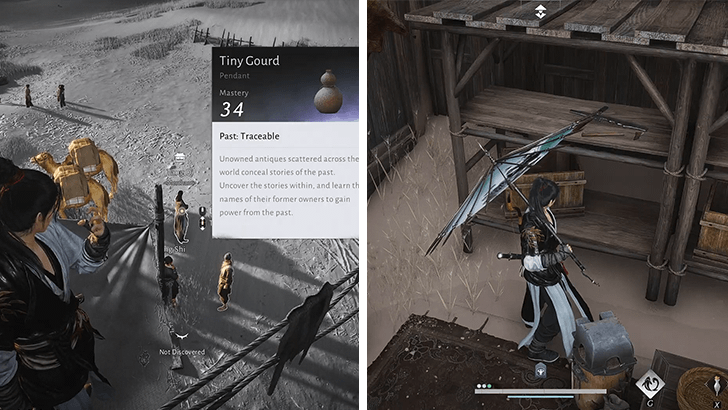 |
|
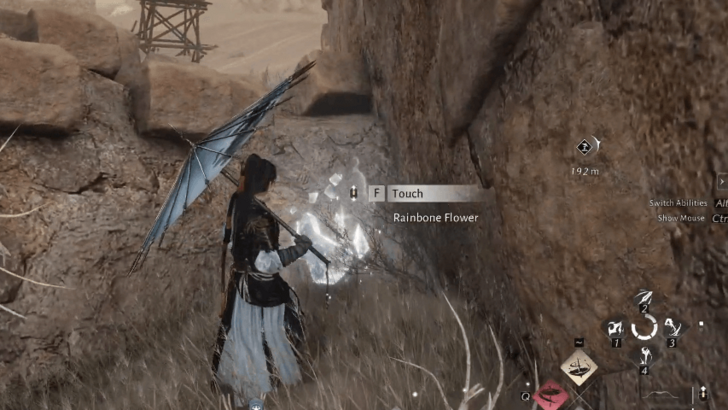
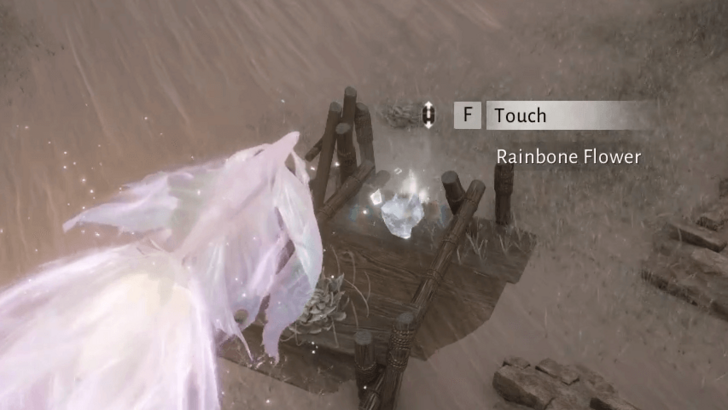
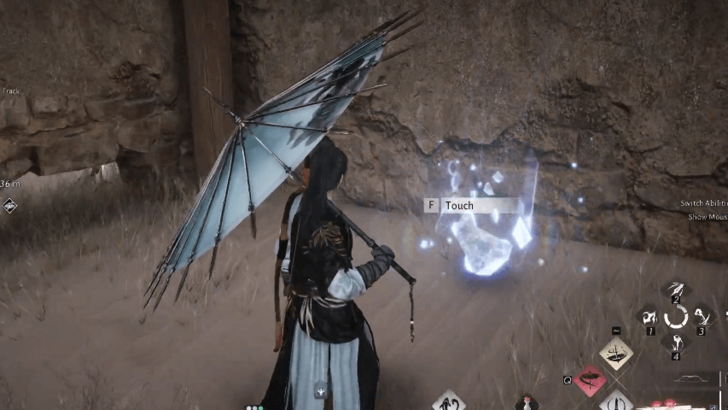
Lost Crossing Universal Harmony 1
(Universal Harmony) |
 |
|
Lost Crossing Hidden Paths 1
(Hidden Paths) |
 |
|
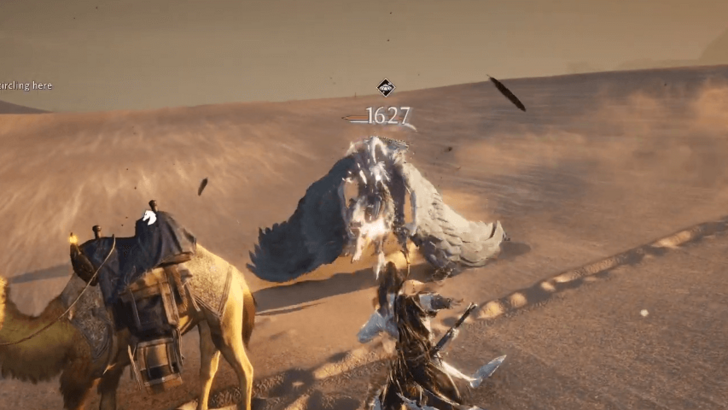
Vipers in the Dunes
(Injustice) |
 |
|
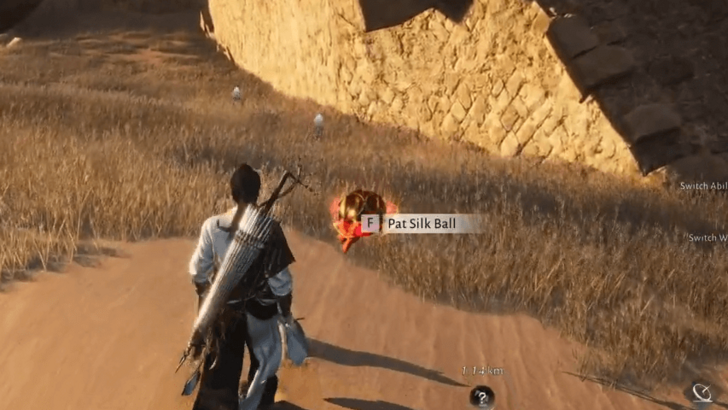
Sand-Skiing Challenge
(Meow Meow’s Treasure) |
 |
|
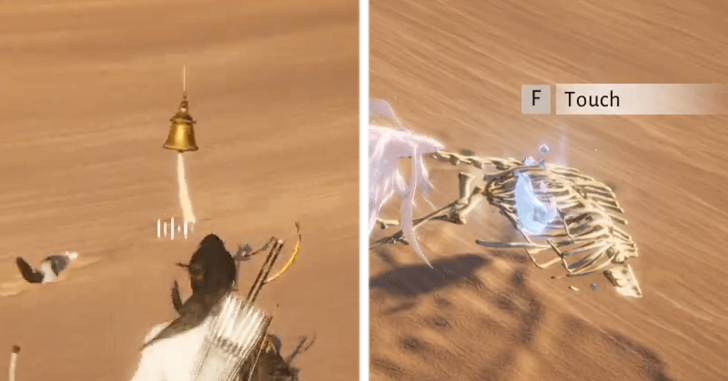
Ring the Bell to Pray
(Meow Meow’s Treasure) |
 |
|
Sand-Skiing Challenge
(Meow Meow’s Treasure) |
 |
|
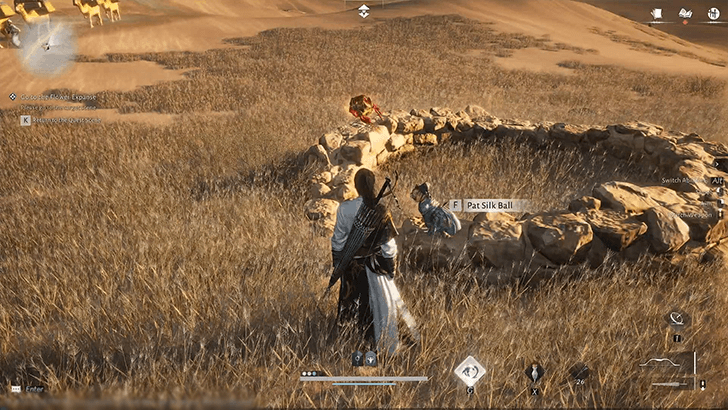
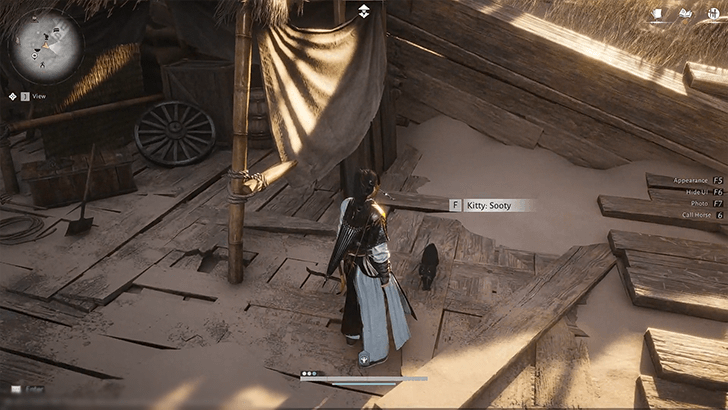
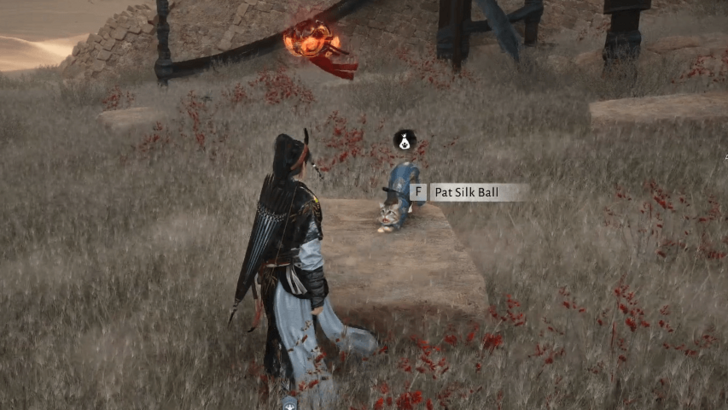
Kitty: Sooty
(Cat Play) |
 |
|
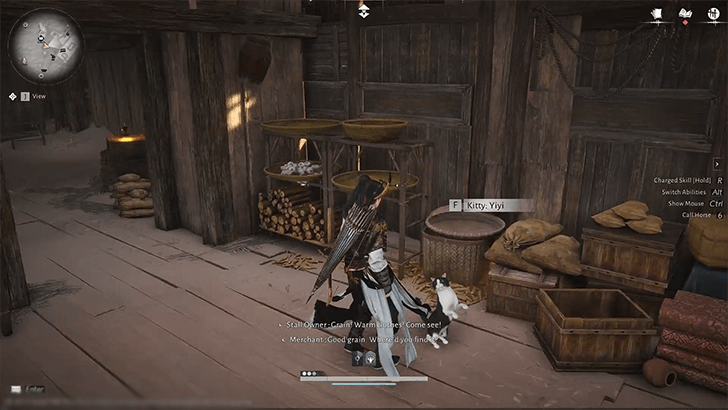
Kitty: Yiyi
(Cat Play) |
 |
|
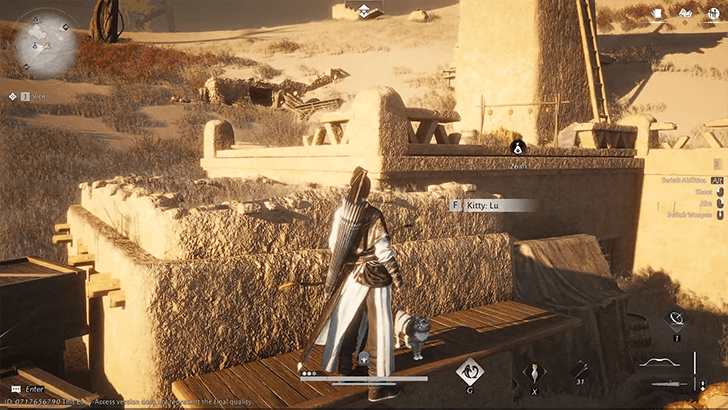
Kitty: Lu
(Cat Play) |
 |
|
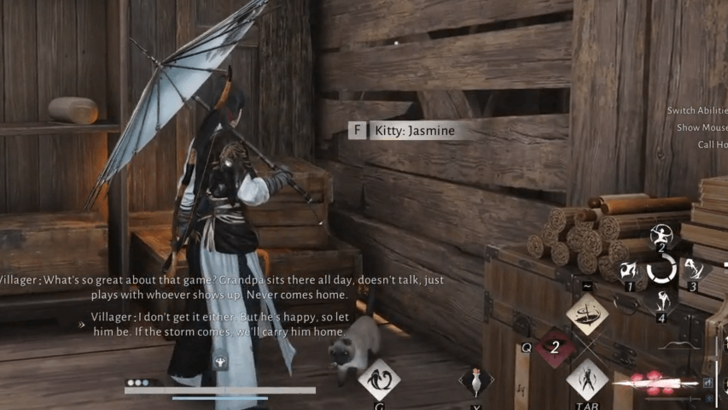
Kitty: Jasmine
(Cat Play) |
 |
|
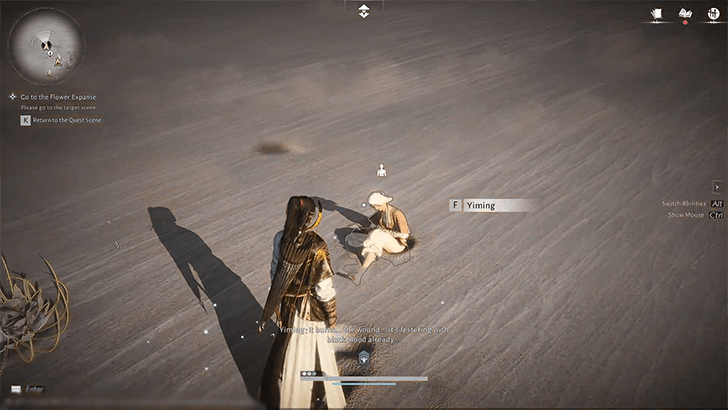
Yiming
(Healer Healing) |
 |
|
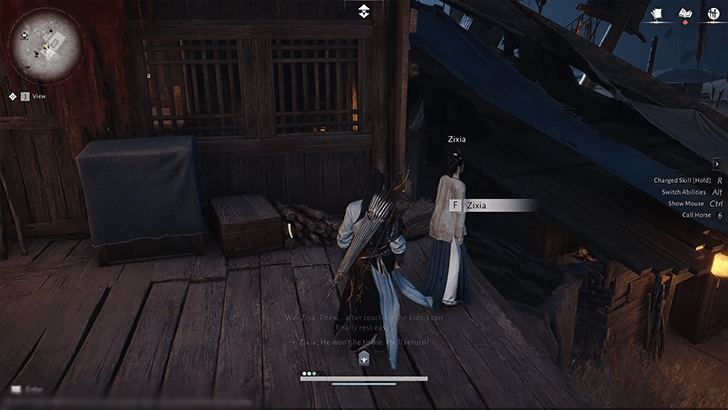
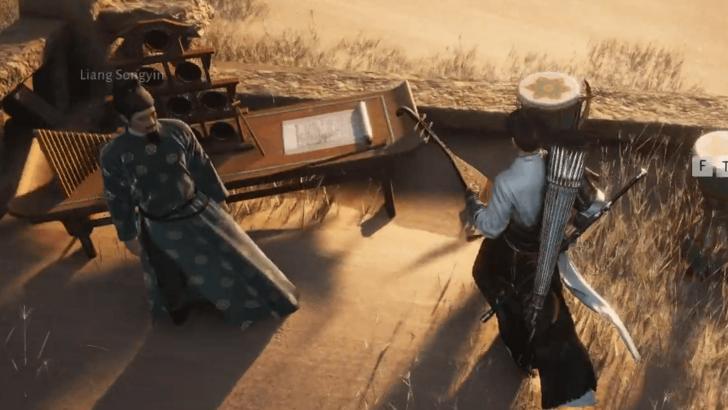
Zixia
(Gift of Gab) |
 |
|
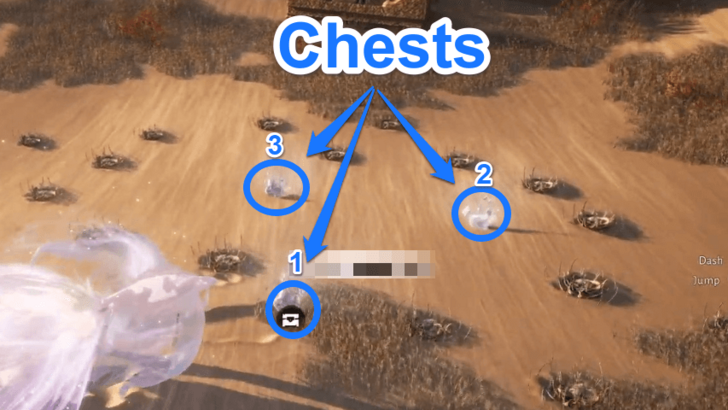
Lost Crossing Chest 1
(Chest) |
 |
|
Lost Crossing Chest 2
(Chest) |
 |
|
Lost Crossing Chest 3
(Chest) |
 |
|
Lost Crossing Chest 4
(Chest) |
 |
|
Lost Crossing Chest 5
(Chest) |
 |
|
Lost Crossing Chest 6
(Chest) |
 |
|
Lost Crossing Chest 7
(Chest) |
 |
|
Lost Crossing Chest 8
(Chest) |
 |
|
Lost Crossing Chest 9
(Chest) |
 |
|
Lost Crossing Chest 10
(Chest) |
 |
|
Lost Crossing Chest 11
(Chest) |
 |
|
Lost Crossing Chest 12
(Chest) |
 |
|
Lost Crossing Chest 13
(Chest) |
 |
|
Lost Crossing Chest 14
(Chest) |
 |
|
Lost Crossing Chest 15
(Chest) |
 |
|
Lost Crossing Chest 16
(Chest) |
 |
|
Lost Crossing Chest 17
(Chest) |
 |
|
Lost Crossing Chest 18
(Chest) |
 |
|
Lost Crossing Chest 19
(Chest) |
 |
|
Lost Crossing Chest 20
(Chest) |
 |
|
Lost Crossing Chest 21
(Chest) |
 |
|
Lost Crossing Chest 22
(Chest) |
 |
|
Lost Crossing Chest 23
(Chest) |
 |
|
Lost Crossing Chest 24
(Chest) |
 |
|
Lost Crossing Chest 25
(Chest) |
 |
|
Lost Crossing Chest 26
(Chest) |
 |
|
Lost Crossing Chest 27
(Chest) |
 |
|
Lost Crossing Chest 28
(Chest) |
 |
|
Lost Crossing Chest 29
(Chest) |
 |
|
Lost Crossing Chest 30
(Chest) |
 |
|
Lost Crossing Chest 31
(Chest) |
 |
|
Lost Crossing Chest 32
(Chest) |
 |
|
Lost Crossing Chest 33
(Chest) |
 |
|
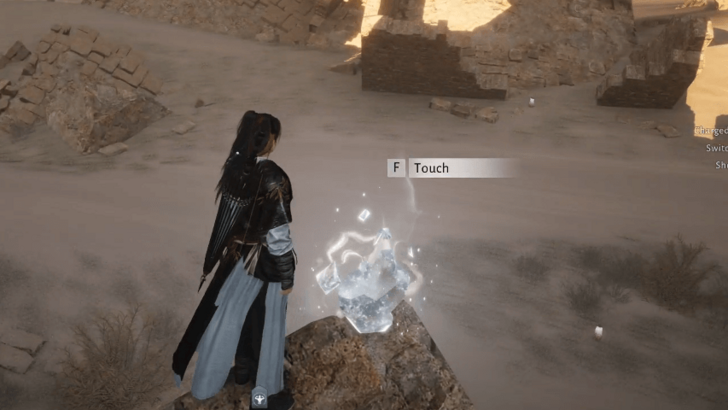
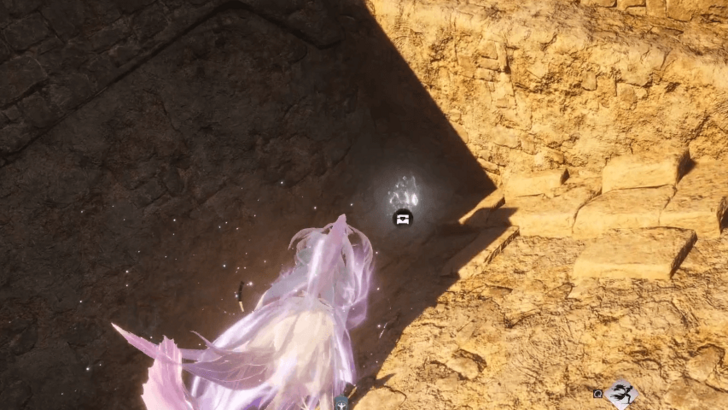
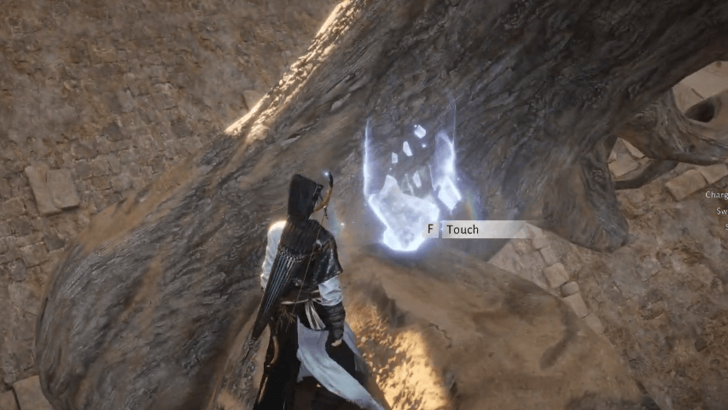
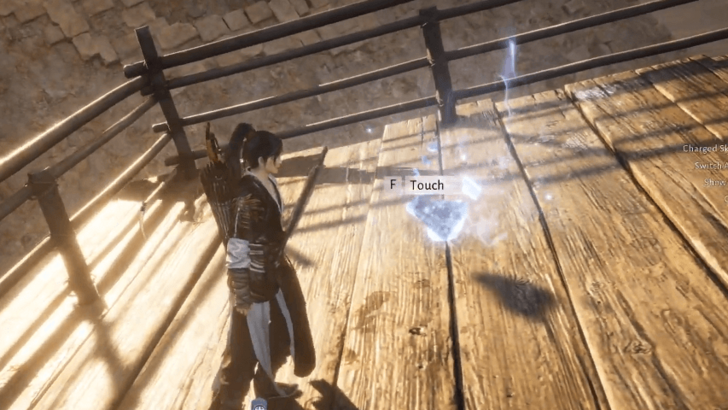
Lost Crossing Oddity 1
(Oddity) |
 |
|
Lost Crossing Oddity 2
(Oddity) |
 |
|
Lost Crossing Oddity 3
(Oddity) |
 |
|
Lost Crossing Oddity 4
(Oddity) |
 |
|
Lost Crossing Oddity 5
(Oddity) |
 |
|
Lost Crossing Oddity 6
(Oddity) |
 |
|
Lost Crossing Oddity 7
(Oddity) |
 |
|
Lost Crossing Oddity 8
(Oddity) |
 |
|
Lost Crossing Oddity 9
(Oddity) |
 |
|
Lost Crossing Camp 1
(Camp) |
 |
|
Lost Crossing Camp 2
(Camp) |
 |
|
Lost Crossing Camp 3
(Camp) |
 |
|
Lost Crossing Camp 4
(Camp) |
 |
|
Lost Crossing Camp 5
(Camp) |
 |
|
Wang Zhenyu
(Graceful Melody) |
 |
|
Shi Meng
(Wrestling) |
 |
|
Du Buyi
(Piaoyao Battleboard) |
 |
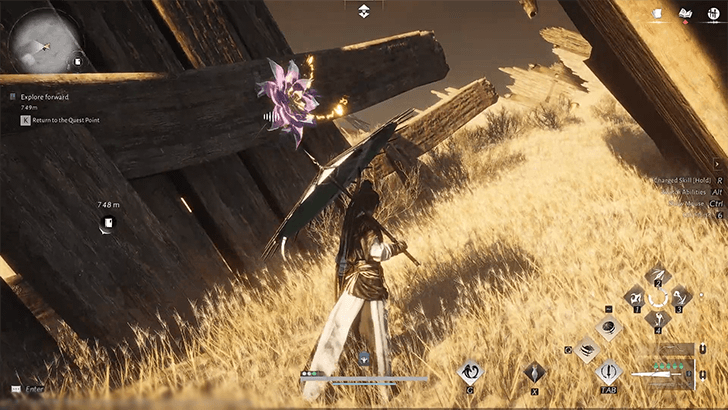
Golden Sands River
| Point of Interest | Details |
|---|---|
|
Desert Bloom Charm
(Antique) |
 |
|
Well-Digger’s Pendant
(Antique) |
 |
|
Golden Whip
(Antique) |
 |
|
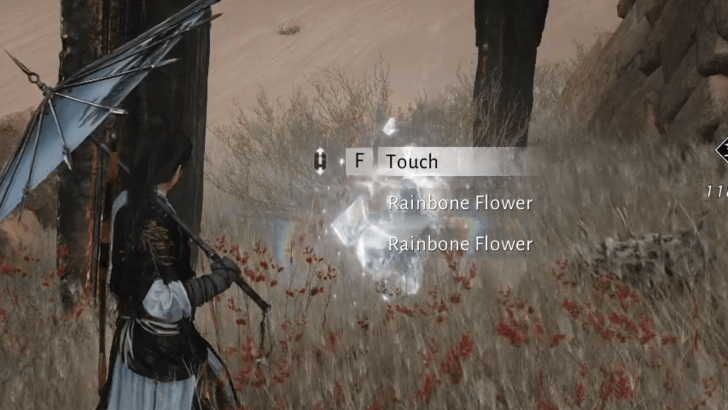
GSR Universal Harmony 1
(Universal Harmony) |
 |
|
GSR Hidden Path 1
(Hidden Paths) |
 |
|
GSR Hidden Path 2
(Hidden Paths) |
 |
|
Plague of Wings
(Injustice) |
 |
|
Ring the Bell to Pray
(Meow Meow’s Treasure) |
 |
|
Sand-Skiing Challenge
(Meow Meow’s Treasure) |
 |
|
Ring the Bell to Pray
(Meow Meow’s Treasure) |
 |
|
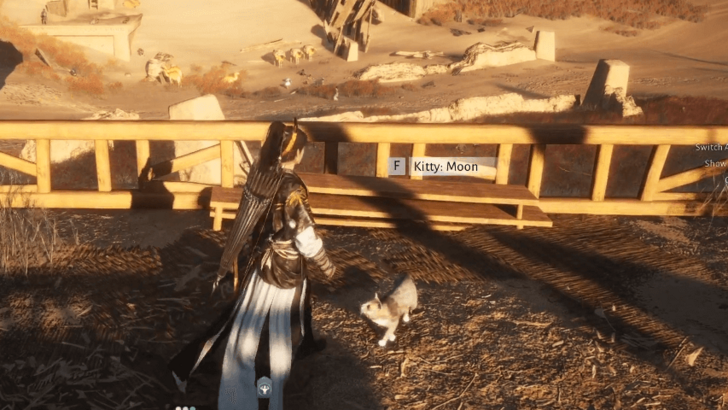
Kitty: Moon
(Cat Play) |
 |
|
Kitty: Dumpling
(Cat Play) |
 |
|
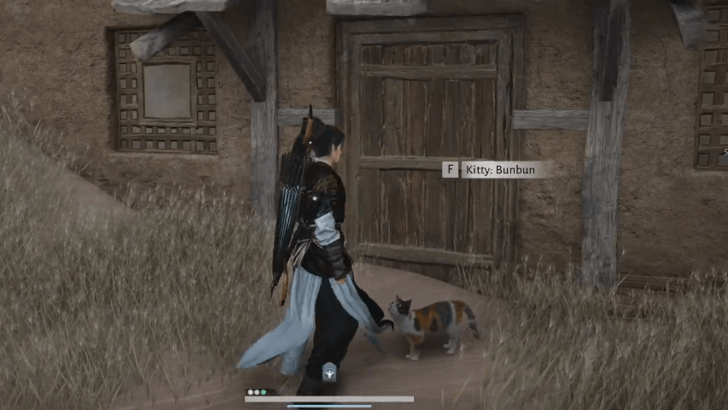
Kitty: Bunbun
(Cat Play) |
 |
|
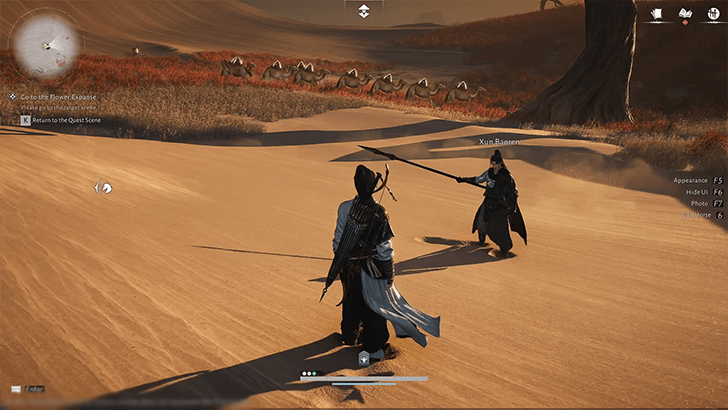
Xun Baoren
(Martial Fellowship) |
 |
|
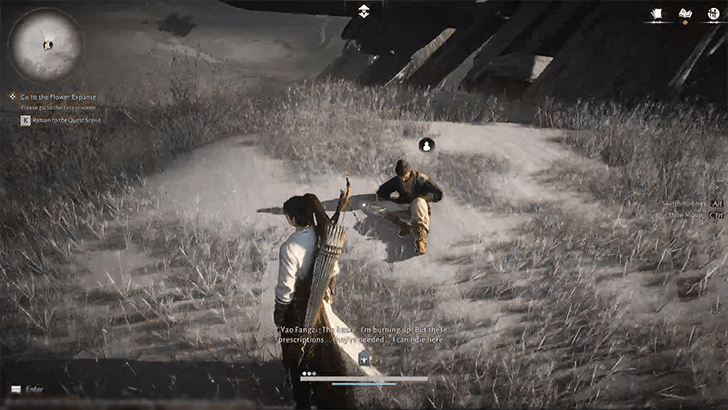
Yao Fangzi
(Healer Healing) |
 |
|
GSR Chest 1
(Chest) |
 |
|
GSR Chest 2
(Chest) |
 |
|
GSR Chest 3
(Chest) |
 |
|
GSR Chest 4
(Chest) |
 |
|
GSR Chest 5
(Chest) |
 |
|
GSR Chest 6
(Chest) |
 |
|
GSR Chest 7
(Chest) |
 |
|
GSR Chest 8
(Chest) |
 |
|
GSR Chest 9
(Chest) |
 |
|
GSR Chest 10
(Chest) |
 |
|
GSR Chest 11
(Chest) |
 |
|
GSR Chest 12
(Chest) |
 |
|
GSR Chest 13
(Chest) |
 |
|
GSR Chest 14
(Chest) |
 |
|
GSR Chest 15
(Chest) |
 |
|
GSR Chest 16
(Chest) |
 |
|
GSR Chest 17
(Chest) |
 |
|
GSR Chest 18
(Chest) |
 |
|
GSR Chest 19
(Chest) |
 |
|
GSR Chest 20
(Chest) |
 |
|
GSR Chest 21
(Chest) |
 |
|
GSR Chest 22
(Chest) |
 |
|
GSR Chest 23
(Chest) |
 |
|
GSR Chest 24
(Chest) |
 |
|
GSR Chest 25
(Chest) |
 |
|
GSR Chest 26
(Chest) |
 |
|
GSR Chest 27
(Chest) |
 |
|
GSR Chest 28
(Chest) |
 |
|
GSR Chest 29
(Chest) |
 |
|
GSR Chest 30
(Chest) |
 |
|
GSR Chest 31
(Chest) |
 |
|
GSR Chest 32
(Chest) |
 |
|
GSR Chest 33
(Chest) |
 |
|
GSR Chest 34
(Chest) |
 |
|
GSR Chest 35
(Chest) |
 |
|
GSR Chest 36
(Chest) |
 |
|
GSR Chest 37
(Chest) |
 |
|
GSR Chest 38
(Chest) |
 |
|
GSR Chest 39
(Chest) |
 |
|
GSR Chest 40
(Chest) |
 |
|
GSR Chest 41
(Chest) |
 |
|
GSR Chest 42
(Chest) |
 |
|
GSR Chest 43
(Chest) |
 |
|
GSR Chest 44
(Chest) |
 |
|
GSR Chest 45
(Chest) |
 |
|
GSR Chest 46
(Chest) |
 |
|
GSR Chest 47
(Chest) |
 |
|
GSR Chest 48
(Chest) |
 |
|
GSR Chest 49
(Chest) |
 |
|
GSR Chest 50
(Chest) |
 |
|
GSR Chest 51
(Chest) |
 |
|
GSR Chest 52
(Chest) |
 |
|
GSR Chest 53
(Chest) |
 |
|
GSR Chest 54
(Chest) |
 |
|
GSR Chest 55
(Chest) |
 |
|
GSR Chest 56
(Chest) |
 |
|
GSR Chest 57
(Chest) |
 |
|
GSR Chest 58
(Chest) |
 |
|
GSR Chest 59
(Chest) |
 |
|
GSR Oddity 1
(Oddity) |
 |
|
GSR Oddity 2
(Oddity) |
 |
|
GSR Oddity 3
(Oddity) |
 |
|
GSR Oddity 4
(Oddity) |
 |
|
GSR Oddity 5
(Oddity) |
 |
|
GSR Oddity 6
(Oddity) |
 |
|
GSR Oddity 7
(Oddity) |
 |
|
GSR Oddity 8
(Oddity) |
 |
|
GSR Oddity 9
(Oddity) |
 |
|
GSR Oddity 10
(Oddity) |
 |
|
GSR Camp 1
(Camp) |
 |
|
GSR Camp 2
(Camp) |
 |
|
GSR Camp 3
(Camp) |
 |
|
GSR Camp 4
(Camp) |
 |
|
GSR Camp 5
(Camp) |
 |
|
GSR Camp 6
(Camp) |
 |
|
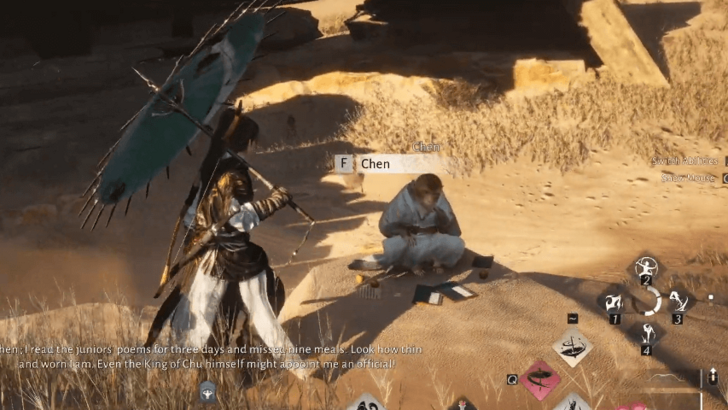
Chen
(Gift of Gab) |
 |
|
GSR Foes of the Outer Realms 1
(Foes of the Outer Realms) |
 |
|
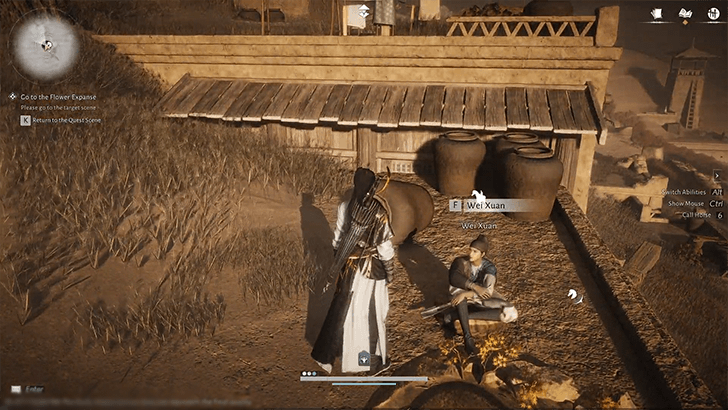
Wei Xuan
(Piaoyao Battleboard) |
 |
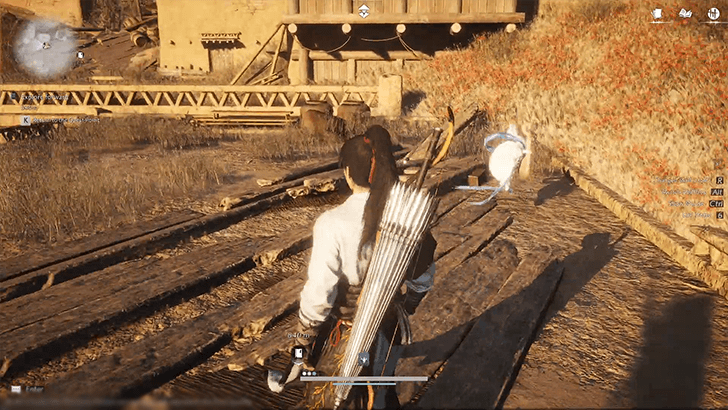
Straying Steed Sands
| Point of Interest | Details |
|---|---|
|
Copper Coin Greaves
(Antique) |
 |
|
Veteran's Gleaming Cuirass
(Antique) |
|
|
Blood-Stained Bindings
(Antique) |
 |
|
Unyielding Arrow
(Antique) |
 |
|
SSS Universal Harmony 1
(Universal Harmony) |
 |
|
SSS Universal Harmony 2
(Universal Harmony) |
 |
|
Echoes of the Past
(Injustice) |
 |
|
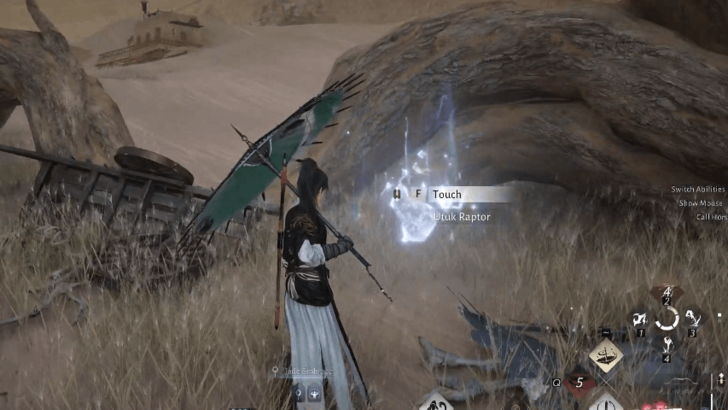
Utuk Harassment
(Injustice) |
 |
|
Gather will-o'-wisps
(Meow Meow’s Treasure) |
 |
|
Sand-Skiing Challenge
(Meow Meow’s Treasure) |
 |
|
Ring the Bell to Pray
(Meow Meow’s Treasure) |
 |
|
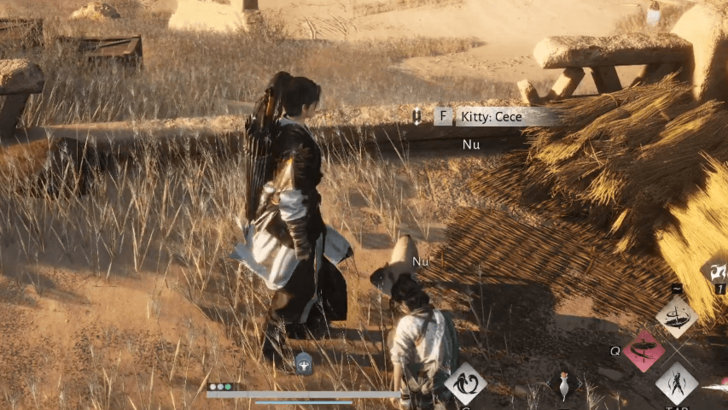
Kitty: Cece
(Cat Play) |
 |
|
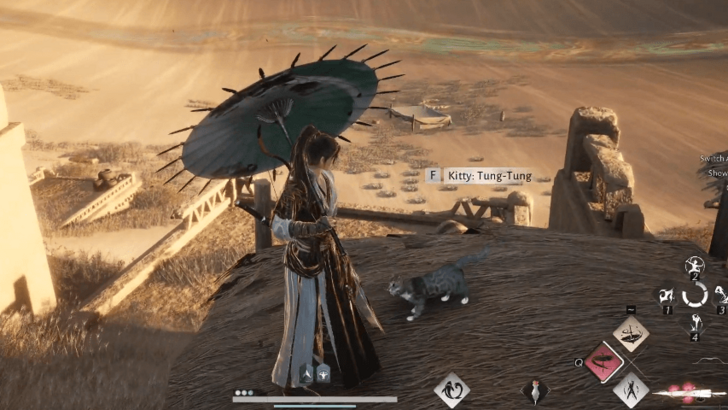
Kitty: Tung-Tung
(Cat Play) |
 |
|
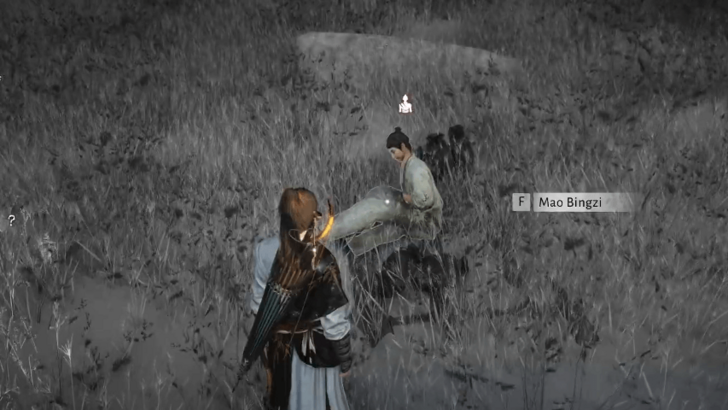
Mao Bingzi
(Healer Healing) |
 |
|
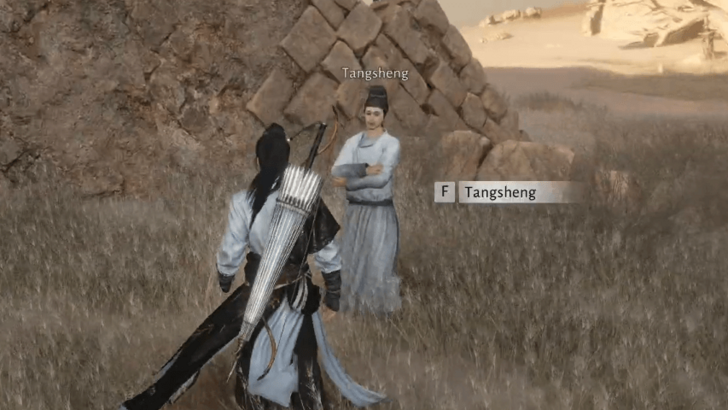
Tangsheng
(Gift of Gab) |
 |
|
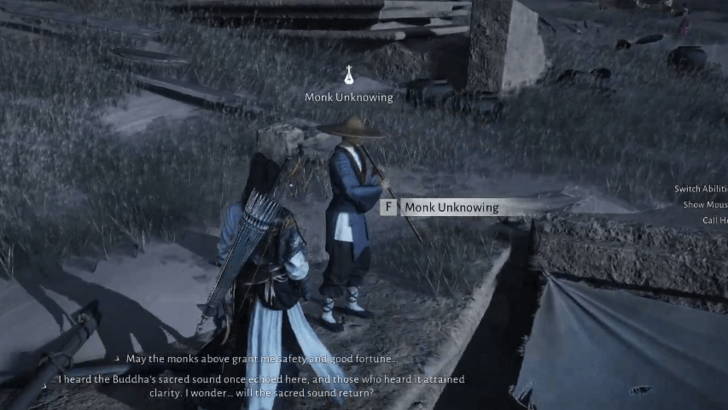
Monk Unknowing
(Graceful Melody) |
 |
|
SSS Foes of the Outer Realms 1
(Foes of the Outer Realms) |
 |
|
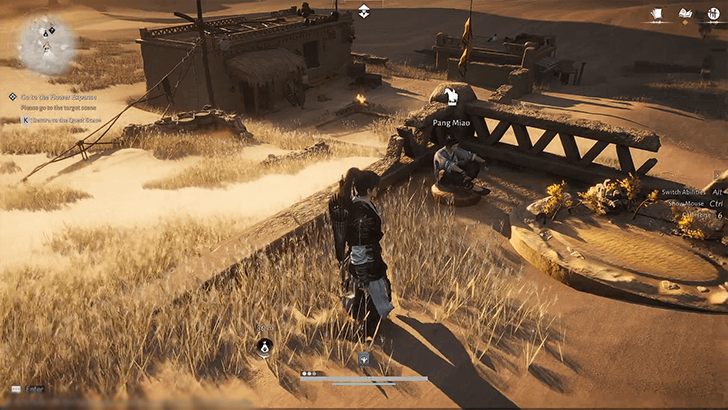
Pang Miao
(Piaoyao Battleboard) |
 |
|
SSS Chest 1
(Chest) |
 |
|
SSS Chest 2
(Chest) |
 |
|
SSS Chest 3
(Chest) |
 |
|
SSS Chest 4
(Chest) |
 |
|
SSS Chest 5
(Chest) |
 |
|
SSS Chest 6
(Chest) |
 |
|
SSS Chest 7
(Chest) |
 |
|
SSS Chest 8
(Chest) |
 |
|
SSS Chest 9
(Chest) |
 |
|
SSS Chest 10
(Chest) |
 |
|
SSS Chest 11
(Chest) |
 |
|
SSS Chest 12
(Chest) |
 |
|
SSS Chest 13
(Chest) |
 |
|
SSS Chest 14
(Chest) |
 |
|
SSS Chest 15
(Chest) |
 |
|
SSS Chest 16
(Chest) |
 |
|
SSS Chest 17
(Chest) |
 |
|
SSS Chest 18
(Chest) |
 |
|
SSS Chest 19
(Chest) |
 |
|
SSS Chest 20
(Chest) |
 |
|
SSS Chest 21
(Chest) |
 |
|
SSS Chest 22
(Chest) |
 |
|
SSS Chest 23
(Chest) |
 |
|
SSS Chest 24
(Chest) |
 |
|
SSS Chest 25
(Chest) |
 |
|
SSS Chest 26
(Chest) |
 |
|
SSS Chest 27
(Chest) |
 |
|
SSS Chest 28
(Chest) |
 |
|
SSS Chest 29
(Chest) |
 |
|
SSS Chest 30
(Chest) |
 |
|
SSS Chest 31
(Chest) |
 |
|
SSS Chest 32
(Chest) |
 |
|
SSS Chest 33
(Chest) |
 |
|
SSS Chest 34
(Chest) |
 |
|
SSS Chest 35
(Chest) |
 |
|
SSS Chest 36
(Chest) |
 |
|
SSS Chest 37
(Chest) |
 |
|
SSS Chest 38
(Chest) |
 |
|
SSS Chest 39
(Chest) |
 |
|
SSS Chest 40
(Chest) |
 |
|
SSS Chest 41
(Chest) |
 |
|
SSS Chest 42
(Chest) |
 |
|
SSS Chest 43
(Chest) |
 |
|
SSS Chest 44
(Chest) |
 |
|
SSS Chest 45
(Chest) |
 |
|
SSS Chest 46
(Chest) |
 |
|
SSS Chest 47
(Chest) |
 |
|
SSS Chest 48
(Chest) |
 |
|
SSS Chest 49
(Chest) |
 |
|
SSS Chest 50
(Chest) |
 |
|
SSS Chest 51
(Chest) |
|
|
SSS Chest 52
(Chest) |
|
|
SSS Chest 53
(Chest) |
 |
|
SSS Chest 54
(Chest) |
 |
|
SSS Chest 55
(Chest) |
 |
|
SSS Chest 56
(Chest) |
 |
|
SSS Chest 57
(Chest) |
 |
|
SSS Chest 58
(Chest) |
 |
|
SSS Chest 59
(Chest) |
 |
|
SSS Chest 60
(Chest) |
 |
|
SSS Oddity 1
(Oddity) |
 |
|
SSS Oddity 2
(Oddity) |
 |
|
SSS Oddity 3
(Oddity) |
 |
|
SSS Oddity 4
(Oddity) |
 |
|
SSS Oddity 5
(Oddity) |
 |
|
SSS Oddity 6
(Oddity) |
 |
|
SSS Oddity 7
(Oddity) |
 |
|
SSS Oddity 8
(Oddity) |
 |
|
SSS Oddity 9
(Oddity) |
 |
|
SSS Oddity 10
(Oddity) |
 |
|
SSS Oddity 11
(Oddity) |
 |
|
SSS Oddity 12
(Oddity) |
 |
|
SSS Oddity 13
(Oddity) |
 |
|
SSS Oddity 14
(Oddity) |
 |
|
SSS Oddity 15
(Oddity) |
 |
|
SSS Camp 1
(Camp) |
 |
|
SSS Camp 2
(Camp) |
 |
|
SSS Camp 3
(Camp) |
 |
|
SSS Camp 4
(Camp) |
 |
|
SSS Camp 5
(Camp) |
 |
|
SSS Camp 6
(Camp) |
 |
|
SSS Foes of the Outer Realms 2
(Foes of the Outer Realms) |
 |
|
SSS Hidden Paths 1
(Hidden Paths) |
 |
|
SSS Hidden Paths 2
(Hidden Paths) |
 |
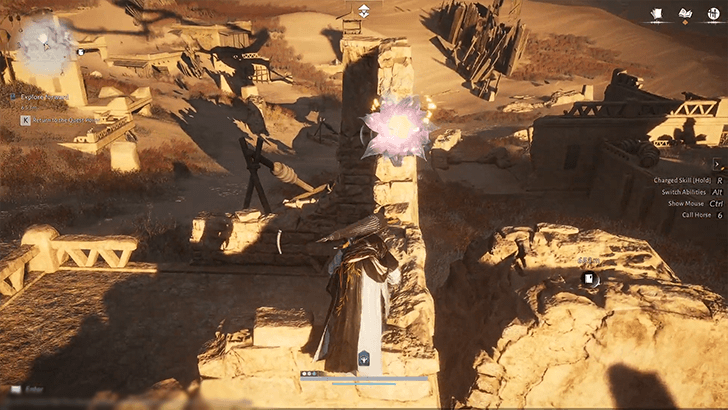
Ayisu
| Point of Interest | Details |
|---|---|
|
Ayisu Universal Harmony 1
(Universal Harmony) |
 |
|
Ayisu Hidden Paths 1
(Hidden Paths) |
 |
|
Ring the Bell to Pray
(Meow Meow’s Treasure) |
 |
|
Gather will-o'-wisps
(Meow Meow’s Treasure) |
 |
|
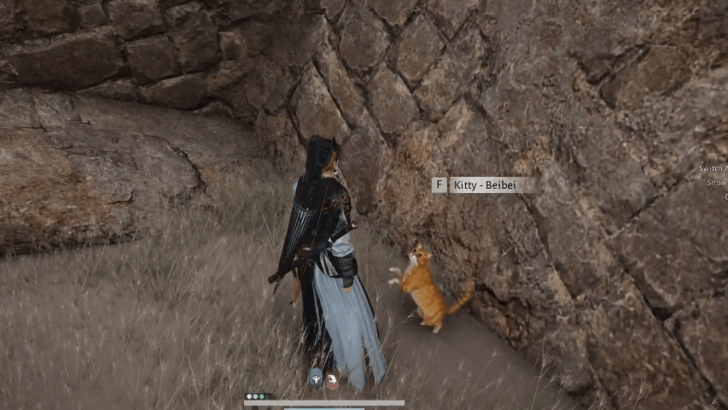
Kitty: Beibei
(Cat Play) |
 |
|
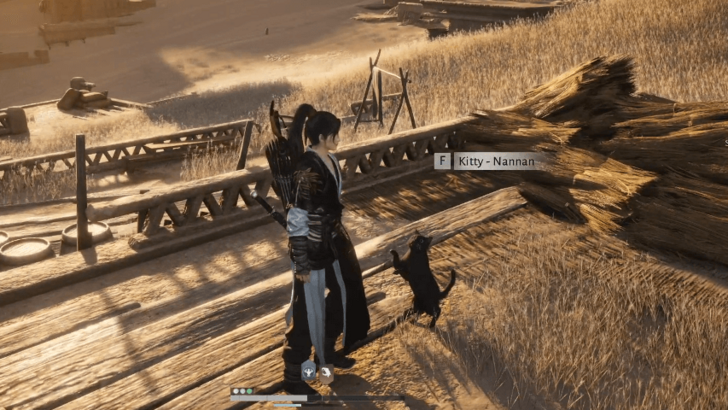
Kitty: Nannan
(Cat Play) |
 |
|
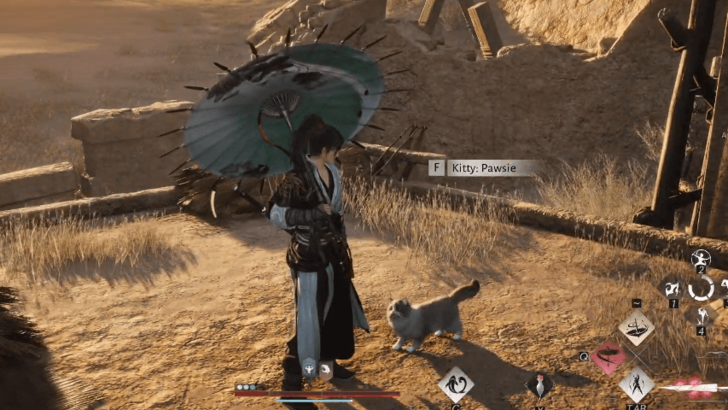
Kitty: Pawsie
(Cat Play) |
 |
|
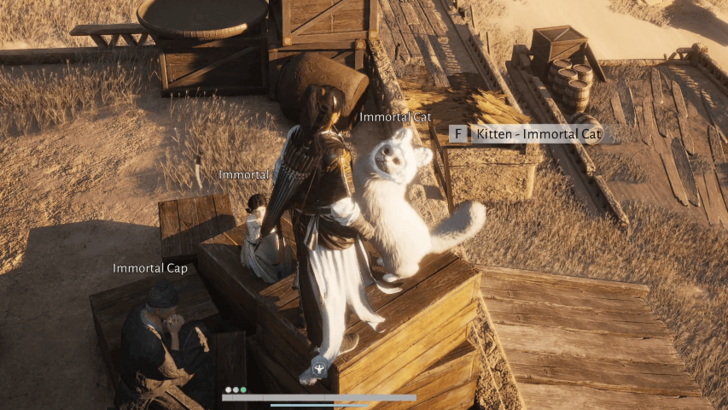
Kitten: Immortal Cat
(Cat Play) |
 |
|
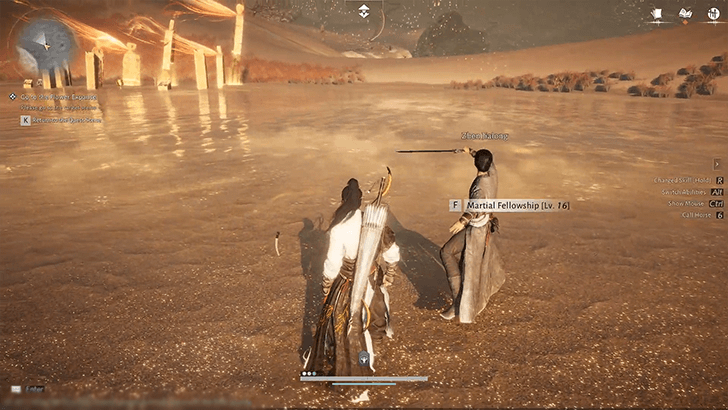
Zhen Jialong
(Martial Fellowship) |
 |
|
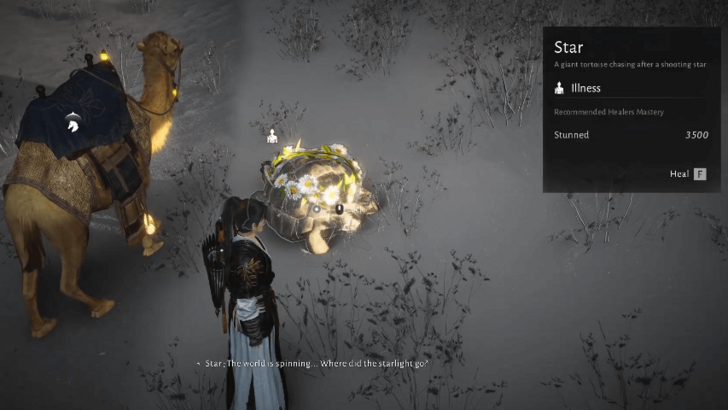
Star
(Healer Healing) |
 |
|
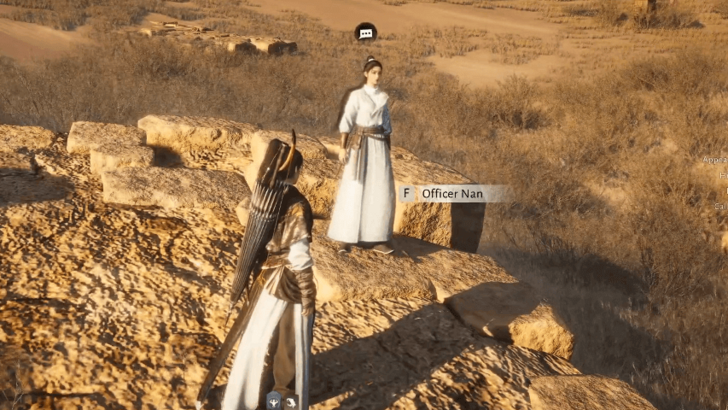
Officer Nan
(Gift of Gab) |
 |
|
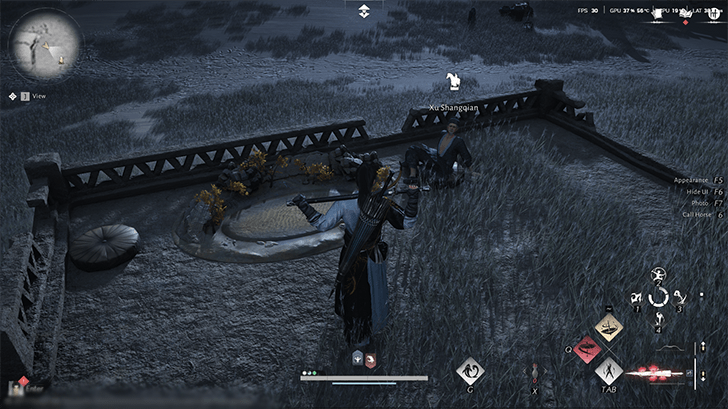
Xu Shangqian
(Piaoyao Battleboard) |
 |
|
Ayisu Chest 1
(Chest) |
 |
|
Ayisu Chest 2
(Chest) |
 |
|
Ayisu Chest 3
(Chest) |
 |
|
Ayisu Chest 4
(Chest) |
 |
|
Ayisu Chest 5
(Chest) |
 |
|
Ayisu Chest 6
(Chest) |
 |
|
Ayisu Chest 7
(Chest) |
 |
|
Ayisu Chest 8
(Chest) |
 |
|
Ayisu Chest 9
(Chest) |
 |
|
Ayisu Chest 10
(Chest) |
 |
|
Ayisu Chest 11
(Chest) |
 |
|
Ayisu Chest 12
(Chest) |
 |
|
Ayisu Chest 13
(Chest) |
 |
|
Ayisu Chest 14
(Chest) |
 |
|
Ayisu Chest 15
(Chest) |
 |
|
Ayisu Chest 16
(Chest) |
 |
|
Ayisu Chest 17
(Chest) |
 |
|
Ayisu Chest 18
(Chest) |
 |
|
Ayisu Chest 19
(Chest) |
 |
|
Ayisu Chest 20
(Chest) |
 |
|
Ayisu Chest 21
(Chest) |
 |
|
Ayisu Chest 22
(Chest) |
 |
|
Ayisu Chest 23
(Chest) |
 |
|
Ayisu Chest 24
(Chest) |
 |
|
Ayisu Chest 25
(Chest) |
 |
|
Ayisu Chest 26
(Chest) |
 |
|
Ayisu Chest 27
(Chest) |
 |
|
Ayisu Chest 28
(Chest) |
 |
|
Ayisu Chest 29
(Chest) |
 |
|
Ayisu Chest 30
(Chest) |
 |
|
Ayisu Chest 31
(Chest) |
 |
|
Ayisu Chest 32
(Chest) |
 |
|
Ayisu Chest 33
(Chest) |
 |
|
Ayisu Chest 34
(Chest) |
 |
|
Ayisu Chest 35
(Chest) |
 |
|
Ayisu Chest 36
(Chest) |
 |
|
Ayisu Chest 37
(Chest) |
 |
|
Ayisu Chest 38
(Chest) |
 |
|
Ayisu Chest 39
(Chest) |
 |
|
Ayisu Oddity 1
(Oddity) |
 |
|
Ayisu Oddity 2
(Oddity) |
 |
|
Ayisu Oddity 3
(Oddity) |
 |
|
Ayisu Oddity 4
(Oddity) |
 |
|
Ayisu Oddity 5
(Oddity) |
 |
|
Ayisu Oddity 6
(Oddity) |
 |
|
Ayisu Oddity 7
(Oddity) |
 |
|
Ayisu Oddity 8
(Oddity) |
 |
|
Ayisu Oddity 9
(Oddity) |
 |
|
Ayisu Oddity 10
(Oddity) |
 |
|
Ayisu Oddity 11
(Oddity) |
 |
|
Ayisu Oddity 12
(Oddity) |
 |
|
Ayisu Oddity 13
(Oddity) |
 |
|
Ayisu Camp 1
(Camp) |
 |
|
Ayisu Camp 2
(Camp) |
 |
|
Ayisu Camp 3
(Camp) |
 |
|
Ayisu Camp 4
(Camp) |
 |
|
Ayisu Camp 5
(Camp) |
 |
|
Ayisu Camp 6
(Camp) |
 |
|
Ayisu Camp 7
(Camp) |
 |
|
Ayisu Camp 8
(Camp) |
 |
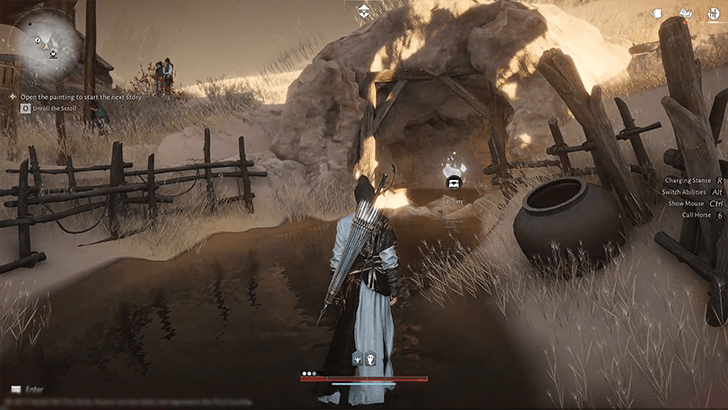
Jade Gate Pass Outposts
| Point of Interest | Details |
|---|---|
|
Howling Sand Outpost
(Outpost) |
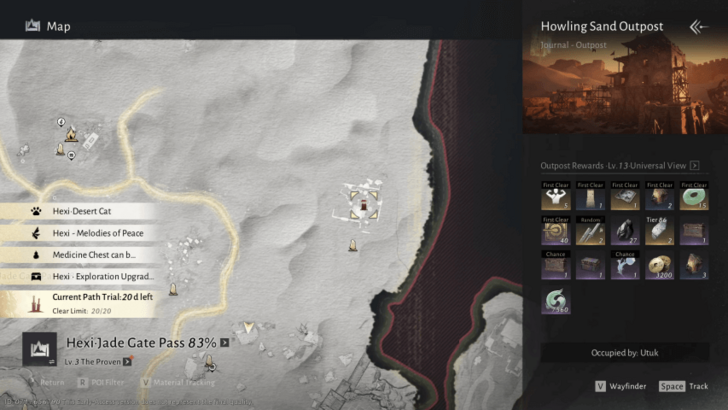  |
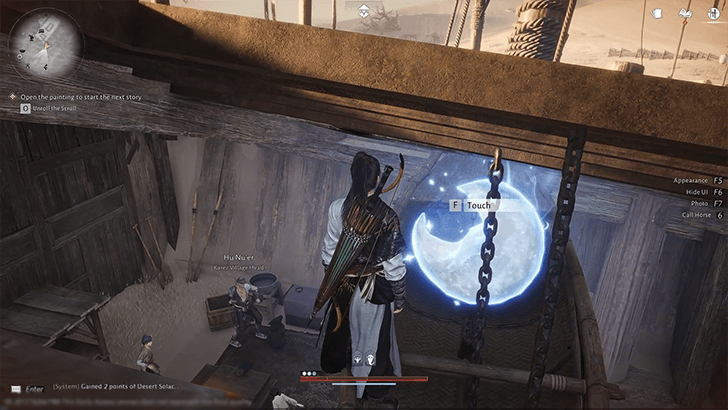
Jade Gate Pass Quests
| Point of Interest | Details |
|---|---|
|
Whitecrown City
(Campaign Quest) |
 |
|
Boatless in the Sea of Sand
(Side Story) |
 |
|
A Wellspring of Hope
(Side Story) |
 |
Jade Gate Pass NPCs
| We are still exploring this subregion to look for this Point of Interest! Please check back soon! |
Where Winds Meet Related Guides
Regions
| Qinghe | • Verdant Wilds
• Moonveil Mountain • Sundara Lands |
| Kaifeng | • Kaifeng City
• Granary of Plenty • Jadewood Court • Roaring Sands |
| Hexi | • Jade Gate Pass
• Liangzhou Town • Qinchuan Path |
Comment
Author

Jade Gate Pass 100% Exploration Guide
Please participate in our site
improvement survey
03/2026
improvement survey
03/2026
Would you assist in
improving Game8's site?
improving Game8's site?

×
We are listening to our users' valuable opinions and discussing how to act on them.
The information collected through this survey will be used for the purpose of improving our services. In addition, the information will only be disclosed a part of a statistic in a format that will not allow identification of personal information.
Begin Survey
Not Now
×
Please rate each item regarding Game8.co's Advertisements.
Amount of Ads
Very Dissatisfied
Somewhat Dissatisfied
Fine
Somewhat Satisfied
Highly Satisfied
Placement of Ads
Timing of Ad Display
Ad Loading Speed
Safeness of Ads
Content of Ads
×
Please rate each item regarding Game8.co's Quality of Articles.
Amount of information
Very Dissatisfied
Somewhat Dissatisfied
Fine
Somewhat Satisfied
Highly Satisfied
Frequency of updates
Speed of new information
Accuracy of articles
Understandibility of articles
Readability of sentences
×
Please rate each item regarding Game8.co's Usability of the Site.
Ease of finding information
Very Dissatisfied
Somewhat Dissatisfied
Fine
Somewhat Satisfied
Highly Satisfied
Loading Speed
Use of Color
Font Size
Visibility of Images
Easy to Understand Layout
×
Please rate each item regarding Game8.co's Message Boards, Comments.
Ease of Writing
Very Dissatisfied
Somewhat Dissatisfied
Fine
Somewhat Satisfied
Highly Satisfied
Readability
Ease in Finding Information
Comment Quality
Comment Quantity
Admin Response
×
Please rate each item regarding Game8.co's Site's new design.
Please rate our site's new design
Very Dissatisfied
Somewhat Dissatisfied
Fine
Somewhat Satisfied
Highly Satisfied
Do you think that the website's design change makes the site easier to use?
Has the new design made it easier for you to find information on the site?
Has the new design improved the overall visual appeal of the site?
How would you rate your overall satisfaction with the new design of the site?
×
How likely are you to recommend Game8 to someone you know?
Very Unlikely
0
1
2
3
4
5
6
7
8
9
10
Very Likely
If you have other opinions regarding potential improvement to the website, please share them with us. We would appreciate your honest opinion.
Note: This is a free response section, so you can proceed without entering anything.
Note: Please be sure not to enter any kind of personal information into your response.
Note: Please be sure not to enter any kind of personal information into your response.
×
Thank You
×
Thank you for participating in our survey! Your answers will help us to improve the quality of our website and services.
We hope you continue to make use of Game8.
We hope you continue to make use of Game8.
Close
Rankings
- We could not find the message board you were looking for.
Gaming News


![Slay the Spire 2 Review [Early Access] | Still the Deckbuilder to Beat](https://img.game8.co/4433115/44e19e1fb0b4755466b9e516ec7ffb1e.png/thumb)

Popular Games

Genshin Impact Walkthrough & Guides Wiki
Resident Evil Requiem (RE9) Walkthrough & Guides Wiki
Honkai: Star Rail Walkthrough & Guides Wiki
Monster Hunter Wilds Walkthrough & Guides Wiki
Umamusume: Pretty Derby Walkthrough & Guides Wiki
Pokemon TCG Pocket (PTCGP) Strategies & Guides Wiki
Arknights: Endfield Walkthrough & Guides Wiki
Wuthering Waves Walkthrough & Guides Wiki
Zenless Zone Zero Walkthrough & Guides Wiki
Digimon Story: Time Stranger Walkthrough & Guides Wiki


Recommended Games
Fire Emblem Heroes (FEH) Walkthrough & Guides Wiki
Yu-Gi-Oh! Master Duel Walkthrough & Guides Wiki
Super Smash Bros. Ultimate Walkthrough & Guides Wiki
Diablo 4: Vessel of Hatred Walkthrough & Guides Wiki
Pokemon Brilliant Diamond and Shining Pearl (BDSP) Walkthrough & Guides Wiki
Elden Ring Shadow of the Erdtree Walkthrough & Guides Wiki
Monster Hunter World Walkthrough & Guides Wiki
The Legend of Zelda: Tears of the Kingdom Walkthrough & Guides Wiki
Persona 3 Reload Walkthrough & Guides Wiki
Cyberpunk 2077: Ultimate Edition Walkthrough & Guides Wiki


All rights reserved
©1997-2025 NetEase, Inc. All Rights Reserved
The copyrights of videos of games used in our content and other intellectual property rights belong to the provider of the game.
The contents we provide on this site were created personally by members of the Game8 editorial department.
We refuse the right to reuse or repost content taken without our permission such as data or images to other sites.