Jinming Pool Walkthrough and Rewards
NEW: Hexi Map | Chapter 3 | Flute Mystic Skill
★ Unfettered and Everspring Build
☆ Liangzhou | Cat Fever | Prismatic Essence
✪ Updated: Best Weapon | Best Builds
☆ WWM Game8 Twitter: New tips daily!
Recruit using our Guild Recruitment Board!
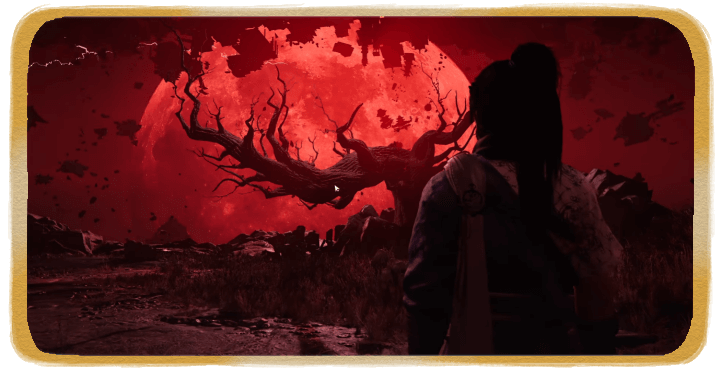
This is a walkthrough for the Jinming Pool, a Campaign side quest in Where Winds Meet. See this detailed guide to check out quest objectives, what rewards you receive, and how to unlock it.
List of Contents
How to Unlock Jinming Pool
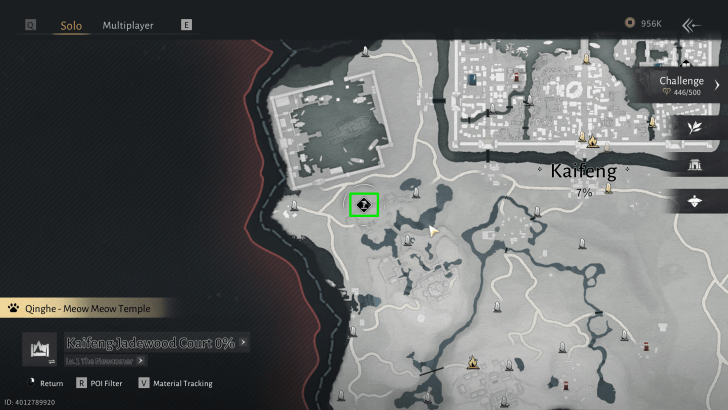
Approach the Area North of Jadewood Court
 |
|
| Region | Jadewood Court , Kaifeng |
|---|---|
| Unlock Req. |
Ask the Wayfarer at Jadewood Court Unlock Kaifeng at Lv. 32 |
Make your way to the area north of Jadewood Court to trigger the quest.
Jinming Pool Walkthrough
- Make Your Way to the Third Floor of Baojin Tower
- Give Invites to the Guests
- Observe the Locations in Jinming Pool
- Swim to the Underwater Outlet
- Follow the Shu Envoy from the Rooftops
- Jump on the Boat Masts
- Board the Ship Within the Time Limit
- Go to the Command Room
- Solve the Painting Puzzle
- Look for the Quintadent Warship Diagram
- Head to the Bottom of the Warship
- Navigate the Water Weight Cabin
- Defeat Murong Yuan
- Pick Up the Fragments on the Water
1. Make Your Way to the Third Floor of Baojin Tower
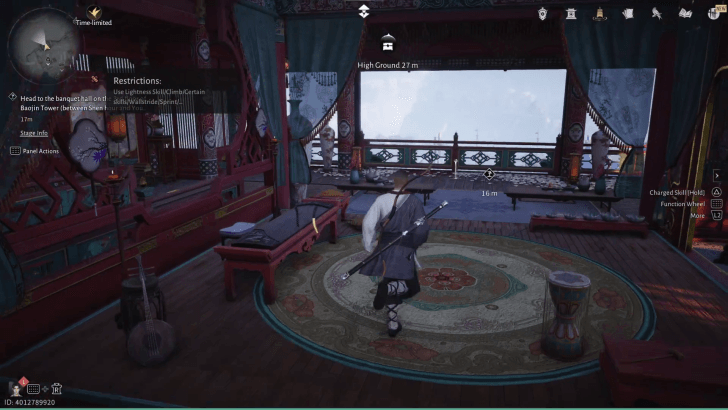
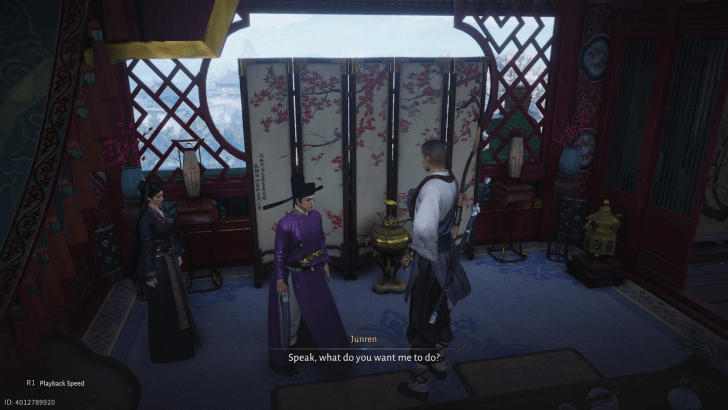
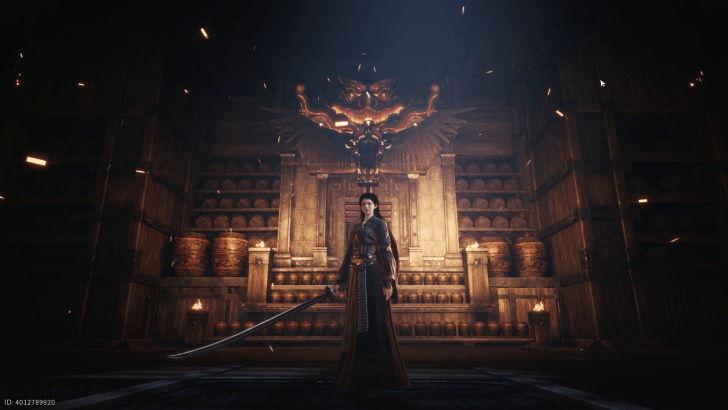
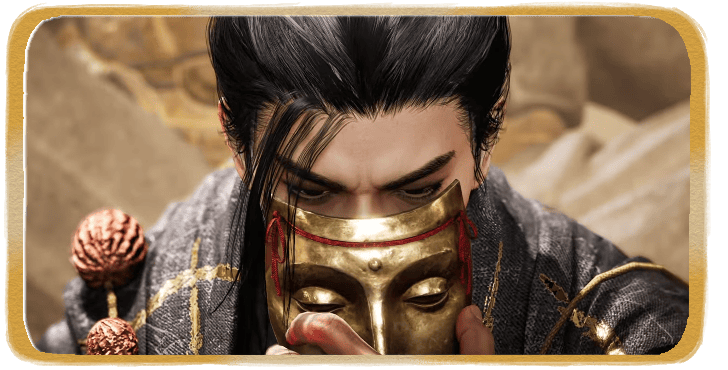
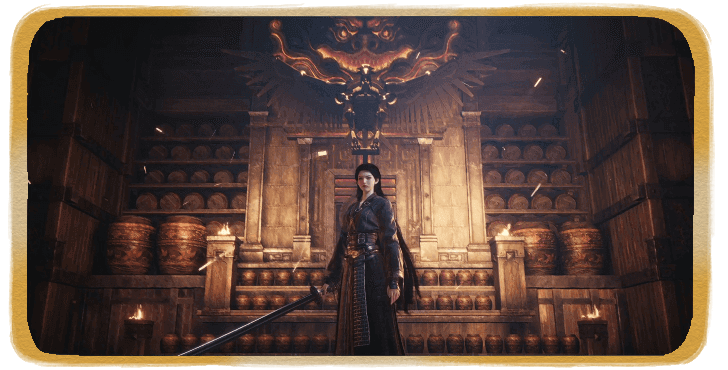
Head up to the third floor of Baojin Tower and wait until either Shen or You hour to start a cutscene.
After the cutscene, speak with Murong Yuan and she'll ask you to deliver invitations to her guests for an upcoming banquet.
2. Give Invites to the Guests
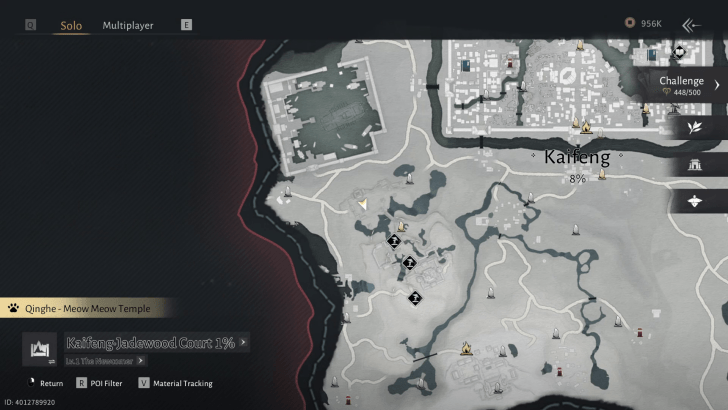
You'll need to give invites to the envoy from Shu, envoy from Tang, and Shi Shouxin, Black Armor General who are all located at Jadewood Court.
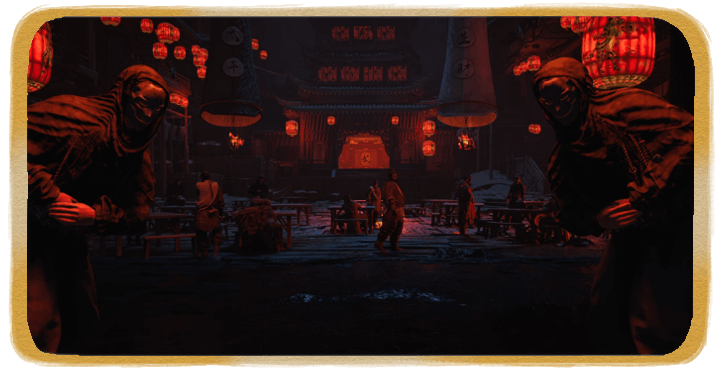
Once all guests are invited, a cutscene will play at the Baojin Tower. Keep drinking your wine to progress through the envoy's dialogue.
Speak to Murong Yuan After the Banquet
After the banquet, speak to Murong Yuan and Zhao Guangyi in the central part of the floor for a cutscene where Murong Yuan takes you to Jinming Pool.
Once at Jinming Pool, head up to stairs to observe the envoy from Shu with Murong Yuan.
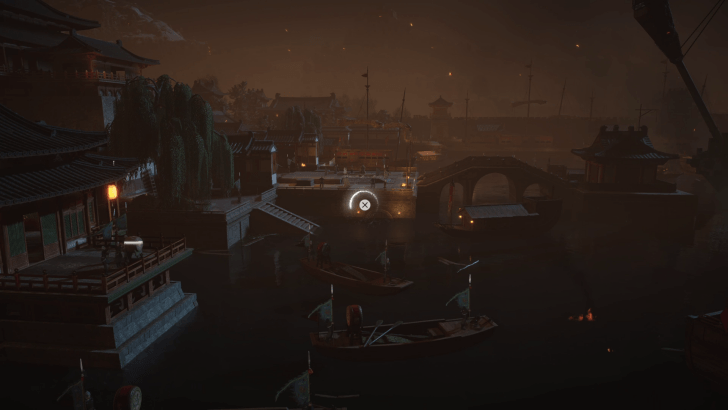
3. Observe the Locations in Jinming Pool
| Observation Points | |
|---|---|
 |
 |
 |
 |
 |
|
You'll need to observe five points around Jinming Pool with Murong Yuan to get inside the Quintadent Warship.
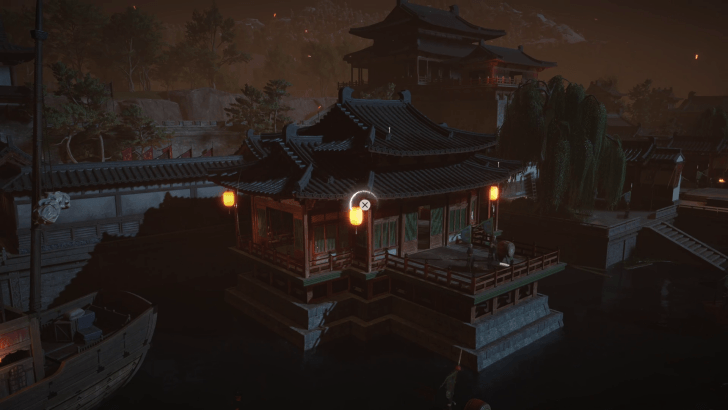
4. Swim to the Underwater Outlet

Jump down into the water and dive to avoid getting spotted by the soldiers, then swim towards the outlet just underneath where the Shu envoy is located.
After the cutscene, swim outside and head up the nearby buildings to start following the Shu Envoy.
5. Follow the Shu Envoy from the Rooftops
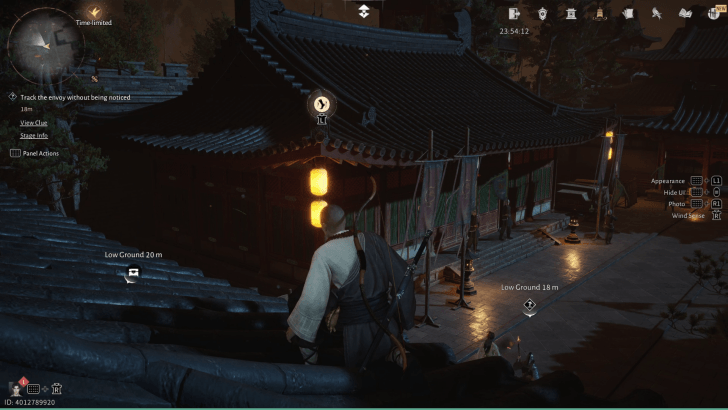
There are jump points that you can hop across on the rooftops using the Cloud Steps mystic skill, so make sure you equip it so you can easily follow the envoy.
The envoy will periodically stop to chat with his bodyguard, so keep following him across the rooftops until you reach a spot that overlooks the waters.
Cloud Steps Mystic Skill Effect and How to Unlock
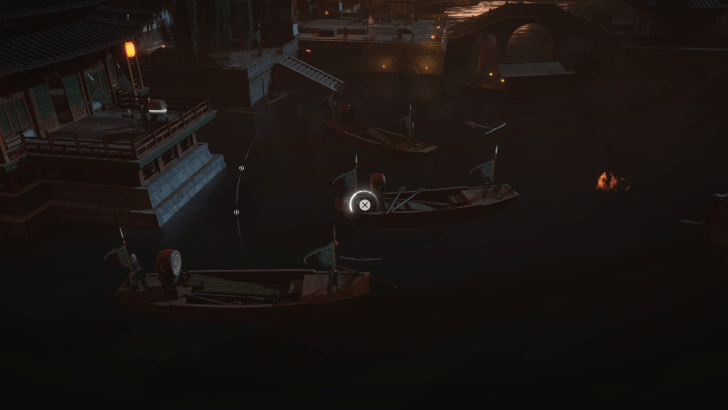
6. Jump on the Boat Masts
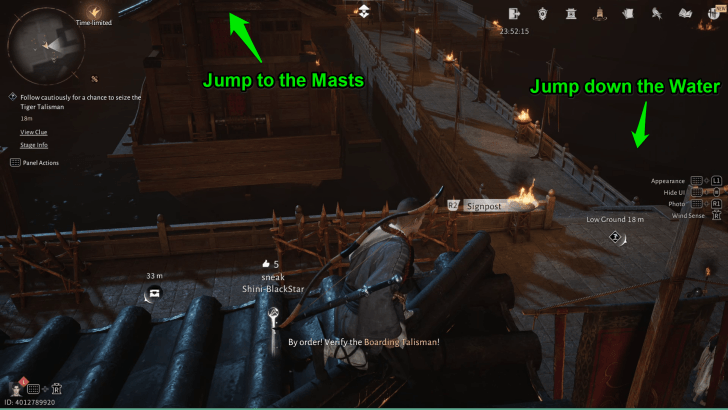
Once the Shu Envoy reaches the docks, quickly jump towards the boat masts using Cloud Steps to keep following him.
Alternatively, you can jump down the water keep following him from below. A cutscene will eventually play once he reaches the end of the route.
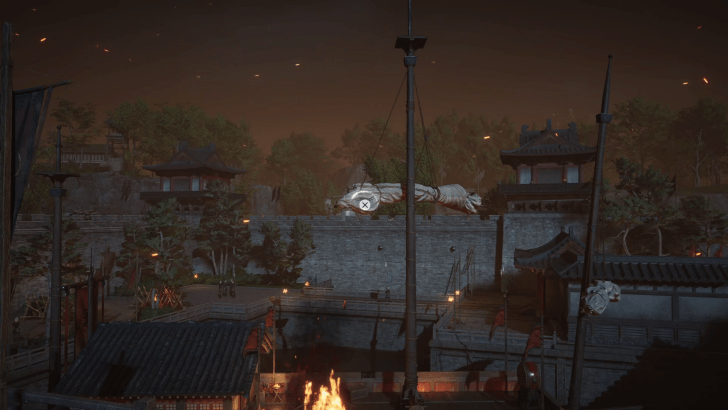
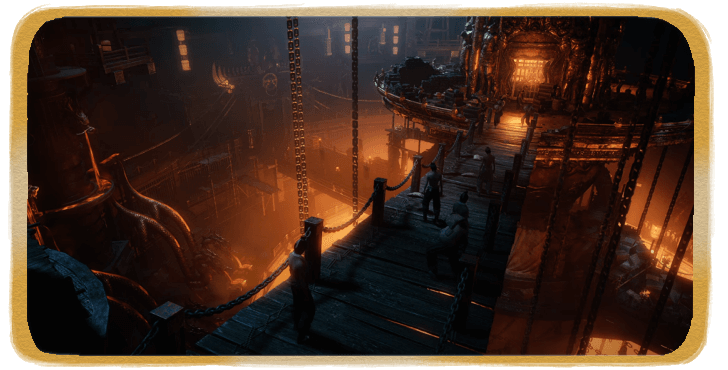
7. Board the Ship Within the Time Limit
Once the cutscene ends, you have five minutes to complete three objectives to successfully board the Quintadent Warship.
Note: You don't need to sneak around anymore in this part of the quest.
Knock Out the Shu Envoy

Quickly drop down the masts and sneak towards the Shu Envoy. Once close enough, perform the Touch of Death to knock him out.
Once the envoy is knocked out, quickly use Cloud Steps to jump across the boats to reach the next dock area.
Defeat the Guard Captain
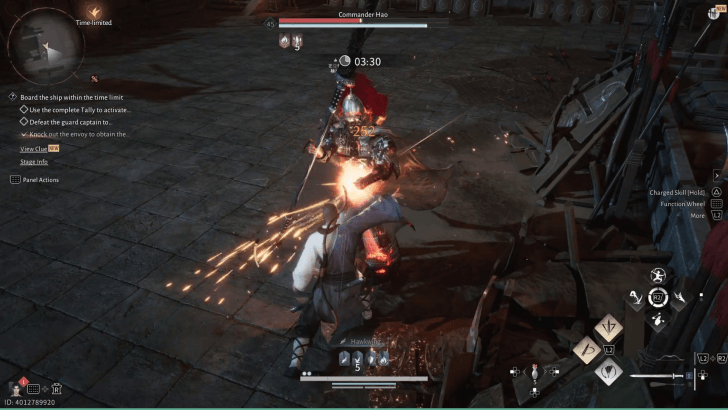
Make your way to the large area at the docks and defeat Commander Hao, the guard captain. This elite enemy is supported by some ranged enemies, but you can ignore them since they will cower once you defeat Commander Hao.
Use the Tally to Board the Warship
Once the Guard Captain is defeated, make your way to the next area where the tally is to board the ship. Once across, head to the door to get inside the Warship.
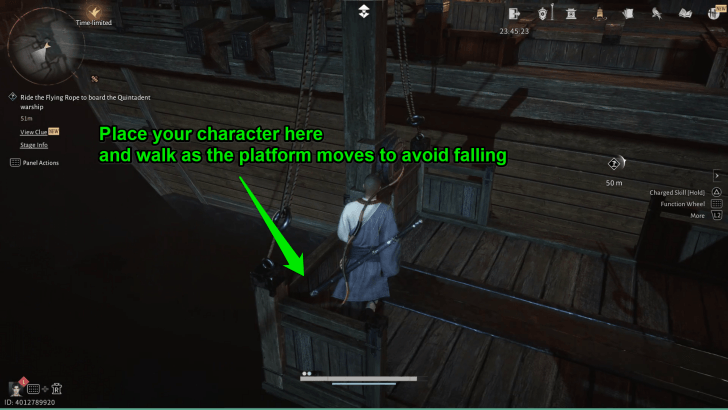
Note: The platform that will take you to the Warship is currently bugged where standing in the middle will cause you to fall down the water.
We recommend you stand close to the edge of the platform and walk foward as the platform moves to avoid falling. There is also a lever to the right of the tally to bring back the platform if you fall down the water.
8. Go to the Command Room
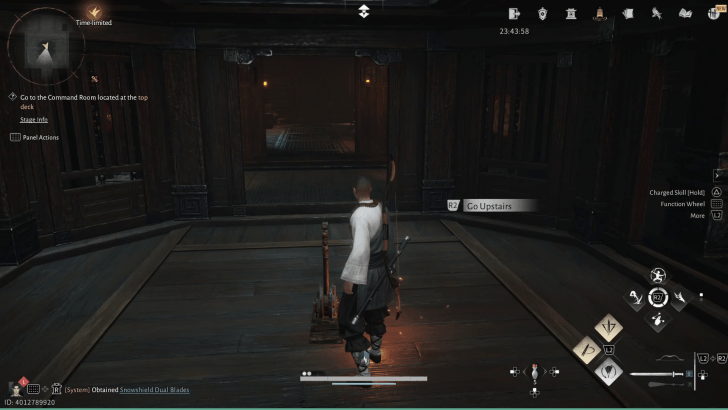
There are a few enemy soldiers inside the warship, but you can sneak attack the patrolling ones. Go through the Living Cabin until you reach a large elevator with a lever that you can pull to go up to the Command Room.
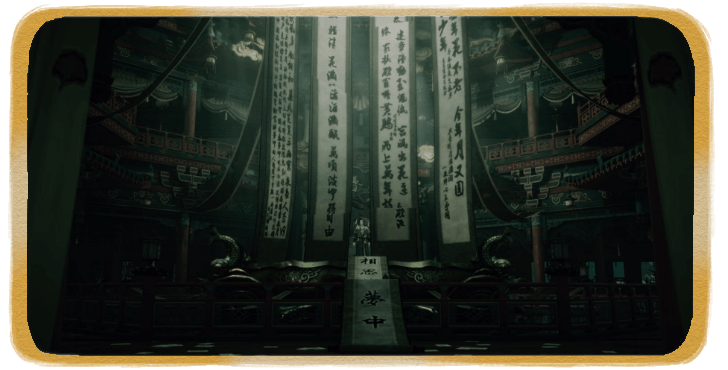
9. Solve the Painting Puzzle
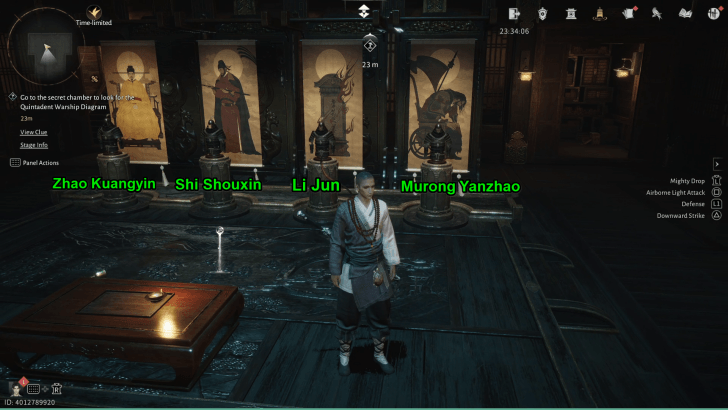
Once at the command room, interact with the gold goblet for a short cutscene with General Murong Yanzhao. Once the cutscene ends, interact with the painting with the wheelchair-bound figure where you can ask the General questions relating to the paintings.
Pay attention to the names that he'll say when asking about the paintings as these correspond to the statues that you need to place in front of the paintings later.
| All Statue Locations | |||
|---|---|---|---|
| Zhao Statue | Shi Statue | Li Jun Statue | Murong Statue |
Zhao Statue Location

The Zhao Statue is located on the spot in front of the fourth painting. Simply pick it up and place it on the first painting with the Yellow-Robed Emperor to activate that painting.
Shi Statue Location
The Shie Statue is located in a small alcove to the left side of the room. Place it on the second painting with the figure holding a sword to activate it.
Li Jun Statue Location
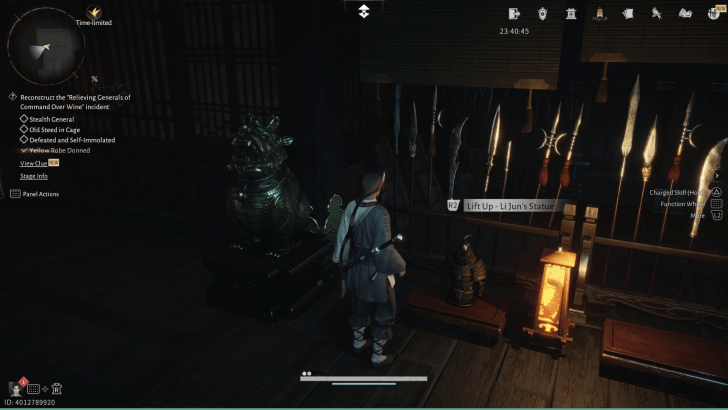
The Li Jun Statue is located on the left side of the room next to a lion statue. Pick it up and place it on the third painting with the burning gravestone where the Zhao Statue was originally placed.
Murong Statue Location
| 1 | 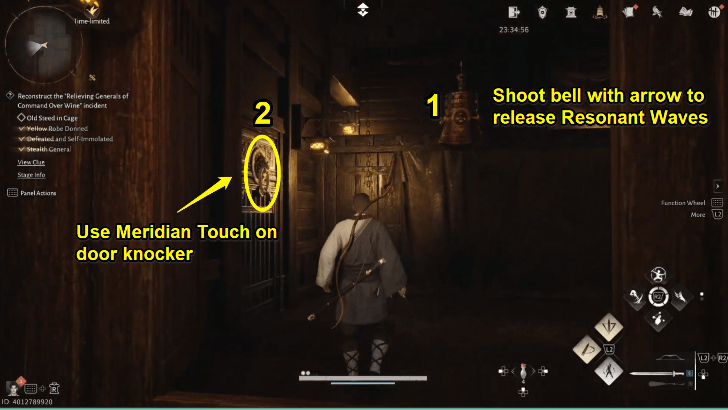 To find the Murong Statue, go behind the paintings to find a back room. In the right room is a bell and a golden door knocker. Shoot the bell for it to resonate with the door knocker, then use Meridian Touch on the knocker to unlock the door. |
|---|---|
| 2 | 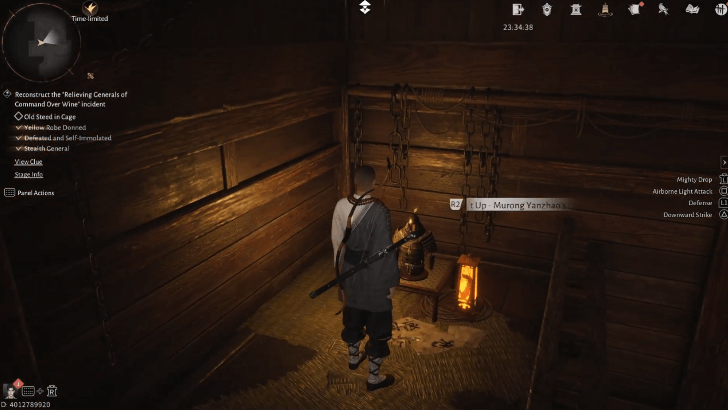 Climb up the small room to find Murong's Statue, then go back to the paintings. |
| 3 | 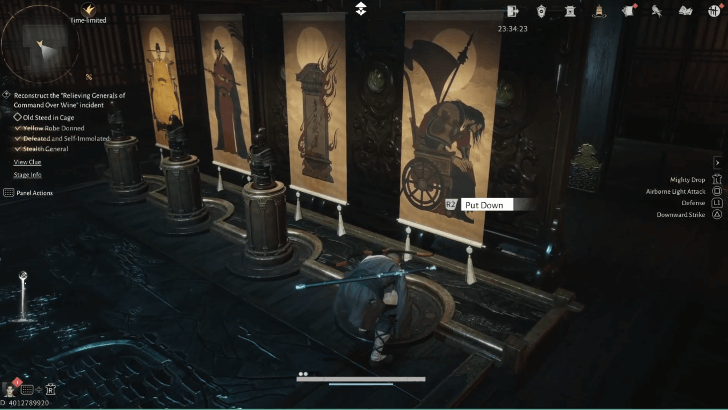 Place Murong's statue in front of the fourth and rightmost painting. |
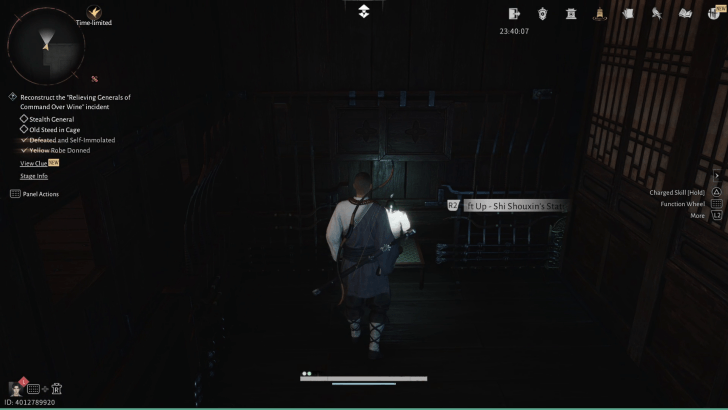
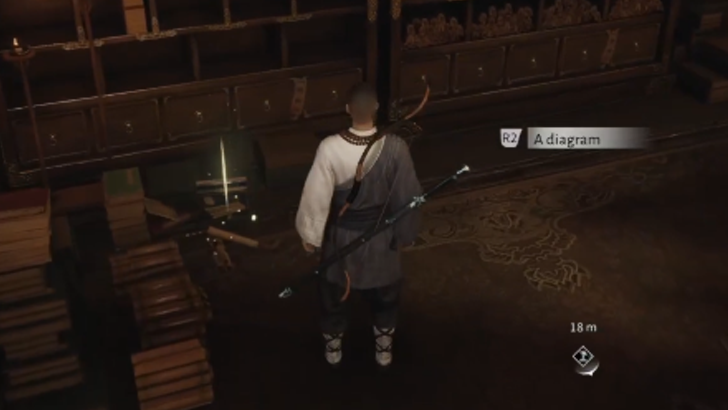
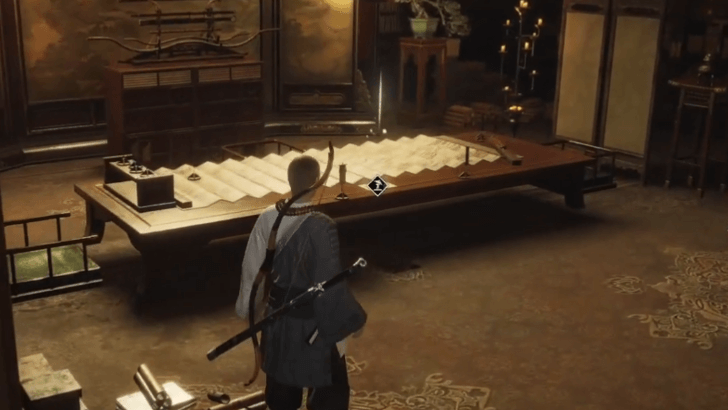
10. Look for the Quintadent Warship Diagram
| Points of Interest | |
|---|---|
 |
 |
 |
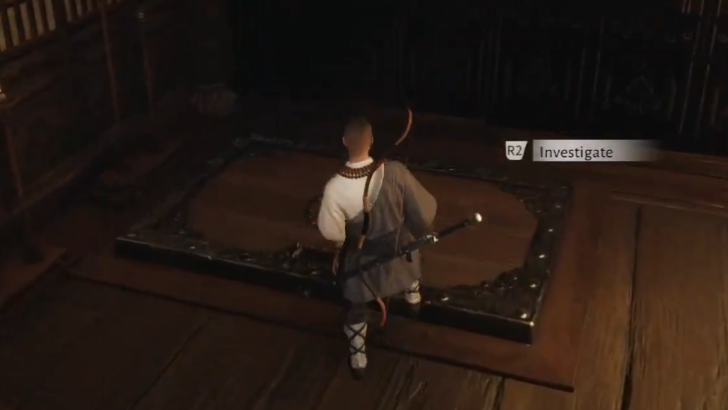 |
Head to the secret chamber to find the Quintadent Warship Diagram. Investigate the four points of interests in the chamber to possibly locate the diagram.
After investigating all four points, open the floor panel and hop down to access the bottom of the warship.
Take the Wooden Eagle Diagram
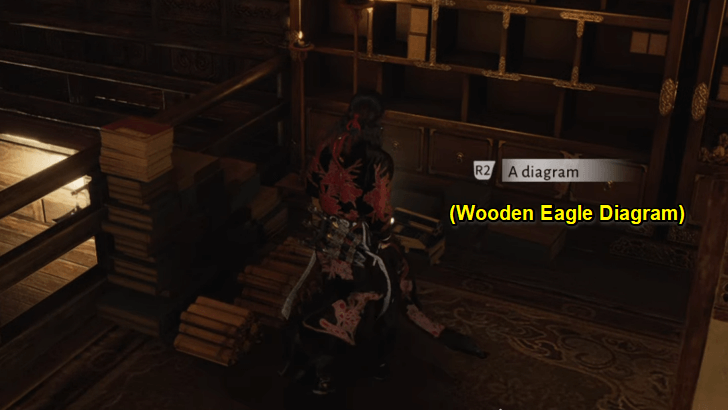
Take the Wooden Eagle Diagram you found by the books near the stairs. You need the diagram for the Encounter Soaring Eagle, which spawns a day after completing the Wandering Tale The Eagle's Shadow. This Wandering Tale is available after finishing Jinming Pool.
11. Head to the Bottom of the Warship
| 1 | 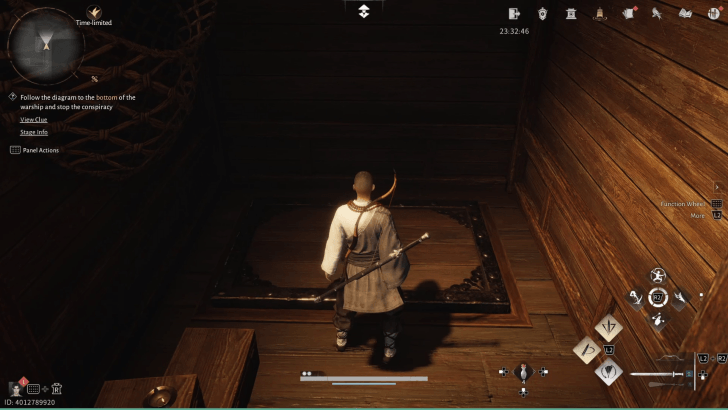 Hop down another floor panel into the bottom layer of the warship. Watch out for the enemy on your right. After beating him, head to the room with lanterns and open the panel to drop down. |
|---|---|
| 2 |  Get past or engage with the Imperial Soldiers. In the last room, descend through another panel. |
| 3 | 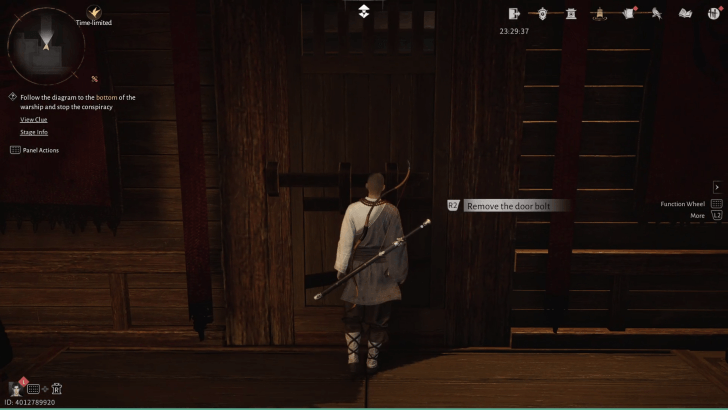 Open the chest by the cannon before heading through a corridor. Watch out for the soldier by the entryway. Take the left room and fight the elite enemy inside. Then, remove the bar from the door. Before you can enter, the floor will open, dropping you into a flooded cabin. |
12. Navigate the Water Weight Cabin
| 1 |  After falling down the trap door, pull the lever on the central platform to raise the water level. |
|---|---|
| 2 | 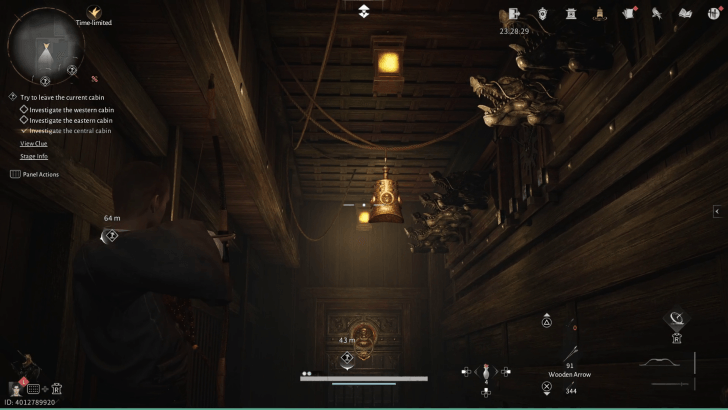 With the water raised, head into the lower right cabin with a ladder. Instead of heading up, shoot the bell in the middle of the hallway and use Meridian Touch to destroy the lock on the gate. Head inside the gate and pull the next lever. |
| 3 | 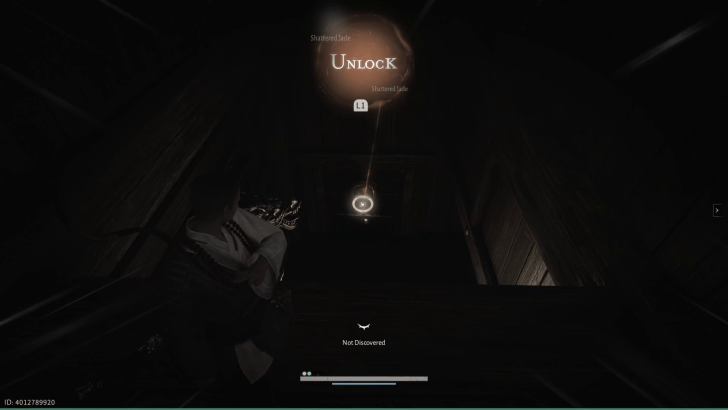 Swim to the oppposite cabin and shoot the bell in the middle of the hallway. Quickly climb the ladder and use Medidian Touch to destroy the lock on the gate, then pull the next lever. |
| 4 |  Head into the newly opened back cabin and ride the small platform on the derailleur to reach the top platform. 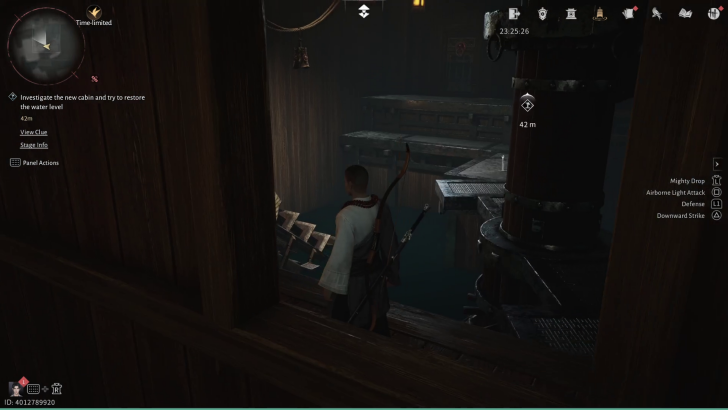 Once at the top, hop on the spinning platforms to reach the other side. |
| 5 |  Once at the other side, shoot the bell on the ceiling opposite of the locked door, then use Meridian Touch to destroy the lock. Pull the lever to fix the water level in the main cabin. |
| 5 | 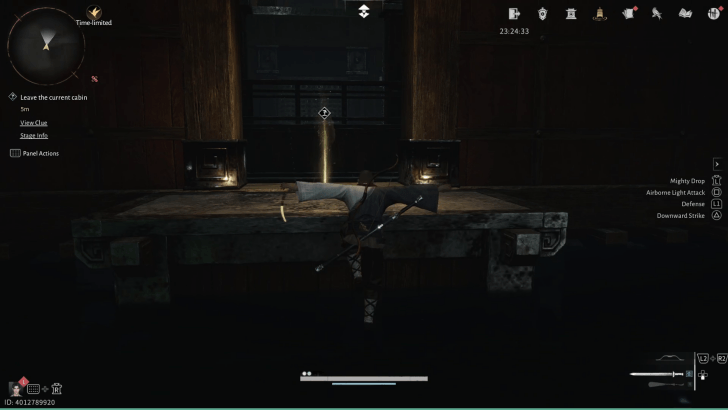 With the water level properly raised, leave the cabin to reach the next area. |
| 6 | 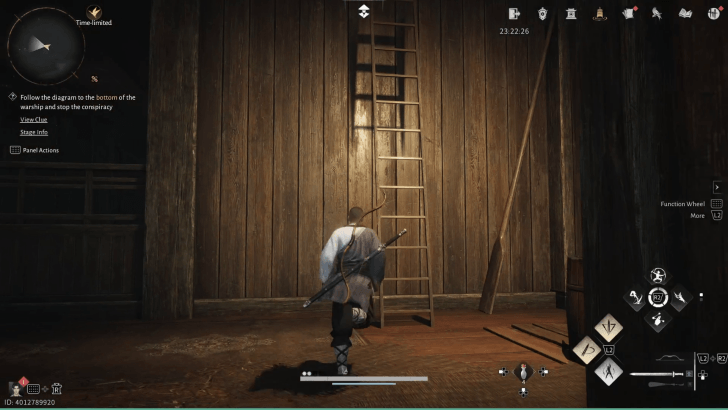 Defeat the two enemies near the ladder and climb up. Unlock the door to reach the main upper area. |
| 7 | 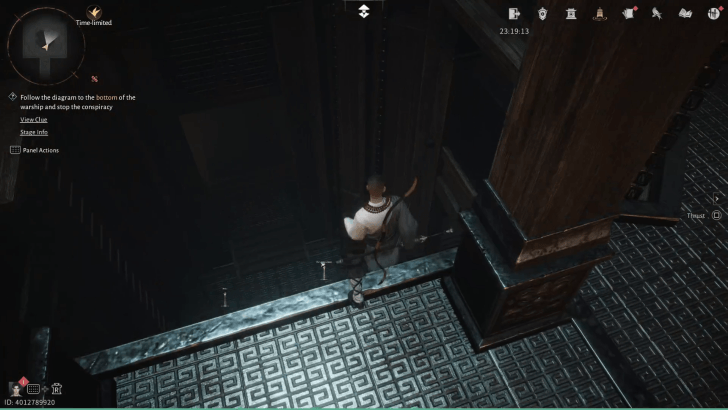 Drop down the central area and defeat the two shielded enemies at the bottom. When ready, open the large doors for a boss fight. |
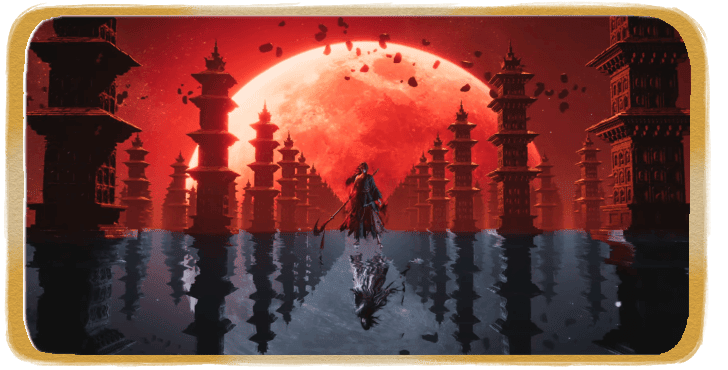
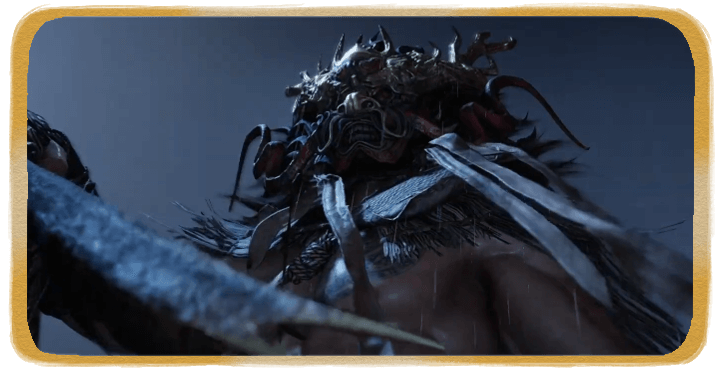
13. Defeat Murong Yuan
Murong Yuan is the final boss of Jinming Pool and has two phases. She is first fought in the bowels of the ship, and later at the top while accompanied by her Wooden Eagle.
First Phase Tips
Murong Yuan has several unblockable attacks which are signaled when her sword glows yellow. It's impossible to block or parry these attacks, even with block assist and the only way to counter these is to avoid her attack or use Meridian Touch to interrupt it.
Murong Yuan also has a parry move where she will quickly block all of your attacks with a sword and will retaliate with an extremely fast unblockable counterattack. Unlike her other unblockable attacks, it's not possible to cancel this move with Meridian Touch and the only way to avoid it is to dash to the side or stop attacking her when she blocks her entire body with her sword.
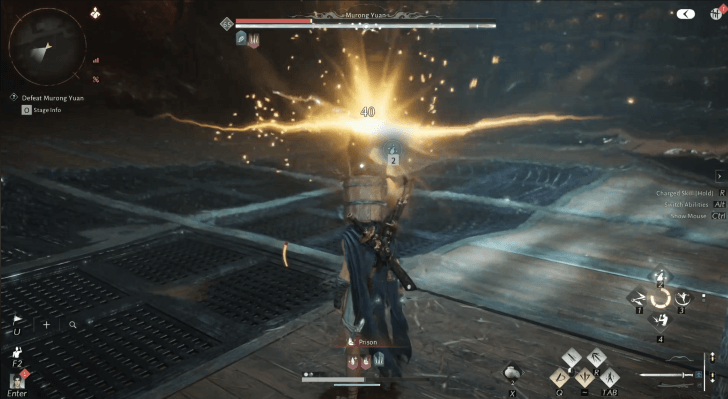
Second Phase Tips
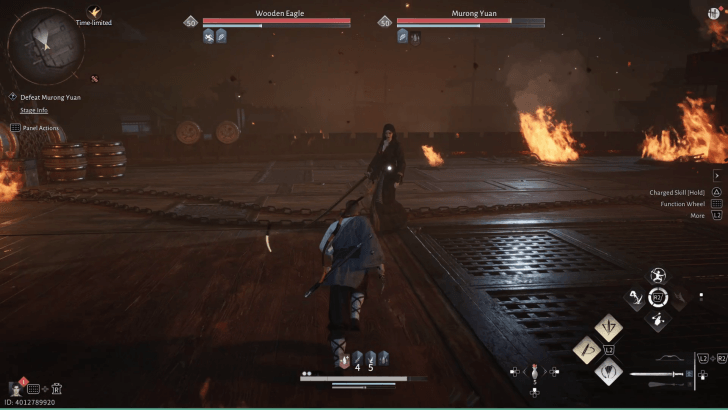
During her second phase, Murong Yuan will be accompanied by her Wooden Eagle. The eagle is very fast and can shoot homing missiles at you from range. During this phase, Murong Yuan will usually stay near the back when her eagle is attacking, and will only start attacking you directly when the eagle moves away from the battle arena and starts circling the sky.
The Eagle is not your priority during this fight, though you still need to damage it enough so that Murong Yuan engages you again in the fight. The battle automatically ends when Murong Yuan's HP is reduced to zero.
14. Pick Up the Fragments on the Water

After the custcene, head north and jump into the water and pick up the fragments of the Wooden Eagle from the wreckage to complete the campaign.
Unlocks The Eagle's Shadow and Soaring Eagle
Completing Jinming Pool unlocks the Wandering Tale The Eagle's Shadow, which spawns the Encounter Soaring Eagle after waiting for a day in real life. In Soaring Eagle, you need to give Zhenzhen the Wooden Eagle Diagram you found in the Quintadent Warship.
Jinming Pool Boss Guide
Murong Yuan Overview
 Murong Yuan Murong Yuan
|
Difficulty Rating | ★★★★★ |
|---|---|---|
| Location | ||
| Found at North Imperial Garden at Jadewood Court | ||
Murong Yuan is a boss fought during the Jinming Pool: Petalfall Banquet Quest. Whenever Murong Yuan performs a yellow attack during her first phase, you can use Meridian Touch to cancel it and knock her down for a few seconds. This is useful for giving you openings to perform your most powerful combos as you whittle down her health and Qi bar.
Jinming Pool Rewards
Rewards from the Quest
|
・Swallowcall Set x2
・Jinming Pool Cosmetic Chest ・Crimson Leaves Chest ・Babmoocut Wind Tips x2 ・Oscillating Jade x2 ・Coin x3200 ・Character EXP x4000 +400 per level |
These are all the rewards you can get by doing Jinming Pool. The rewards listed above are the total earned as you progress through the quest and upon completing it.
Where Winds Meet Related Guides
| Types of Side Quests | |
|---|---|
| Jianghu Legacy | Campaign |
| World Affairs | Exploration |
| Encounters | Wandering Tales |
List Of All Campaign Quest
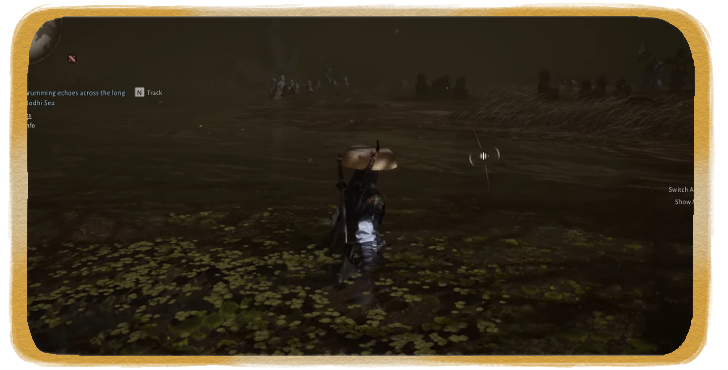 Bodhi Sea Bodhi Sea
|
 Palace of Annals Palace of Annals
|
 Gleaming Abyss Gleaming Abyss
|
 Still Shore Still Shore
|
 Halo Peak Halo Peak
|
 Blissful Retreat Blissful Retreat
|
 Unbound Cavern Unbound Cavern
|
 Ever-Normal Granary Ever-Normal Granary
|
 Jinming Pool Jinming Pool
|
 Heavenfall Heavenfall
|
 Furnace of Righteousness Furnace of Righteousness
|
 Supreme Freedom Supreme Freedom
|
 Whitecrown City Whitecrown City
|
Comment
Hi! Thank you for pointing this out. We have included information about the Soaring Eagle Encounter on the page.
Author

Jinming Pool Walkthrough and Rewards
Rankings
Gaming News

![Monster Hunter Stories 3 Review [First Impressions] | Simply Rejuvenating](https://img.game8.co/4438641/2a31b7702bd70e78ec8efd24661dacda.jpeg/show)
![Monster Hunter Stories 3 Review [First Impressions] | Simply Rejuvenating](https://img.game8.co/4438641/2a31b7702bd70e78ec8efd24661dacda.jpeg/thumb)

![The Seven Deadly Sins: Origin [First Impressions] | A Promising Start](https://img.game8.co/4440581/584e0bfb87908f12c4eab6e846eb1afd.png/thumb)
Popular Games

Genshin Impact Walkthrough & Guides Wiki
Umamusume: Pretty Derby Walkthrough & Guides Wiki
Pokemon Pokopia Walkthrough & Guides Wiki
Honkai: Star Rail Walkthrough & Guides Wiki
Monster Hunter Stories 3: Twisted Reflection Walkthrough & Guides Wiki
Arknights: Endfield Walkthrough & Guides Wiki
Wuthering Waves Walkthrough & Guides Wiki
Zenless Zone Zero Walkthrough & Guides Wiki
Pokemon TCG Pocket (PTCGP) Strategies & Guides Wiki
Monster Hunter Wilds Walkthrough & Guides Wiki


Recommended Games
Diablo 4: Vessel of Hatred Walkthrough & Guides Wiki
Cyberpunk 2077: Ultimate Edition Walkthrough & Guides Wiki
Fire Emblem Heroes (FEH) Walkthrough & Guides Wiki
Yu-Gi-Oh! Master Duel Walkthrough & Guides Wiki
Super Smash Bros. Ultimate Walkthrough & Guides Wiki
Pokemon Brilliant Diamond and Shining Pearl (BDSP) Walkthrough & Guides Wiki
Elden Ring Shadow of the Erdtree Walkthrough & Guides Wiki
Monster Hunter World Walkthrough & Guides Wiki
The Legend of Zelda: Tears of the Kingdom Walkthrough & Guides Wiki
Persona 3 Reload Walkthrough & Guides Wiki


All rights reserved
©1997-2025 NetEase, Inc. All Rights Reserved
The copyrights of videos of games used in our content and other intellectual property rights belong to the provider of the game.
The contents we provide on this site were created personally by members of the Game8 editorial department.
We refuse the right to reuse or repost content taken without our permission such as data or images to other sites.
Amazing walkthrough, thank you!