Best Inner Ways Tier List
NEW: Hexi Map | Chapter 3 | Flute Mystic Skill
★ Unfettered and Everspring Build
☆ Liangzhou | Cat Fever | Prismatic Essence
✪ Updated: Best Weapon | Best Builds
☆ WWM Game8 Twitter: New tips daily!
Recruit using our Guild Recruitment Board!
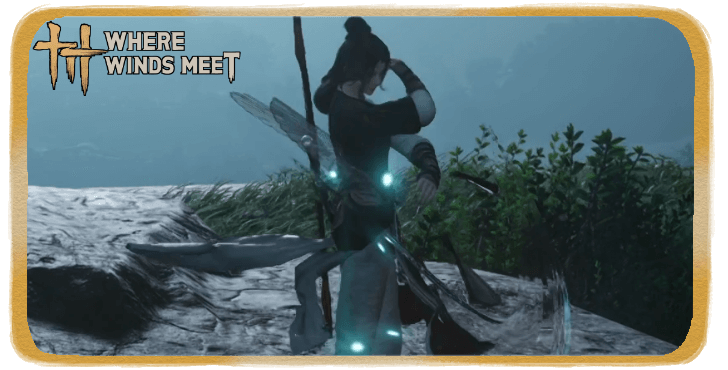
Morale Chant leads this tier list as the best Inner Way in Where Winds Meet. Read on to see which other Inner Ways stand out in this tier list and why they are worth using.
List of Contents
Best Inner Way Tier List (February 2026)
| Rank | Tier List |
|---|---|
 Morale Chant 80% chance to gain one stack of Yi River when attacking or healing. Yi River: Increases Physical Damage and healing by 1% for 8 seconds, stacking up to 5 times. The chance to gain Yi River is only calculated once every 2 seconds.
|
|
 Sword Morph When Noname Sword's Charged Skill, Vagrant Sword is charged while the Qi shield is present, it unleashes multiple additional sword energy attacks at the 2nd charging stage. You can consume bonus Endurance to increase the sword energy's damage; each Endurance increases damage by 1%, up to 20%.  Sword Horizon After casting Strategic Sword's Martial Arts Skill, Special Skill, or Charged Skill, press the skill button at the perfect timing during the ending phase to cast Crisscrossing Swords and unleash follow-up attacks. If the target has 5 stacks of Bleed, remove all Bleed stacks and deal high Bleed damage once. 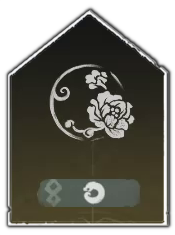 Blossom Barrage Vernal Umbrella's Martial Arts Skill Spring Sorrow can hold up to 2 stacks. Hitting a target applies the Combo effect: Increases Damage taken from the caster's Ballistic Skills by 10% for 8s. Affected Ballistic Skills include: Martial Arts Skill Let Spring Go, Special Skill Everbloom. 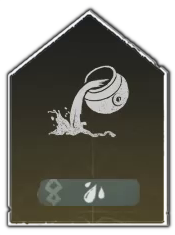 Royal Remedy Increases the healing effect of the water clone created by Panacea Fan's Martial Arts Skill, Cloudburst Healing by 10%. If you are within its range, gain 1 Dewdrop each time when receiving healing over time.  Exquisite Scenery Successfully defending with Thundercry Blade activates its special counterattack. Press Perception Skill or Heavy Attack to unleash a first stage Charged Heavy Attack without charging. This effect can only trigger once every 10 seconds. Hitting a target with a Varied Combo restores 1 bar of Battle Will (no more than 1 bar restored per cast).  Echoes of Oblivion Infernal Twinblades' normal Light Attacks apply Sin to enemies, while Light Attacks under Flamelash apply Karma. When attacking targets affected by Sin and Karma with Infernal Twinblades' Light Attacks, ignore their 10% Physical Defense and 10% Bamboocut Resistance respectively. 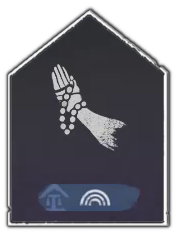 Battle Anthem Increases Charged Skills' damage against all bosses by 10%. 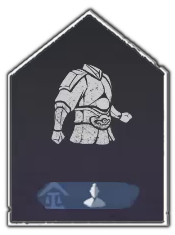 Adaptive Steel Gain a Martial Skill effect based on the blade weapon you are using. The Martial Skill of Sword has a 10-second cooldown, while Dual Blades' Martial Skill has a cooldown of 25 seconds. 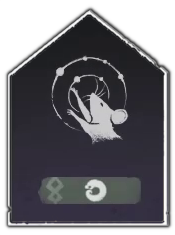 Star Reacher Gain 10% Physical Attack Bonus for 8 seconds after knocking an enemy airborne. 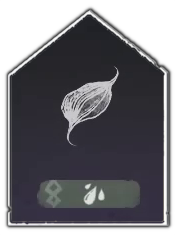 Mending Loom Casting Soulshade Umrella's Special Skill, Echoing Grow restores 5 Dewdrops and additionally heals 10% of your Max HP for every 100 Dewdrops consumed.
|
|
 Seasonal Edge After casting a Dual-Weapon Skill, gain one of four offensive bonuses. 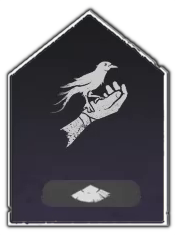 Envigorated Warrior Increases all damage and healing done by 5%. This effect is disabled for 5 seconds after being hit. Taking a hit also grants a Cage effect, increasing all damage taken by 5%. 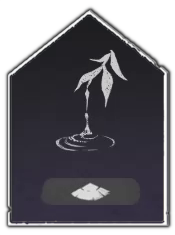 Bitter Seasons When dealing damage, there is a 10% chance to apply a Poison effect for 5 seconds, dealing damage once per second. The Poison reduces target's Physical Defense by 0.6% for 10 seconds, stacking up to 5 times (duration refreshed upon stacking). 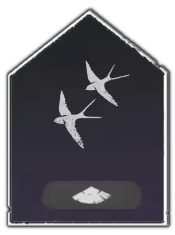 Vital Leech Casting an Exhaustion Execution Skill restores HP equal to 8% of the damage dealt. 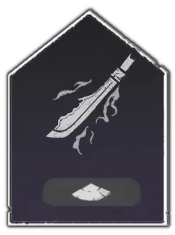 Fury Harvest Vitality is required to cast Mystic Arts. Certain recovery actions have a 50% chance to grant 1 bonus Vitality. No bonus Vitality is rewarded when you gain Vitality by attacking, taking a hit, or successfully deflecting an attack.  Divine Roulette Upon a successful deflection, gain one of three buff that enhances the next skill you use. The effect lasts 10 seconds and can only trigger once every 30 seconds. This applies to Martial Arts Skills, Perception Skills, Special Skills, Charged Skills, and Varied Combos.  Evasive Charge After a Perfect Dodge, there is a 50% chance to refund 100% of the Endurance consumed.  Mountain's Might Noname Spear Martial Arts Skill Qiankun's Lock grants Endless Gale effect, increasing the Endurance cost reduction to 20% for 5 seconds.  Wolfchaser's Art Reduces the required combo number to gain Heavenquaker Spear's Martial Arts Skill, Sorrow Without Wine buff from 5/10 to 4/8. Each time Sorrow Without Wine hits a boss with Bleed effect from you, there is a 20% / 40% / 60% / 80% / 100% chance to increase the combo count by 1 based on the number of Bleed stacks.  Insightful Strike Dealing Affinity DMG generates Focus. When Focus is full, enter the Concentration state for 10 seconds. Concentration: Increases Affinity DMG by 10%. Upon hit, there is a 5% chance to reduce damage taken by 40%.  Restoring Blossom Dealing Critical healing applies one stack of Nurturing for 3 seconds increasing healing received by 2%, stacking up to 3 times. 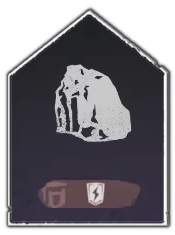 Rock Solid Increases the DMG Reduction of Stormbreaker Spear's Roar of Storm by 20% after taunting a boss unit, and by 5% after taunting a non-boss unit, up to 20% in total. While the DMG Reduction is active, reduces all damage dealt by 10%. 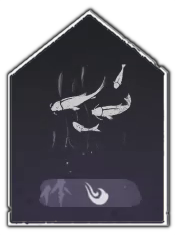 Vendetta Guided Blade's Vendetta Token last 5 seconds longer and restores 20 Token of Gratitudes. 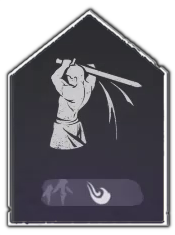 Breaking Point Hitting Exhausted enemies with a Critical Hit applies a stack of Disintegration for 3 seconds, stacking up to 3 times. Each stack grants 10 Physical Penetration and increases Critical DMG Bonus by 5%.  Fivefold Bleed Dealing damage has a 10% chance to apply one stack of Weeping Blood for 5 seconds, damaging the target once per second (up to 5 stacks, duration refreshed upon stacking). At 5 stacks, Weeping Blood will be removed from the target and deal piercing damage once.
|
|
 Wildfire Spark Refunds 3.5% of the Endurance consumed. 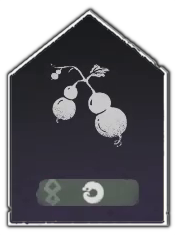 Flying Gourds Grants 2 charges to Inkwell Fan's Peak's Springless Silence, but increases its cooldown by 3 seconds. 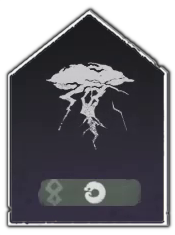 Thunderous Bloom When you move more than 15m within 3 seconds, gain Spring Thunder: The next 3 Heavy Attacks or Airborne Heavy Attacks within 12 seconds gain 15% DMG Bonus. This effect may trigger once per 15 seconds.  Esoteric Revival Increases the healing of Panacea Fan's Perception Skill, Resurrection, by 50% on the revived target. 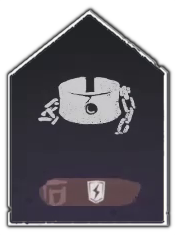 Trapped Beast Taking damage while HP is below 30% triggers Cornered Beast, generating a shield that absorbs up to 30% of Max HP. This effect lasts 4 seconds and can trigger once every 300 seconds. 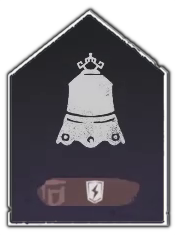 Art of Resistance Increases the duration of your own HP shield and the bonus effects of its source skill by 4 seconds. 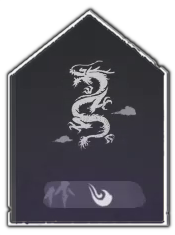 Riptide Reflex Hitting an Enemy with a Control Skill reduces the Cooldown of the current Martial Arts Skill by 1s. This effect can only trigger once every 10s. Affected Control Skills include: Bladebound Thread, Coiled Dragon, Qiankun's Lock, Spring Sorrow, Moon Shatter Spring, Wayfarer's Drift, Peak's Springless Silence.  Wind Beneath Wings Reduces the Endurance cost of Movement Mystic Arts Skywalk Dash's dash while jumping by 10%. After landing, increases Movement Speed by 30% for 3 seconds. Restores bonus HP (1% Max HP +1,000) after defeating any enemy.  Evening Snow Within 12 seconds upon entering combat, if HP falls below 60%, gain Snow Vision for 4 seconds, restoring 2% HP +600 HP per second. This effect can trigger once every 300 seconds.  Steadfast Stance Less likely to suffer stagger effect when attacked. Invalid when the attack comes from a boss or player.  Shadow Assault Increases the max range of Assassin Mystic Art Touch of Death's ambush by 1.5
|
| Date | Changes |
|---|---|
| 02/11/2026 | Reworked the page into a full tier list and added detailed explanations for each entry. |
| 12/02/2025 | Published the initial Best Inner Way guide. |
Tier List Criteria
| The absolute best Inner Ways in the game. These are universally strong options that can fit into almost any build or playstyle with little to no downside. They provide powerful, consistent benefits that scale well across PvE and PvP, making them safe picks regardless of weapon choice or strategy. If an Inner Way is SS, it is almost always worth considering first. | |
| Top-tier Inner Ways that shine within specific builds or roles. These are extremely consistent, reliable, and often best-in-slot for their intended purpose. While not always universal like SS picks, they excel so strongly in their niche that they are core choices when building around that mechanic. | |
| Strong Inner Ways that are still very effective, but more situational. These usually require a certain weapon, playstyle, or condition to fully shine. When used correctly, they can perform very well, but they are not as broadly applicable or consistently impactful as S or SS options. Great choices if they align with your build goals. | |
| Niche Inner Ways with limited use cases. These can work in specific scenarios, experimental builds, or very particular playstyles, but they are generally outperformed by higher-tier options. They are not useless, but most builds will gain more value from other Inner Ways unless you are intentionally building around their unique effects. |
Best Inner Way Tier List Explanations
| Inner Way Tier List Ranking | |||
|---|---|---|---|
SS-Tier Inner Ways
| Inner Way | Explanation |
|---|---|
|
Morale Chant |
The go-to Inner Way for pretty much any build because it gives constant, stacking damage/pen/crit buffs that apply to everything you do, scales well when fully upgraded, and hardly ever hurts your performance. |
S-Tier Inner Ways
| Inner Way | Explanation |
|---|---|
|
Echoes of Oblivion |
Core Inner Way for Twinblade builds. It lets your rapid hits stack debuffs that increase your damage and penetration, turning sustained combos into serious pressure. Scales hard with upgrades, making it a staple for top-tier Twinblade setups. |
|
Sword Morph |
A staple for Nameless Sword builds, turning your Charged Skill into a multi-wave damage burst that massively boosts DPS once upgraded. It upgrades your core combo into a true nuke, not just a filler attack. |
|
Battle Anthem |
A top tier Inner Way for builds that rely on Charged Skills, since it greatly increases their damage, especially against bosses. Breakthrough upgrades push this even further with additional damage bonuses and endurance scaling, making it one of the best choices for turning your charged attacks into heavy hitters. |
|
Sword Horizon |
Essential for Strategic Sword builds, adding a powerful follow up attack after key skills that turns bleed stacks into extra burst damage. Its upgrades further boost damage and bleed synergy, making the weapon far more lethal overall. |
|
Adaptive Steel |
A flexible Inner Way that grants different but valuable bonuses based on your weapon type, and becomes even stronger if you frequently use Dual-Weapon Skills. Its later tiers add extra damage, sustain, and mastery uptime, making it powerful across many weapon-swapping builds. |
|
Royal Remedy |
A top Inner Way for Panacea Fan, boosting Cloudburst Healing and generating extra Dewdrops for better sustain. Higher tiers add more resource gain, stronger healing effects, and even defensive utility, making it excellent for long fights and team support. |
|
Mending Loom |
At Tier 6, Echoes of a Thousand Plants of Soulshade Umbrella heals you and also heals the nearby ally with the lowest HP percentage, turning it into strong extra team sustain. |
|
Blossom Barrage |
A Vernal Umbrella Inner Way that makes your Spring Sorrow combo much stronger by applying a debuff that increases damage taken from your ballistic skills, giving your umbrella ranged attacks a solid damage amp. |
|
Star Reacher |
A must have for Inkwell Fan and Vernal Umbrella builds, giving a big physical attack boost after launching enemies and greatly increasing your follow up damage. Upgrades extend the bonus and add even more damage value. |
|
Exquisite Scenery |
A must have for Thundercry Blade, because it triggers a special counterattack when you defend, letting you instantly follow up with a Charged Heavy Attack without charging. |
A-Tier Inner Ways
| Inner Way | Explanation |
|---|---|
|
Restoring Blossom |
A great healing-oriented Inner Way that makes your critical heals stronger by applying stacks of Nurturing, which increases how much healing your allies receive, and its breakthrough tiers later boost healing received, max HP, and make healing even more effective against low-HP targets. |
|
Seasonal Edge |
An Inner Way that activates after a Dual-Weapon Skill, giving one of four random offensive buffs like crit rate, affinity rate, physical damage, or all-attribute attack. Higher tiers extend duration, improve scaling, and can grant multiple buffs at once. The randomness makes it less consistent than other options, but it can work in weapon-swap builds and pairs reasonably well with Adaptive Steel. |
|
Vendetta |
Its synergy with fast attacks and resource flow makes it a solid choice for Twinblade builds, even if it isn’t quite as universally picked as S-tier options. |
|
Mountain's Might |
A strong pick for Nameless Spear builds, reducing endurance costs after using Qiankun’s Lock so you can chain more skills and charged attacks. The extra endurance flow also makes weapon swapping smoother in longer fights. |
|
Fivefold Bleed |
Your attacks can stack Weeping Blood for damage over time and a piercing burst at full stacks, giving steady passive DPS with little effort. It works especially well with fast hitters like Strategic Sword, and upgrades improve proc chance and crit damage, making it a solid pressure pick in PvP and bleed builds. |
|
Wolfchaser's Art |
Strong for Heavenquaker Spear and Strategic Sword setups, since it makes Sober Sorrow easier to trigger by lowering combo requirements and adding extra combo hits from bleed stacks. Upgrades further boost damage, extend buff duration, and add combo-based bonuses, helping you keep the spear buff active more consistently. |
|
Divine Roulette |
Solid in PvE but especially strong in PvP. Successful deflections grant a random bonus to your next skill, like extra damage or guaranteed crit or affinity, helping you win trades. Its first breakthrough restores extra Qi on deflects, while later tiers add penetration and defensive bonuses for better overall survivability. |
|
Fury Harvest |
Best for builds that rely heavily on Mystic Arts, as it boosts Vitality recovery and later refunds Vitality after casting Mystic Skills. This supports a resource-focused playstyle that lets you use Mystic abilities more often, which is especially strong in longer fights and PvP. |
|
Envigorated Warrior |
Best when you can stay at max health, because it boosts your attack and defense while at full HP and gives bonus endurance and Qi regen once fully unlocked. It’s not very impactful in PvP where damage spikes happen fast, but in PvE it can be very useful, especially once you reach Tier 3 or higher and unlock its full potential. |
|
Evasive Charge |
Refunds endurance on perfect dodges and gets much stronger at higher tiers, adding cheaper dodges, damage reduction, small heals, and defense boosts. Excellent in PvP where good dodging keeps your stamina high and positioning safe. |
|
Rock Solid |
Works especially well with Stormbreaker Spear, because it increases the damage reduction on Roar of Storm after taunting enemies, making you much harder to kill, with higher tiers adding shield boosts, extra HP scaling, bonus damage against taunted foes, and self-healing during mitigation windows. |
|
Vital Leech |
It heals you when you use an Exhaustion Execution Skill, restoring a percentage of the damage dealt (boosting this with upgrades), and at max tier it even heals you when hitting Exhausted targets. That healing can be clutch in PvP if you execute often (especially in 3v3), but the effect is still too situational and slow to outshine better Inner Ways in most builds. |
|
Bitter Seasons |
A great Inner Way for applying constant pressure and enemy debuffs, since it increases your debuff application rate and adds bonus damage based on how many debuffs you’ve applied. This makes it especially strong in PvP, where stacking and maintaining debuffs can quickly swing exchanges in your favor. |
|
Breaking Point |
Not commonly picked, but it shines when your playstyle focuses on capitalizing off Exhausted enemies. It rewards you with strong damage boosts and bonuses when hitting an already Exhausted boss, making it viable for niche burst setups. Still, it’s situational enough that most builds don’t prioritize it, even though it’s solid on its own. |
B-Tier Inner Ways
| Inner Way | Explanation |
|---|---|
|
Wildfire Spark |
Decent on its own, but usually outclassed. Most builds gain more value from other Inner Ways, so it rarely makes the cut unless you are leaning into a very specific setup. |
|
Insightful Strike |
A niche pick with real potential for Affinity Damage builds. It adds damage reduction and later grants HP recovery, giving it solid survivability value that can make it especially useful in PvP-focused setups. |
|
Thunderous Bloom |
A situational pick that triggers Spring Thunder after moving a set distance, giving your next few Heavy or Airborne Heavy Attacks a nice damage boost when timed right. It works best in mobile or heavy-attack focused playstyles, but is not reliable enough to outshine stronger options for most builds. |
|
Art of Resistance |
It increases the duration of your HP shields and extends any bonus effects that come from those shields, making them last a bit longer in combat. Because it only buffs shield effects, its use is fairly limited unless your build really leans on those shields for survivability. |
|
Riptide Reflex |
Landing a Control Skill reduces the cooldown of your current Martial Arts Skill, with upgrades adding more cooldown reduction, attack, and penetration. It fits CC-focused playstyles, but the control requirement makes it niche compared to more consistent Inner Ways. |
|
Trapped Beast |
Probably not worth taking over stronger Inner Ways, but it can be a life saver in clutch moments by giving a burst of healing and damage reduction when you drop below low health. Its survival value is niche, but it can bail you out of devastating hits you otherwise wouldn’t survive. |
|
Flying Gourds |
A gimmicky Inner Way tied to Inkwell Fan that causes your thrown gourd projectiles to explode on hit and grant a small speed bonus, which can be fun and technically add pressure. However, the effects are minor and very build/playstyle specific, so it generally does not compare to stronger, more consistent picks in most setups. |
|
Esoteric Revival |
Improves your Panacea Fan revive by restoring more HP and adding safety buffs after revival. Helpful if someone dies, but too situational to be a strong general pick. |
|
Shadow Assault |
A very niche Inner Way that boosts your Touch of Death Mystic Art, increasing its ambush range and damage and healing you when it connects. Most builds and general combat situations will get more value from other Inner Ways. |
|
Steadfast Stance |
A situational Inner Way with limited impact. Its defensive focus can help in specific situations, but it generally does not offer enough value compared to more versatile or damage-oriented options. |
|
Evening Snow |
Only really shines if you are taking hits often, which is not a great habit to build around. There are safer and more consistent Inner Ways, so this ends up being a backup option rather than a smart first pick. |
|
Wind Beneath Wings |
Unless you really just want to zoom around a bit faster with Skywalk Dash and get a tiny HP heal after kills, this is simply not a good Inner Way in general. |
Where WInds Meet Related Guides

Meta Guides
 Weapons Martial Arts Tier List Weapons Martial Arts Tier List |
 Best Mystic Arts to Unlock Early Best Mystic Arts to Unlock Early |
 Best Inner Ways Tier List Best Inner Ways Tier List |
 Best Gear Sets Best Gear Sets |
 Best Starting Weapon Best Starting Weapon |
 Best Companions to Summon Best Companions to Summon |
Message Boards
 Character Sharing Board Character Sharing Board |
 Guild Recruitment Board Guild Recruitment Board |
 Photo Mode Sharing Board Photo Mode Sharing Board |
Beginner Guides
 Beginner's Guide and Best Starting Tips
 All Redeem Codes
 Difficulty Settings Guide
 How to Progress Efficiently
 Daily Reset Timer and Cap Unlocks
 Dailies and Weeklies Guide
 How to Increase World Level
 Story Explained
 How to Play Co-Op and Online Mode
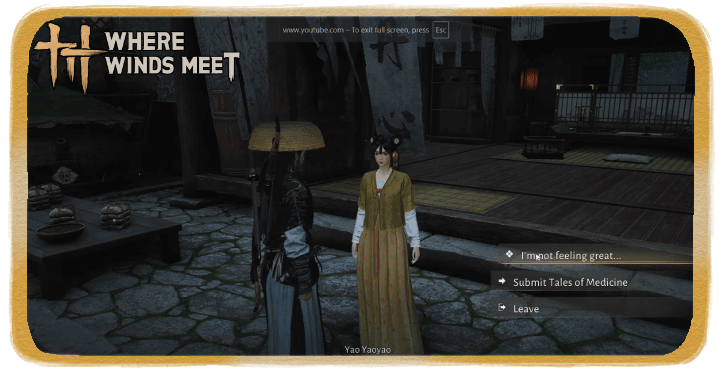 How to Self-Heal Illness
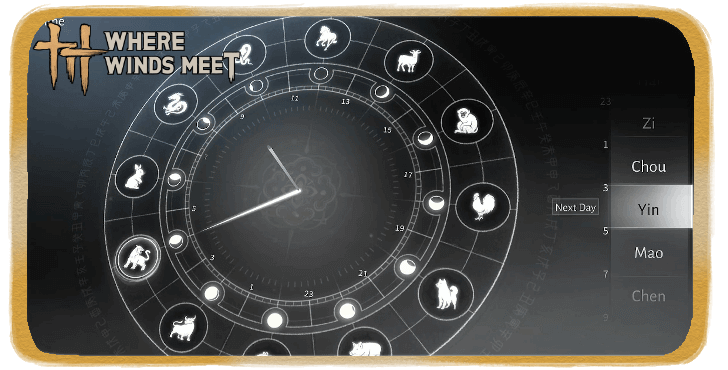 How to Change Time
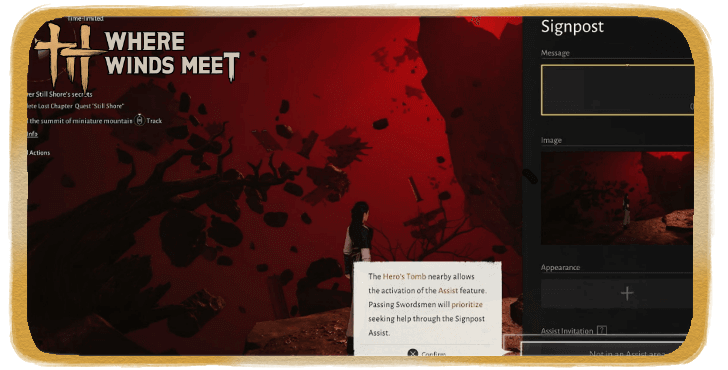 How to Place Signposts
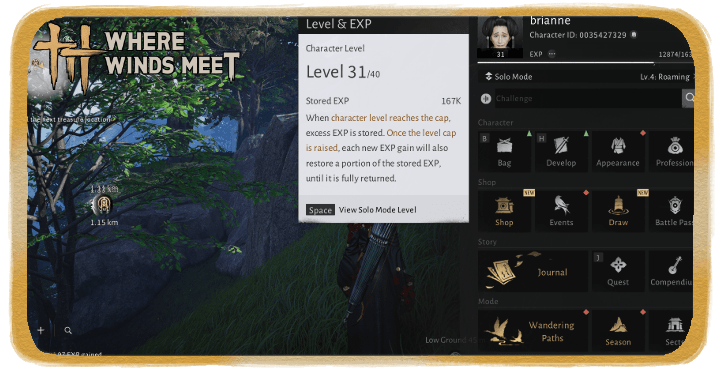 How to Use Stored EXP
 Battle Pass Guide
 How To Use Wind Sense
 List of Achievements
 How To Farm Enlightenment Points
 How to Save Game Data
 How to Upgrade Healing Potions
 How to Rest
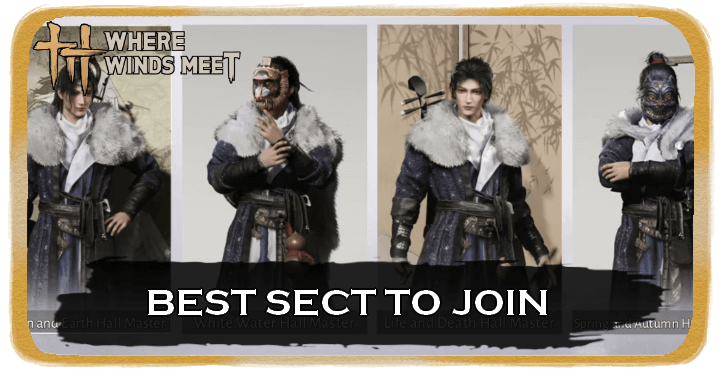 Best Sect to Join
 Stamina System Explained
 Best Activities to Spend Energy
 Best Side Quests
 How to Level Up Fast
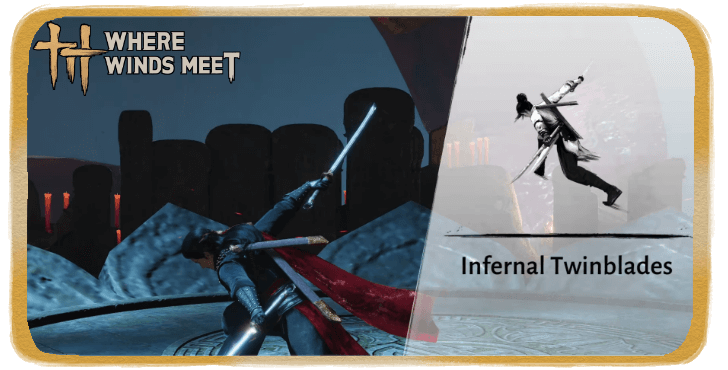 Skill Theft Guide
 How to Get Commerce Coins
 How to Crouch
 List of Characters
Exploration Guides
 All Puzzle Solutions
 How To Farm Exploration Points
 How to Get Mount Early
 How to Fly
 How to Repair Bell of Demoncalm
 How to Get to Ghostlight Market
 How to Unlock Beastheart
 How to Negate Fall Damage
 Jumping Explained
 Lock Picking Guide
 How to Unlock Roaring Sands
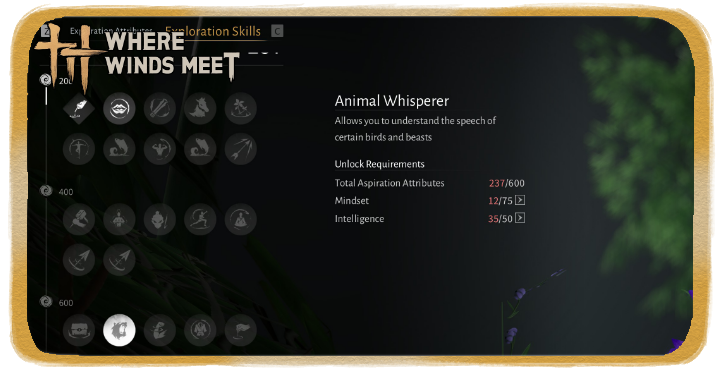 How to Talk to Animals
 How to Play Mahjong
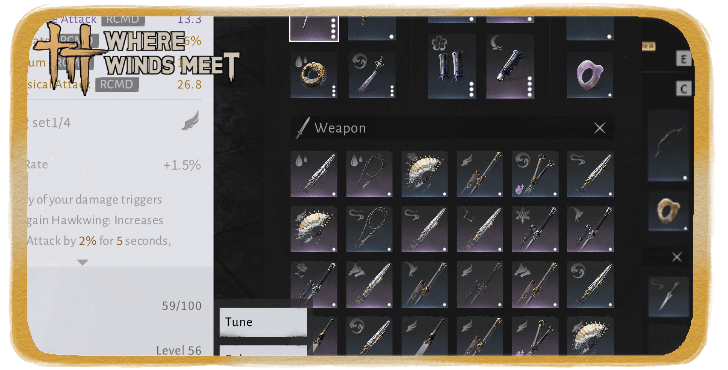 List of All Gear Sets
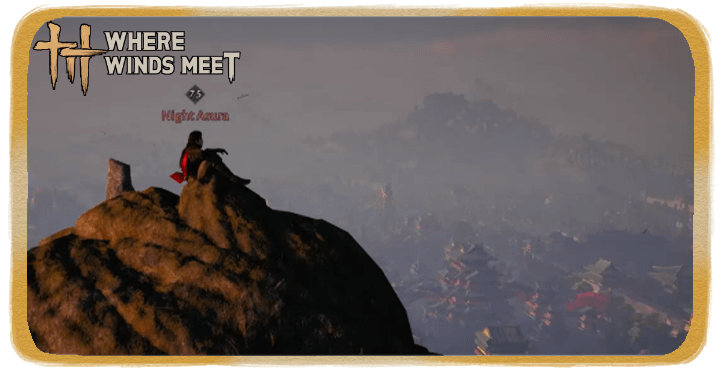 Should You Kill Night Asura?
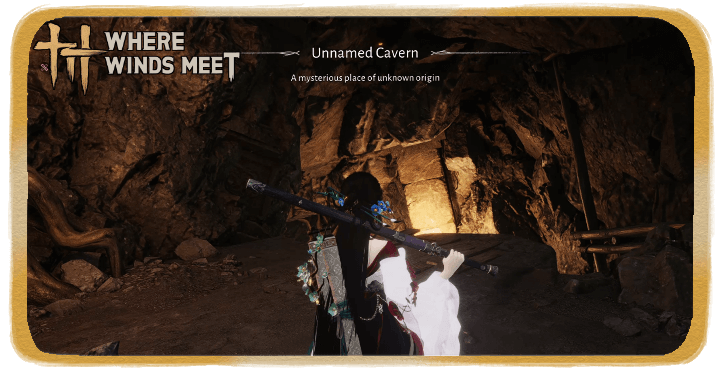 Cascading Water Ruins
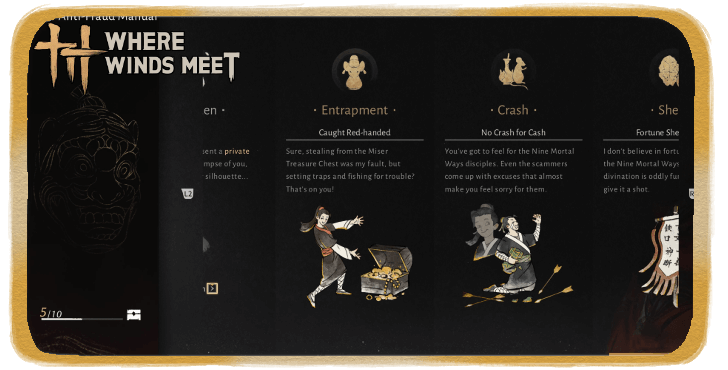 Anti-Fraud Manual Guide
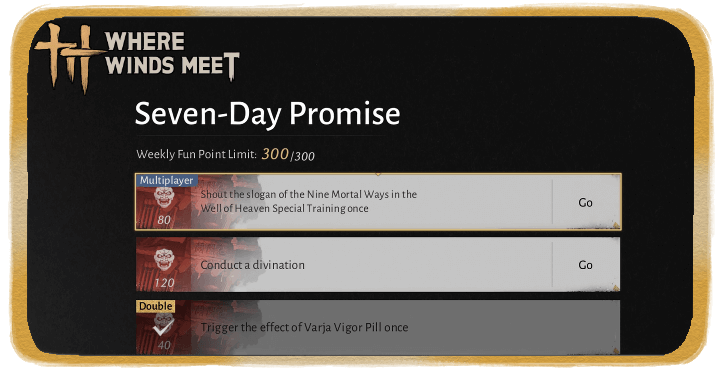 Seven-Day Promise Guide
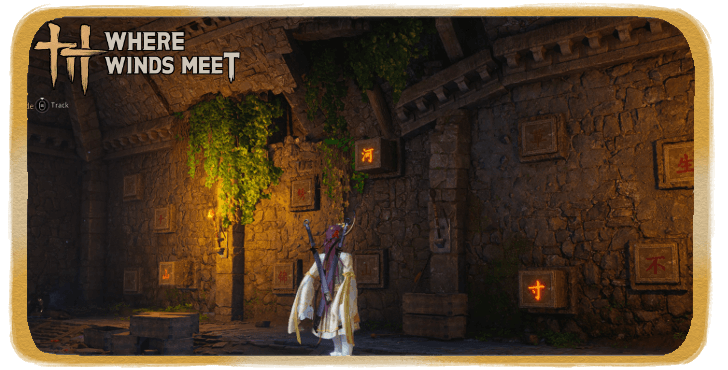 Solve the Puzzle on the Wall
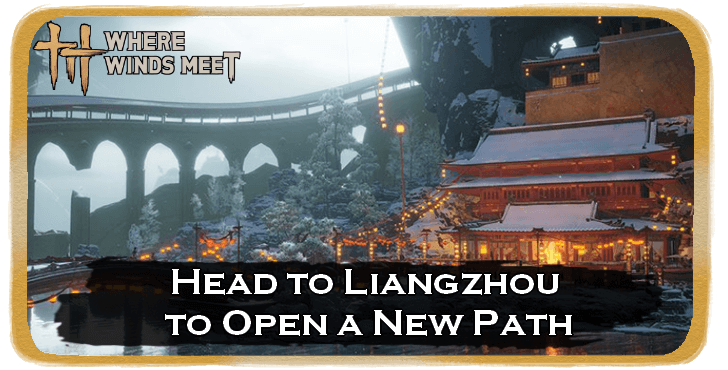 How to Head to Liangzhou
Combat Guides
 How to Parry Attacks and Parrying Tips
 PvP Guide
 Advanced Combat Guide
 How to Unlock Mystic Skill Slots
 Stats Explained
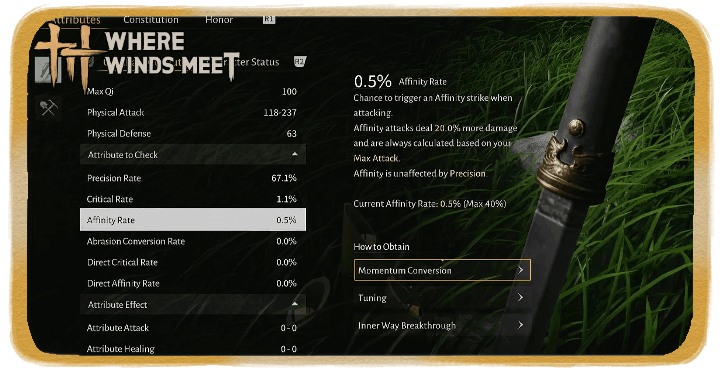 What is Affinity Damage?
 Gear Durability Explained
 Gear Rarity Explained
 Gear Tuning Guide
 How to Upgrade Weapons
 How to Unlock Arsenal
 How to Increase Vitality
 Animation Canceling Guide
 Taiping Mausoleum Guide
 Perception Forest Guide
 How to Increase Perception
 How to Increase Mindset
 How to Increase Coordination
Character Creation Guides
 Character Creation Guide
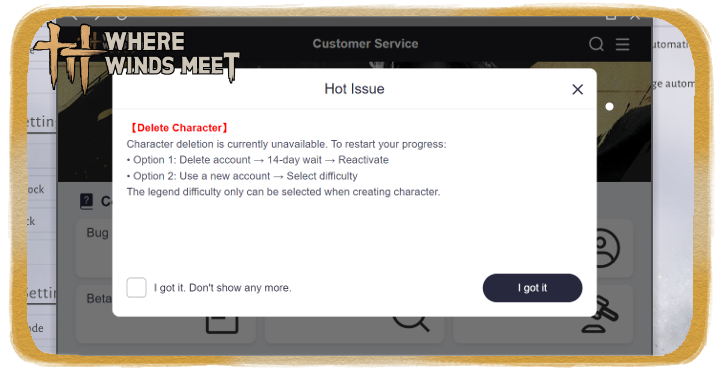 How to Delete Characters
 Best Starting Choices
 Can You Change Gender?
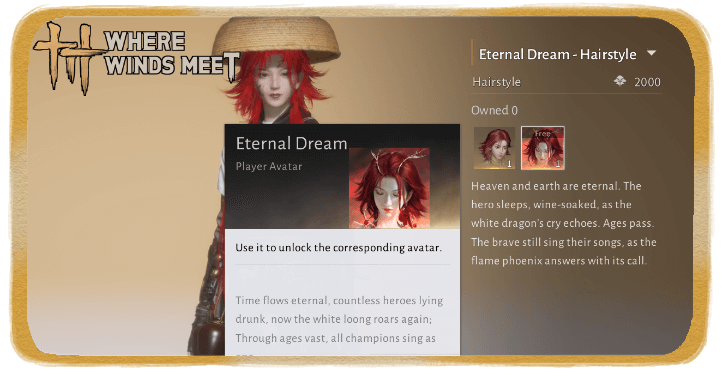 How to Change Hair Color
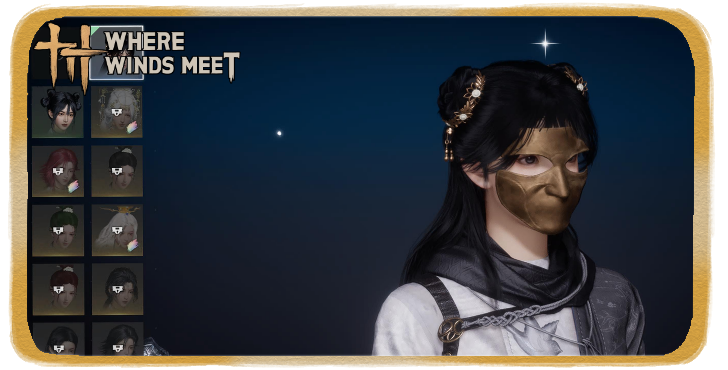 Can You Have Multiple Characters?
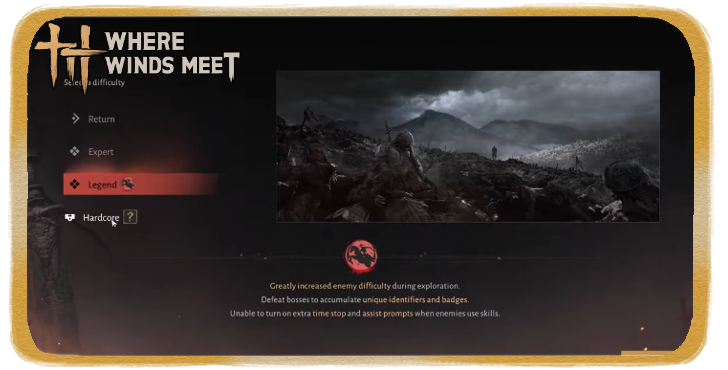 Should You Choose Legends Difficulty?
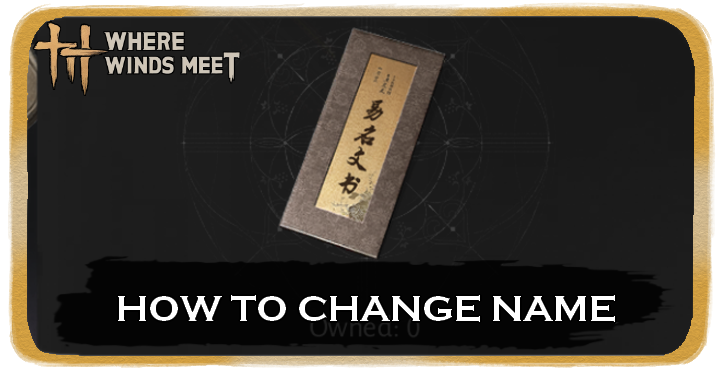 How to Change Name
Common Questions and Technical Guides
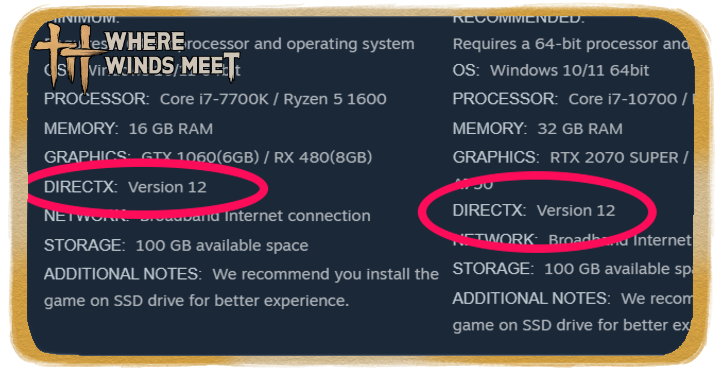 Should You Use DirectX 12?
 How Long is Where Winds Meet?
 What is the Max Level?
 What To Do With Old Gear?
 What are Pardon Parades?
 Death Penalty Explained
 All Missables and Points of No Return
 False Accusation Explained
 Endgame Guide
 How to Top Up
 How to Change Language
 How to Get Unstuck
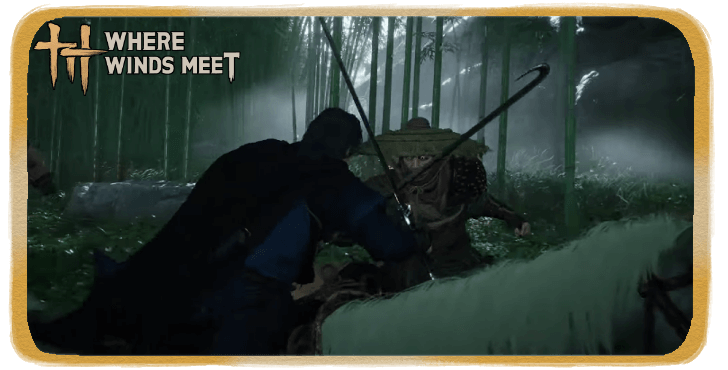 Best Settings Guide
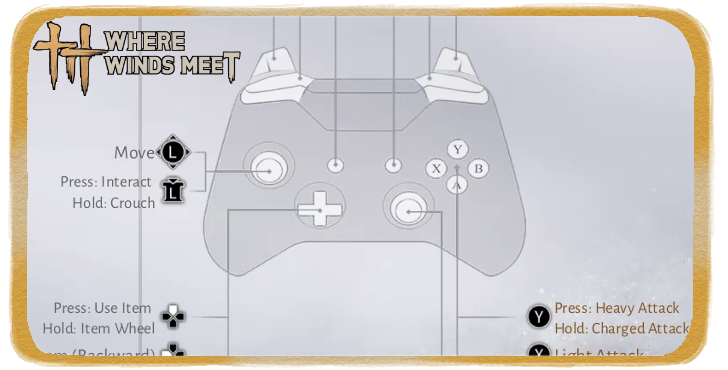 List of All Controls
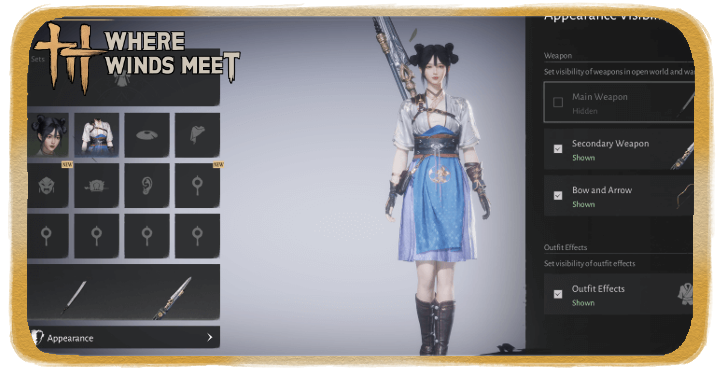 How to Hide Bow and Weapons
 How to Skip Cutscenes
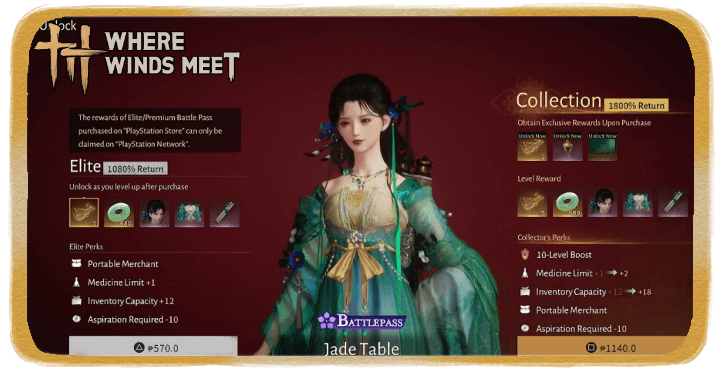 Microtransaction Guide
 Upcoming Weapons and Martial Arts
Gameplay Features
 Gacha System Explained
 How to Unlock Fishing
 How to Disguise
 Wanted System and Law Violation
 Guild System Guide
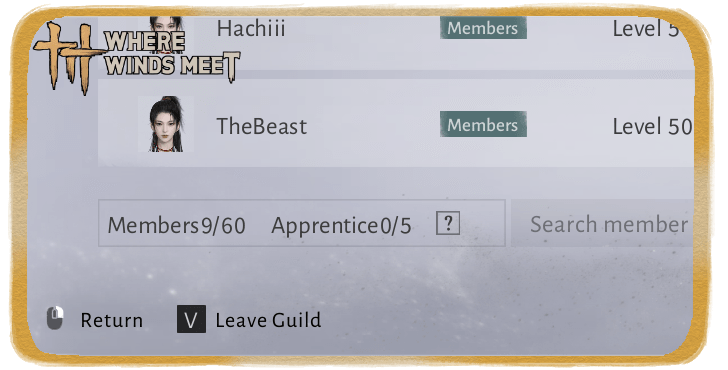 How to Leave Guild
 How to Leave Sect
 How to Unlock Base Building
 Romance System Explained
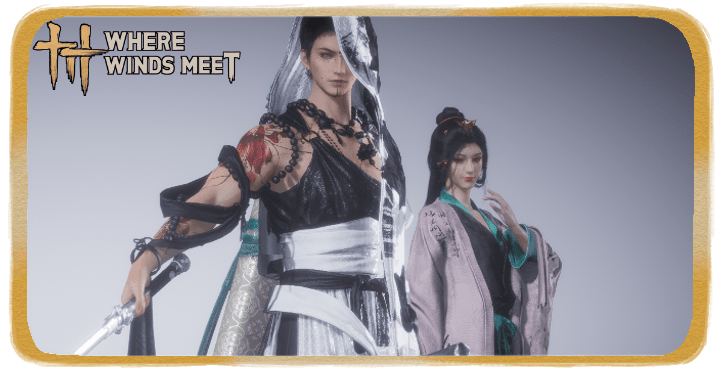 How to Increase Intimacy
 Guild Wars Guide
 Season Challenges Guide
 Eastern Herald Quiz Answers
 Training Dummy Guide
 Spotlight Mode
Lore
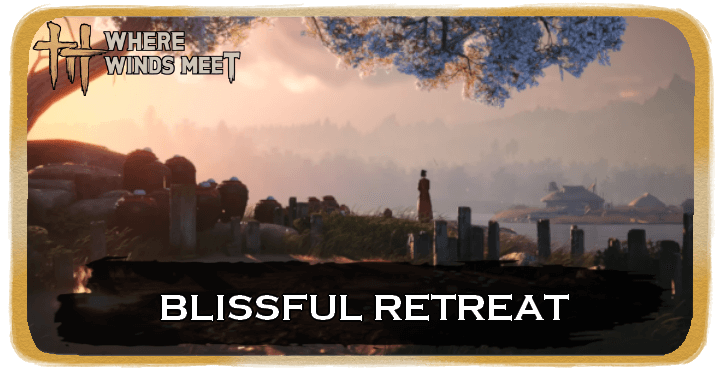 The Story of Blissful Retreat The Story of Blissful Retreat |
- | - |
Comment
Author

Best Inner Ways Tier List
Rankings
- We could not find the message board you were looking for.
Gaming News

![Monster Hunter Stories 3 Review [First Impressions] | Simply Rejuvenating](https://img.game8.co/4438641/2a31b7702bd70e78ec8efd24661dacda.jpeg/show)


Popular Games

Genshin Impact Walkthrough & Guides Wiki
Umamusume: Pretty Derby Walkthrough & Guides Wiki
Pokemon Pokopia Walkthrough & Guides Wiki
Honkai: Star Rail Walkthrough & Guides Wiki
Monster Hunter Stories 3: Twisted Reflection Walkthrough & Guides Wiki
Arknights: Endfield Walkthrough & Guides Wiki
Wuthering Waves Walkthrough & Guides Wiki
Zenless Zone Zero Walkthrough & Guides Wiki
Pokemon TCG Pocket (PTCGP) Strategies & Guides Wiki
Monster Hunter Wilds Walkthrough & Guides Wiki


Recommended Games
Diablo 4: Vessel of Hatred Walkthrough & Guides Wiki
Cyberpunk 2077: Ultimate Edition Walkthrough & Guides Wiki
Fire Emblem Heroes (FEH) Walkthrough & Guides Wiki
Yu-Gi-Oh! Master Duel Walkthrough & Guides Wiki
Super Smash Bros. Ultimate Walkthrough & Guides Wiki
Pokemon Brilliant Diamond and Shining Pearl (BDSP) Walkthrough & Guides Wiki
Elden Ring Shadow of the Erdtree Walkthrough & Guides Wiki
Monster Hunter World Walkthrough & Guides Wiki
The Legend of Zelda: Tears of the Kingdom Walkthrough & Guides Wiki
Persona 3 Reload Walkthrough & Guides Wiki


All rights reserved
©1997-2025 NetEase, Inc. All Rights Reserved
The copyrights of videos of games used in our content and other intellectual property rights belong to the provider of the game.
The contents we provide on this site were created personally by members of the Game8 editorial department.
We refuse the right to reuse or repost content taken without our permission such as data or images to other sites.