Eight Chaotic Formations Dungeon Guide and Chest Locations
NEW: Hexi Map | Chapter 3 | Flute Mystic Skill
★ Unfettered and Everspring Build
☆ Liangzhou | Cat Fever | Prismatic Essence
✪ Updated: Best Weapon | Best Builds
☆ WWM Game8 Twitter: New tips daily!
Recruit using our Guild Recruitment Board!
Eight Chaotic Formations is one of the Divinecraft Dungeons in Where Winds Meet. See a guide on its challenges and chest locations!
List of Contents
Eight Chaotic Formations Walkthrough
The order of the rooms does not matter. You can enter each room in any order.
Life (生) Room Walkthrough
| # | Steps |
|---|---|
| 1 | 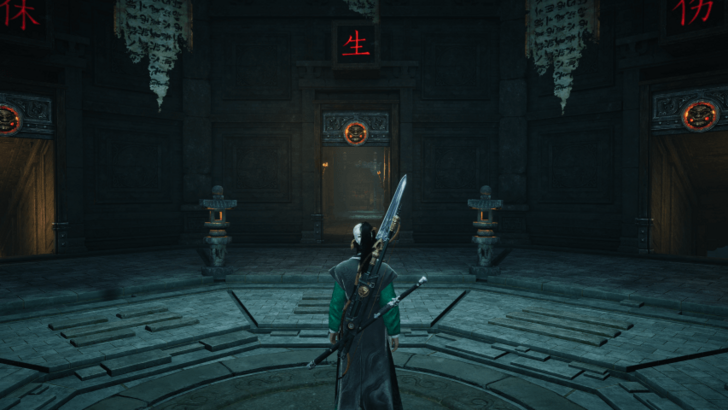 Enter the room that is initially opened and has no treasure chest visible from the outside. |
| 2 | 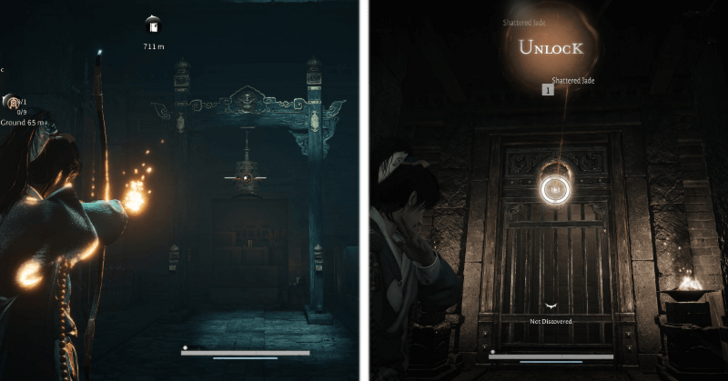 Shoot the bell at the end of the room then use the Meridian Touch on the ring above the gate at the side of the room to unlock it. Enter the new room and drop down to the water. |
| 3 | 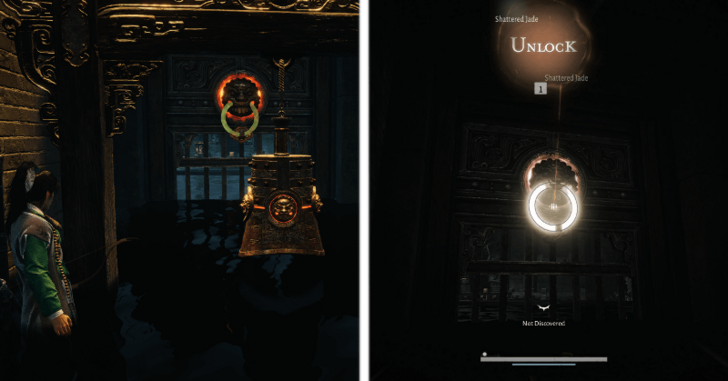 Stand on one side of the bell and shoot it then use the Meridian Touch on the ring above the gate nearby to open it. Enter through the gate into the next room. |
| 4 | 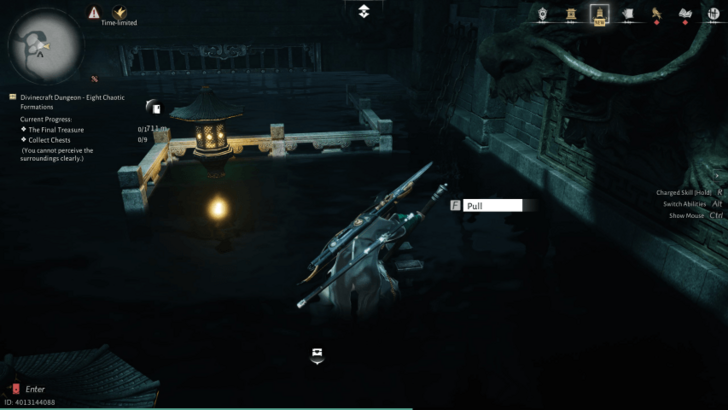 Pull the lever to lower the water level inside the room. |
| 5 | 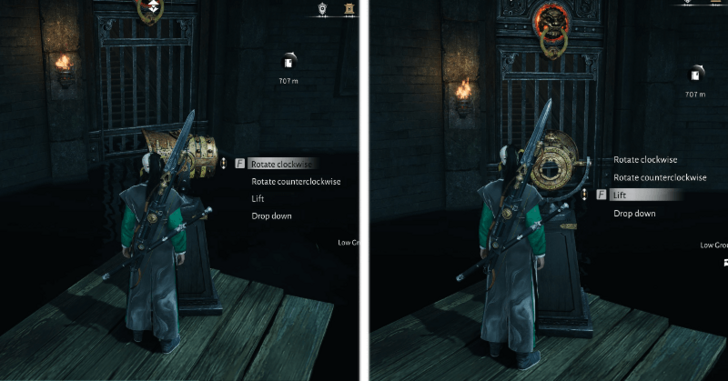 Interact with the Sound Relay on the wooden platform and select Rotate Clockwise then Lift to aim at the ring above the gate. |
| 6 | 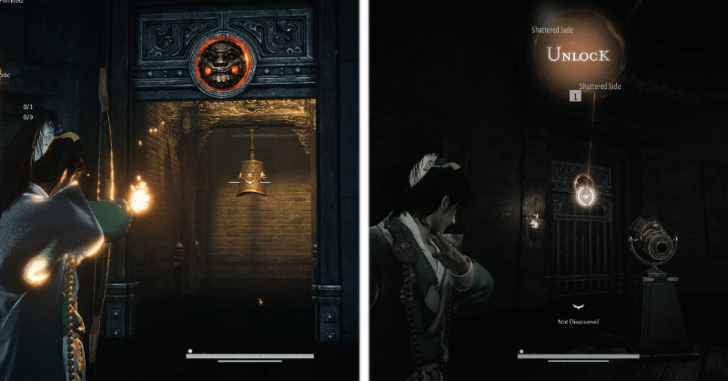 Shoot the bell from the previous room then use the Meridian Touch on the ring above the gate to unlock it. Enter through the gate, which leads you back to the initial area and opens a new room. |
Death (死) Room Walkthrough
| # | Steps |
|---|---|
| 1 | 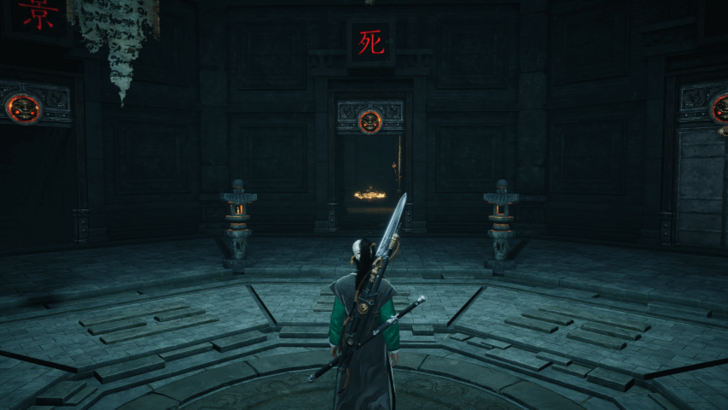 Enter into the room where there is a chest visible from the outside. Dash through the hallway on the left then interact with the spinning gears there to disable the contraption. |
| 2 | 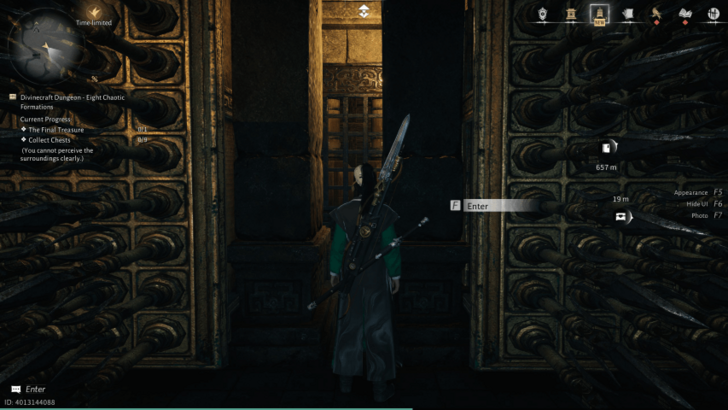 Move halfway through the hallway filled with traps and enter through the small gap in between. Afterwards, head left and follow the path into the next room. |
| 3 | 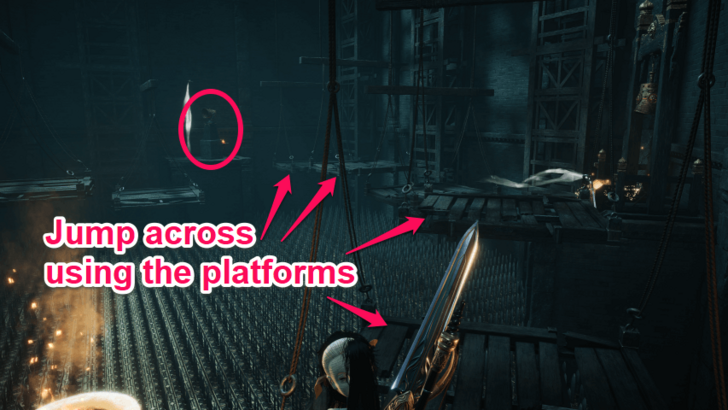 Move across the room by jumping on the hanging platforms and reach the Sound Relay at the other side of the room. You have to be quick in jumping between the platforms since they break after awhile once you step on them. If the Sound Relay is not yet facing the ring above the gate, you need to adjust it before moving forward. |
| 4 | 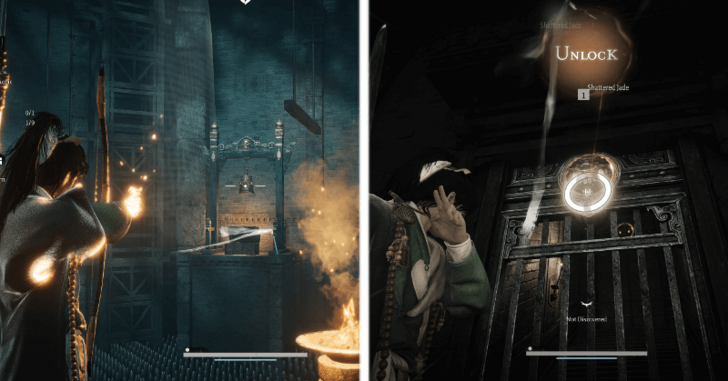 Once the Sound Relay is facing the ring, go towards the gate. From there, shoot the bell on the other side of the room then use the Meridian Touch on the ring above the gate to unlock it. Enter through the gate, which leads you back to the initial area and opens a new room. |
Scenery (景) Room Walkthrough
| # | Steps |
|---|---|
| 1 | 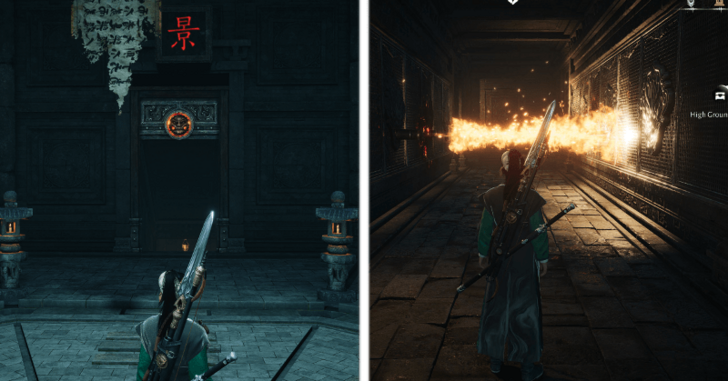 Enter the 景 room and head right. Dash, crouch, or jump your way through the fire traps and reach the end of the path. There are three (3) sets of fire traps you'll have to go through in this room. |
| 2 | 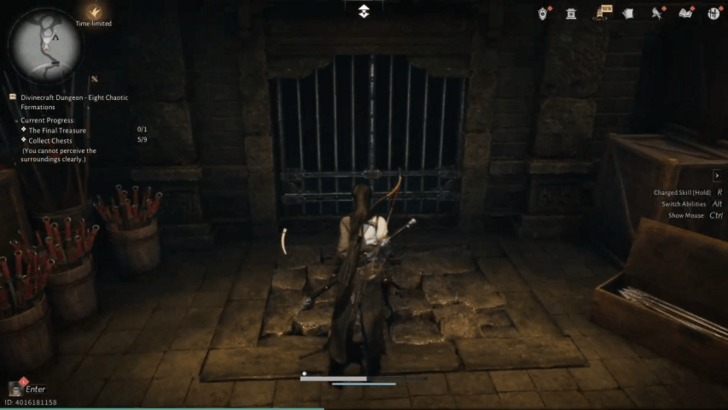 Once you reach the end of the path, drop down through the broken ground onto the next room. |
| 3 | 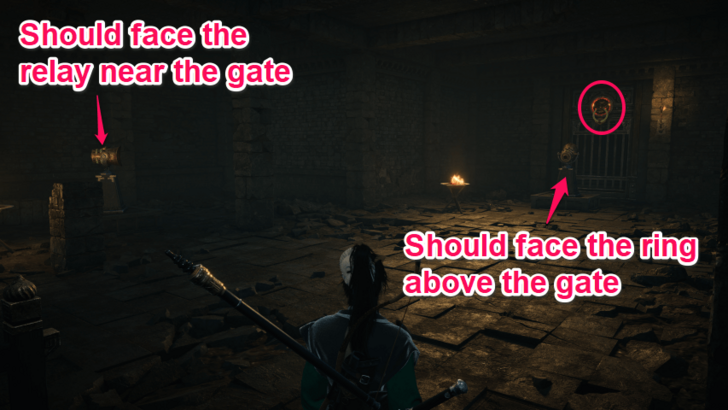 Interact with the Sound Relay located on the side of the room and select Rotate Clockwise. Next, interact with the other Sound Relay near the gate and select Rotate Clockwise then Lift. |
| 4 | 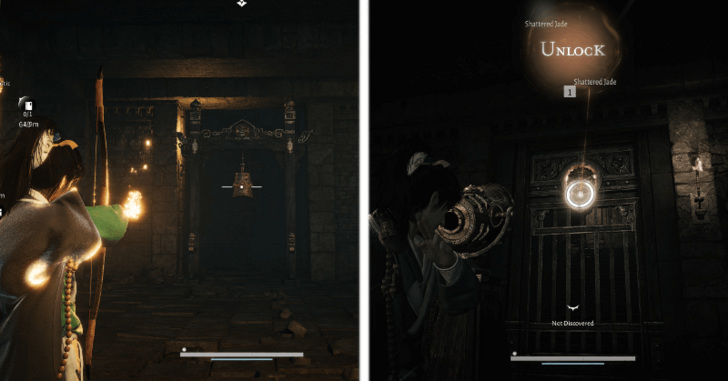 Once the Sound Relays are facing the correct direction, shoot the bell in the room then use the Meridian Touch on the ring above the gate to unlock it. Enter through it to move to the next room. |
| 5 | 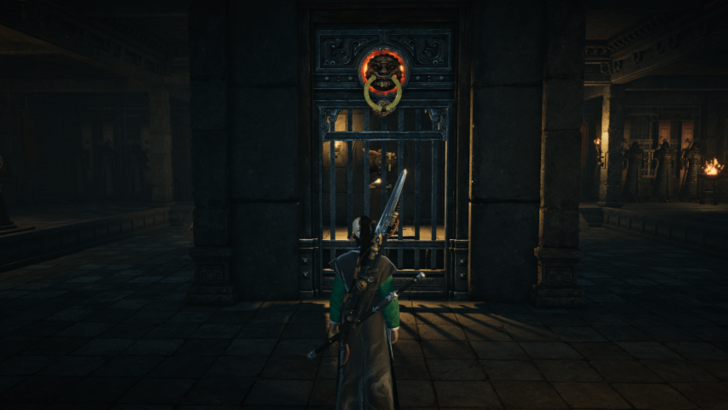 The first thing you need to do in this room is to open the gate at the center, which contains a Sound Relay inside. To do this, you have to adjust the the Sound Relays on the left side of the room from where you entered first. 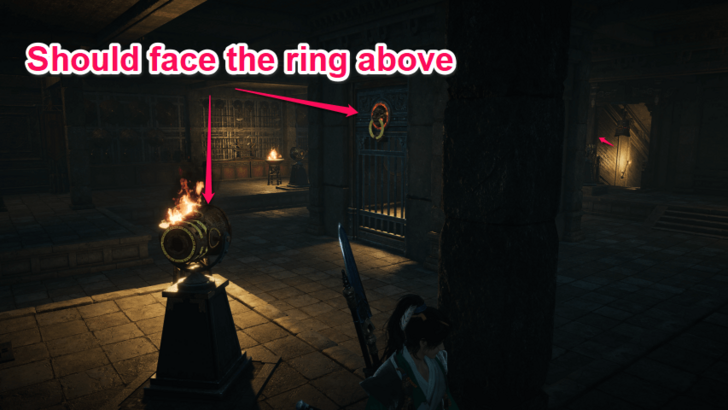 Starting with the leftmost Sound Relay, select Rotate Counterclockwise. Next, go to the Sound Relay directly across the first one and make sure that it's facing the center gate. 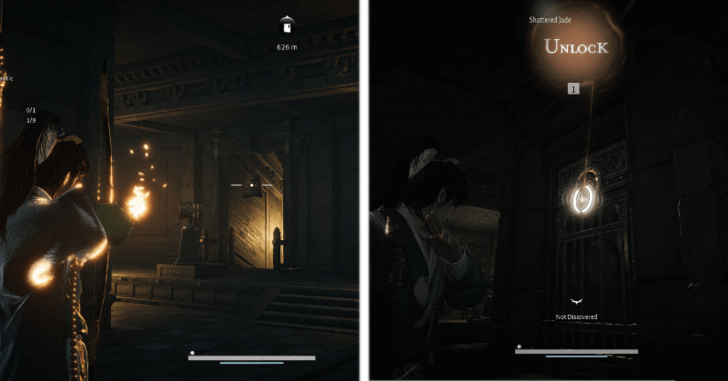 Afterwards, shoot the bell and use the Meridian Touch on the ring above the gate to unlock it. |
| 6 | 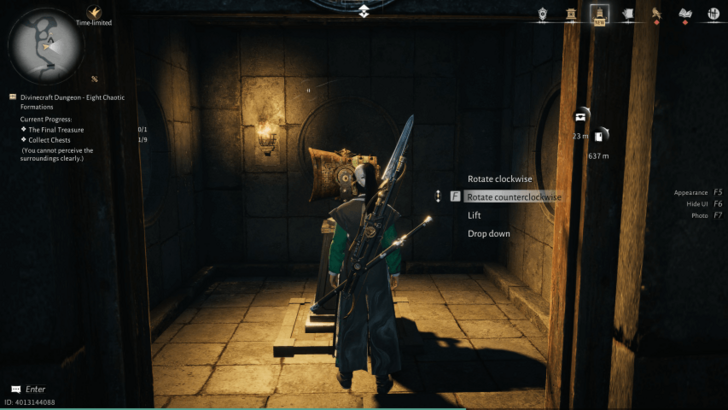 Upon opening the gate in the center, interact with the Sound Relay inside and select Rotate Counterclockwise. 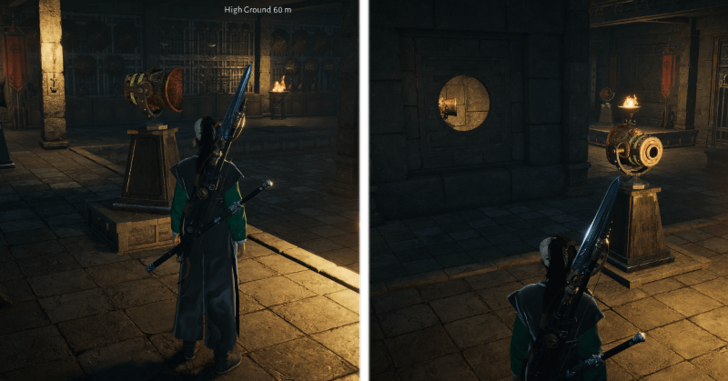 Next, adjust the Sound Relay near the bell and rotate it to face the Sound Relay on its right side then adjust that Sound Relay to make it face the one in the center. 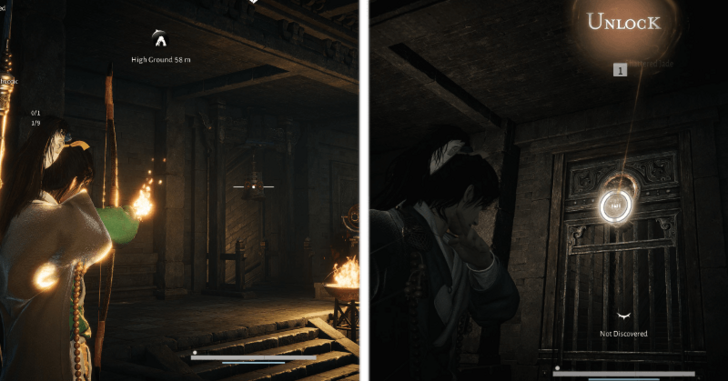 If the Sound Relays are already facing the right direction, you can just shoot the bell and use the Meridian Touch on the ring above the other gate to unlock it. Enter through the gate onto the next room. |
| 7 | 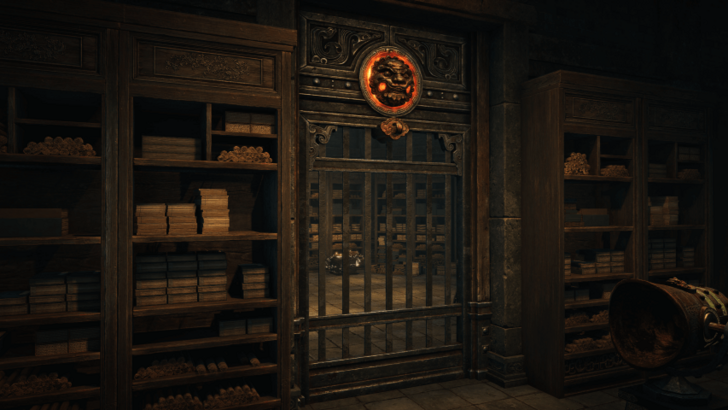 Just like the previous room, the first thing you need to do is open the gate at the side of the center area. 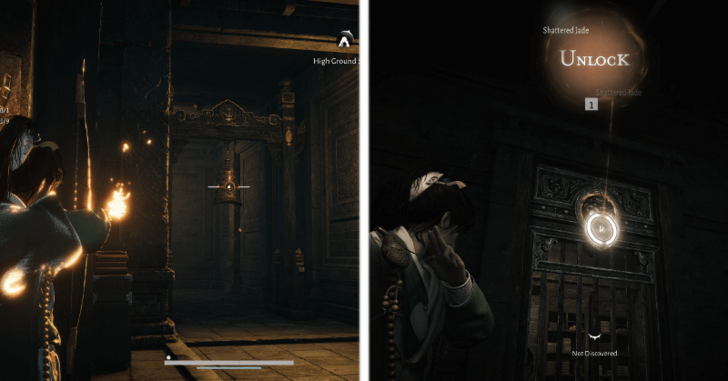 Starting with the Sound Relay in front of the gate, interact with it and select Rotate Clockwise then Lift. Next, go to the end of the hallway and shoot the bell on the left. Afterwards, move across the hallway again and go to the other side of the gate and use the Meridian Touch on the ring above to unlock the gate. |
| 8 | 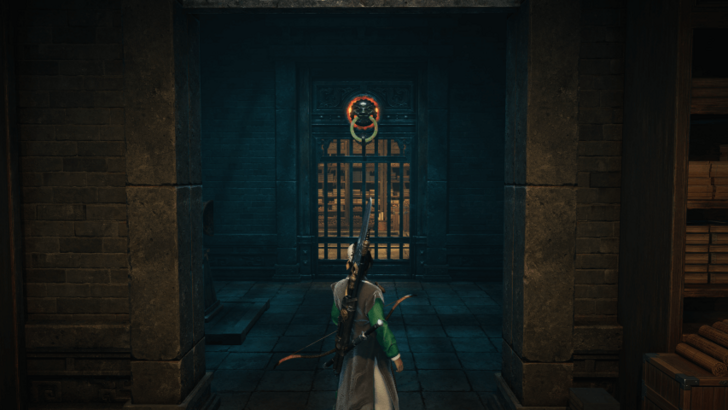 After opening the gate at the center, you'll now have to open the second gate in the room. 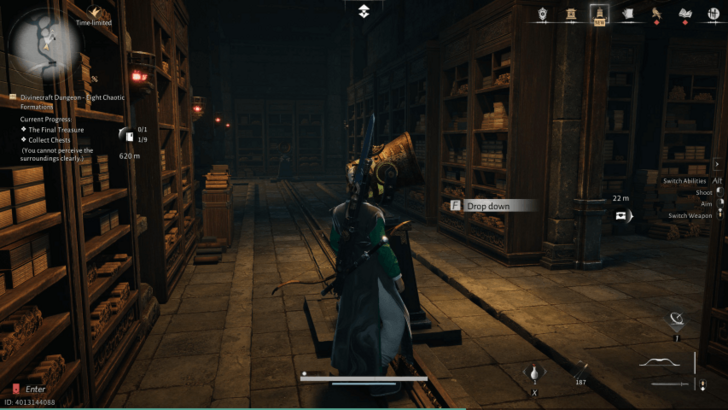 All you need to do is interact with the Sound Relay in front of the center gate earlier and select Drop Down then shoot the bell again and run back to the gate and unlock it using the Meridian Touch. |
| 9 | 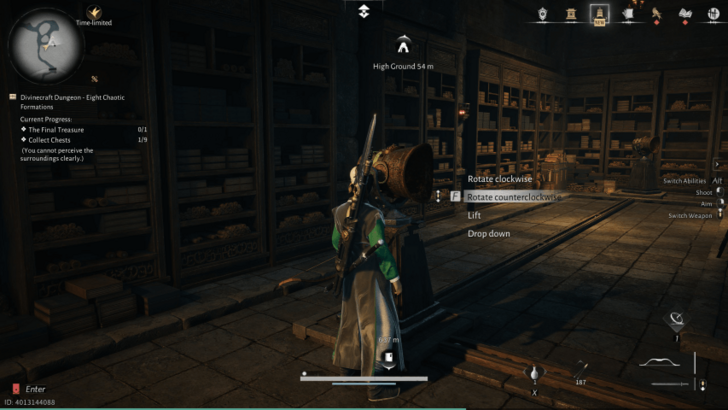 For the last gate, all you need to do is interact with the Sound Relay in front of the bell and select Rotate Counterclockwise. Afterwards, shoot the bell, run back to the last gate and unlock it using the Meridian Touch. Enter through the gate to head back to the initial area. This will unlock the final room of the dungeon where you can get the final chest. |
Eight Chaotic Formations Chest Locations
| Chest 1 | 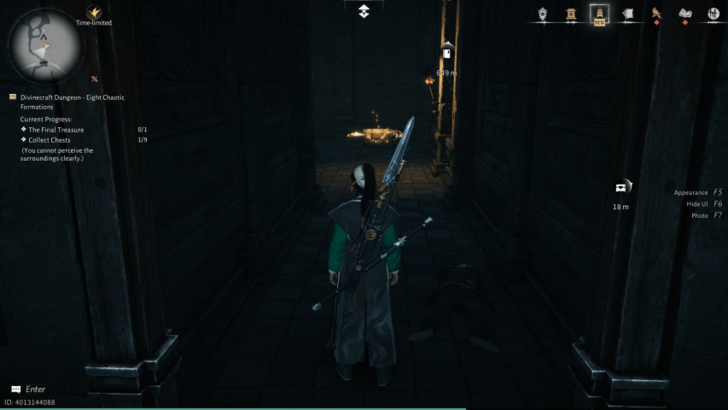 The first chest is located in the Death (死) room and is visible from the outside. If you open this chest, the trap will trigger and kill your character instantly. Unfortunately, there is no way to open the chest without triggering the trap, so you just have to go for it. |
|---|---|
| Chest 2 | 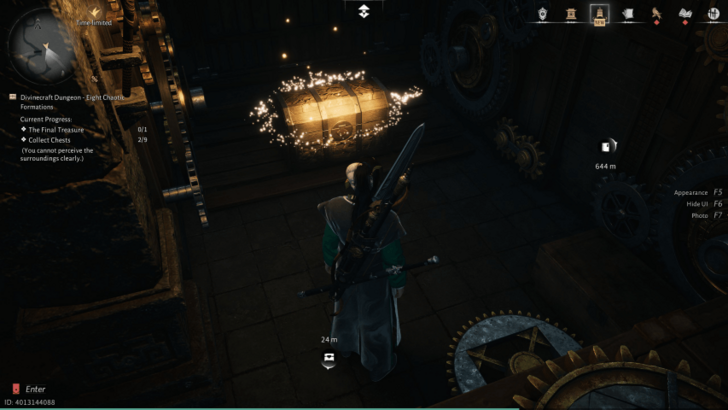 The second chest is located in the area through the small gap in the northern room. After entering through the gap, head right and follow the path to get to the chest. |
| Chest 3 | 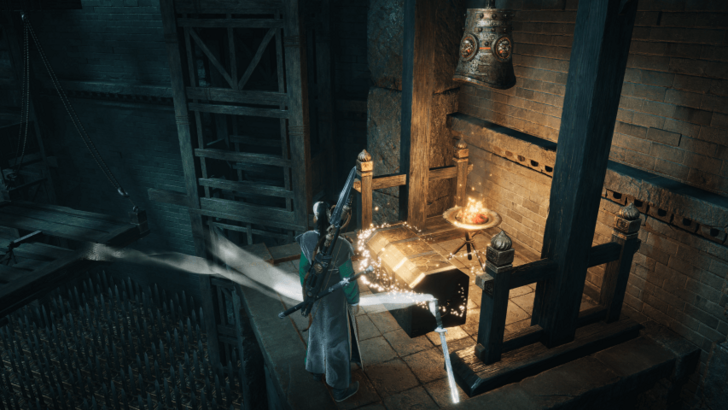 The third chest is located in the hanging platforms room. It's right below the bell there. |
| Chest 4 | 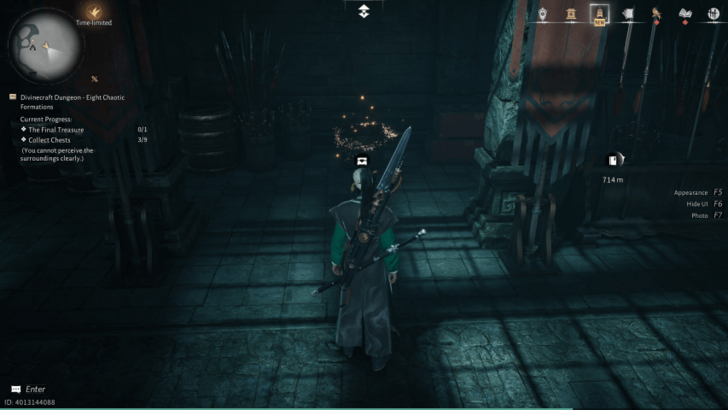 The fourth chest is located along the path of the Life (生) room, opposite of the room where there is a chest visible from the outside. |
| Chest 5 | 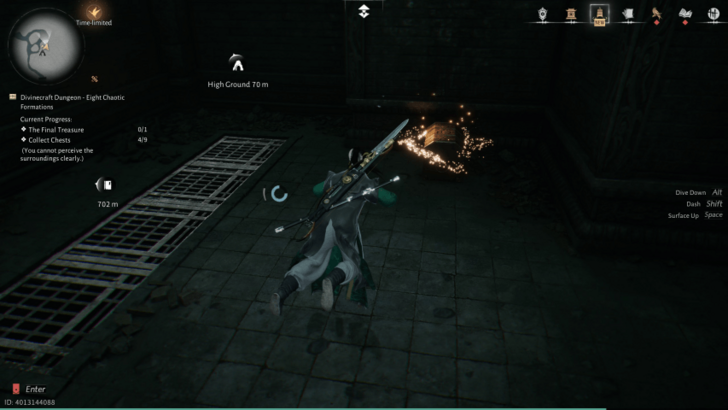 The fifth chest is located underwater beside the ground where the lever is on in the room filled with water. You should pull the lever first before diving in the water to get to the chest. |
| Chest 6 | 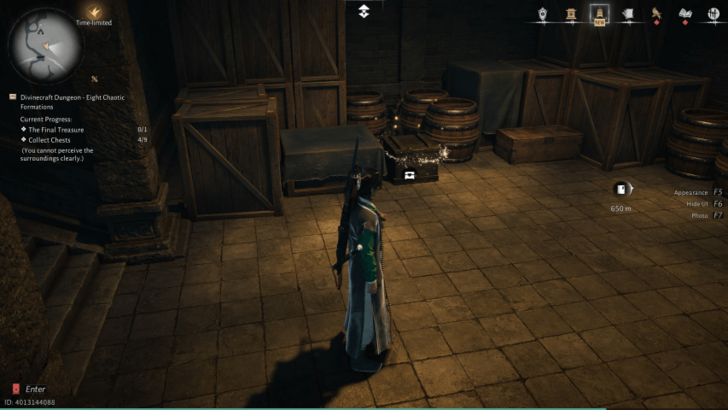 The sixth chest is located at the left side of the bottom of the stairs of the Scenery (景) room. |
| Chest 7 | 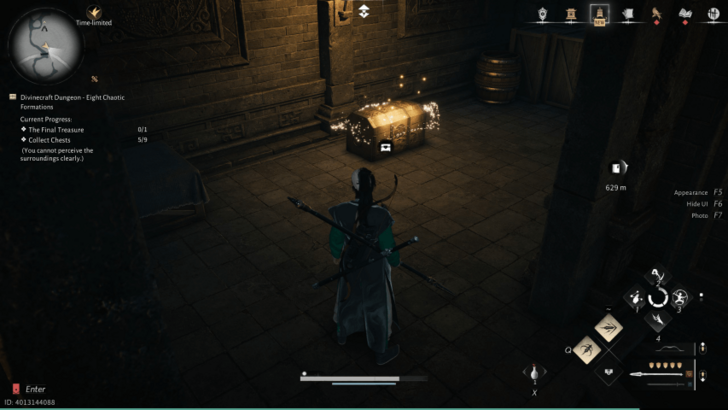 The seventh chest is located along the path after the second set of fire traps in the Scenery (景) room. |
| Chest 8 |  The eighth chest is located in the first puzzle area of the Scenery (景) room. |
| Chest 9 |  The ninth chest is located in the last area of the Scenery (景) room. |
| Chest 10 | 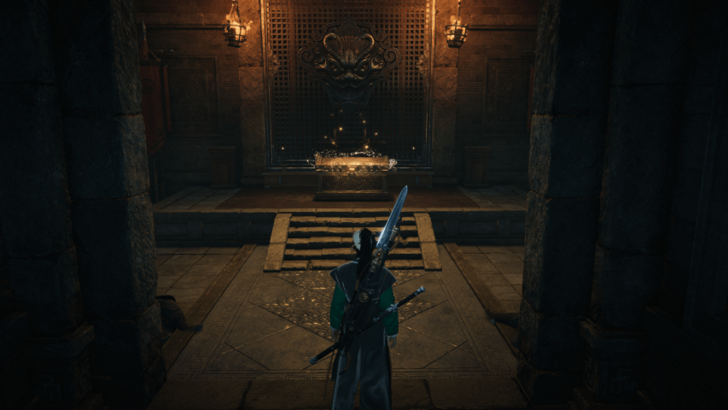 The tenth chest is located in the final room of the dungeon. |
Eight Chaotic Formations Rewards
First Clear Rewards
| ・Snowshield Long Sword x1 ・Medicinal Tales x2 ・Echo Jade x25 ・Kaifeng Exploration x25 ・EXP x10800 ・Coin x10800 |
These are the one-time rewards for completing the challenges of Eight Chaotic Formations.
Eight Chaotic Formations Location
South of Grand Canal Boundary Stone
The Eight Chaotic Formations dungeon can be found just south of the Grand Canal boundary stone.
Where Winds Meet Interactive Map
Where Winds Meet Related Guides
All Dungeons
Comment
Author

Eight Chaotic Formations Dungeon Guide and Chest Locations
Rankings
Gaming News


![Monster Hunter Stories 3 Review [First Impressions] | Simply Rejuvenating](https://img.game8.co/4438641/2a31b7702bd70e78ec8efd24661dacda.jpeg/thumb)

![The Seven Deadly Sins: Origin [First Impressions] | A Promising Start](https://img.game8.co/4440581/584e0bfb87908f12c4eab6e846eb1afd.png/thumb)
Popular Games

Genshin Impact Walkthrough & Guides Wiki
Umamusume: Pretty Derby Walkthrough & Guides Wiki
Pokemon Pokopia Walkthrough & Guides Wiki
Honkai: Star Rail Walkthrough & Guides Wiki
Monster Hunter Stories 3: Twisted Reflection Walkthrough & Guides Wiki
Arknights: Endfield Walkthrough & Guides Wiki
Wuthering Waves Walkthrough & Guides Wiki
Zenless Zone Zero Walkthrough & Guides Wiki
Pokemon TCG Pocket (PTCGP) Strategies & Guides Wiki
Monster Hunter Wilds Walkthrough & Guides Wiki


Recommended Games
Diablo 4: Vessel of Hatred Walkthrough & Guides Wiki
Cyberpunk 2077: Ultimate Edition Walkthrough & Guides Wiki
Fire Emblem Heroes (FEH) Walkthrough & Guides Wiki
Yu-Gi-Oh! Master Duel Walkthrough & Guides Wiki
Super Smash Bros. Ultimate Walkthrough & Guides Wiki
Pokemon Brilliant Diamond and Shining Pearl (BDSP) Walkthrough & Guides Wiki
Elden Ring Shadow of the Erdtree Walkthrough & Guides Wiki
Monster Hunter World Walkthrough & Guides Wiki
The Legend of Zelda: Tears of the Kingdom Walkthrough & Guides Wiki
Persona 3 Reload Walkthrough & Guides Wiki


All rights reserved
©1997-2025 NetEase, Inc. All Rights Reserved
The copyrights of videos of games used in our content and other intellectual property rights belong to the provider of the game.
The contents we provide on this site were created personally by members of the Game8 editorial department.
We refuse the right to reuse or repost content taken without our permission such as data or images to other sites.