The Wailing of Six-Ailment Walkthrough and Rewards
NEW: Hexi Map | Chapter 3 | Flute Mystic Skill
★ Unfettered and Everspring Build
☆ Liangzhou | Cat Fever | Prismatic Essence
✪ Updated: Best Weapon | Best Builds
☆ WWM Game8 Twitter: New tips daily!
Recruit using our Guild Recruitment Board!
This is a walkthrough for The Wailing of Six-Ailment, a Wandering Tale side quest in Where Winds Meet. See this detailed guide to check out quest objectives and where to find the keys to unlock the cellar in the Mercy Hall.
List of Contents
How to Unlock The Wailing of Six-Ailment
Talk to Su He in Apricot Village at the Chen to You Hour
 |
|
| Region | Granary of Plenty , Kaifeng |
|---|---|
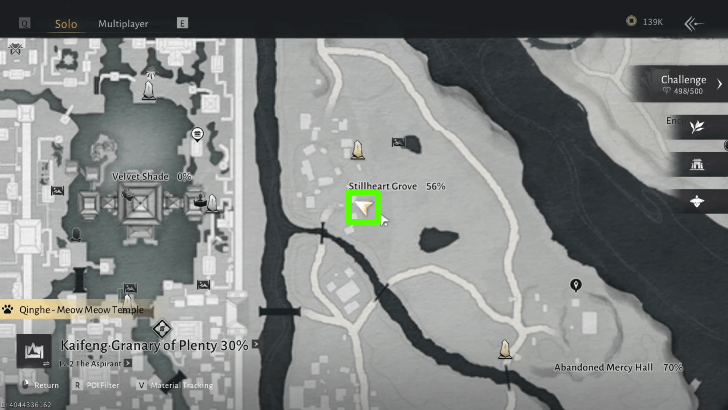
To unlock the Wandering Tale The Wailing of Six-Ailment, talk to Su He at Apricot Village from the Chen to You hour. She is found in a house south of the Apricot Village Boundary Stone.
The Wailing of Six-Ailment Walkthrough
- Talk to Su He in Apricot Village
- Go to the Abandoned Mercy Hall
- Find the Mercy Hall Half-Keys
- Navigate Through the Dungeon
- Give the Letter to Su He
1. Talk to Su He in Apricot Village

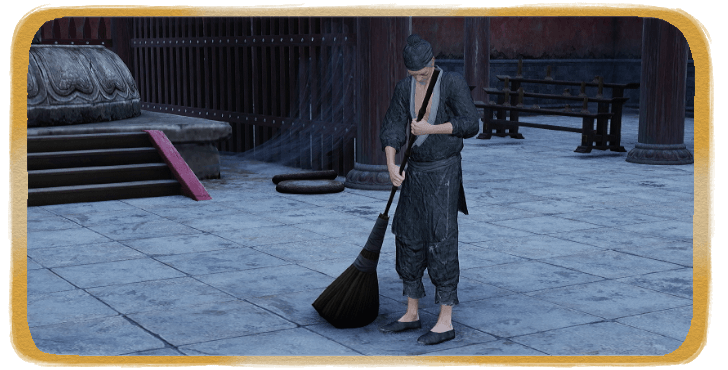
Talk to Su He in her home. She will tell you about hearing cries coming from the Mercy Hall and that her brother may be alive. Talk to her mother Aunt Su, who can be found outside in front of a rack.
2. Go to the Abandoned Mercy Hall
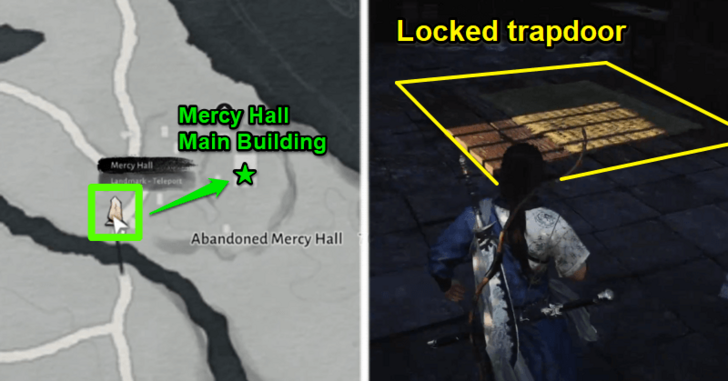
Teleport to the Abandoned Mercy Hall, which is southeast of Apricot Village. Going to the main building of the Mercy Hall, you will see a rug covering a trapdoor. You need to find the Cellar Key to unlock it.
3. Find the Mercy Hall Half-Keys
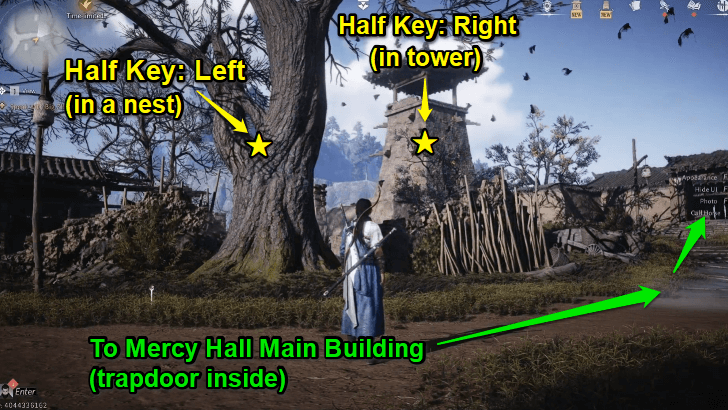
You actually need to find two key halves to form the Cellar Key. Both halves are found near the Mercy Hall main building: in a nest on a tree and in a nearby tower.
Take the Half-Key: Left from the Tree
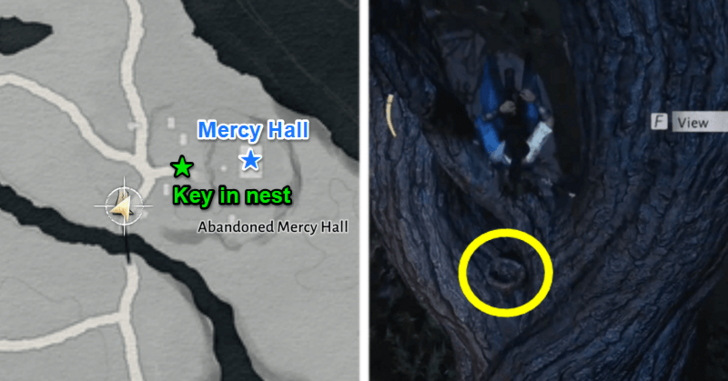
The Half-Key: Left is in a nest on a tree, found on the way to the Mercy Hall building. Hop up to take it from the nest.
Take the Half-Key: Right in the Tower
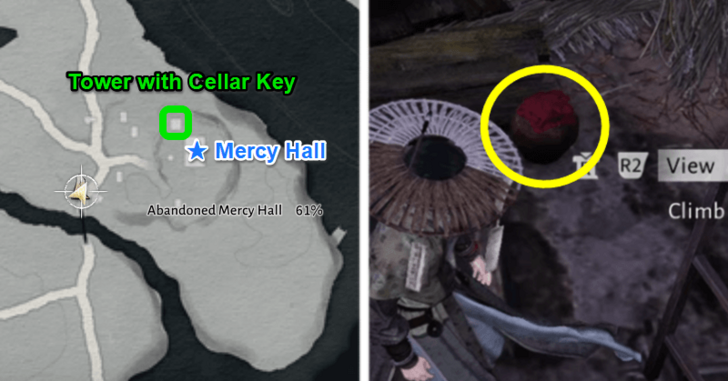
The Half-Key: Right is found inside the tower just beside the Mercy Hall building. Hop through the hole at the side of the tower, then take the ladder down where a chest is. View the small wine jar on the floor to take the key. With both key halves obtained, you get the Cellar Key.
Return to the Mercy Hall to unlock the trapdoor.
4. Navigate Through the Dungeon
| 4.1 | 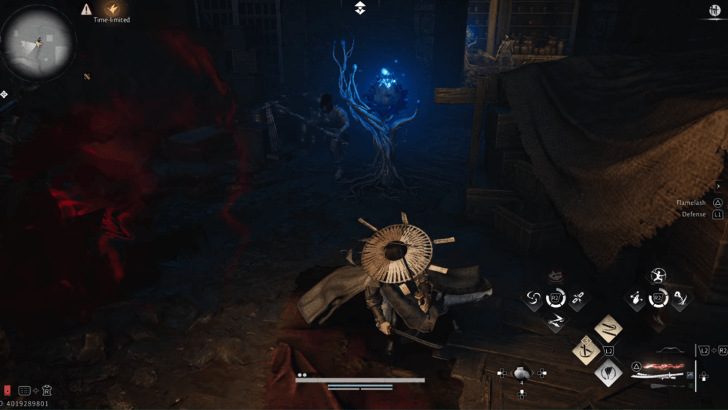 In the cellar, run ahead until you see a blue flower and Frost Fungus Dream Puppets. Burn the flower with a fire arrow before it can shoot projectiles at you. Watch out for the Dream Puppet that ambushes you from the left side. |
|---|---|
| 4.2 | 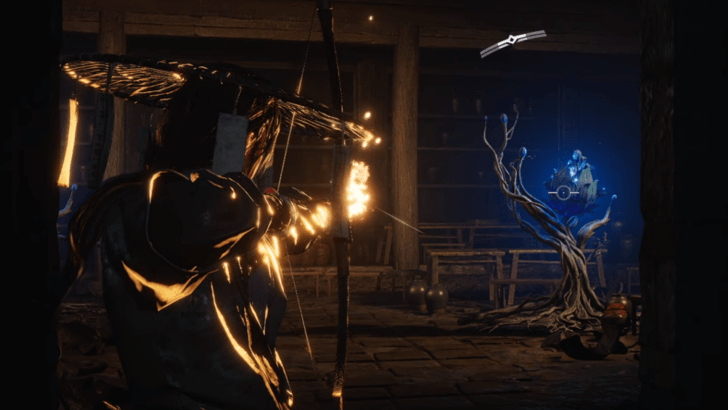 Ahead, burn two more blue flowers and defeat three Dream Puppets. |
| 4.3 | 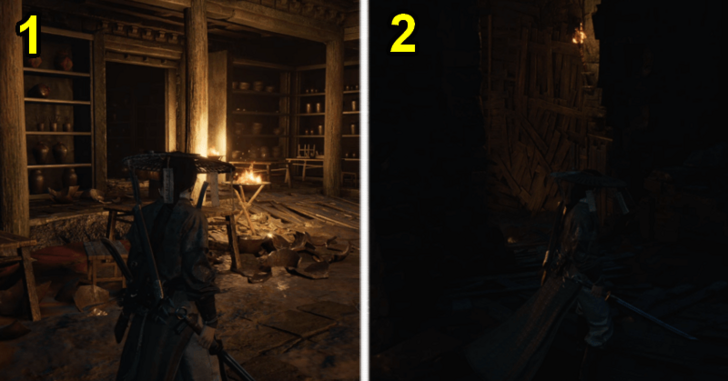 Take a left, past a gate with Puppets on the other side, and go down the winding pathway. At the bottom, shoot another blue flower. |
| 4.4 | 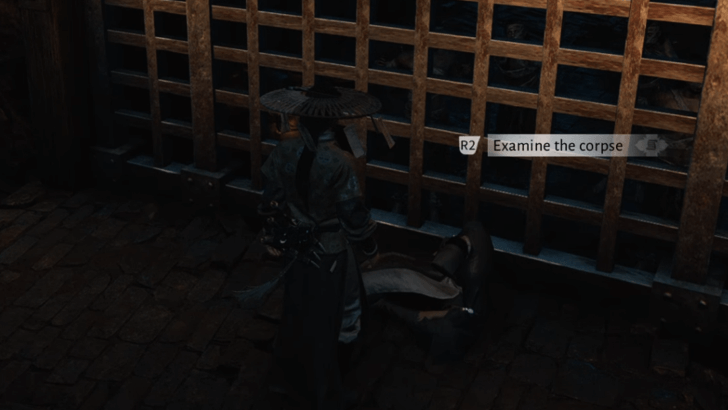 Eavesdrop on the phantoms up ahead. For this part, you have to go around the area to listen to the phantoms' conversations. At the end of the segment, examine Su Mao's corpse at the gate to obtain the Family Letter. |
Explore Deeper to Obtain Quest Item for Lone Wanderer's Wish
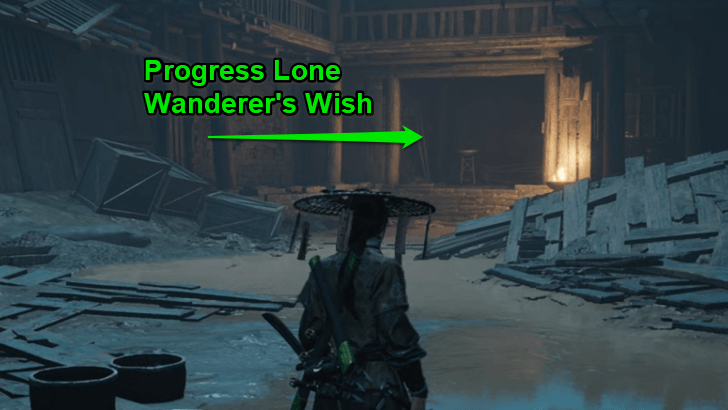
If you choose to explore deeper into the cellar, you will eventually encounter the enemy Sang Jisheng, who keeps the note needed to complete the interconnected Exploration quest Lone Wanderer's Wish.
Lone Wanderer's Wish Walkthrough
5. Give the Letter to Su He
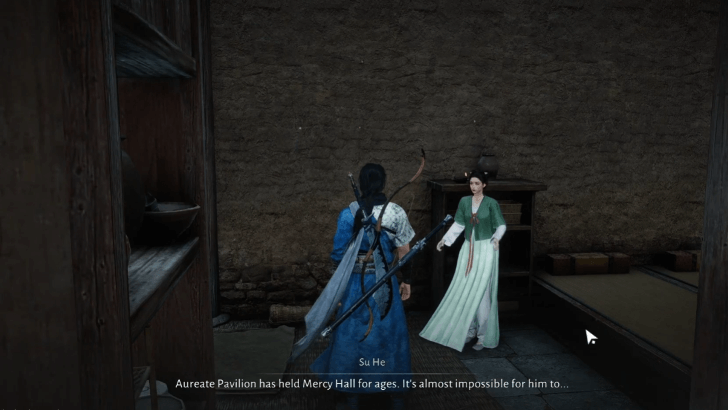
Return to Apricot Village to give the Family Letter to Su He. After expressing regret for her brother's death, the quest will end.
The Wailing of Six-Ailment Rewards
Rewards from the Quest
|
・Echo Jade x20
・Kaifeng Exploration x10 ・Character EXP x1,500 ・Coins x1,500 |
These are all the rewards you can get by doing The Wailing of Six-Ailment. The rewards listed above are the total earned as you progress through the quest and upon completing it.
Where Winds Meet Related Guides
| Types of Side Quests | |
|---|---|
| Jianghu Legacy | Campaign |
| World Affairs | Exploration |
| Encounters | Wandering Tales |
List Of All Wandering Tale Quest
 True or False: Young Master
 A Foolproof Plan
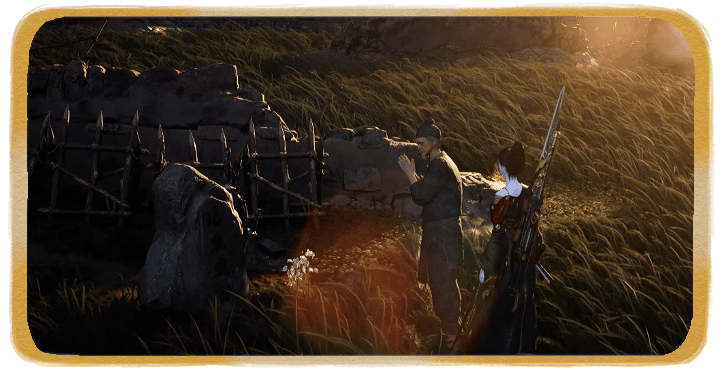 A Toast to Heroes
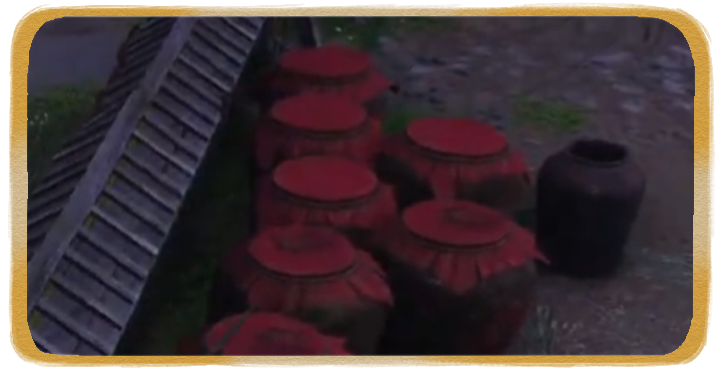 Abyss of Desire
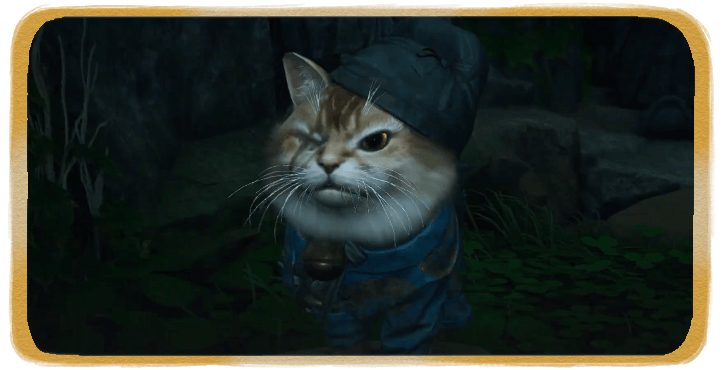 Meow Meow Temple
 The Dogs Know First
 Lone Wanderer's Wish
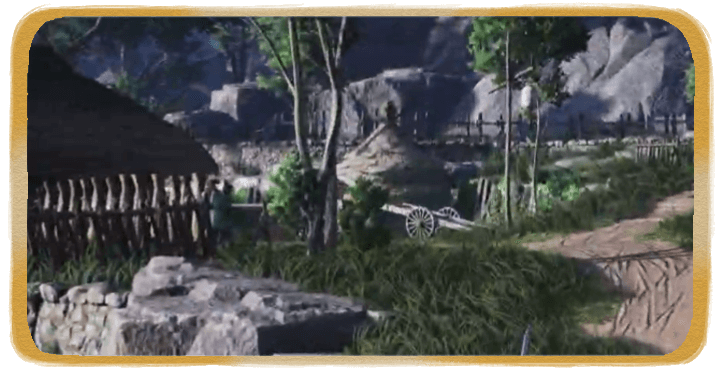 The Missing Funds
 Cant of the Jianghu
 Great Hero's Trial
 Clash of Geese
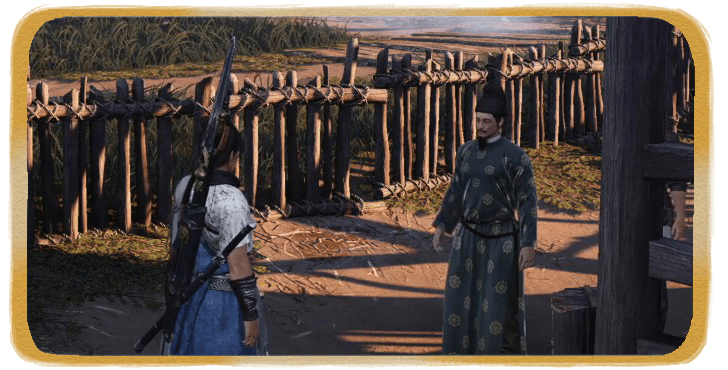 Eternal Flame
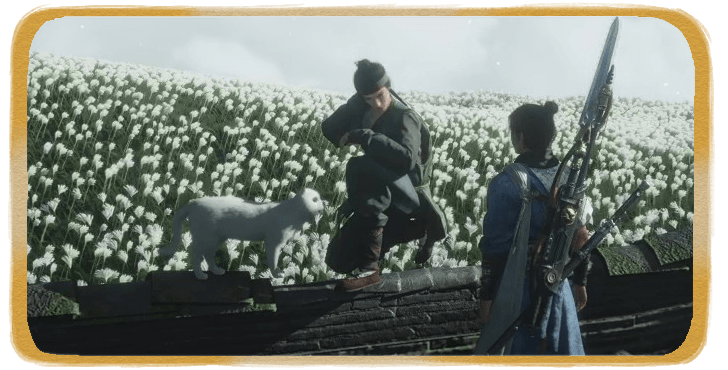 Mysterious Letter
 The God of Wealth Returns
 The Long Road Home
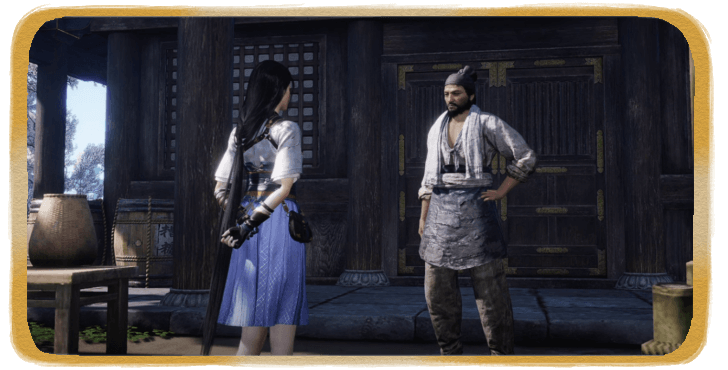 The Stolen First-Jar Wine
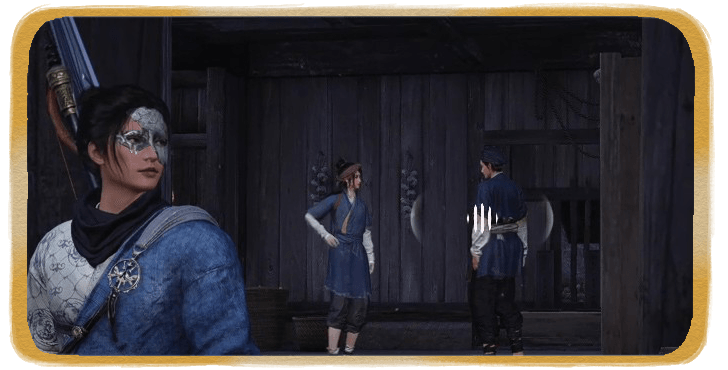 Breaking from Tradition
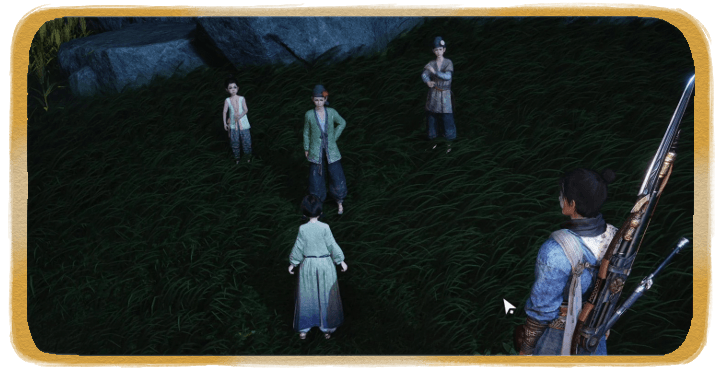 Childs' Play
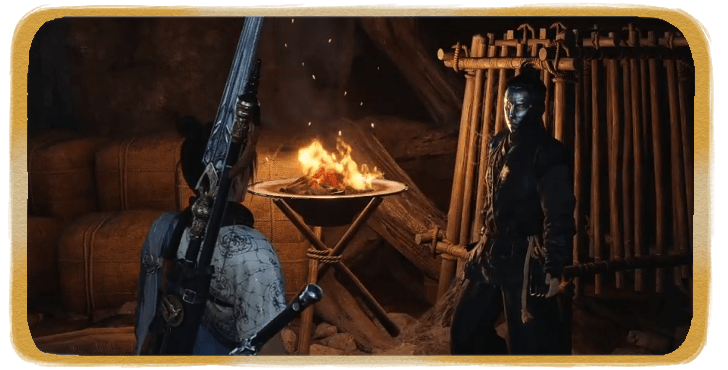 A Free Intel
 A Cure for Hollow Joy
 Encircling Lake's Treasure
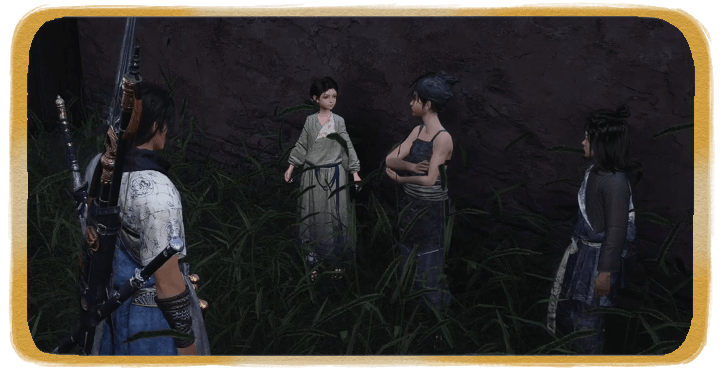 Against the Wall
 Master’s Selection
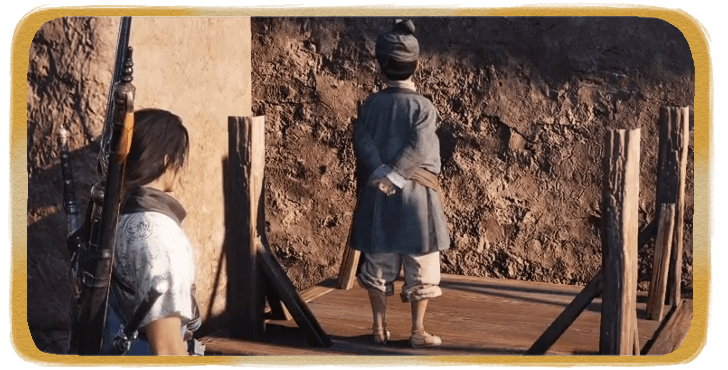 Child's Play of War
 Fair Trade
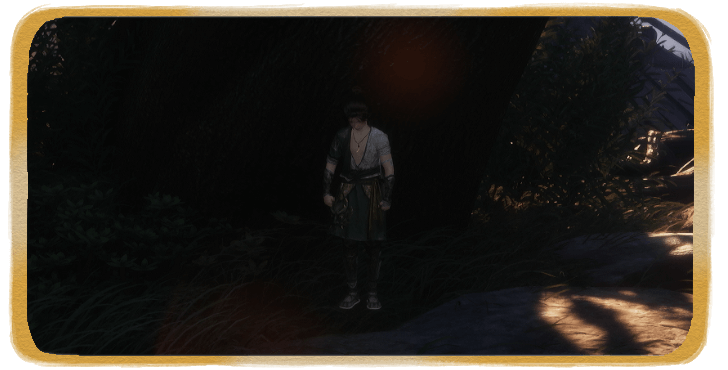 Forget Not
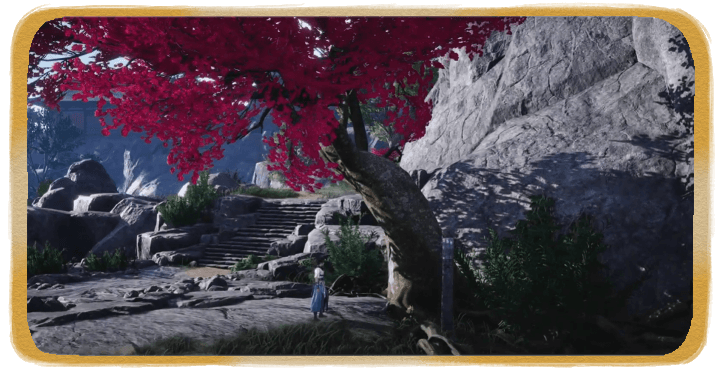 My Blade Is Yours
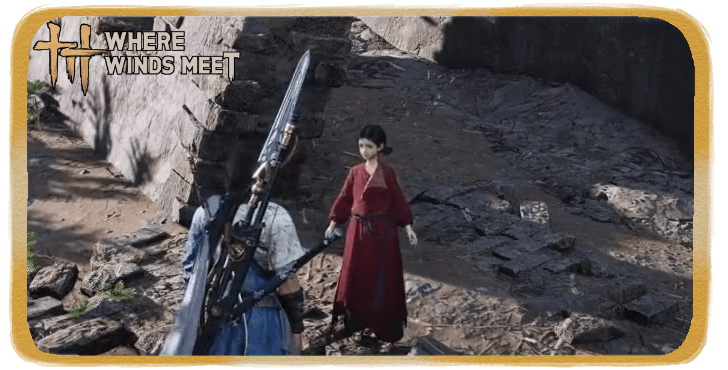 The Weeping One
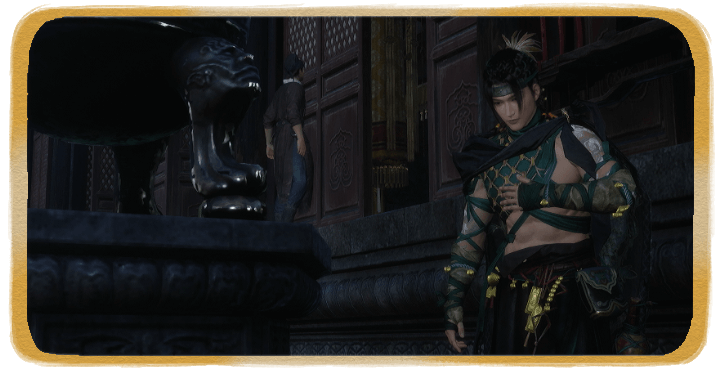 Ember of Lies
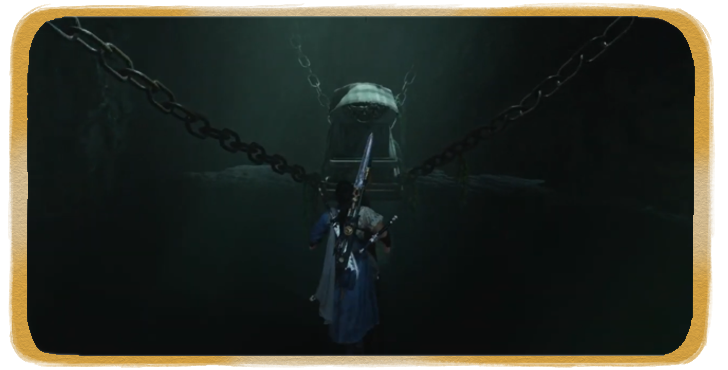 Yellow River Coffin
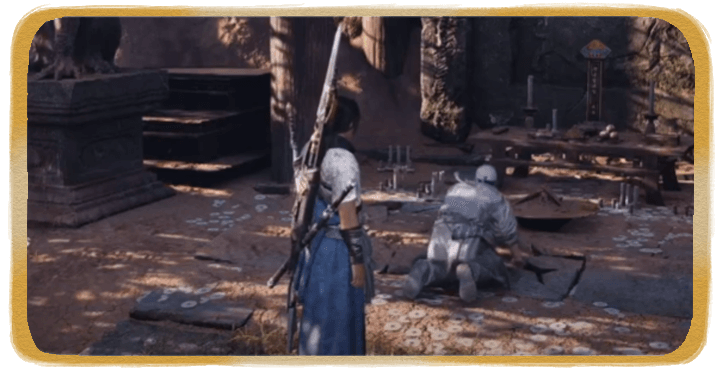 Nameless Grave
 The River Warden
 Lost in Longing
 Hearts Aligned
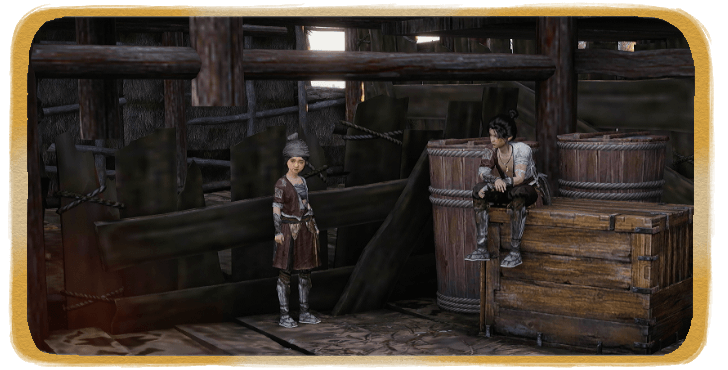 How Deep the Sorrow
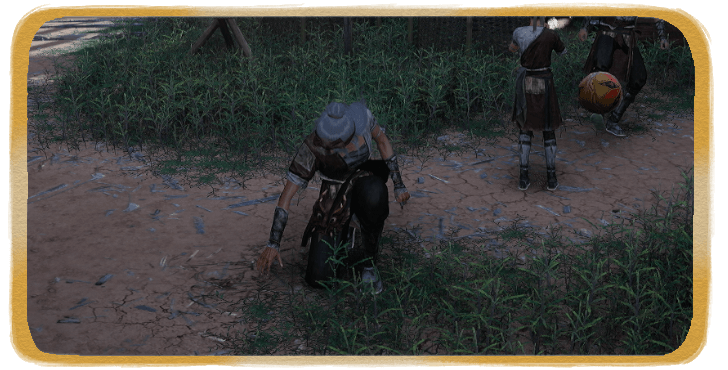 Fragrance of Silverberry
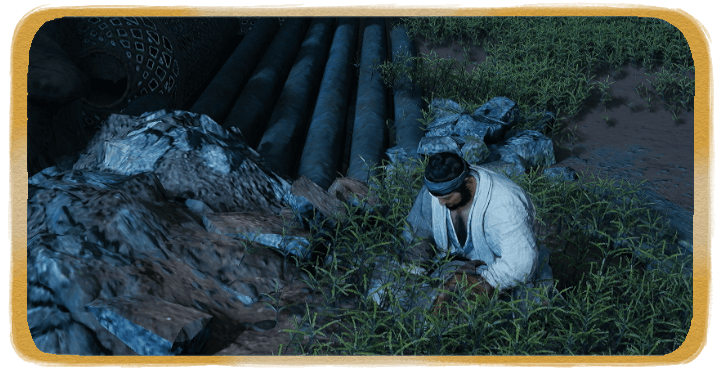 Letters from Afar
 Ominous Yin-Yang
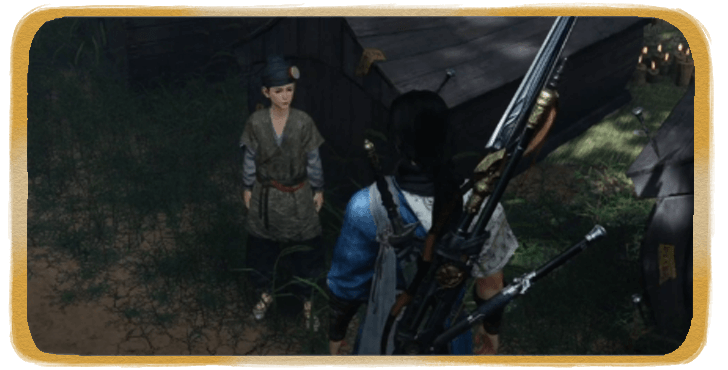 Vengeance Served Cold
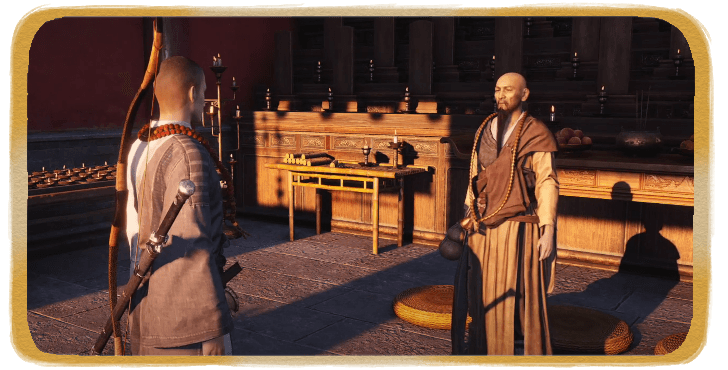 A Faltering Flame
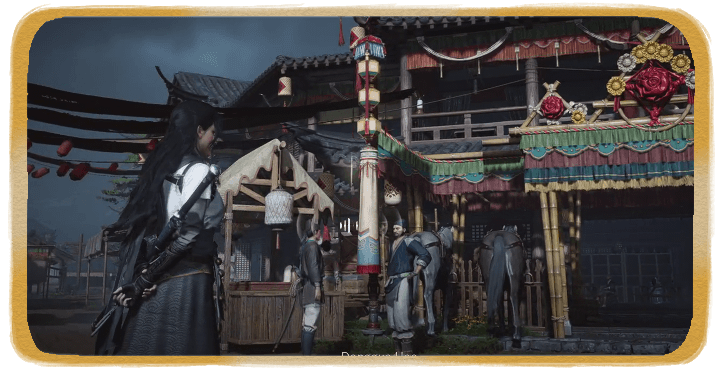 Gambler's Secret
 Lost Cause Prayers
 Case at the Corner Gate
 A Savory Revelation
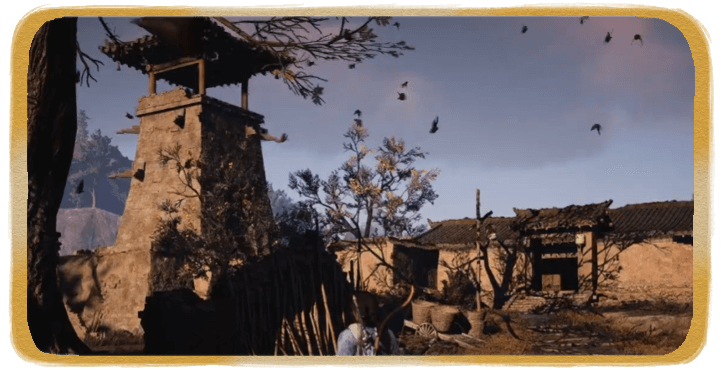 The Wailing of Six-Ailment
 Elder Bell Ringer
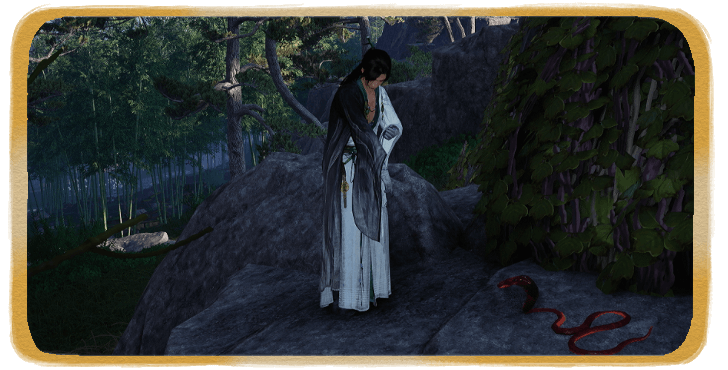 Dead Man’s Secret
 Sips of Serenity
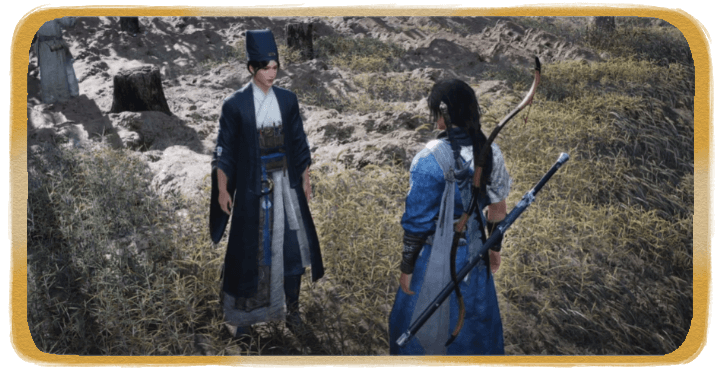 Thought for Peace
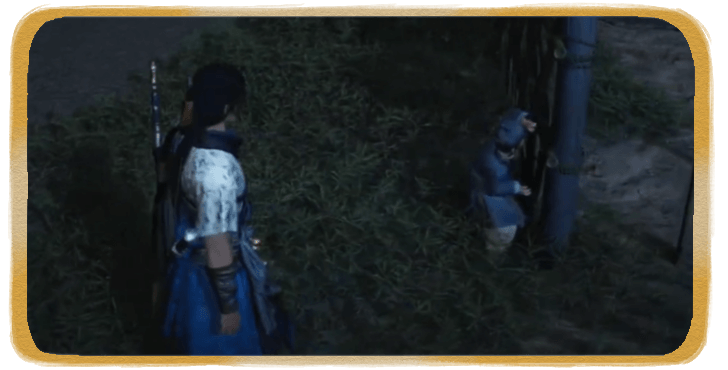 Jianghu Master
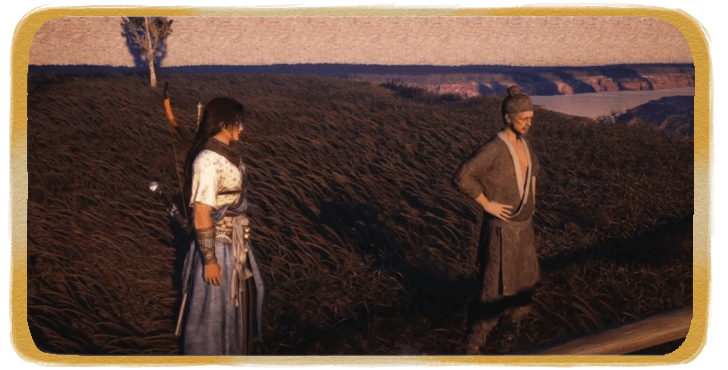 A Thousand Miles a Day
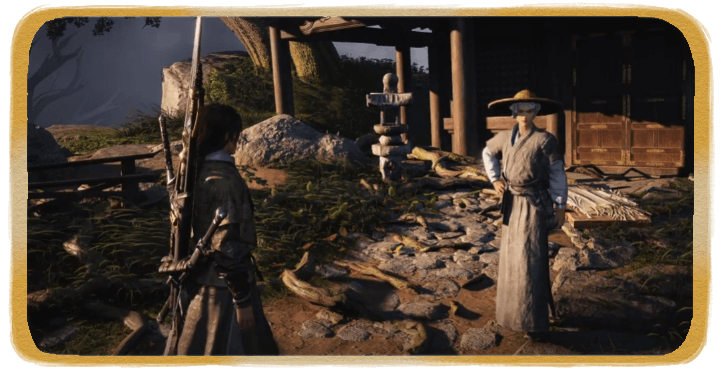 Lost Quotes
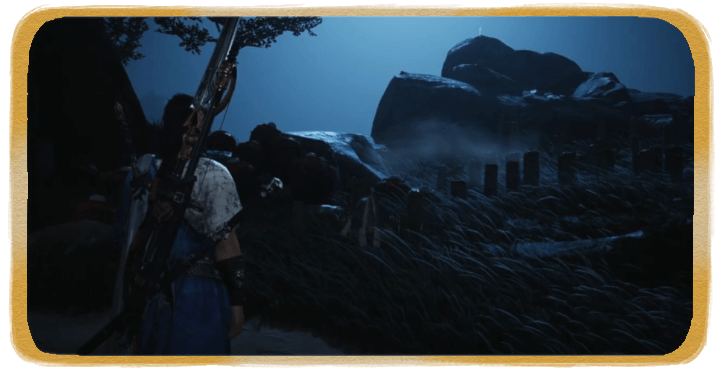 Emerging Talent
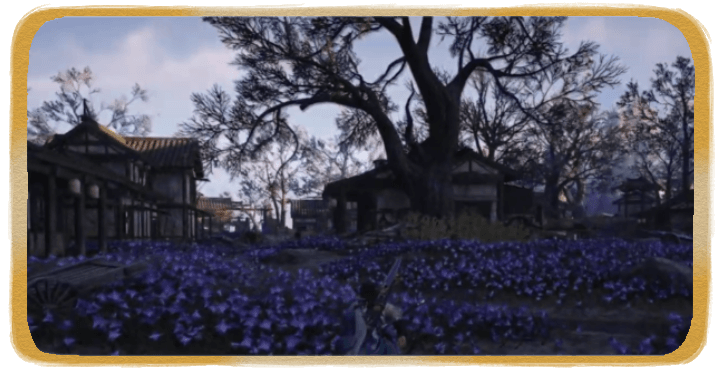 The Third Buddha Light
 The Elixir Theft
 Echoes in the Shrine
 True Heart of Goodness
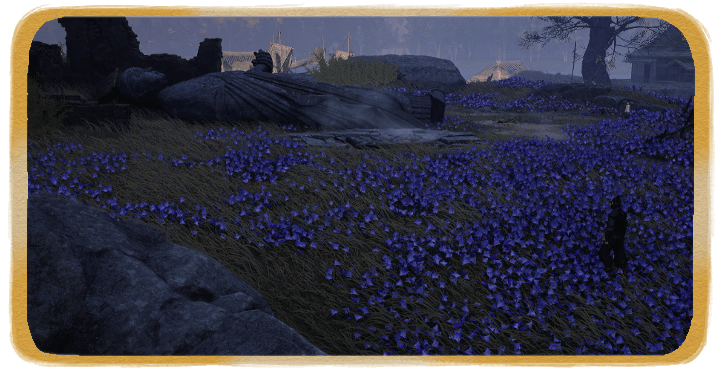 The Broken Buddha
 Love Prescribed in Medicine
 Letters Through the Years
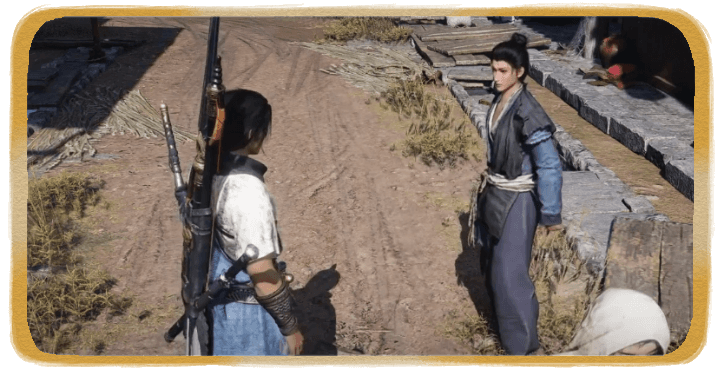 Raw Leaf Porridge
 Rally The Cats
 The Crossed-Out Name
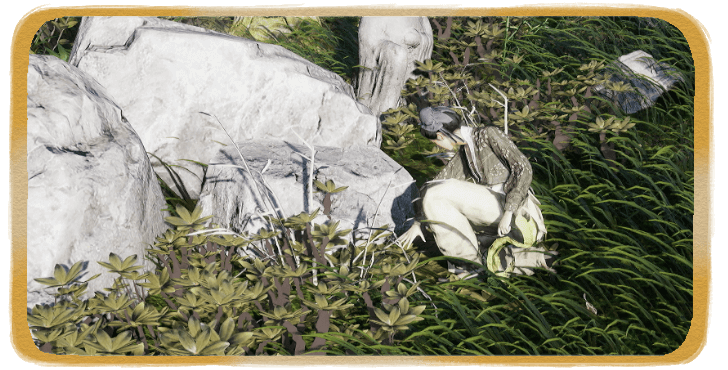 Charm Pouch
 Road to Redemption
 Roots and Roofs
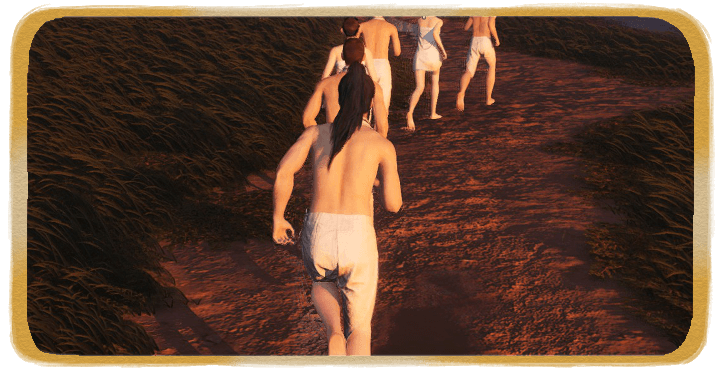 Well of Heaven Special Training
 Fields of Fortune
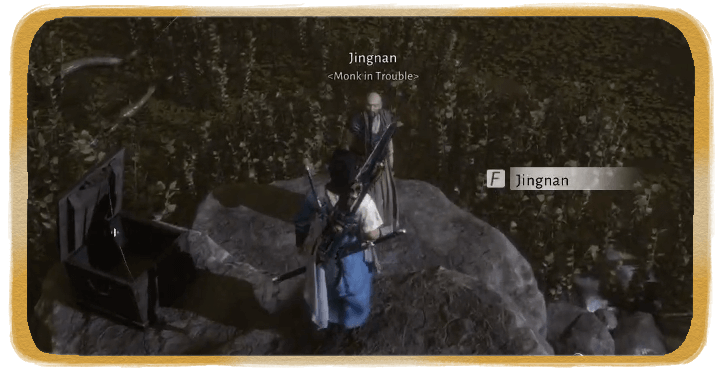 The Good Deed
 When the Crops Speak
 Heart of Iron
 A Flower Wish
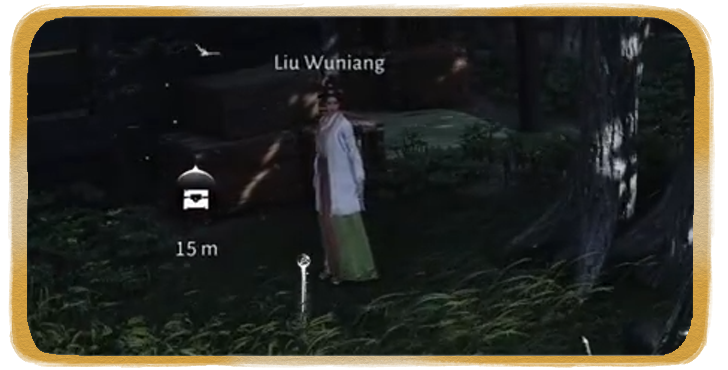 Why Hasn't He Returned
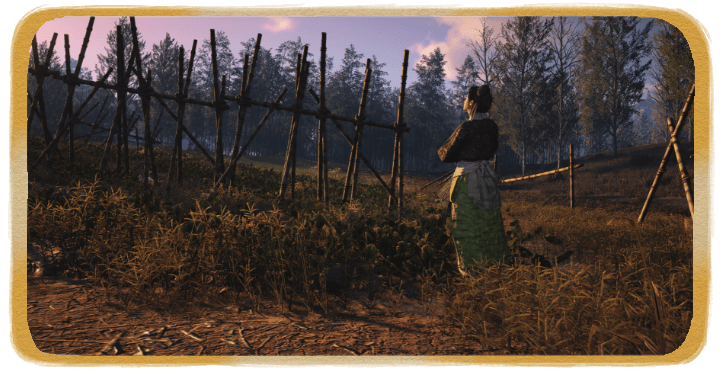 The Melon Thief
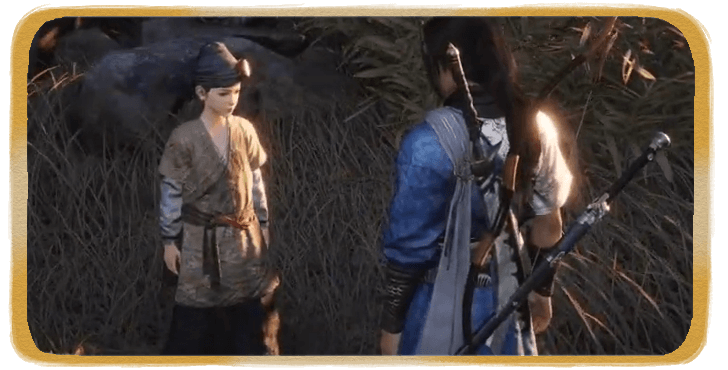 Heart of a Father
 Eternal Flames of Karma
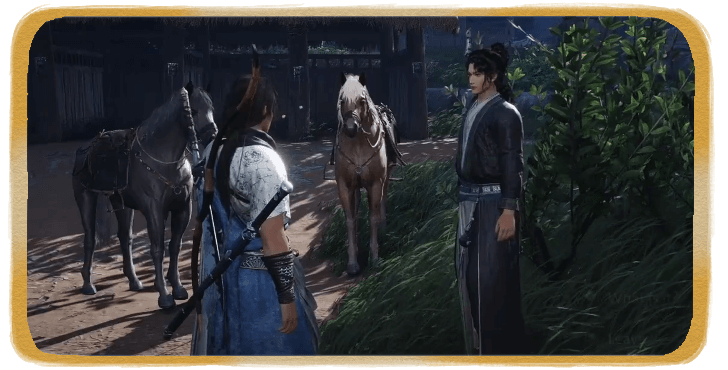 Qi Family Precepts
 Beast Whisperer
 A Beacon in the Dark
 Drinking Poison to Quench the Thirst
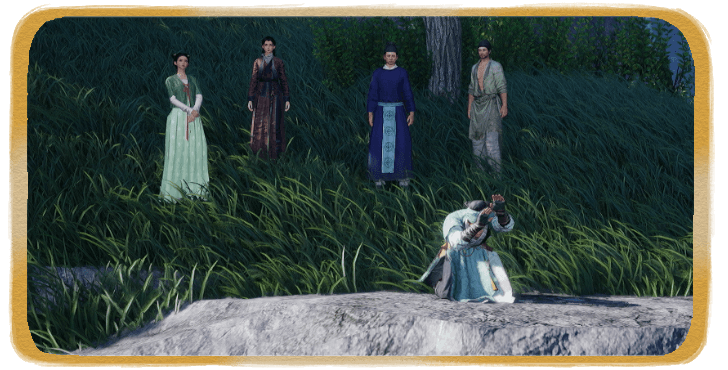 Perfectly Matched
 The Horse Purchase
 The Rat in Buddha Fort
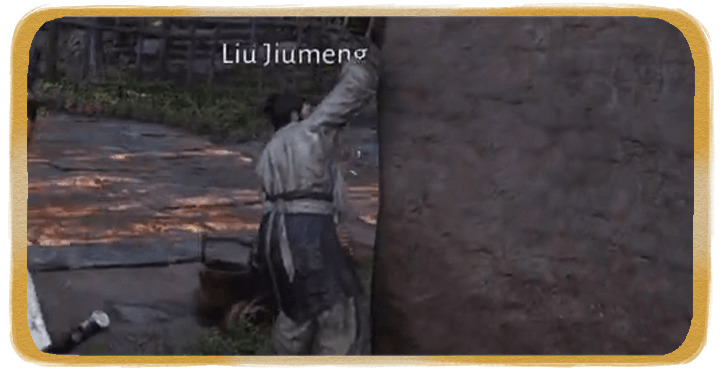 The Traitor Among Us
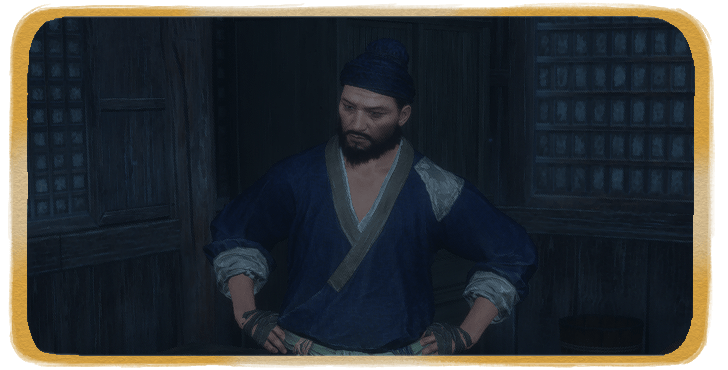 Locked Echoes
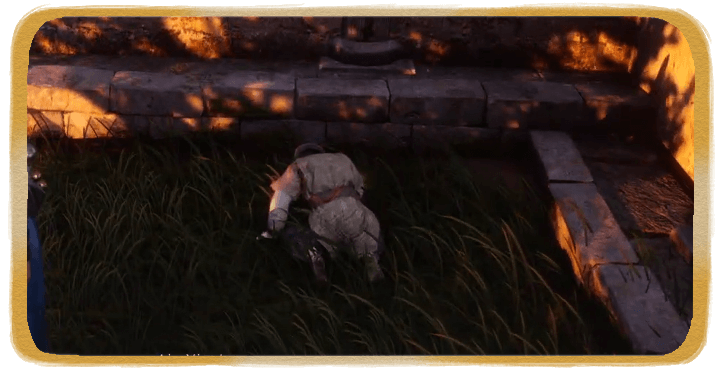 Half Flatbread
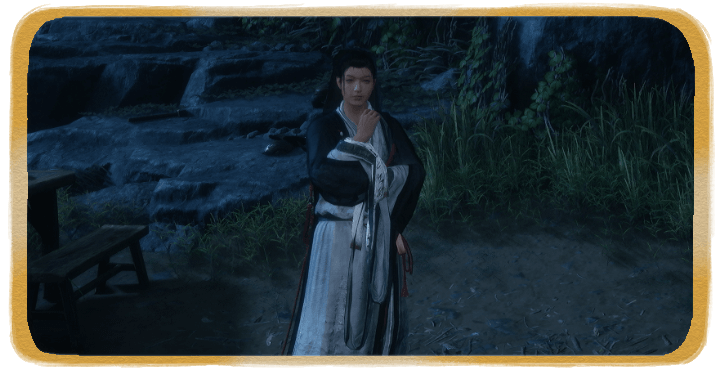 The Lu and Mo Debate
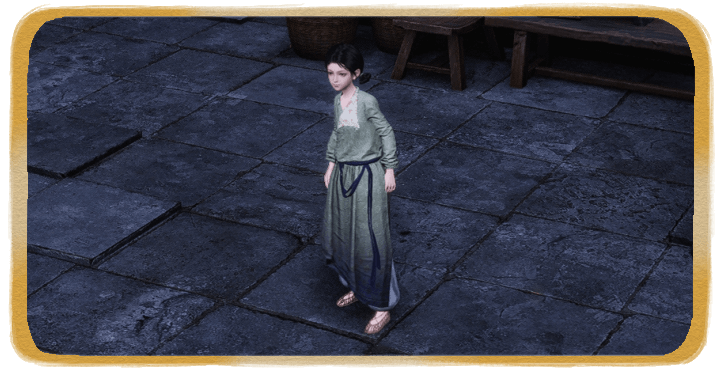 Graves in Every Corner
 All Beauty Fades
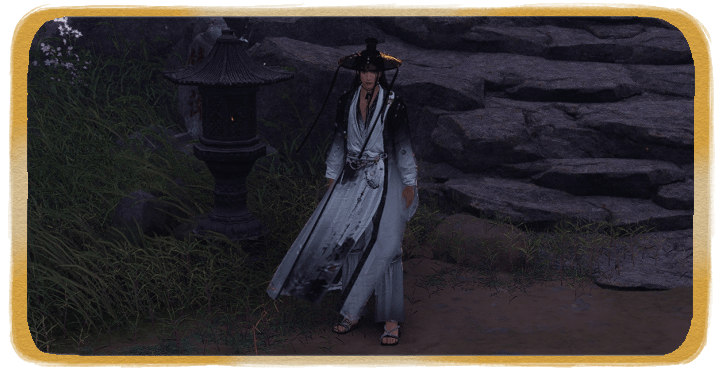 Still Waters Run Deep
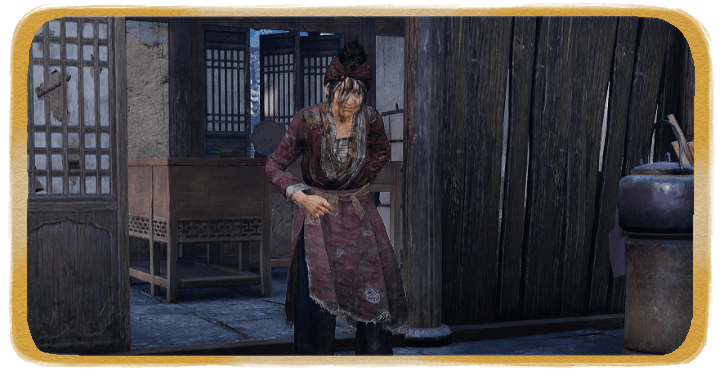 Longing for Your Return
 Joyous Reunion
 Flame Beyond Ages
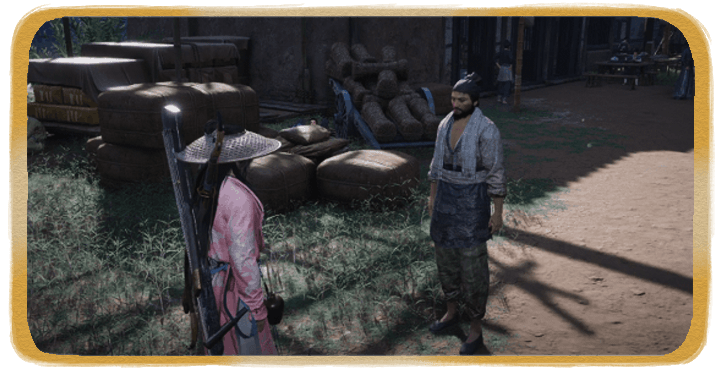 Important Keepsake
 One Fate, One Meeting
 Return to the Owner
 Grace Beneath the Umbrella
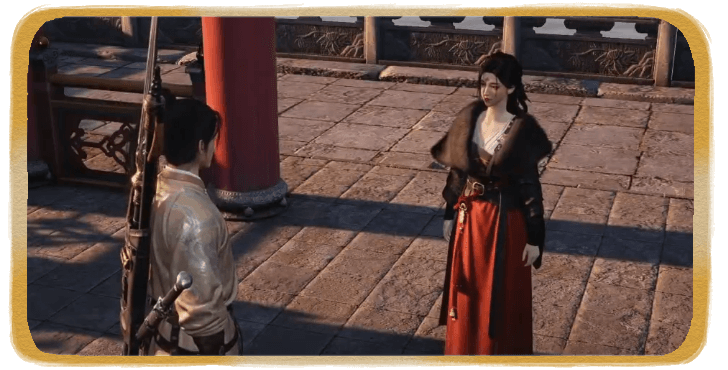 Peach Blossoms Herald Spring
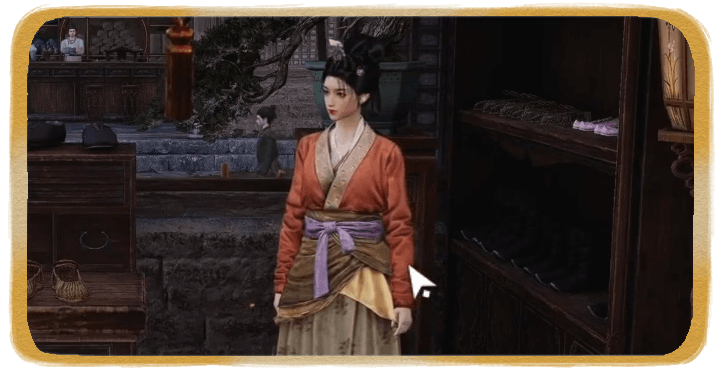 The Moon Beyond the Clouds
 Lone Beauty
 Silken Scroll
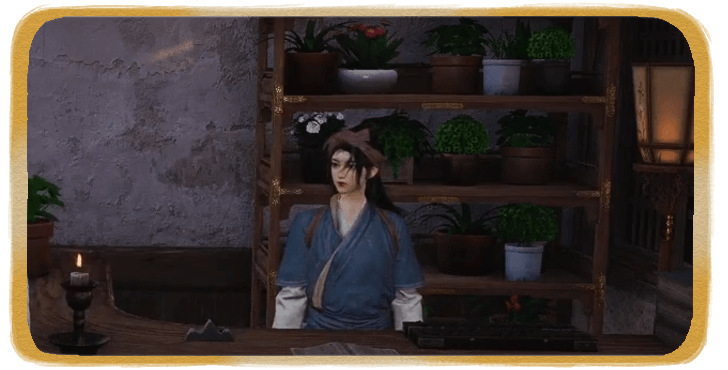 Hidden Scent Flows
 Dragon's Breath
 All Lives Are Equal
 Divine Dragon Mask
 Tomb Raider
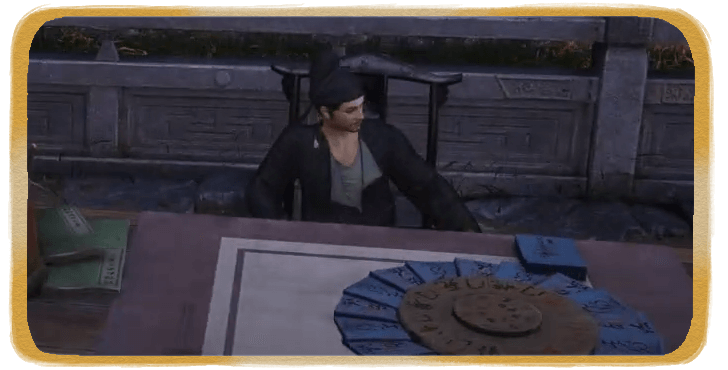 A Guide to Life
 Plum Blossoms in the Wind
 Reverie of Blossoms
 Orchid's Lingering Fragrance
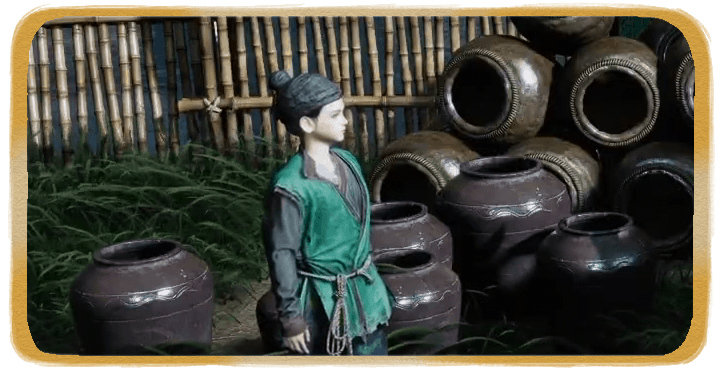 Return in Glory
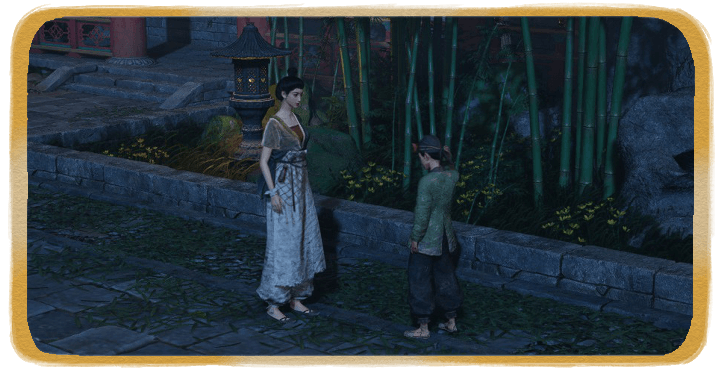 Lost in Comfort
 Rosewind
 Dreams from the Willow Immortal
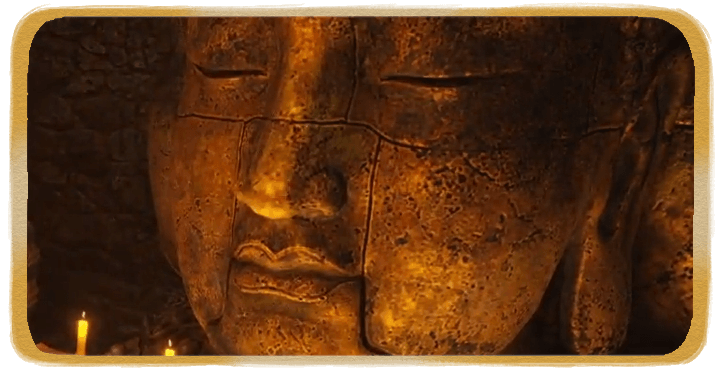 All Creatures Great and Small
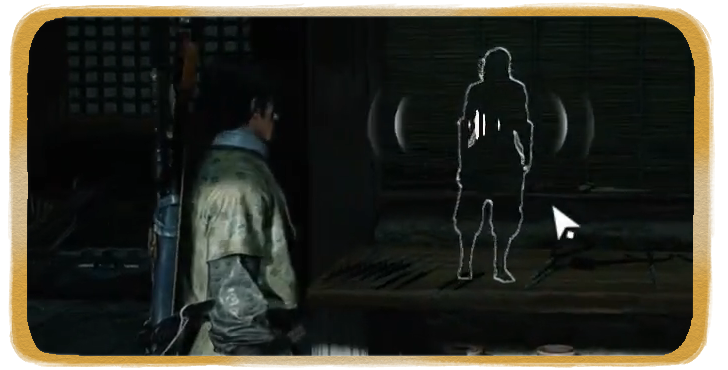 Bright Road Ahead
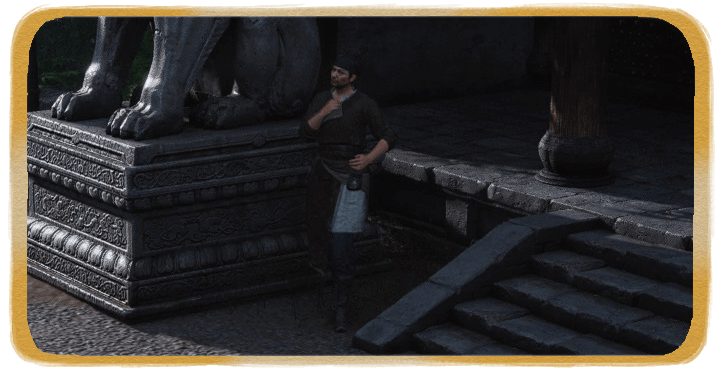 Pond and Grove
 Until Death Do Us Part
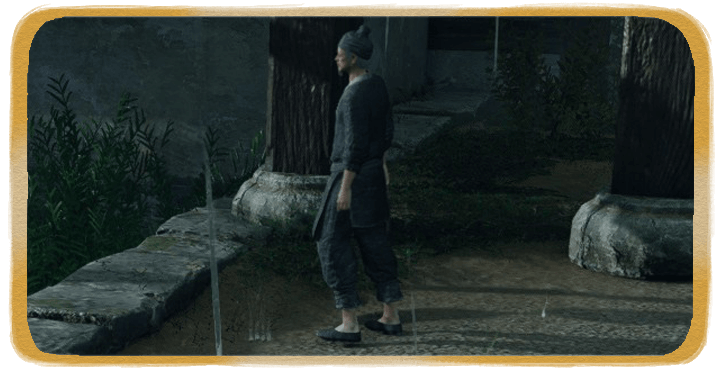 Lone Boat, Silent Shadow
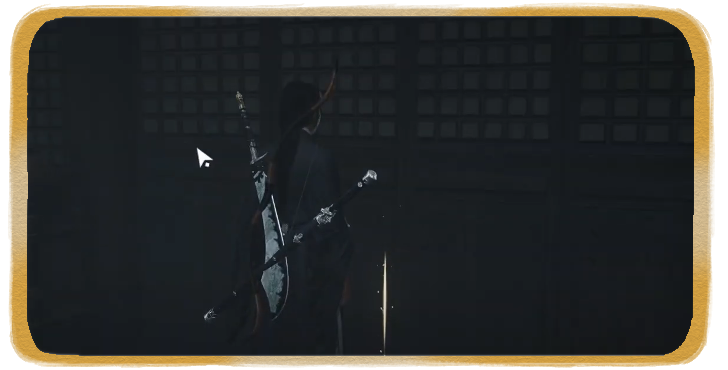 Peachwood Wards Off Evil
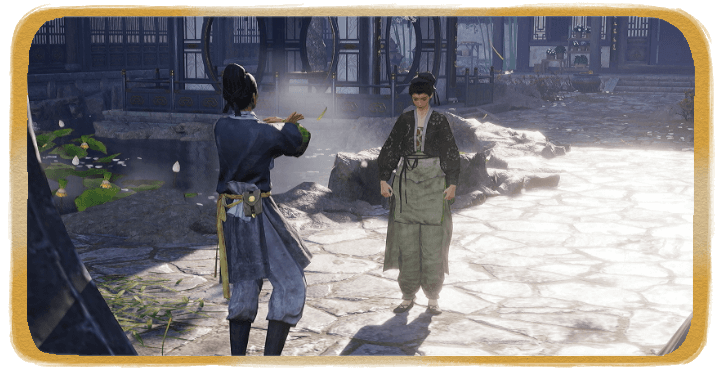 Pill Worth a Fortune
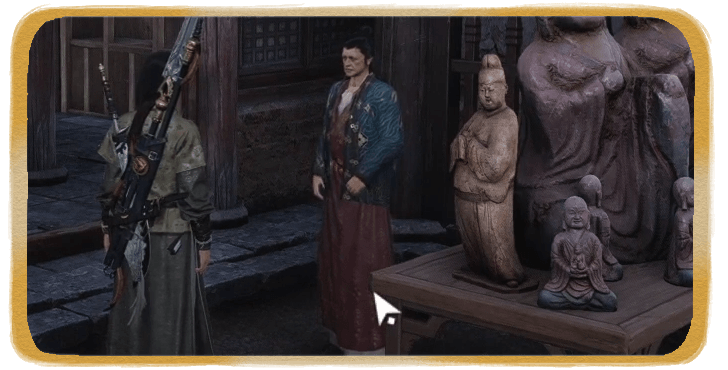 Deep Pond of Pear Blossoms
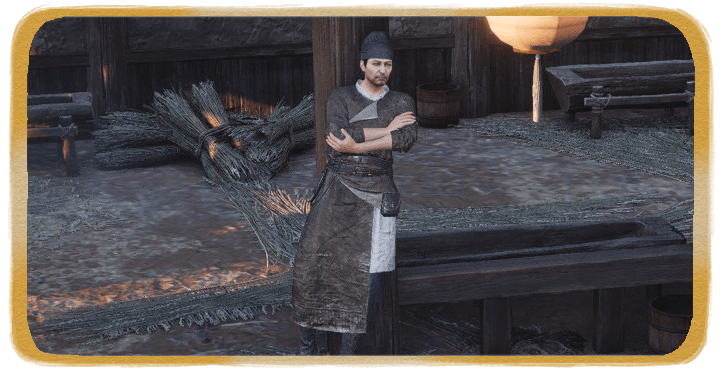 Hidden Pollinator
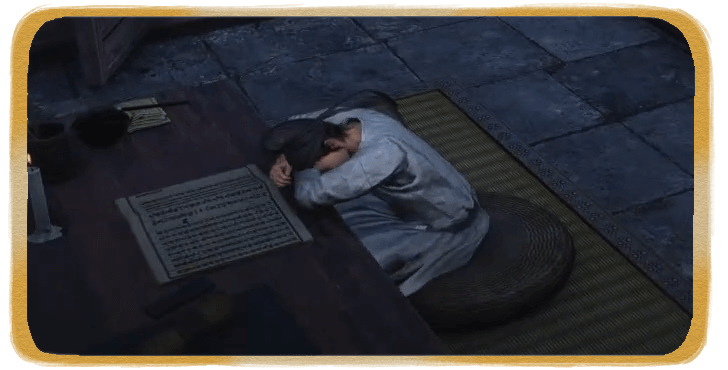 The Joy of Overworking
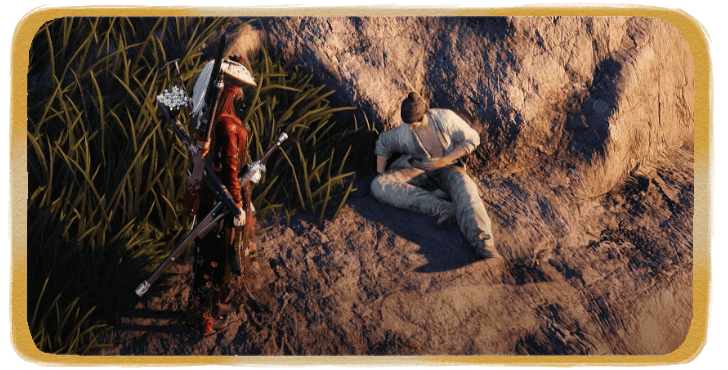 Path of No Return
 Restless Soul
 Mistveil Exotic Flower
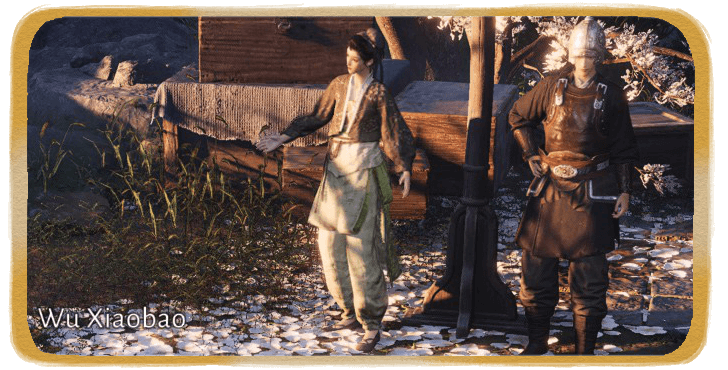 Raising Stars
 Splendor of the Jade Palace
 Old Friends, Hard to Find
 Respect, Not Fear
 Heirloom of the Ages
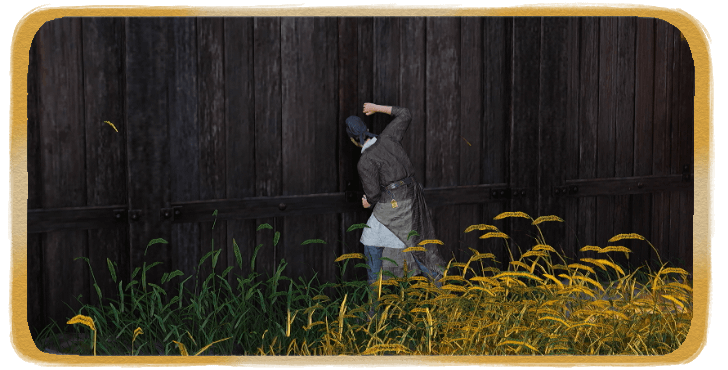 The Cat’s Paw
 Skeleton in the Closet
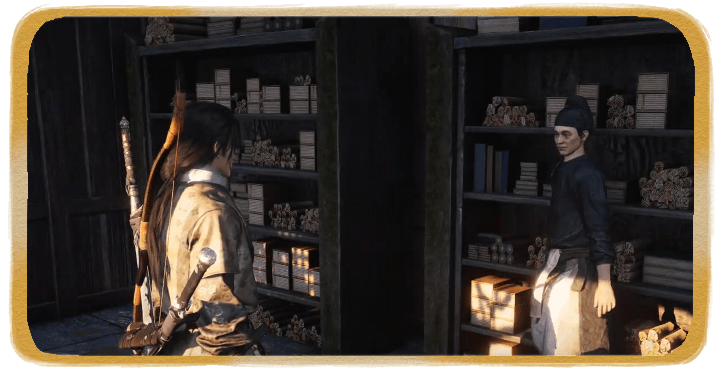 The Turbulent Price of Grain
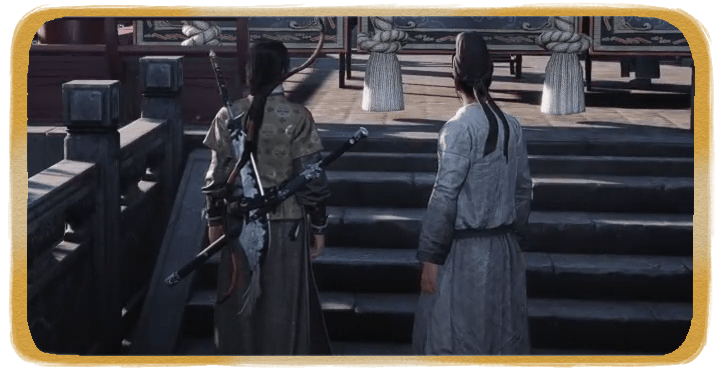 Rivals and Friends
 Telling Truth
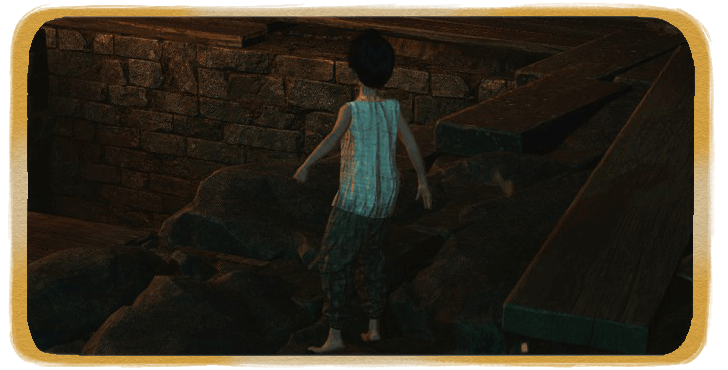 Shadow of the Stone
 Nine Mortal Ways’ Cause
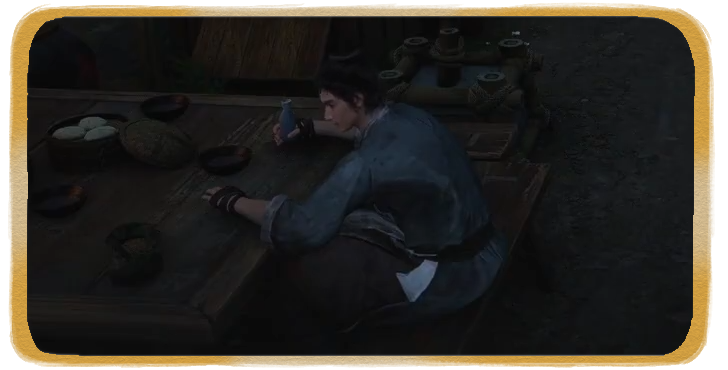 Feast of Fulfillment
 A Tearless Farewell
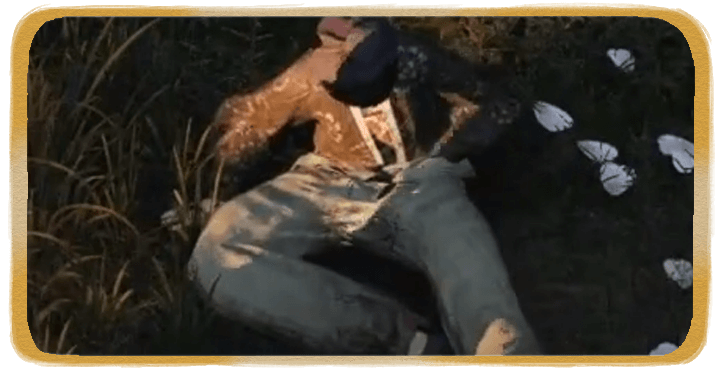 Pear Blossoms of Yore
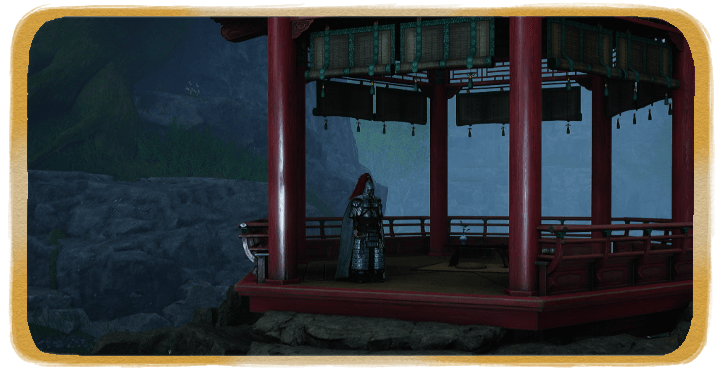 The Eagle’s Shadow
 The Camel's Call
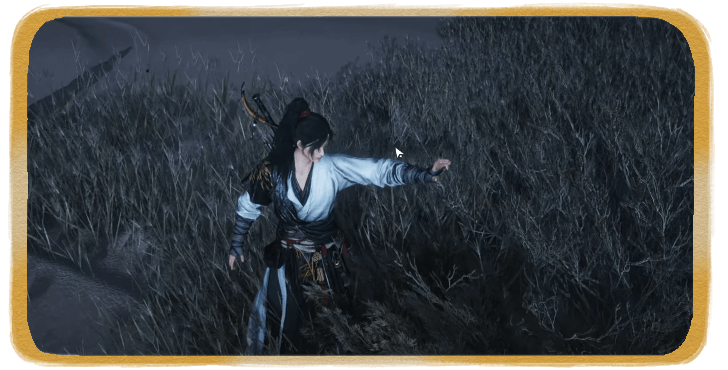 Wind-Woven Souls
 To You, My Dear, Farewell
 History's Dry Tracks
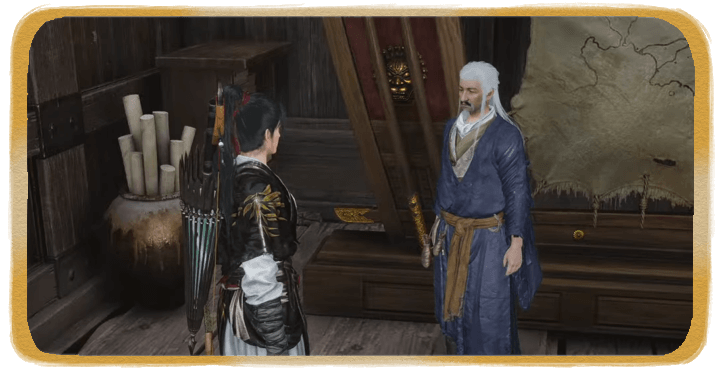 Dunes and Don'ts
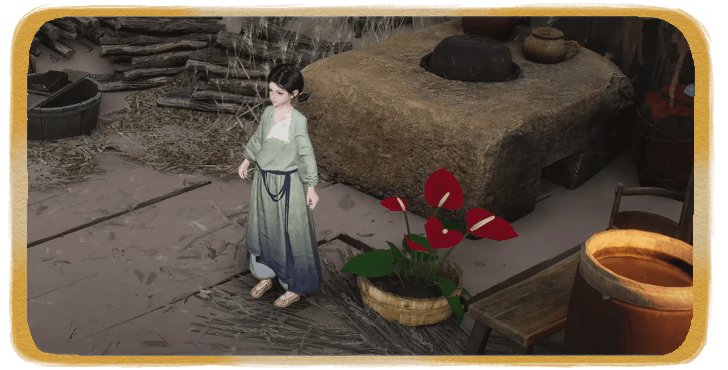 The Winding Vine
 Unsuccessful Bandit
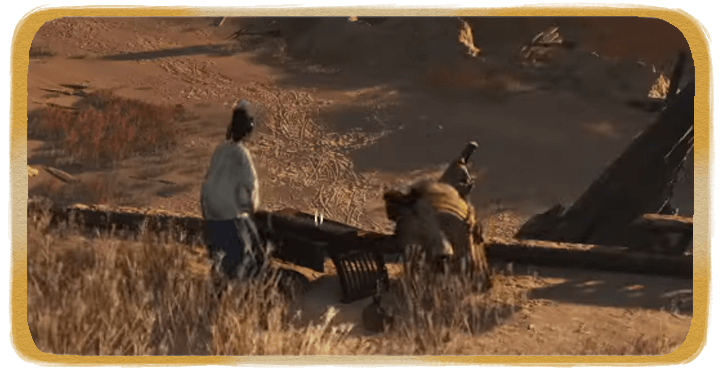 Gem of a Duet
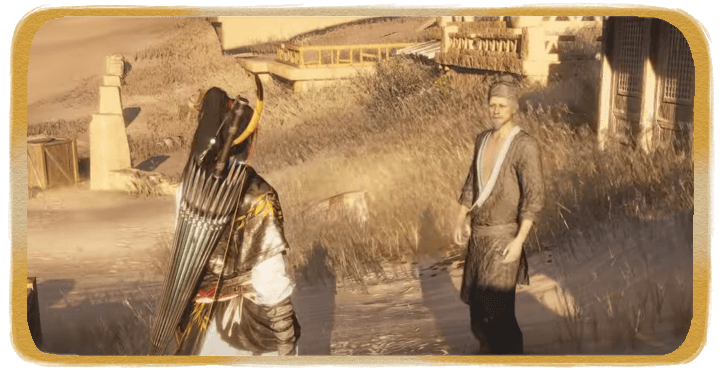 Cast in Longing
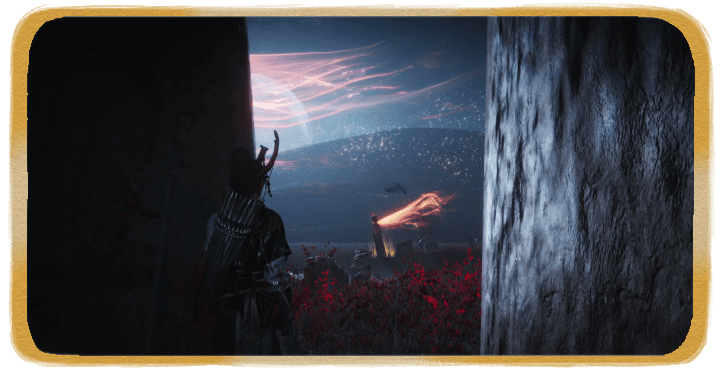 A Mirage of Wine
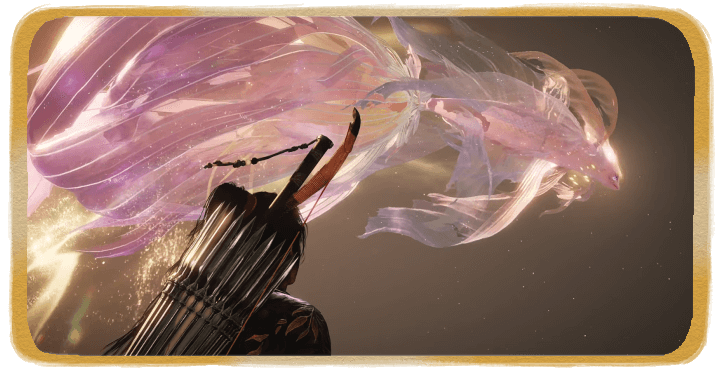 Worth More Than Gold
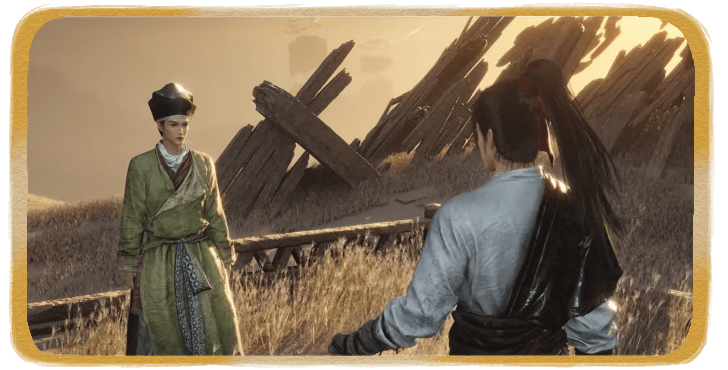 The River's Refrain
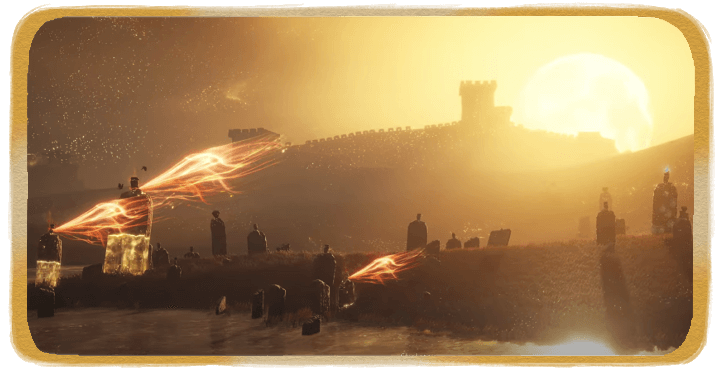 Bones' Lament
 A Tassel and a Tale
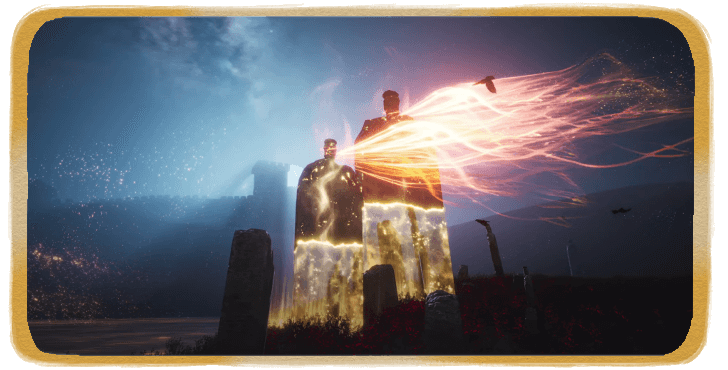 The Final Retreat
Comment
You can also give the letter to Aunt Su. After I gave it to Su He she seemed to blame herself even more for her brothers death. Talking to her aunt and checking on Su He later it seemed like her condition got worse. Maybe giving the letter to her aunt is the better option.
Author

The Wailing of Six-Ailment Walkthrough and Rewards
Rankings
Gaming News

![The Liar Princess and the Blind Prince Review [PC] | Lovely to Look at but Tedious to Play](https://img.game8.co/4442586/8d95f5faf05780f1765ce7e0938bd825.jpeg/show)
![The Seven Deadly Sins: Origin [First Impressions] | A Promising Start](https://img.game8.co/4440581/584e0bfb87908f12c4eab6e846eb1afd.png/thumb)
![The Liar Princess and the Blind Prince Review [PC] | Lovely to Look at but Tedious to Play](https://img.game8.co/4442586/8d95f5faf05780f1765ce7e0938bd825.jpeg/thumb)
![Marathon Cryo Archive Map Teased as [REDACTED] on Selection Screen](https://img.game8.co/4442236/6357203e58172f6de57f1991e7c39b22.png/thumb)
Popular Games

Genshin Impact Walkthrough & Guides Wiki
Umamusume: Pretty Derby Walkthrough & Guides Wiki
Pokemon Pokopia Walkthrough & Guides Wiki
Honkai: Star Rail Walkthrough & Guides Wiki
Monster Hunter Stories 3: Twisted Reflection Walkthrough & Guides Wiki
Arknights: Endfield Walkthrough & Guides Wiki
Wuthering Waves Walkthrough & Guides Wiki
Zenless Zone Zero Walkthrough & Guides Wiki
Pokemon TCG Pocket (PTCGP) Strategies & Guides Wiki
Monster Hunter Wilds Walkthrough & Guides Wiki


Recommended Games
Diablo 4: Vessel of Hatred Walkthrough & Guides Wiki
Cyberpunk 2077: Ultimate Edition Walkthrough & Guides Wiki
Fire Emblem Heroes (FEH) Walkthrough & Guides Wiki
Yu-Gi-Oh! Master Duel Walkthrough & Guides Wiki
Super Smash Bros. Ultimate Walkthrough & Guides Wiki
Pokemon Brilliant Diamond and Shining Pearl (BDSP) Walkthrough & Guides Wiki
Elden Ring Shadow of the Erdtree Walkthrough & Guides Wiki
Monster Hunter World Walkthrough & Guides Wiki
The Legend of Zelda: Tears of the Kingdom Walkthrough & Guides Wiki
Persona 3 Reload Walkthrough & Guides Wiki


All rights reserved
©1997-2025 NetEase, Inc. All Rights Reserved
The copyrights of videos of games used in our content and other intellectual property rights belong to the provider of the game.
The contents we provide on this site were created personally by members of the Game8 editorial department.
We refuse the right to reuse or repost content taken without our permission such as data or images to other sites.
Il faut sauver la jeune fille dans un talus afin qu'elle vous donne des informations. Elle est couchée et baillonnée, deux gardes la surveillent. Il faut vraiment bien faire attention en passant devant car après être passée 50 fois devant je ne l'ai vue que parce que les gardes m'ont attaquée.