
This survey will take about 1 minute.
Your answers will help us to improve our website.
Pokemon Legends: Z-A
Reaching Rank A Walkthrough (Main Mission 35)
★ New Mystery Gift: Portal for Mega Garchomp Z!
☆ Mega Dimension DLC & Version 2.0.1 released!
★ See the Returning Pokemon & New DLC Megas.
☆ Pokemon HOME Connectivity on April 2!
★ Interactive Map: Screws, TMs, Mint Shops
☆ Find your desired Pokemon at the Trading Board.
Reaching Rank A is the Main Mission 35 from Emma in Pokemon Legends: Z-A. Read on for a walkthrough on how to complete Reaching Rank A, how to unlock it, and its rewards, as well as learn of Grisham's team for the promotion match!
| ◀ Previous Mission | Next Mission ▶ | Summons from Vinnie | Prism Tower's Dark Turn |
|---|
List of Contents
Reaching Rank A Walkthrough
Main Mission 35 Walkthrough
| Reaching Rank A Guide | |
|---|---|
| 1 |  After the cutscene, fast travel to the Looker Bureau to consult with Emma regarding the identity of Grisham. Head inside and after a short cutscene, Emma will challenge you to a Pokemon battle. Exit the bureau and speak to Emma to start the fight. The following Side Missions will be unlocked at the start of this mission: ∙ 95 - A Haunting Experience ∙ 96 - Let Us Battle...Artistically ∙ 97 - Stop the Runaway Whirlipede! ∙ 98 - Jumbo Variety Pumpkaboo |
| 2 | 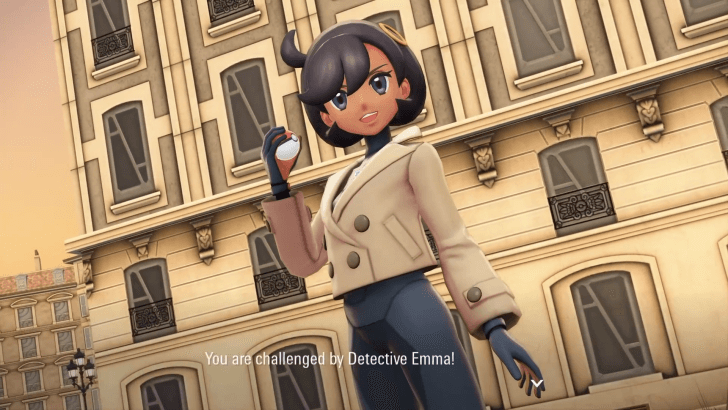 Emma's Pokemon: Lv. 57 Ampharos Lv. 57 Mawile Lv. 57 Lucario Lv. 57 Lopunny Lv. 58 Malamar Emma has well-balanced team of 5 Pokemon that and starts the fight with a Lv. 57 Ampharos, followed by a Lv. 57 Mawile, Lv. 57 Lucario, and a Lv. 57 Lopunny. Her strongest Pokemon is a Lv. 58 Malamar that can mega evolve into Mega Malamar. Camerupt is a great choice for this fight as it can deal super effective damage to Ampharos, Mawile, and Lucario with its Ground-type Moves. Meanwhile, you can send out Heracross against Lopunny and Malamar and deal super effective damage with its Fighting and Bug-type Moves respectively. |
| 2 | 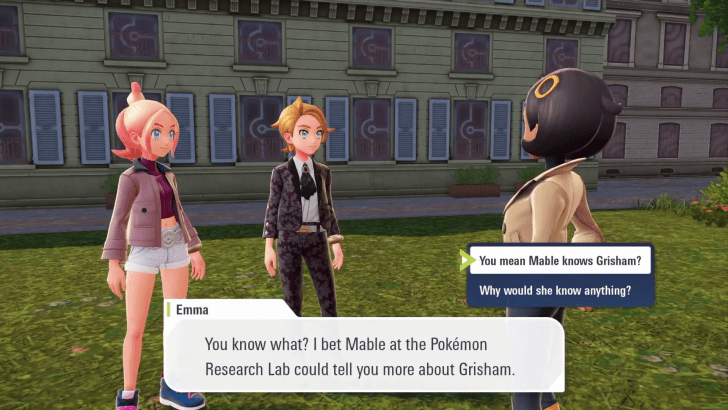 After the fight, Emma discusses some history regarding Lysandre and Team Flare and recommends asking Mable at the Pokemon Research Lab for clues regarding Grisham. The following Side Missions will be unlocked after talking to Emma: ∙ 99 - Pleasing Aron's Palate ∙ 100 - Starmie on High (Daytime only) ∙ 101 - Steadfast as Steel 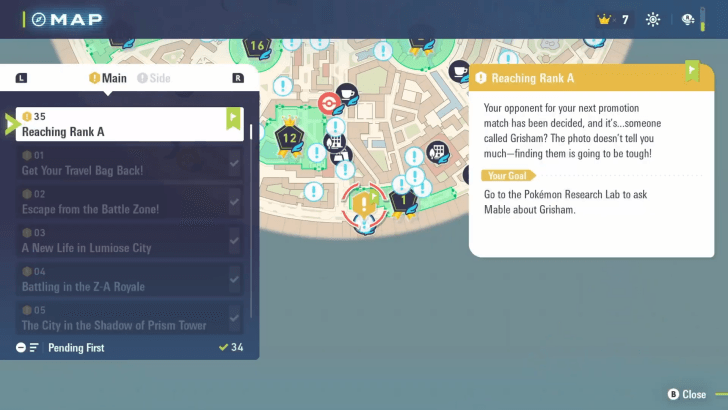 Fast travel to the Pokemon Research Lab and speak with Mable for a cutscene who reveals that Grisham was a particularly strong trainer in Team Flare.  You'll need to head to Nouveau Cafe to find Grisham. Before heading there, head to a Pokemon Center and heal your Pokemon and stock up on some Full Restores and Revives. 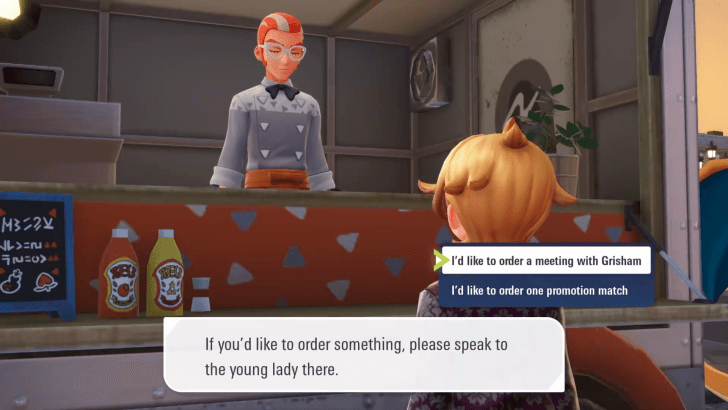 When ready, speak with the man inside the food truck who reveals himself as Grisham and the boss of Team Flare Nouveau. After a short cutscene, Griselle will send you coordinates to a spot in the city where Grisham asks you to meet up. 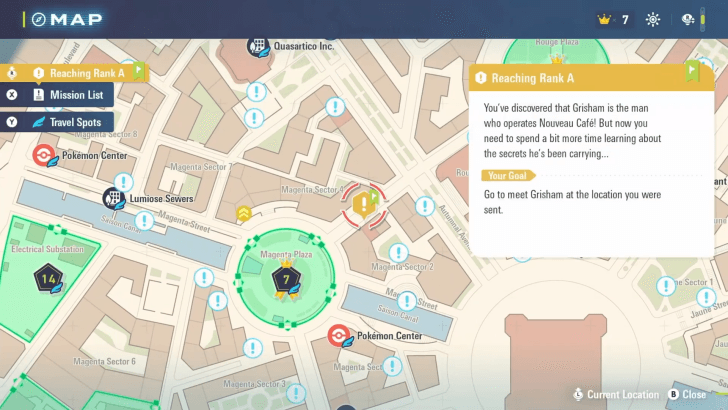 The meeting spot is slightly northeast of Magenta Plaza. Once there, a cutscene will play in front of the now abandoned Lysandre Cafe. Speak to Griselle after the cutscene to challenge her to a Pokemon battle. |
| 3 | 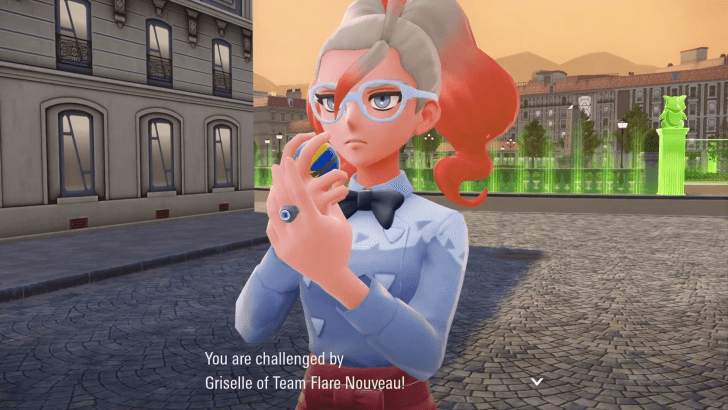 Griselle's Pokemon: Lv. 59 Talonflame Lv. 59 Camerupt Lv. 60 Aerodactyl Lv. 60 Metagross Lv. 61 Pyroar Griselle has a team of 5 Pokemon and leads with a Lv. 59 Talonflame followed by a Lv. 59 Camerupt, and a Lv. 60 Aerodactyl. Finally, she also has a Lv. 60 Metagross and Lv. 61 Pyroar that mega evolves into Mega Pyroar. Four of Griselle's Pokemon are weak to Water-type Moves so bringing a Pokemon like Starmie will make this fight easy, while a backup Fire-type Pokemon like Charizard or Camerupt can handle Metagross. |
| 4 | 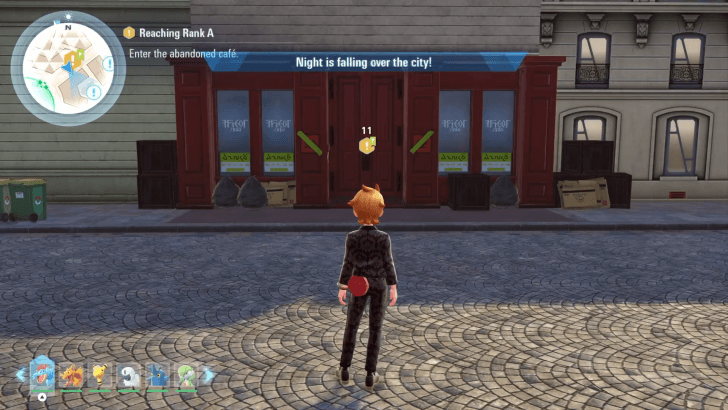 Grisham and Griselle will heal your Pokemon after winning against her. Enter the abandoned Lysandre Cafe for a cutscene where Grisham discusses the history of Team Flare as well as the events of Pokemon X and Y. 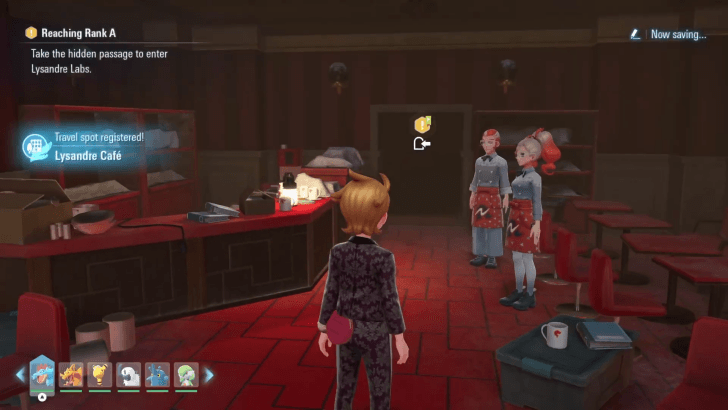 After the cutscene, head inside the hidden passage to enter Lysandre Labs. Mable will then call you and ask you to look for the Elevator Key. |
| 5 | 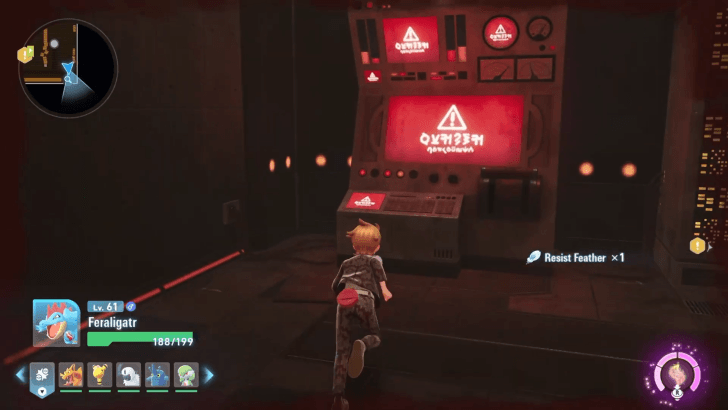 Make your way to the eastern side of the map and interact with the console glowing red to turn on the power in the labs and allow you to use the nearby warp panels. 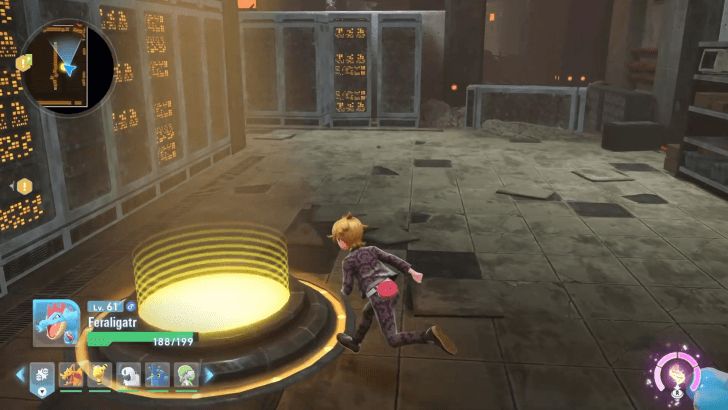 Take the nearest Warp Panel to the proceed to the next area, then head north. 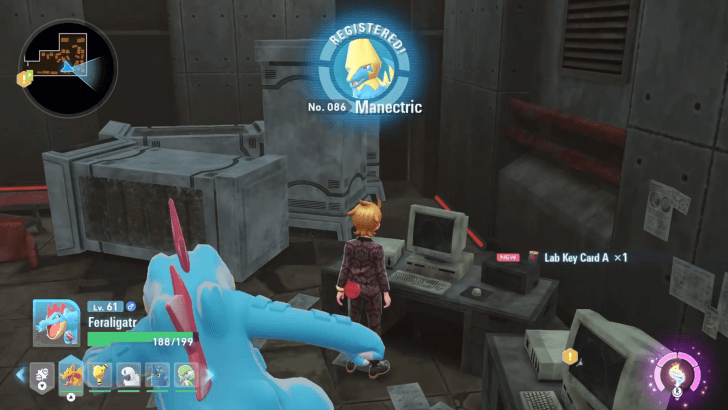 Catch or defeat the Manectric in this room and grab the Lab Key Card A from the computer. 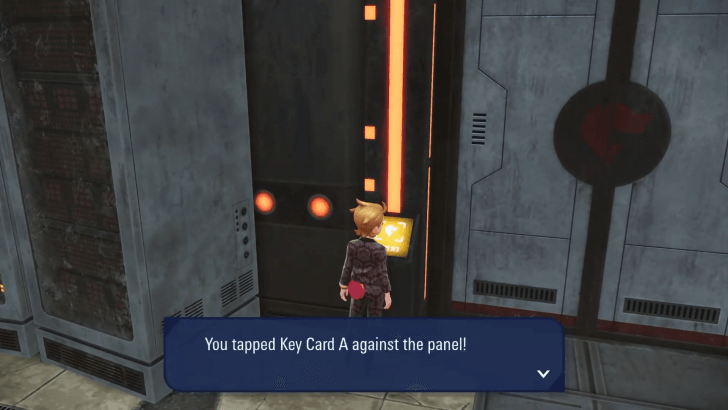 Head back to the entrance and use the Key Card on the northwestern door to proceed to the next area. |
| 6 | 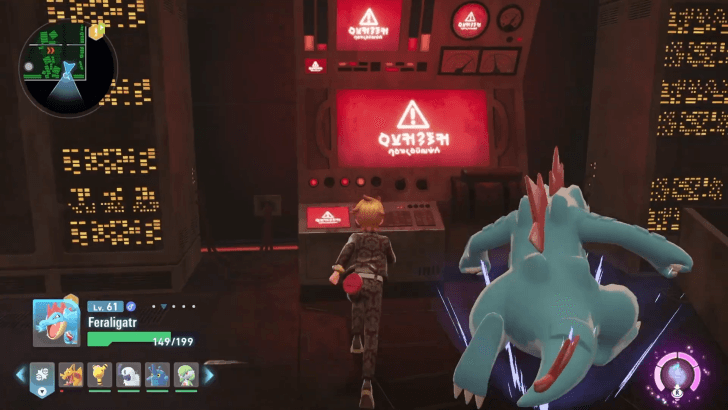 Head to the southern part of the new area and interact with the console to turn on the power in the area and activate the nearby warp panels.  Take the now active Warp Panel to teleport to a small room with another Warp Panel. Enter the other Warp Panel to proceed to the next area. 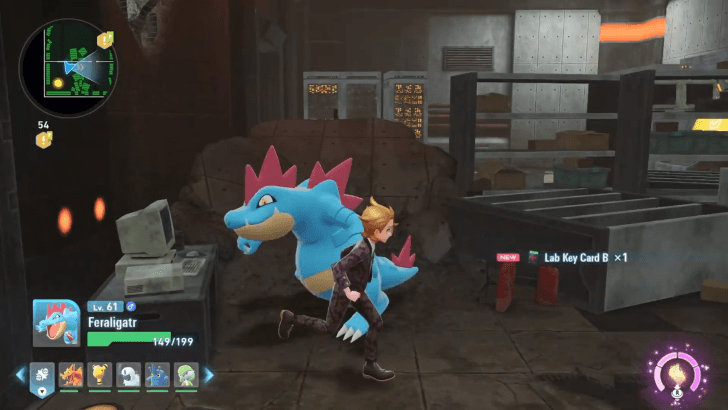 Interact with the computer in this room to get the Lab Key Card B then return to the previous area where you activated the console. 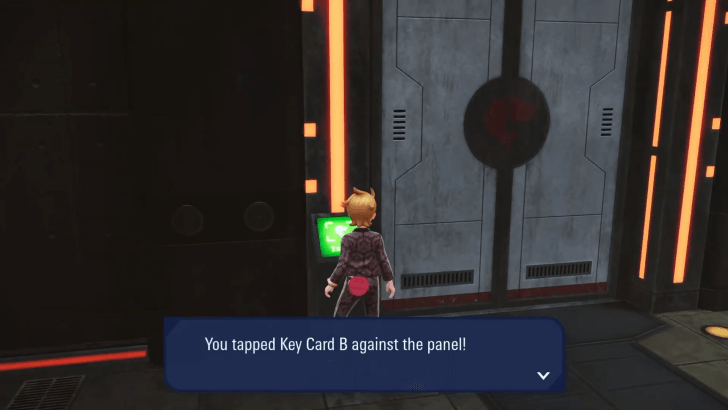 Use the Key Card on the door to proceed to the next area. |
| 7 | 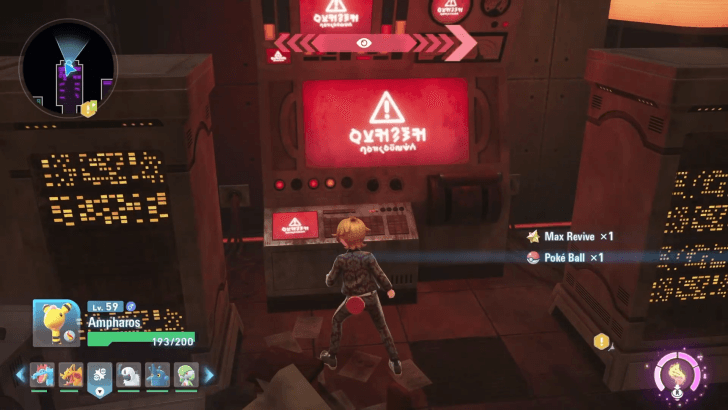 Follow the path north and interact with the console to power up this section of the lab and activate the nearby warp panels. 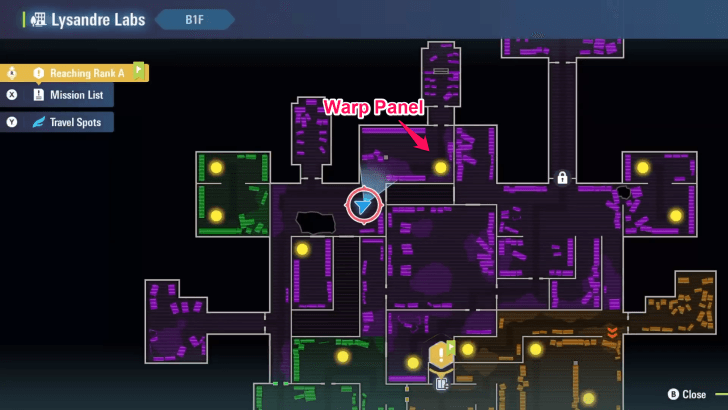 Make your way to the nearby Warp Panel to telport to a small room with another Warp Panel. Enter the other Warp Panel to proceed to the next area. 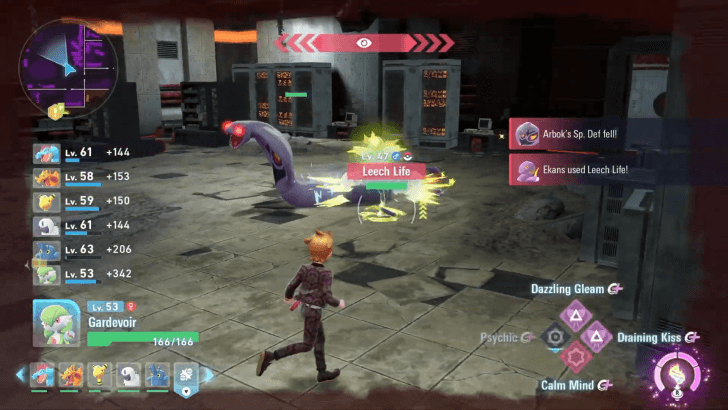 There's an Alpha Arbok accompanied by some Ekans in the nearby large room. Defeat or capture it to safely explore this section of the lab. 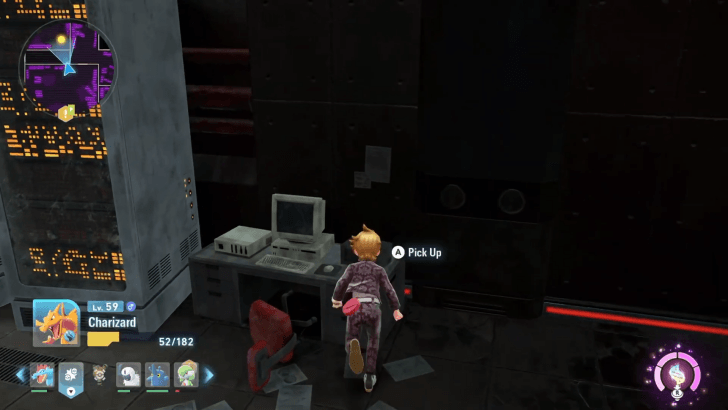 Grab the Lab Key Card C from the computer in the northeastern part of the large room with the Alpha Arbok. 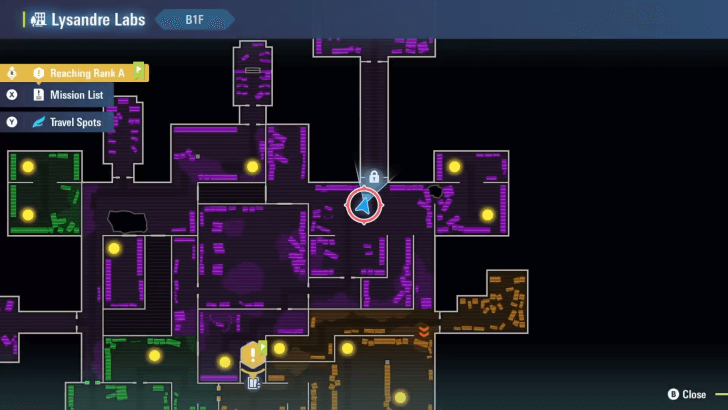 Head to the northeastern side of this section of the lab and use the Key Card on the door, then head north. 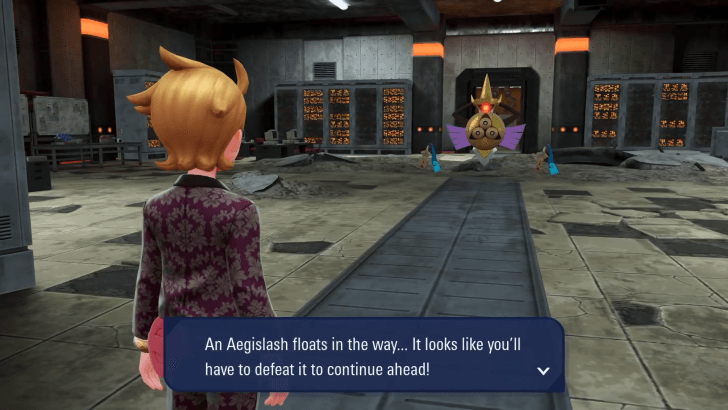 An Alpha Aegislash accompanied by two Honedge is in the northernmost room. You'll need to defeat or capture it to freely access the room. Camerupt can trivialize this fight as it can damage Aegislash and the two Honedge with Earthquake at the same time. 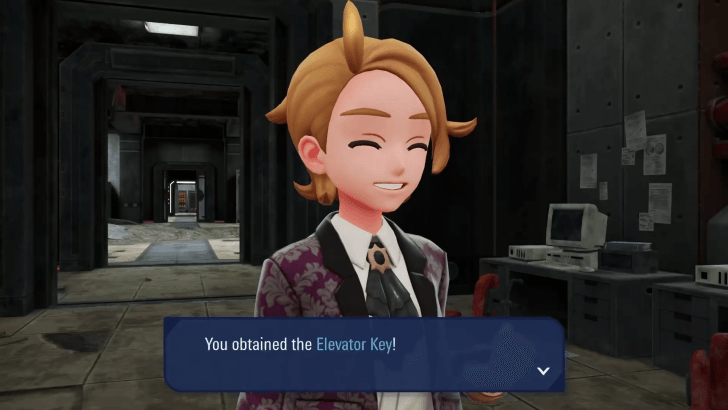 Once the Alpha Aegislash is defeated, enter the room to the north and grab the Elevator Key from the computer. |
| 8 | 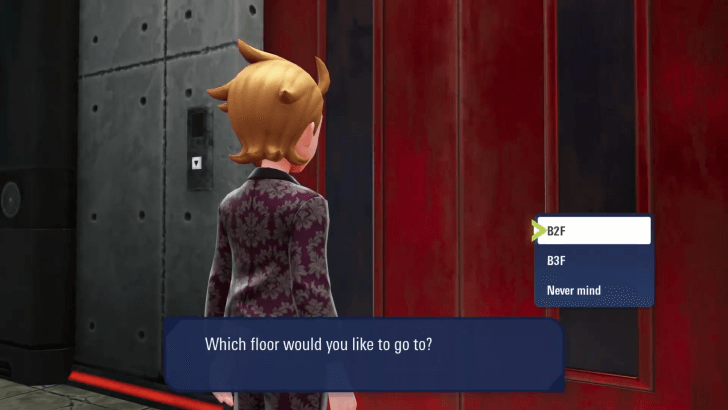 Return to the lab entrance and use the Elevator Key on the Elevator, then go to B3F. Note: B2F only has an EXP Candy L and is otherwise a dead end. 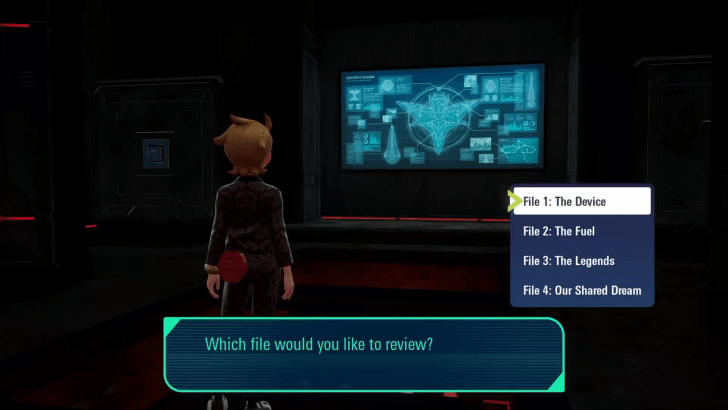 Enter the room to the north in B3F and read all four files. After reading all the files, Zygarde and L will appear in a short cutscene. After the cutscene, use the elevator to head back to B1F and return to Lysandre Cafe. 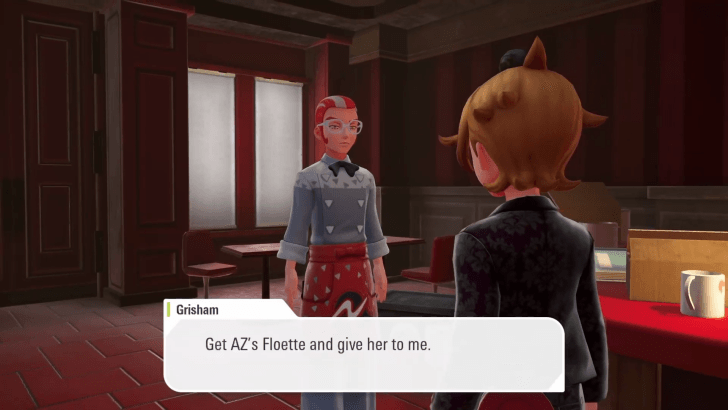 Speak to Grisham for a cutscene where he requests you take AZ's Floette, and will ask you to return to Hotel Z and speak with the other members of Team MZ.  Enter the hotel and speak to AZ for a cutscene and learn more about his past. He reveals that, in the past, he created a device and installed it in the Prism Tower, Ange, and is ultimately the source of the Rogue Mega Evolutions occurring throughout the city. The following Side Missions will be unlocked after learning about AZ: ∙ 102 - A Chilling Challenge ∙ 103 - Facing the Furfrou League ∙ 104 - Abuzz About Bug Types ∙ 105 - Trevenant, the Haunted Elder Tree!(Complete Carvanha, Menace of the Deep!) ∙ 106 - Klefki's Lost Key |
| 9 | 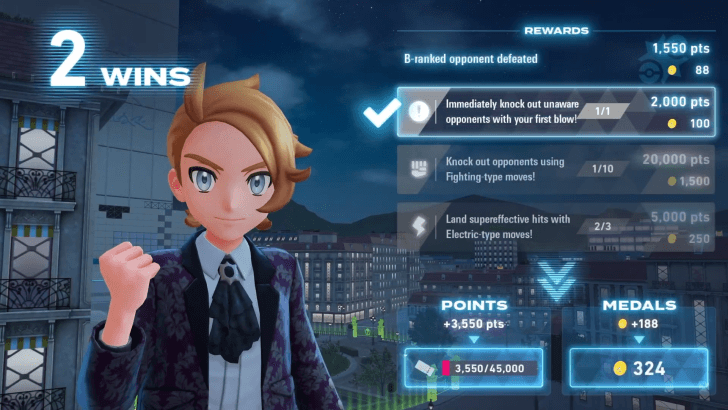 Once the cutscene ends, you need to earn a total of 45,000 Ticket Points to get a Challenge Ticket to fight Grisham in a Promotion Match. 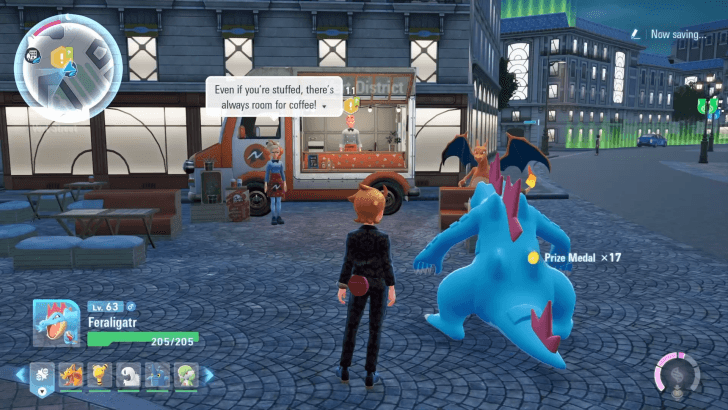 Once you have the Challenge Ticket, head back to Nouveau Cafe and speak to Grisham in his food truck to challenge him. Note: We recommend stocking up on Full Restores and Revives, as well as increasing your Pokemon's level to at least Lv. 65 before fighting Grisham. ►How to Level Up Fast |
Rank B Promotion Match
| Grisham of Team Flare Nouveau | |
|---|---|
| 10 | 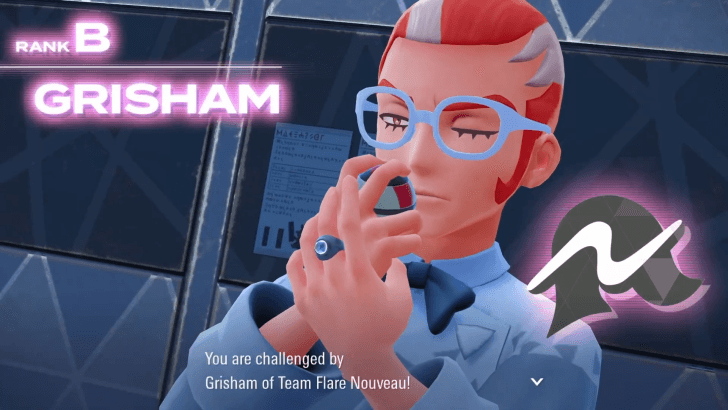 Grisham's Pokemon: Lv. 61 Pangoro Lv. 61 Malamar Lv. 61 Pyroar Lv. 62 Tyranitar Lv. 62 Salamence Lv. 63 Charizard Grisham has a full team of 6 Pokemon with well balanced typing and starts the fight with a Lv. 61 Pangoro followed by a Lv. 61 Malamar and Lv. 61 Pyroar. He'll then send out a Lv. 62 Tyranitar, a Lv. 62 Salamence, and finally a Lv. 63 Charizard that can mega evolve into Mega Charizard X. Grisham's team doesn't have one weakness, but certain Pokemon are good to have in the fight. A strong Fairy-type Pokemon such as Gardevoir can handle both Pangoro, Malamar and Salamence, while Camerupt can hit Pyroar, Tyranitar, and Mega Charizard X with super effective Ground-type Moves. ►How to Beat Grisham |
| 11 |  Defeat all of Grisham's Pokemon and you'll rank up to A Rank. You'll also receive the TM for Flare Blitz as a reward, which also ends the mission after a short cutscene. |
Reaching Rank A Rewards
Rank A Promotion and Flare Blitz TM
Defeating Grisham in the Promotion Match will get you promoted to Rank A, and he'll also reward you the TM for the move Flare Blitz.
How to Unlock Reaching Rank A
Finish Summons from Vinnie

Finish Summons from Vinnie which will be completed by finishing the following missions:
At the Nouveau Cafe
Grisham is located in his food truck at Nouveau Cafe slightly southeast of Prism Tower in the center of the city.
You'll need to consult Emma and then Mable for a lead on Grisham's identity, then agree to explore Lysandre Labs and read the Team Flare files inside to challenge him to the Promotion Match.
Reaching Rank A Main Mission Details
Main Mission 35 Overview
| Reaching Rank A (#35) | |
|---|---|
|
|
| Given By | Emma |
| Location | Looker Bureau, Rouge District |
| Description | Your opponent for your next promotion match has been decided, and it's...someone called Grisham? The photo doesn't tell you much-finding them is going to be tough |
Previous and Next Missions
| ◀ Previous Mission | Next Mission ▶ | Summons from Vinnie | Prism Tower's Dark Turn |
|---|
Pokemon Legends: Z-A Related Guides
Promotion Match Guides
| All Promotion Matches | |
|---|---|
| Zach (Rank Z) | Yvon (Rank Y) |
| Xavi (Rank X) | Rintaro (Rank W) |
| Vinnie (Rank V) | Canari (Rank F) |
| Ivor (Rank E) | Corbeau (Rank D) |
| Jacinthe (Rank C) | Grisham (Rank B) |
All Main Missions
Comment
Author

Reaching Rank A Walkthrough (Main Mission 35)
Please participate in our site
improvement survey
04/2026
improvement survey
04/2026
Would you assist in
improving Game8's site?
improving Game8's site?

×
We are listening to our users' valuable opinions and discussing how to act on them.
The information collected through this survey will be used for the purpose of improving our services. In addition, the information will only be disclosed a part of a statistic in a format that will not allow identification of personal information.
Begin Survey
Not Now
×
Please rate each item regarding Game8.co's Advertisements.
Amount of Ads
Very Dissatisfied
Somewhat Dissatisfied
Fine
Somewhat Satisfied
Highly Satisfied
Placement of Ads
Timing of Ad Display
Ad Loading Speed
Safeness of Ads
Content of Ads
×
Please rate each item regarding Game8.co's Quality of Articles.
Amount of information
Very Dissatisfied
Somewhat Dissatisfied
Fine
Somewhat Satisfied
Highly Satisfied
Frequency of updates
Speed of new information
Accuracy of articles
Understandibility of articles
Readability of sentences
×
Please rate each item regarding Game8.co's Usability of the Site.
Ease of finding information
Very Dissatisfied
Somewhat Dissatisfied
Fine
Somewhat Satisfied
Highly Satisfied
Loading Speed
Use of Color
Font Size
Visibility of Images
Easy to Understand Layout
×
Please rate each item regarding Game8.co's Message Boards, Comments.
Ease of Writing
Very Dissatisfied
Somewhat Dissatisfied
Fine
Somewhat Satisfied
Highly Satisfied
Readability
Ease in Finding Information
Comment Quality
Comment Quantity
Admin Response
×
Please rate each item regarding Game8.co's Site's new design.
Please rate our site's new design
Very Dissatisfied
Somewhat Dissatisfied
Fine
Somewhat Satisfied
Highly Satisfied
Do you think that the website's design change makes the site easier to use?
Has the new design made it easier for you to find information on the site?
Has the new design improved the overall visual appeal of the site?
How would you rate your overall satisfaction with the new design of the site?
×
How likely are you to recommend Game8 to someone you know?
Very Unlikely
0
1
2
3
4
5
6
7
8
9
10
Very Likely
If you have other opinions regarding potential improvement to the website, please share them with us. We would appreciate your honest opinion.
Note: This is a free response section, so you can proceed without entering anything.
Note: Please be sure not to enter any kind of personal information into your response.
Note: Please be sure not to enter any kind of personal information into your response.
×
Thank You
×
Thank you for participating in our survey! Your answers will help us to improve the quality of our website and services.
We hope you continue to make use of Game8.
We hope you continue to make use of Game8.
Close
Rankings

Gaming News


![Forza Horizon 6 Review [Preview] | Beautiful Roads With a Whole Lot of Oversteer](https://img.game8.co/4460981/a7254c24945c43fbdf6ad9bea52b5ce9.png/thumb)
![Borderlands Mobile Review [Playtest] | The Same Borderlands Made Easy](https://img.game8.co/4465500/aac0c880a39ec5cd46073e49d18f3ed5.png/thumb)
Popular Games

Genshin Impact Walkthrough & Guides Wiki
Crimson Desert Walkthrough & Guides Wiki
Umamusume: Pretty Derby Walkthrough & Guides Wiki
Honkai: Star Rail Walkthrough & Guides Wiki
Monster Hunter Stories 3: Twisted Reflection Walkthrough & Guides Wiki
Wuthering Waves Walkthrough & Guides Wiki
The Seven Deadly Sins: Origin Walkthrough & Guides Wiki
Pokemon TCG Pocket (PTCGP) Strategies & Guides Wiki
Pokemon Pokopia Walkthrough & Guides Wiki
Zenless Zone Zero Walkthrough & Guides Wiki


Recommended Games
Fire Emblem Heroes (FEH) Walkthrough & Guides Wiki
Pokemon Brilliant Diamond and Shining Pearl (BDSP) Walkthrough & Guides Wiki
Super Smash Bros. Ultimate Walkthrough & Guides Wiki
Diablo 4: Vessel of Hatred Walkthrough & Guides Wiki
Cyberpunk 2077: Ultimate Edition Walkthrough & Guides Wiki
Yu-Gi-Oh! Master Duel Walkthrough & Guides Wiki
Elden Ring Shadow of the Erdtree Walkthrough & Guides Wiki
Monster Hunter World Walkthrough & Guides Wiki
The Legend of Zelda: Tears of the Kingdom Walkthrough & Guides Wiki
Persona 3 Reload Walkthrough & Guides Wiki


All rights reserved
©2025 Pokémon. ©1995-2019 Nintendo/Creatures Inc. /GAME FREAK inc.
The copyrights of videos of games used in our content and other intellectual property rights belong to the provider of the game.
The contents we provide on this site were created personally by members of the Game8 editorial department.
We refuse the right to reuse or repost content taken without our permission such as data or images to other sites.