Act 4 Walkthrough
Latest: 0.5.0 Release Date
☆ Fate of the Vaal ▶︎ The Last of the Druids
┗ Bonded Mods | 0.4 Mystery Box
★ Druid: Class Overview | Builds
☆ NEW: Disciple of Varashta Ascendancy!
★ Best Class | Best Builds | Leveling Builds
This is a walkthrough for Act 4 in Path of Exile 2. Read on for a guide to finishing Act 4 and their rewards here!
| ◀ Previous Act | Next Act ▶ |
|---|---|
| Act 3 Walkthrough | - |
List of Contents
Act 4 Walkthrough
| Act 4 Main Quests | |
|---|---|
| The Search ┗ Boss Battle: Great White One ┗ Boss Battle: Diamora, Song of Death ┗ Boss Battle: The Prisoner ┗ Boss Battle: Scourge of the Skies ┗ Boss Battle: Torvian, Hand of the Saviour ┗ Boss Battle: Benedictus, First Herald of Utopia ┗ Boss Battle: Tavakai |
|
| Act 4 Side Quests | |
| Dark Mists ┗ Boss Battle: Captain Hartlin Land of the Kin ┗ Boss Battle: Krutog Lord of Kin ┗ Boss Battle: The Blind Beast Trial of the Ancestors ┗ Boss Battle: Yama the White |
|
The Search
| Objectives | |
|---|---|
| 1 |  Upon finishing Legacy of the Vaal, talk to Doryani near the Gateway in Utzaal. After speaking with him, return to Ziggurat Encampment and talk to Doryani and Alva. You will automatically teleport to Kingsmarch. |
| 2 |  Proceed further into Kingsmarch and talk to Alva and Rog. Look for the ship on the other side of the area and talk to Makoru to unlock the Act 4 map. Side Quest: ・Talk to Tujen to start Dark Mists ・Go to the Isle of Kin for Land of the Kin ・Finishing Land of the Kin leads to Trial of the Ancestors |
| 3 | 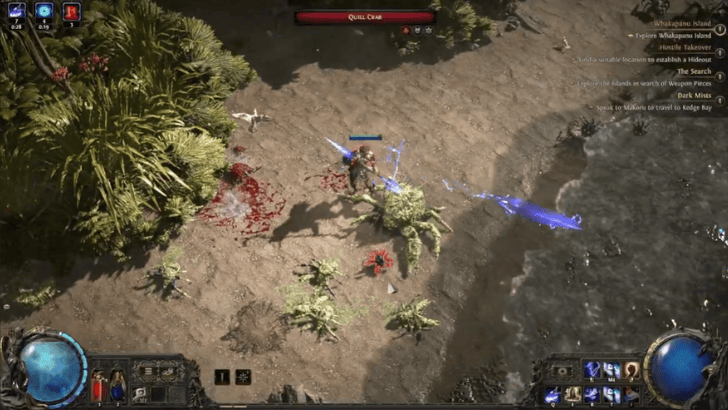 It is recommended to first go to Whakapanu Island since this is where you can unlock the Shoreline Hideout. Within the first area, you will encounter the Great White One boss, which drops the Shark Fin quest item. Side Quest: ・Pick up the Shark Fin for Tribal Medicine ・ Pick up the Torn Map Piece for Forgotten Bounty |
| 4 | 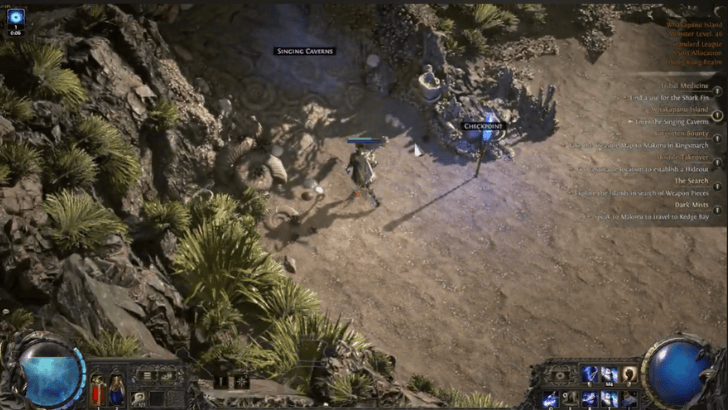 Look for the entance to the Singing Caverns nearby a checkpoint. Proceed to the other side of the caverns and defeat Diamora, Song of Death to obtain the Shoreline Hideout. You can also pick up the Beckoning Clam within the area, which you can give to Rog in in Kingsmarch to obtain a Pearlescent Amulet Side Quest: ・Defeat Diamora, Song of Death for Hostile Takeover |
| 5 | 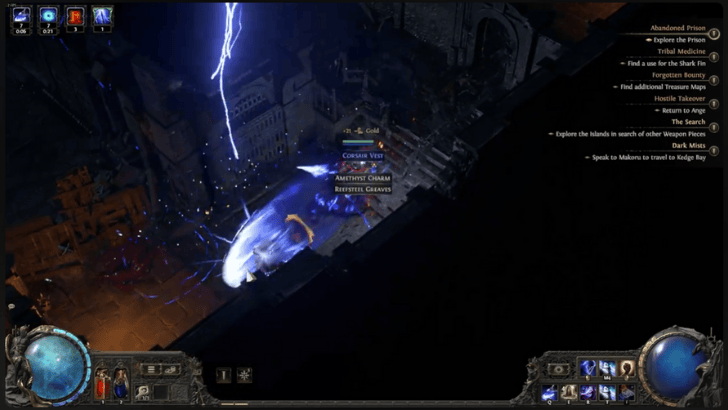 Next, sail to Abandoned Prison and keep going through the area to look for the entrance to Solitary Confinement. Waves of water crash into this area, significantly slowing down your movement. Make sure to take this into account when facing enemy packs! |
| 6 |  Enter Solitary Confinement and look for the Fortified Door. From there, you must find and defeat The Prisoner to obtain a Weapon Piece. Make sure to make use of the Ballista to defeat the boss! |
| 7 | 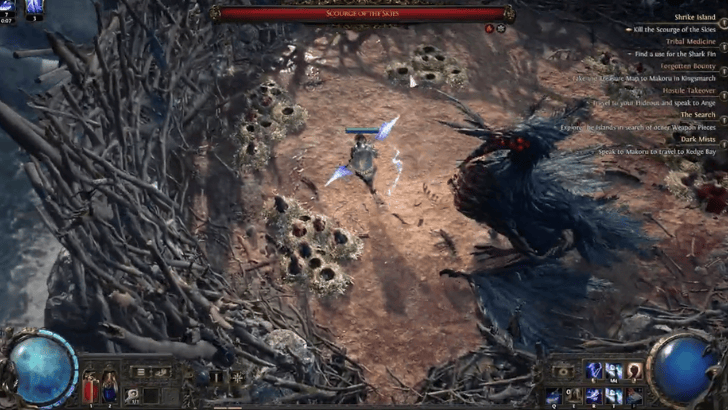 Lastly, go through Shrike Island until you find a narrow bridge leading to the Scourge of the Skies. Upon its defeat, the boss will drop the final Weapon Piece you are looking for. Side Quest: ・Area contains a Torn Map Piece for Forgotten Bounty |
| 8 | 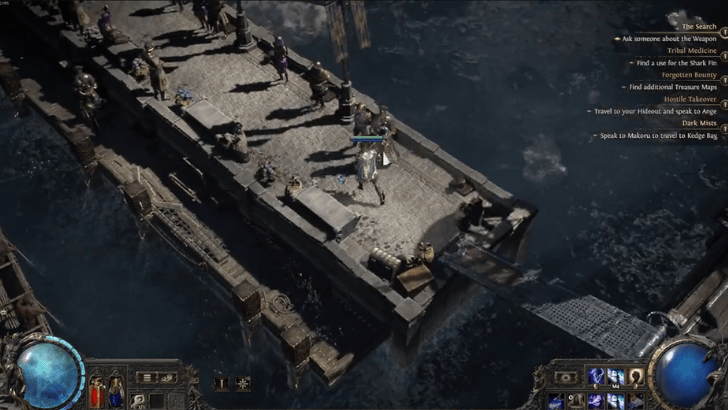 Return to the ship and talk to Makoru. After talking, sail to Arastas proceed further into the area to unlock the checkpoint. |
| 9 |  Go to the church nearby and talk to Missionary Lorandis. Follow him inside the church. |
| 10 | 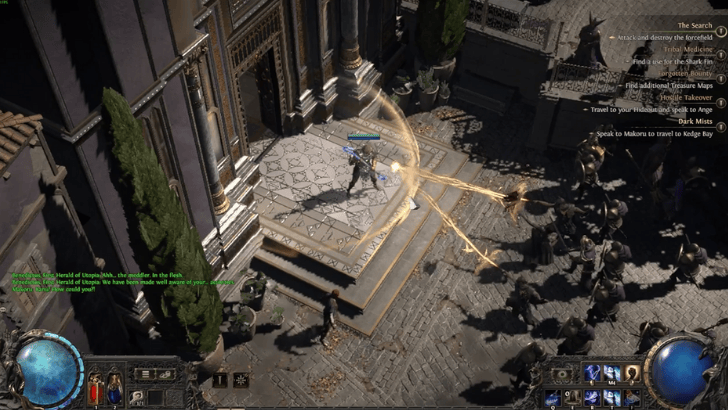 After talking, exit the church and destroy the forcefield by attacking it. Once the barrier is broken, enemies will attack and you must defeat them. |
| 11 | 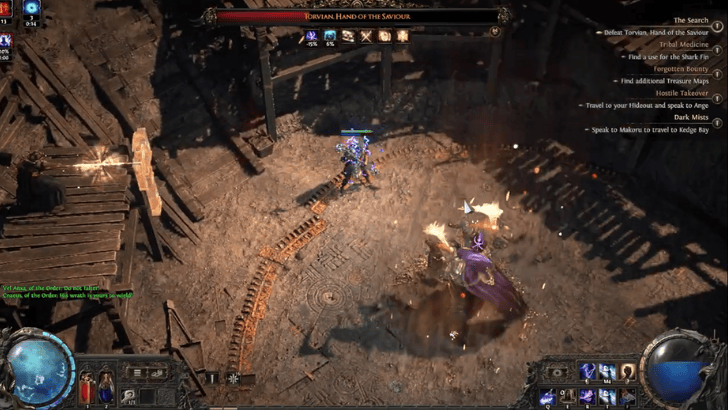 Proceed further into Arastas area until you find Torvian, Hand of the Saviour, which unlocks The Excavation entrance. |
| 12 |  Go through The Excavation until you find a checkpoint with a circular arena nearby. Here, you will find Kanu and the First Herald. You must defeat Benedictus, First Herald of Utopia. |
| 13 | 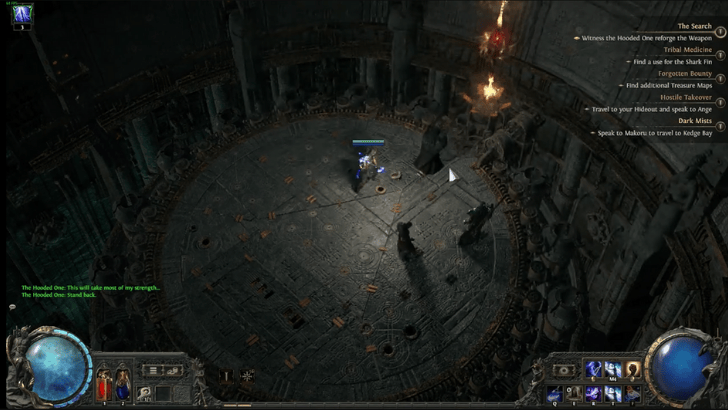 Upon defeating the First Herald, enter the Excavated Site up ahead to witness The Hooded One reforge the Weapon. |
| 14 | 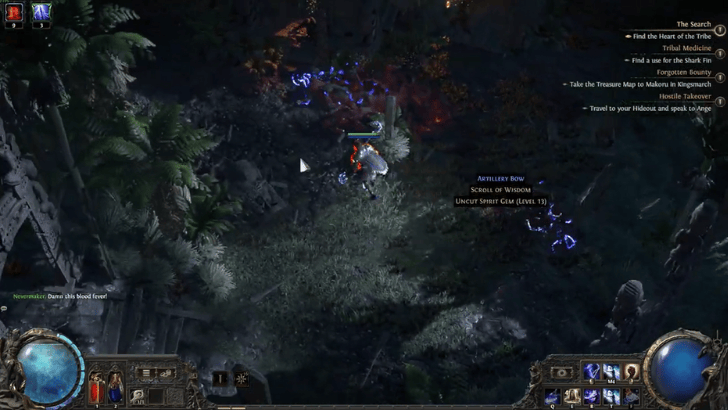 Teleport back to Kingsmarch and talk to The Hooded One. From there, make your way back to the ship and talk to Rhodri. Sail to Ngakanu and fight through the waves of enemies. |
| 15 |  Look for the entrance to the Heart of the Tribe around the direct opposite side of the area. |
| 16 |  Keep going through the Heart of the Tribe until you find the Tavakai boss area. Make sure to come prepared, as this boss has 3 phases! Once you defeat the boss, The Hooded One will cure Tavakai and Makoru. |
| 17 | 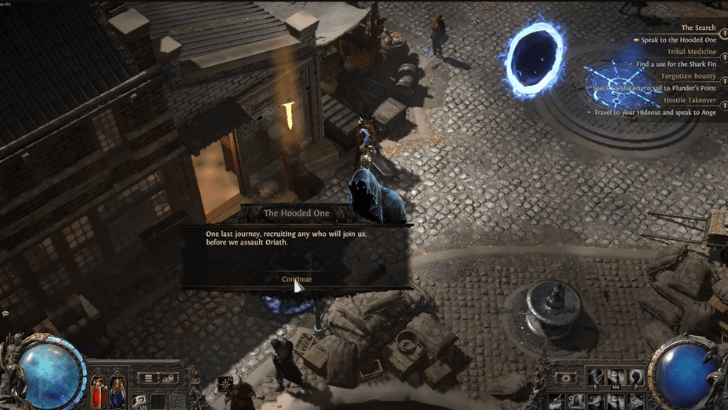 Teleport back to Kingsmarch and watch a cutscene. After that, talk to The Hooded One to officially end Act 4. |
Dark Mists
| Objectives | |
|---|---|
| 1 |  From Kingsmarch, talk to Tujen and sail to Kedge Bay. You will need to look for the entrance to Journey's End, which is where the two main bosses are. |
| 2 |  Within Kedge Bay, look for the Dead Man's Chest nearby a checkpoint. Interacting with this will drop a Torn Map Piece, which is important for the Forgotten Bounty quest. |
| 3 | 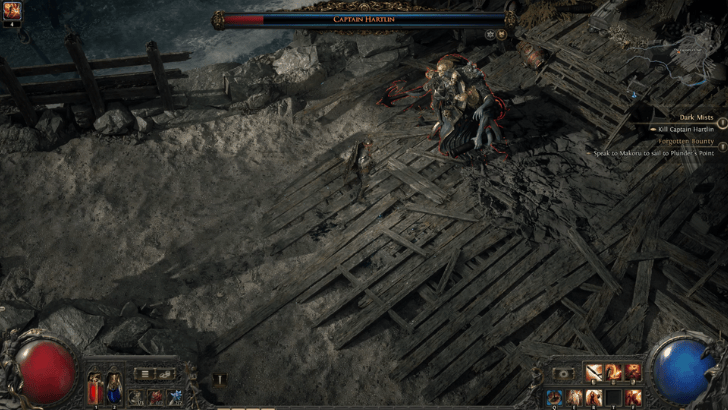 Upon entering Journey's End, move a little further into the area then summon and talk to Tujen right by Freya Hartlin. From there, find and defeat Captain Hartlin. Upon his defeat, he will drop the Verisium quest item. Bring this back to Dannig in Kingsmarch. |
| 4 | 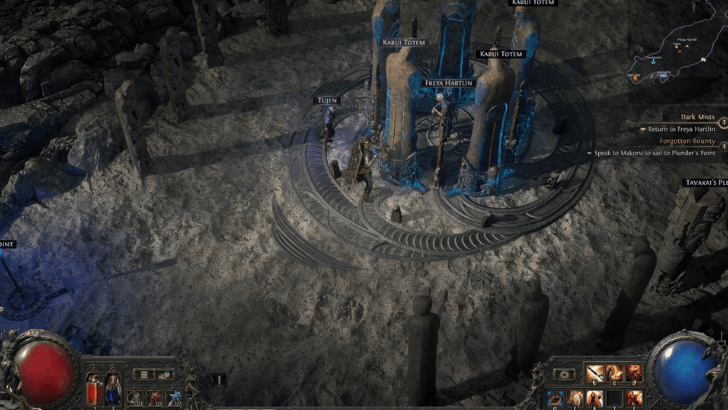 Return to Freya Hartlin in Journey's End then interact with one of the Karui Totems trapping her inside. Once you break the cage, clear all the enemies within the area. After surviving the madness, teleport back to Kingsmarch and talk to Tujen. |
Land of the Kin
| Objectives | |
|---|---|
| 1 | 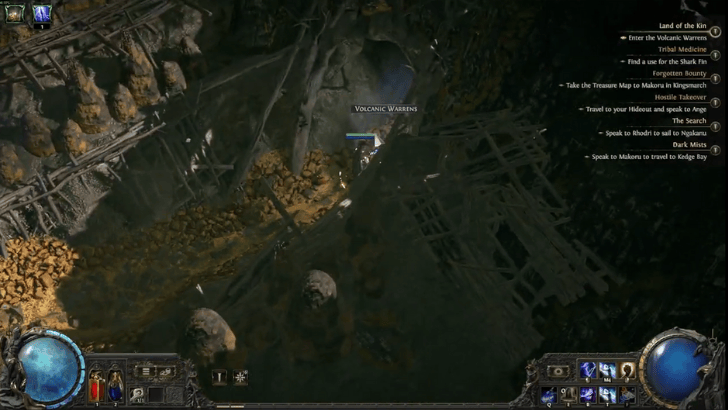 From the ship in Kingsmarch, sail to the Isle of Kin. You will need to look for the entrance to the Volcanic Warrens. You can also encounter locked Beast Pens that contain enemies who can drop an Uncut Skill Gem ・Optional Boss: The Blind Beast |
| 2 | 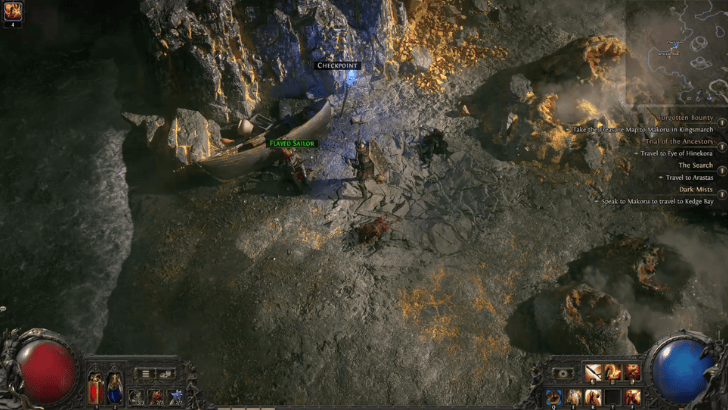 Within the Isle of Kin, look for a Flayed Sailor nearby a checkpoint. Interacting with this will drop a Torn Map Piece, which is important for the Forgotten Bounty quest. |
| 3 |  Within The Volcanic Warrens, continue through the area until you find The Tyrant's Throne, near a checkpoint. This is where you must defeat Krutog, Lord of Kin. This boss will drop one of the weapon pieces needed to progress through Act 4. |
Land of the Kin Quest Walkthrough
Trial of the Ancestors
| Objectives | |
|---|---|
| 1 | 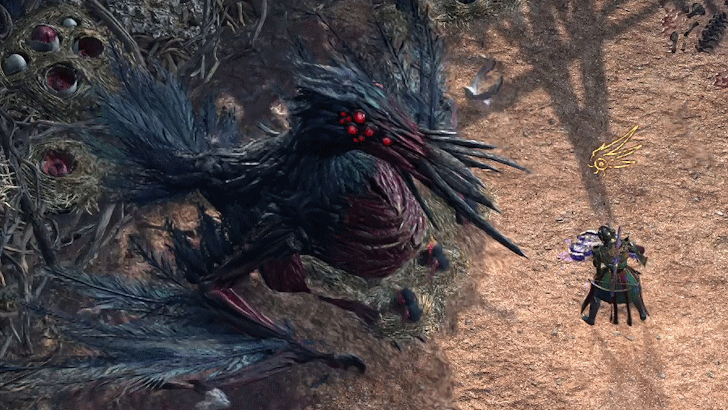 Save Matiki from Scourge of the Skies at the end of Shrike Island. Return to your ship and speak to Matiki. |
| 2 | Sail to the newly unlocked Eye of Hinekora. Once you exit the ship, go through the Passageway entrance and talk to Matiki. After some dialogue, interact with the Well of Passing. |
| 3 | 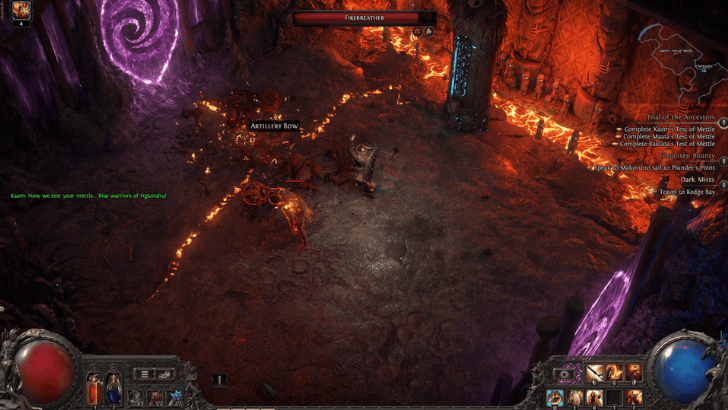 The path you are on will lead you to three Tests of Mettle: Kaom, Maata, and Rakiata. As you go deeper into the area, you will enter the tests no matter what. Once you enter the test areas, waves of enemies will spawn and you must survive to pass the test. |
| 4 | The path you are on will lead you to three Tests of Mettle: Kaom, Maata, and Rakiata. As you go deeper into the area, you will enter the tests no matter what. Once you enter the test areas, waves of enemies will spawn and you must survive to pass the test. |
| 5 | 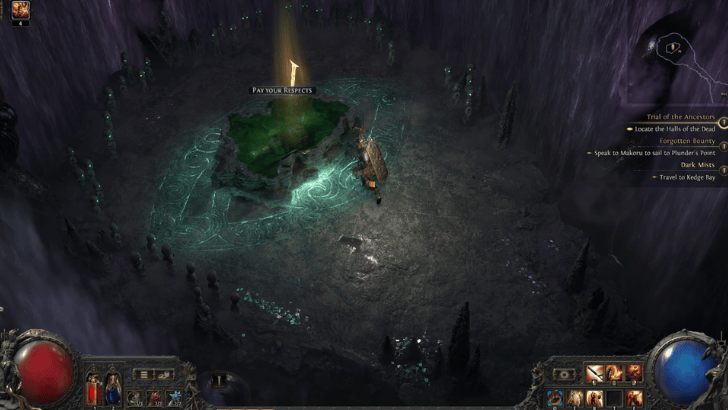 After the third test, you must now look for the entrance to the Halls of the Dead. You will also pass by Navali's Rest, which grants you +5% additional Maximum Mana. |
| 6 | 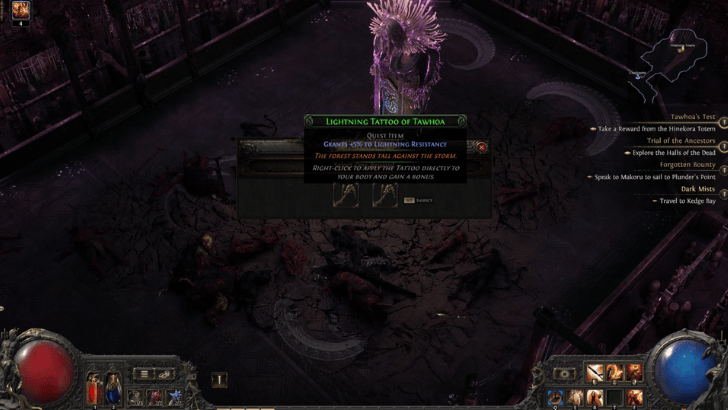 Look for the Halls of the Dead and complete three more tests. Upon completing the tests, you a Tattoo will be dropped. Pick up the Tattoo and interact with the nearby totem to claim their reward. |
| 7 | 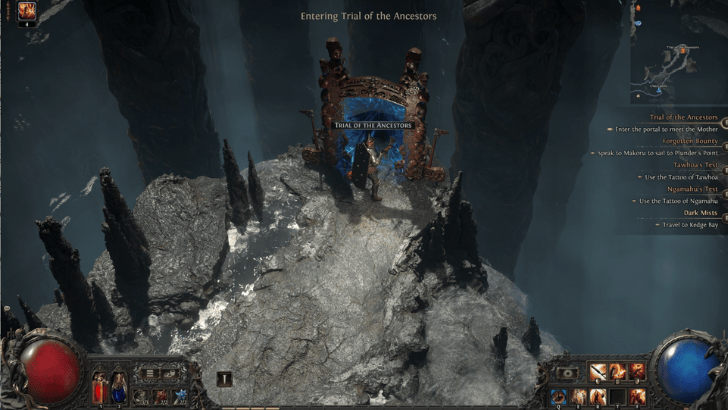 After the three tests, you will be led to Yama the White, the area's boss. After the fight, continue through the Halls of the Dead until you find the entrance to the Trial of the Ancestors area. Once you enter, talk to Navali. |
Trial of the Ancestors Quest Walkthrough
Tribal Medicine
| Objectives | |
|---|---|
| 1 | 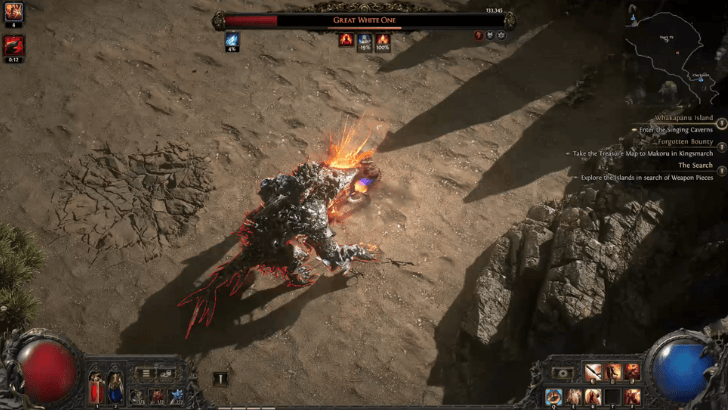 Sail to Whakapanu Island and look for the Shark Pit, a sandy open area in the island. Go near the edge of the pit near the water to trigger the Great White One boss fight. Upon defeating the boss, pick up the Shark Fin quest item and return to the ship. |
| 2 | 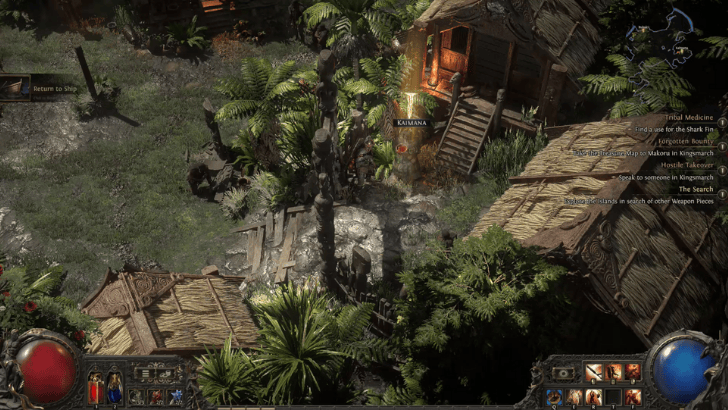 The next step is to find Kaimana and turn over the Shark Fin to complete the quest. Kaimana's location changes depending on your progression. Her possible locations are either in Ngakanu or Kingsmarch. |
Tribal Medicine Quest Walkthrough
Forgotten Bounty
| Objectives | |
|---|---|
| 1 |  All 4 Torn Map Pieces can be found within the first area of their respective islands. Whakapanu Isaland, Shrike Island, Isle of Kin, and the Kedge Bay areas each has one Torn Map Piece to collect. |
| 2 |  After submitting all Map Pieces to Makoru, sail to Plunder's Point. Once there, summon and talk to Dannig. |
| 3 | 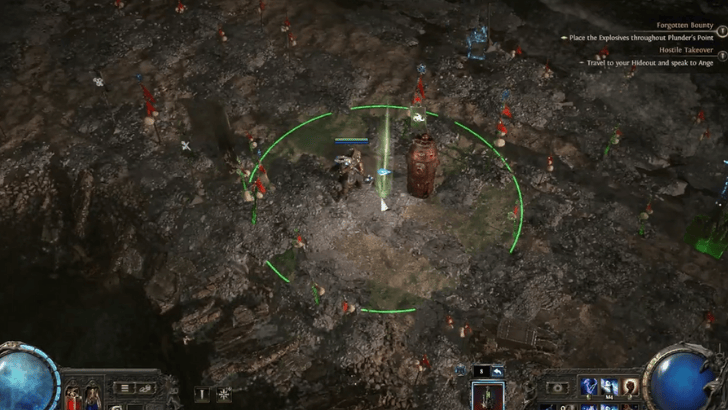 Similar to the Expedition endgame mechanic, you must strategically place explosives to cover certain spots that drop loot once you blow them up. After that, kill all enemies within the area. |
Forgotten Bounty Quest Walkthrough
Hostile Takeover
| Objectives | |
|---|---|
| 1 | 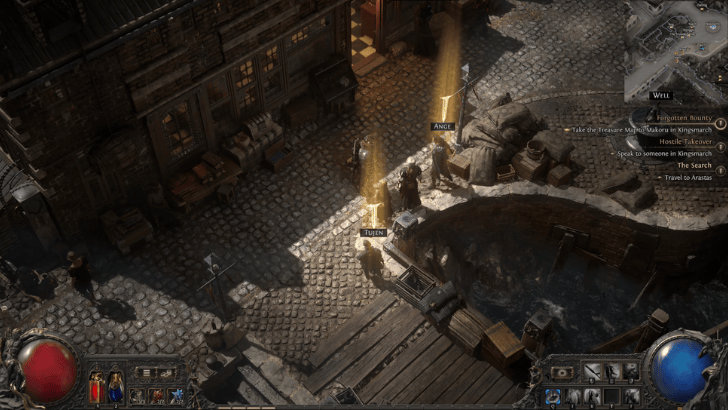 Speak to Ange in Kingsmarch
Once you reach Kingsmarch, talk to Ange to start the quest. |
| 2 | 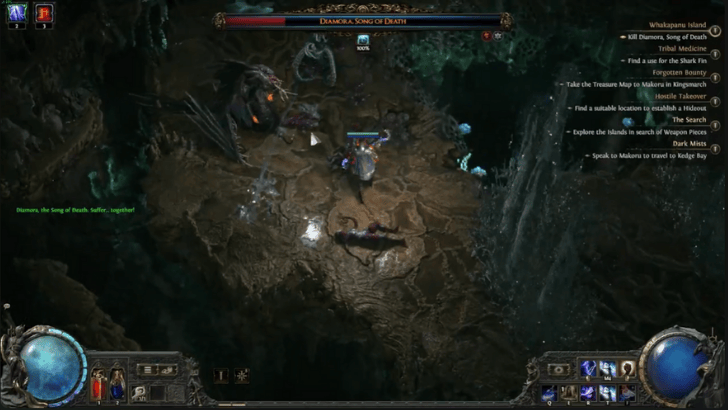 Sail to Whakapanu Island and look for the entrance to the Singing Caverns on the opposite side of the island. From here, you must look for and defeat Diamora, Song of Death. |
| 3 | 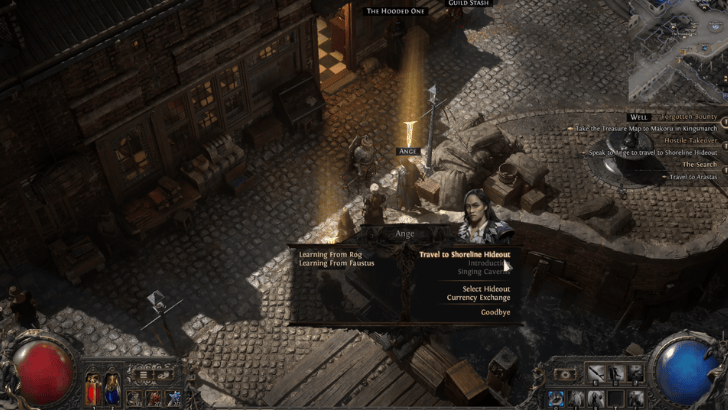 Upon defeating Diamora, go back to Kingsmarch and talk to Ange. Click the Travel to Shoreline Hideout dialogue option to teleport to the Shoreline Hideout. |
| 4 | 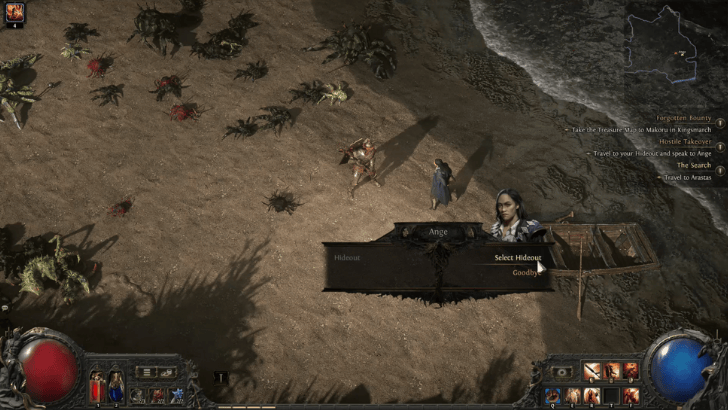 When you reach the Shoreline Hideout, there are numerous enemy packs within the area you must defeat first. Once all enemies have been cleared, talk to Ange and click the Select Hideout option. |
Hostile Takeover Quest Walkthrough
List of All Locations in Act 4
All Locations in Act 4
| Act 4 Locations |
・Kingsmarch ・Whakapanu Island ・Singing Caverns ・Abandoned Prison ・Solitary Confinement ・Shrike Island ・Arastas ・The Excavation ・Ngakanu ・Heart of the Tribe ・Kedge Bay ・Journey's End ・Isle of Kin ・Volcanic Warrens ・Eye of Hinekora ・Halls of the Dead ・Trial of the Ancestors |
|---|
Act 4 Rewards
Quest Rewards
| The Search | ・Unlocks Interlude Quests |
|---|
Path of Exile 2 Related Guides

List of All Acts
| Act 1 | Act 2 |
| Act 3 | Act 4 |
All Points of Interest
Comment
Author

Act 4 Walkthrough
Rankings
- We could not find the message board you were looking for.

Gaming News


![Monster Hunter Stories 3 Review [First Impressions] | Simply Rejuvenating](https://img.game8.co/4438641/2a31b7702bd70e78ec8efd24661dacda.jpeg/thumb)
![The Seven Deadly Sins: Origin [First Impressions] | A Promising Start](https://img.game8.co/4440581/584e0bfb87908f12c4eab6e846eb1afd.png/thumb)

Popular Games

Genshin Impact Walkthrough & Guides Wiki
Umamusume: Pretty Derby Walkthrough & Guides Wiki
Pokemon Pokopia Walkthrough & Guides Wiki
Honkai: Star Rail Walkthrough & Guides Wiki
Monster Hunter Stories 3: Twisted Reflection Walkthrough & Guides Wiki
Arknights: Endfield Walkthrough & Guides Wiki
Wuthering Waves Walkthrough & Guides Wiki
Zenless Zone Zero Walkthrough & Guides Wiki
Pokemon TCG Pocket (PTCGP) Strategies & Guides Wiki
Monster Hunter Wilds Walkthrough & Guides Wiki


Recommended Games
Fire Emblem Heroes (FEH) Walkthrough & Guides Wiki
Diablo 4: Vessel of Hatred Walkthrough & Guides Wiki
Cyberpunk 2077: Ultimate Edition Walkthrough & Guides Wiki
Yu-Gi-Oh! Master Duel Walkthrough & Guides Wiki
Super Smash Bros. Ultimate Walkthrough & Guides Wiki
Pokemon Brilliant Diamond and Shining Pearl (BDSP) Walkthrough & Guides Wiki
Elden Ring Shadow of the Erdtree Walkthrough & Guides Wiki
Monster Hunter World Walkthrough & Guides Wiki
The Legend of Zelda: Tears of the Kingdom Walkthrough & Guides Wiki
Persona 3 Reload Walkthrough & Guides Wiki


All rights reserved
© 2010 - 2024 Grinding Gear Games
The copyrights of videos of games used in our content and other intellectual property rights belong to the provider of the game.
The contents we provide on this site were created personally by members of the Game8 editorial department.
We refuse the right to reuse or repost content taken without our permission such as data or images to other sites.