Warrior Ascendancies and Class Guide
Latest: 0.5.0 Release Date
☆ Fate of the Vaal ▶︎ The Last of the Druids
┗ Bonded Mods | 0.4 Mystery Box
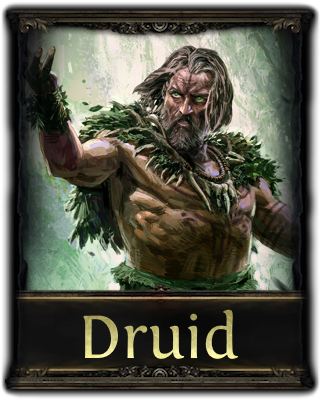
★ Druid: Class Overview | Builds
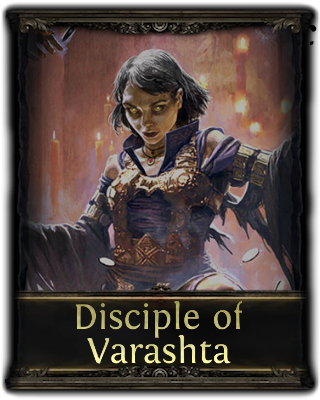
☆ NEW: Disciple of Varashta Ascendancy!
★ Best Class | Best Builds | Leveling Builds
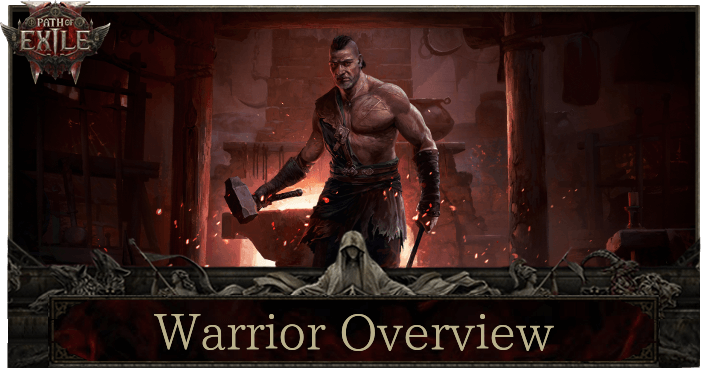
The Warrior is a durable melee-centric class that can ascend into a Smith of Kitava, Titan, or Warbringer in Path of Exile 2 (PoE 2). Check out more information on the Warrior's ascendancies, class guide, builds, skills, playstyle, and whether you should pick the Smith of Kitava, Titan, or Warbringer for the Dawn of the Hunt update!
| All Warrior Class Guides | |
|---|---|
| Warrior Class and Ascendancies | All Warrior Builds |
List of Contents
Warrior Ascendancies
During the early access, you'll have the choice to pick between 3 Ascendancy classes for the Warrior:
| Jump to an Ascendancy! | ||
|---|---|---|
| Smith of Kitava | Warbringer | Titan |
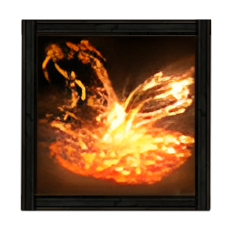
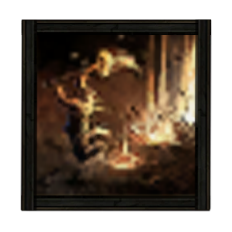
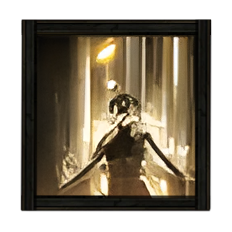
Smith of Kitava
The Smith of Kitava focuses on applying buffs to their weapon and alter the properties of their armor. They can also create an animated copy of their weapon, essentially granting them double damage.
Smith of Kitava Ascendancy Overview and Skills
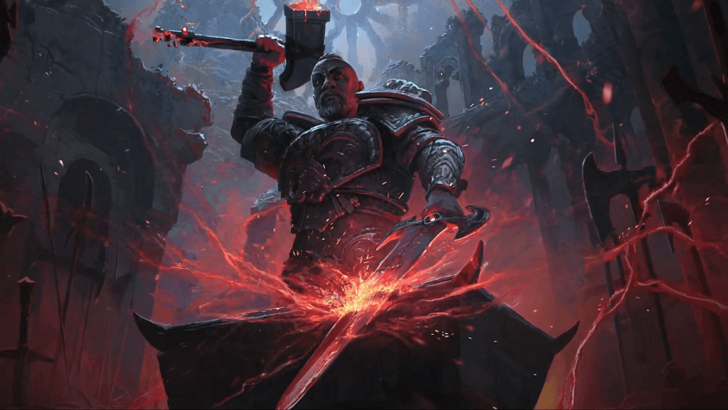
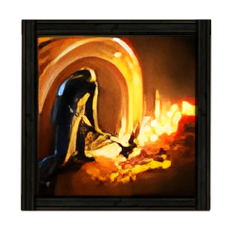
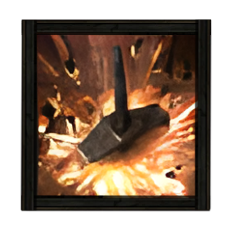
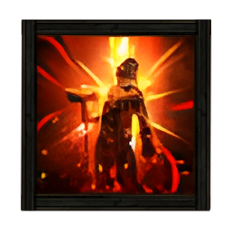
Titan

The Titan ascendancy focuses on the Warrior's ability to hit big and deal massive damage. It significantly increases the effectiveness of area and slam attacks and the consistency of stun effects using skills like Earthbreaker, Crushing Impacts, and Surprising Strength.
Titan Ascendancy Overview and Skills
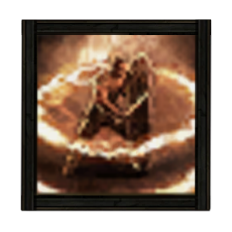
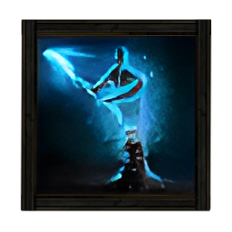
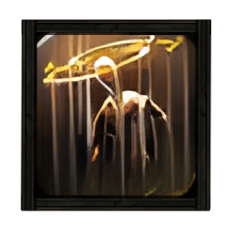
Warbringer

The Warbringer ascendancy focuses on harnessing powers from ancestral spirits to receive significant boosts to the Warrior's capabilities. It significantly increases the potency and capabilities of Totems, Breaking Armor, War Cries, and Blocking with skills like Answered Call, Imploding Impacts, Greatwolf's Howl, and Turtle Charm.
Warbringer Ascendancy Overview and Skills
Which Ascendancy Should You Pick?
Play the Smith of Kitava for New Experience
We highly recommend playing as the Smith of Kitava for Patch 0.2.0 to experience it as the new Ascendancy for the Warrior Class in the Dawn of the Hunt Update. The Smith of Kitava allows you to buff your weapons and customize your armor modifiers, granting ease with builds and meeting resistance caps.
Play the Titan to Follow the Meta
If you want to play the meta, then the Titan is the better ascendancy out of the three. It gives players more direct increases to damage and survivability with passives like Ancestral Empowerment and Mysterious Lineage. The Hulking Form passive is also incredible, with its ability to boost the effects of all small passive nodes, significantly buffing any Warrior build with a single skill point.
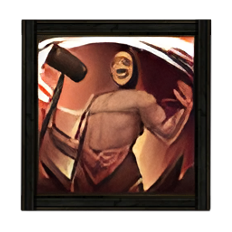
Warrior Class Overview
Overview
 The Warrior The Warrior |
||
| Attribute | Strength | |
|---|---|---|
| Weapon | Maces | |
The Warrior has its efficiency shine in heavy hits that ripple its damage, making it a great pick for bursting enemy hordes and bosses.
Strength Focus
The Warrior is a Strength-based class that focuses on applying high melee damage while having good survivability during combat. It is a melee fighter that specializes in using shields and maces.
Warrior Skills
All Mace Skills
Maces are the default weapon for Warriors in PoE 2. However, players can still choose any skill outside of Maces when playing the Warrior. Listed below are all the Mace skills available during early access.
| Tier | Skills | |||||||||||
|---|---|---|---|---|---|---|---|---|---|---|---|---|
| 1 |
 Earthquake Earthquake Earthquake Smashes the ground, dealing damage in an area and leaving behind Jagged Ground that slow enemies. The Jagged Ground erupts in a powerful Aftershock after a duration. Cannot create Jagged Ground on top of an existing patch, or if you already have the maximum number of active patches.
|
 Boneshatter Boneshatter Boneshatter Attacks enemies with a melee Strike. The Strike will cause a Heavy Stun on enemies that are Primed for Stun. Upon causing a Heavy Stun it will also create a Shockwave, dealing a large amount of damage in an area.
|
 Rolling Slam Rolling Slam Rolling Slam Slam the ground to Stun enemies and knock them away, then continue forward and perform a devastating second Slam. holding down the skill input allows you to change direction as you move.
|
|||||||||
| 3 |
 Armour Breaker Armour Breaker Armour Breaker Strike with a forceful blow, knocking enemies back and weakening their Armour.
|
 Shockwave Totem Shockwave Totem Shockwave Totem Raises a Totem that Slams the ground around it, repeatedly damaging nearby enemies. Jagged Ground erupts when hit by this Slam, damaging enemies standing on it.
|
 Infernal Cry Infernal Cry Infernal Cry Performs a warcry, Empowering subsequent Melee Attacks if there are enemies nearby. Enemies in the Warcry's area are destabilised and will Combust on death. This Skill's a cooldown can be bypassed by expending an Endurance Charge.
|
 Shield Charge Shield Charge Shield Charge Channel to charge in the target direction. You will crash into enemies on your path, stopping your charge and dealing damage to enemies in an area, and extra damage to the enemies you collided with. While charging, your Shield is raised and you will Block all incoming Blockable hits.
|
||||||||
| 5 |
 Perfect Strike Perfect Strike Perfect Strike Charge up your weapon while channelling. Releasing the moment you ECT STRIKE fully charge will release a wave of Fire.
|
 Molten Blast Molten Blast Molten Blast Gouges molten rock from the ground and flings it at the target. The Projectile explodes on collision, damaging enemies and scattering shrapnel in a cone behind it.
|
 Resonating Shield Resonating Shield Resonating Shield Repeatedly strike your Shield with your weapon causing damaging shockwaves in an area around you. Enemies hit by the shockwave lose Armour for a duration. While using Resonating Shield, your shield is raised and you will Block all incoming Blockable hits.
|
|||||||||
| 7 |
 Leap Slam Leap Slam Leap Slam Jump into the air, damaging and Knocking Back enemies with your mace where you land. Enemies you would land on are pushed out of the way.
|
 Earthshatter Earthshatter Earthshatter Slam the ground, sending out a fissure that deals area damage to enemies it passess under and thrusts a spike from the ground when it ends. Warcries performed near the spike will cause it to shatter, damaging surrounding enemies.
|
 Shield Wall Shield Wall Shield Wall Ram you Shield into the ground, throwing up a semi-circular wall of earth. Enemies can attack the walls and your Slams will instantly destroy them. Each wall segment explodes when destroyed, damaging enemies around it.
|
|||||||||
| 9 |
 Sunder Sunder Sunder Slams the ground, creating a roiling fissure that damages enemies in a sequence of areas in front of you. A number of enemies hit by the wave will release a shockwave, damaging other enemies.
|
 Volcanic Fissure Volcanic Fissure Volcanic Fissure Slam the ground, creating a fissure that deals damage as it travels and remains for a duration. Using a different Slam on a fissure will cause an aftershock, which spreads to all connected fissures.
|
||||||||||
| 11 |
 Seismic Cry Seismic Cry Seismic Cry Performs a damaging Warcry, knocking Back enemies. If a Heavy Stunned enemy is hit, your next Slam is empowered to perform an additional aftershock. If not, this skills cooldown is reset. Only counts Heavily Stunned enemies for purpose of counting Power gained.
|
 Supercharged Slam Supercharged Slam Supercharged Slam Channel to charge up a heavy swing, drawing earth from the ground to enlarge your mace. Release to Slam the ground, dealing damage in an area around the impact, followed by Aftershocks dealing damage in larger area.
|
 Stampede Stampede Stampede Charges forward, cracking the earth and leaving a patch of Jagged Ground with every footstep. At the end of your charge, a massive leaping Slam damages enemies and causes all nearby patches of Jagged Ground to explode, damaging enemies standing on them.
|
|||||||||
| 13 |
 Ancestral Warrior Totem Ancestral Warrior Totem Ancestral Warrior Totem Raises a Totem that uses socketed Mace skills.
|
 Hammer of the Gods Hammer of the Gods Hammer of the Gods Entreats the Ancestors to crush your enemies, manifesting a massive hammer that falls from the sky of your target, Slamming into the ground after a short duration and dealing immense damage based on your weapon.
|
||||||||||
All Warrior Persistent Skills
| Tier | Skills | |||||||||||
|---|---|---|---|---|---|---|---|---|---|---|---|---|
| 4 |
 Herald of Ash Herald of Ash Herald of Ash While active, enemies you sufficiently Overkill with attacks will cause an explosion that ignites nearby enemies based on the Overkill damage dealt.
|
 Magma Barrier Magma Barrier Magma Barrier When you raise your Shield it is infused with magma for a short time. Blocking during this time will spray magma at the attacker and grant you an Endurance Charge.
|
 Scavenged Plating Scavenged Plating Scavenged Plating Uses fragments of armour scavenged from enemies to bolster your own. Fully Breaking an enemy's Armour grants you a stack of Scavenged Plating for a duration, and you gain Armour and Thorns per stack.
|
|||||||||
| 8 |
 Time of Need Time of Need Time of Need Invokes divine blessings, periodically healing you and removing Curses and Elemental Ailments from you.
|
 Overwhelming Presence Overwhelming Presence Overwhelming Presence While active, enemies in your Presence are easier to Stun and inflict Elemental Ailments upon.
|
||||||||||
| 14 |
 Berserk Berserk Berserk While active, strengthens your Rage and grants you Life Leech based on your Rage, but causes you to lose Life while Raging.
|
 Dread Banner Dread Banner Dread Banner While active, killing enemies with Attacks or standing near a Unique enemy generates Valour. using this skill consumes its Valour to place an Inspiring Banner with an Aura that grants you and nearby allies Stun Threshold, Elemental Ailment Threshold, and Flask charges while the Banner lasts. The Banner cannot gain Valour while placed, and you cannot place a Banner while you already have a banner placed.
|
||||||||||
Recommended Skills
| Skill | Effect |
|---|---|
|
Leap Slam
|
Jump into the air, damaging and Knocking Back enemies with your mace where you land. Enemies you would land on are pushed out of the way. |
|
Earthquake
|
Smashes the ground, dealing damage in an area and leaving behind Jagged Ground that slow enemies. The Jagged Ground erupts in a powerful Aftershock after a duration. Cannot create Jagged Ground on top of an existing patch, or if you already have the maximum number of active patches. |
|
Hammer of the Gods
|
Entreats the Ancestors to crush your enemies, manifesting a massive hammer that falls from the sky of your target, Slamming into the ground after a short duration and dealing immense damage based on your weapon. |
The best Mace skill for the Warrior is Hammer of the Gods, currently the Warrior's highest damaging skill. With the proper build and setup, it can deal enough burst damage to one-shot some of the game's hardest end-game bosses.
Most Warrior builds also use Earthquake and Leap Slam. Earthquake is a great AoE skill from early to mid-game, and Leap Slam is versatile, used for damage, stuns, survivability, or mobility.
How to Play the Warrior
Capitalize on AoE Attacks, Armor Break, and Stuns
Players should capitalize on AoE Attacks, Armor Break, and Stuns, especially during the early game. These mechanics are the Warrior's known and best specialties, and his passive skill tree has numerous nodes that support and buff them. Investing in them can help achieve a smooth and consistent playthrough from the early game up until the end game.
Dodge Roll Constantly and Time Attacks Optimally
Players often need to constantly dodge roll and time their attacks properly when playing the Warrior, given its melee nature and slow attacks. While builds that lessen reliance on these mechanics exist, like an attack speed or shield build, dodge rolling and properly timing attacks often mean life or death.
Focus on Increasing Life and Resistances
For survivability, players should heavily invest in increasing their maximum life and maxing out their resistances. Unlike ranged classes, the Warrior is prone to getting hit and damaged, with them needing to close in on the enemy to deal damage.
Additionally, while increasing Armor may seem the more optimal and obvious choice, Armor is considered the worst defense stat in the game as of patch 0.1.0e, so do not overly invest in it.
Opt to Use Shields
Players may use shields, especially in the end game, if they have trouble surviving. Shields add another layer of defense, increasing defense stats and resistances with shield modifiers and allowing access to skills like Shield Charge, which is great for approaching enemies while avoiding damage.
Path of Exile 2 (PoE 2) Related Guides

List of New Classes
 |
 |
 |
 |
List of Early Access Classes
| Class | Ascendancy Classes |
|---|---|
List of Upcoming Classes
| Templar | Shadow |
| Duelist | Marauder |
Author

Warrior Ascendancies and Class Guide
Rankings
- We could not find the message board you were looking for.

Gaming News


![Star Savior Review [First Impressions] | Engaging, Entertaining, and Expensive](https://img.game8.co/4447603/8f500e9bf666bdb8adb1af478e9dfdbd.png/thumb)
![Death Stranding 2: On The Beach [PC] Review | A Port That Delivers](https://img.game8.co/4447392/15310a0c9aa1b6843bb713b2ea216930.jpeg/thumb)
Popular Games

Genshin Impact Walkthrough & Guides Wiki
Umamusume: Pretty Derby Walkthrough & Guides Wiki
Pokemon Pokopia Walkthrough & Guides Wiki
Honkai: Star Rail Walkthrough & Guides Wiki
Monster Hunter Stories 3: Twisted Reflection Walkthrough & Guides Wiki
Arknights: Endfield Walkthrough & Guides Wiki
Wuthering Waves Walkthrough & Guides Wiki
Zenless Zone Zero Walkthrough & Guides Wiki
Pokemon TCG Pocket (PTCGP) Strategies & Guides Wiki
Monster Hunter Wilds Walkthrough & Guides Wiki


Recommended Games
Fire Emblem Heroes (FEH) Walkthrough & Guides Wiki
Diablo 4: Vessel of Hatred Walkthrough & Guides Wiki
Cyberpunk 2077: Ultimate Edition Walkthrough & Guides Wiki
Yu-Gi-Oh! Master Duel Walkthrough & Guides Wiki
Super Smash Bros. Ultimate Walkthrough & Guides Wiki
Pokemon Brilliant Diamond and Shining Pearl (BDSP) Walkthrough & Guides Wiki
Elden Ring Shadow of the Erdtree Walkthrough & Guides Wiki
Monster Hunter World Walkthrough & Guides Wiki
The Legend of Zelda: Tears of the Kingdom Walkthrough & Guides Wiki
Persona 3 Reload Walkthrough & Guides Wiki


All rights reserved
© 2010 - 2024 Grinding Gear Games
The copyrights of videos of games used in our content and other intellectual property rights belong to the provider of the game.
The contents we provide on this site were created personally by members of the Game8 editorial department.
We refuse the right to reuse or repost content taken without our permission such as data or images to other sites.
Also thanks for nothing XD